How to Organize Paperwork | Part 2: The Process
Last week, I kicked off my brand new Paperwork Organization series; and I have to admit, the response to this project has been pretty exciting! I knew many of you were waiting for me to pull this series together, but I didn’t quite expect so many of you to comment and/or message that you are ready and waiting to get started! Last week, I gave you a brief overview of everything we will cover in this series (catch up here); and this week, we are getting down to business. Today, I am going to break down the organization process we will use to organize ALL the paper in your home in the coming weeks. We’re not necessarily going to do ALL the paper at once, but we’re going to rely on this same process over and over again as we deal with household papers, medical papers, kids school work, craft papers, recipes, coupons, receipts and more. Once you understand my easy and systematic process for sorting and organizing, you’ll be motivated to get started on even the biggest and most overwhelming piles of paper in your home!
A few years ago, I first introduced you all to my fail-proof process for decluttering any SPACE. The acronym SPACE stands for Sort, Purge, Assess, Contain and Embellish; and when done together and in order, this process allows for a clear, logical and straightforward method for dealing with any kind of clutter. When I first devised the SPACE acronym, the steps were primarily focused on dealing with physical clutter such as clothes, decor, kitchen items, craft supplies, etc. Yet even though we’re not loading up boxes of old papers and hauling them off to the donation center, the SPACE process still applies to our paper decluttering process as well! Today, I am going to walk you through my SPACE method for decluttering, and share my updated steps and strategies for dealing with paper clutter specifically. Learn this system now, because we’re going to use it over and over and over again during the next 2 months as we deal with various Paper Types around our home!
Paper Types
Before we dive into the SPACE process, I first want to discuss the various Paper Types in our home. Paper manifests in so many different functions, sizes, shapes, locations, and uses. And as much as I would love to say there is a one-size-fits-all solution for ALL the paper in your home, it just isn’t so. Your recipes will need a different solution than your tax returns; your scrapbook paper will need a different solution than your coupons, etc. My goal with this series is to empower you to get a firm grasp on ALL the paper in your home, and as such, we’re going to work through and identify solutions for all these various Paper Types. For the purpose of this course, the following are the various Paper Types we will be working through:
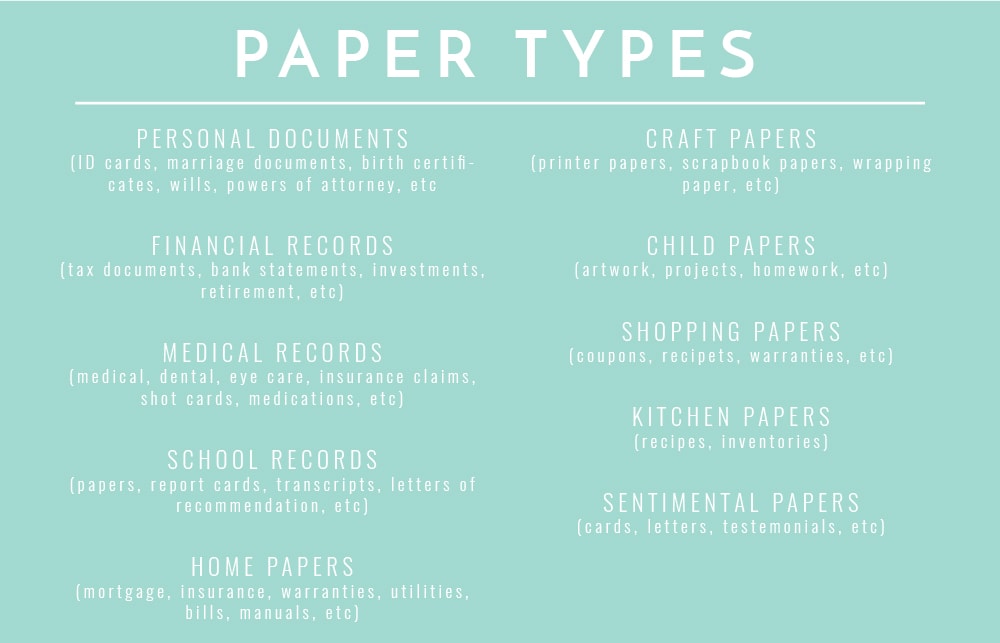
For the sake of ease and logistics, there are certain categories we will work through all at once (such as almost everything in the lefthand column); and there will be other categories that we will focus on individually (most of the right-hand column). However, you might need to work on each Paper Type a little differently based on what you have, your needs, the time you have, etc. The main goal in recognizing and understanding the various Paper Types is to not only break down your paper clutter into workable chunks, but also to help you identify what papers should be stored with what, where and how in YOUR unique home.
S – Sort
The very first step in the paper decluttering process, like any other decluttering project, is to gather everything you have and sort it into workable categories. As I mentioned above, trying to sort through every last piece of paper in your home all at once will be quite overwhelming. As such, start by picking a specific Paper Type (listed out above) to work on. For example, pick Household Papers or your Child’s School Papers, or Crafting Papers. While you’re at it, set aside a time and a place to work through this Paper Type. If you have a sizable amount of paper to go through, you may want to pick somewhere that is out of the way (and away from little hands) so you can take breaks and return to it as necessary.
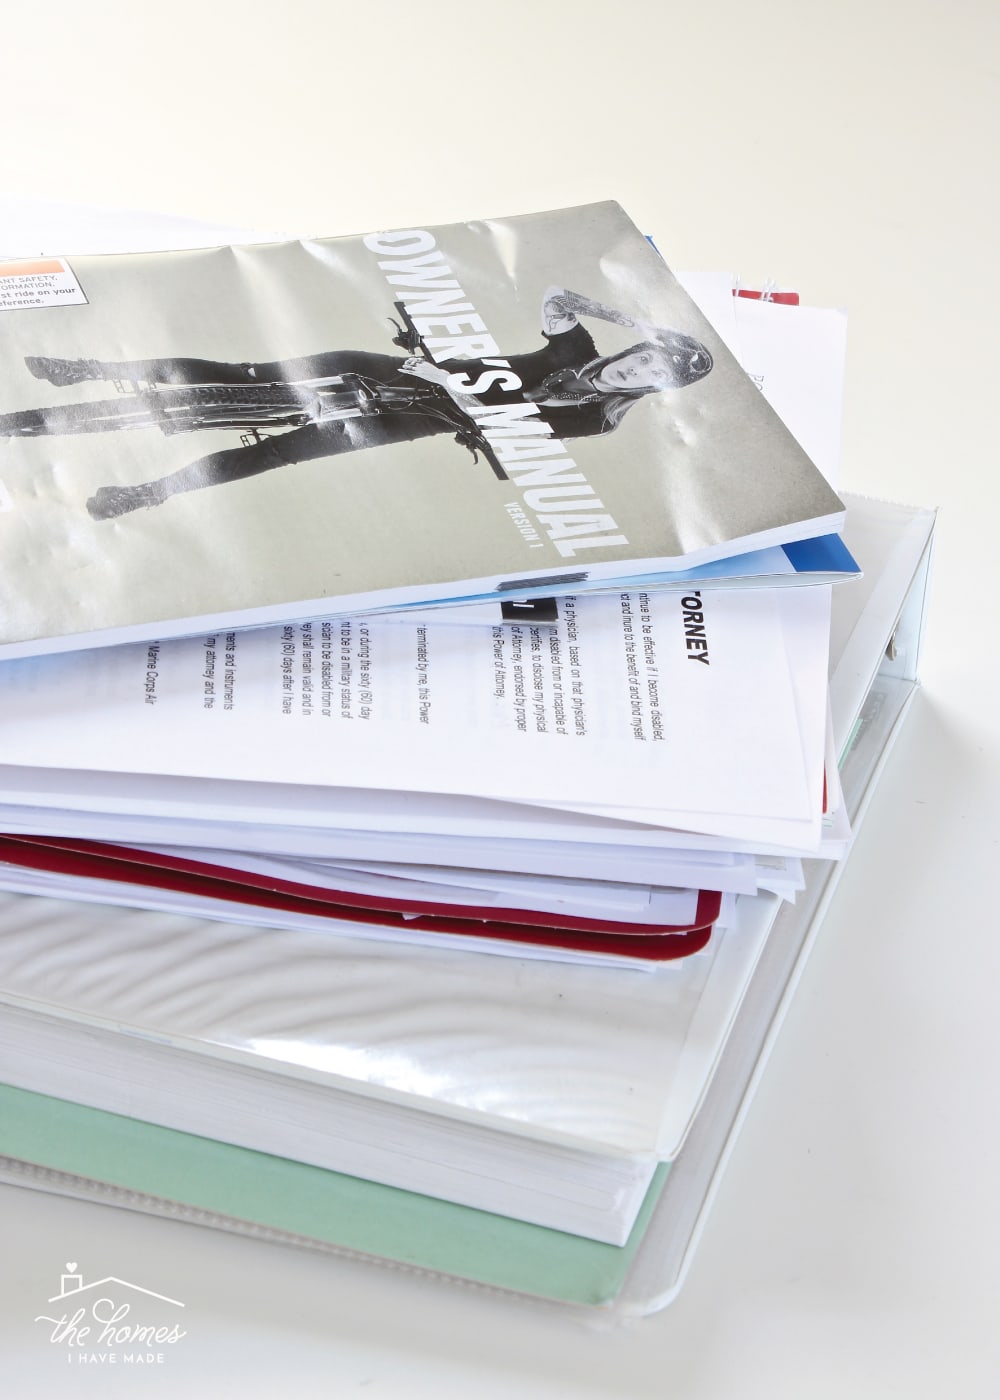
Once you’ve identified what Paper Type you’re going to sort through (as well as when and where you’re going to do it), go around your home and collect EVERY LAST PEICE OF PAPER that falls into that Paper Type. Resist the urge to collect other Types of papers as you go. Stay focused on the Paper Type you are sorting until it is complete. Pile all the applicable papers onto your work surface (I actually like to put everything into a big laundry basket!)
As you begin sorting, you might be tempted to create pile after pile of tedious and complicated categories as you encounter them or they occur to you. This approach can quickly bog down and overwhelm you. Instead, before we sort a single paper, we’re first going to identify 3-8 SIMPLE and intuitive initial sorting categories. As we go, these categories will be refined and maybe even changed, but the goal here is to come up with broad, overarching categories that will start to help make sense of the single, large pile of papers before you. Again…the key words here are SIMPLE…INTUITIVE…INITIAL.
As we work through each Paper Type in the coming weeks, I will share with you the various SIMPLE categories I use when first getting started. But to demonstrate what I mean, here are a few examples to consider:
- For household paperwork (medical, personal, financial), I usually start by sorting our papers by person (e.g., Megan, Greg, Henry, Sam, and Family)
- If you’re single, broad categories might instead include School, Work, Finances, Household
- For craft papers, initial categories might be by size (12×12, 8.5×11, 6×6, rolls)
- For recipes, I always suggest sorting by protein type (Poultry, Beef & Pork, Vegetarian, etc)
It is from these broad categories that deeper levels of organization will come, so try hard not to get too specific or complicated. Simply consider what you’re sorting, and then pick some broad initial categories. Once you have these 3-8 SIMPLE categories nailed down, write the category names onto sticky notes or small notecards and place them around your sorting station.
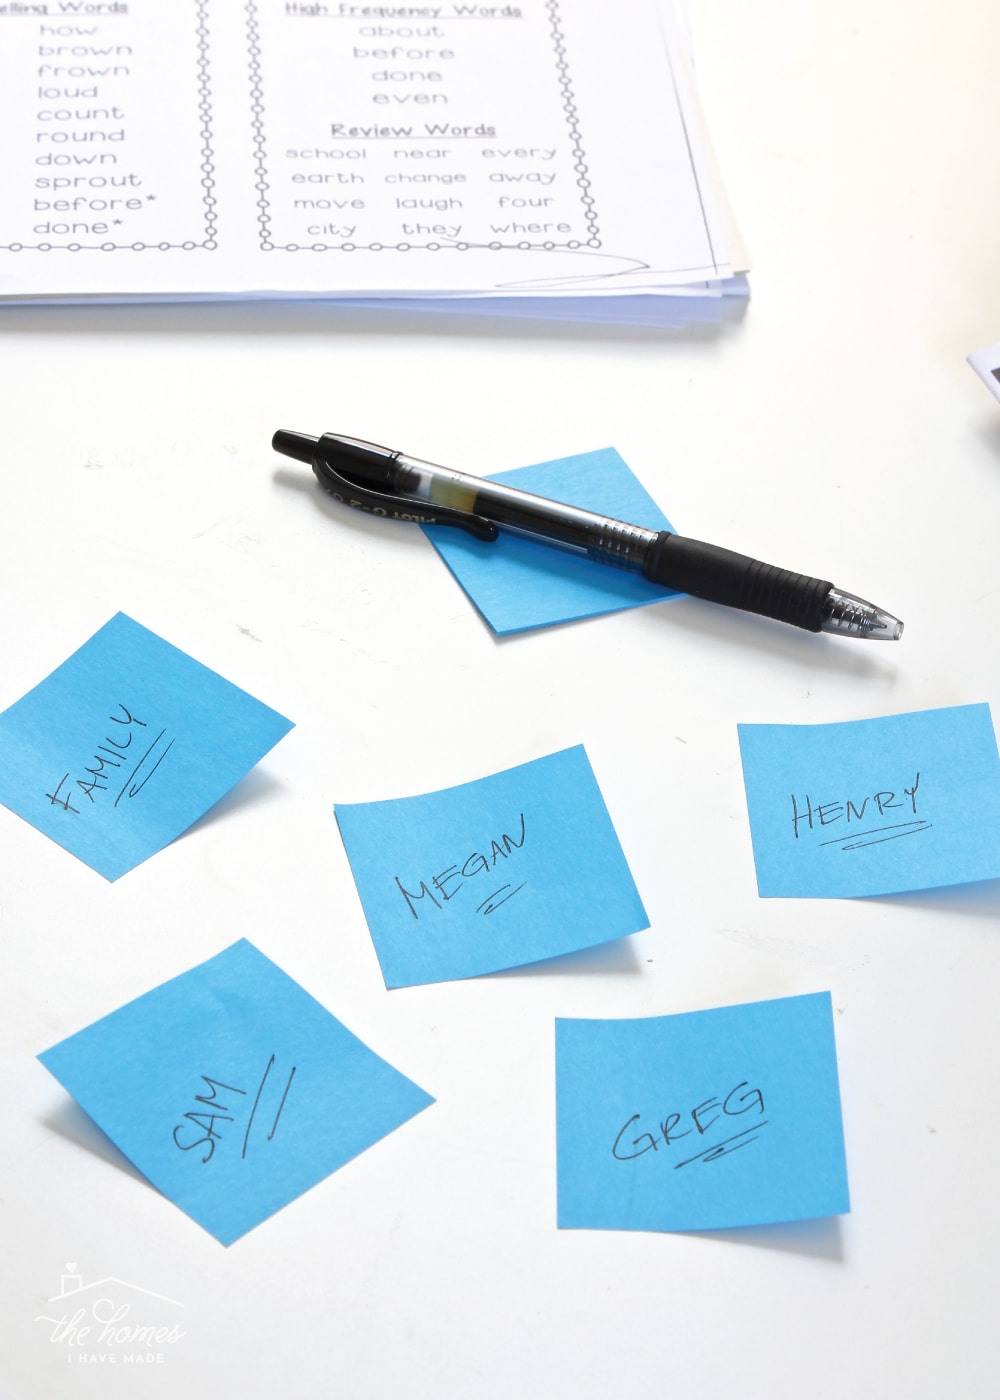
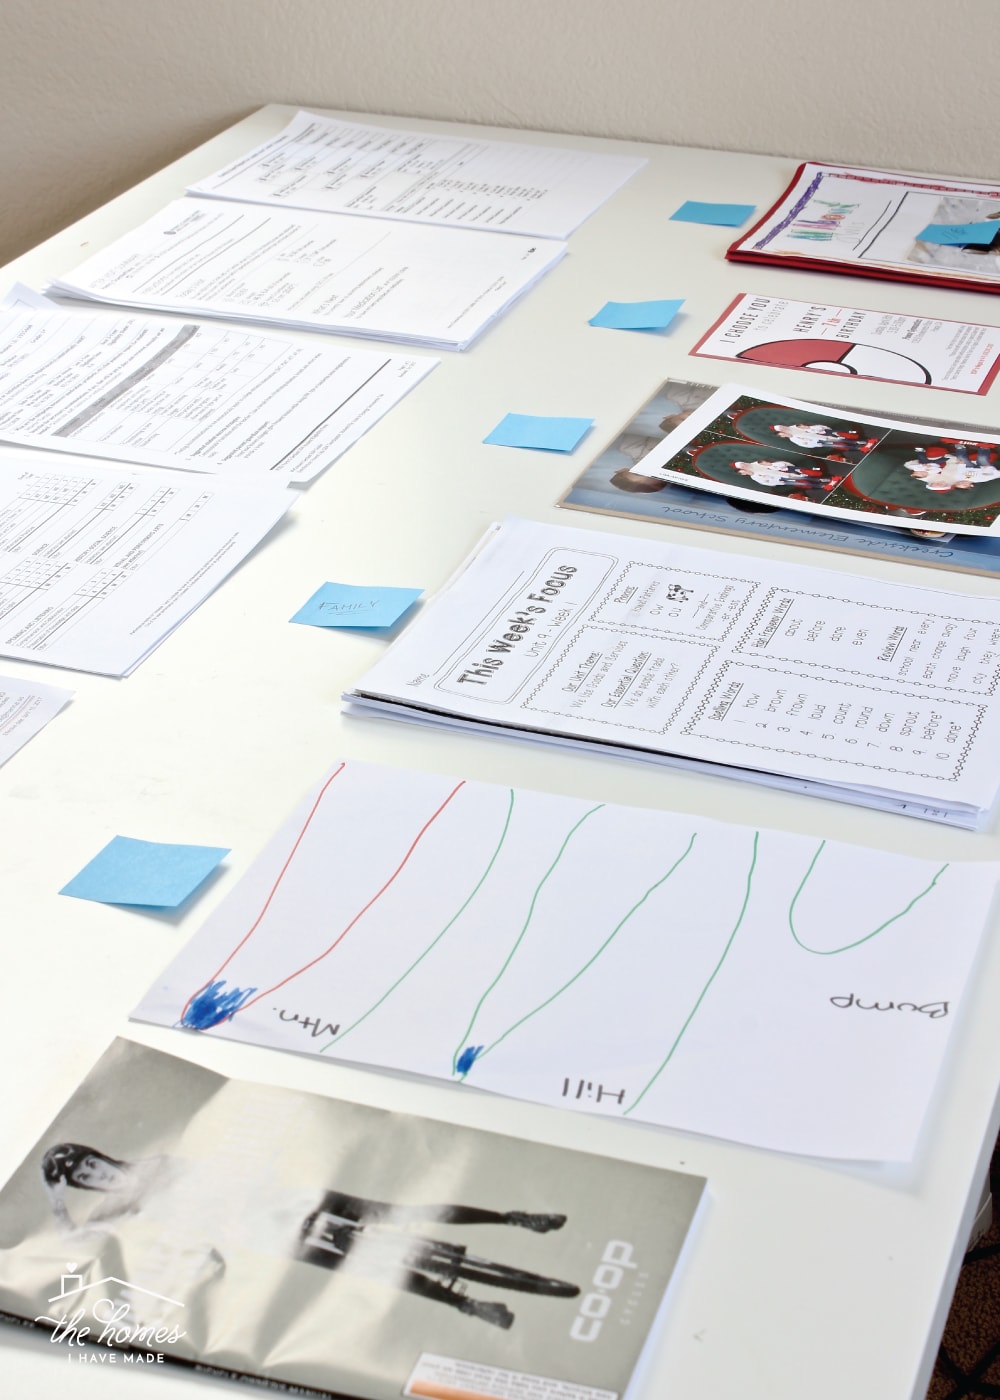
(Above are the 5 SIMPLE initial categories I used to break down our large pile of Household paperwork.)
Next, take every single paper in your large Paper Type pile/basket and quickly sort them into these 3-8 SIMPLE categories. Don’t over think anything and don’t feel like you need to make any big decisions. You’re welcome to toss obvious trash at this point, but your main goal here is to get your large pile of papers sorted down into your SIMPLE, more manageable categories.
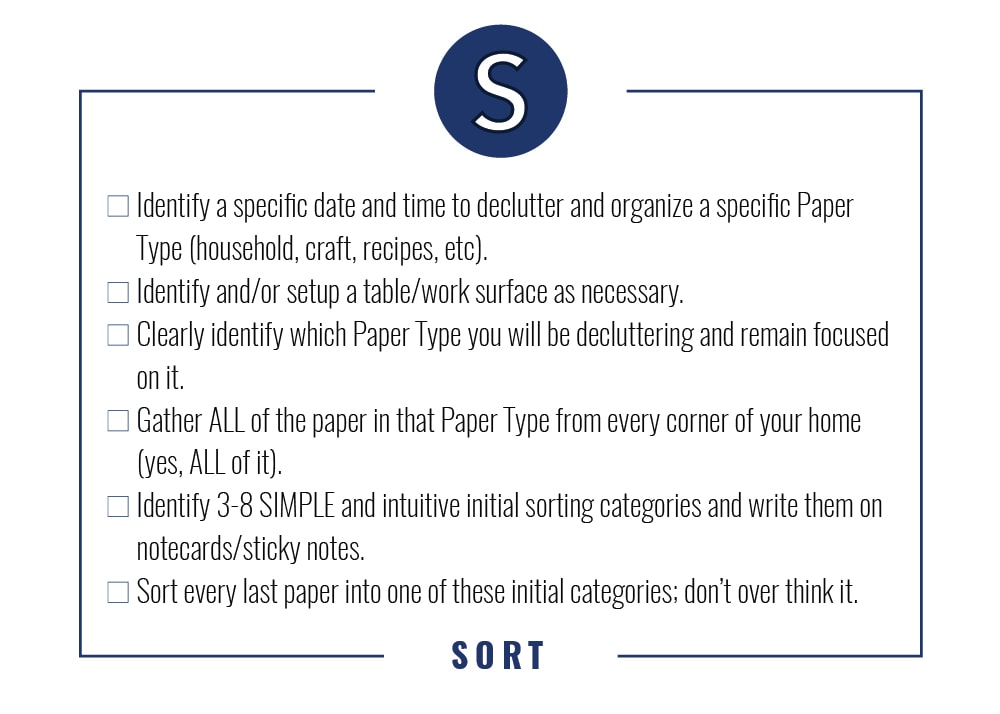
In summary, here is everything you need to do as part of the SORT step!
P – Purge
With everything sorted down into your SIMPLE categories, it’s time for the hard work to begin. You are now going to re-visit each and every pile one at a time. Take each and every piece of paper in your hands and determine if you genuinely want/need to keep it. I can’t tell you exactly what should be kept and what shouldn’t; but I really like how quick and easy this article breaks it down. Only you can make the decisions, but here are some things to consider:
- Duplicates, trash, expired items: trash it! Those empty envelopes that accompany bills and statements? Car insurance cards that expired last year? The three extra copies you made of your child’s birth certificate for school registration? They can all be trashed (just be sure to shred anything with personal identification information).
- Anything that can be found online: trash it! From user manuals to bank statements, so much is now available online (although some things may take some serious searching skills!). If you come across anything than can be easily accessed online, toss the paper version.
- As the above article states, if it’s really complicated or time consuming to replace: keep it! Pretty much anything that requires the government, official and/or in person requests or applications shouldn’t be tossed. We’re talking passports, marriage documents, birth certificates, sacramental records etc.
- If you need to produce hard copies frequently: keep it! You’ll waste more paper having to print things off over and over again. If it’s something you use and access regularly, keep the printed version.
- If it can’t be replicated: keep it! Your best term paper with hand-written comments from your favorite teacher? Handwritten love letters from your spouse while you were dating? The birth announcements of your children. If they are truly precious and can’t be replicated or replaced, keep them.
Marie Kondo would tell you that no paper needs to be kept, but I certainly concede that there are lots of various paper items that warrant keeping. If you want to significantly cut down on your paper clutter, I suggest you be ruthless and honest with yourself. Keep what is irreplaceable, highly sentimental or necessary. The rest really can go!
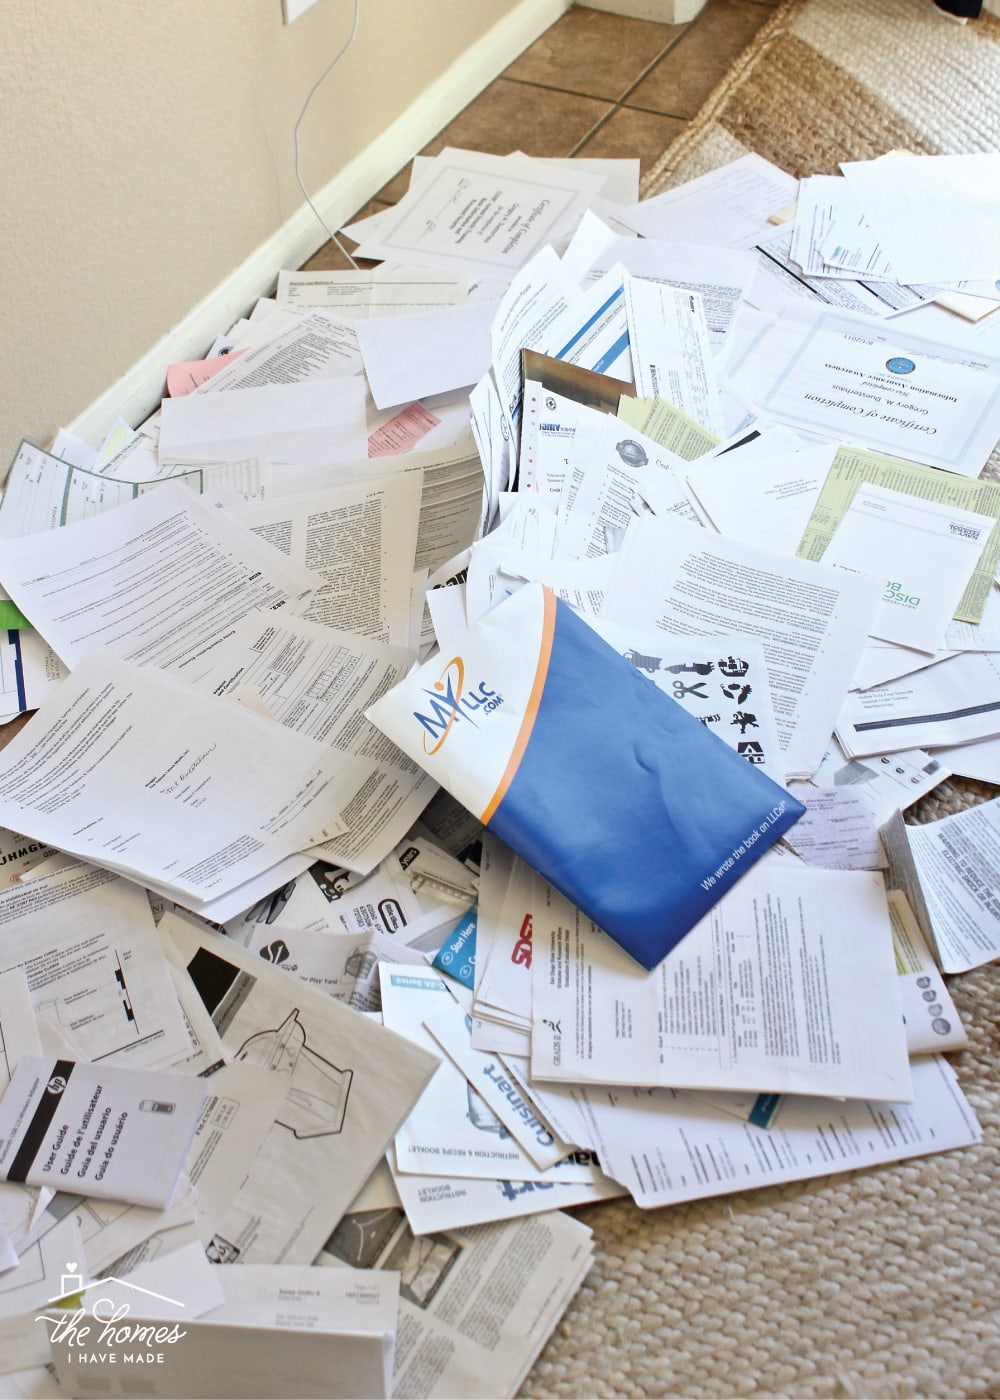
(The scene from our initial sort and purge of our Household files after years of neglect!)
Once you finish your first SIMPLE category, move onto the next. Once finished with all of your initial piles (which honestly, may take a while), you should be left with 3-8 SIMPLE piles, containing ONLY those items you need to keep and now require a storage solution. Anything that did not make “the cut” should be either trashed, recycled or shredded.
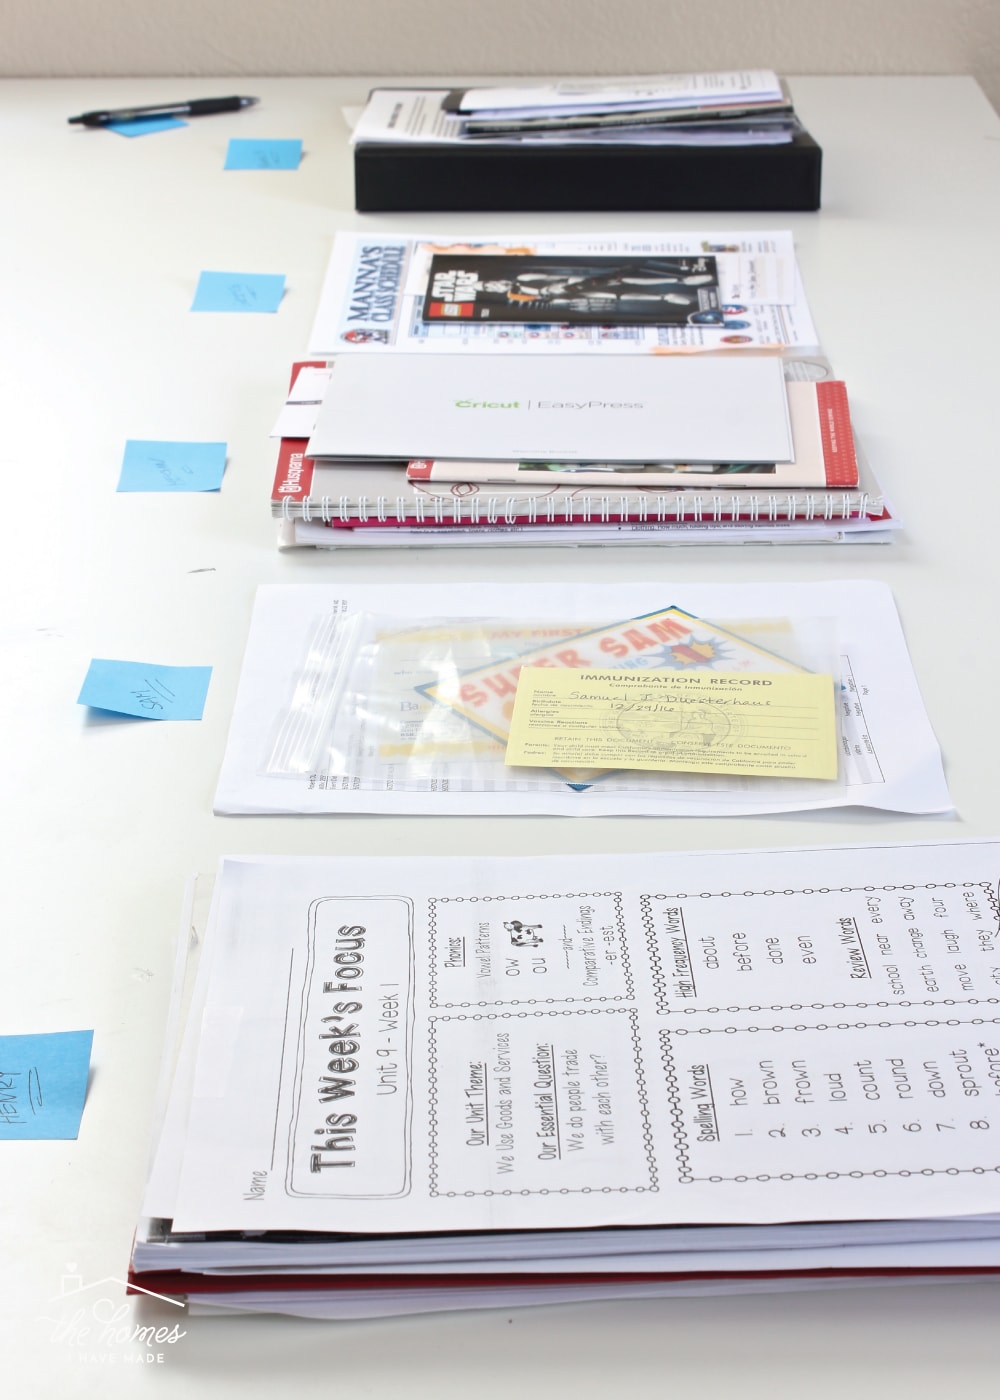
(Above are the 5 family member piles fully purged and sorted. These piles have no other order beyond who the papers belong to.)
In summary, here is everything you need to do as part of the PURGE step!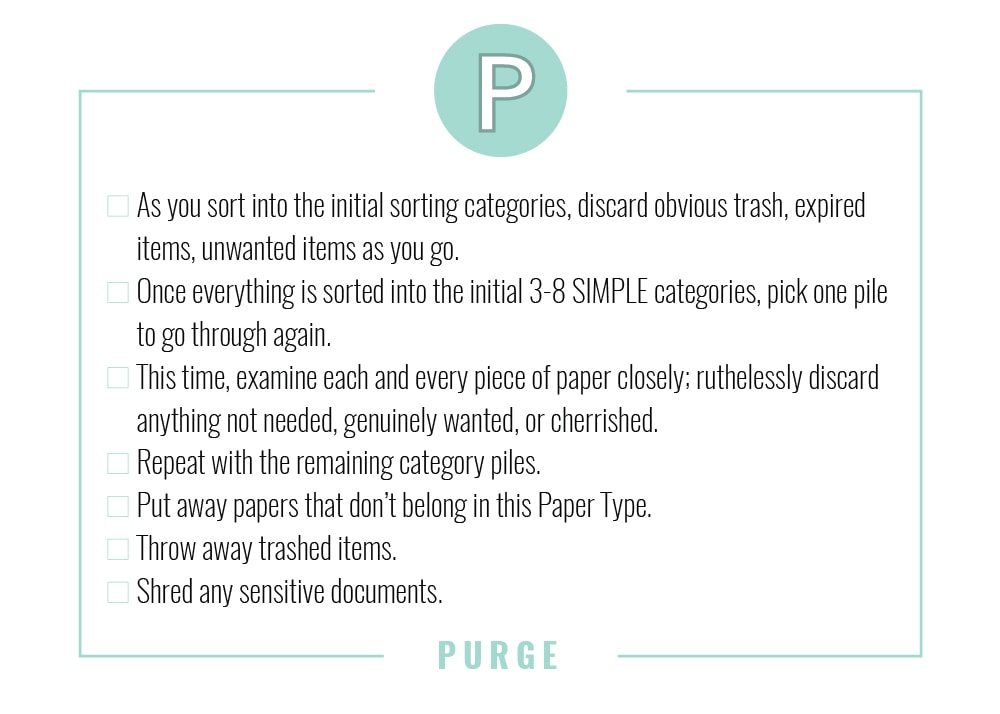
A – Assess
The hard work of sorting and purging this entire Paper Type is now behind you (yay!!!) but the next two steps in the SPACE acronym will also require some patience and brain power in order to identify the best ways to further sort and store the papers you want to keep.
To do that, start with one of your SIMPLE category piles (put all others aside for now). Take everything in that pile and sort it further down into more specific categories. Don’t hesitate to make as many logical and obvious sub-categories as you need in order to make finding each and every paper easy and intuitive. That said, resist the urge to over sub-categorize and make your system too complicated. Group like papers together where applicable, and separate out items when necessary. Use more sticky notes, as necessary, to keep piles identified.
Want to save this post?
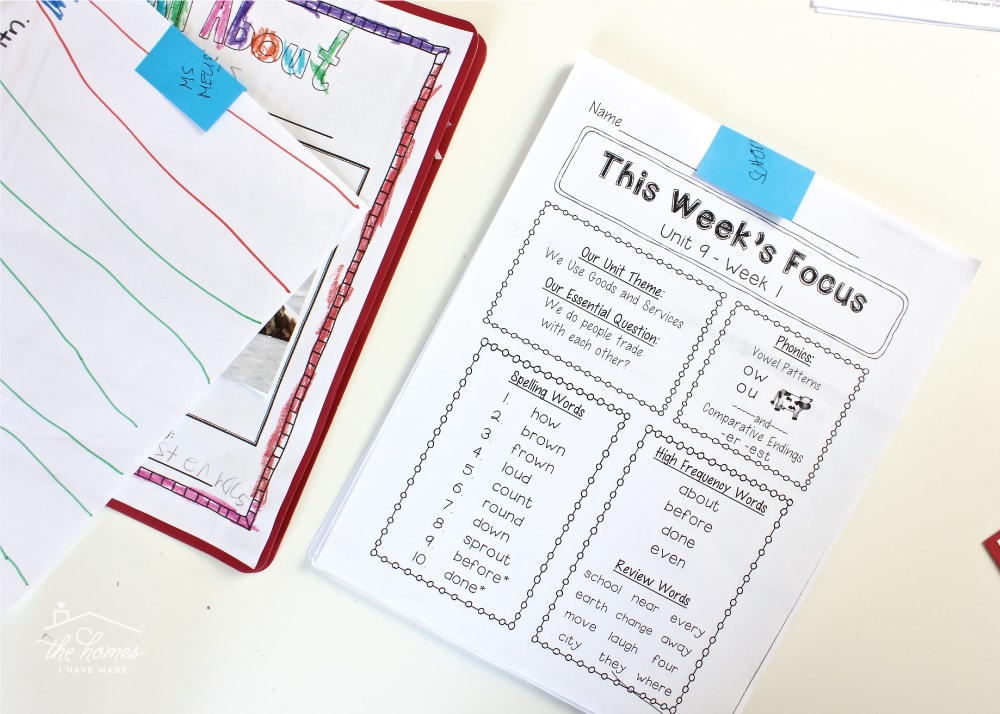
(In the example above, I took Henry’s pile of paperwork and broke it down into school forms, photos, medical records, manuals, family tree information, etc).
I strongly believe that you need to sort, purge, and assess ALL the paper in the Paper Type you are working on BEFORE you start putting it away. (Because it’s only once everything is sorted and organized, can you identify precisely what type of system you need). I don’t like to leave piles of paper hanging about as I work my way through the other SIMPLE categories, so I’ve come up with a really quick and easy temporary filing solution. After using the sticky notes to identify the various sub-categories, I then fold each one over the top of its corresponding mini stack of paper. The sticky notes keep the stack of papers together and the hand-written label quickly informs me what’s in the stack (a label that can then be directly transferred to pretty labels in the last step).
This temporary labeling solution ultimately allows me to stack everything back up nicely so it can then be set aside as I work through the rest of my SIMPLE categories in the Paper Type.

(Above is all of Henry’s papers sorted, purged, sub-categorized, labeled and re-stacked.)
After working through all the papers in each SIMPLE category this way, you’ll be left with 3-8 piles that are fully purged, sorted, sub-categorized and labeled! All that is left to do is find the right storage solution to hold all your piles and move them over!
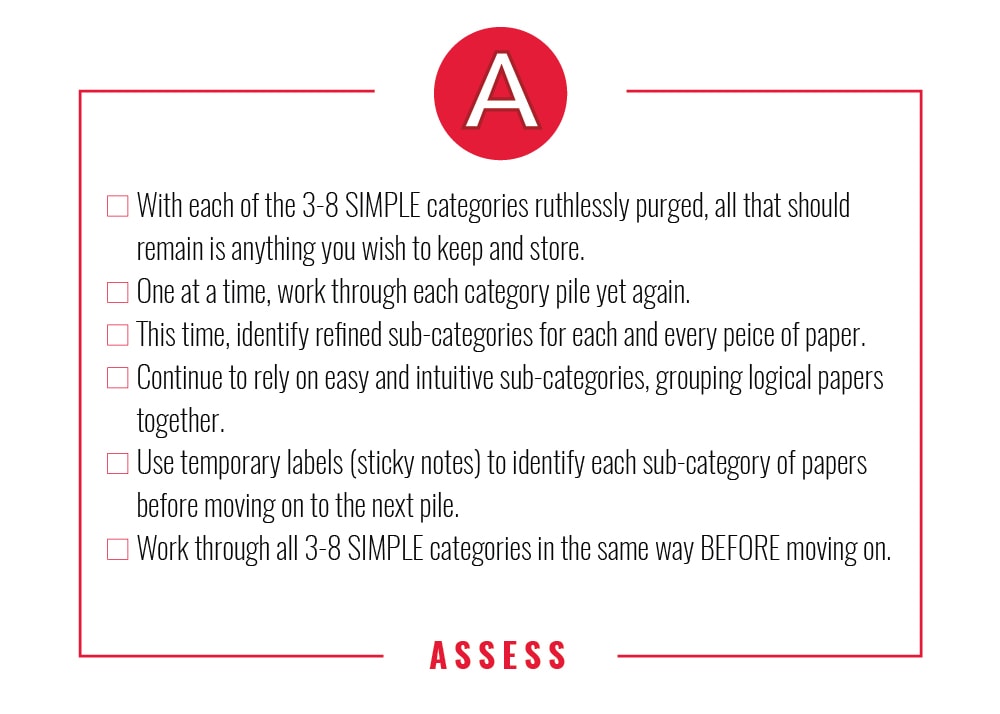
In summary, here is everything you need to do as part of the ASSESS step!
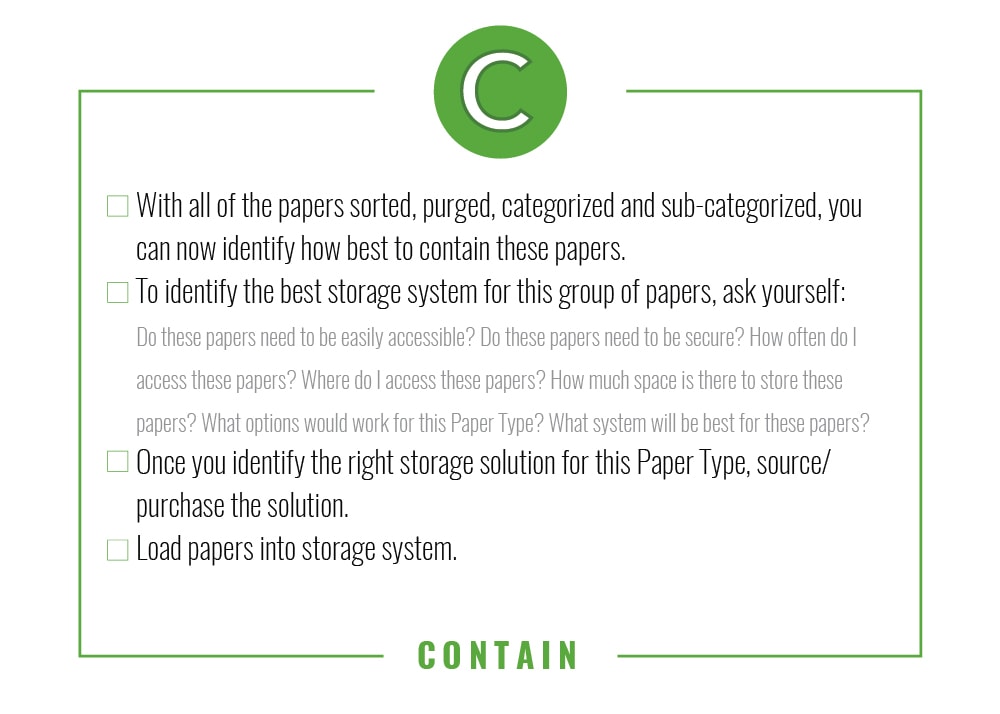
C – Contain
One of the quintessential aspects of my SPACE process is that identifying and shopping for storage solutions comes at the very end. There is no point in heading out to the store to buy something when you really don’t have a true sense for what and how much you need to store. But by first Sorting, Purging, and Assessing what you have, you are much better equipped to find a storage solution that will genuinely work and last.
I’ve already said it a few times, but it bares repeating. Paper does not have a single, ultimate solution. Different types of papers will be better stored in different types of systems; additionally, different people and households will prefer certain systems over others.
In the coming weeks, we are going to explore various systems such as files, dividers, boxes, binders, safes, rings, and pouches to organize various forms of paper. While we will explore different options for storing all the different Paper Types, here are some questions to consider when faced with whatever Paper Type you are organizing right now:
- Do these papers need to be easily accessible?
- Do these papers need to be secure?
- How often do I access these papers?
- Where do I access these papers?
- How much space is there to store these papers?
- What options would work for this Paper Type?
- What system will be best for these papers?
Use your SIMPLE stacks in conjunction with these questions to identify which storage solution will work right for your Paper Type; then source, find or buy that solution!
Loading your papers into the new storage solution will be a snap! Everything is already pre-sorted and labeled, you just need to transfer those papers and labels to your new system!
In summary, here is everything you need to do as part of the CONTAIN step!
E – Embellish
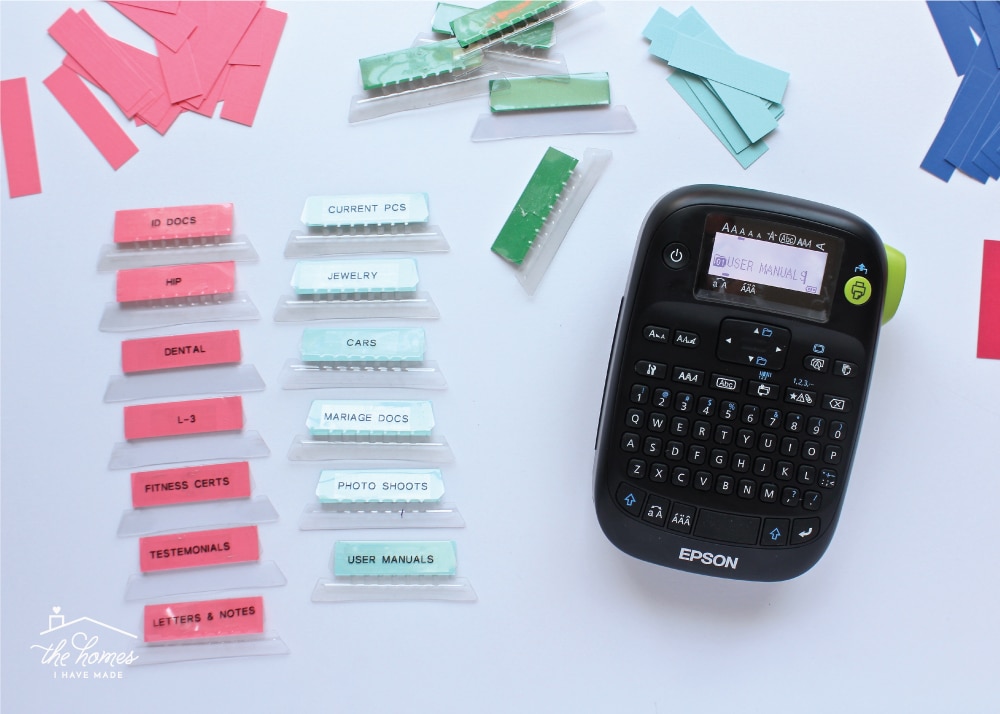
All the hard work of purging, sorting and categorizing is now behind you. Your papers are likely even loaded into their ideal storage system (although they may still be temporarily labeled with sticky notes). It is here that you can think about adding the pretty details that will help you love, use, and maintain your system more: patterns, covers, tapes, labels, etc.
If you’re looking for some simple strategies to make your paper storage prettier, I’ve got a bunch for you in the coming weeks. At this point though, I specifically want you to note that the E comes last in our process. Do not start organizing your papers by trying to figure out how to color code them. Don’t worry about ordering your labelmaker now. The goal is to put in the hard work through the Sorting, Purging, Assessing and Containing to establish a well-functioning system. That way, if you’re not sure if or how to “make it pretty,” you’ve still got a solid system well in-hand.
In summary, here is everything you need to do as part of the EMBELLISH step!

The SPACE process might feel a little vague for you right now; but I promise, after your first round of using this process, you’ll understand why it works so well. Not only does it outline exactly what you need to do and when, but it breaks down a very overwhelming paper clutter problem into very manageable steps.
 I know many of you are ready to dive in right now, so I will give you a “Homework Assignment” of sorts each week. Take the next 6 days to accomplish everything I have outlined here. Then tune in next Friday for the next step on your paper decluttering journey!
This week:
- Read over and learn the SPACE process. The more intuitive this process is, the quicker your sorting will go.
- Educate yourself on what types of papers truly need to be kept and for how long. The following articles may help you:
- via Life Hacker
- via Suze Orman
- via Edelman Financial Services
- Spend some time looking around your house and identifying which Paper Types (blue box above) you have in your home and which ones needs addressing.
- EXTRA CREDIT: Next week, we are going to start by organizing household-related papers such as financial records, medical records, household documents etc (pretty much anything you probably already keep in your filing cabinet). If you want to be ready to implement the filing strategies coming your way, spend this week working through the SPA of these Paper Types.
How to Organize Paperwork Blog Series

My goal is to make working through your paper clutter straightforward and systematic. These steps may seem overwhelming and tedious, but I promise they will help you wade your way through the piles of paper that may be cluttering up your home. Don’t hesitate to leave questions, suggestions, ideas or motivations in the comments if you need help or moral support! You’ve got this!
Megan
11 Comments on “How to Organize Paperwork | Part 2: The Process”
Wow. This is so helpful! I can’t wait to start this and be on track for when school starts back up. As of right now I have piles of my kids papers from last year to go through! And looking at the pile of paper on the side of my bed, I better start there. Thanks so much for the direction, for putting down simple steps to help me realize what is actually important and not keep a bunch of junk. Thank you for putting this together!
I am so so so so excited you are doing this. Your breakdown is amazing, your mini to do lists (with checkboxes!) are amazing, your pictures are amazing. I am feeling like this beast – PAPER – is actually manageable. I am motivated to deal with paper – unheard of! Thank you so much, Megan.
Merci ma chère Megan. Vos conseils sont précieux et permettent d’avancer doucement. Bravo
I will give your system a serious try! I have been “organizing” my documents after, like you said, years of (I say with mine, intermittent focus and, then,) neglect. The sorting and purging part I get done but it’s the refining of the categories that gets me because at that point it gets too big and I’m usually tired. What I need, I think, is a method like this which I can look up from time to time so I won’t get lost in my own pile of documents. I have 6 kids ranging from 22 to 10 (one is a working adult, some in high school and some in elementary) and renting 3 separate apartment units (yes separate bills for each!) so you can imagine the paperwork I need to declutter.
There is one specific type of document that I would like your help with. It’s the purchase of items with warranty and manuals. ( I like to keep the manuals on hand so I won’t have to break my neck looking for the serial numbers and models of some appliances.) They’re not included in your list. How and where should I categorize the purchase receipt, the credit card slip, the warranty and manual. I usually keep them together but I also like to keep receipts together to keep track of purchases(for accounting) and payment data.
Your insight on this is greatly appreciated 🙂
Hi Meg!
Thanks so much for writing and hope my system works for you! To answer your question, I would put those things with the “Home” papers (you’ll see I have warranties, manuals, etc already listed!)
Good luck and let me know if you have any other questions!Megan
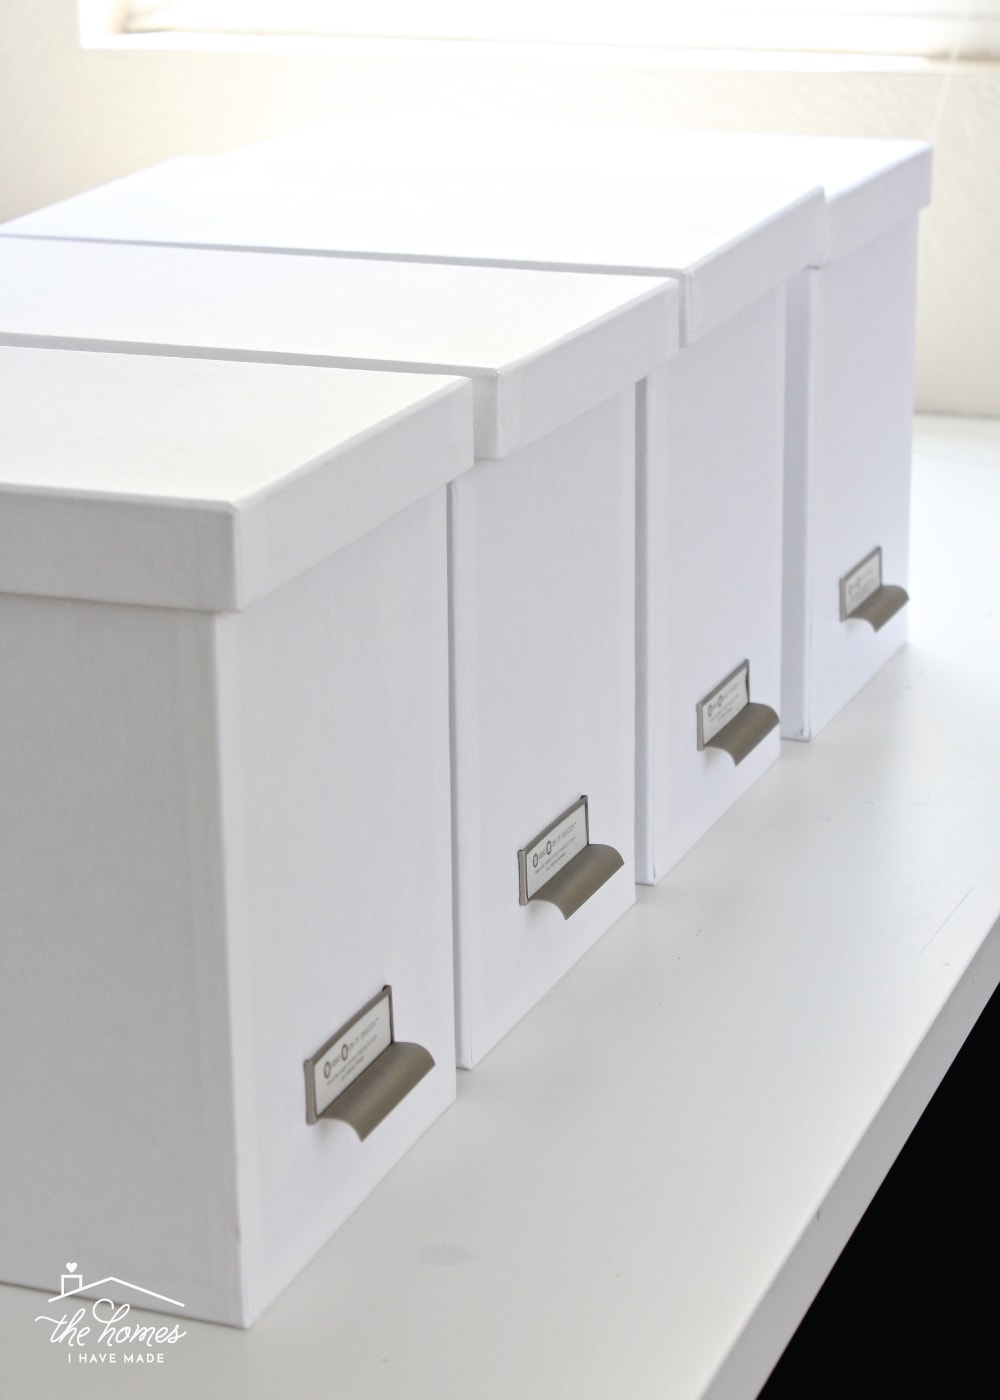
Hi! I always truffle with storing things. Besides the dollar store, where can durable, cardboard containers, like the ones in your post, be found?
Thanks!
I have dealt with papers for YEARS and this is the best article I’ve ever read! I love your categories and what you include in them!!
This truly helps me! Organizing paperwork, especially in your files, is a great way to keep your mind clear and refreshed!
Love your paper organization strategies!
Still learning from you in December 2025, thank you!
Thank you for your thorough info about how to deal with “all the paper”.