I Downsized My Craft Room – Here’s How!
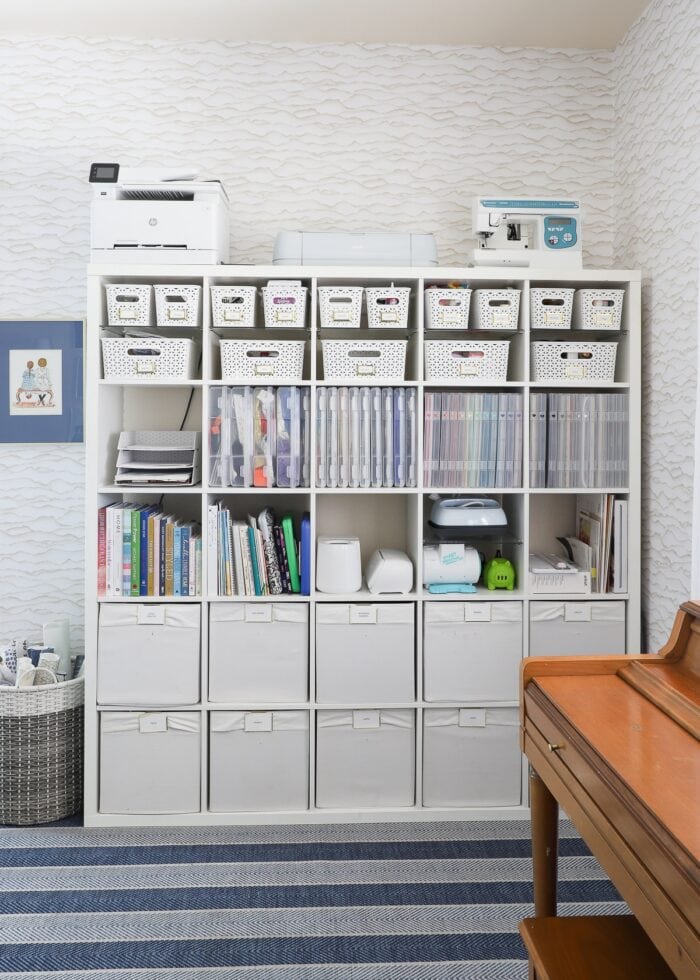
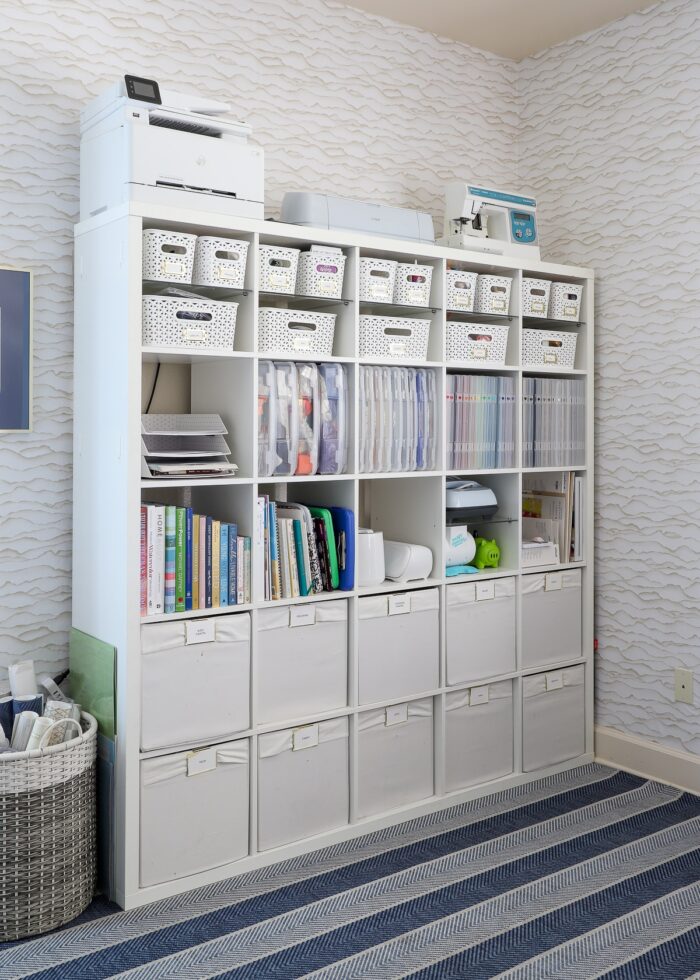
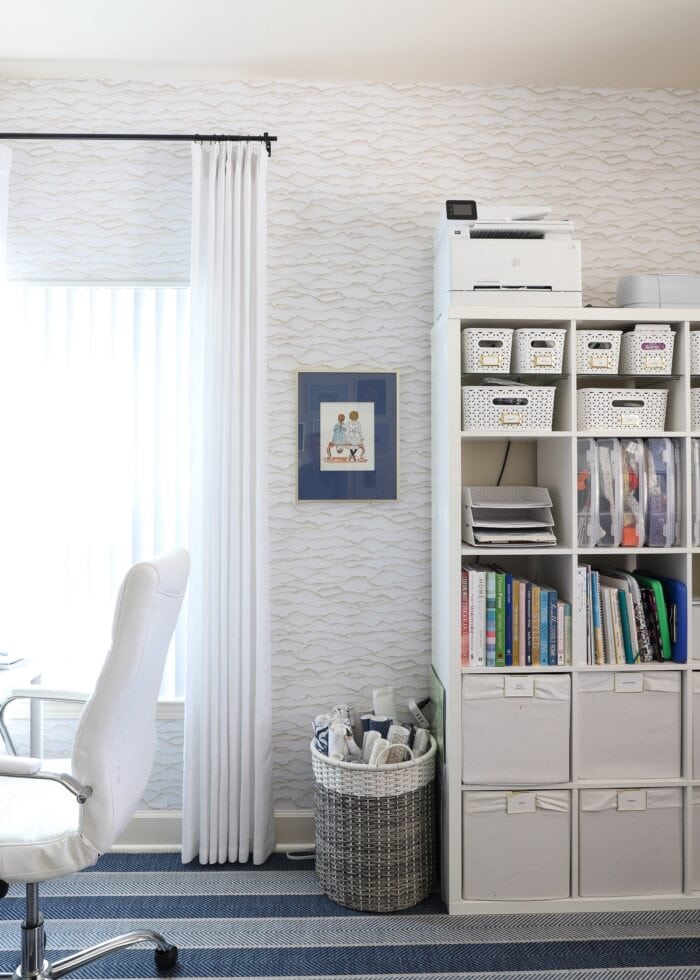
Partly because I love to craft and partly because crafting eventually became my job, I’ve been fortunate enough to have a dedicated craft room in most of our rental homes. When you have an (often) large and dedicated space for crafts…you tend to fill it…with LOTS of crafts. But when we moved into our (much) smaller home here in southern California, there was no such space. In fact, all we could realistically fit was a single IKEA Kallax unit. So very quickly, I had to get really real about all the craft supplies I’ve been hoarding storing over the years. Eventually, I was able to reduce cabinets (and cabinets!) worth of craft supplies down to just 25 cubbies. Here’s how I did it!
Get Real
Curious to see what I started with? You can tour my previous craft rooms HERE!
Crafting is often like styles, phases…Eras.
You get really into something for a while, and then sometimes (oftentimes?), you move on.
But so many of us keep all the stuff from that Era anyway.
Being really honest with yourself about the crafts you actually do (not the ones you used to do or wanna do) is a great way to get rid of all those old supplies that you maybe once loved but will realistically never use again.
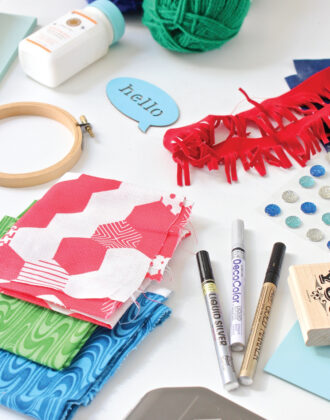
This time around, I was (finally) ready to get rid of almost all of my fabric. For years now, I have had no desire to sew or quilt or even make my own pillows.
As such, I was able to clear out several bins, knowing that if the desire to sew ever does strike, I can go buy fresh fabric for a fresh project!
Key Takeaway
I know every craft supply has the potential to be turned into something amazing. But honestly acknowledging the crafts you will do versus the ones you won’t can be incredibly freeing and help return joy to crafting!
Eliminate Duplicates
Because of my work with various companies over the years, I had a plethora of supplies, materials, machines, and accessories.
But let’s be honest – does anyone need 3 sewing machines, 4 Cricut machines, 5 different heat presses, or even 60 different colors of vinyl?
Nope. Not the everyday crafter at least.
Having multiples (especially of large items) wasn’t an issue when I had space.
But when I was limited to a finite number of cubbies, eliminating duplicates was a really easy way to make more space without losing any specific crafting capability.
Now I’m down to a single sewing machine, a single Cricut machine, a single heat press and (dare I say!!) a basic color spread of vinyl (and just one roll of each!)
And as an added bonus?
With the extra machines, also went the associated accessories too (mats, blanks, blades, pens, etc) which freed up even more space!
Key Takeaway
If you have multiples of the same (or similar) gadget, challenge yourself to identify the one you really reach for and use. Most of us have tools, machines, and gadgets that held so much promise but never actually delivered. You don’t have to keep them.
Finite Space
If you’re familiar with my organizing method, I usually sort and purge first and THEN find the “ultimate” way to organize the remaining items.
Want to save this post?
Essentially…I let the stuff dictate the storage.
But not this time.
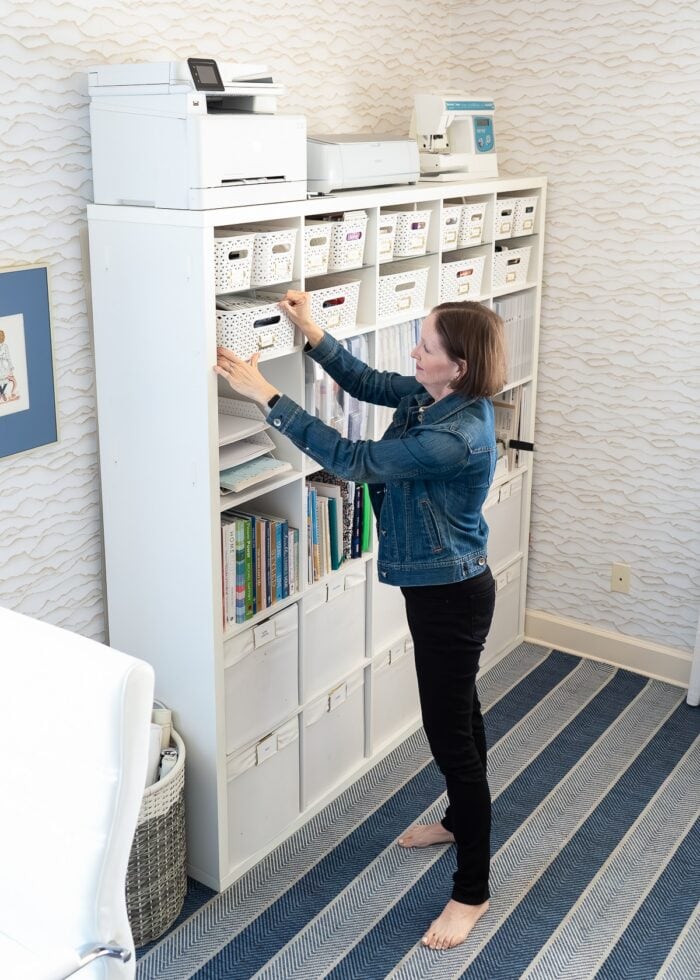
This time, there was no overflow option. Everything needed to fit on this single KALLAX shelf. No exceptions.
I’ve never forced myself to stay within a firm footprint before. And this really forced me to further prioritize certain supplies over others.
Key Takeaway
Craft supplies tend to be small, and therefore they are easy to squirrel away into various nooks and crannies around the house. If this is you, assign yourself a finite space. Once you fit in it, stick to it by using the “one thing in, one thing out” rule.
Re-Imagining My Systems
For 12+ years, I’ve stored most of my craft supplies in a series of lower cabinets and drawers (you can see how HERE).
Losing these big open cabinets and wide open drawers meant I had to re-think not just what I was storing, but how I was storing it.
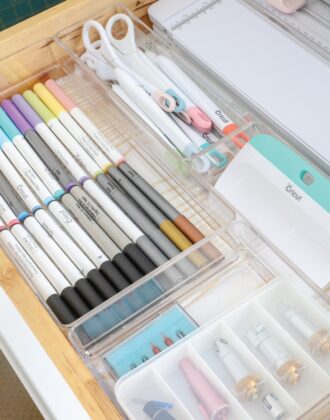
Cubbies are great for big, bulky things. But small craft supplies? Not so much.
So to accommodate everything from machines and paper to thread and needles, I had to figure out how to put small things on big shelves.
Here’s how I did it:
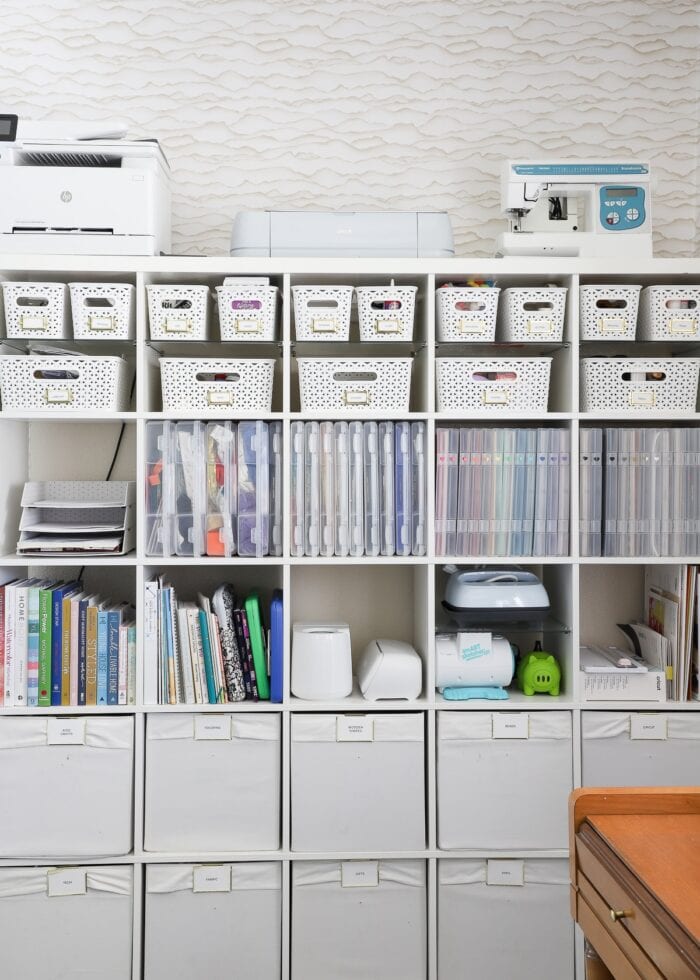
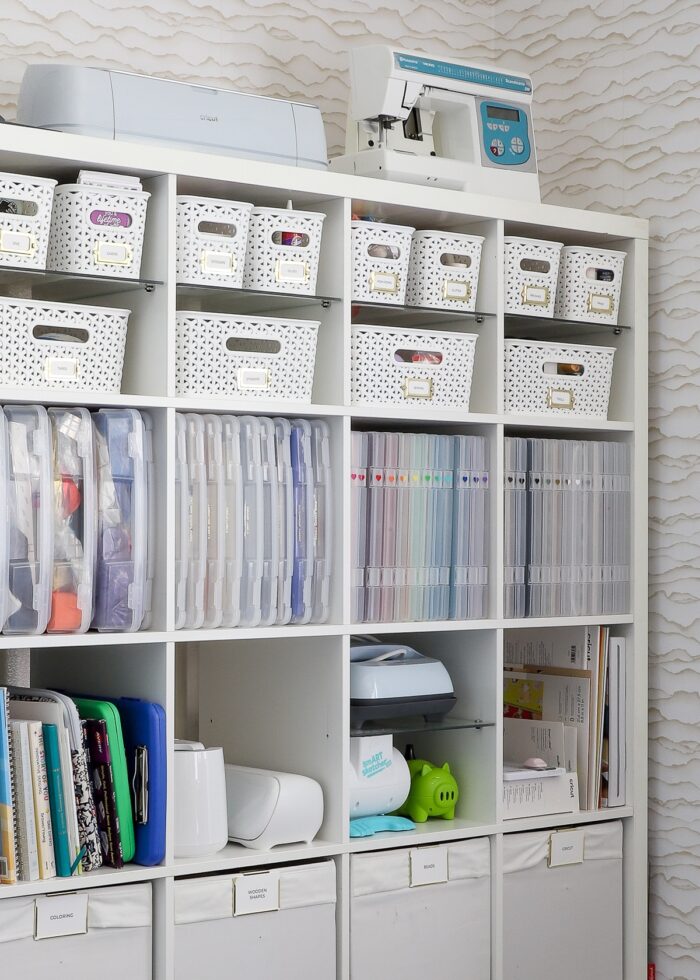
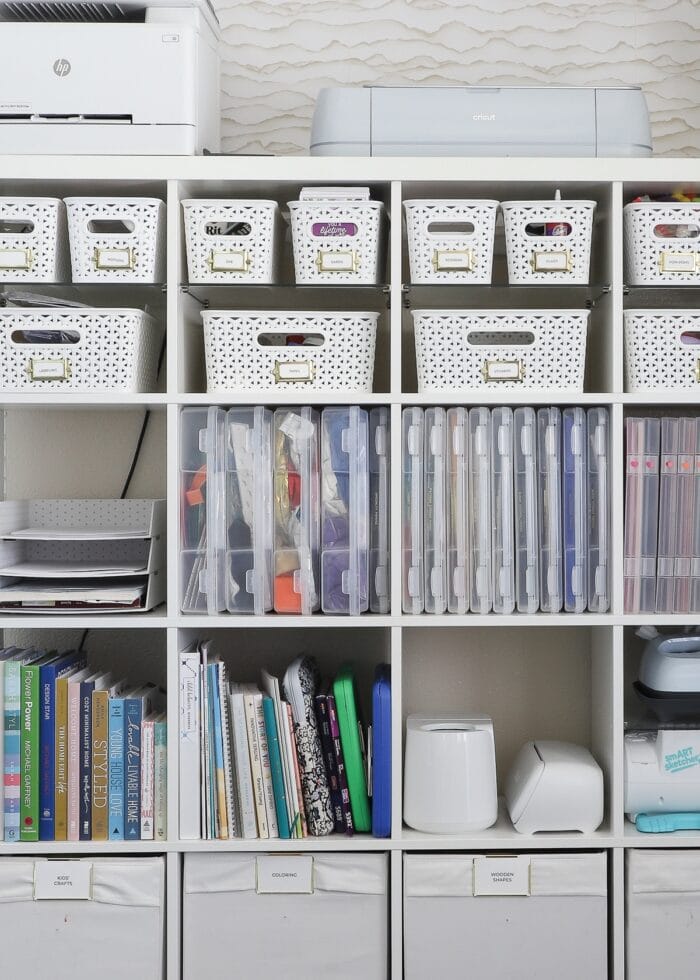
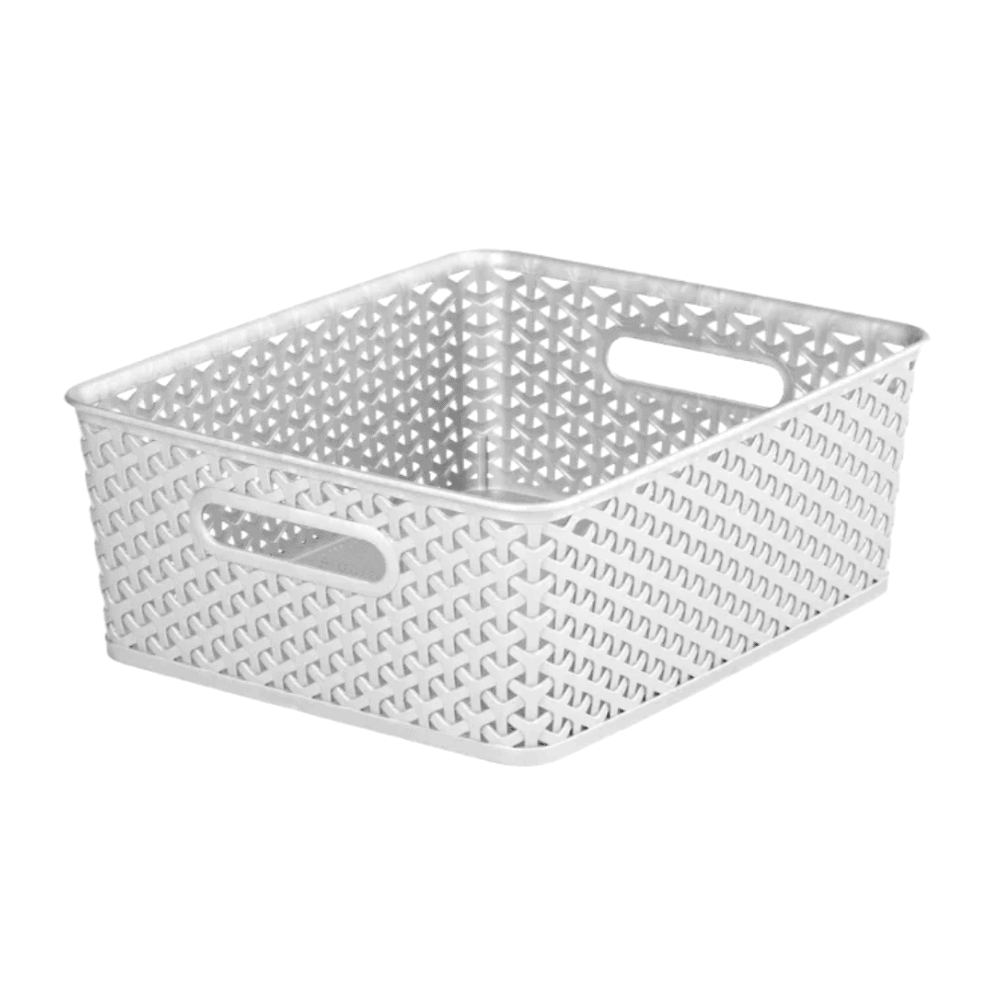
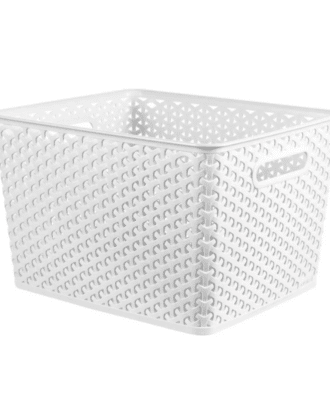
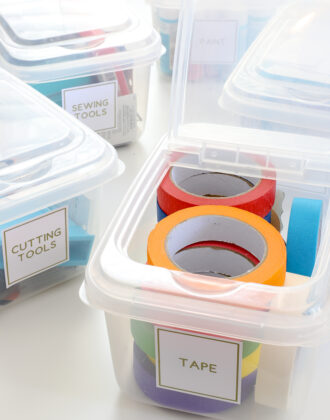
- 10 large bins (bottom 2 shelves) hold large collections of bulky items (e.g., beads, vinyl/iron-on, coloring supplies)
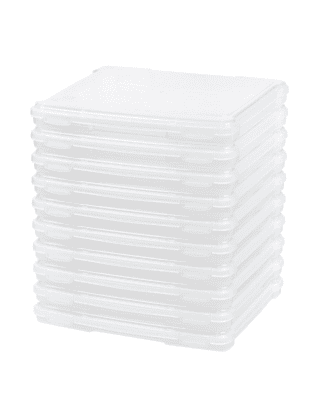
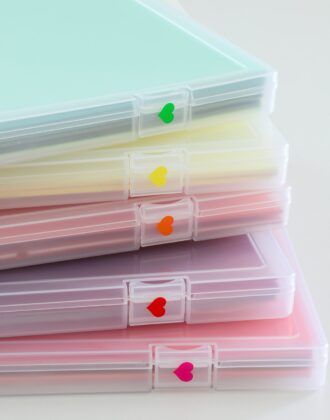
- Slim plastic cases hold paper and party supplies in an easy-to-use “book-like” system. (More on this HERE.)
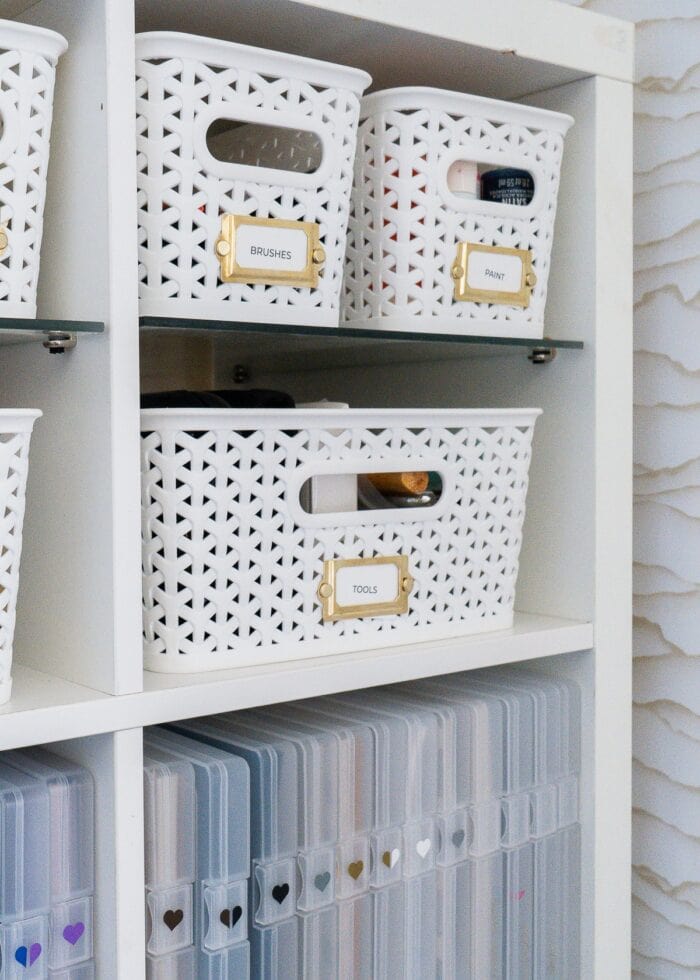
- Large cubbies were split into two smaller areas by adding extra shelves. (More on this HERE.)
- Onto these shorter shelves, I could put smaller baskets holding smaller supplies and collections.
- Using dividers inside baskets help create even more “tiny compartments” where necessary.
Key Takeaway
Finding the right storage solution for every item, big and small, makes for an efficient use of the space you do have. This ultimately allows you to keep (and find!) more of the items you love (and use!)

Dive Deeper Into This Project
Curious why I could only have this one shelf for craft supplies? In this week’s voice notes, I chat about the multiple purposes this room now serves (and I’m sharing a few more pics from the rest of the room!)
Megan

4 Comments on “I Downsized My Craft Room – Here’s How!”
Perfect timing! I’m moving too and needing to downsize my crafting space and supplies. I’ve had to get very honest with myself about what I’m ACTUALLY using and what my fantasy self wants to use. Thanks for the encouragement and strategies!
I love this. I am going to share with my mom and my sister, who are avid crafters. I think both of them adhere to the “she who dies with the most craft supplies WINS” mentality. Their hobbies are various types of crafts, and those come with A LOT of stuff. I love the method you used to pare everything down into a manageable and logical way!
I wanna know about those shelves in the top row of your Kalax. 😃😍
Thank you for these tips. I am in the process of doing this and I always think that can you that for something. I am now hitting this room hard. Happy Crafting!!