Color-Block Sandbox
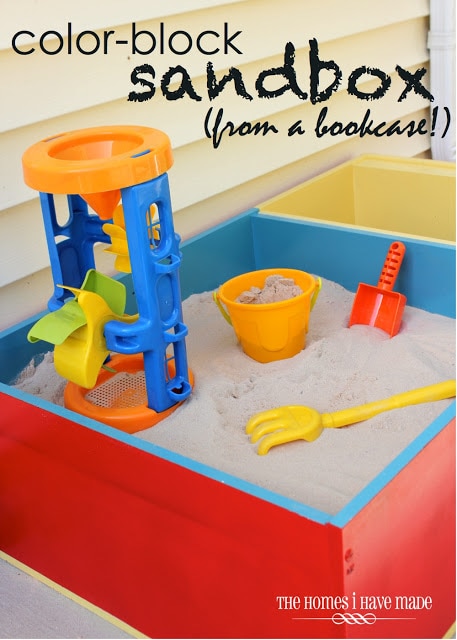
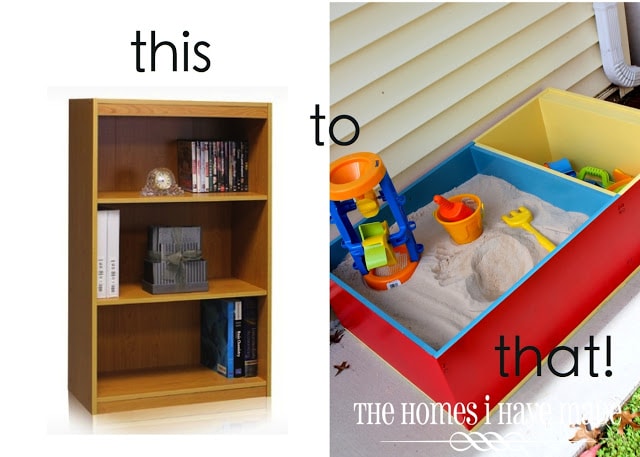
I am pretty sure I am the only person in blog-land posting a color-block sandbox reveal and tutorial on the last day of October! I may not get a lot of points here for the timeliness, but I promise I’ll make it up to you in awesome-ness! Why on earth did I make a sandbox in October, you’re probably asking? Well, besides that I live in Coastal Carolina and our temps are still pretty mild…I do have a really, really good reason. A few weeks back, the lovely people over at Wayfair asked me (yes…little ol’ me!!!!) to participate in my very first DIY Blogger Challenge. I got to pick one of three items (a bookcase, a pendant lamp, or a coffee table) and was given $50 to give it a complete makeover. Not sure what exactly I was going to do at the time, I opted for the Furinno 3-Tier Bookcase because surely I had a nook in our house that needed a bookcase. Well…believe it or not, I couldn’t find ANY spot in our house for a bookcase! And since I am pretty passionate about only making things that will work for our family and our home, I was determined to come up with an idea that we would actually use! After tossing around a couple of ideas with my husband, we decided to turn this plain jane bookcase into a fantastic color-block sandbox for our son!
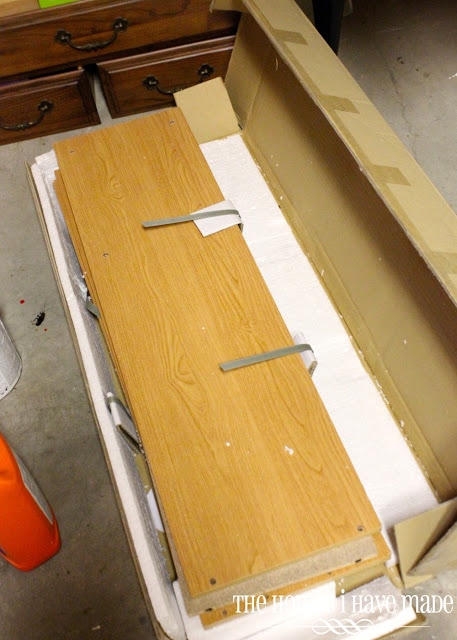
After making my item selection with the Wayfair folks, it arrived super quickly. Here’s what I started with!
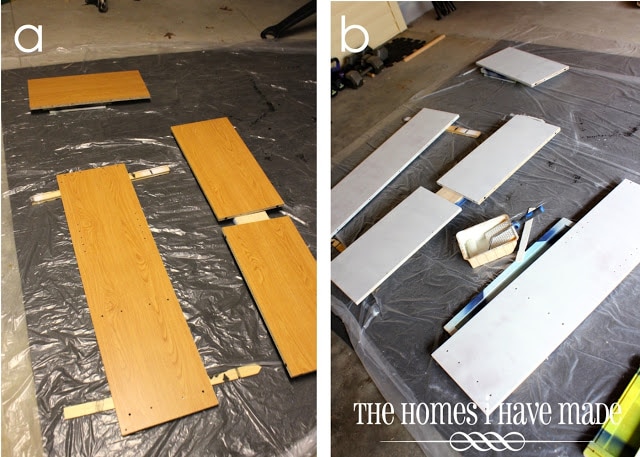
To get started,
- a. I laid out all the pieces in order to take inventory and plan my design.
- b. I knew paint was going to be involved (if you’ve been coming around here for a little while, you know that oak color isn’t my thing :), so I went ahead and primed all the pieces (both sides) with Zinsser 123 Primer (oil-based).
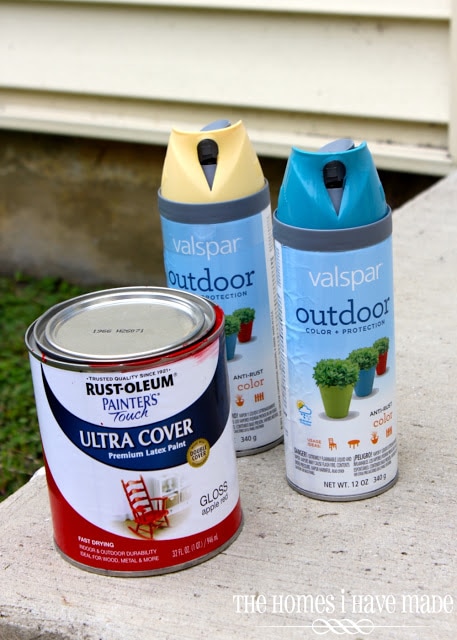
Since this was (eventually) going to go outside, I wanted it to coordinate with the red bench I painted over the summer. I paired the red with a light yellow and turquoise to go with our year-round outdoor fabrics.
(On a side note, this was my first time using the Valspar Outdoor Spray Paint…I am usually a Rustoleum gal. Let me just say, I hate the spray nozzle itself but I love the coverage and final sheen. This might be my new favorite outdoor paint!).
I wanted a really neat color-block pattern for the sandbox with different colors for the outside and each compartment on the inside. Since I was doing this mostly with spray paint, I had to carefully plan out my painting steps. I started by painting the insides only.
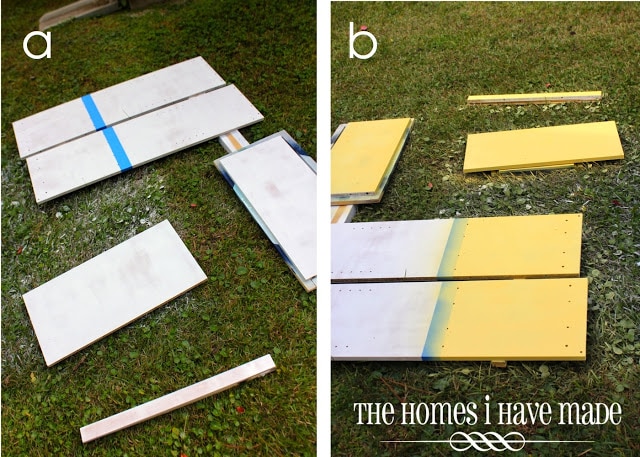
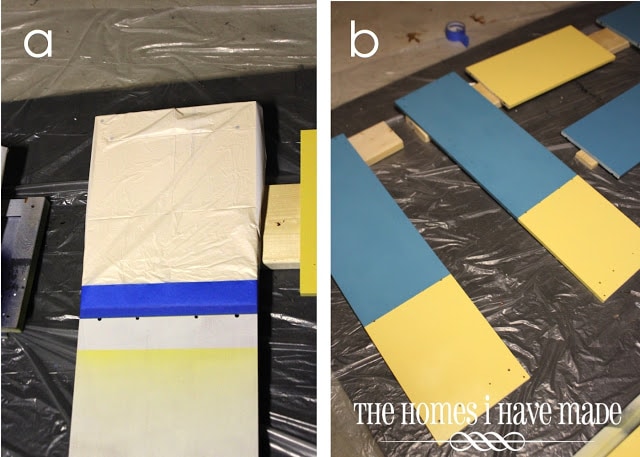
- a. After giving the primer a few days to dry, I sorted my pieces based on where they were going to end up (when the bookcase was assembled) and taped off the longer side boards (since these were going to be painted two colors).
- b. I then gave the boards two solid coats of the yellow spray paint.
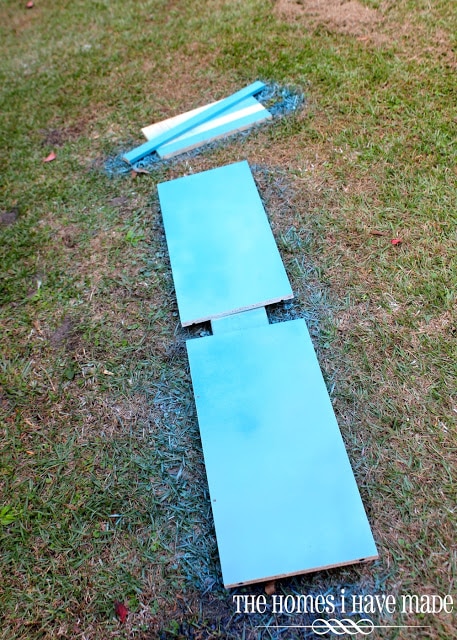
The remaining boards were painted blue.
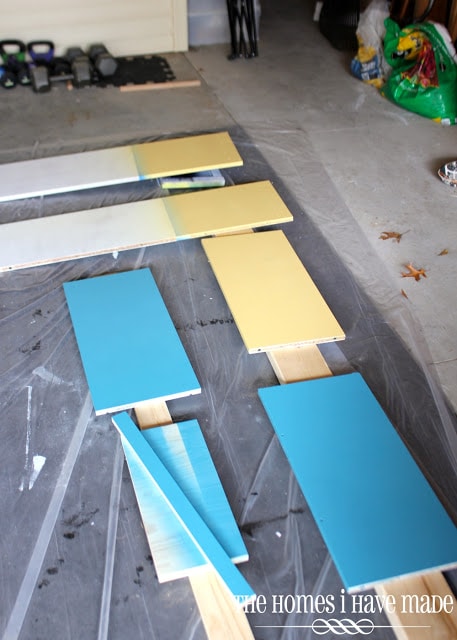
After my first day of painting, here’s where I was at. All the end/shelf boards were done, but the long side boards still needed their coat of blue paint.
Again, because I was using spray paint, I had to get creative with masking off my yellow ends.
- a. I used painter’s tape and trash bags wrapped around the yellow ends to ensure they remained yellow!
- b. I then used blue spray paint to paint the other half of the boards. This picture is how the long boards looked after painting and removing the tape.
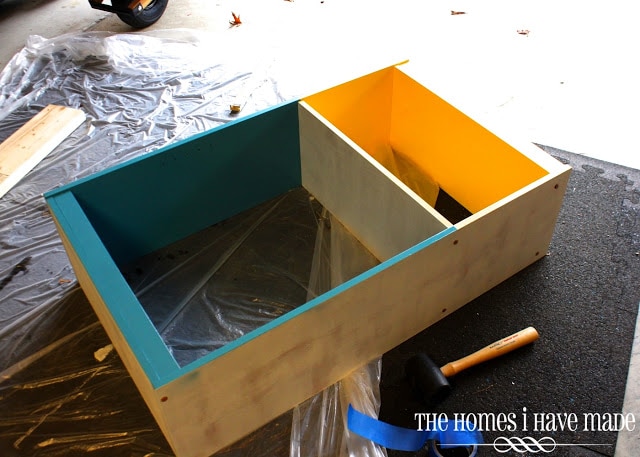
Before painting the outsides, I assembled the bookcase using the provided instructions and hardware. It came together in 10 minutes!
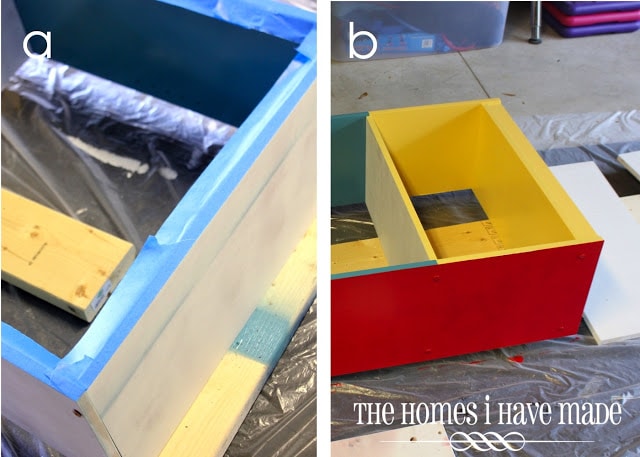
With it assembled, it was easier to paint the outside of the bookcase.
- a. To make sure all my spray painting stayed clean, I taped off the top rim of the bookcase (already painted with the spray paint) with painter’s tape.
- b. I then painted the outside with my red Rustoleum paint using a 4″ roller.
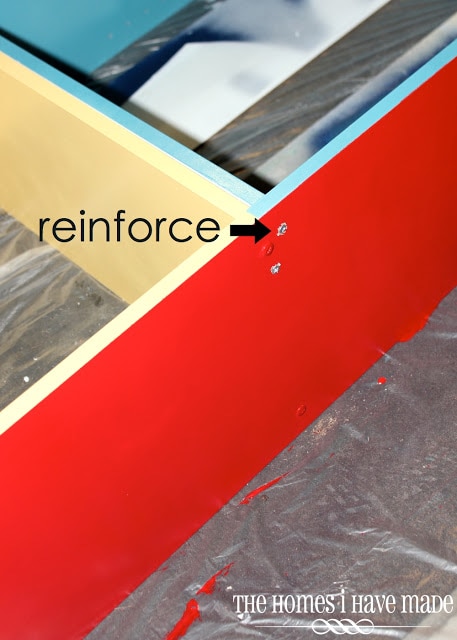
Because we were not going to use this for the intended purpose (as a bookcase) and it was going to be holding 200 pounds of sand, we reinforced all the junctions with extra screws. We also screwed the second shelf (the blue one) up against the yellow shelf. This completed my color-block pattern all the way around the compartments.
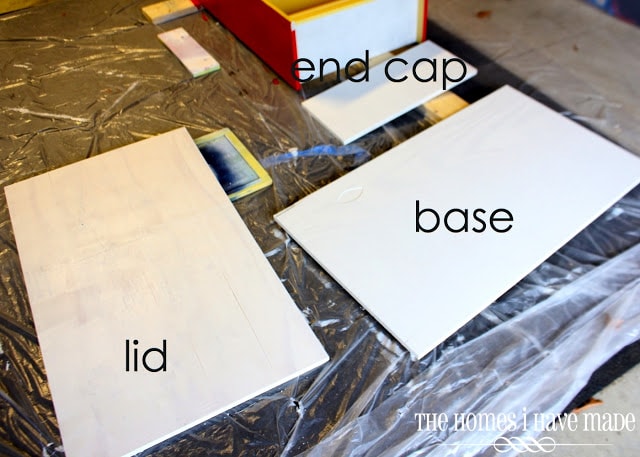
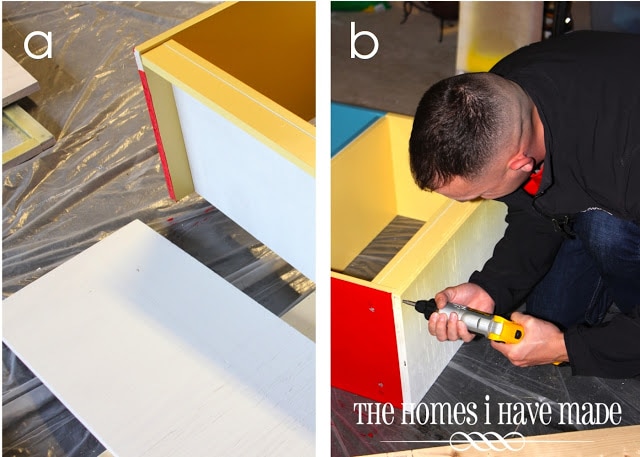
Next, we set off for the hardware store to get some 3/4″ plywood. What for, you ask? Well, we needed more sturdy wood for the base (again, to hold all that sand), and also wanted to make a lid for the whole box. Lastly, so that we didn’t have a hallow lip on one end (remember, this is a bookcase), we got an extra piece of plywood to be an end cap on one side.
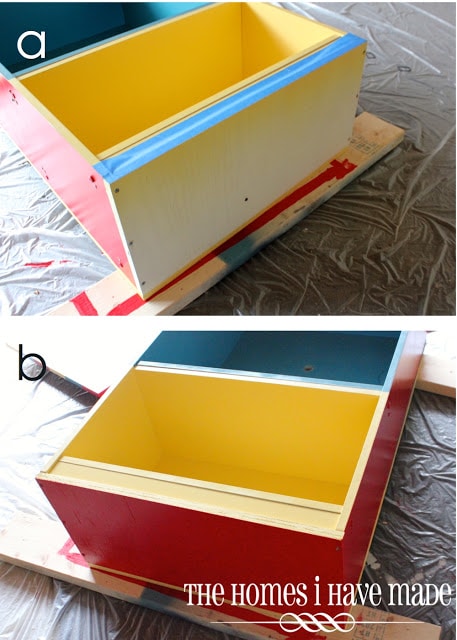
In the photos below:
- a. You can see the “lip” we were trying to cover with the plywood so that we would have a nice smooth box all the way around.
- b. Greg just screwed the end piece in all the way around the bookcase end.
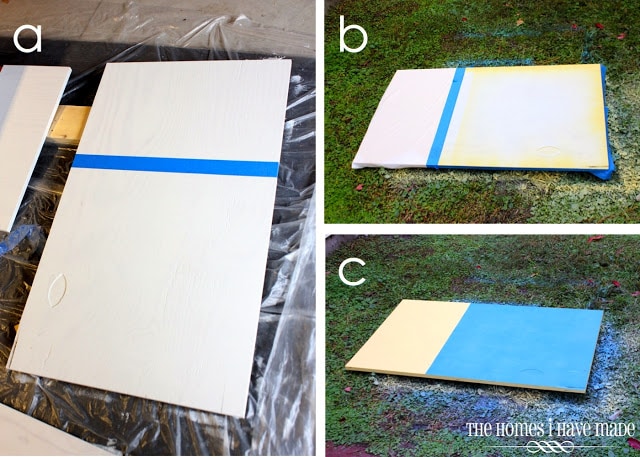
Even though it was going to be filled with sand and toys, I wanted the bottom of the sandbox to continue with the color-block theme. I did the base exactly as I did the side panels of the bookcase:
- a. I first primed the base and then taped off the top portion that lined up with the yellow cubby of the bookcase. I spray painted the top 1/3 yellow, as well as all the edges.
- b. I then covered the end with a trash bag and taped off the rest of the edges.
- c. I spray painted the bottom 2/3 blue. This picture is after painting and removing the tape.
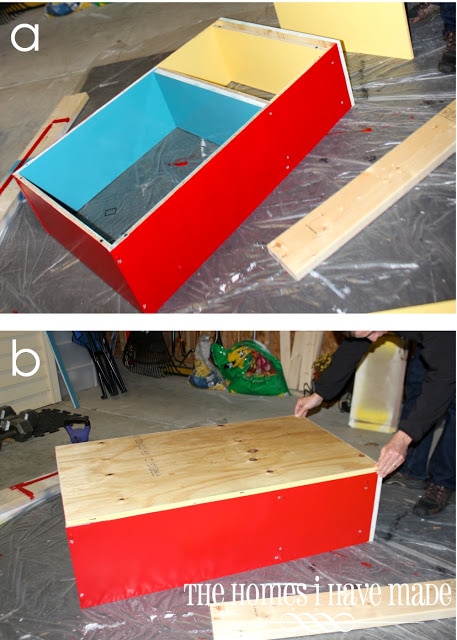
Once all the paint on all the surfaces was dry, it was time to put the whole thing together!
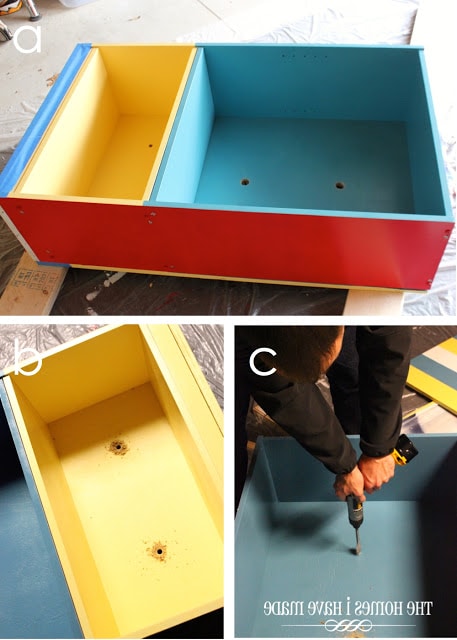
- a. We flipped the bookcase onto its front so that the back was facing up.
- b. We then placed the (newly painted) base face down on top of the bookcase, lining up the right colors. After lining up the outside edges, we screwed it into place all the way around.
We could have stopped there, but we wanted to make sure the box had drainage.
- a. Using a special drill bit, Greg drilled holes into the base of both compartments.
- b. For the yellow compartment, he drilled two 1/2″ holes.
- c. In the blue compartment, he drilled two 1″ holes.
The last step was to paint the end cap red. (NOTE – I could have painted it before we attached it to the bookcase, but I didn’t realize it needed to be red until it was on…there were a lot of colors to keep track of in this project!)
- a. Any surface that was not supposed to go red was taped off.
- b. All final surfaces were painted red with the 4″ roller.
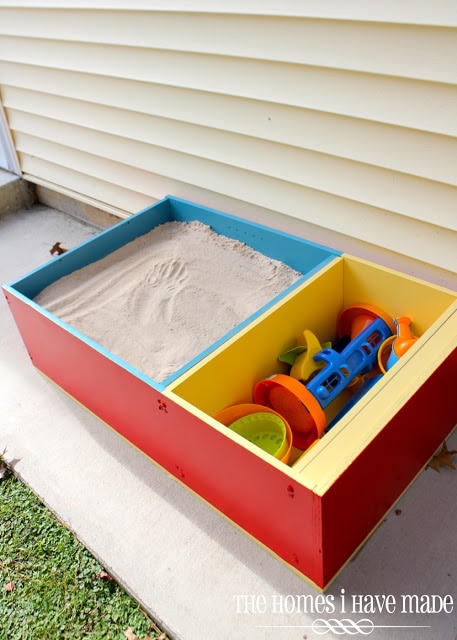
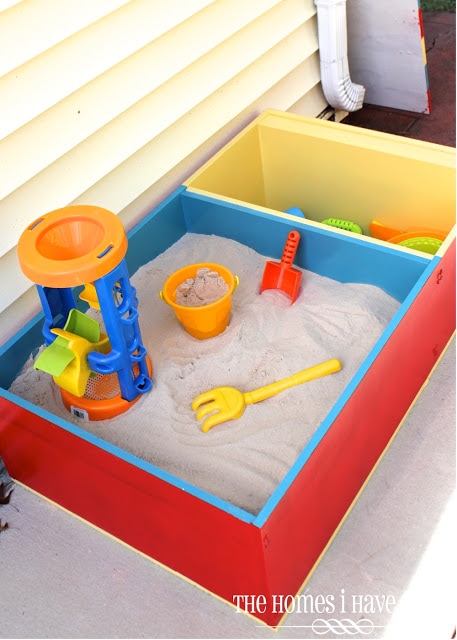
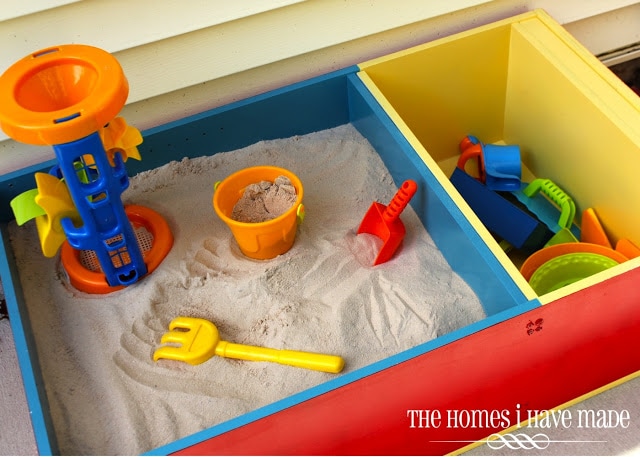
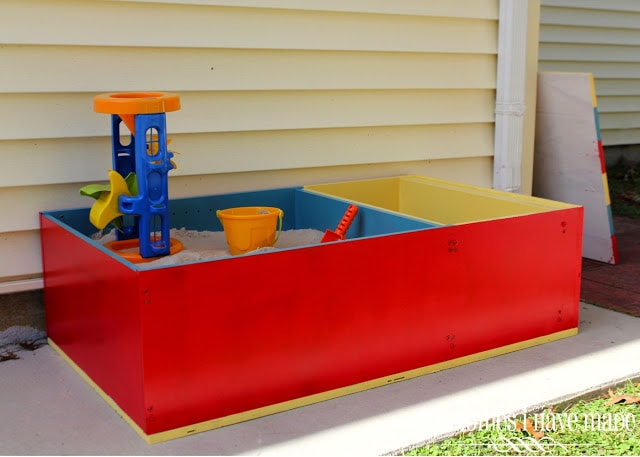
We then moved the box to its new home (right outside our side door) and filled the larger of the two compartments with four bags of sand. The other compartment holds all of our sand toys and shovels!
It’s a perfect little size and cute addition to our yard!
Since this sandbox is permanently outside (and it’s WAAAAY too heavy to move when it rains!), we wanted to make a lid for the sandbox that would keep it protected from the elements and wild animals, but easily removable for playtime.
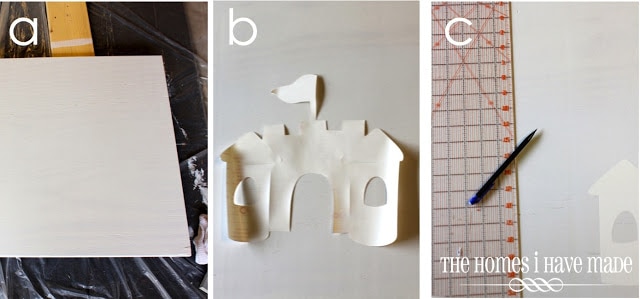
- a. We started with a piece of plywood, cut exactly the same dimensions as the base. It was primed with Zinsser 123 Primer.
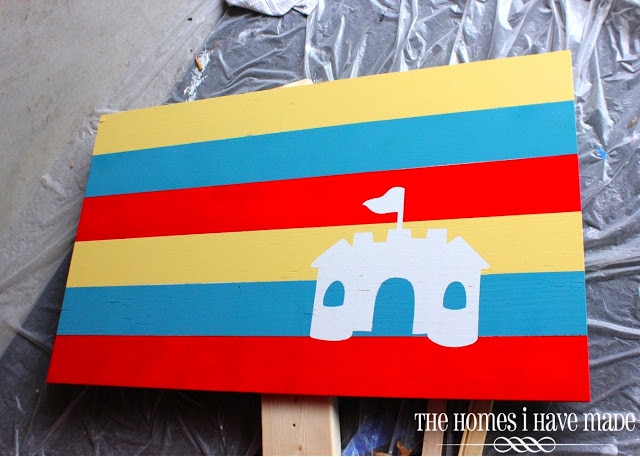
- I then cut out a sandcastle graphic from plain contact paper using my Cricut (image from the Doodlecharms cartridge) and applied it to the lower right corner of the plywood.
- Using a ruler, I measured out six equal horizontal lines on the plywood.
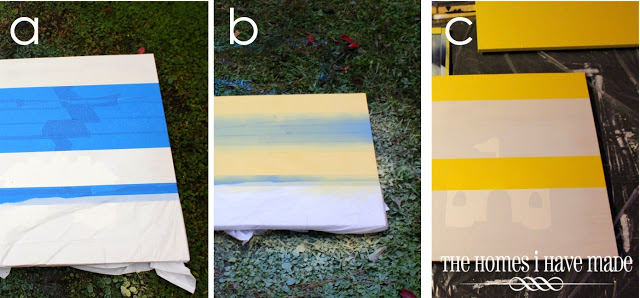
Like with the bookcase/sandbox itself, because I was using spray paint, this had to be carefully planned and masked. I started with the yellow stripes:
- a. Using trash bags and painter’s tape, I masked off the whole board except for the yellow stripes.
- b. I then gave the stripes two coats of yellow spray paint.
- c. I then removed the tape and trash bags to reveal the yellow lines. This was allowed to dry for a few hours before I started over again.
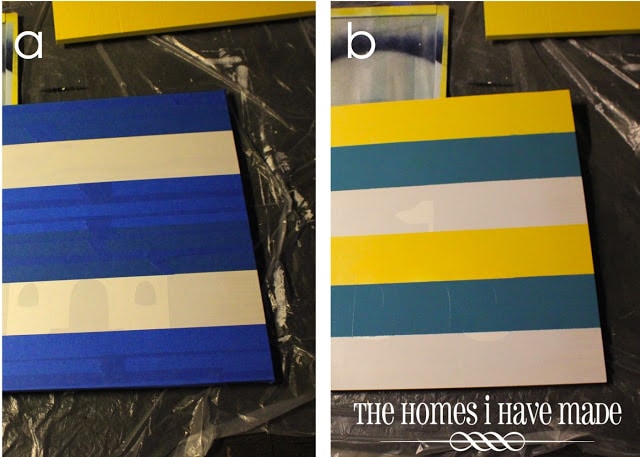
Next, I did the blue lines:
- a. I masked off the (now) yellow lines and the future red lines with painter’s tape.
- b. Like above, I gave the stripes two coats of blue spray paint, removed the tape, and let it dry thoroughly before proceeding.
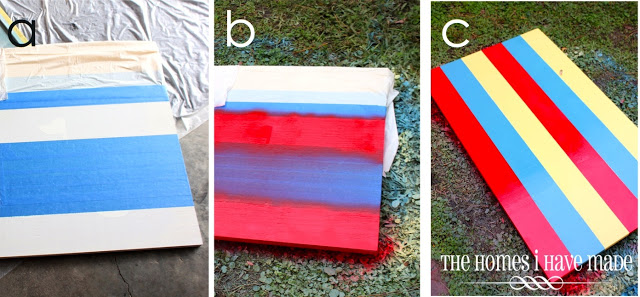
Lastly, I did the red stripes:
- a. I masked off the yellow and blue stripes.
- b. I then gave the final stripes two coats of red spray paint.
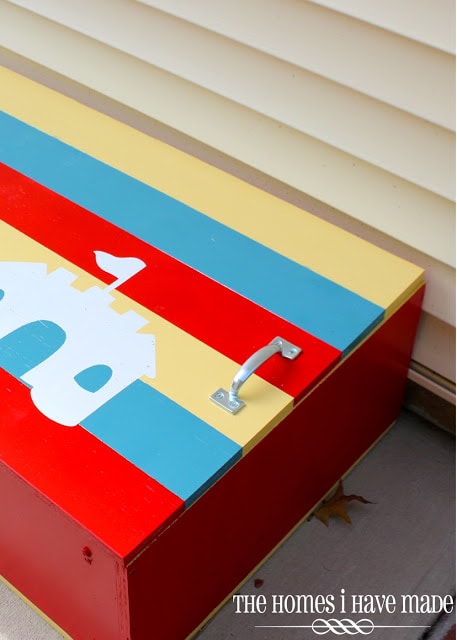
- c. I pulled off the tape to reveal a fantastically striped lid for our sandbox!
But it wasn’t quite done! Remember that sandcastle? I pulled off the contact paper castle to reveal the white silhouette underneath. Love love love this!!!! I think the lid is my favorite part of the whole project!
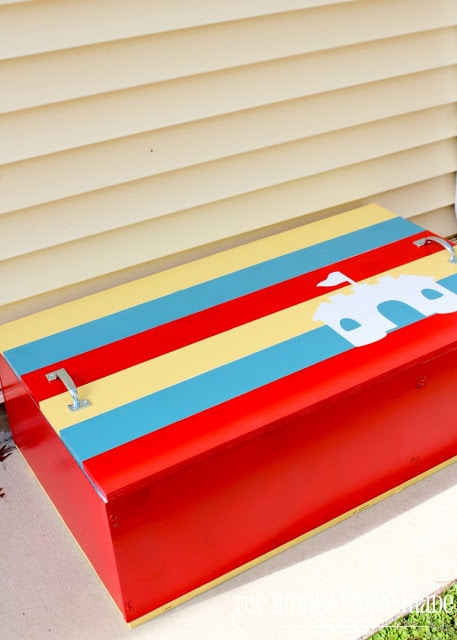
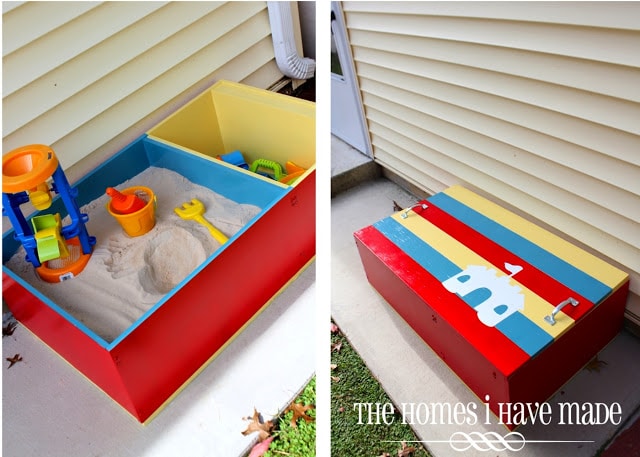
Lastly, we added two heavy-duty handles to each side using screws. Now the lid can be lifted and moved out of the way whenever it’s time to play!
And the sandbox sits all cute and protected when not in use!
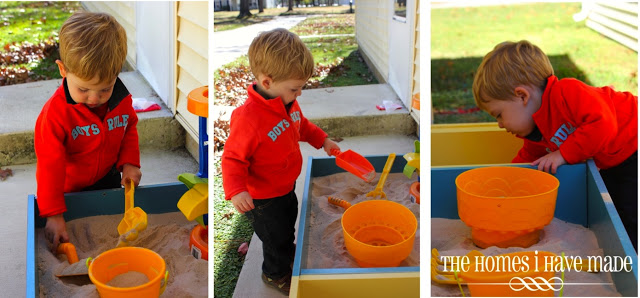
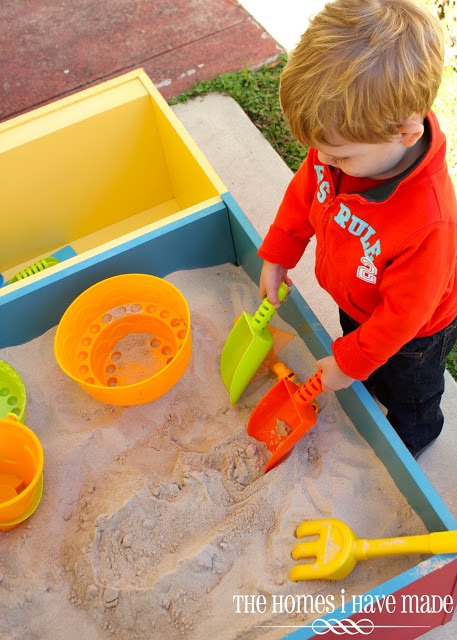
Before I could officially proclaim this bookshelf transformation a success, I had to give it the ultimate test drive: the Toddler Test!
Suffice to say…Henry LOVES it!!!!
So there you have it! A really fun transformation of a standard stock bookcase into something cute and usable for our home and lifestyle! Even though winter-time is approaching, I know it will get a lot of use!
And what about that $50 budget? Here’s how it broke down!
- Bookcase (provided by Wayfair) – $0
- Red Rustoleum paint (leftover from other projects) – $0
- 4 cans of spray paint (2 of each color, yellow and blue) – $16
- Plywood for base, lid, and end cap – $17
- 2 heavy duty handles – $6
- 4 bags of play sand – $15
- Grand Total: $54
Not bad, hey??
Thank you SO SO much to Wayfair (for the bookcase and the challenge) and to Giftcards.com (for providing the gift cards for the makeover). I was honored to be selected for this challenge, and had such a good time putting my creative skills to the test!
I am so thrilled with this new addition to our yard! What do you think? Have you ever done something “outside the box” with a bookcase or other furniture item?
Phew – between finishing this project during Hurricane Sandy AND writing this marathon of a post (I think it’s my longest one EVER!)…I.am.spent. I am ready to spend the rest of the day with my family and friends, eating candy, and enjoying all that Halloween is!!! Time for me to go don my Super Costume 😉
Megan



82 Comments on “Color-Block Sandbox”
Pingback: Mom shares 45ways to upcycle old furniture & items in the house giving them brilliant new purpose
Pingback: 8 Backyard DIY Playground Projects for the Family to Do This Summer
Pingback: 20 Flea Market Flip Ideas - EddyWebCreative
Pingback: 20 Flea Market Flip Ideas - Monroe IT
Pingback: 20 Flea Market Flip Ideas - Unix Commerce
Pingback: 20 Flea Market Flip Ideas – Ipswich Pest Control
Pingback: 20 Flea Market Flip Ideas » Pixallus
Pingback: 20 Flea Market Flip Ideas
Pingback: 10 Diy Sandboxes Ideas Your Kids Will Love - ZoomZee.org
Pingback: 60+ DIY Sandbox Ideas and Projects for Kids ⋆ DIY Crafts
Pingback: 50 Maneiras De Reutilizar Mobília Antiga E Outros Objetos Em Sua Casa – DicasClub
Pingback: 100 Cheap and Easy Summer Activities for Kids - Prudent Penny Pincher
Pingback: Creative Upcycling Ideas for Earth Month | The Anti-June Cleaver
Pingback: 20 Flea Market Flip Ideas – bs.thehpoints.co.uk
Pingback: 15 DIYs For Sandboxes For Every Yard And Budget - The Mommy Mess
Pingback: Pequeña guía para adaptar el jardín para los niños - El invernadero creativo
I love this. I have been looking for a sand box and this is perfect!
Great job
Thank you for sharing
Beth
You’re most welcome!