Simple & Fun Wall Plaques
Happy Monday!!! I hope everyone had a great weekend; and for those of us on the east coast, I hope everyone survived/is surviving Hurricane Sandy okay! We didn’t get hit too hard; nonetheless, I spent most of the weekend hunkered down in the garage working on a big project reveal for later this week!
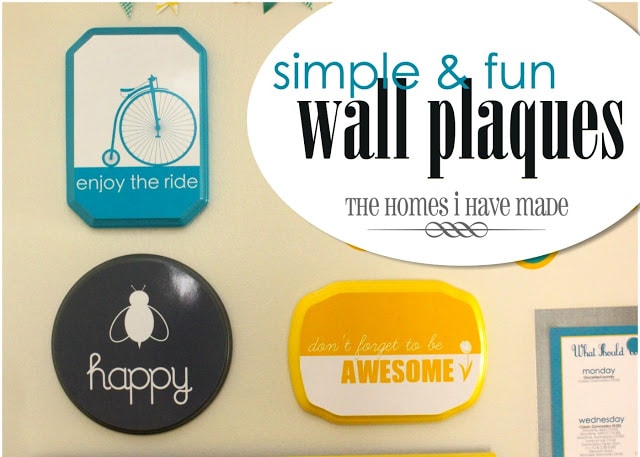
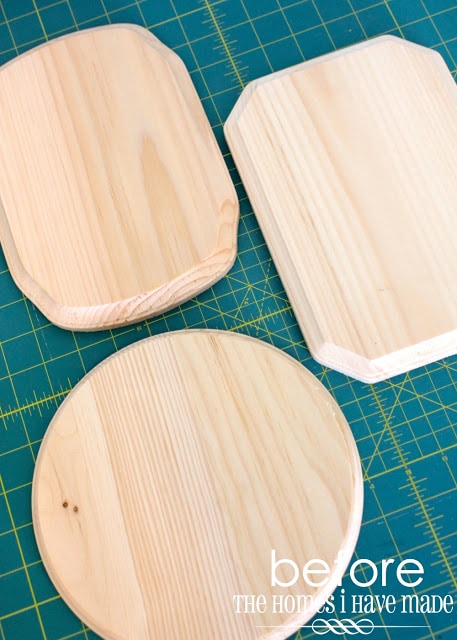
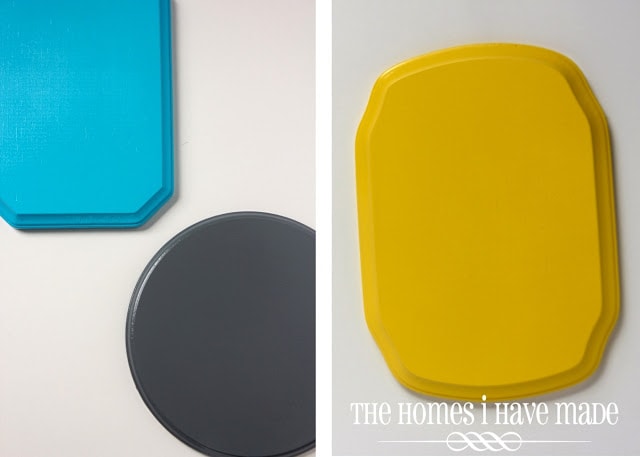
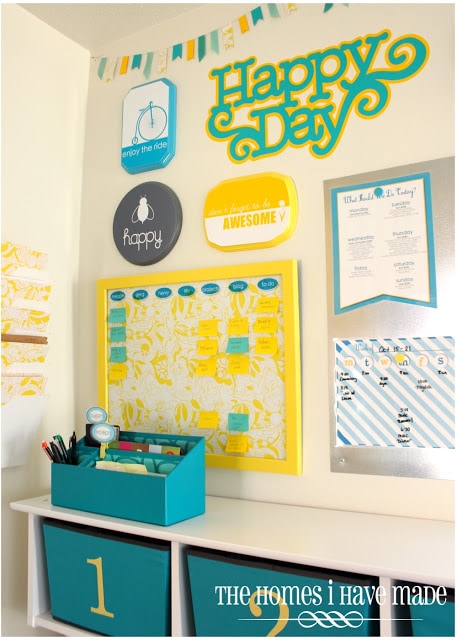
Anyway, while I am working away on some big (furniture makeover) projects, I thought I would continue with some spotlight posts from our Family Command Center. Today, I am going to show you how I turned these plain wooden wall plaques…
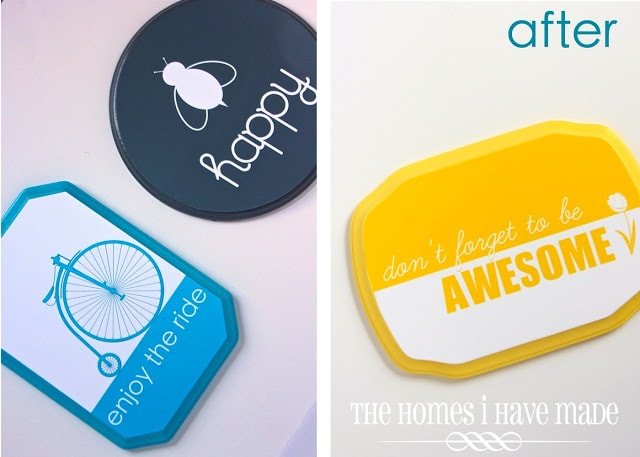
…into these fun and motivational wall decor items!
These are SO easy, you won’t believe it! I have a full step-by-step tutorial for you after the jump!
I bought my wooden wall plaques at Michaels for a few dollars each. I started their makeover with a quick sanding using 220 grit sandpaper and some spray primer…
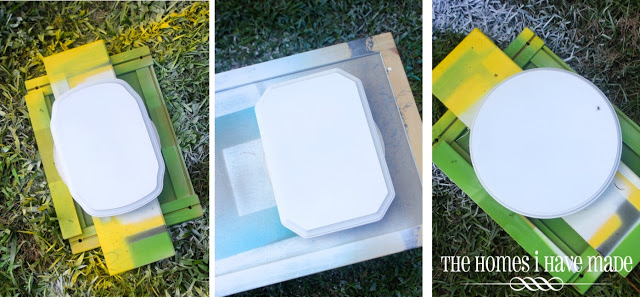
After another light sanding, I gave each plaque two nice even coats of spray paint. The blue is Lagoon by Valspar, and the yellow and grey are Rust-o-leum (Basic Gray and Sun Yellow).
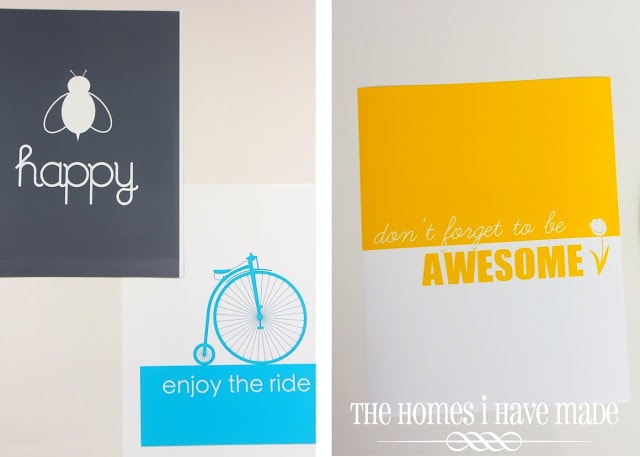
While my plaques were drying, I spent some time finding/creating some cute “printables” to go on top. I found the “Bee Happy” printable here, and created the other two using MDS.
Getting these sized and formatted just right for my plaques took some trial and error, but eventually I got them perfect.
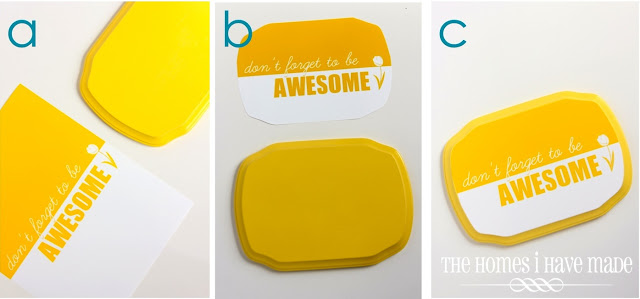
Next, I printed out the designs onto plain white paper to get the size/shape fitted perfectly to the plaque.
- a. I started by measuring out my plaque’s width and height dimensions and cut them into rectangle.
- b. I then “hugged” my paper around the plaque, folding down the sides of the paper and making sharp creases to denote the edges.
- c. Lastly, I cut out the shape, fitted it back on my plaque, and made final adjustments as needed.
Once I had my template(s) just right, I printed out the three images onto high quality photo paper.
Here are the three images before trimming them all down to fit the plaques.
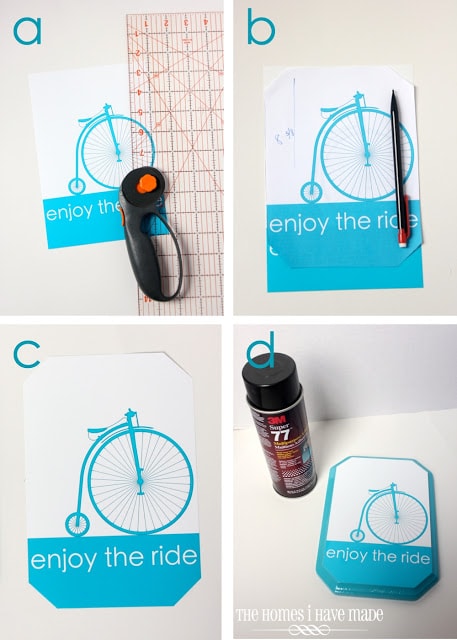
Here’s how I cut the final photo image to fit the plaque:
- a. Like before, I trimmed the photo paper down to the correct width and height of the plaque using a ruler and rotary cutter.
- b. I then used the paper template (I made earlier) to get all the curves and edges just right.
- c. I cut out the final edges with a scissors.
- d. Lastly, I attached the photo paper to the painted plaque with spray adhesive!
I essentially followed the exact same process for the yellow plaque!
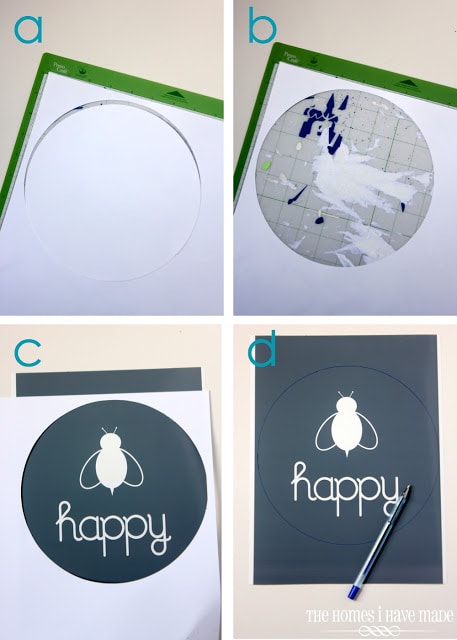
I followed slightly different steps (but the same concept) for the grey plaque.
- a. Since my plaque was a perfect circle, I simply cut out the right size circle from card stock using my cricut.
- By removing the cutout circle, I had a perfectly-sized window template.
- I placed the template over my print and centered my image.
- I traced the circle with a pen and cut it out on the line.
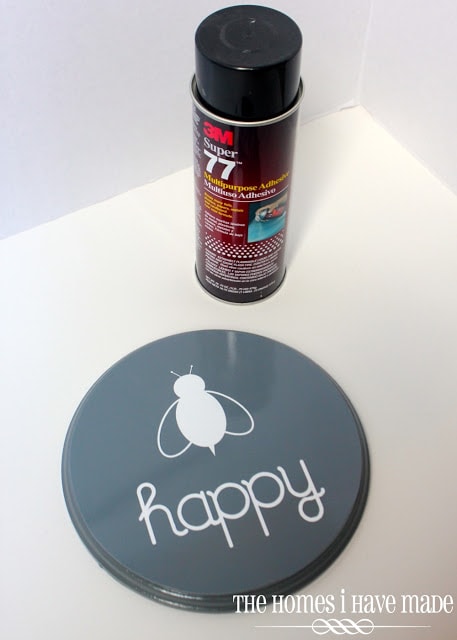
Like before, I attached the photo paper to the wooden plaque with spray adhesive.
Adding these fun plaques to our command center provided the perfect dose of color and whimsy in a cheap and easy way! Instead of using frames, the wooden wall plaques were just the right amount of color, dimension, and texture the space was craving, and they were so much fun to make! I can’t wait to use this concept in other areas of our house!
That’s all I’ve got for you today…but be sure to come back and see me on Wednesday. I have a very, very fun surprise to show you!
Megan





10 Comments on “Simple & Fun Wall Plaques”
Love, love, love it!! I want to make one now.
What a great idea, these are super cute!!
They are so cute… I love them!
I saw your link on The 36th Avenue link party. These are so fun and cheerful. I have pinned for future crating. 🙂
I love that these aren't made with vinyl and a fancy machine. I can actually do it, too! 🙂 Thanks for the tutorial…these plaques are great!!
These are very cute! And simple to do. I think the "awesome" one is my fave! 🙂
Kelly
These are soooo cute! Great job!
Your command center project is GORGEOUS!! I esp. love these cute little signs! Hope you can link up at my Trendy Tuesday party!! http://www.sweetlittlegals.com
These are great! What photo printer do you use?
Love this space! Where did you get the "happy day" sign?