


Turning Vintage Wallpaper Into Gallery Wall Prints
There are lots of home decor things I can do well. Picking out artwork is NOT one of them. And picking out a full set of gallery wall prints that all go together with some sort of color, tone, or thematic cohesion? Gah – talk about design paralysis! When I found myself with six identical frames to fill, I fell deep down down a rabbit hole of Etsy shops and independent artist sites. I even considered watercoloring my own (which is a bit laughable since I don’t paint). But then I found myself perusing the most random thing ever: vintage wallpaper samples. And it turned out to be the key to creating some truly unique “prints” for our wall!
Hanging an (Empty) Gallery Wall
In our newest home, we invested in a (much more substantial) media cabinet for our main family space. But with such a large piece of furniture and only a single TV to put above it, I needed (yet another!) idea for filling up a big wall.
Even though I knew creating a gallery wall would be a painful process for me, I really felt like it was the best solution for adding a lot of impact in a (theoretically) easy way.
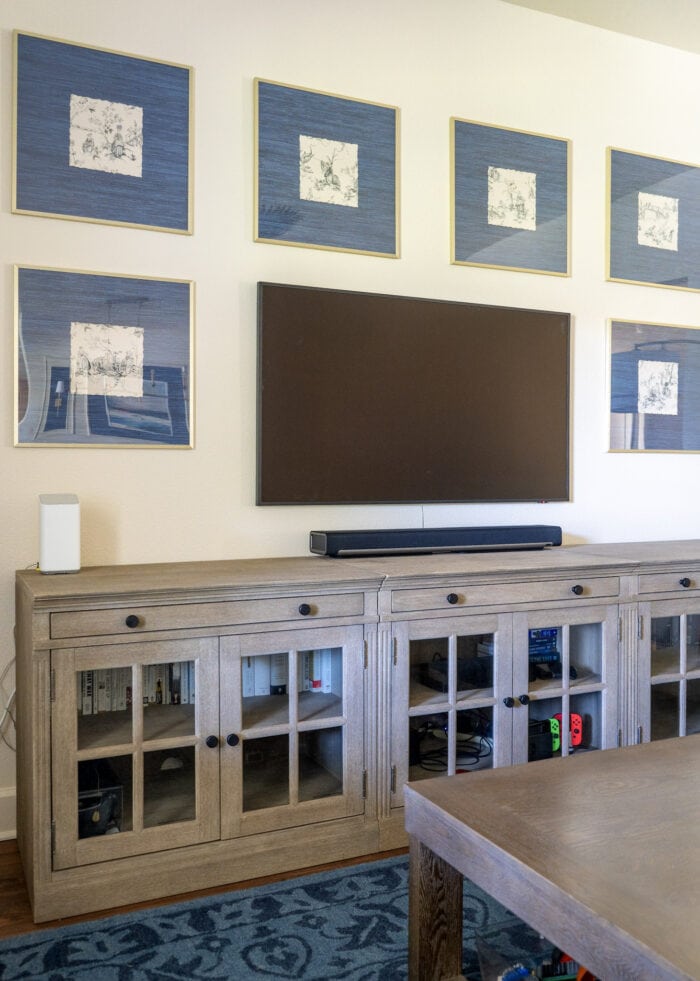
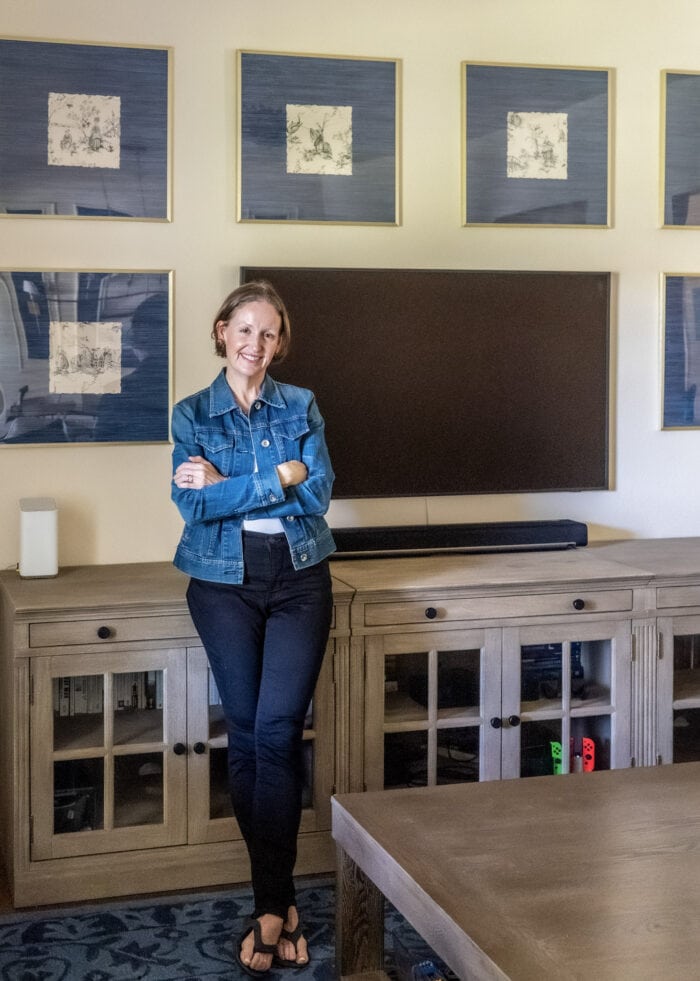
So after much research to find the right size and color frames (to match others already in our home), I landed on six of these square gallery wall frames.
And when I hung them, it was like the measuring gods were smiling down on me. Because the size and the spacing and the proportions with the TV and the cabinet were juuuuuuuust right.
The frames turned out to be the easy part. Now I had to find something to go in them.
Picking Out Vintage Wallpaper to Frame
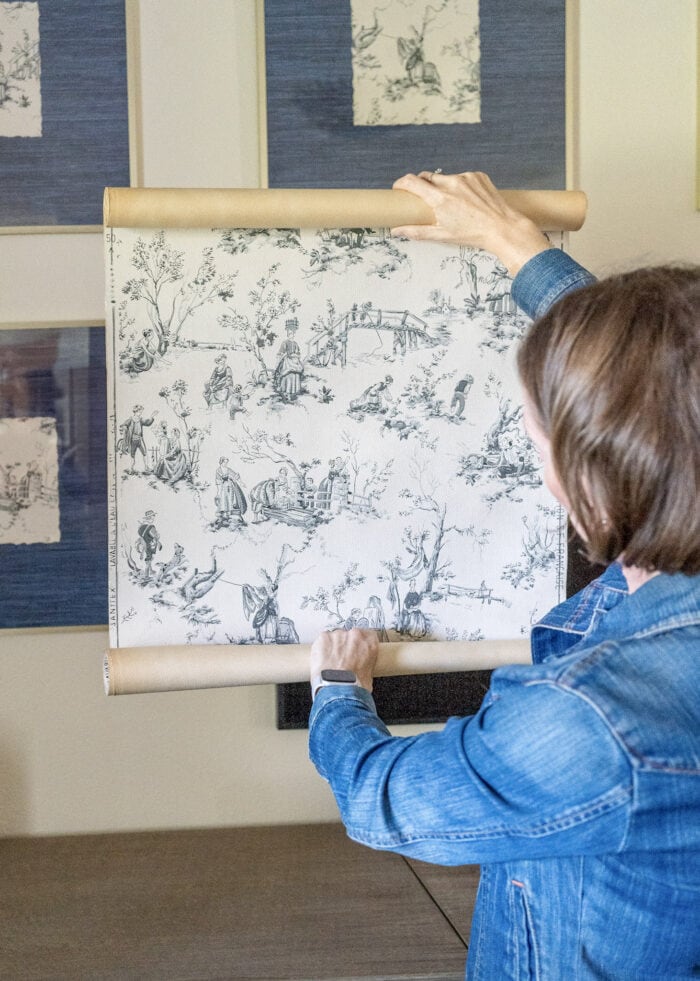
This whole project started when I landed on this vintage wallpaper listing.
I immediately fell in love with the colors and unique patterns and really thought they’d compliment the artwork on the opposite side of the room.
I also loved that the different papers coordinated without being too matchy matchy. And let’s be honest…they were cheap too!
When I couldn’t track down that exact set of vintage wallpapers though, I fell deep (and I mean deep) into the world of vintage wallpaper, wallpaper samples, and sample books.
My original plan was to find another set of wallpaper samples that worked well together. But when I randomly came across this roll of vintage French toile wallpaper, I became obsessed with the idea of cutting the different scenes out of the paper to make a complete set.
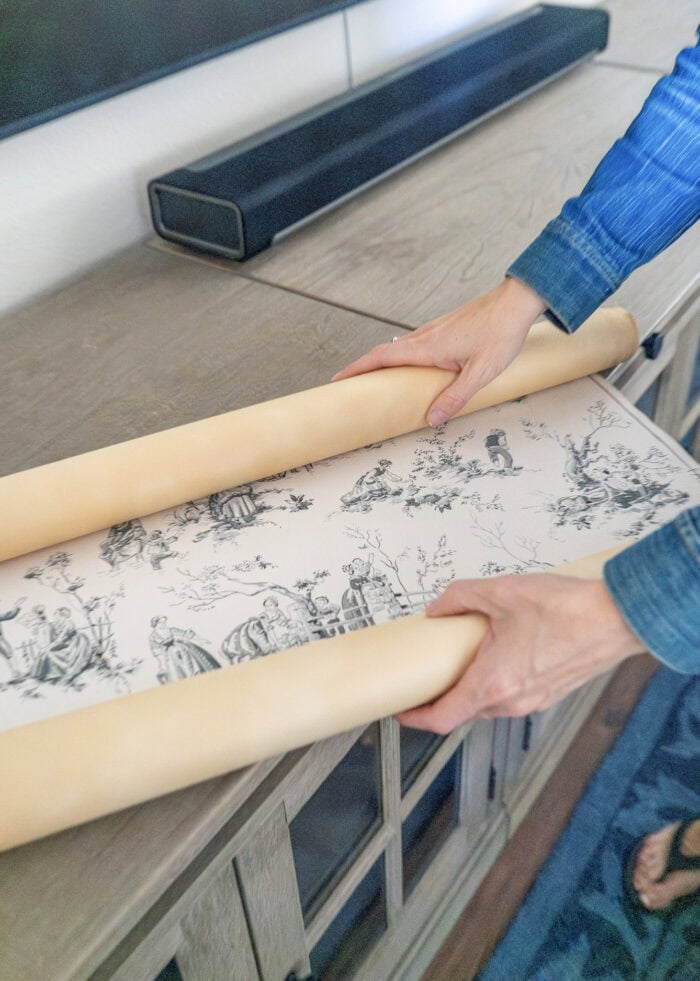
You can only tell so much from an Etsy listing. I couldn’t quite figure out how many usable scenes there were, how big they’d be, or the precise colors of the paper itself. And the roll wasn’t exactly inexpensive.
But despite exhaustively searching for something similar (and cheaper!), I couldn’t find an alternative I loved as much. So I purchased the 3 yard roll and crossed my fingers this idea would work!
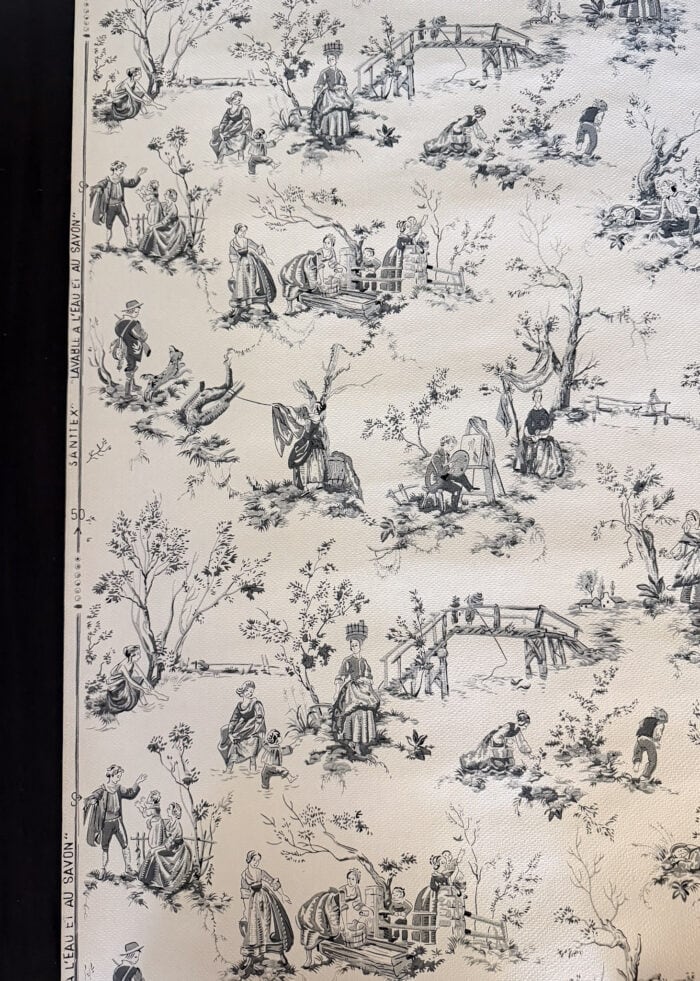
Tearing Vintage Wallpaper Into Artwork
Because of the vintage nature of the wallpaper itself, I didn’t feel like I could just cut it apart with scissors. So I purchased a tearing ruler (SO handy!) and carefully extracted six different scenes from the larger roll.
Want to save this post?
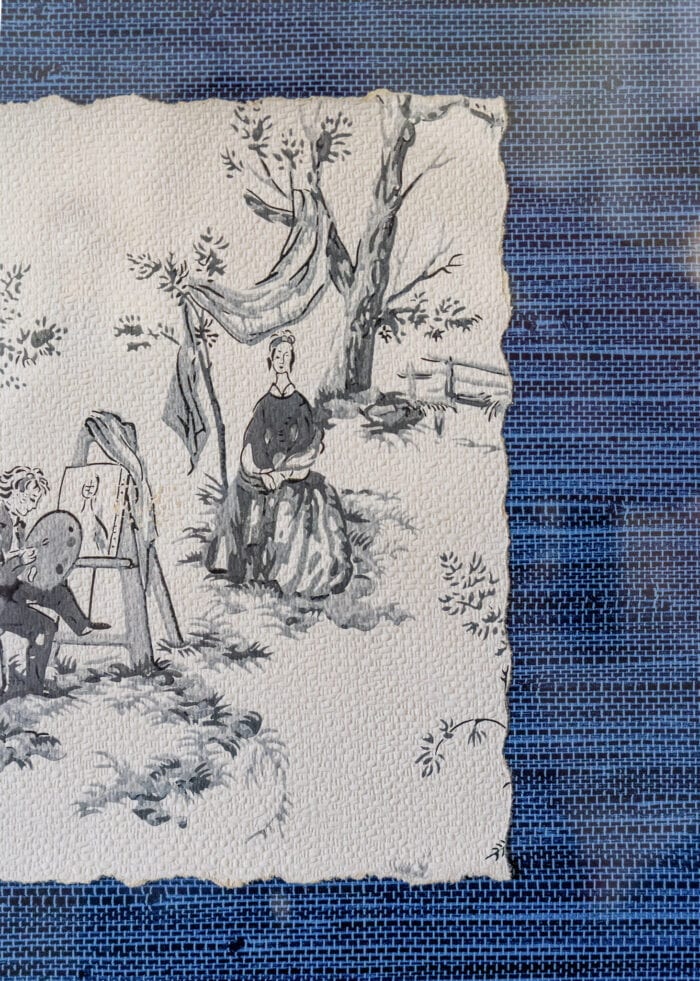
Here’s how I did it:
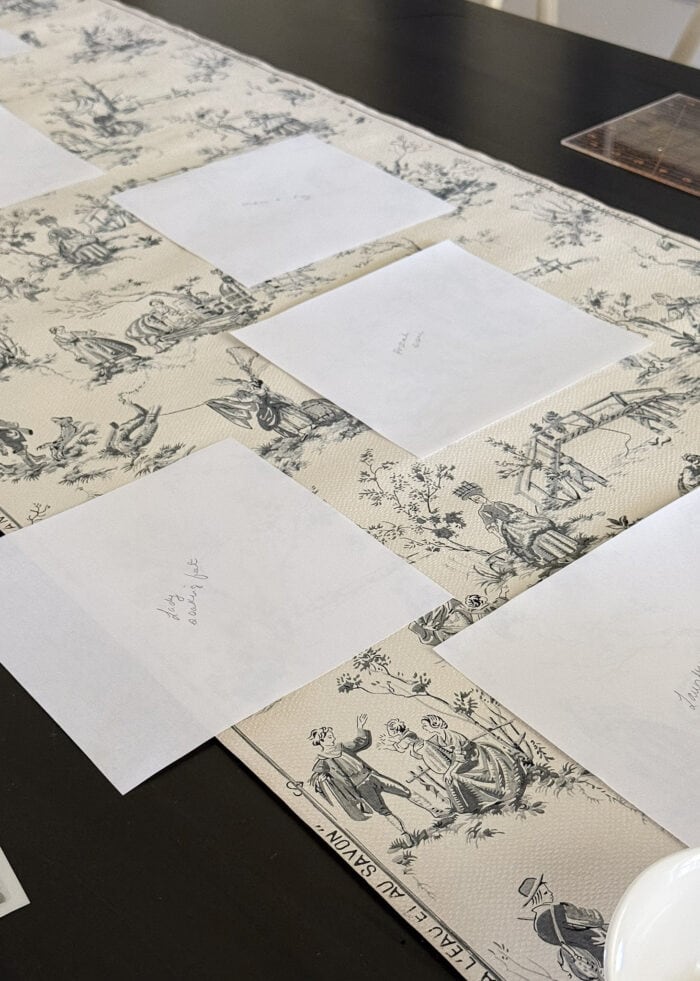
Based on the size of the scenes themselves, I determined I could make 8” square “prints.” So I made six 8” square templates from printer paper and placed them onto the scenes I wanted to cut out, centering them, and then holding them (lightly) in place with a piece of Scotch tape.
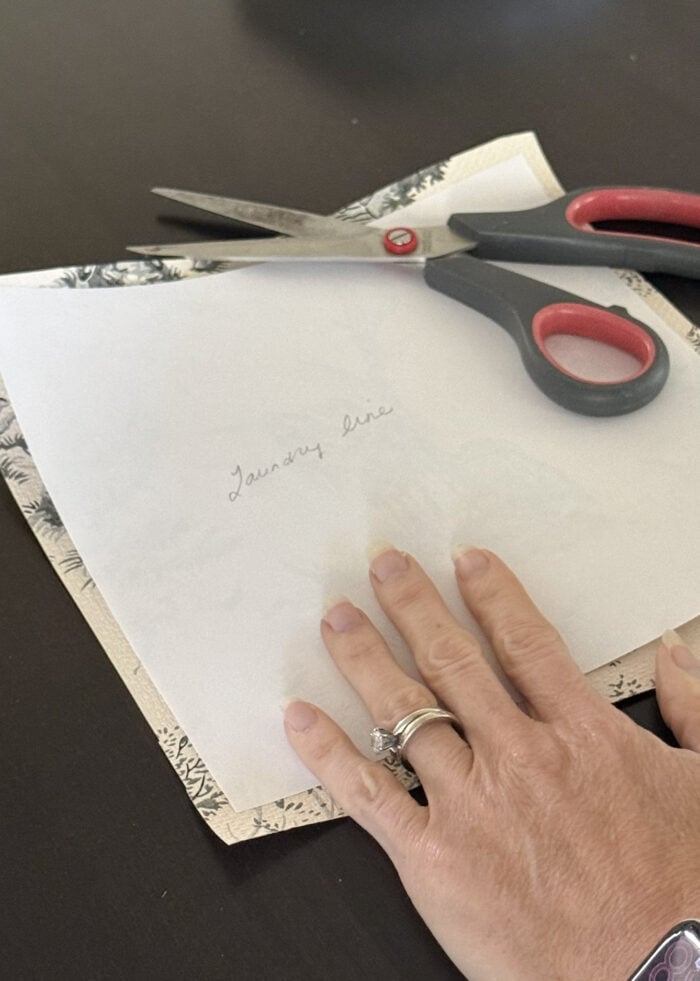
Next, I cut out each image with scissors, leaving a 1/2″ margin around the square template.
Then, using the tearing ruler and the included water pen, I wet the paper along the edge of the ruler and then carefully tore away the edge.
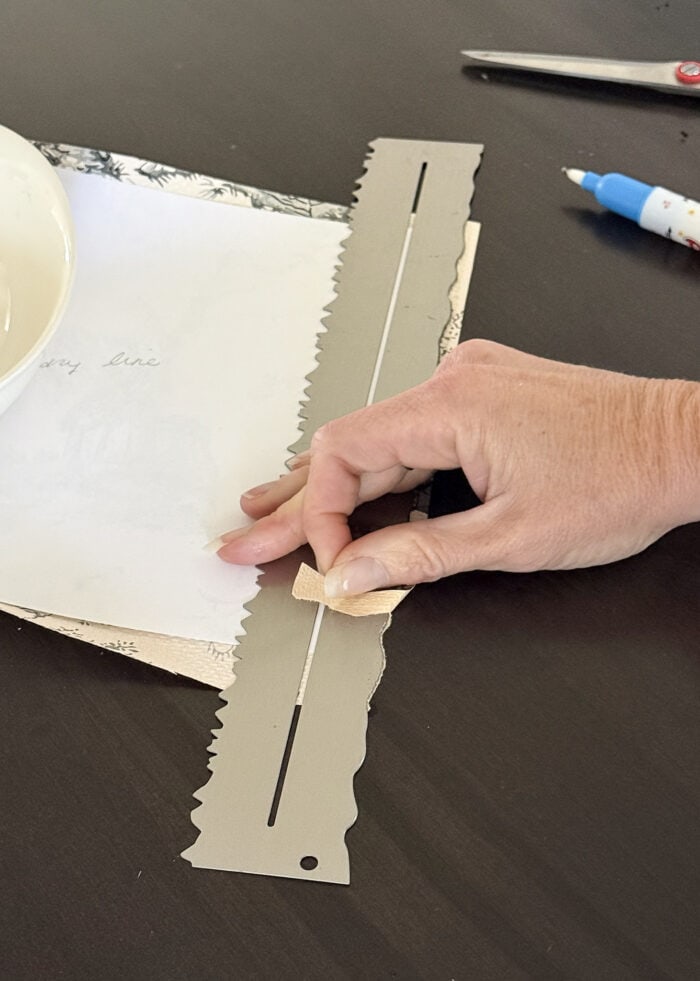
Repeating on all four sides, I ultimately ended up with a perfect-ish 8” square with “torn” edges (that look remarkably organic!)
Framing the Vintage Wallpaper Artwork
The frames I ordered came with mats too big for my 8” squares. Plus, I wanted the “torn” paper to look like the vintage scraps they are. So to help them fit into my 20” square frames, I backed them with the same grasscloth wallpaper I used on the opposite wall of the room.
I simply cut a square big enough to fill the frame, taped it to the back of the frame, and centered the wallpaper art to the front with special acid-free mounting tape.
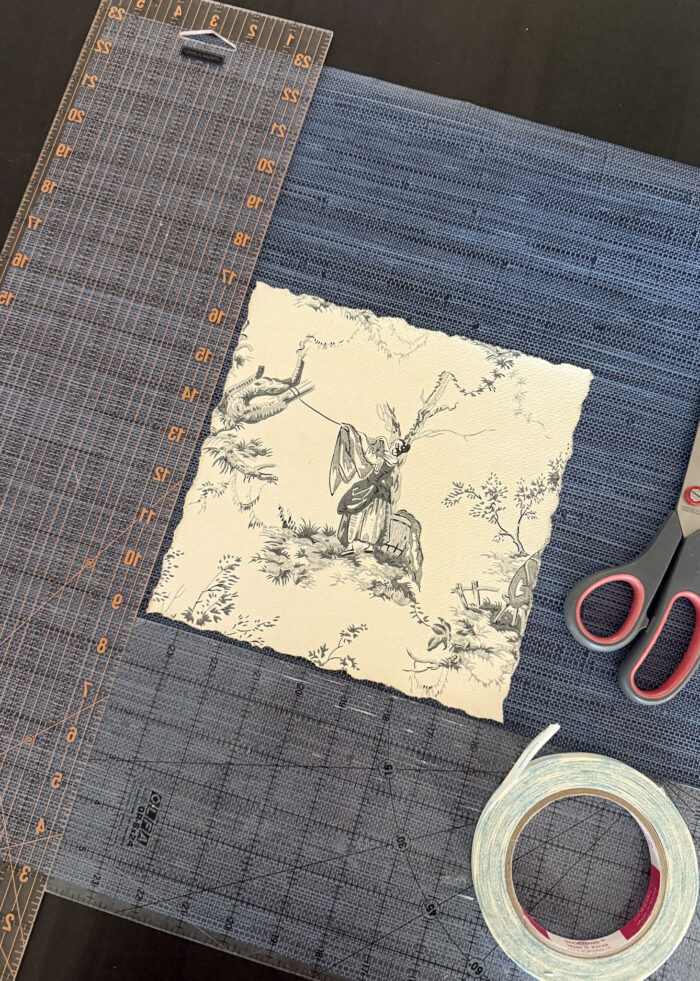
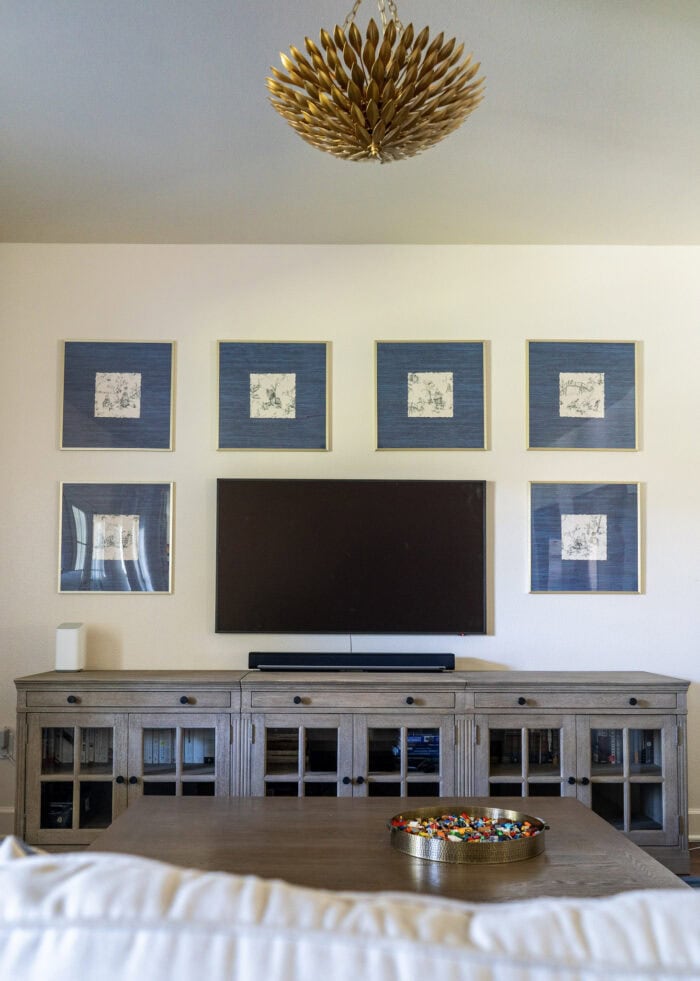
The result, MUCH to my delight, is six delightfully coordinating and oh-so-chic “prints” to surround our TV.
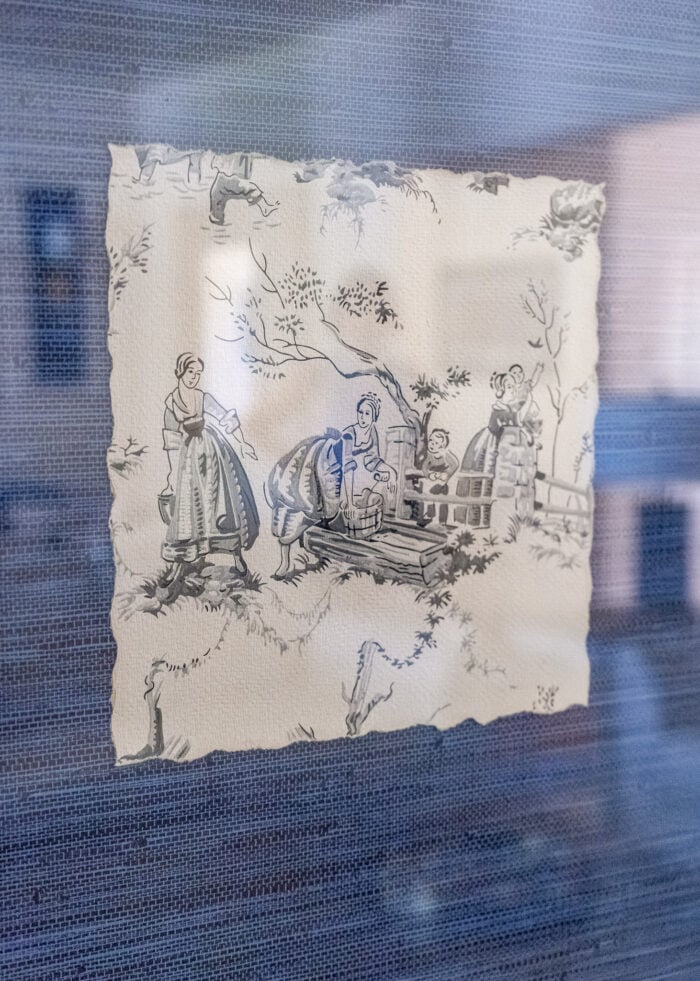
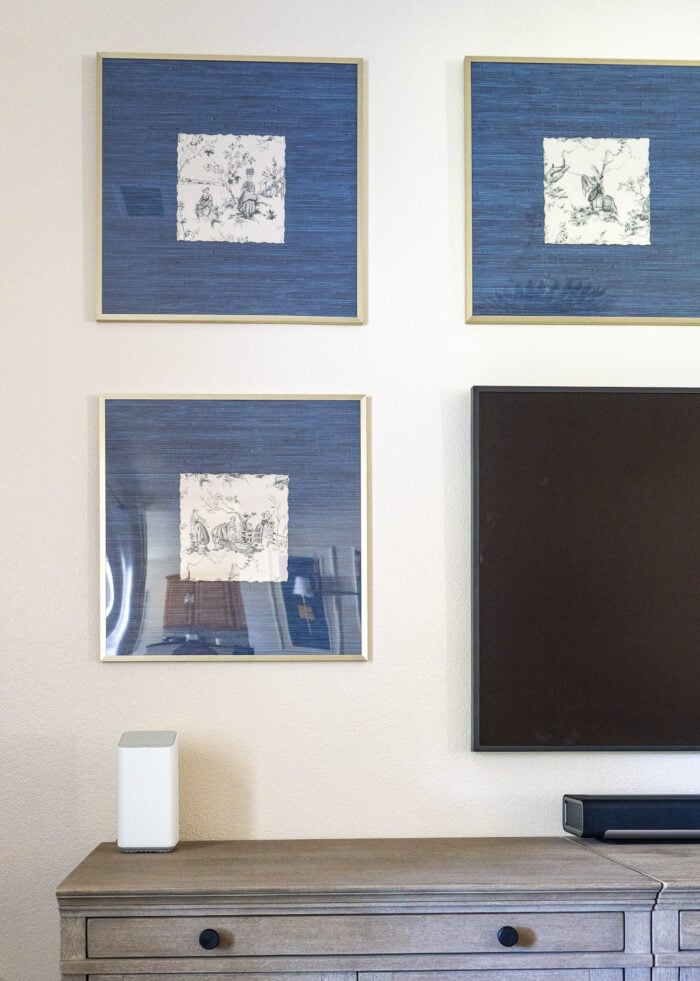
They are SO (SO!) different from anything I typically have on my walls. But the unique and charming images, the vintage “torn” look of the wallpaper, and the streamlined, simple aesthetic of the whole display has me utterly smitten.
Maybe hanging up my frames and forcing myself to find a creative gallery wall solution wasn’t so bad after all!
Dive Deeper Into This Project
I wanted to share a bit more about the process of finding the right wallpaper to make artwork out of. Because I definitely didn’t get it right the first two times. I expand a bit more on my search in this week’s Voice Notes.
Megan



3 Comments on “Turning Vintage Wallpaper Into Gallery Wall Prints”
Very cool!
I do something similar with fabric. I made a attic window quilt for my daughter who loves cats. Didn’t have enough cat faces for the number of blocks I needed so added pictures of paws, backsides 😉 and tails. Was very cute and she wore the quilt out in about 10 years. She used it every night from the day she got it.
Amazing job!
I wanted to do something similar! I got some beautiful wallpaper “remnants” from our buy nothing group. I am planning on matting/framing and putting them either in our hallway/entryway or my daughter’s room. But I have never heard of the tear ruler. That is genius!