Why (& How) to Cover Up a Perfectly Good Window
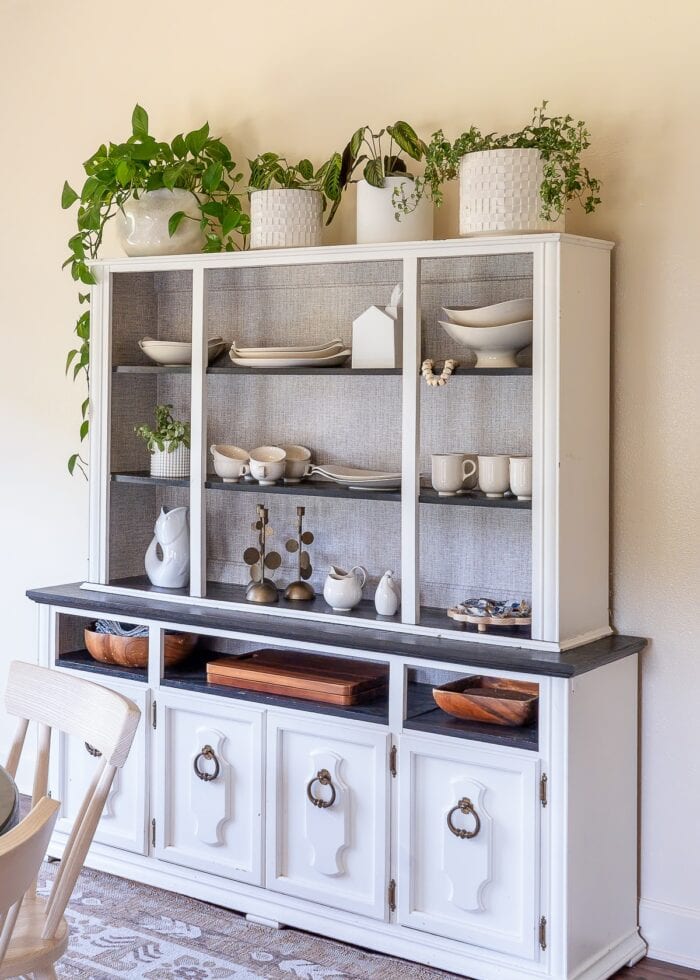
Have you ever tried to figure out a room layout and thought, “Man, I wish that window wasn’t there!” Yea – us too. For the past 20+ years of rental living, we’ve had to deal with the placement of windows, outlets, doors, vents, nooks (and more!) that we can’t change. Early on in our rental journey, I’d let these features dictate our furniture placement. But as time has gone on, I’ve grown more bold in ignoring, changing, of “fixing” these “permanent” features to better suit our needs. In our newest home, I really wanted to put our tall dining room hutch on a wall that had a window smack dab in the middle of it. Even though it fit beautifully, I hated that you could still see the window peeking out from above the hutch. So I covered up the window…completely! Here’s why and how I did it!

Deciding to Cover a Window
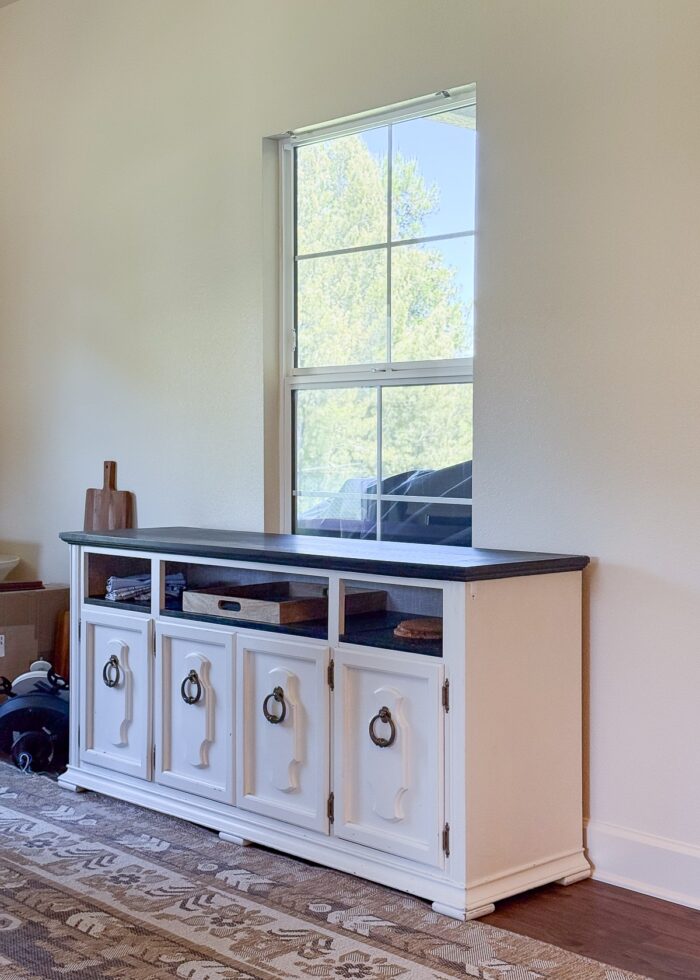
The eat-in area of our kitchen has 5 windows, a door, and not a single solid wall.
After the saga of our dining hutch not fitting in our last house, I really wanted it in this room.
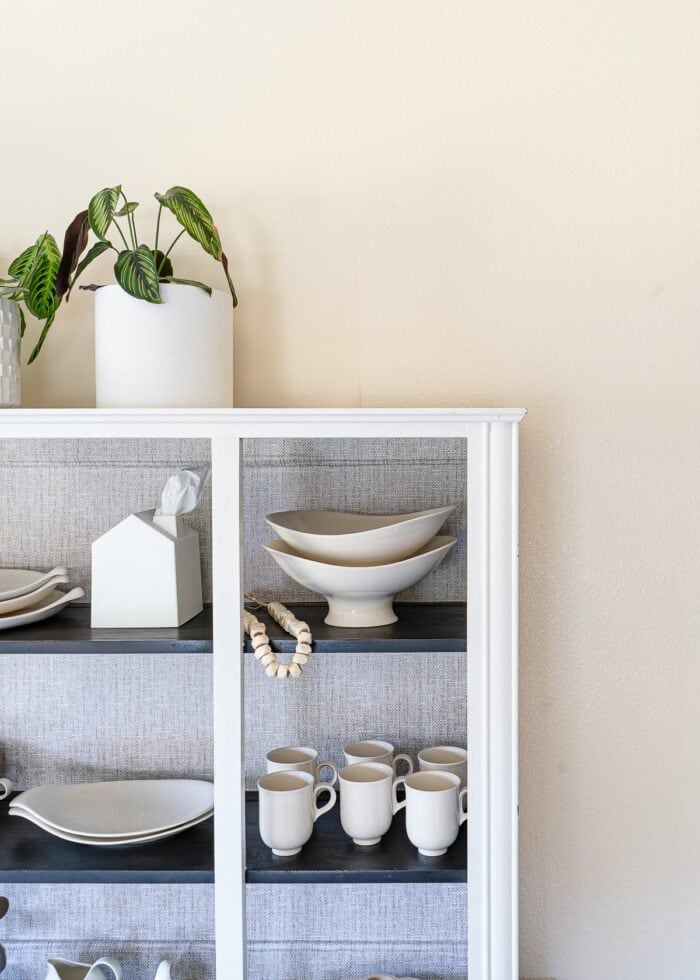
Not only do we like to store dishes, placemats, napkins, and serving pieces on this hutch, but we also didn’t have anything else to put in this spot.
I personally don’t like furniture on diagonal or not centered on walls (in most cases, at least), so directly in front of the right-side window really was the best option.
But what about that darn window?
With 4 other large windows that get a lot of sun, I didn’t mind covering the window from a light-blocking perspective.
But I hated that even though the hutch covered most of the window, you could still see it peeking out just a bit…making it very obvious that I blocked a window with a piece of furniture.
Surely, there was some way to cover it up!
A (Renter-Friendly) Way to Cover a Window
I will preface this by saying that I had no idea if this was going to work. Based on my experience with countless “hacks” over the years, I was optimistic. But I honestly went into this with a crazy idea and my fingers crossed!
Here’s what I used:
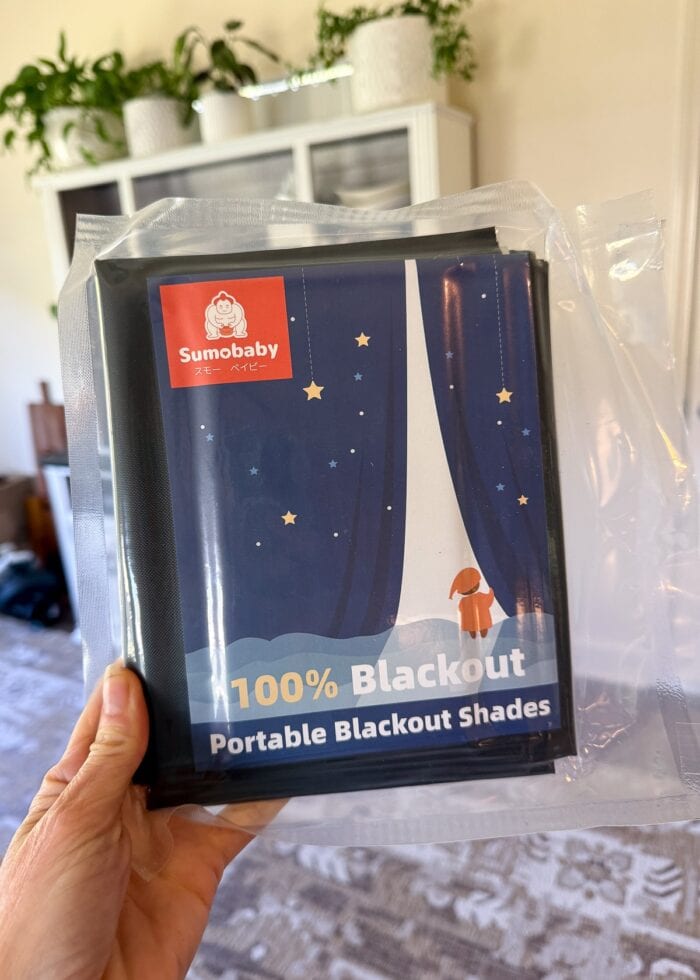
- A blackout window covering (with included sticky tabs)
- Paintable wallpaper
- Matching wall paint and paint brush
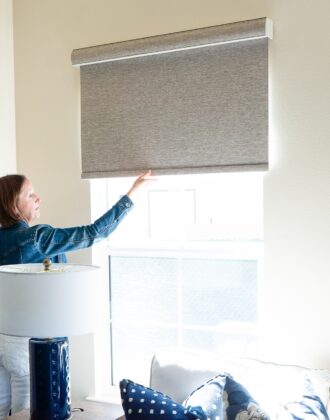
Step 1 – Cover the Window with Blackout Fabric
Although I could have just wallpapered over the window, I was worried that sunlight would still show through.
So I first covered the window (glass) with this blackout “shade,” cutting it to size and using the included sticky tabs directly on the window frame itself.
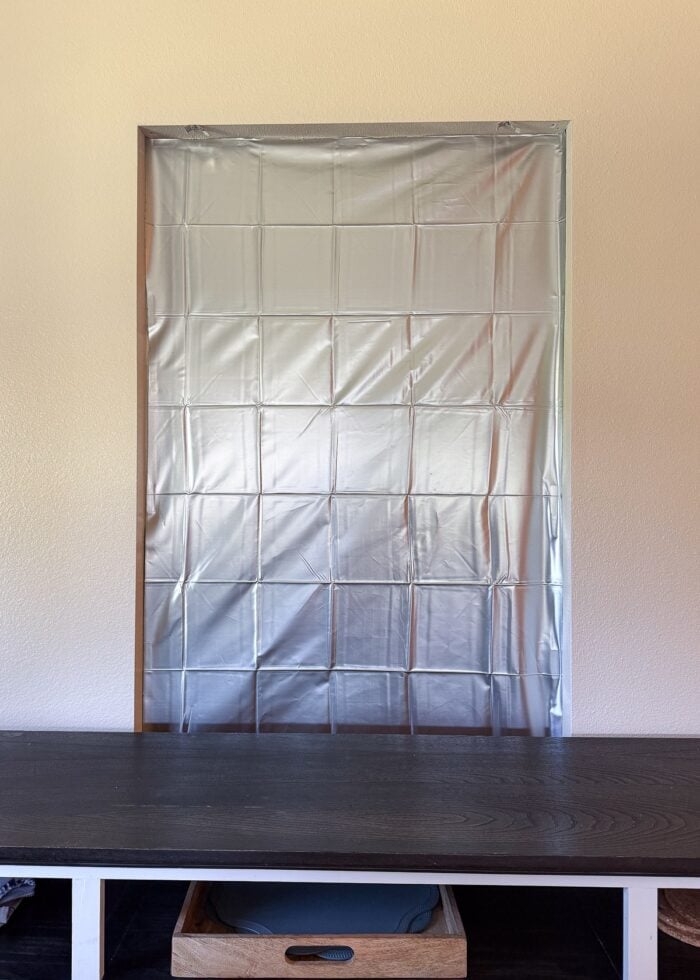
Step 2 – Wallpaper Over Window Opening
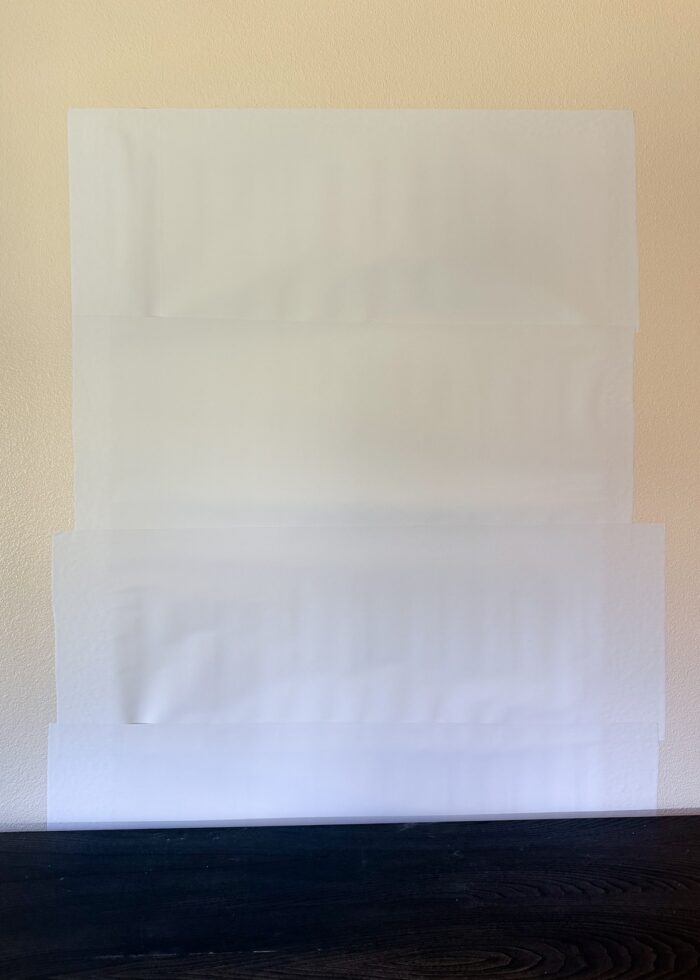
Next, I wallpapered across the front of the window opening with paintable wallpaper.
I started about 4” above the window and extended about 4” on either side of the window so that the wallpaper had enough wall surface to grip onto.
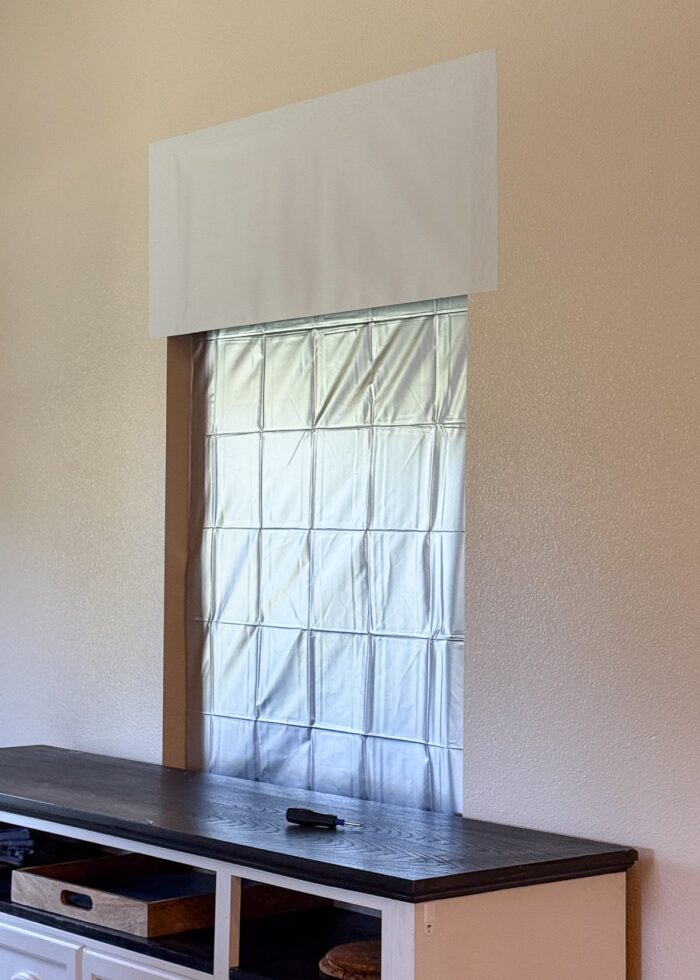
I overlapped each follow-on panel as I worked down the window by an inch or two until I reached the bottom ledge.
Want to save this post?
Step 3 – Paint the Wallpaper
To camouflage the “patch,” I then painted the wallpaper with the same paint as the existing wall color.
Admittedly, the wallpaper was a little “loose” where it didn’t come into contact with the wall, so applying paint was a little precarious.
While the paint was still wet, the billow-y-ness of the paper was really obvious. and I began to worry this hack wouldn’t work after all.
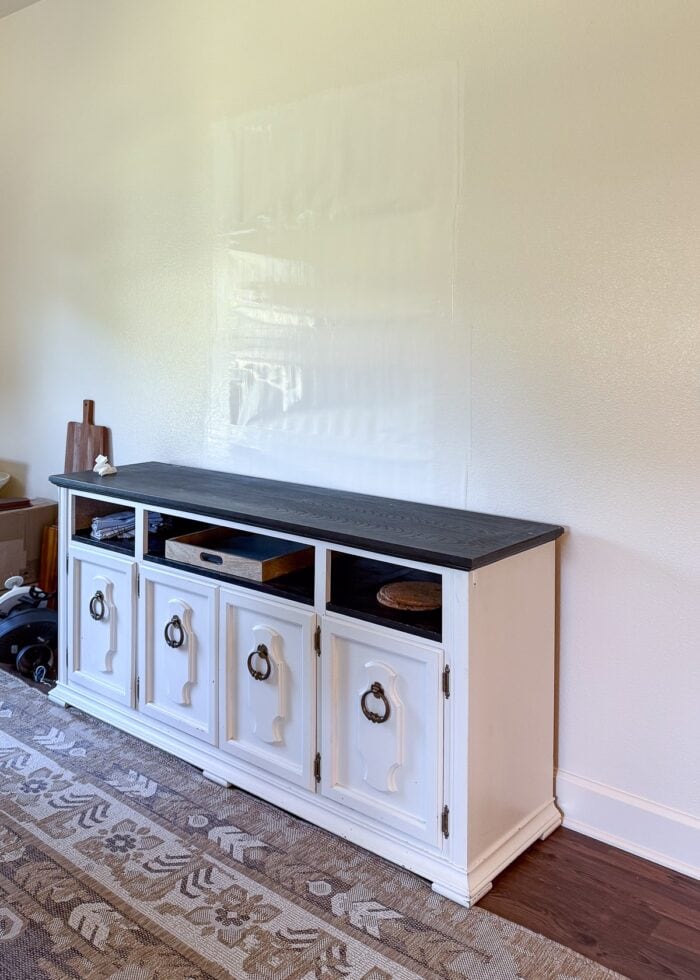
Step 4 – Distract
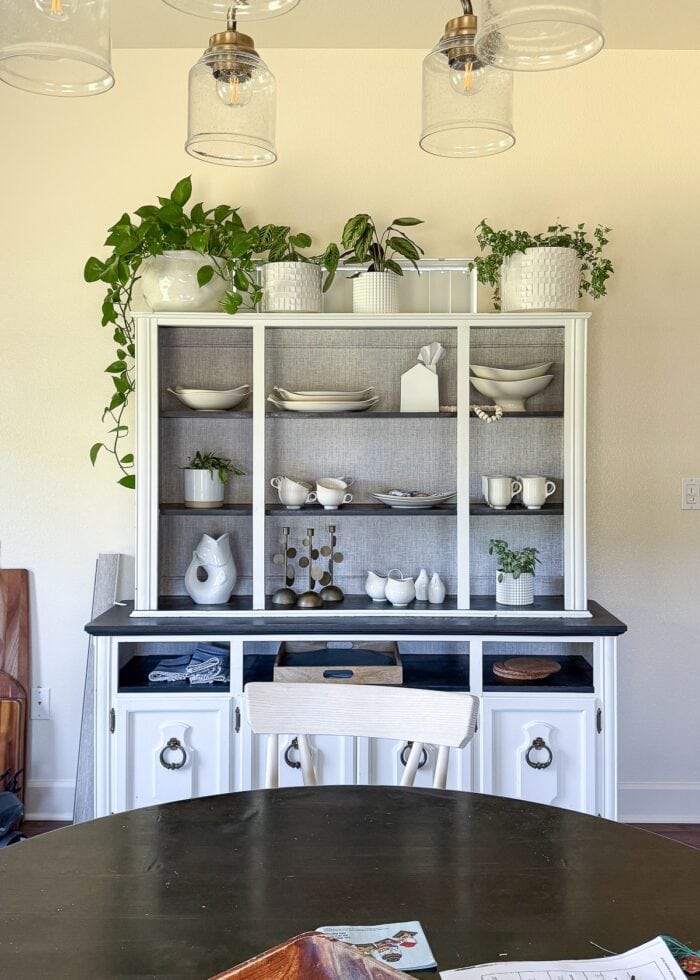
Eventually though, the paint dried and the entire area started to look a lot more like the wall!
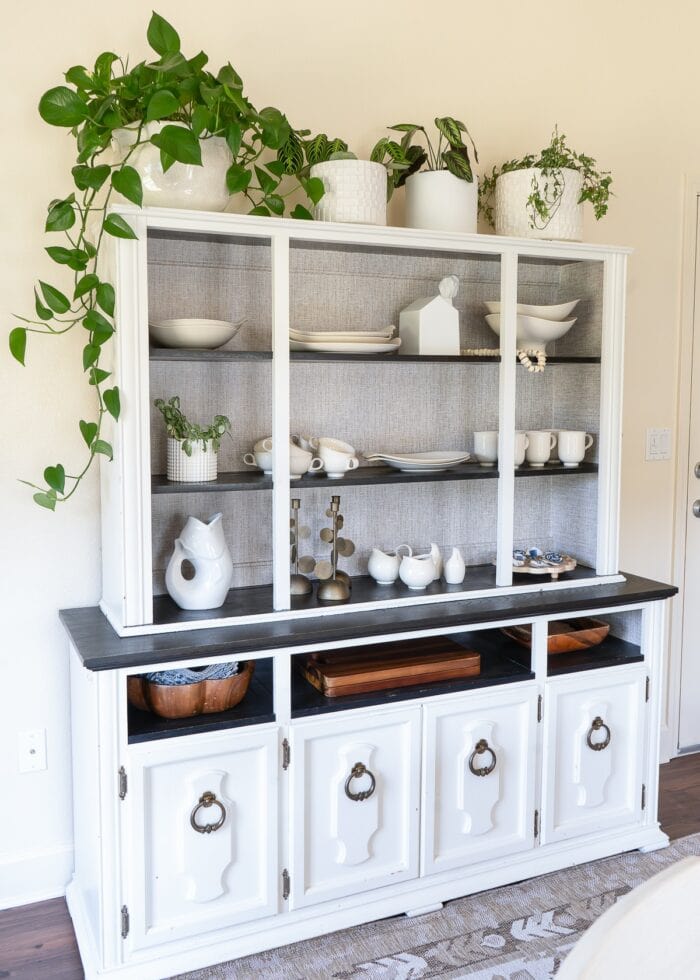
And once the hutch was back in place and I put plants along the top, the patch wasn’t noticeable AT ALL.
Like at all.
My friend (who was aghast I was covering a window!) couldn’t believe her eyes when she came over, because unless you look VERY closely, you can’t see the wallpaper and would never guess a window is back there.
(She should know better than to doubt me by now 😉 )
Key Takeaways
I am thrilled I was ultimately able to have my dining hutch centered on this wall AND cover the window so that you can’t see it.
But while I consider this project a success, there are a few things I’d like to highlight:
- You can’t tell there’s a window there from the inside, but you most certainly can from the outside. This window looks out onto a covered porch on our back patio, so we don’t mind the blackout fabric in the window. But if it was a public/front-facing window, I don’t think I’d make the same choice.
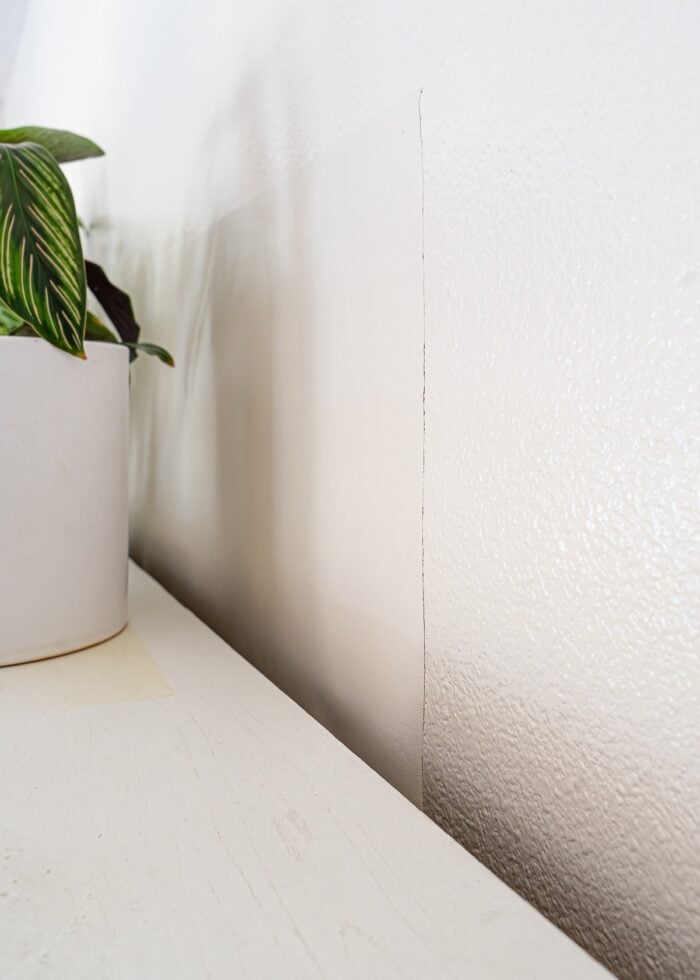
- The wallpaper never got completely smooth across the front opening of the window casing. If I didn’t have the hutch to cover up most of the wallpaper, I think the whole “patch” would be MUCH more obvious.
- Finally, this whole project only worked because our windows don’t have trim around them. Obviously, window trim would have prevented me from stretching wallpaper across the front of the window in such a seamless way.
Would I do this in a forever home? Probably not unless I needed a temporary solution until we could find a proper fix.
But is this a viable solution for getting our furniture to fit just right in this temporary space while we live in this house? Absolutely!
Dive Deeper Into This Project
Long-time followers may notice that the inside wallpaper on our dining room hutch has changed from blue to beige after 6+ years. No, it’s not a Photoshop trick, I explain why and how in this week’s Voice Notes!
How to Update a Furniture Without Paint

Megan