Using Shiplap Wall Panels In a Rental
Once upon a time, I didn’t hesitate to paint the walls in our rentals; as I saw it as one of the more cost-effective ways to dramatically change a bland space. And it is! But around rental #5 or #6, the mess, work, time, and cleanup really started to get old. (Especially when you take into account that I have to also paint back to the original color before moving out.) I was craving a feature wall in our rental bathroom that didn’t involve paint (or wallpaper), so I decided to try something else: shiplap wall paneling. Although my pictures don’t quite do the transformation justice, I now count this among my solid “rental decorating” options. Let me explain!
Rental Bathroom Walls Are Tricky
When brainstorming options for a bathroom, there is one thing usually at the forefront of my mind: the plumbing. (And sometimes the mirror if it’s glued onto the wall, which it often is).
Installing wallpaper or paneling (or even painting!) around these fixtures can be a big ol’ pain. So I avoid it whenever I can.
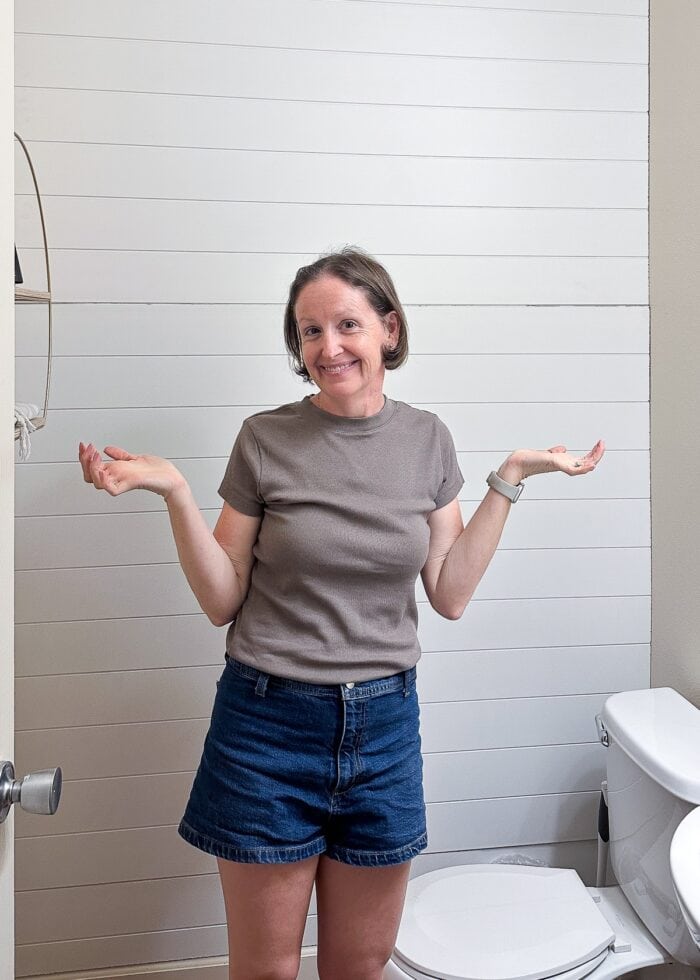
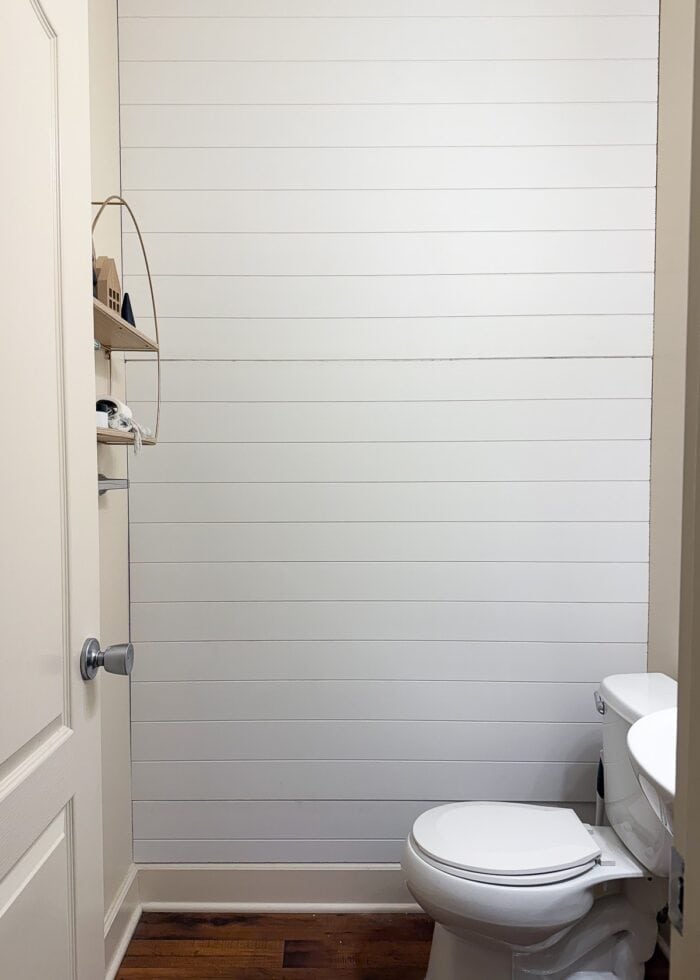
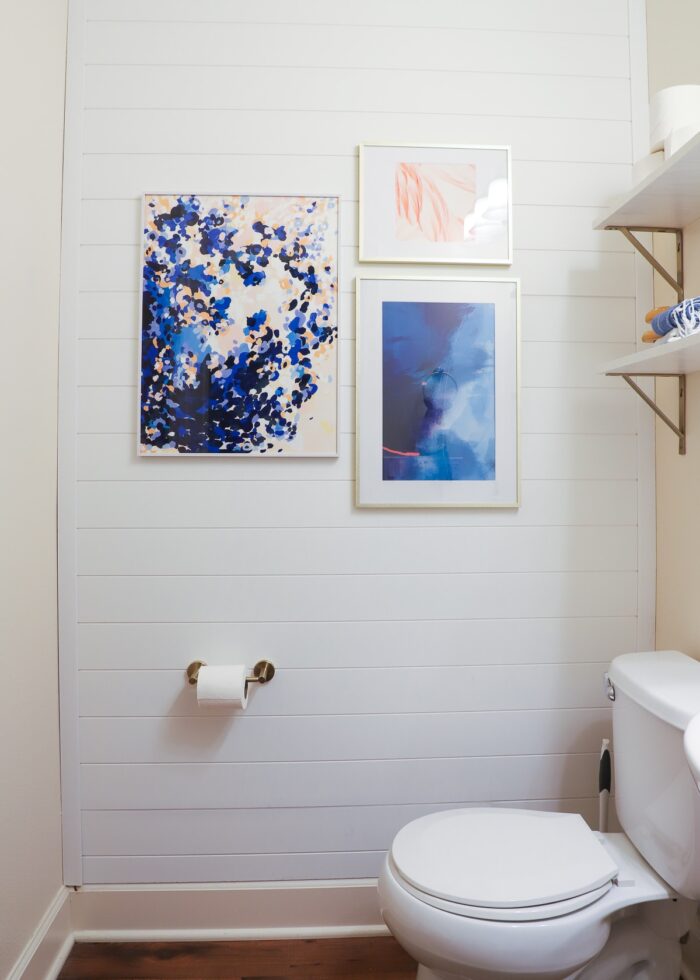
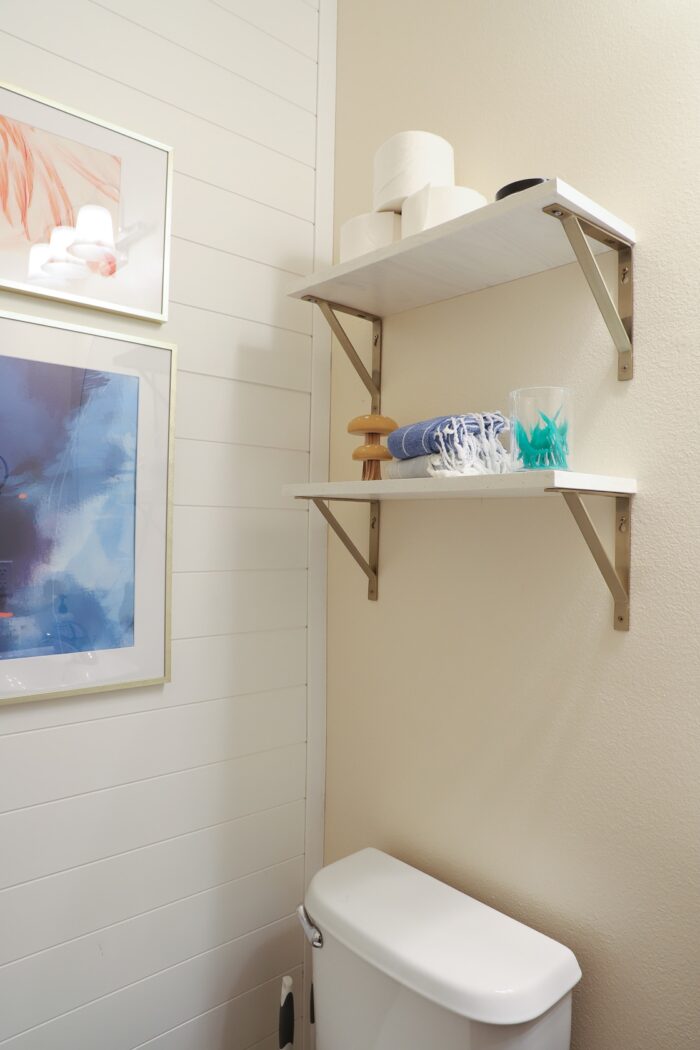
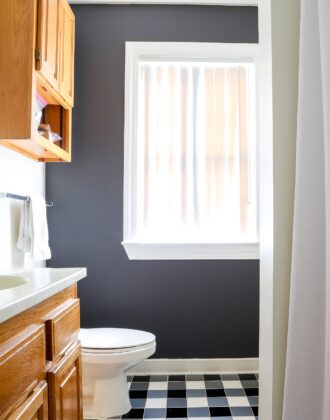
As such, I quickly honed in on doing some sort of treatment on the fully blank wall opposite the door (of which you can also see from the foyer).
Why I Chose Shiplap Wall Panels
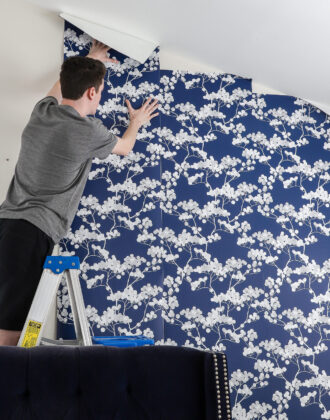
I nixed wallpaper as an option fairly early on. (Curious why? I break it all down in this week’s Voice Notes.)
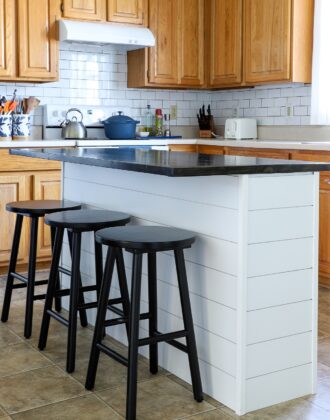
I loved the shiplap treatment we did to our kitchen island back in North Carolina and thought it could be a great option in this bathroom too.
But using that same method (individual boards with Command Strips) would have been really expensive.
So when I came across shiplap panels in the hardware store, I figured I could get the same look for less cost AND less work!
Renter-Friendly Shiplap Installation
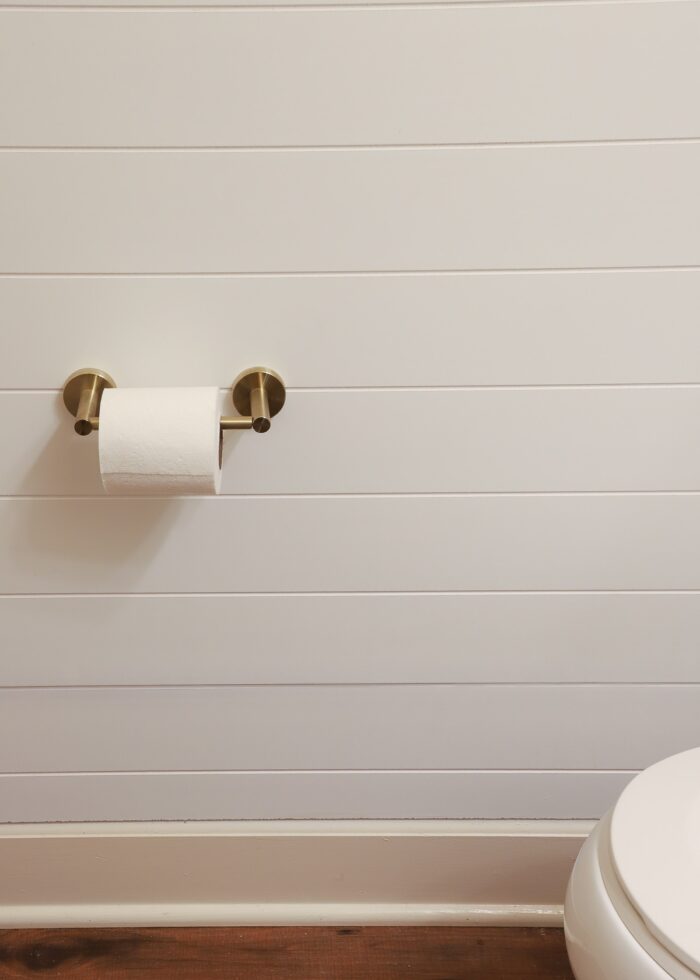
We started by cutting these panels down to the width of our bathroom wall, so that the stripe pattern ran horizontally. We ultimately cut 3 panels that “stacked” on top of each other up the wall.
My original plan was to hang the shiplap panels with Command Strips. But these MDF boards are pretty heavy AND our walls aren’t perfectly flat. So we used nails down the far right and far left sides of the wall, almost to the corners.
We then used white caulk to fill/camouflage the horizontal “breaks” between each of the three panels.
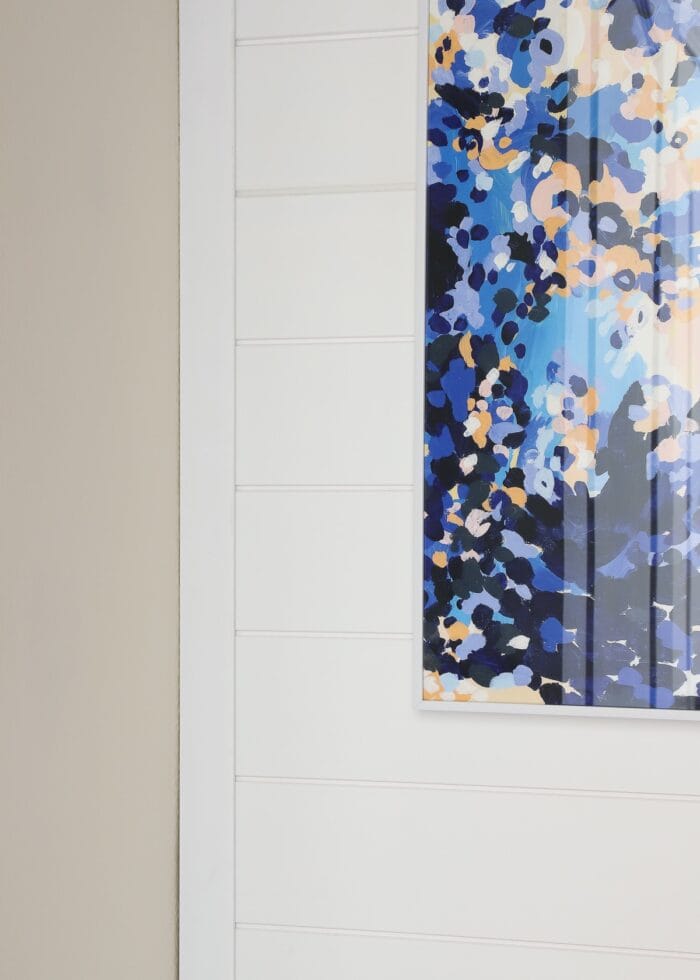
To finish it off, we glued inexpensive white trim down both sides of the paneling (using liquid nails), careful not to get any glue on the walls.
The trim is a great way to cover up the nails, hide the raw edges of the paneling, and create a finished border to the whole feature wall.
Oooops
Admittedly, this installation was pretty straight forward and easy. Until I stepped back.
Want to save this post?
I know you see it. You can’t not see it.
I’ve never installed wall panels before, and we didn’t account for non-straight, non-square walls.
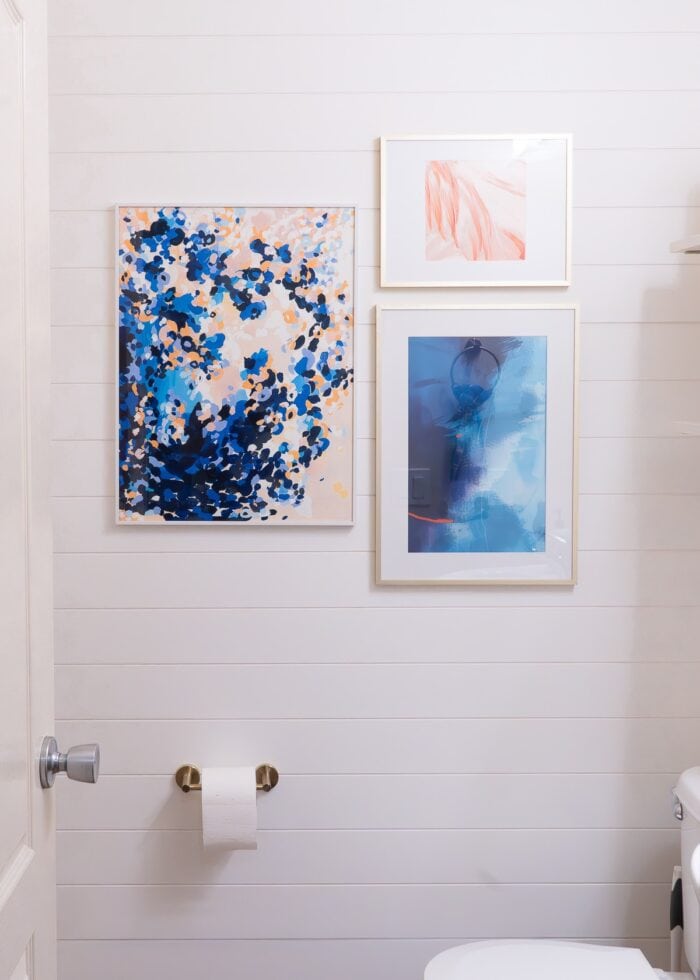
One of our panels fit a bit “snug”; and instead of trimming it, we forced gently nudged it in place with a rubber mallet. This caused the panel to bow forward, ever so slightly.
When you have panels right next to each other, the bowing causes the shiplap pattern to appear inconsistent.
Yep – that little imperfection in the pattern drives me crazy. I wish we had taken the panel down and re-cut it so that it would have sat flush against the wall like the other two panels.
I’m gonna live with it, but I’m telling you this so you don’t make the same mistake!
Skipping the Paint
My original plan was to paint the shiplap blue.
(My whole “renter hack” was gonna be that I got my painted wall after all, but wouldn’t have to paint back since we’ll just take the panels down when we move. Brilliant, right?!?)
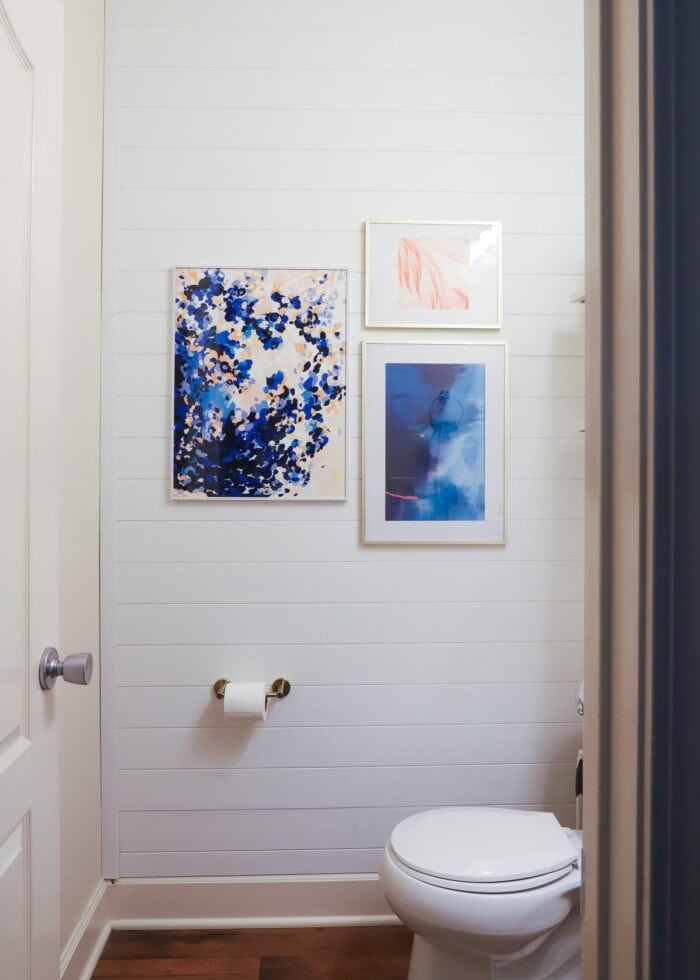
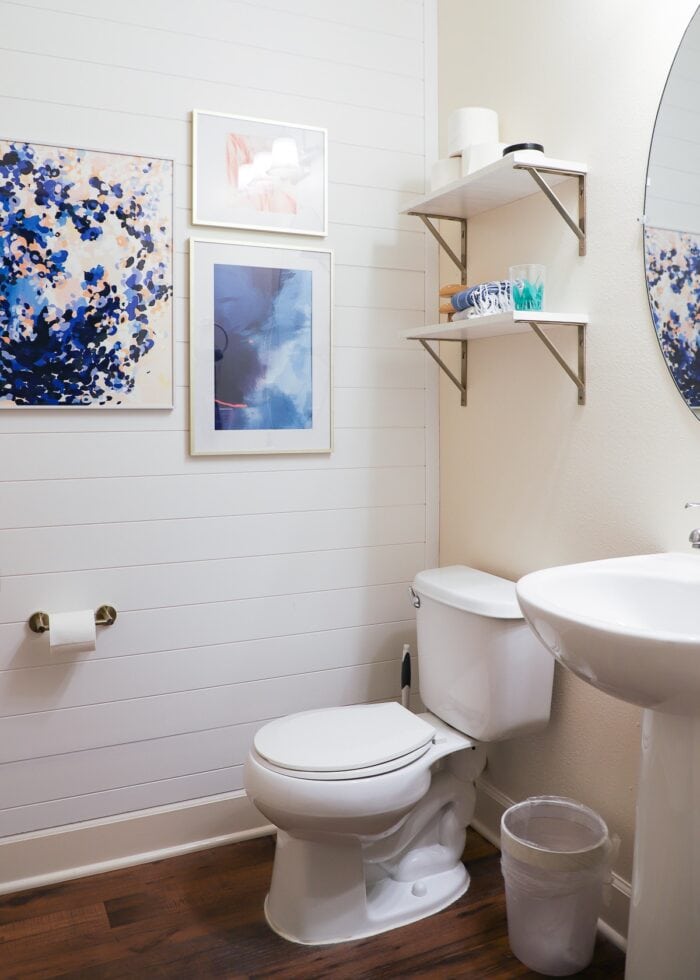
But once the white wall was up, I loved how it brightened the entire space and tied in to the white toilet, sink, and floating shelves. So white it stayed!
Key Takeaway
Adding this paneling ultimately did exactly what I was hoping to do: make our small bathroom feel brighter, fresher and intentionally decorated in a way that was both budget-friendly and 100% removable.
Do I now know that it’s worth taking the time to get each panel completely flush with the wall? Yes, I do.
But will I try it again? Absolutely. I’m already brainstorming.
Dive Deeper Into This Project
Wallpaper is almost always my go-to for a quick and impactful room update. In this week’s Voice Notes, I explain why I really didn’t want to use wallpaper here, and why I was okay with keeping the yellowy-cream wall color next to the bright white paneling!
Megan
One Comment on “Using Shiplap Wall Panels In a Rental”
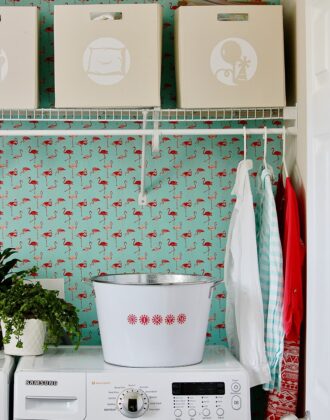
Thanks so much for this post! I have a problematic laundry room area off my kitchen (#1 problem, the washer is actually outside as plumbing was never completed). A big issue is that several holes were made in the wall for various connections that were no longer used. But the big holes are still there…you can actually see into the water heater/storage space on the other side of the wall. These would be great to cover the imperfections without committing to wallpaper or paint that might clash with future kitchen changes. Aloha – take care.