A Cord Organization Solution (That Might Change Your Life!)
These days, everything and anything seems to come with its own charging cord. The bulbs to our wireless sconces. My son’s new RC car. Even our new electric toothbrushes! If your household is anything like mine, you’re going crazy trying to figure out what cord belongs to what gadget, and how to store them all so that you can actually find the right one at charging time. Today, I want to show you my two favorite new cord organization finds (plus where I’m storing everything all together)…a setup that is seriously saving my sanity!
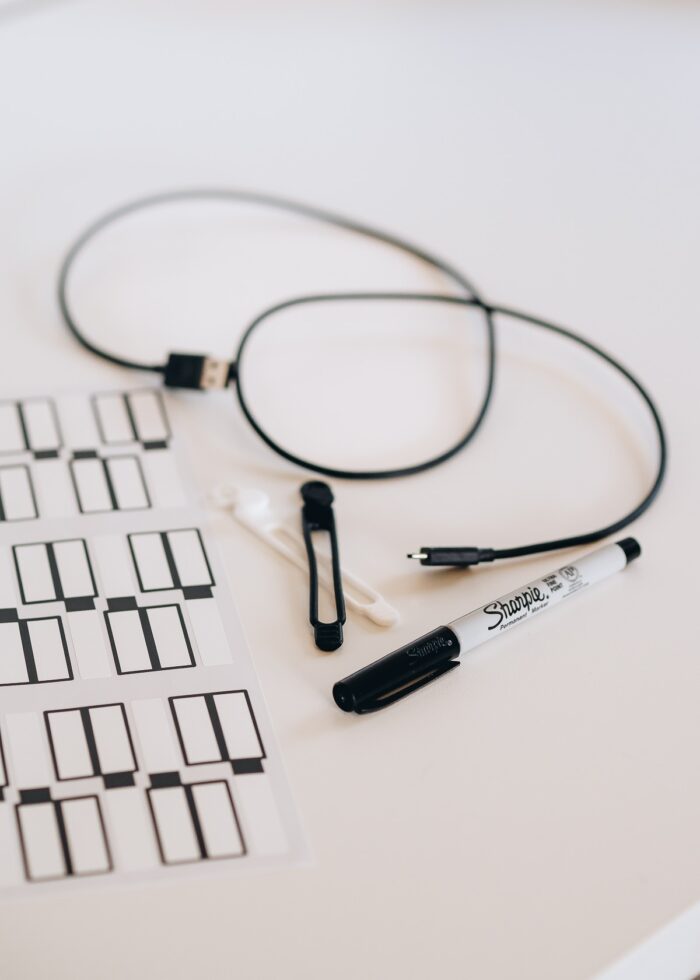
My Two New Favorite Cord Organization Supplies
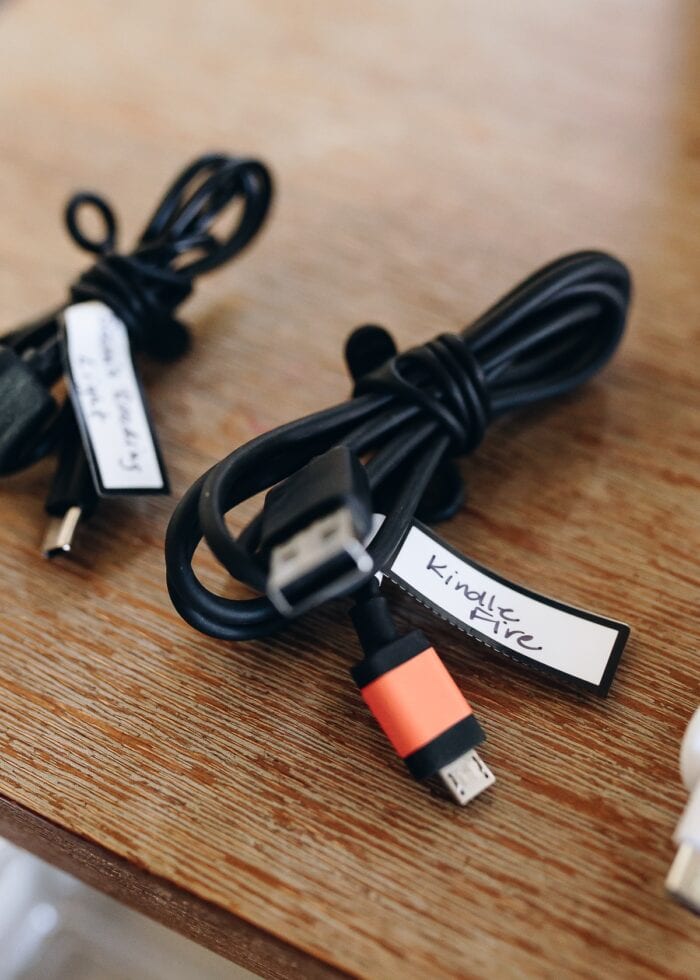
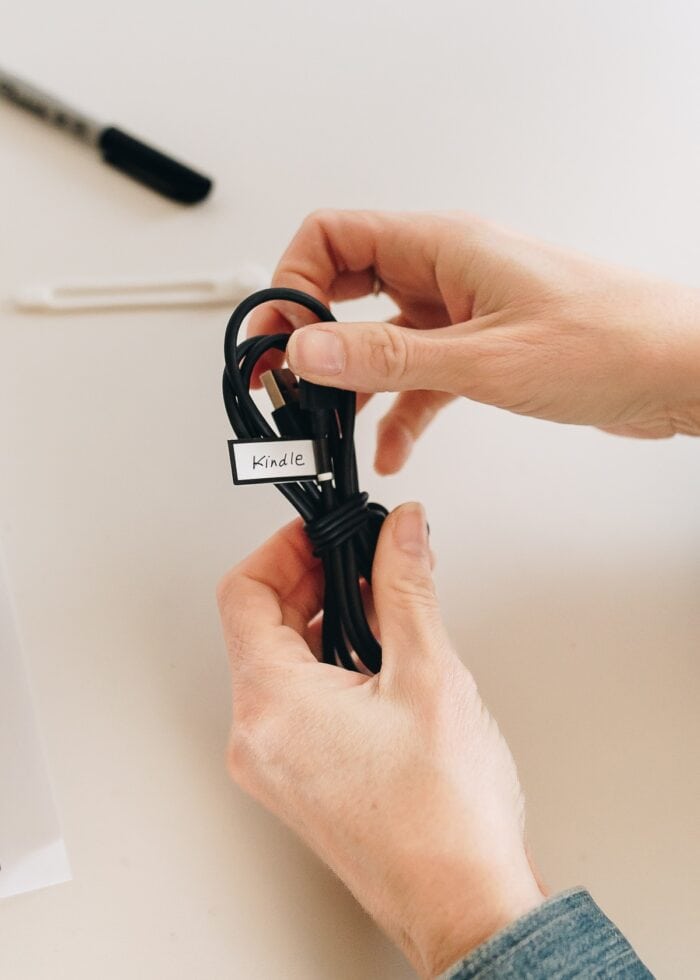
What you see there are writable cord labels and the best cord ties I’ve found.
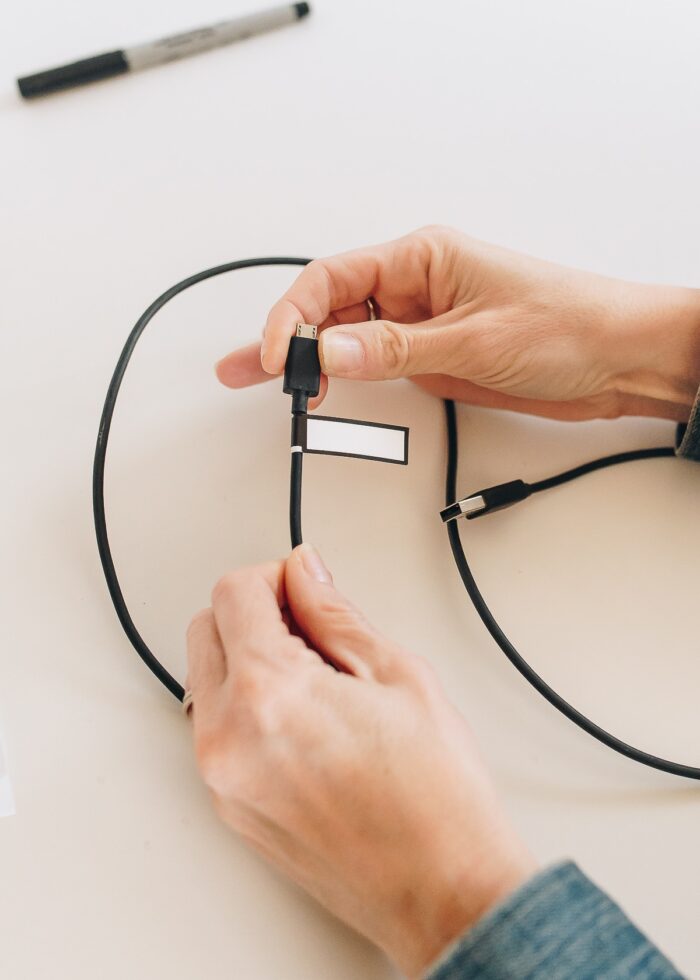
Writable Cord Labels
Here’s why I’m loving these writable cord labels so much:
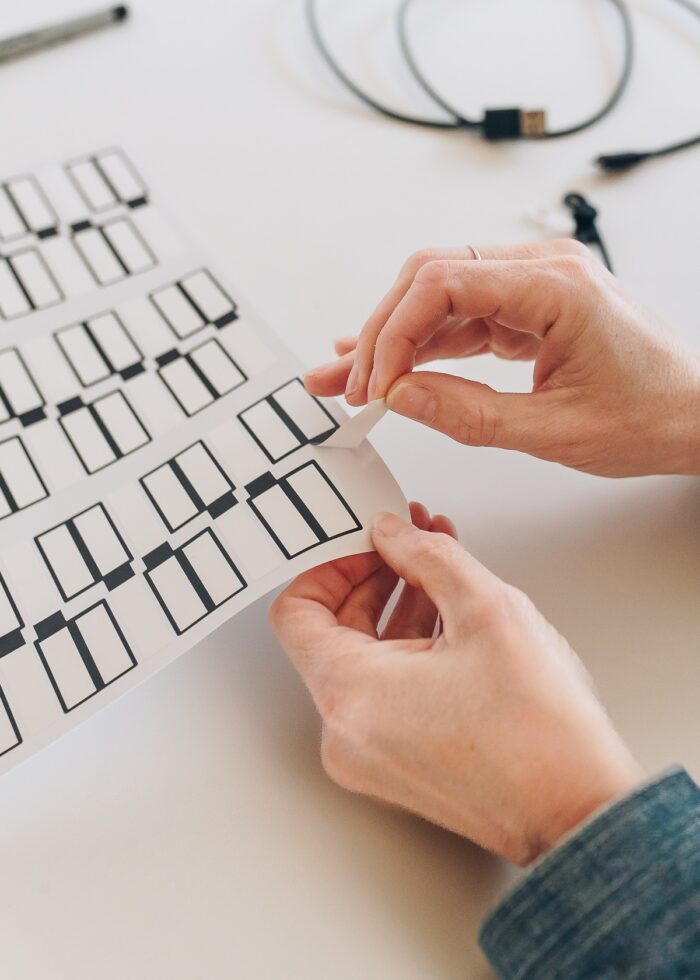
- You get a TON of cord labels in a single pack. This will pretty much be a 1-time purchase unless you have a serious cord situation on your hands.
- They are super durable, so they won’t easily tear or fall off.
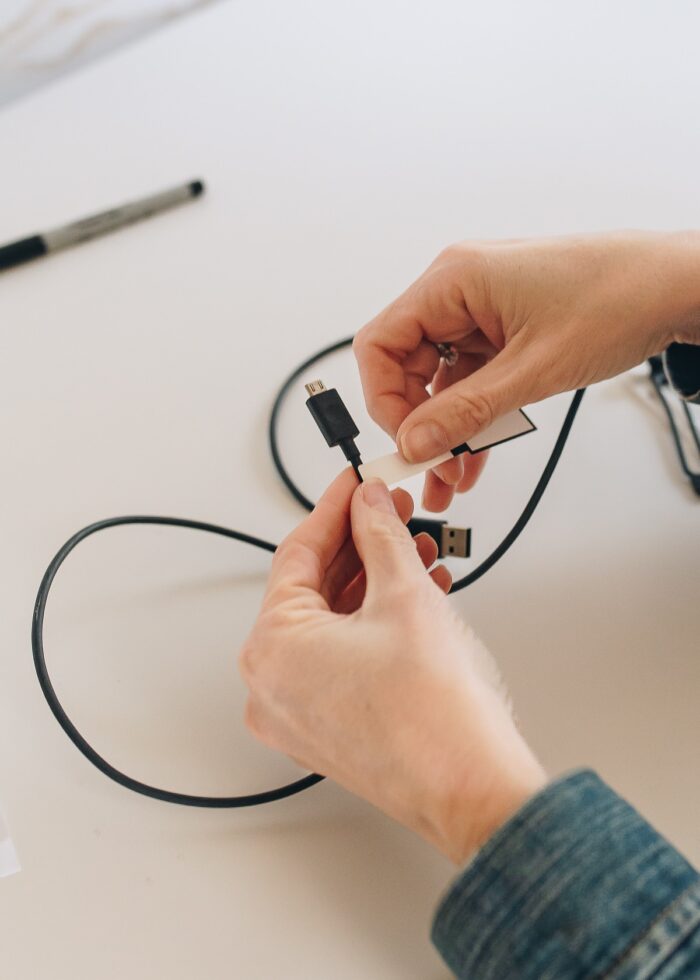
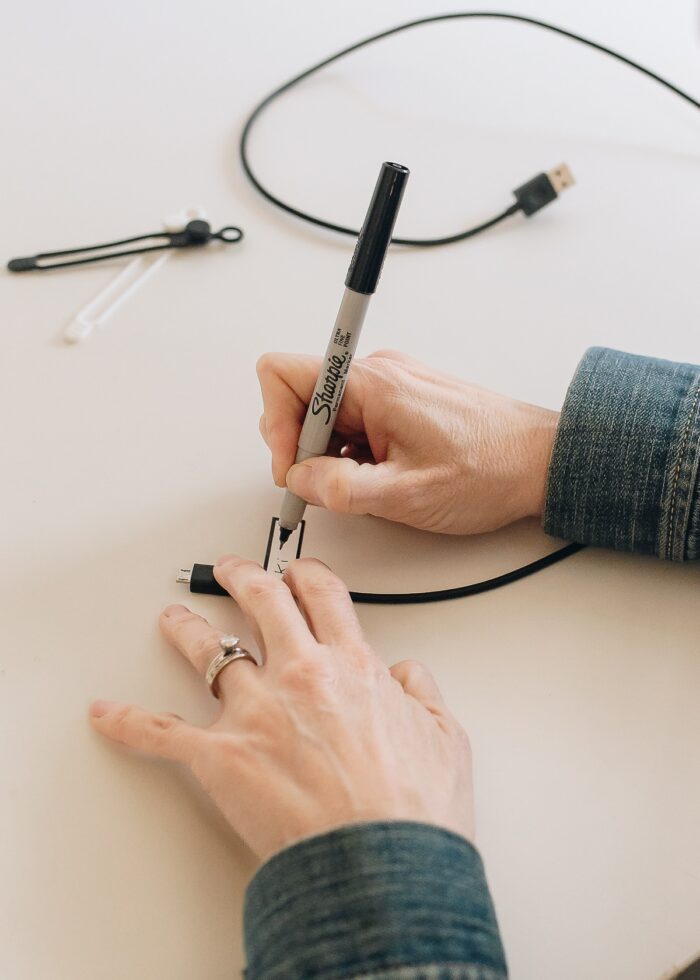
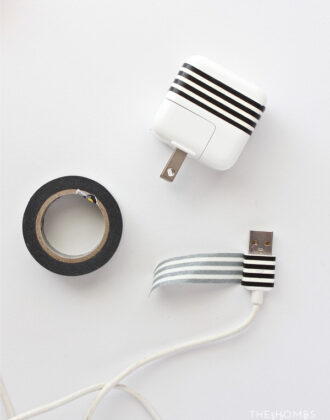
- They are so easy to apply to cords. After wrapping the label around the cord, fold the label portion in half (along a perforated line!) and add a quick label (I found an Ultra-Fine Sharpie works best for smudge-free results!)
- I bought all black, but they do come in different colors if you want to sort cords by family member, device type, room, etc.
- And my favorite part – they are easy to remove. At no point does a sticky side touch a sticky side, so they are as quick and easy to remove as they are to put on!
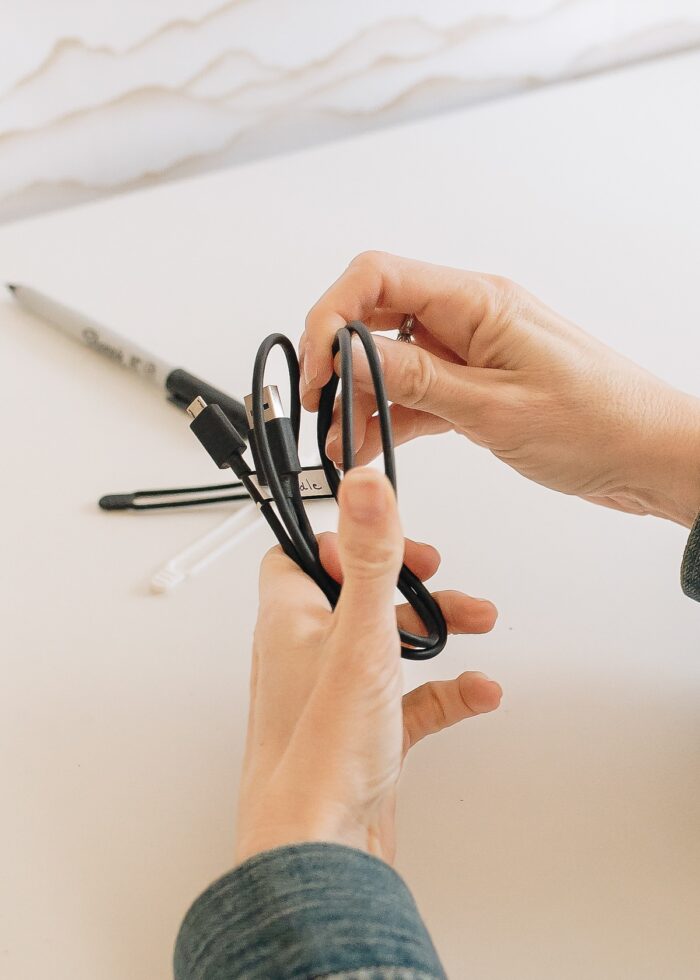
Elastic Cord Ties
For a long time, I’ve used magnetic cord ties to corral untidy cords. But depending on how long/thick your cords are, sometimes the magnets aren’t strong enough to hold the bundle together.
So I decided to give a different design a try, and I’m smitten.
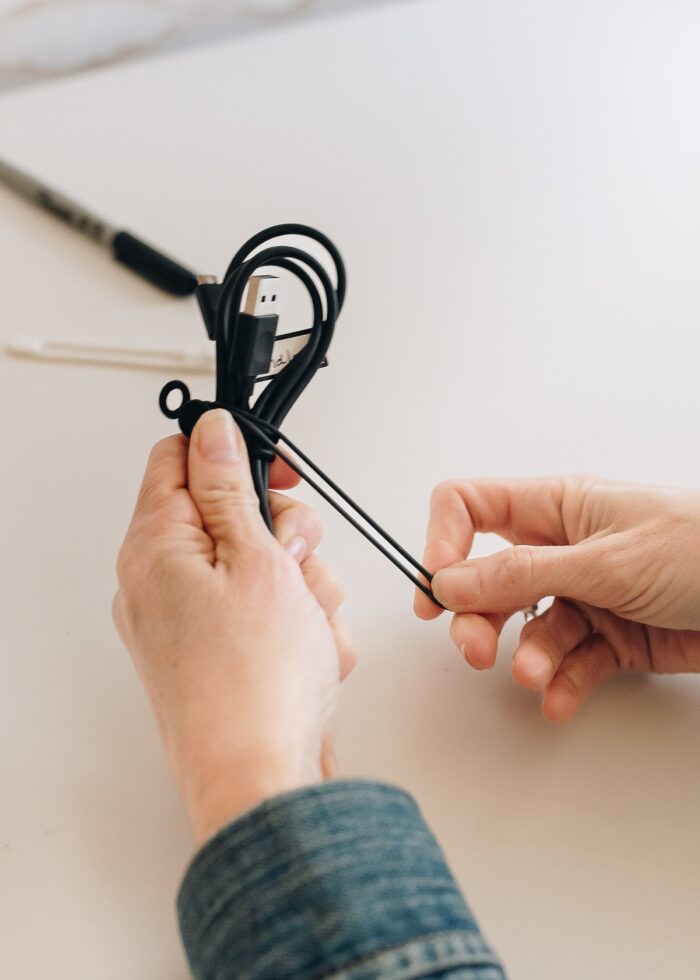
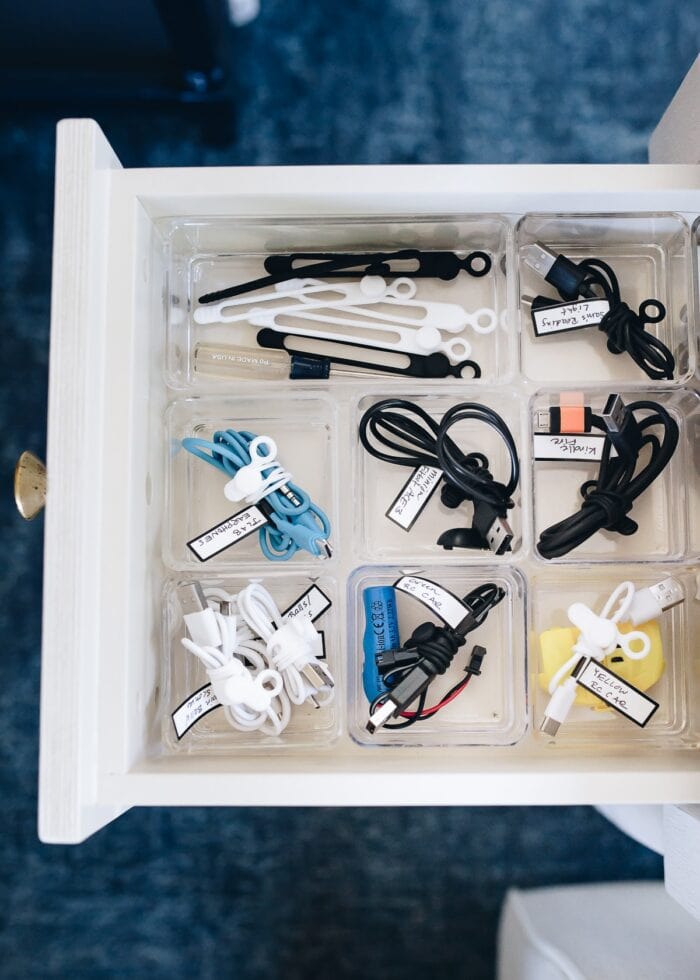
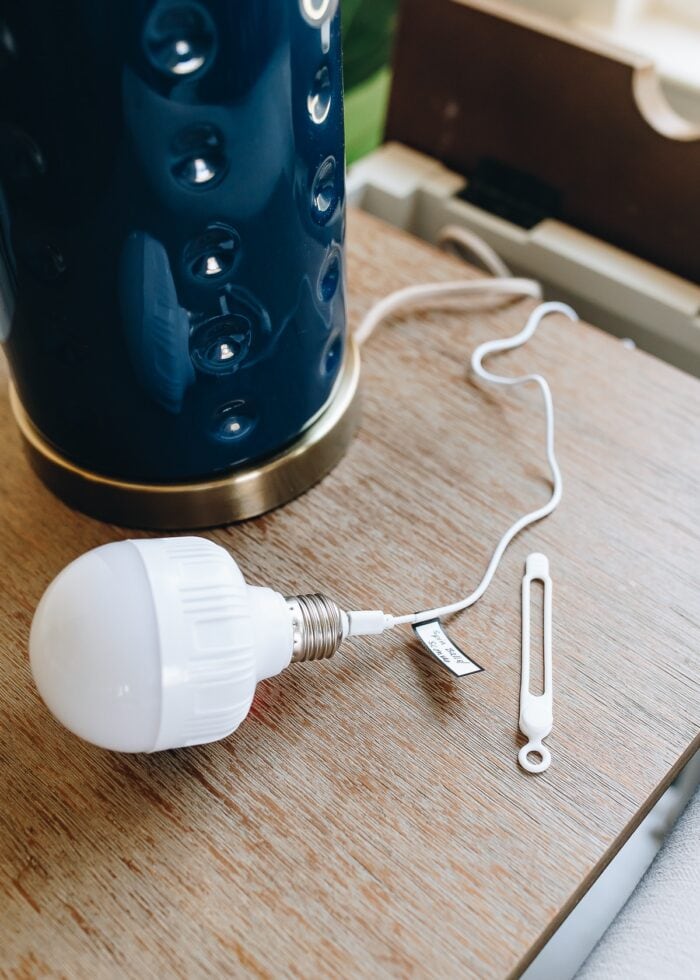
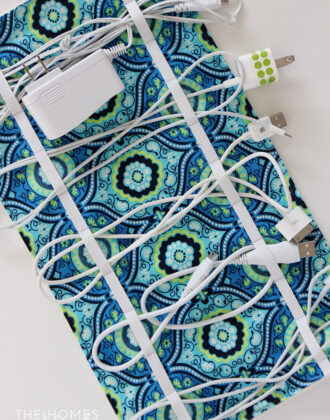
For these cord ties, you simply wrap the tie around your cord bundle as many times as you want/need, and then hook the open-loop end over the “peg” on the other side.
These ties stay together, will always fit (thanks to the elastic design), and make neat, tidy bundles for any cords you have!
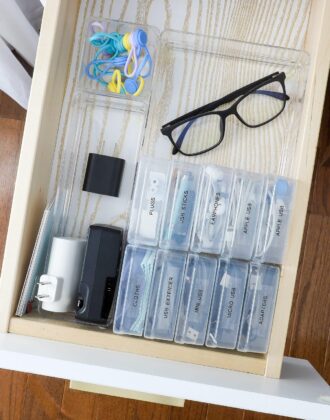
Location Is Key
Okay, so once you label your cords and wrap them into nice little bundles, then what?
Since they’re labeled, you can certainly throw them all into a box, drawer, or tray and call it good (I won’t judge!)
But some thoughtful placement can really take your charging situation up a level.
Want to save this post?
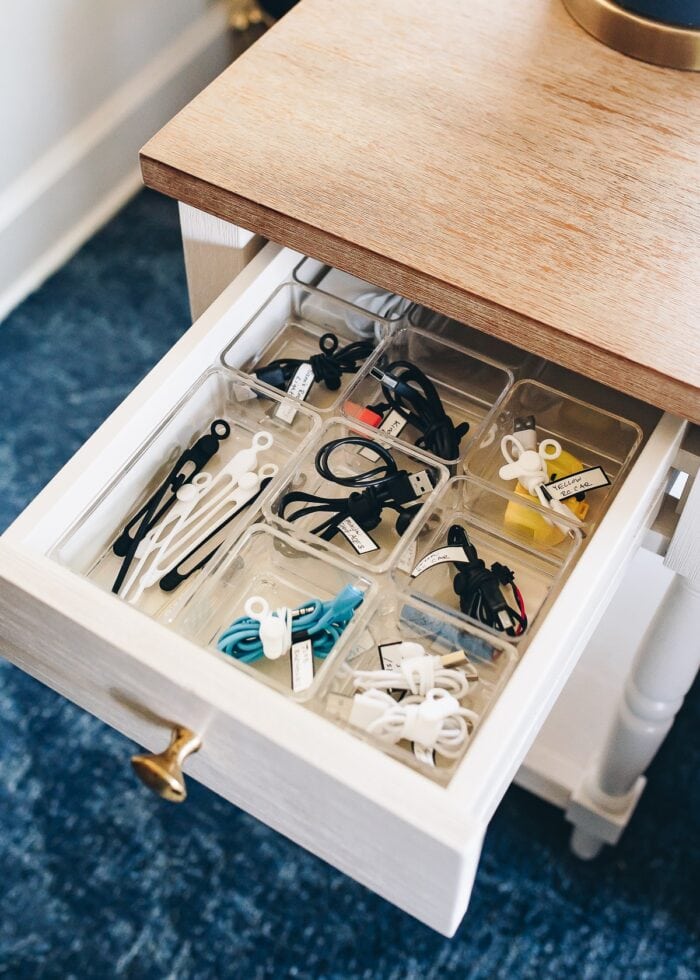
Our family room side tables have charging stations built into the back (love these tables by the way!)
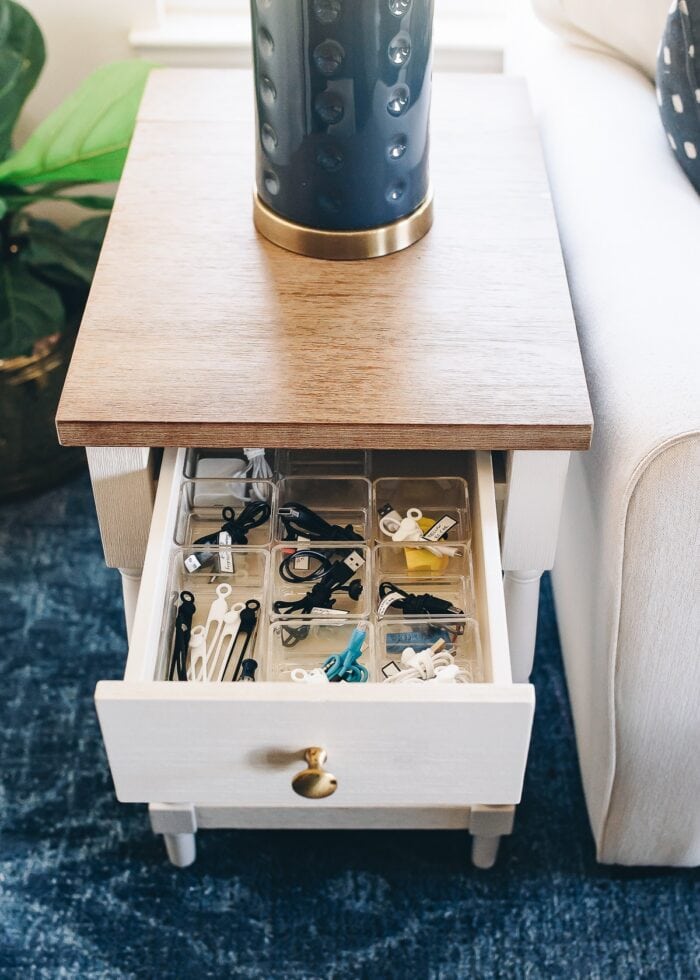
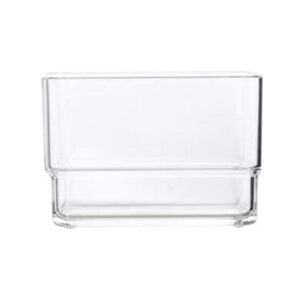
Instead of keeping all the cords in the office or kitchen, it occurred to me that we could store (our most used) cords in this side table drawer (I just used a bunch of these 3×3” drawer dividers to keep them separate).
Now…whenever something needs a charge, the cords, the plug, and a table surface to place it all on…are all in one spot!
Gaaaame chaaaaaaanging!
FWIW: This concept doesn’t require a dedicated piece of furniture. You can create this same functional setup by picking a kitchen drawer, desk drawer, entryway drawer…just make sure it has an outlet nearby!
More than anything, I wish I had figured out this handy cord setup before this past Christmas. Within just a few days of opening presents, we had items in need of charging and no idea which cord belonged to what.
With these ties and labels now at the ready, anytime we unbox something with a cord, we can instantly label it and add it right to our charging station!


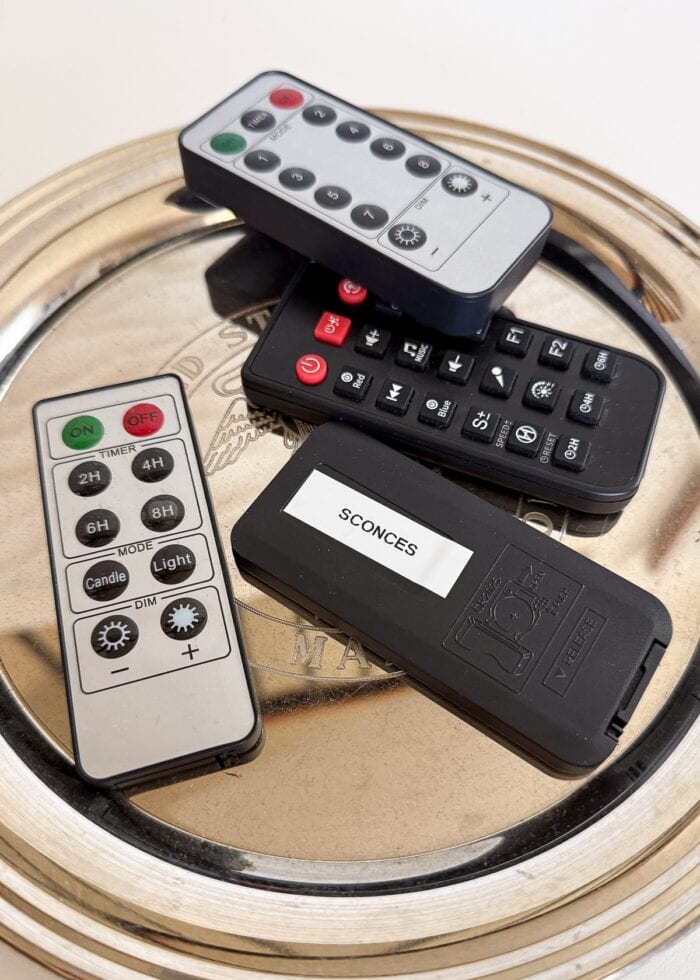
Bonus Tip! (Small Remote Storage)
Next to cords, another item that seems to be infiltrating our house are tiny little remotes (for scones, candles, cabinet lights, kids’ nightlights, and on and on and on).
We couldn’t keep track of which remote went with which light-up item. So I snagged my trusty label maker and put a simple label on the back of each one.
Now, we can keep them all together in a box/tray/drawer, and quickly grab whichever one we need, when we need it!
Megan


One Comment on “A Cord Organization Solution (That Might Change Your Life!)”
I could not love this more. I always think “I’ll be able to tell what this plugs into” and I am always wrong.