3 Fun Ways to Make Personalized Key Chains!
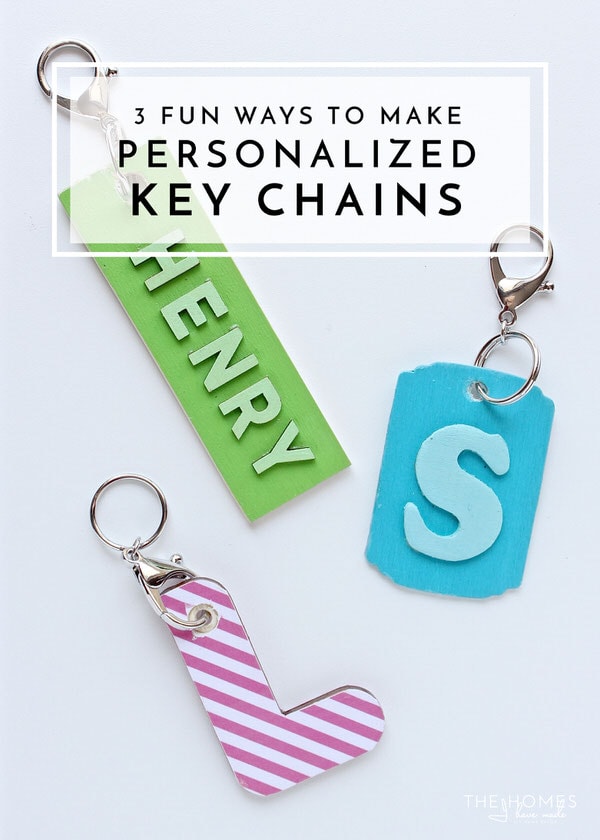
Every time I walk into the craft store…every.single.time…I always check out the aisles that carry the wood shapes and die-cut embellishments. I’m not really sure why! They’re just kind of my “thing” right now, and my brain is always churning up fun and unexpected ways to use them. In the past, I’ve used them to make gift tags, basket labels, toy box labels, “sentiment sticks,” wine charms, and cake toppers (flowers and stars!)…and my latest project has been to transform them into a variety of personalized key chains for Henry and his little friends as back-to-school gifts! I couldn’t really decide what I wanted to do using the variety of shapes and letters I’ve accumulated over the years (which is a lot!)…but after some playing around, I came up with three different (yet all equally as easy!) ideas. I’ve shared two of them as contributor projects on other sites already, but wanted to share the final tutorial here because they turned out too cute not to! Let’s get to it!
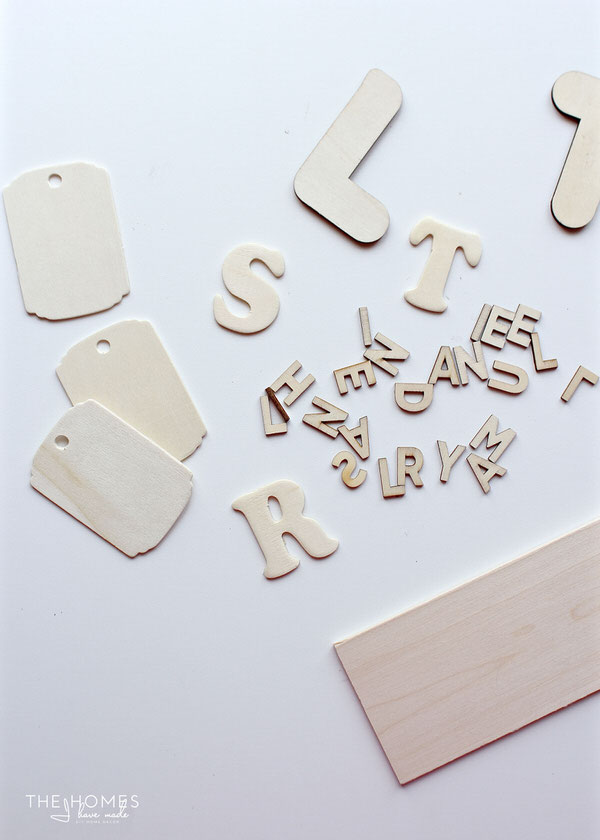
Over the years, I’ve accumulated a good little stash of wood shapes and letters. I pick them up for projects here and there and then always end up with leftovers. Even though I’ve had most of my supplies for a while, I am pretty sure all of them are still available now. If you want to do a similar project, I recommend just going to your favorite craft store (they all have slightly different offerings) and picking out the things you like the best! For these three key chains, I started with wooden tags, three different sizes of letters, and a thin piece of craft wood.
Wooden Name Key Chains
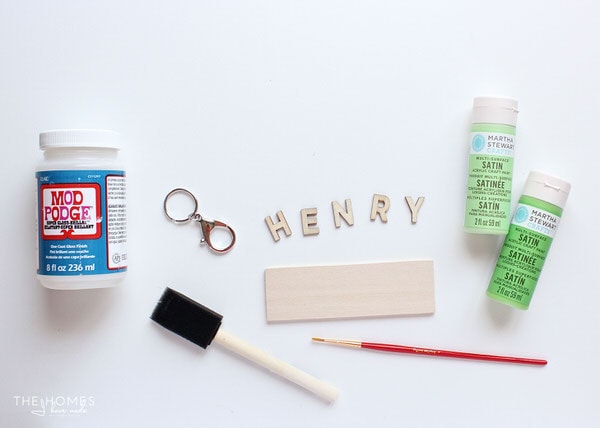
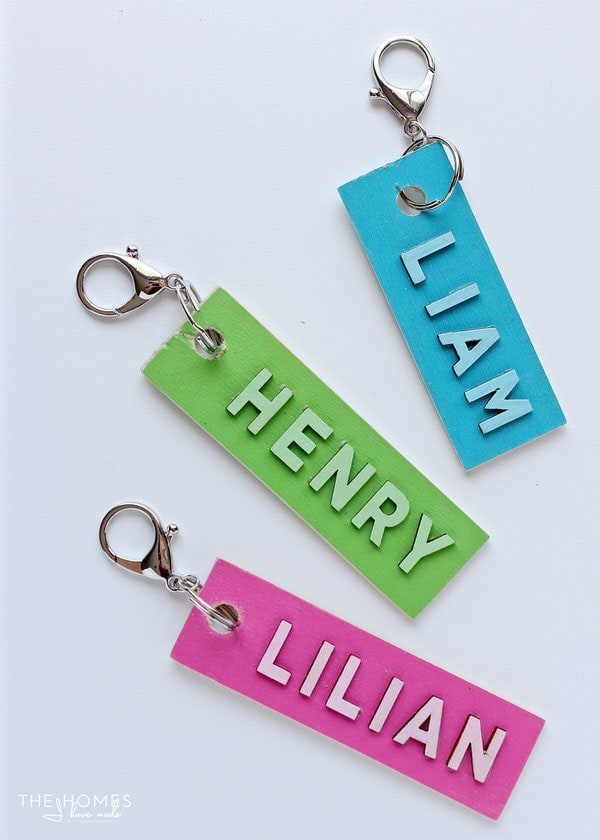
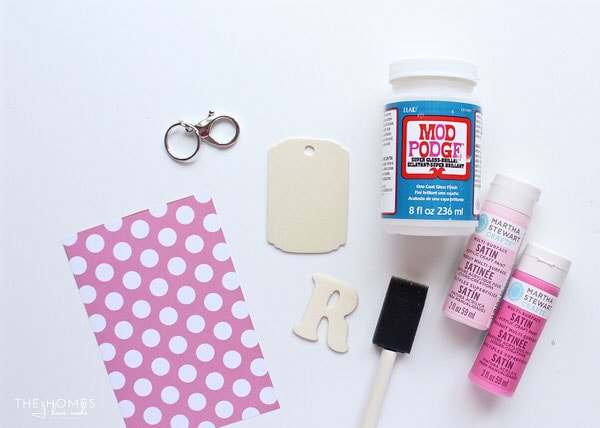
Henry is at an age where he gets a kick out of things with his name on them. Additionally, I loved these itty bitty letters and thought they would produce a neat 3D effect on a key chain. Using just some slats of wood, the wood letters, paint, and a key chain clasp…
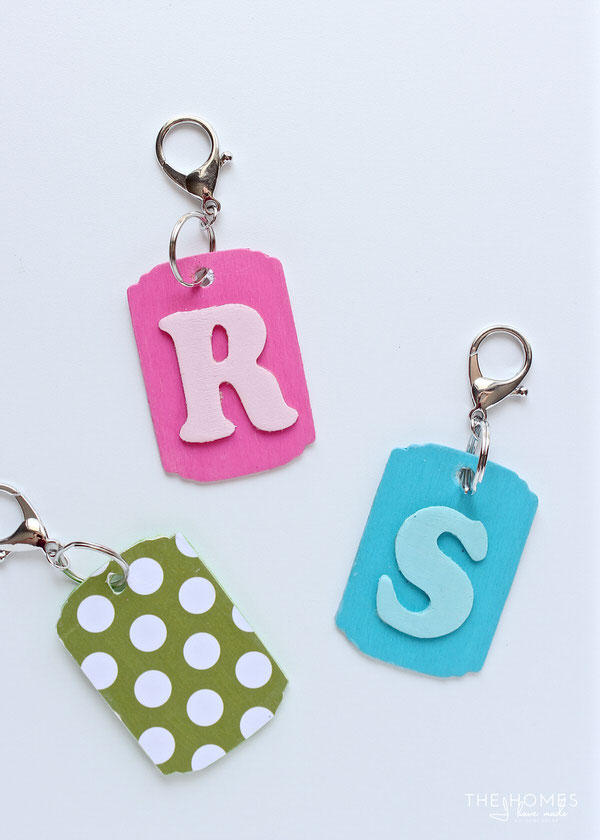
…I was able to pull together some adorable name key chains. These are certainly best for shorter names, but can be painted and decorated in any colors and styles you wish. To make your own, check out the full tutorial HERE!
Simple Monogram Key Chains
For longer names, a monogram key chain might be better. I really liked the way these medium letters fit onto the wooden tags and decided to dress them up with some simple paint and patterned paper.
These are super quick to pull together, making them something easy to make for the entire class, troop, or team! This same concept could also be used to make gift tags for packages at holiday and birthday time! See how they come together using the full tutorial HERE!
Patterned Monogram Key Chains
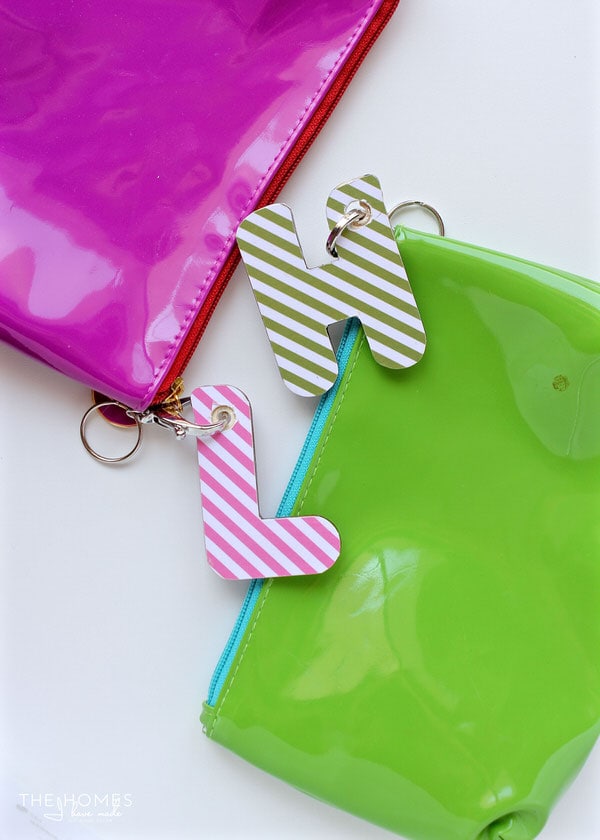
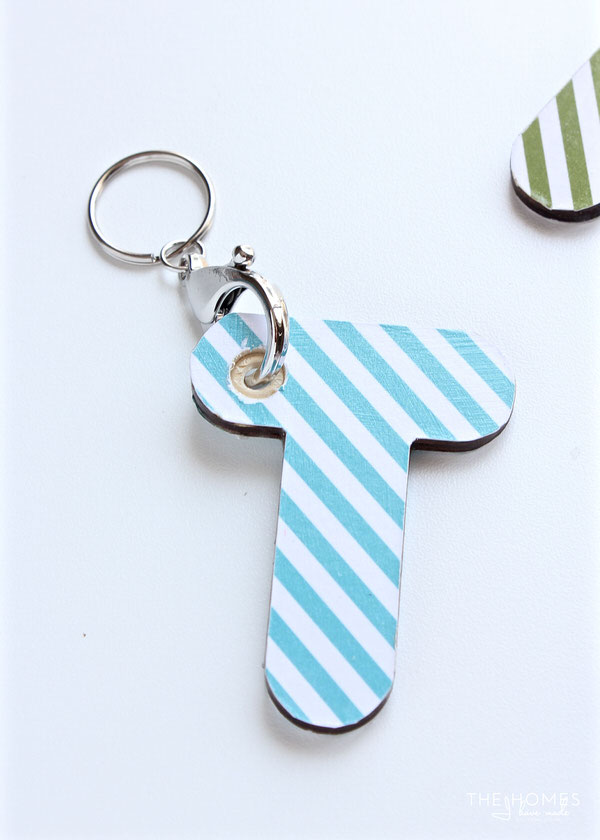
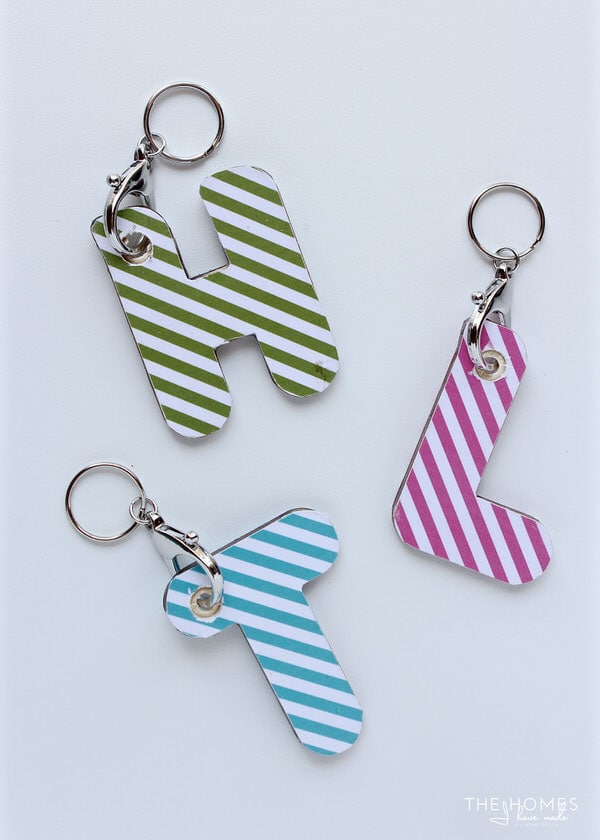
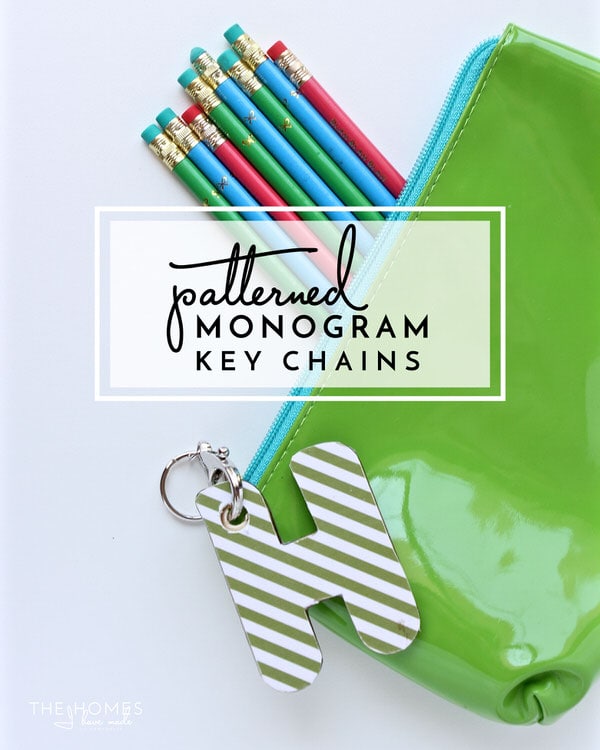
This last key chain is my personal favorite! I love the chunky wood letter combined with the patterned papers…and since the raw wood edge remains exposed, it’s a fun contrast of materials and textures!
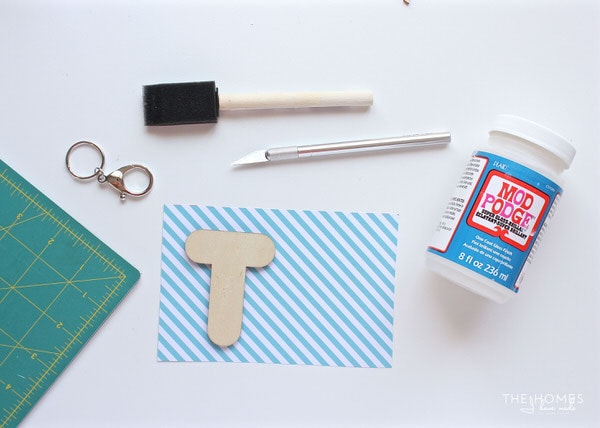
Here is what you need to make this key chain:
*affiliate links used
- Large wooden letters (these are from the craft section at Target)
- Scrap of patterned paper
- Key chain hardware (found at most craft stores)
- Mod Podge
- Tools: Foam brush
, sharp craft knife
, self-healing cutting mat
, drill with paddle drill bit
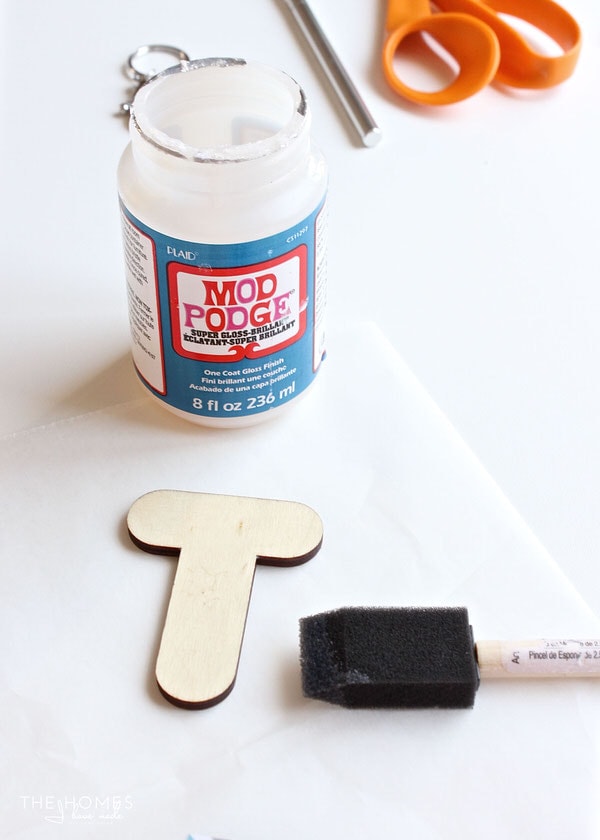
Start by coating one side of the wooden letter with Mod Podge…
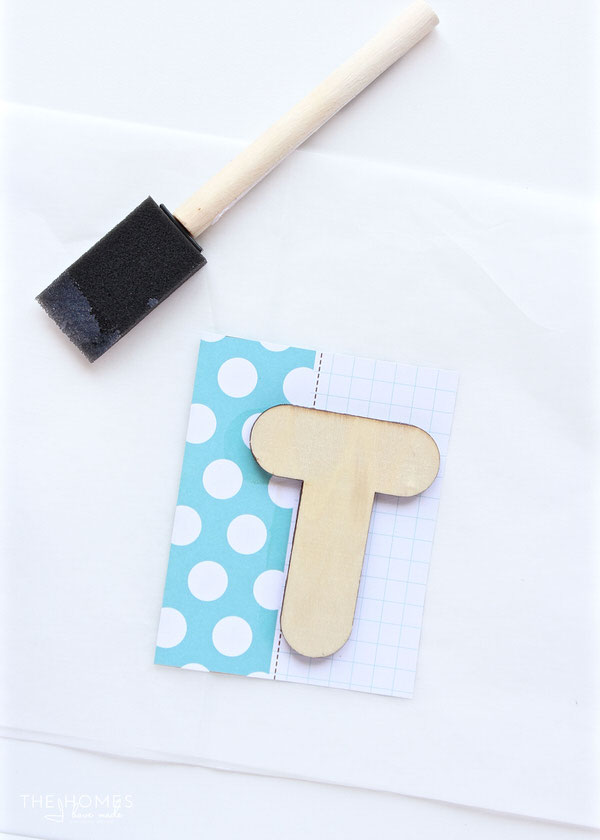
Then place the wooden letter (Mod Podge-covered side down) onto the WRONG side of the patterned paper. NOTE – my paper is patterned on both sides, so what you see below is actually the “wrong” side.
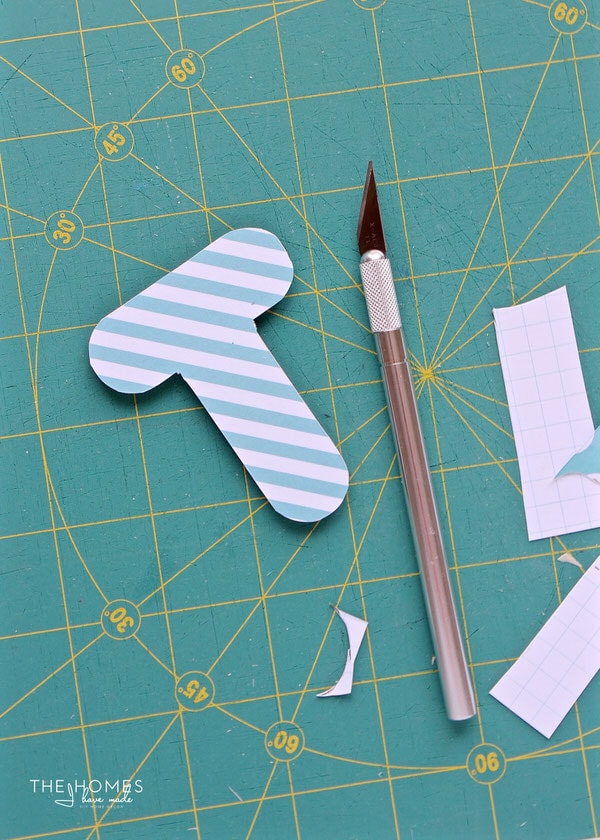
Using a very sharp craft knife, carefully trim away all the excess paper along the edge of the wooden letter. Take care to get as close to the edge as you can so that no paper hangs over the wooden letter.
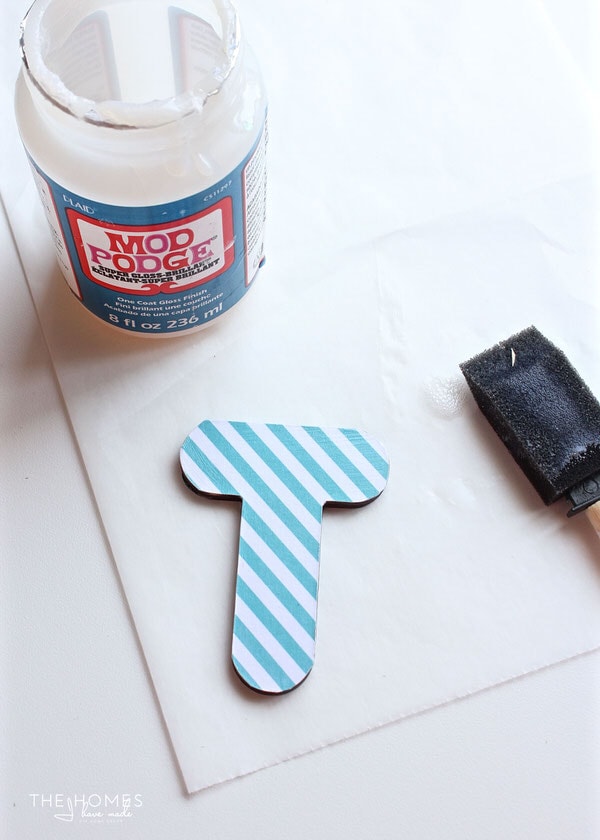
Next, you will repeat the process on the other side! Coat the non-papered side with more Mod Podge, place it down onto the WRONG side of your patterned paper, then trim away all the excess with the craft knife. Once complete, you will have a nice big letter with patterned paper adhered to each side with the raw wooden edge exposed in between!
To make the key chain a bit more durable and weather-proof…coat the entire thing with several more coats of Mod Podge (allowing ample dry time between coats).
Once dry, use a drill to make a hole in the wooden letter. If the paper tears away, clean it up and add more Mod Podge to seal the edges. Finally…add the key chain hardware!
These are so fun, quick, inexpensive and easy to make! Henry loved surprising his best little friends with them!
These are great attached to any backpack, lunchbox, purse, or gym bag…and would also be great to adorn birthday/holiday presents. If you need a quick and fun little gift for any occasion, give these key chains a try!
These personalized wooden key chain projects are a great way to unwind and have a little crafty fun! I’d love to hear if you have you come up with any fun or clever uses for these fun yet inexpensive craft supplies?
See you back here Thursday with a mini command center project!
Megan






3 Comments on “3 Fun Ways to Make Personalized Key Chains!”
These would be so cute to do a back to school teacher gift. Add a gift card for drinks and a candy bar, way cute. Might have to do this for parent teacher conferences.
HI!
Lovely ideas, I must try them!
I was wondering about that golden-button pink-ish bloomer/short in the photo at the very end of your first label method (fabric printed clothing labels): is that one of your patterns? If not, could you please tell me where I can find it? It seems a really lovely piece!
Hi Pol,
THanks for writing. I think what you saw was likely an auto-generated advertisement. I do not see the picture you are referring to, which suggests it was likely due to your unique browsing history. Sorry I can’t be of more help here!
Megan