DIY Star-Spangled Cake Topper!
Hello Blog Friends! Sorry for the sudden silence on this end. Our move kicked into high gear right when I experienced some pretty severe blogger burnout (mostly thanks to trying my hardest to finish out and photograph all the final projects and spaces in our Kansas house WHILE preparing for our move!), and I just had to step away from the computer for a while to take care of all the crazy elements of our life right now. The good news is that I have TONS of content ready to come your way as well as LOTS of life and moving updates to share…in due time! For now, I’m going to pick back up where I left off and share this quick and easy July 4th DIY cake topper project just in time for this weekend’s celebrations!
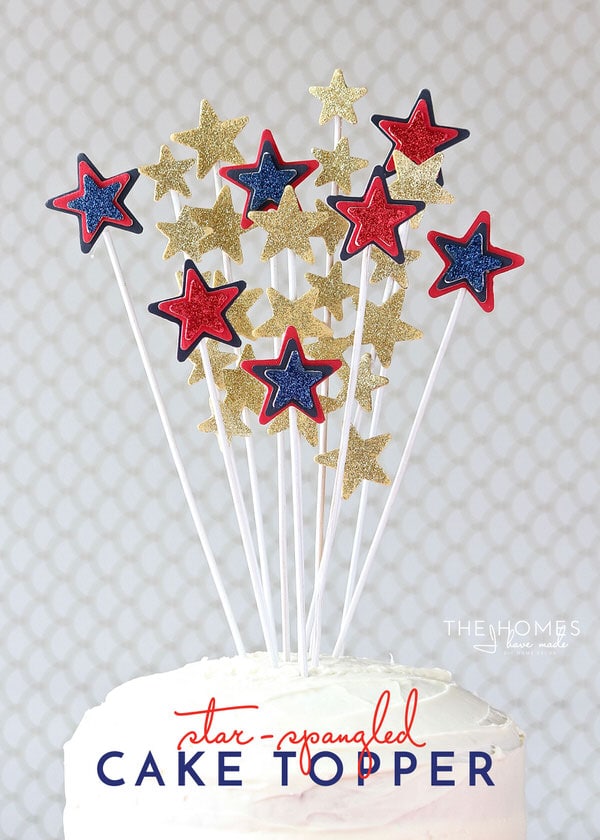
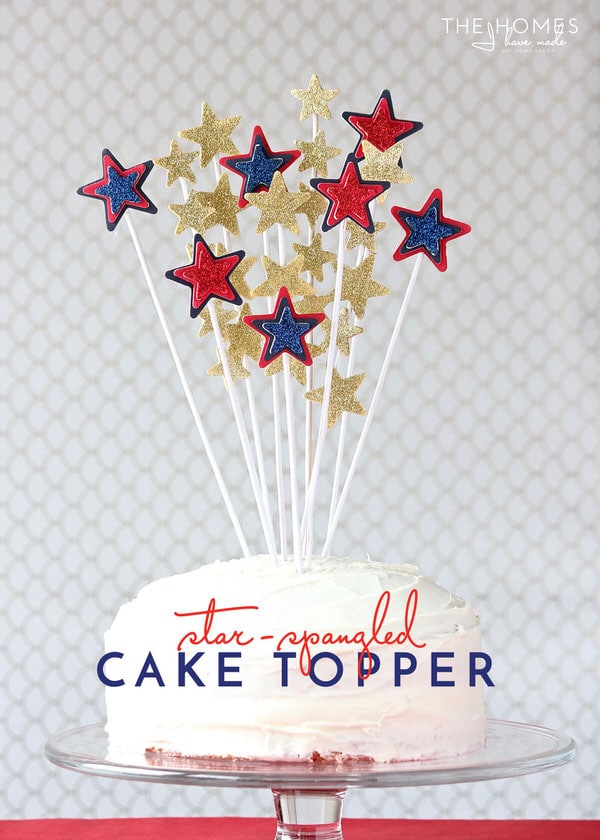
A few months ago, you may recall I had a whole bunch of fun playing with an assortment of wooden shapes to make a Mother’s Day/Spring cake topper. As I was sorting through all the shapes and brainstorming different ways to use them, it occurred to me that I could use the same technique to make a perfectly patriotic version! With just some wooden stars, paint, glitter and glue, you can have a festive decoration ready by this weekend!
Supplies Needed to Make a Star-Spangled Cake Topper
Here are the supplies needed to make a similar cake topper:
*affiliate links used
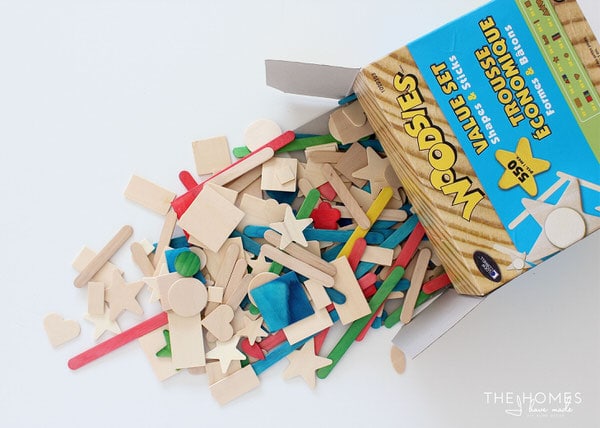
- Wooden stars in various sizes (I bought this box
and pulled all the stars out)
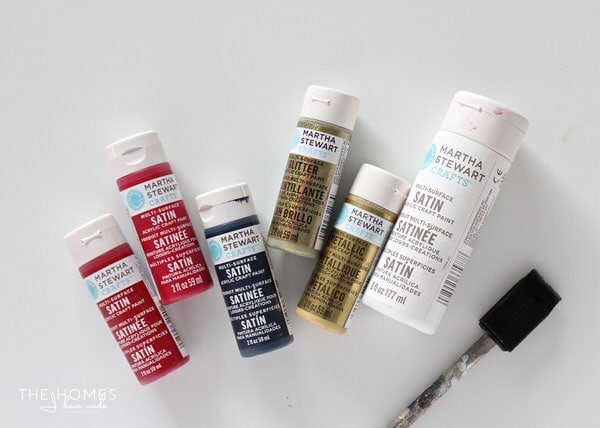
- Acrylic paint in red, white, blue and gold
- Glitter (optional) in red, white, blue and gold
- Wood glue
- Hot glue sticks
- Wooden kabob skewers
- Tools: Paint brushes, glitter tray
(optional), hot glue gun
I started with a big box of wooden shapes and pulled all the various stars out…
How to Make a Star-Spangled Cake Topper
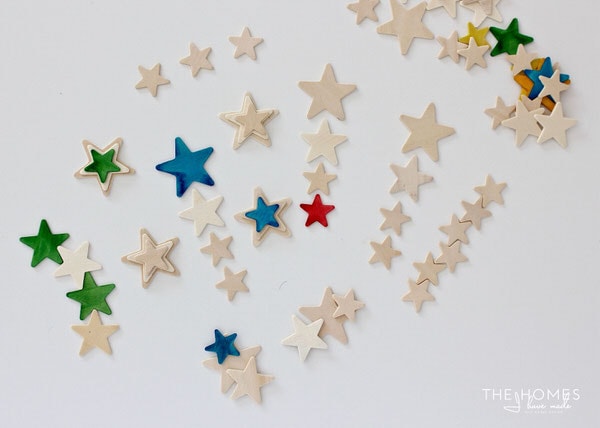
Once you have a bunch of stars in various sizes, start by playing around with different arrangements and patterns. I found that some of the neatest effects came from layering stars on top of each other.
Gather your patriotic paints and a handful of paint brushes… (TIP: this project goes a bit quicker and easier with several sponge/paint brushes!)
…and paint the stars in whatever colors and patterns you like. You may need to do several coats of each color; thankfully, acrylic paint dries quickly so you can apply the second coat almost within minutes!
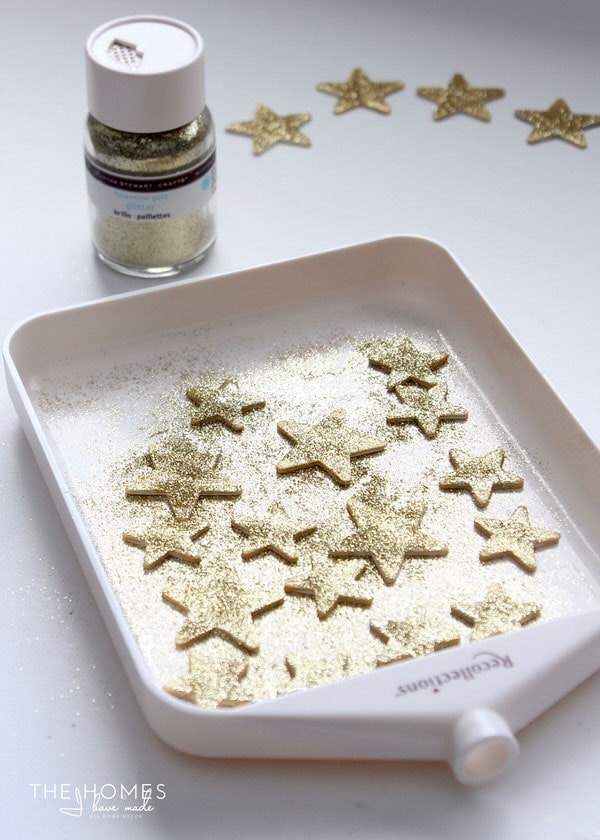
The next step is to glitter your stars if you’d like. You can either paint on some clear glue and douse in glitter, or glitter the stars as soon as you apply the final coat of paint while it’s still wet. Either way, using a glitter tray makes applying AND cleaning up glitter super quick and easy!
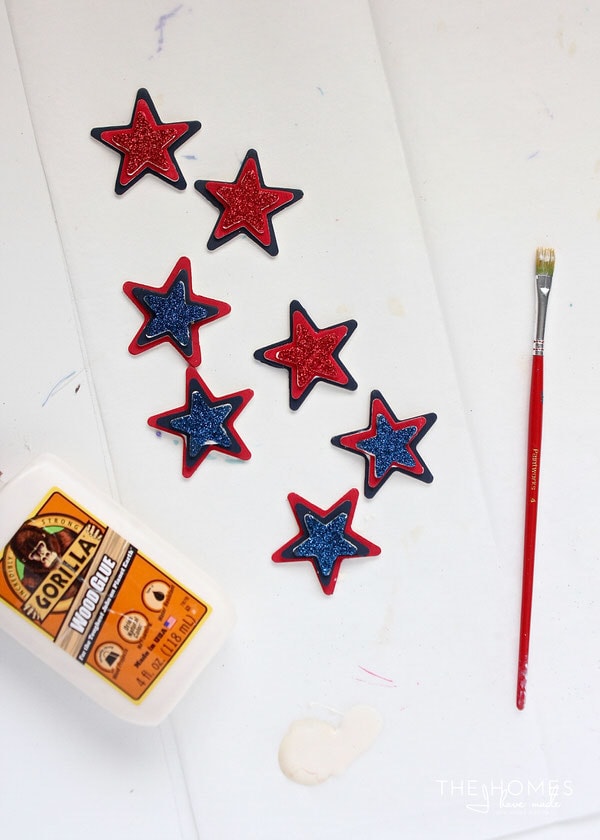
Next, use wood glue to layer the stars. You can certainly use any type of glue you like here, but I did find that hot glue is too thick, leaving a mess and and a gap between the star layers.
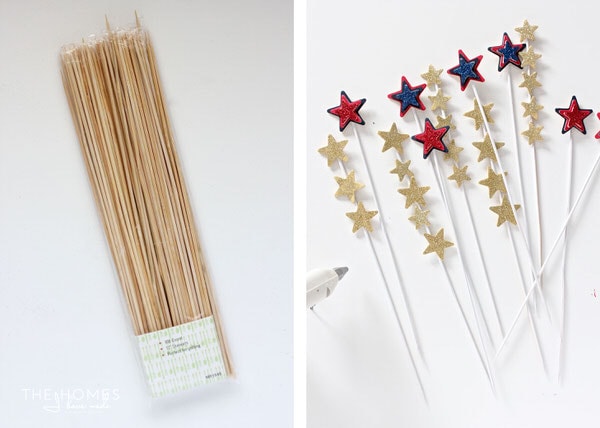
Once all the stars are painted, glittered, and glued, use a hot glue gun to attach them to wooden kabob skewers. (TIP: I painted my kabob skewers white before adding the stars to help the stars pop a bit more.) I glued 3-5 small gold stars in lines onto single skewers and then the red/blue layered stars onto their own skewers.
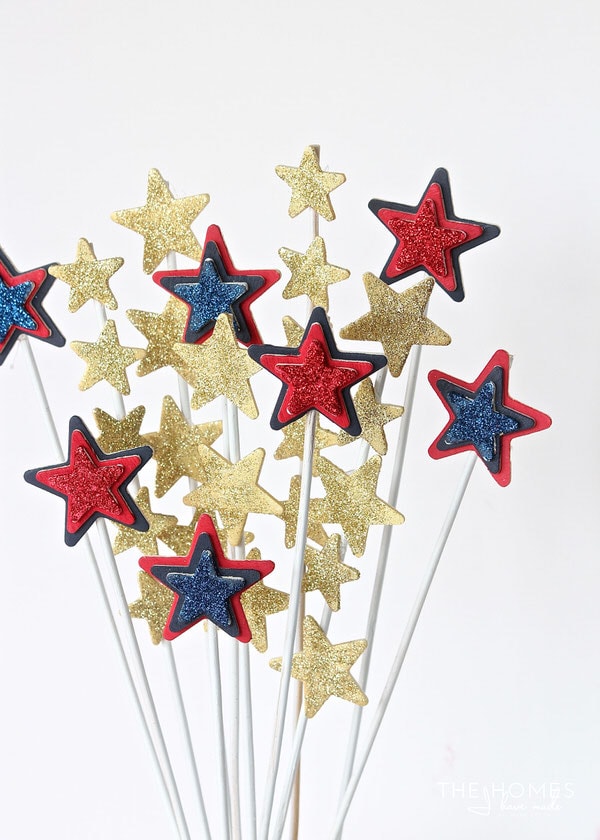
The final step is to make or buy a cake and stick all the skewers in the top! Take a bit of time to arrange the skewers so the stars look like a starburst…and don’t hesitate to trim down the sticks to achieve different heights.
And with that, you can have a patriotic dessert perfect for your July 4th celebrations or Labor Day festivities at the end of the month! It’s quick, easy, and inexpensive (of course, depending on the size of your craft stash 😉
I hope your summer is off to a great start! Fingers crossed I can ease back into my blogging groove now with some time off. Back here on Thursday, I have my next Organize This installment, and this time I’m giving you a glimpse inside my purse! See you then!
Megan






3 Comments on “DIY Star-Spangled Cake Topper!”
This is so cute! And it would be the perfect cake topper for my sons Birthday, which is July 4th. Now to find the supplies. 😀
Hi Megan
I’m glad to hear from you again and hope everything will go right for your move.
What a lovely idea and maybe I could inspire me from this because even if we haven’t any star on our flag our colors are the same and our national day is on July the 14 th.
So have a nice celebration and I do hope we will see the cake 🙂
Michèle
Oh you are just too crafty my friend!
Great little project 🙂
Lauren | Lovely Decor
xx