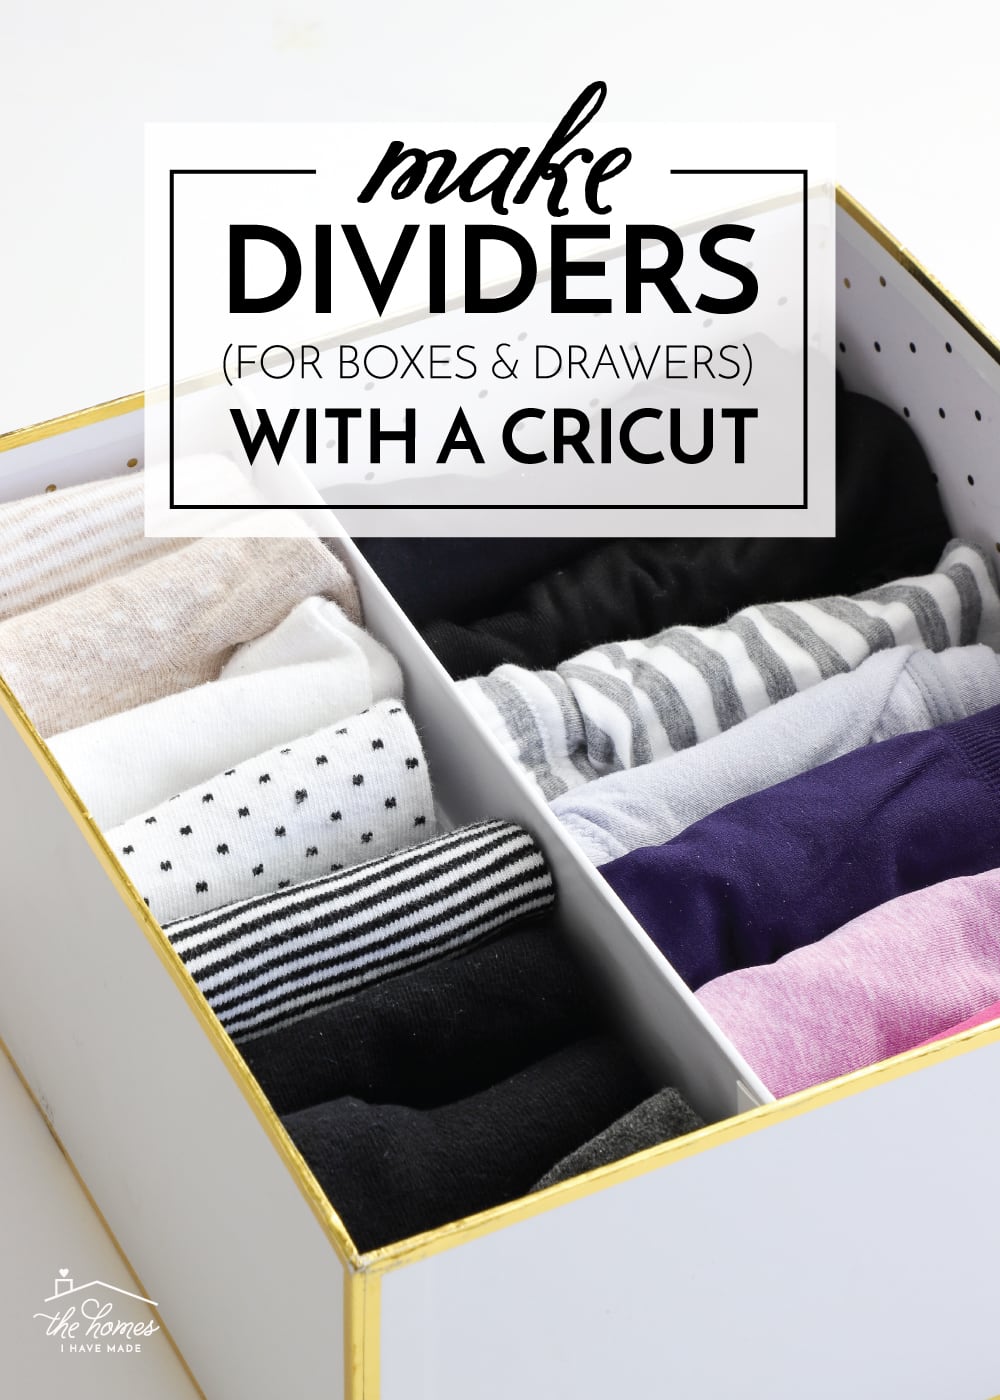
How to Make Box or Drawer Dividers with a Cricut Maker
Alright friends…if there is one thing you likely know about me by now, it’s that I like a good drawer divider hack. Because we move so much and are constantly having to find new and different ways to organize all of our stuff, I hate spending tons of money on something that just won’t be a permanent solution. My DIY Drawer Dividers (made with foam core and cable clips) are one of my favorite (and most popular!) ways to compartmentalize a drawer, but they are also a bit imprecise and labor intensive since you do all the cutting by hand. I had a hunch I could make some snazzy box or drawer dividers with a Cricut Maker and chipboard…and after lots of experimenting, I figured out a really simple method! I’m so excited to share this clever project with you because it has so many applications all over the home!
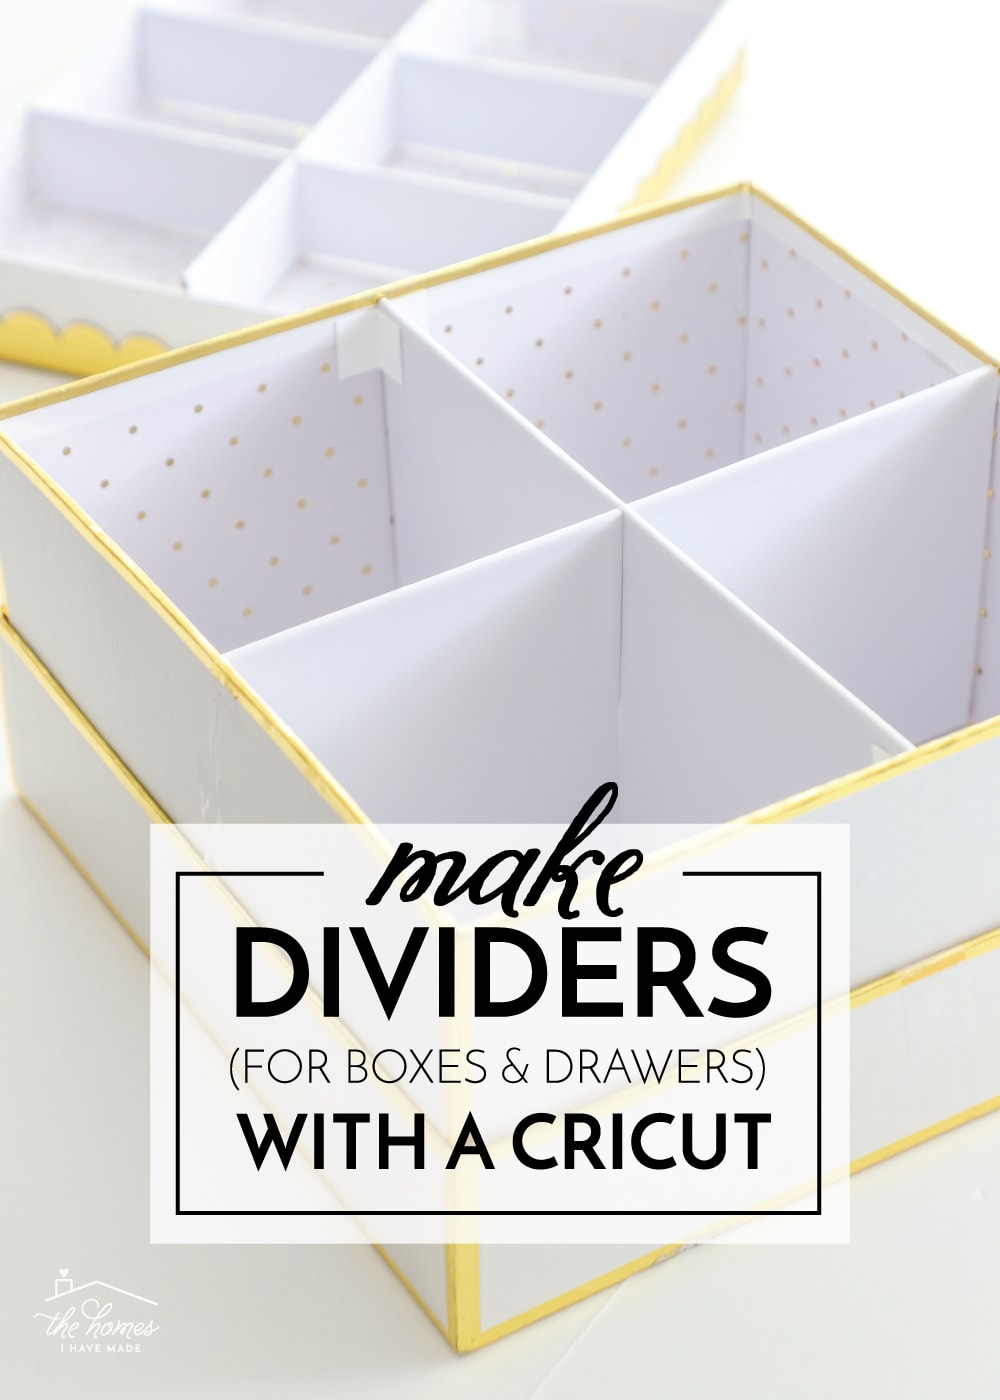
These dividers are designed to be “interlocking,” which means they hook into each other. This creates a super sturdy, flush design; and with a little math, you can truly make any layout you need.
Whether you want to create some division in a drawer or break up some boxes to hold cords, jewelry, office supplies, ornaments, etc, relying on an e-cutter machine (like a Cricut) ensures you get very precise measurements, resulting in really professional-looking dividers!
Supplies Needed
For this project, you will need:
- A box or drawer to divide up
- Cricut Maker (or other e-cutter that can cut thick chipboard)
- 2mm Chipboard – Cricut.com | Amazon
Optional supplies include:
- Vinyl (to wrap each divider and hide the brown chipboard)
- FREE Bracket SVG file (to hold the dividers firmly in place) (NOTE: Once you click the link, the file will automatically download to your Downloads folder.)
- Cardstock that matches the inside of your box or drawer
- Scoring Wheel for Cricut Maker
- Strong Double-Stick Tape
A Note on Divider Size
When making box or drawer dividers on a Cricut Maker, your biggest limitation will be size. Cricut’s 2mm chipboard (which results in really nice, thick, sturdy dividers) only comes in 11″ sheets, meaning you can only make 10.5″ long dividers. However, you can find larger chipboard sheets (on Amazon or at your local craft store) which would yield larger versions for bigger drawers.
Video Tutorial
To watch this project from start-to-finish, see the video below. If it doesn’t show up in your browser, click HERE!
How to Make Box or Drawer Dividers with a Cricut Maker
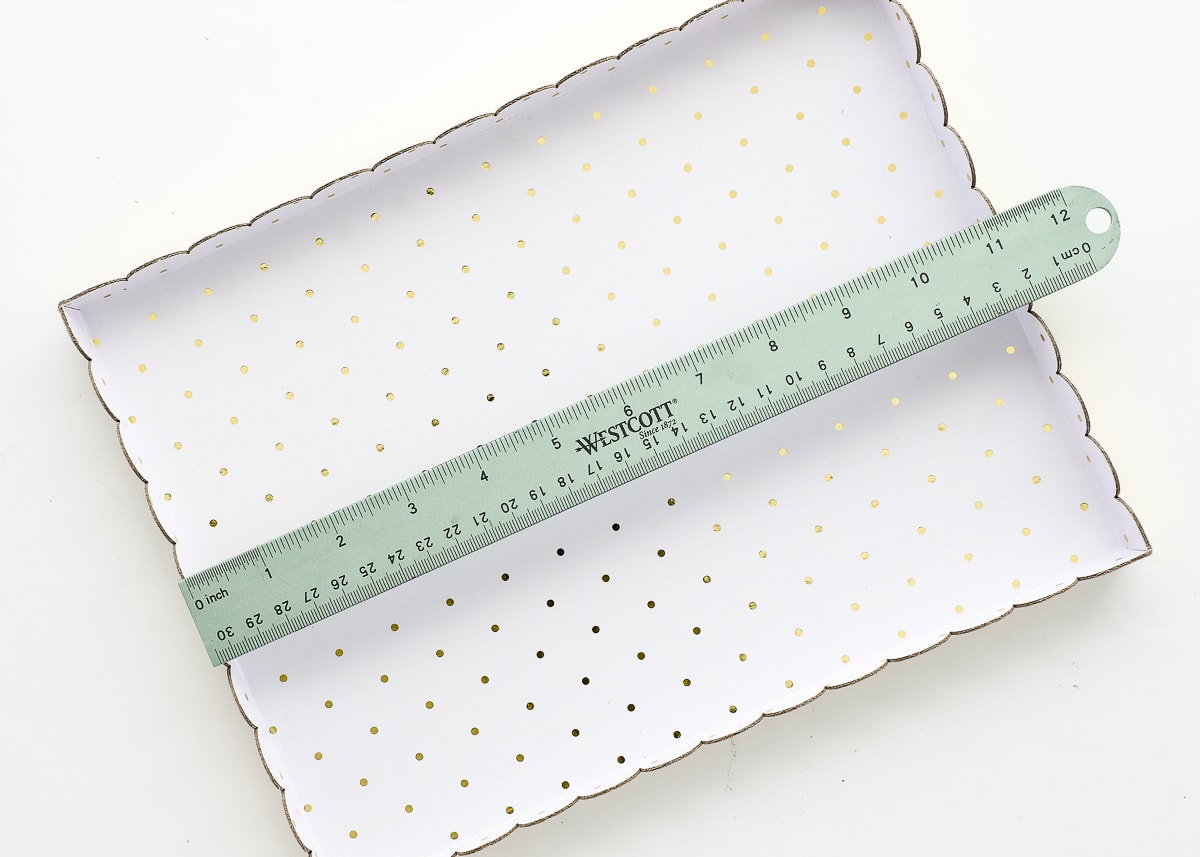
Start by measuring the width, length, and depth of your box or drawer. Be as precise as you possibly can since your measurements will determine how snug the dividers fit.
Next, translate those measurements into divider shapes in Cricut Design Space (or your e-cutter’s design software). To do this:
- Place a square (from the Shapes menu) onto your canvas and size it to match your LENGTH X HEIGHT.
- Place a second square onto your canvas and size it to match your WIDTH X HEIGHT.
- Place another square onto the canvas and size it to measure 0.08″ X 1/2 HEIGHT.
- Align it to the BOTTOM and MIDDLE of one divider.
- Slice the 0.08″ slit out of the divider shape.
- Place one final square onto the canvas and size it to measure 0.08″ X 1/2 HEIGHT.
- Align it to the TOP and MIDDLE of the other divider.
- Slice the 0.08″ slit out of the divider shape.
Use the image below to help you size everything just right!
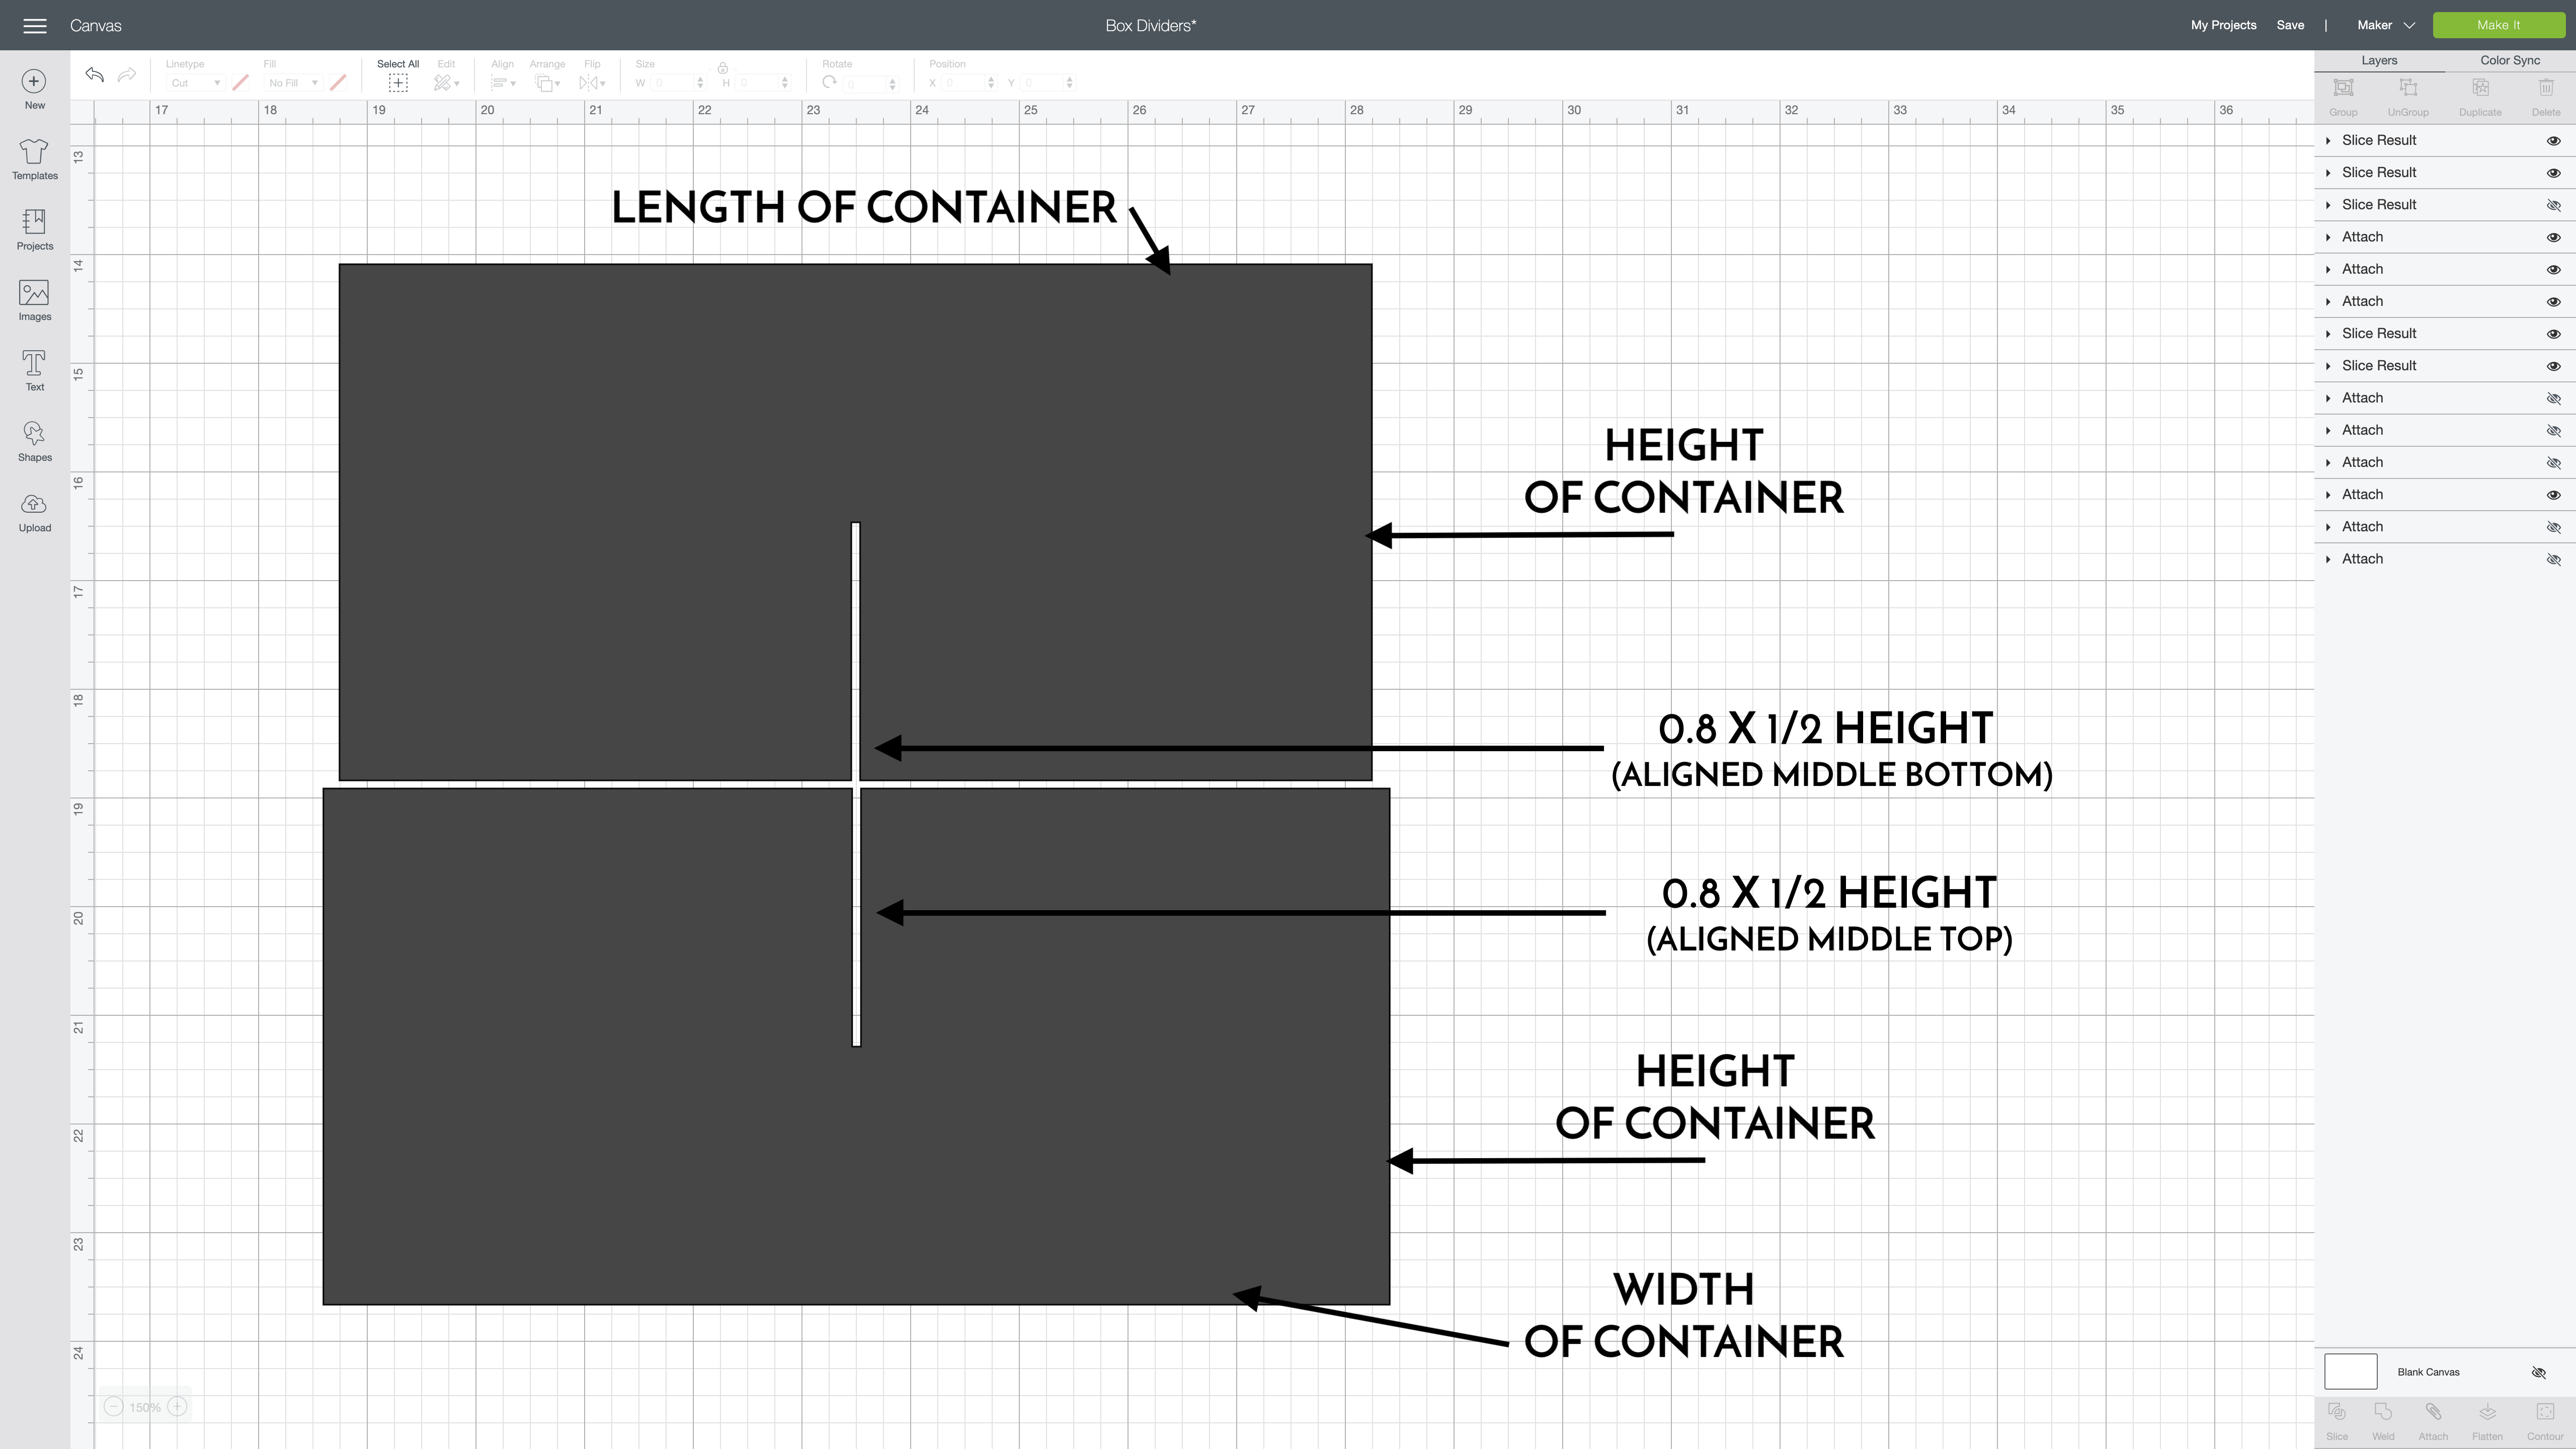
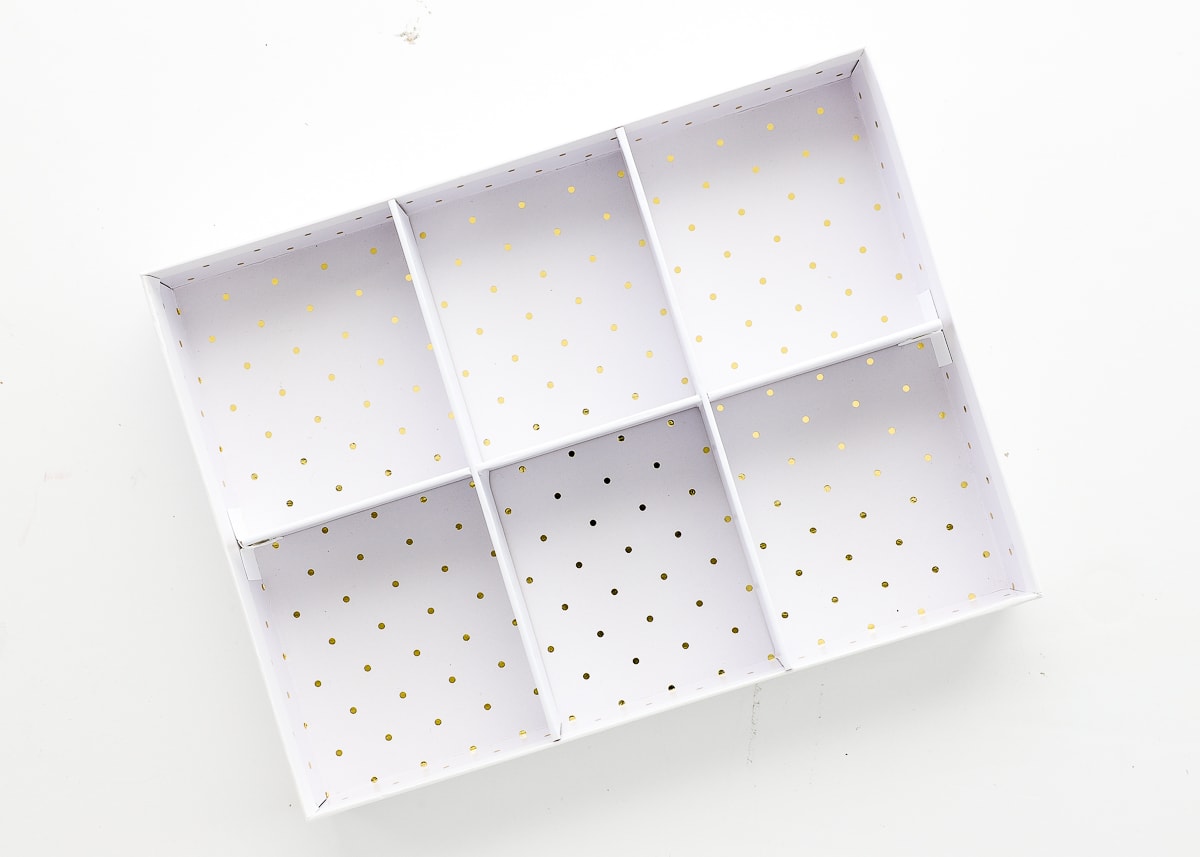
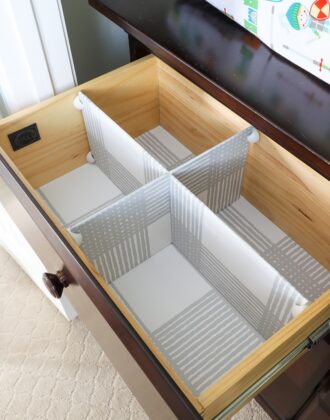
NOTE: If you don’t want your dividers to intersect in the middle, or if you want more than a basic “X” layout (like my 2×3 example in the second picture), you will need to figure out the slit placement(s) on your own. No matter where you put them, they should always measure 1/2 of the HEIGHT and be aligned to the bottom of one divider and the top of the other so they slide into each other all the way.
The hardest part of this entire project is figuring out the measurements so they match your box or drawer perfectly. Once you have the dividers setup (as shown above), the next step is to cut them out of chipboard with your Cricut Maker. If you’re new to cutting chipboard, refer to my comprehensive tutorial HERE.
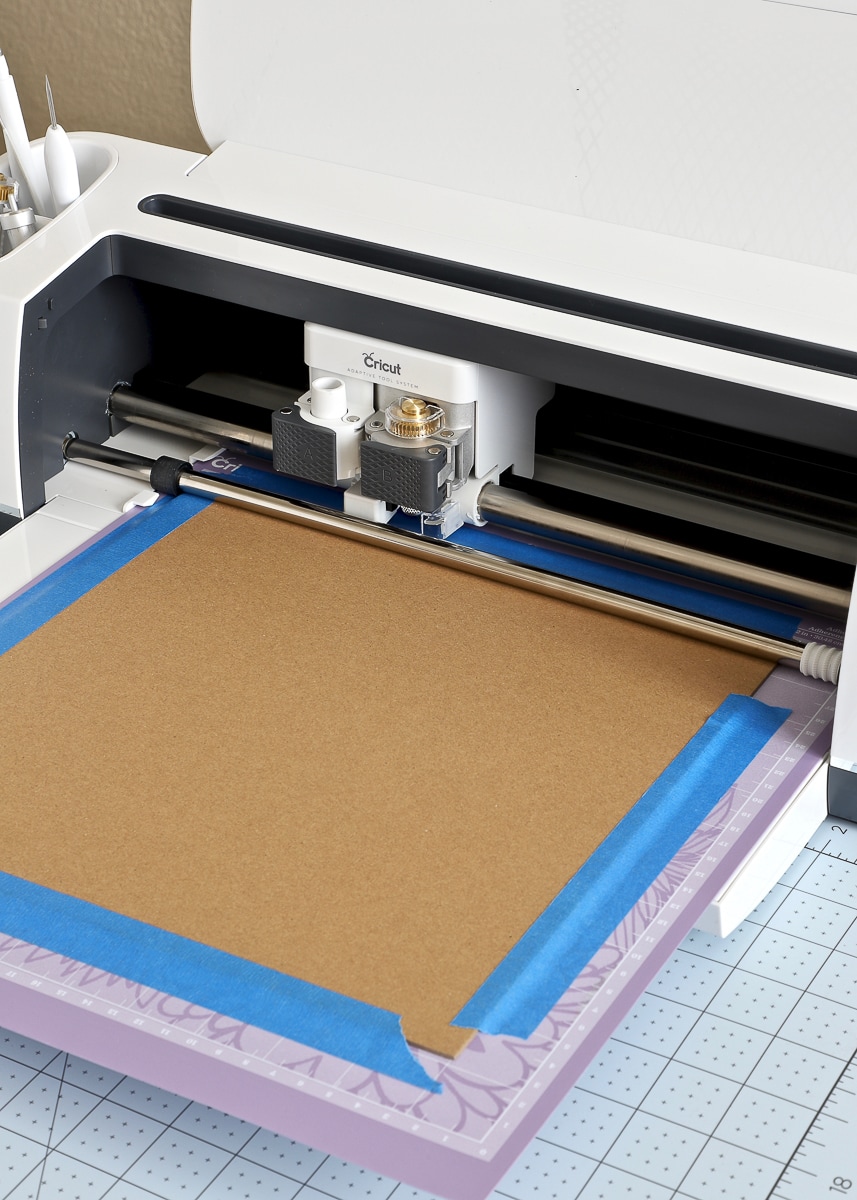
Although it may take a while (it usually takes the Cricut Maker a long time to cut all the way through chipboard), when you pull the excess chipboard away, you’ll have perfectly-sized and oh-so-clean dividers!
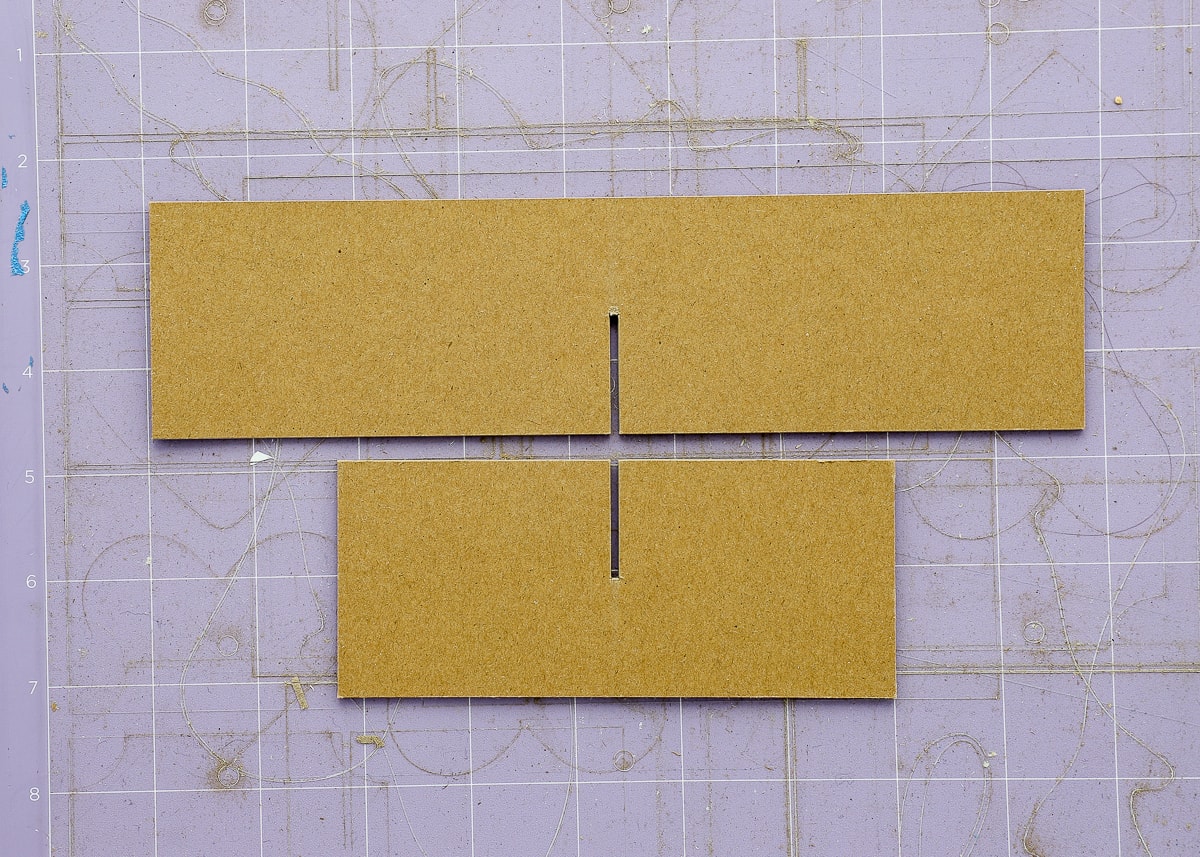
Technically, once your dividers are cut, you can slide them into each other and place them in your box or drawer. But I took a few extra steps to ensure the dividers not only looked good, but were also as sturdy as possible.
Finishing Steps
As you can probably guess, I didn’t like the rough brown texture of the chipboard dividers against my sparkly white box, so I covered each one with some basic white vinyl (don’t hesitate to pick something fun that would pop against a plain interior!) This process is really easy (especially using my favorite True Control Knife to get clean edges); but instead of showing you in 100+ photos, please refer to the video at the end of this post to see exactly how I did it.
Want to save this post?
The other optional but highly-encouraged step is to create “brackets” to hold the divider(s) in place. Even with precise measurements, the dividers might slip and slide a bit, and this final step will ensure they don’t budget at all.
First, download my free Bracket SVG file and upload it to Cricut Design Space (refer to THESE instructions if you need help).
Before cutting:
- There is no need to re-size the image:
- The bracket currently measures 0.75″ high, which will be perfect for most dividers.
- If you do need to resize it, be sure you only change the height (and not the width) to maintain the fold line spacing.
- Change all the vertical lines to “Score” in the top Linetype menu.
- Select all the lines and the rectangle shape and “Attach” them all together.
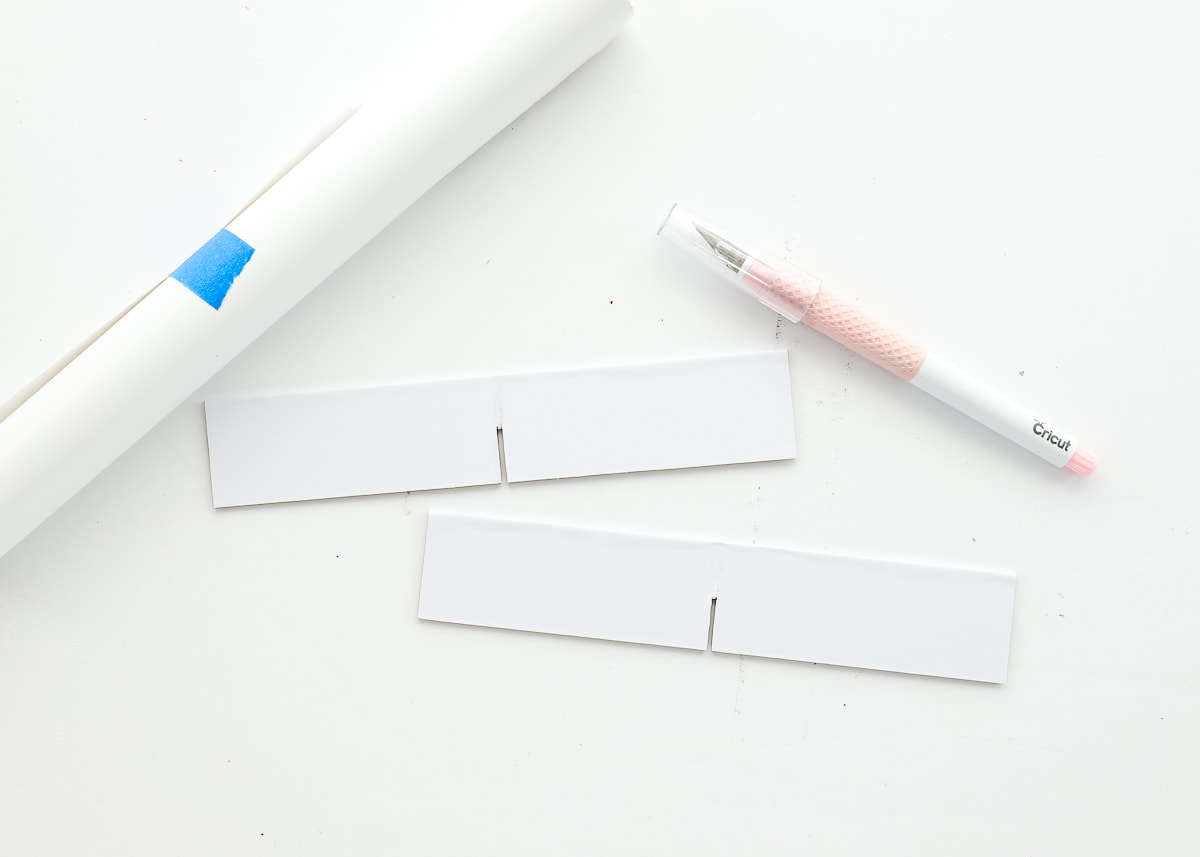
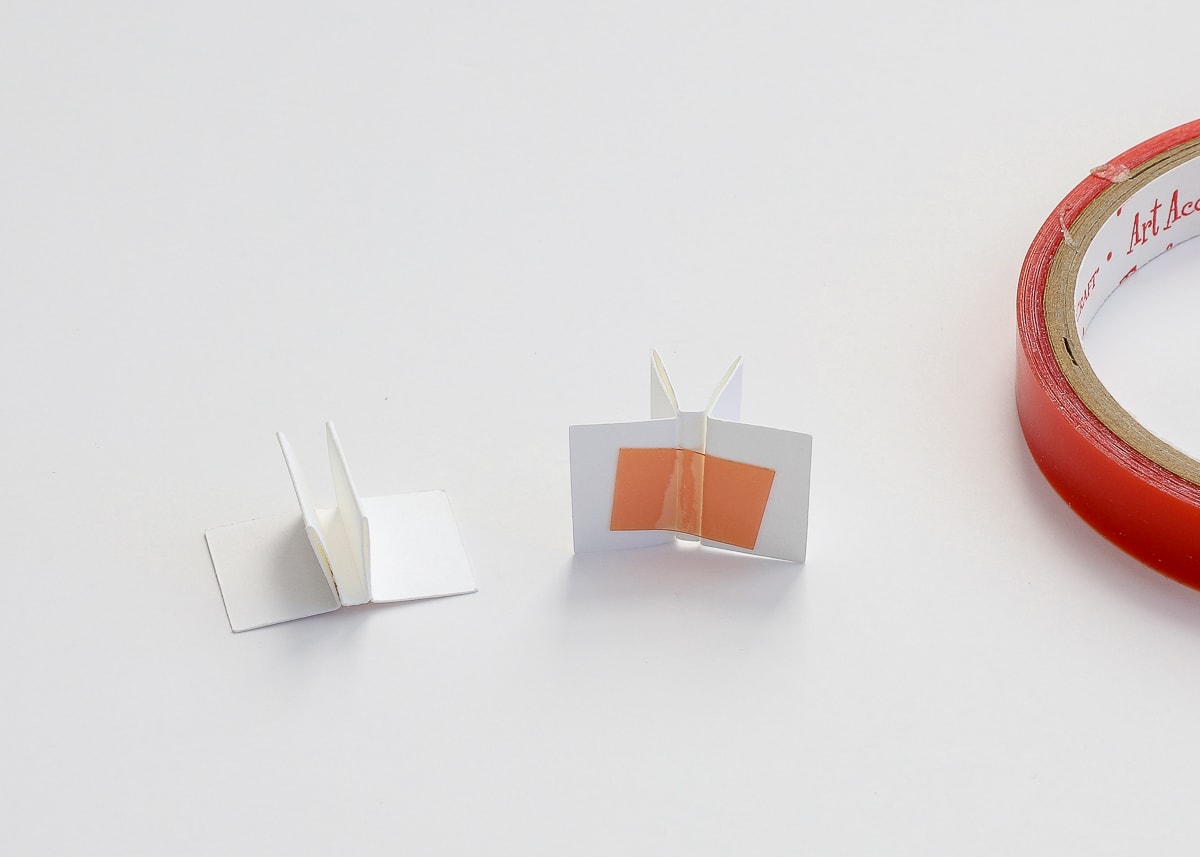
When ready, cut a bunch of brackets from basic cardstock that matches the inside of your box or drawer. Once cut, fold all the brackets on their score lines as shown below. Note that the bracket has a flat center in the middle of all the folds.

Next, use some strong double-sided tape (better than glue) along the back of the folded up bracket, as shown below. As you can see, below left, you will ultimately have a channel that your chipboard divider can slide into!
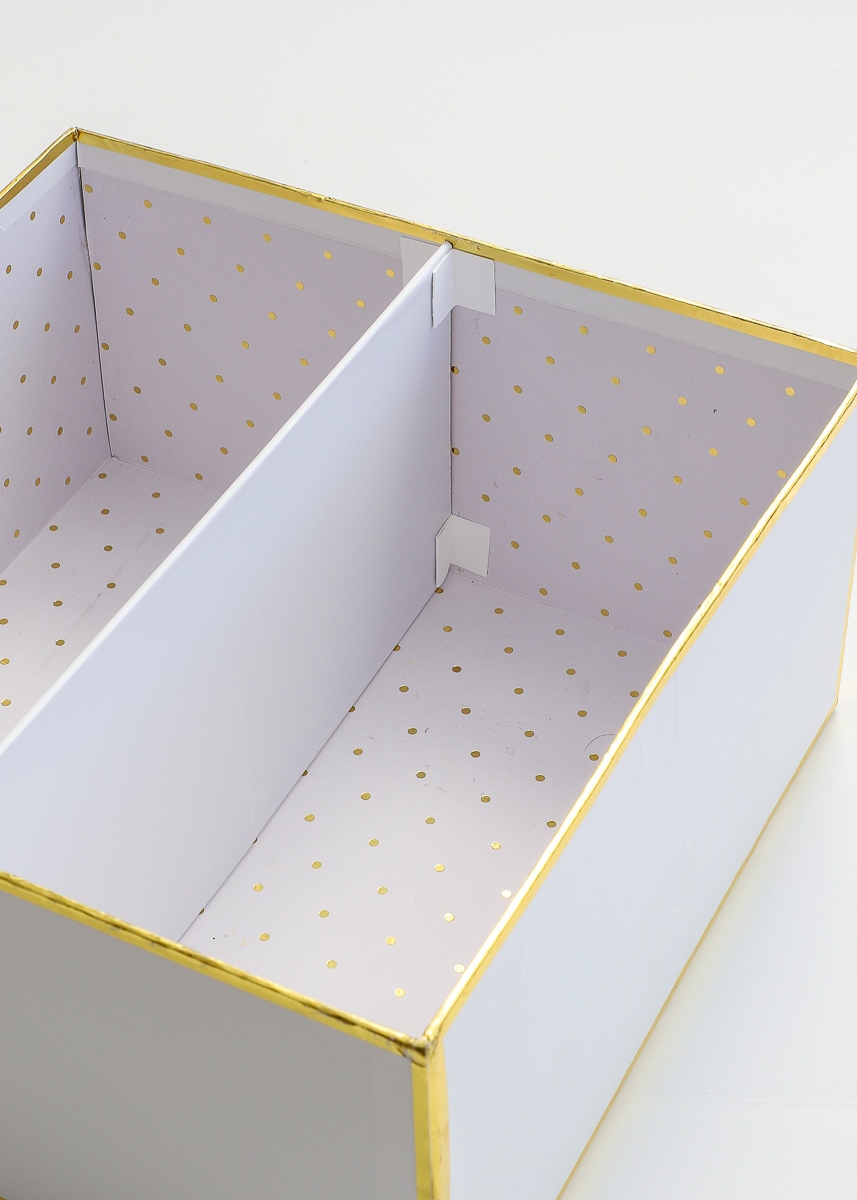
The final step is to slide the bracket between the insides of the box/drawer and the divider, positioning the end of the divider in the center of the bracket. Once you like the position, remove the backing off the tape to secure the bracket to the inside of the box. Then add additional strips of tape between the inside flaps of the bracket and the side(s) of the divider(s), essentially cinching everything together. Refer to the video at the bottom of this post for more clarification!
For shallow dividers, I found that a single bracket on just two sides was more than sufficient to keep the entire arrangement sturdy.
However, for deeper boxes or any dividers that don’t have interlocking components, as shown below, you might want to add brackets on both the top and bottom to keep them from moving at all.
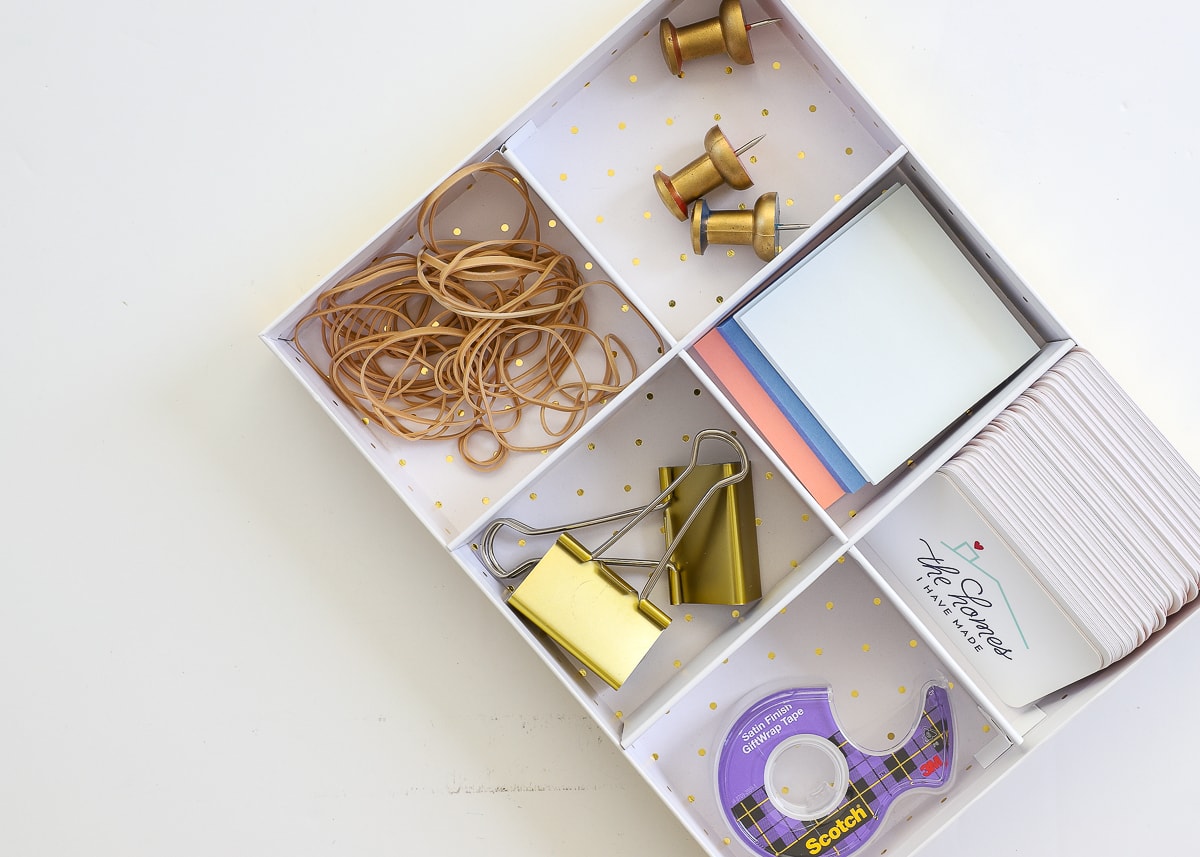
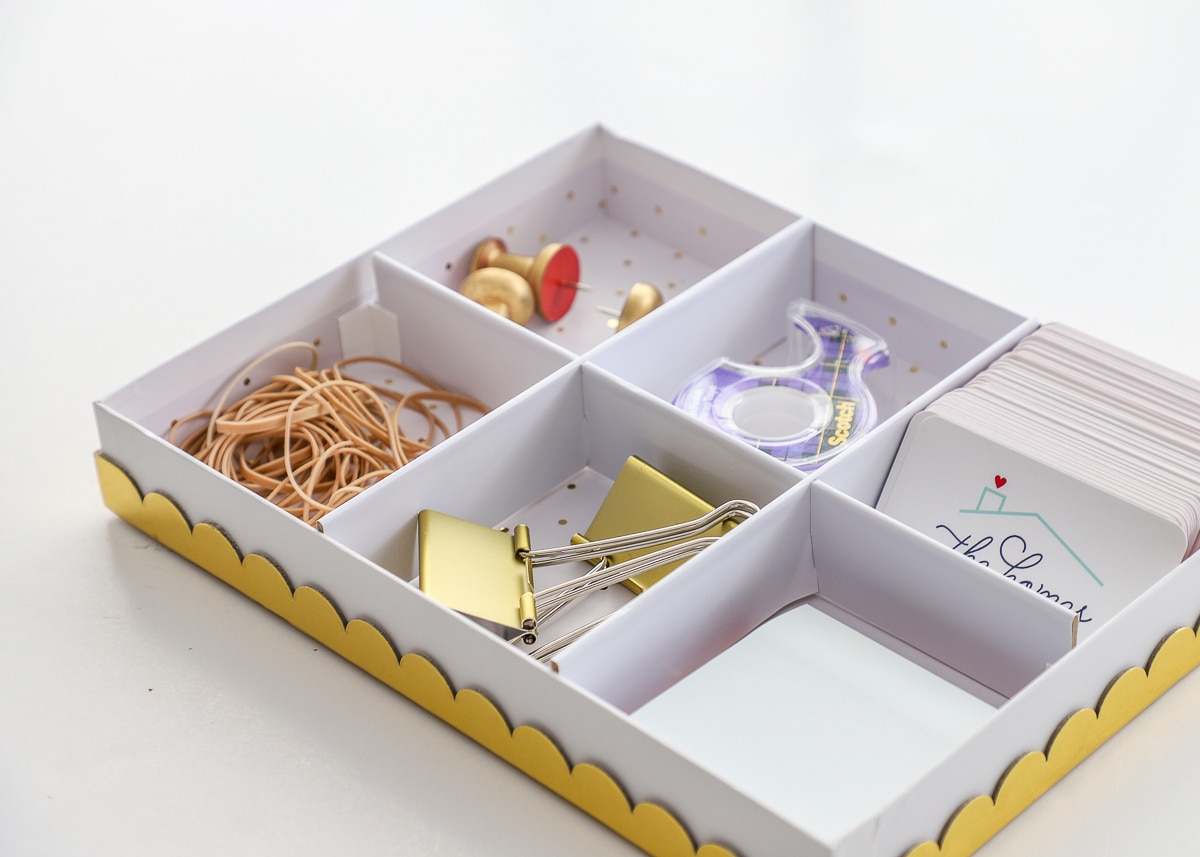
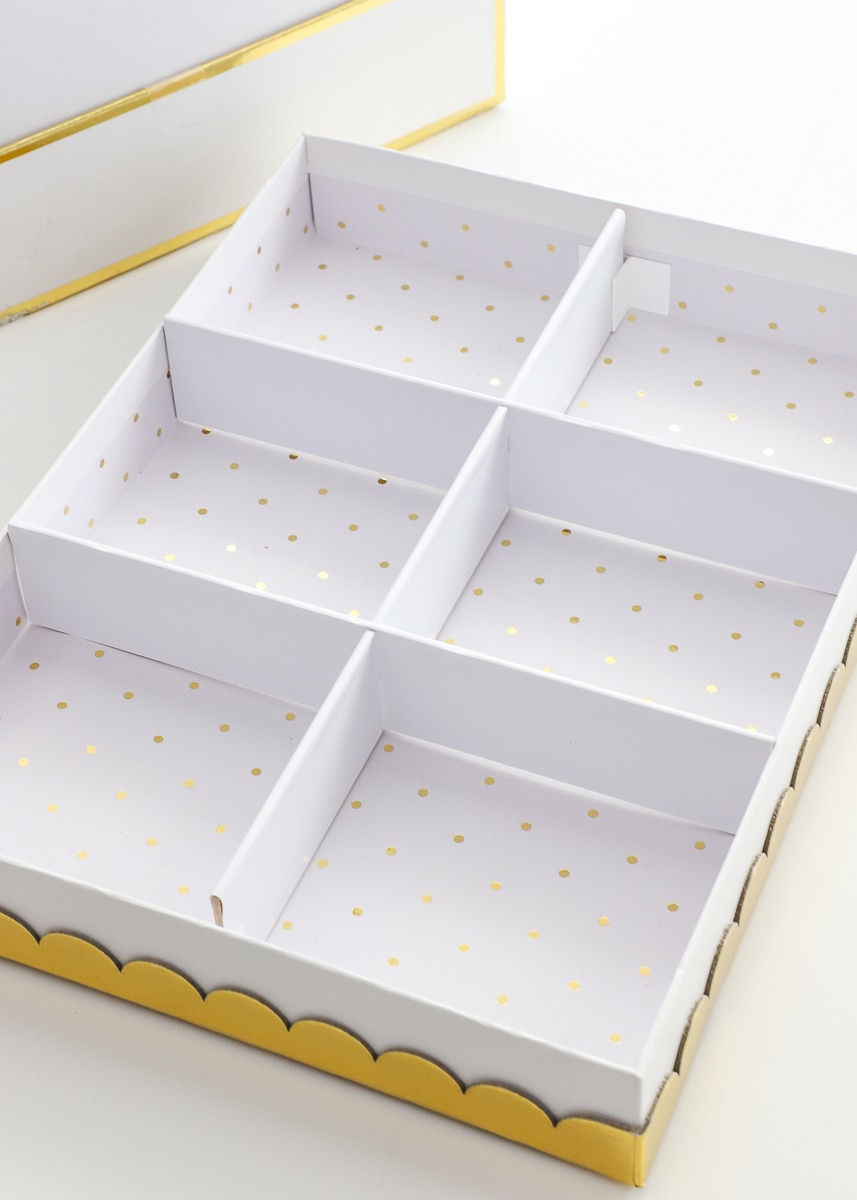
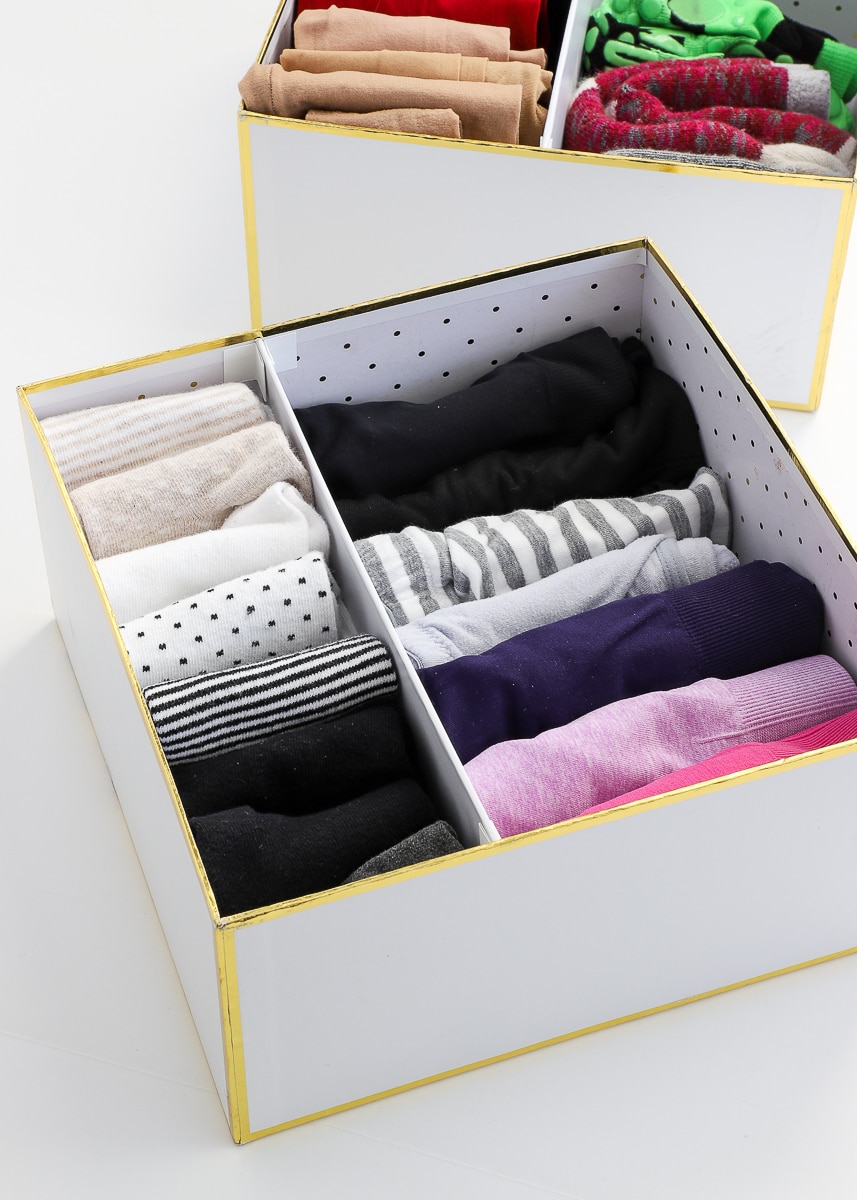
Finally, I just want to quickly point out how handy decorative boxes can be for organizing your drawers or other smaller spaces. Admittedly, I first used these old Christmas boxes for this project because they were easier to photograph and demo in pictures/video than a drawer. But when they turned out so charming, I decided to use them to organize my underwear drawer “for real.” (I can’t wait to show you the rest of my clothing organization solutions at the end of this month!)
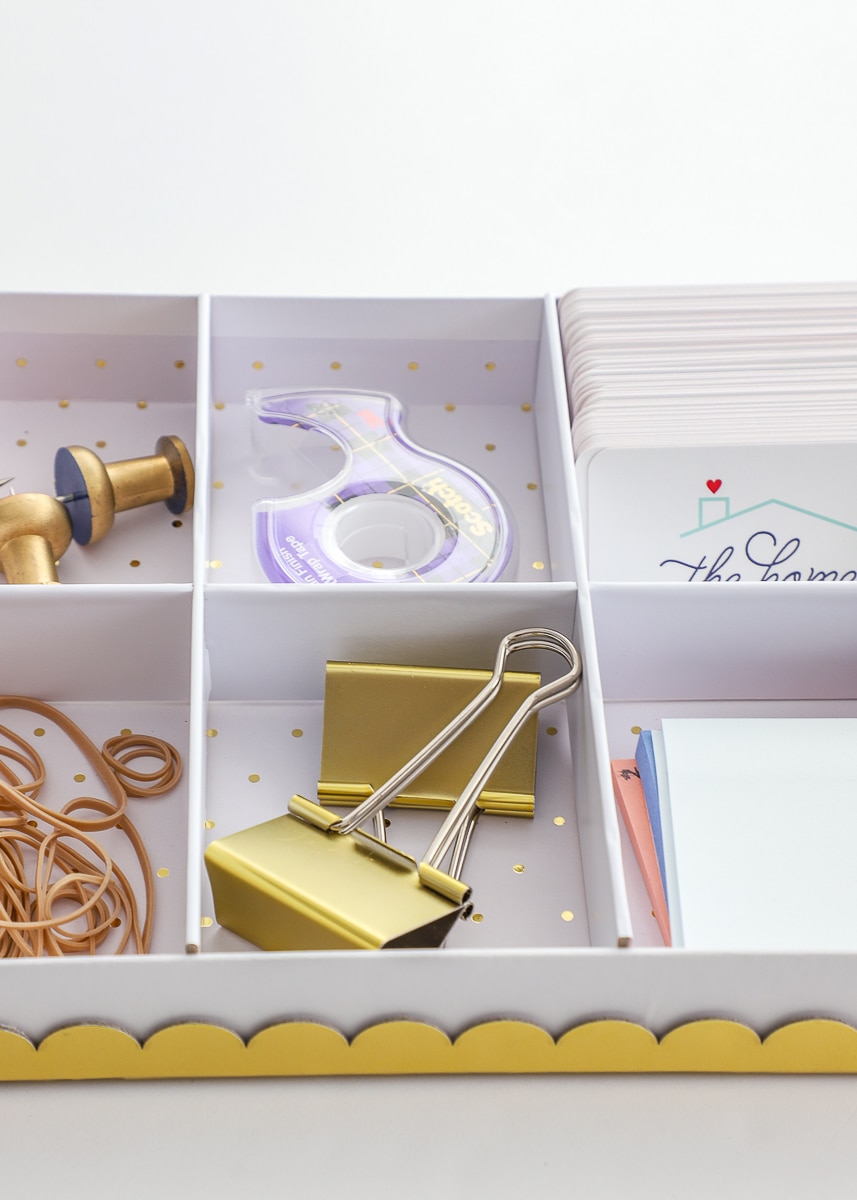
Shorter shirt boxes are great solutions for shallow drawers. One, like below, is perfect for sliding into a top desk drawer, or could even hold jewelry on a bedside table or high dresser. I have certainly been known to use cardboard boxes to organize drawers in the past, and this is just an extension of that same idea.
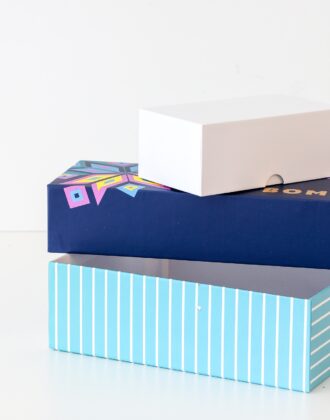
(Pssst – This is a great time of year to keep your eye out for pretty boxes that match your style or your spaces! THESE, THESE, and THESE are this year’s versions of my same boxes!)
I hope this post gave you some new ideas and solutions for creating inexpensive yet perfectly-tailored dividers for either boxes or drawers around your home. Although the measurements for the interlocking notches can be a little tricky to figure out, the rest of this project comes together in mere minutes, giving you instant gratification for whatever it is you’re trying to corral! I hope you give them a try!
Megan


4 Comments on “How to Make Box or Drawer Dividers with a Cricut Maker”
In your picture of the pieces on the mat the slit doesn’t appear to be eight tenths of an inch wide. Maybe it should be .08 instead of 0.8??
Hey there Chris!
Yep – you are most certainly right. Thanks for catching that!
Megan
Thank you so much for this tutorial! I knew someone had figured out how to do this on cricut maker. I can’t wait to make these for my kids’ school supplies boxes.
Hi Megan! Thanks for the tips! I made it without cricut. Not beautiful like yours but still okay looking. https://photos.app.goo.gl/o6LcpcHAzYwEiWQCA