How to Cut Acrylic Sheets (Without a Table Saw)
Clear plastic acrylic sheets are a super versatile product that you can use to make your own frames, protect table surfaces, and even craft up DIY art. You can find them in most hardware stores at a range of price points and in a variety of shapes, sizes, and thicknesses. However, the likelihood of finding the exact size and shape you need for your project is pretty low. Unlike wood, unfortunately, hardware stores don’t typically cut acrylic for you, so you may be stumped on how to cut it down (especially if you don’t have heavy machinery like a table saw). Today, I want to show you how to cut acrylic sheets using a simple, inexpensive knife so you can use this product around your home too!

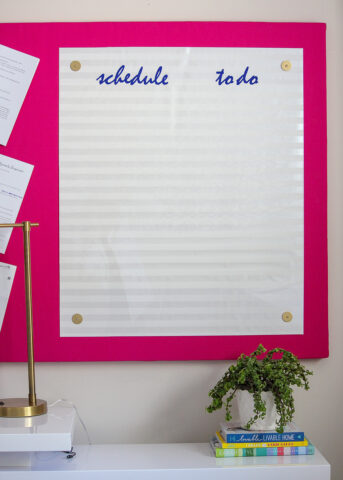
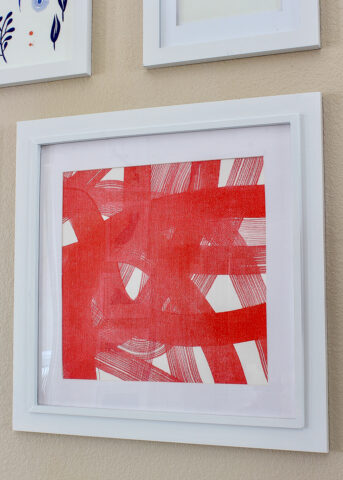
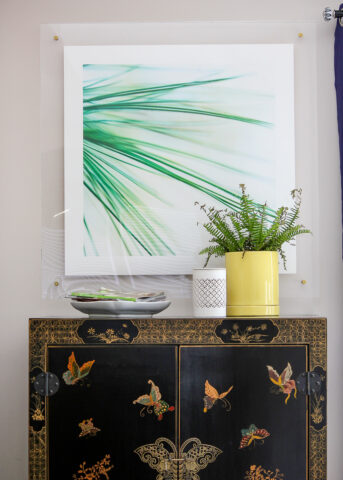
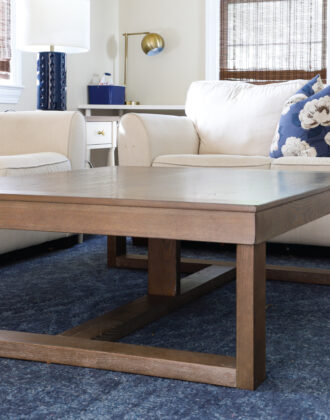
Over the years, I have used acrylic sheets quite a bit: from protecting decorative wrapping paper on our old office desk and DIYing a variety of frames (here and here), to making my own custom dry-erase boards! This clear, super durable, wipeable surface can really be used in lots of different ways, including the popular album artwork that is taking the Internet by storm!

Desk Makeover | Dry Erase Board | DIY Frame | Floating Acrylic Frame
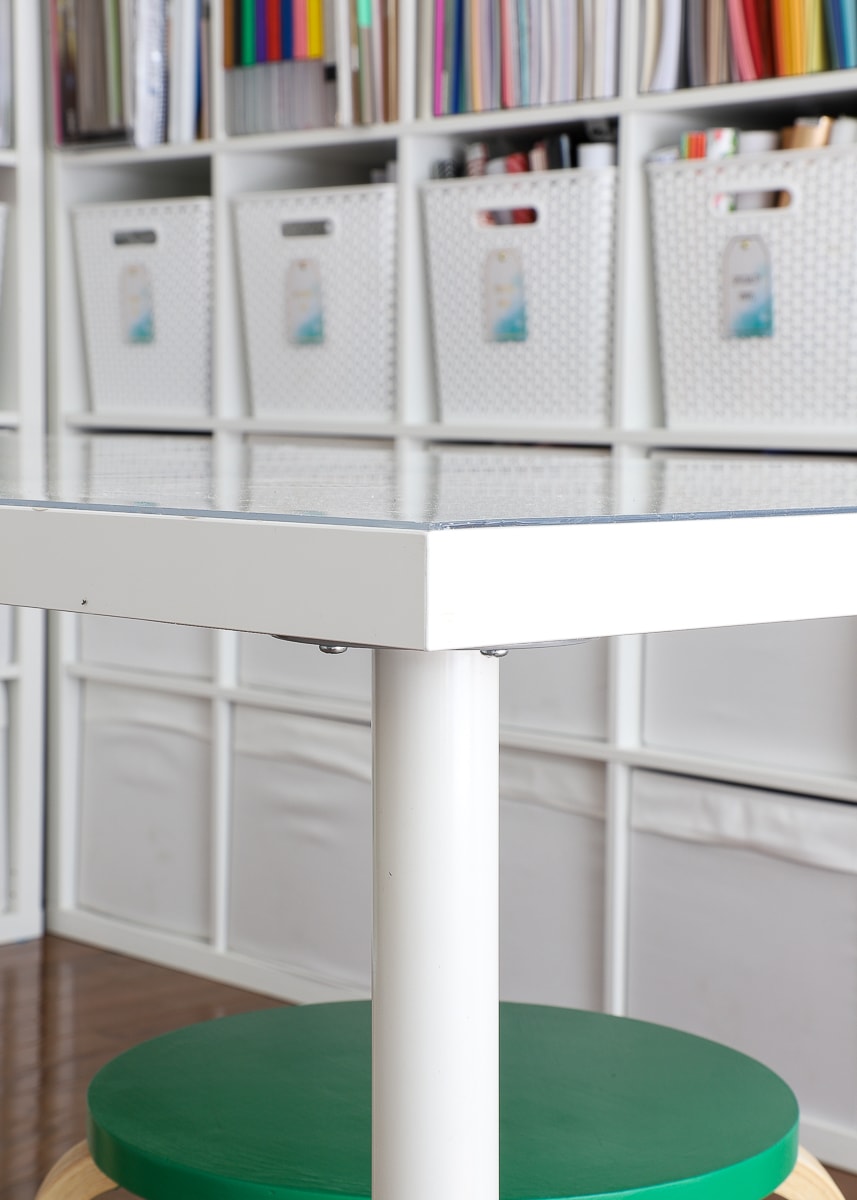
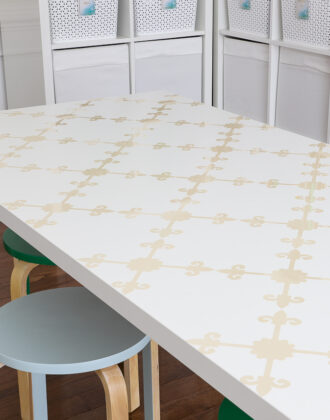
Most recently, I use a sheet to protect the vinyl pattern I added to my inexpensive craft table. Now, not only is my pattern fully protected from little fingers who might be tempted to peel it, but the acrylic sheet makes the table fully wipeable and a bit fancier too!

Where To Buy Acrylic Sheets
Most hardware stores, like The Home Depot and Lowes, carry clear acrylic sheets in their window and glass department. Sizes range from as small as ~18 x 24″ (great for small craft projects and frames) to as big as 48 x 96″ for tables and other surfaces. Thicknesses range from ~0.08″ (which will be fairly flexible) to almost 0.25,” which won’t bend at all and will be stronger than glass. Prices increase with both size and thickness.
Amazon is another option. Although you can find larger sheets, Amazon is really great for buying smaller, bulk, and colored options!
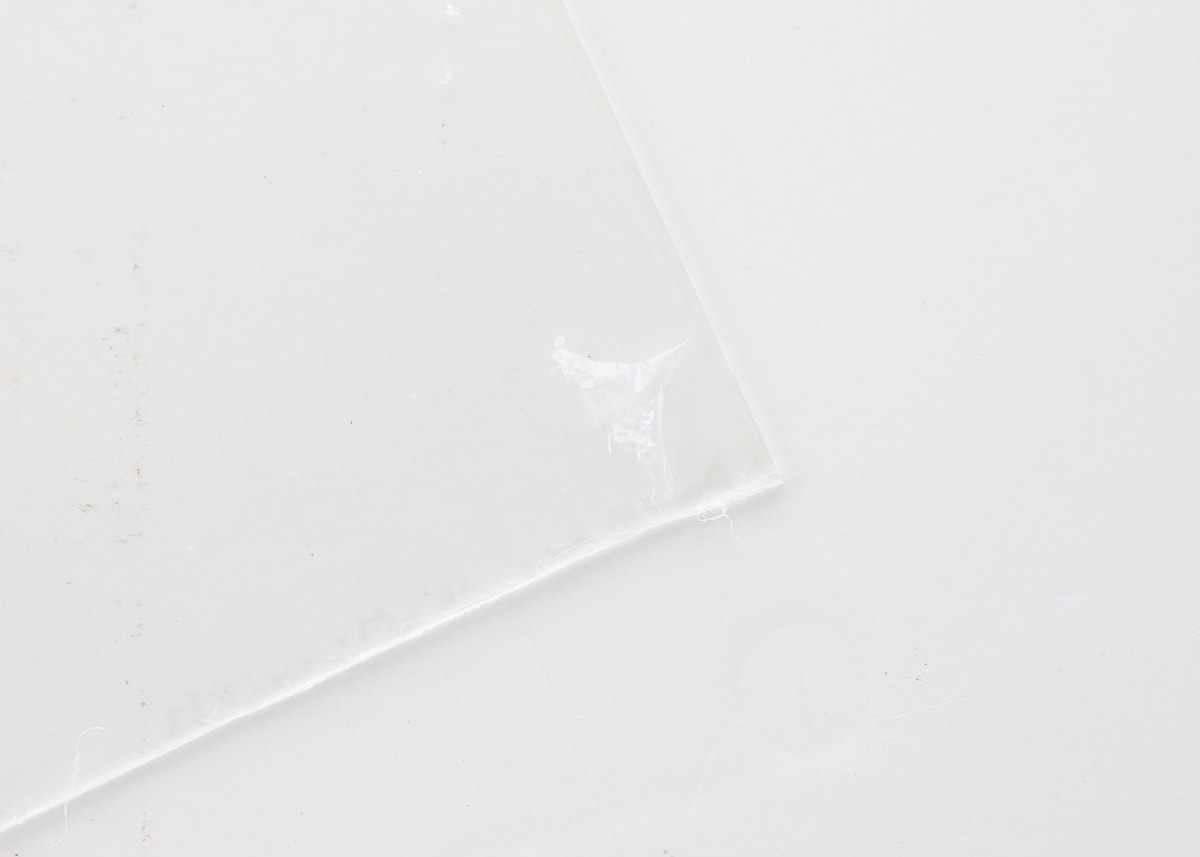
TIP! If you’re shopping for acrylic sheets in person, it may not appear “crystal clear.” Sheets with have s super thin, almost undetectable, protective covering on both sides. This keeps your sheet from getting scratched or damaged during transportation and cutting. Once you peel off that protective layer, the sheet will indeed be as transparent as glass!
Although there is a wide variety of sizes available, chances are you will need to cut down a standard size for your specific project. It’s not hard to do, but not intuitive either. Below are my steps for what works best!
Materials Needed
- Acrylic Sheet – I tend to buy the same size and thickness for all of our projects (from frames to tables). I’ve always bought this one for its balance between price and sturdiness (it’s the one shown in ALL of my projects)!
- Acrylic Cutting Knife – This job is made all the more easier and precise with an acrylic cutting tool. These are inexpensive and easy to find. I’ve had my blue one for years, but this and this are both similar. If you’re in the hardware store buying acrylic, you should see them on display nearby.
- 24″ Ruler – You will need a sturdy straight edge to cut along. A 24″ quilting ruler not only helps you measure out larger cuts, but is thick and sturdy enough to cut against.
- Painter’s Tape – Tape will hold your ruler in place as you cut. Not necessary but very helpful!
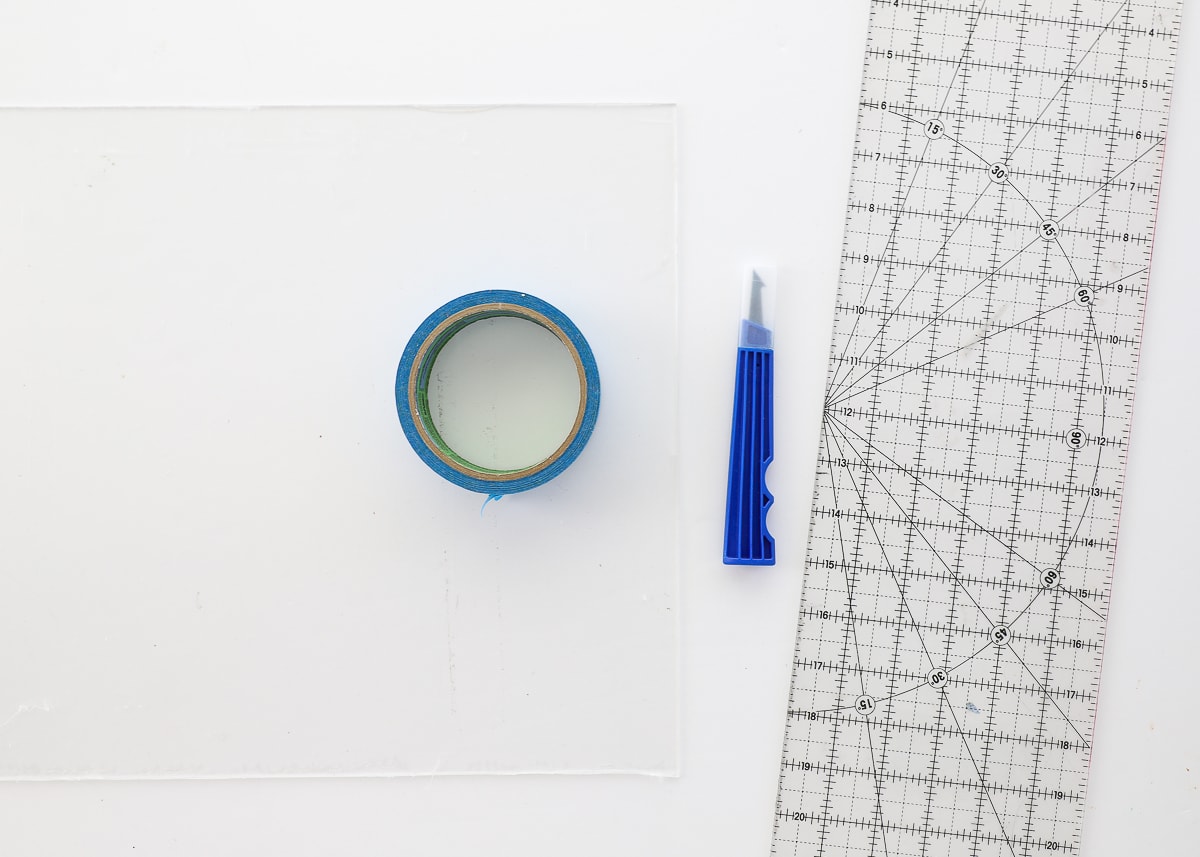
Acrylic Sheet | Acrylic Cutting Tool | 24″ Ruler | Painter’s Tape
How to Cut Acrylic Sheets
First, determine the needed measurements for your acrylic sheet. If cutting a really large sheet, I recommend drawing your lines directly onto the protective plastic sheeting with a pen or pencil. If you’re just slicing a portion off a smaller sheet (like I’m showing below), there’s no need to mark your measurements.
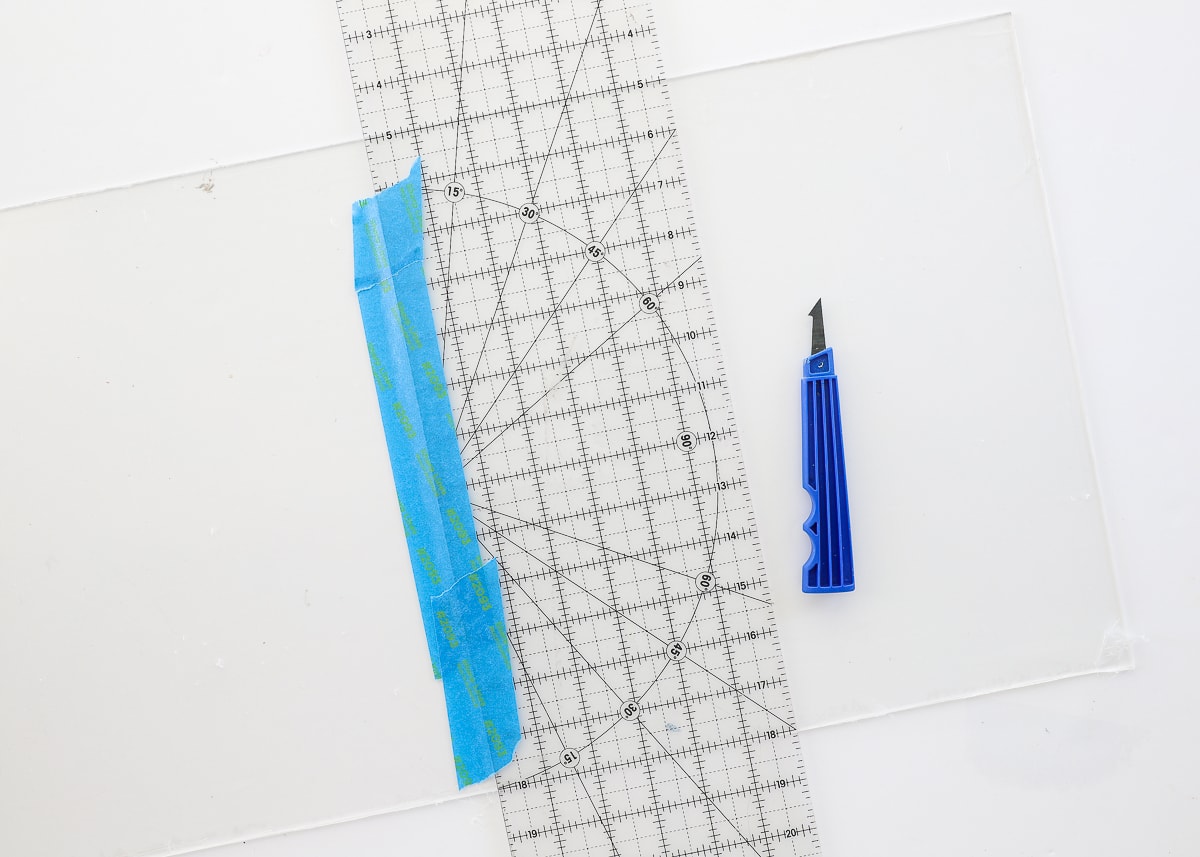
Next, although not necessary, tape your ruler in place along the acrylic sheet. You are going to score line after line after line, and it is very easy to let your ruler slip. Taping it in place will ensure you keep cutting the same line, ultimately creating a cleaner edge.
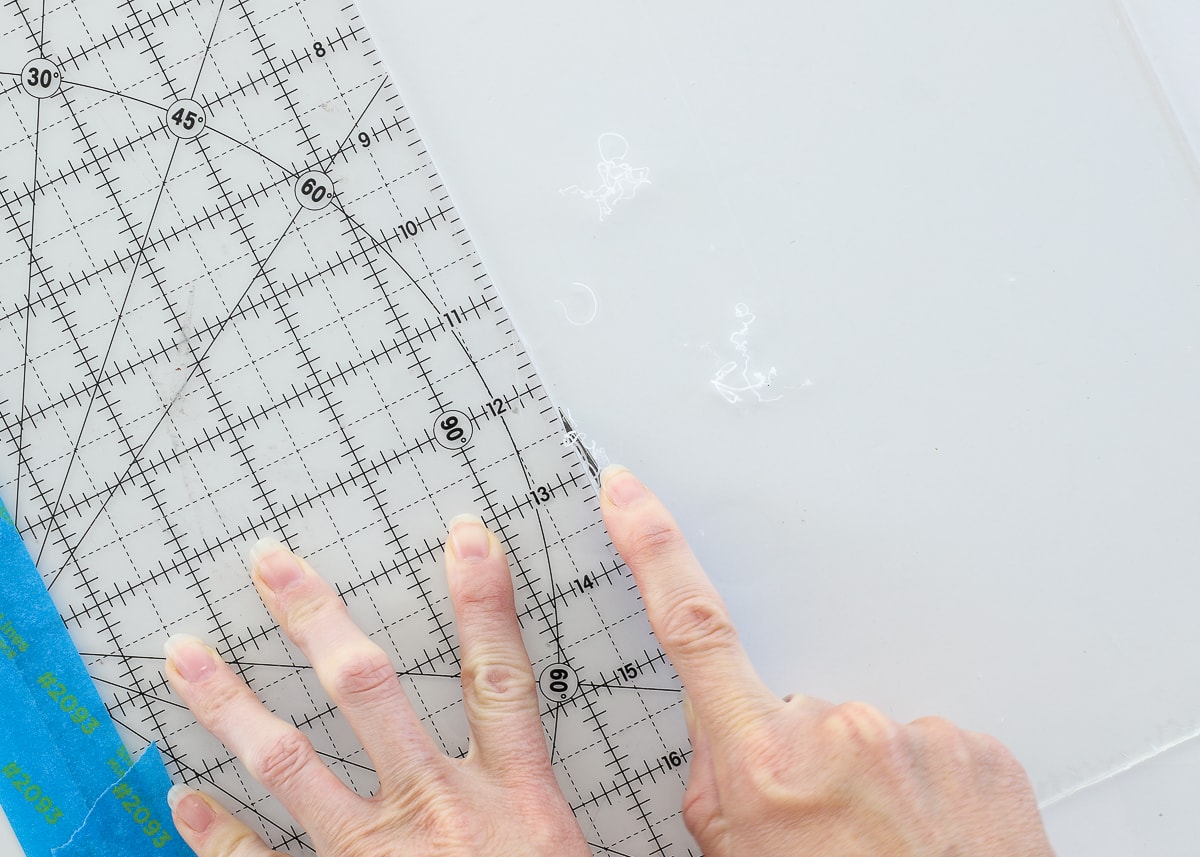
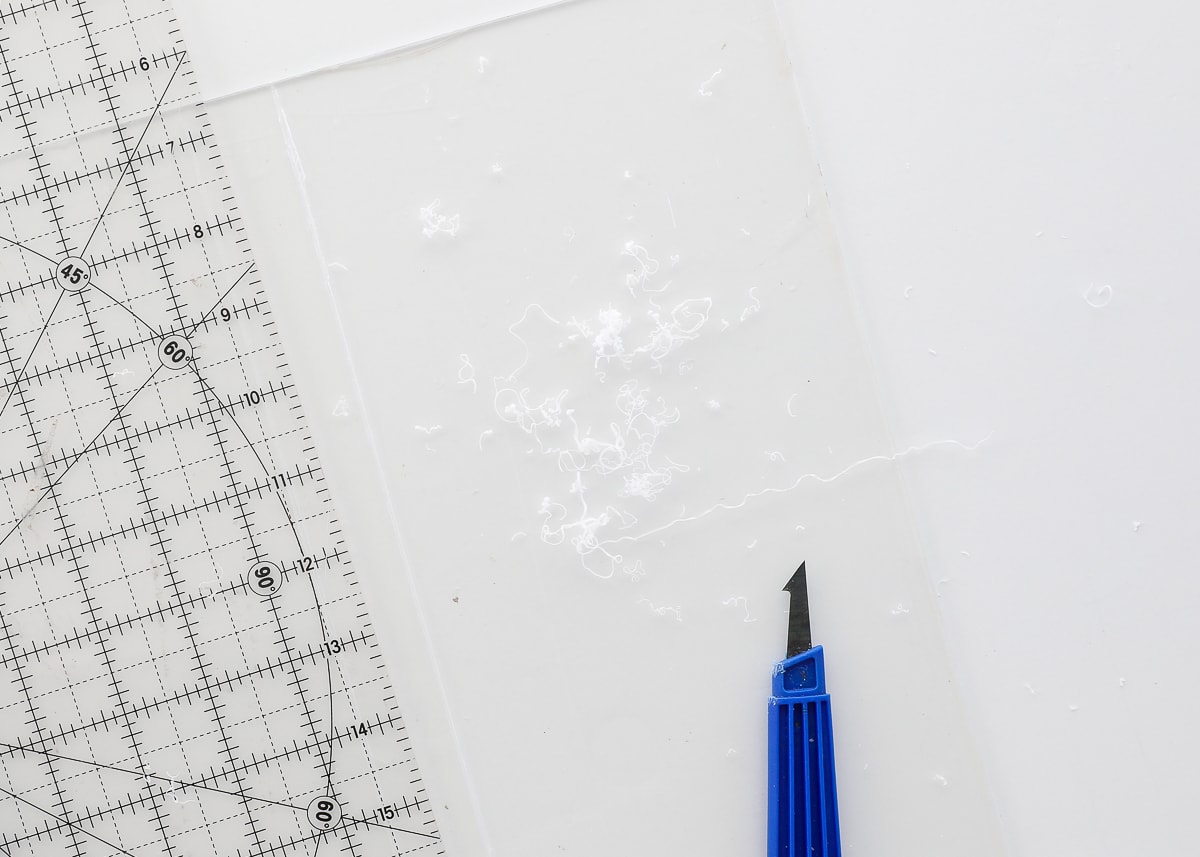
Next, you’re going to carefully cut the same line over and over and over again with the acrylic cutting tool. Each time, you’ll scrape away more plastic, and the channel will get deeper and deeper. You’ll need to press fairly hard and angle the pointed edge of the blade down into the plastic as you pull in order to slice it.
TIP! You’ll end up with a messy edge if you don’t cut the exact same line over and over again. As such, I recommend not even lifting your blade off the acrylic between each cut. Simply slide it back up along the cut channel, and then pull down again.
Want to save this post?
With each pull, you’ll notice very fine strands of plastic coming off the knife. This is essentially what you are cutting out in order to make a channel into the acrylic sheet.
Here’s the most important part about cutting acrylic: you don’t have to cut all the way through!
Even with a really thin sheet of acrylic, it would likely take forever to make your way all the way clean through; with thicker sheets, it would be practically impossible. The good news is you don’t have to! Make enough passes along your cut line to get about halfway through the acrylic. I know that can be hard to tell precisely, so if you move onto the next step and your acrylic doesn’t snap, just make a few more passes along your line until it does.
I will admit that cutting a smaller piece of acrylic is no problem; however, cutting really large sheets can be tricky. Work in segments, take your time, and make sure each section fully connects with the previous one.
Once you’ve “scored” your acrylic sheet several times, move your cut line to the edge of a sturdy table or counter.
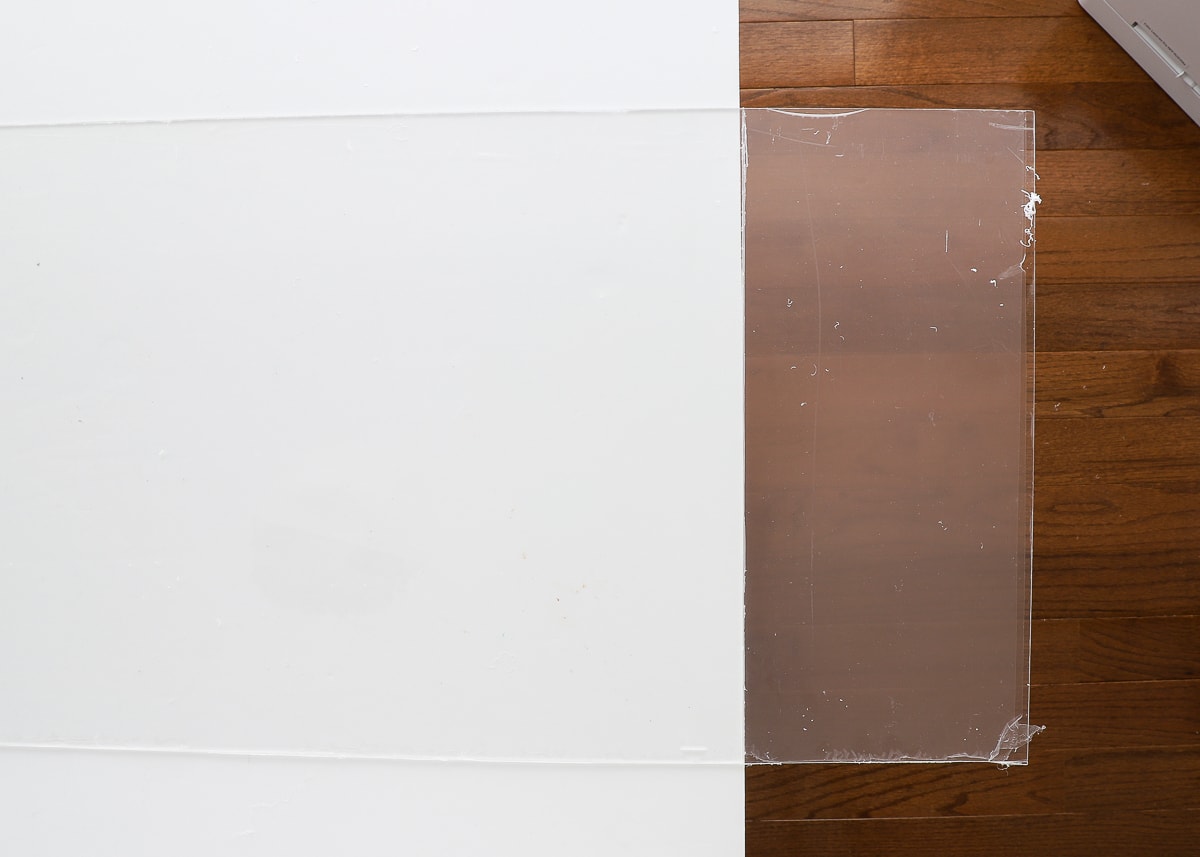
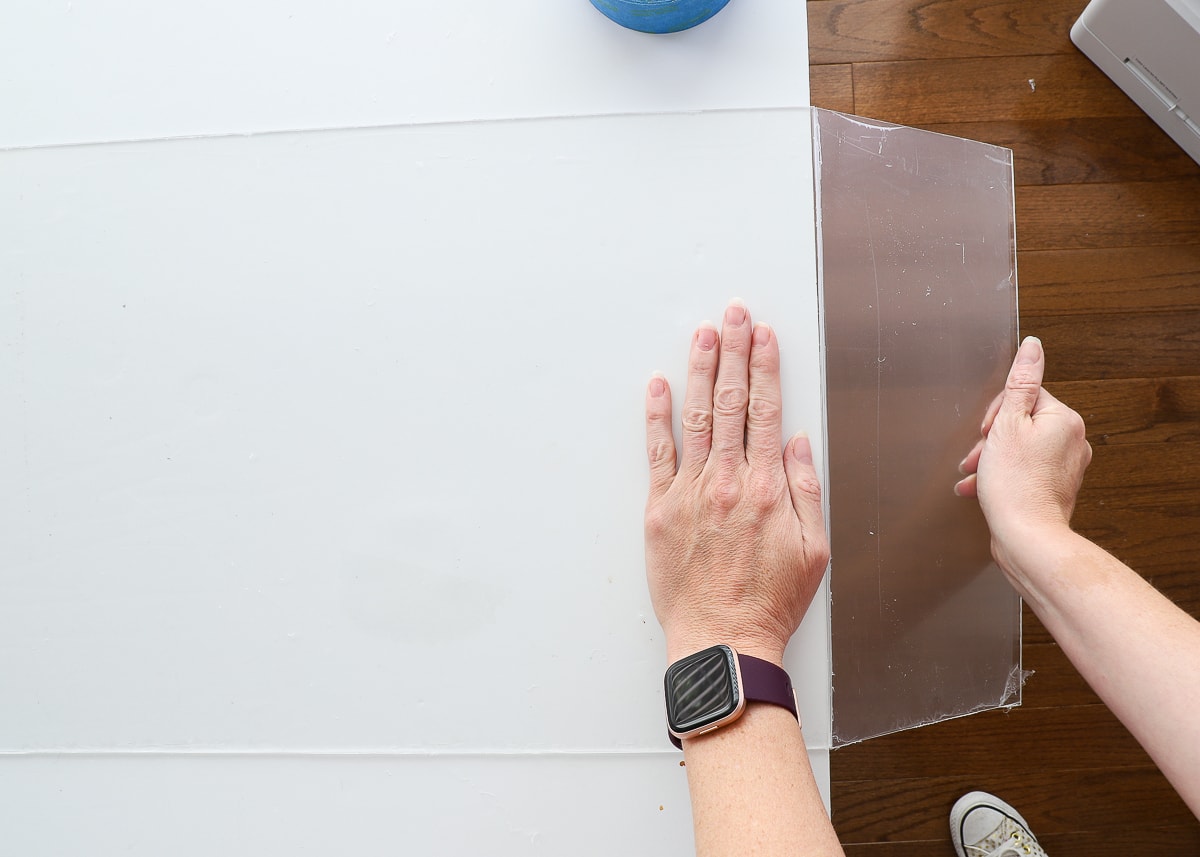
Next, hold the sheet firmly on the table with one hand, and press the overhanging section down toward the floor. With some firm and steady pressure, the sheet will cleanly snap right along the line you scored.
NOTE: This step can feel really, really scary. Although I’ve done it a bunch, I still get nervous. Trust that the acrylic will snap cleanly; and if it doesn’t, simply pass along your score lines a few more times with the knife.
Only after you cut your acrylic sheet down to its final size do I recommend removing the protective covering. Below you can see how crystal clear the acrylic sheet will be!

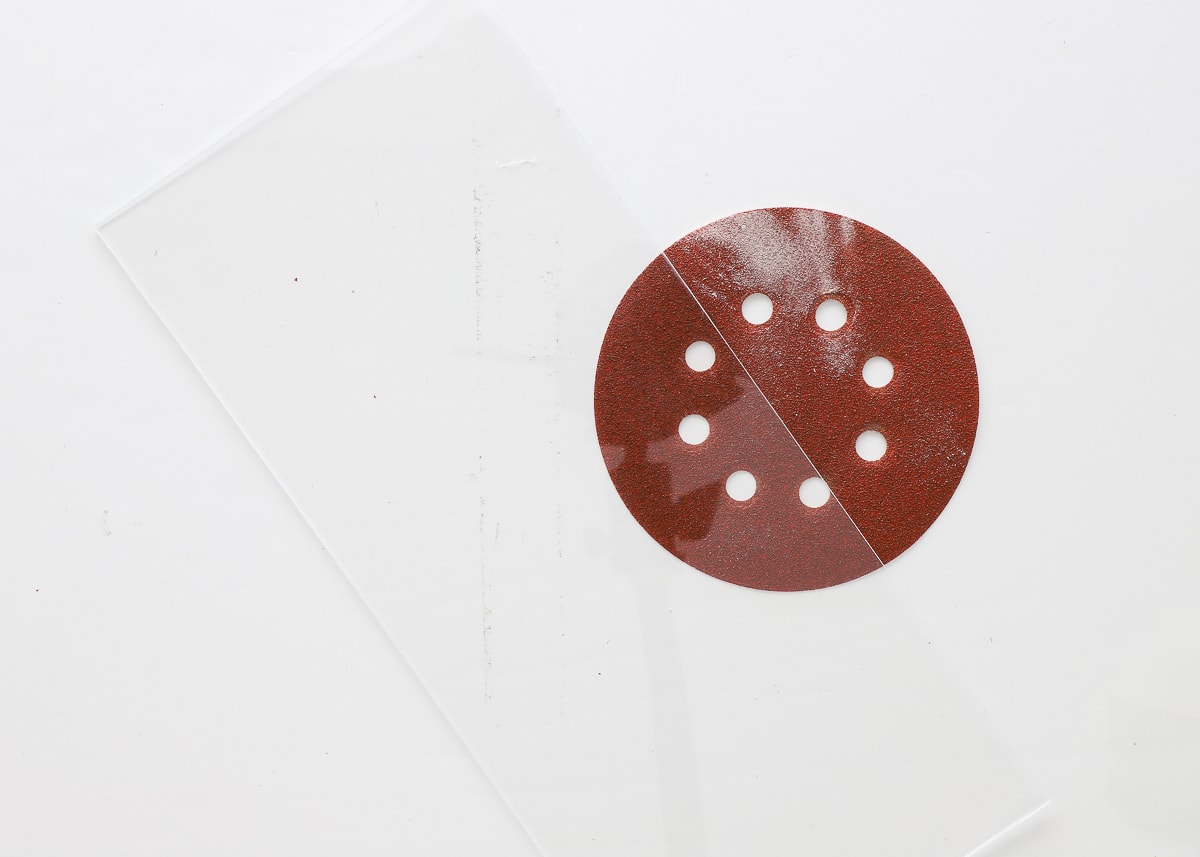
Even with a lot of patience and practice, I almost always end up “jumping” my score line at some point, especially on large sheets. This “extra” or “double” line can sometimes leave a bump or ridge along your perfectly cut acrylic. I’ve found using some low-grit sandpaper (usually 80 grit) along the edges almost always cleans it right up!
I have never secured my acrylic sheets on top of my tables. I usually just lay it on; and although it can slide around, it doesn’t much. If you have thicker acrylic and/or really don’t want it moving, you can try using something like this under the corners or edges.
Working with acrylic isn’t the easiest thing in the world, but it’s definitely do-able even for novice DIYers. In fact, I think you might be surprised how affordable and manageable a product it really is! I hope this tutorial not only shows you exactly how to cut acrylic sheets (without any fancy tools), but also encourages you to give it a try around your home to protect surfaces, make your own frames, and more!
Megan

8 Comments on “How to Cut Acrylic Sheets (Without a Table Saw)”
YEEEES! This is exactly the kind of help I was looking for. Thank you! I love the little moving .GIF to help with knife strokes and clean lines. Cutting it with the film still on also makes a great deal of sense. I have a cute little IKEA table with pull out leaves, and I am planning a single acrylic sheet for the main table (~35″x35″ square) and then smaller sheets that can be easily stored somewhere else (like behind my bookshelf or in the closet) for the two slide-out leaves (~15″x35″). I’ve been using flexible heavy plastic covers (basically thick, clear, tablecloths) for the table, but it constantly gets pulled out of place when people stand up, and honestly it’s very stain-able and heat-sensitive–neither qualities you want in a dining table cover! Very much appreciate the tool info and hints and tips for cleaning up the cuts. Hopefully I can source acrylic locally soon. 😀
This is super cool! Thanks for sharing. This is not something I would have thought to use so much in my house. But the applications are endless.
And I loved the GIF. 🙂
Hi Kristie!
Yea – it’s definitely a bit of a “fringe” product, but I’ve been surprised myself how often I’ve used it! Glad you found this useful 🙂
Have a great week!Megan
Thank you for sharing this! I have been wanting to put sheets of glass/acrylic over my tween daughters desk and dresser and I think this will be perfect! Thanks!!!
You are most welcome! BTW, my nephew just told me Lowes’ glass department will cut acrylic. Not sure if that’s new or only at select locations because I’ve never been able to get anyone to cut it for me. It might be worth exploring though!
Good luck!Megan
This is similar to how glass is cut. Thanks for the reminder!
I like the idea of buying sheets of the same size and thickness for each project. I want to use to plastic sheeting in my designs. I bet I could make my house look slick and new.
You made a good point that having a bit of confidence in every step of the way can make the process of cutting acrylic sheets easier. I’m interested in learning more about how to utilize acrylic sheets because I want to be able to start selling custom charms using my own art. Printing them on pieces of acrylic might be a good idea.
https://www.crownplasticsinc.com/precision-cnc-sawing