(Easy!) DIY Bingo Table Centerpieces
We recently helped organize a (very large) Bingo event, held in a huge hall on a pretty tight budget. To bring the event to life, we wanted some large, eye-catching centerpieces; but our search for Bingo theme party decorations came up very empty handed. So I decided to turn some basic white balloons into massive Bingo balls; and they were the hit of the night! If you’re looking for fun, easy, and budget-friendly Bingo-themed table centerpieces, boy do I have an idea for you!
Our Bingo Party Table Centerpieces
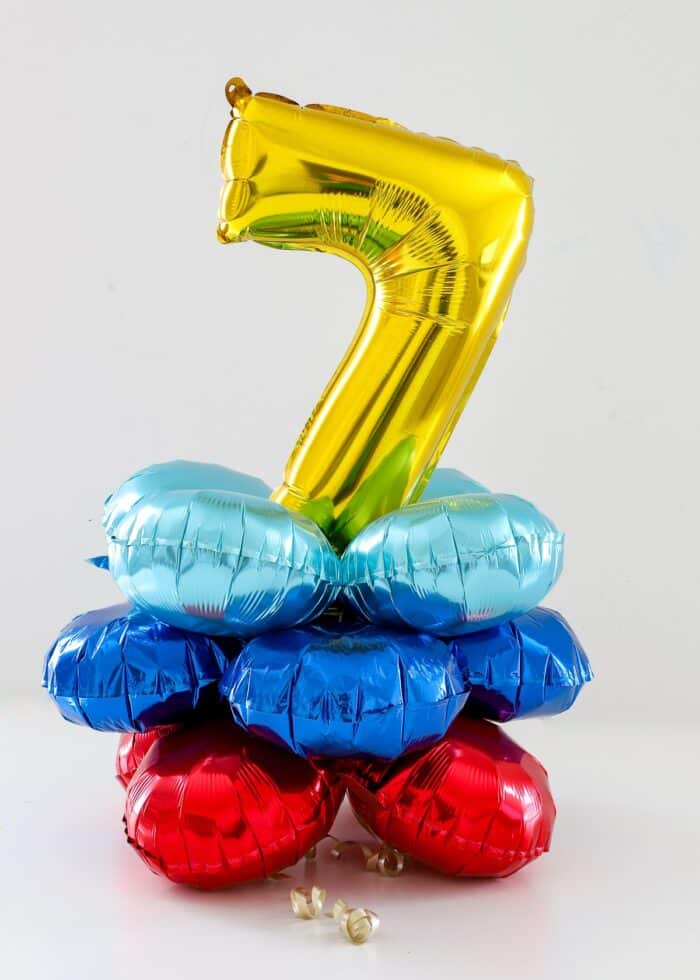
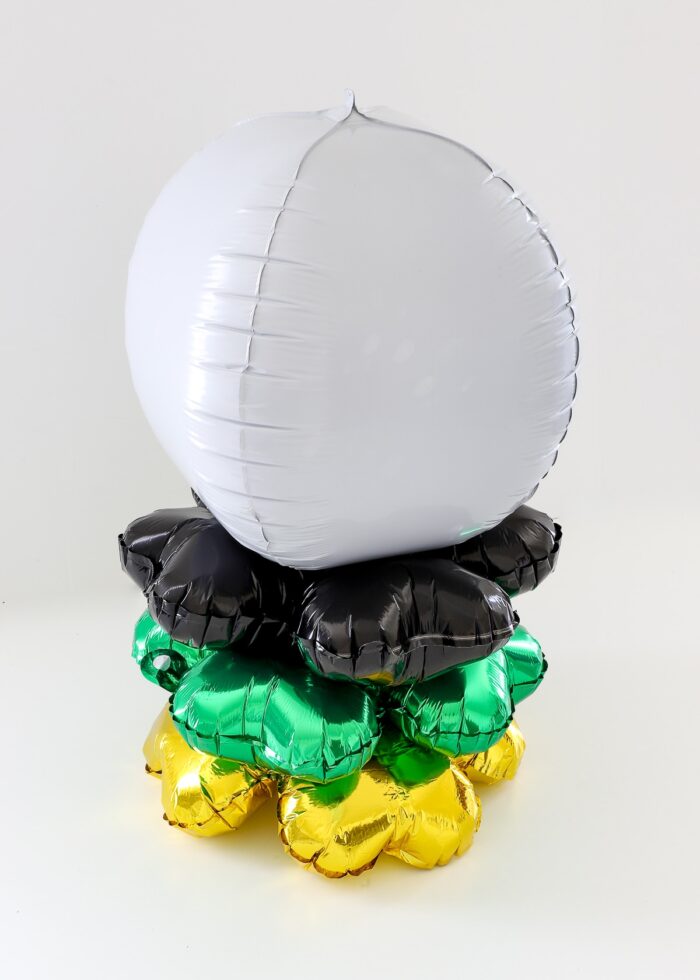
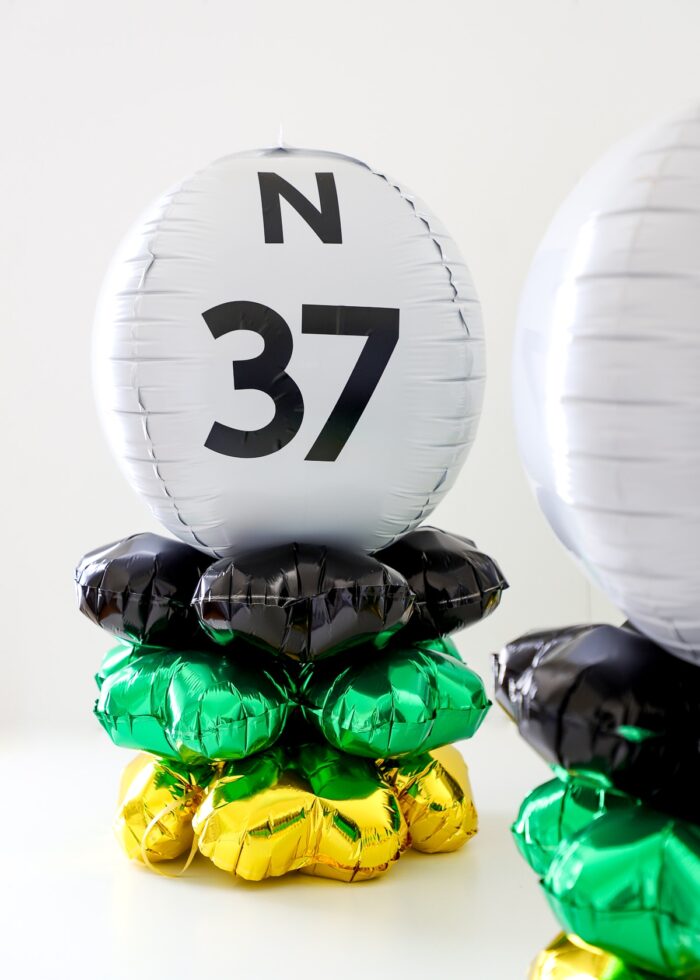
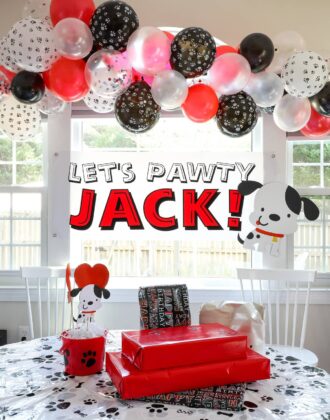
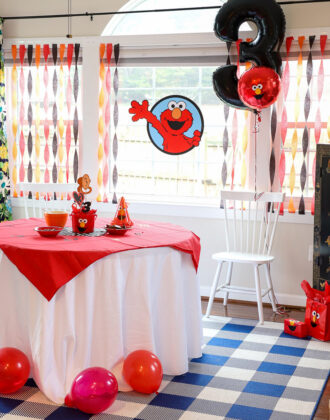
As you may (or may not) know, I love putting together themed displays for my kids’ birthdays. In recent years, I’ve been ditching huge number balloons in favor of the 16″ tall versions. And instead of filling them with helium, I like to make these cute little “stands” with three colors of “clover” balloons (below). Not only are these centerpieces cheap, easy, and totally eye-catching, but you can deflate the mylar balloons and use them year after year.
NOTE: I’ve accumulated a nice variety of clover balloon colors so that I can make centerpieces to match any theme my kids pick!
When we were trying to find centerpiece ideas for our Bingo event, we couldn’t find anything. All the ideas were either too small to fill our big room or too expensive for our tight budget. Even traditional helium-filled balloons would break our bank.
So when I stumbled upon some large, white, ball-shaped balloons, I knew exactly what we could do!
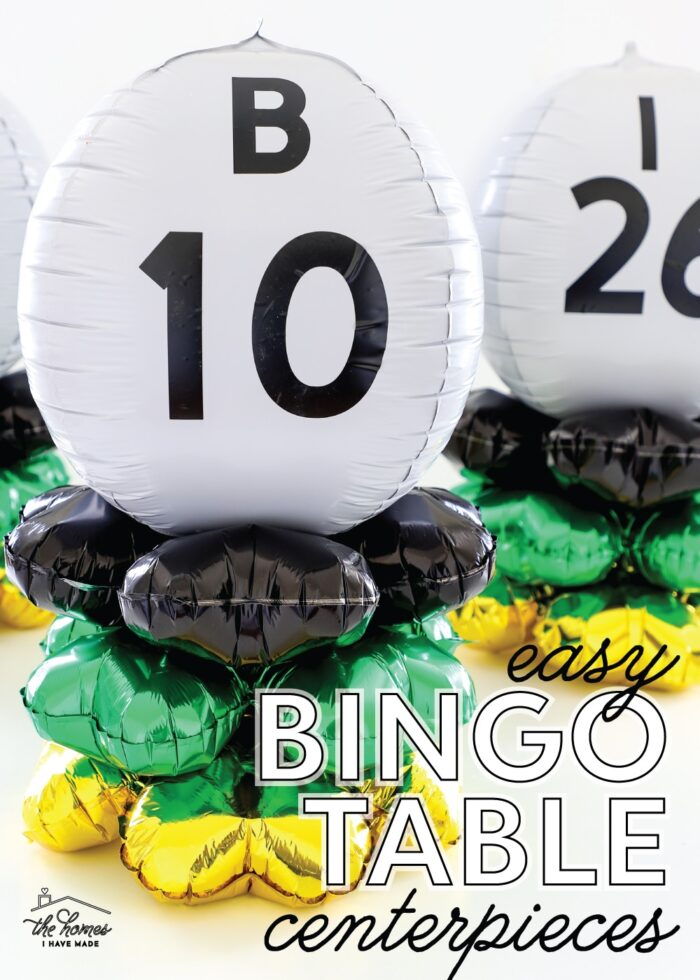
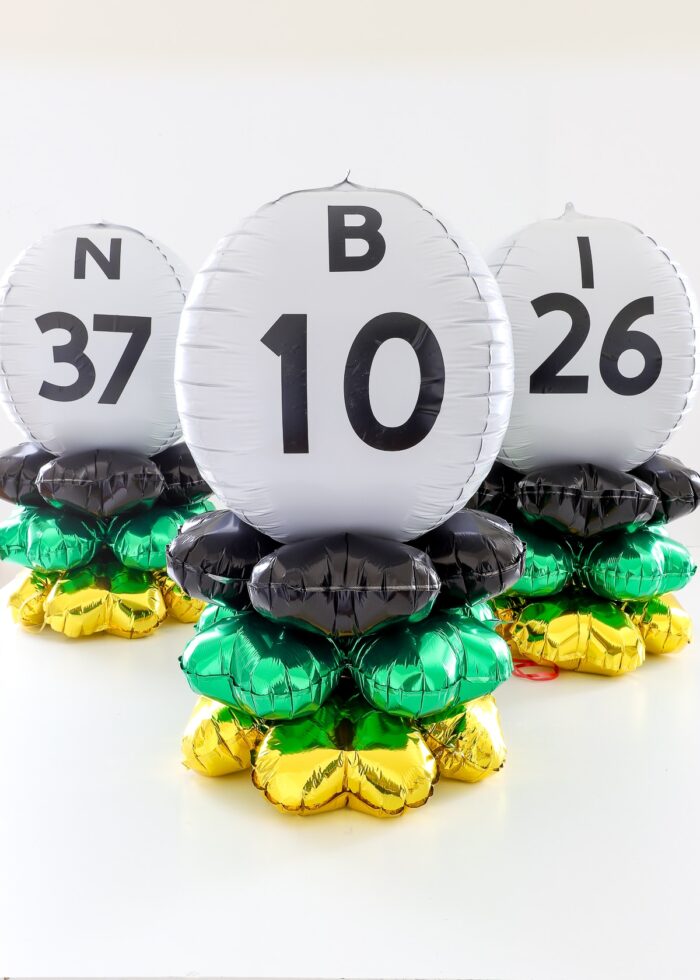
Measuring about 24″ tall and costing less than $4 each, these Bingo table centerpieces were fun, clever, and the perfect way to bring our entire Bingo theme to life!
When you view just one or two centerpieces, you might not know immediately what they are. But when the room is filled with all the different letters (B-I-N-G-O) and numbers, they are instantly recognizable!
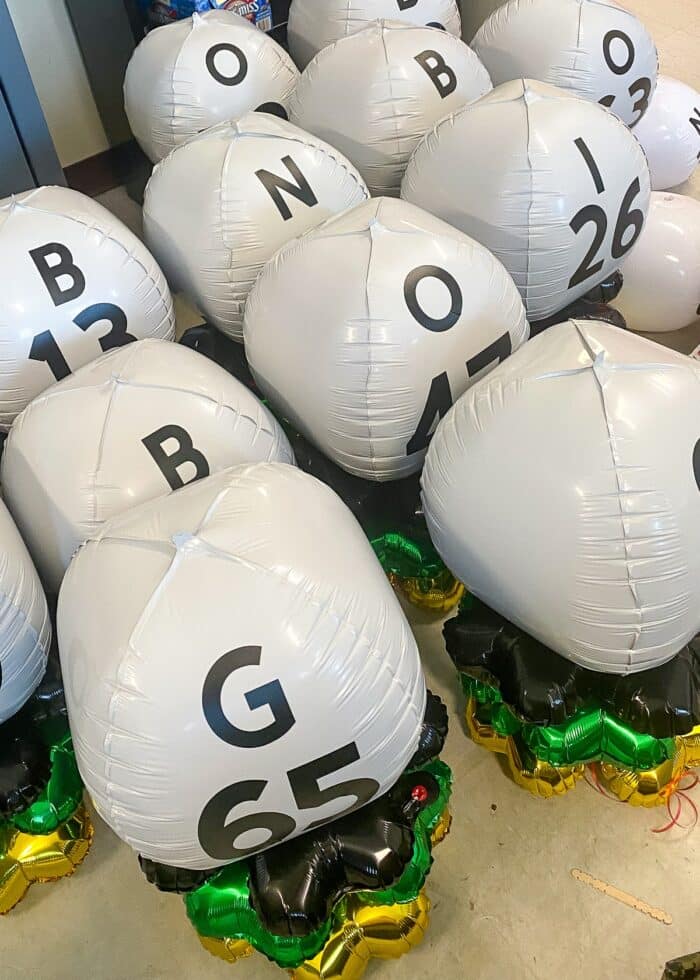
Best of all, these Bingo table centerpieces can be easily customized to your event (just pick different color clover balloons), and even deflated to be used year-after-year (as necessary). Let me show you how they come together!
Supplies Needed
Here are the craft supplies needed to make these adorable Bingo Ball Table Centerpieces:
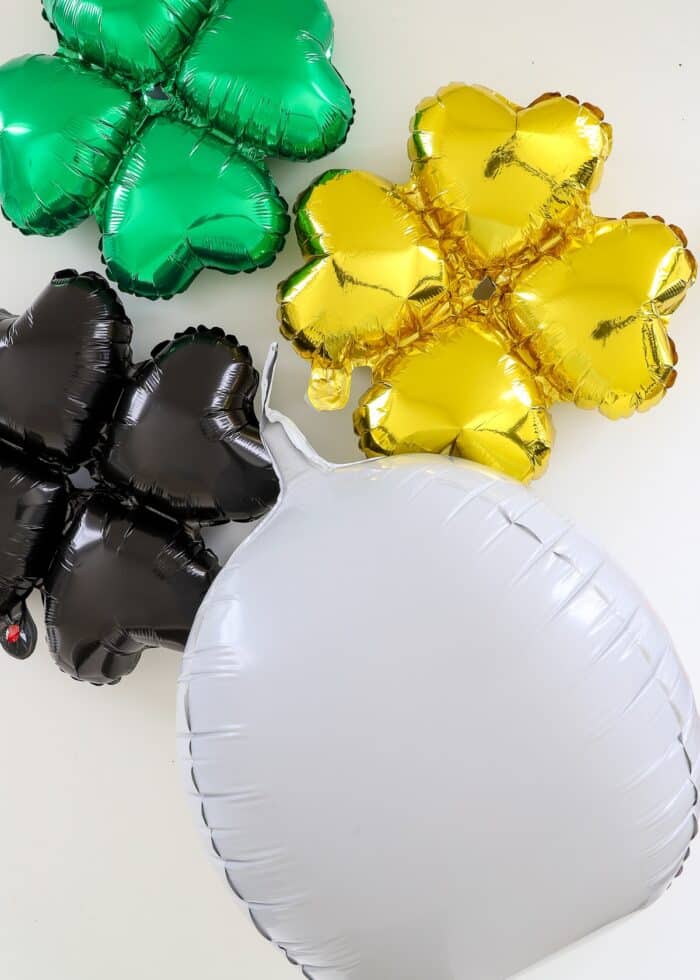
- 22″ White Ball Mylar Balloons – 1 per centerpiece
- Clover Mylar Balloons – 3 per centerpiece, in the color scheme of your choice (search around to find the colors you need)
- Straw – for blowing up the balloons
- Curling Ribbon – any coordinating color
- Popsicle Sticks – 1 per centerpiece
- Black Vinyl Bingo Numbers
- Black Smart Vinyl – Smart vinyl will make cutting out all the ball numbers much quicker
- Bingo Numbers Cut File for Cricut Design Space
- Cricut Machine: Cricut Joy | Cricut Explore | Cricut Maker
How to Assemble DIY Bingo Table Centerpieces | Step-By-Step
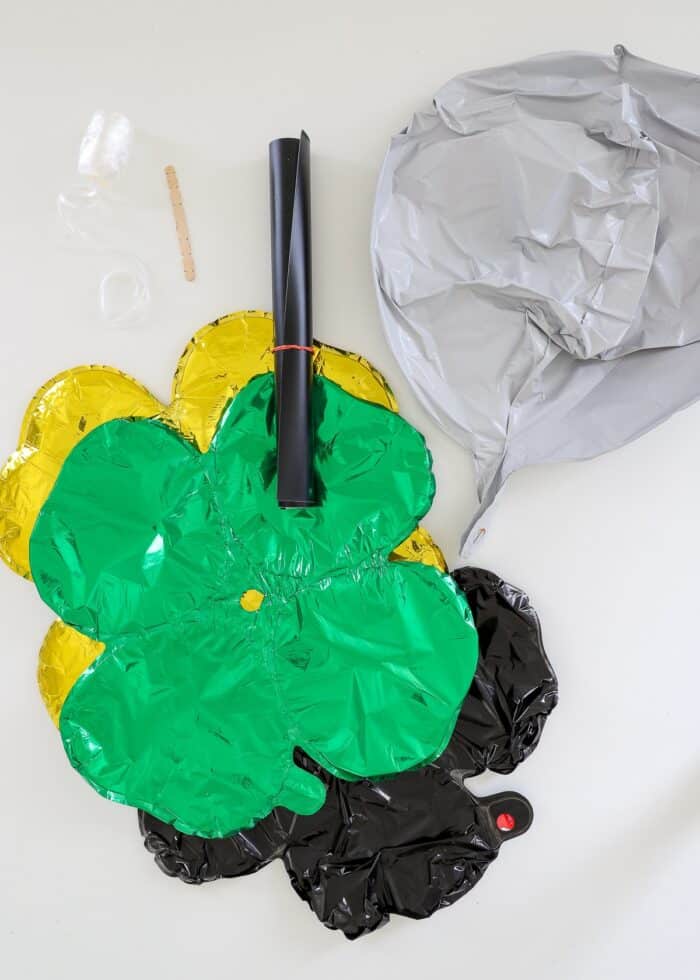
Step 1 – Blow Up Balloons
Start by using a straw to blow up the one ball balloon and three clover balloons needed for each centerpiece.
To do this, insert a straw into the balloon valve and carefully press it toward the center of the balloon. When you blow air into the straw, it should start to inflate. If it doesn’t, press the straw in further (sometimes the air tubes are quite long).
Once the balloon is fully inflated, carefully and quickly remove the straw to automatically seal the valve shut.
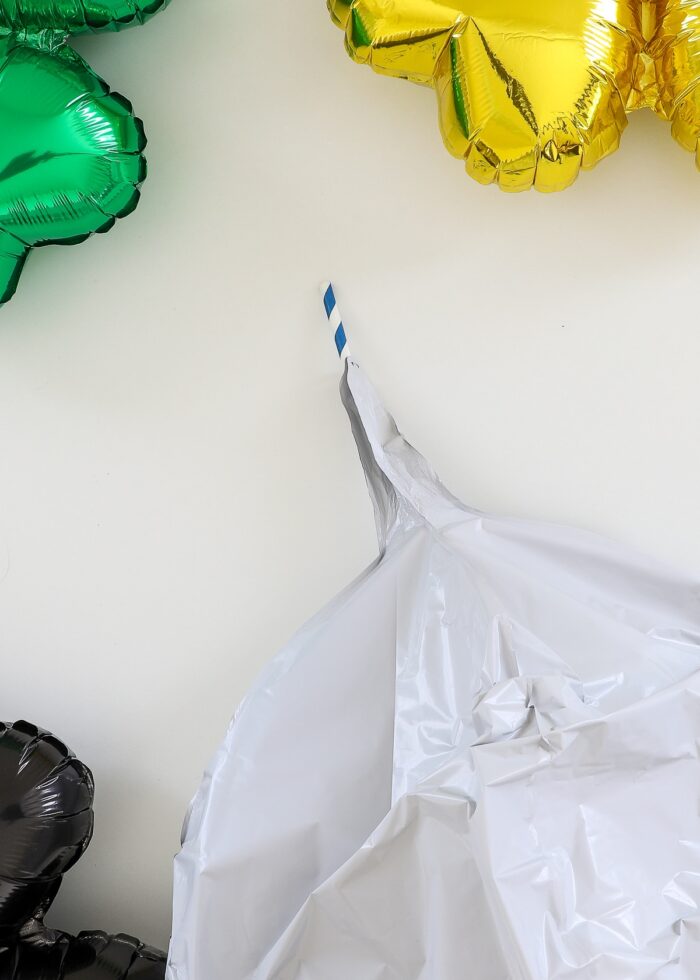
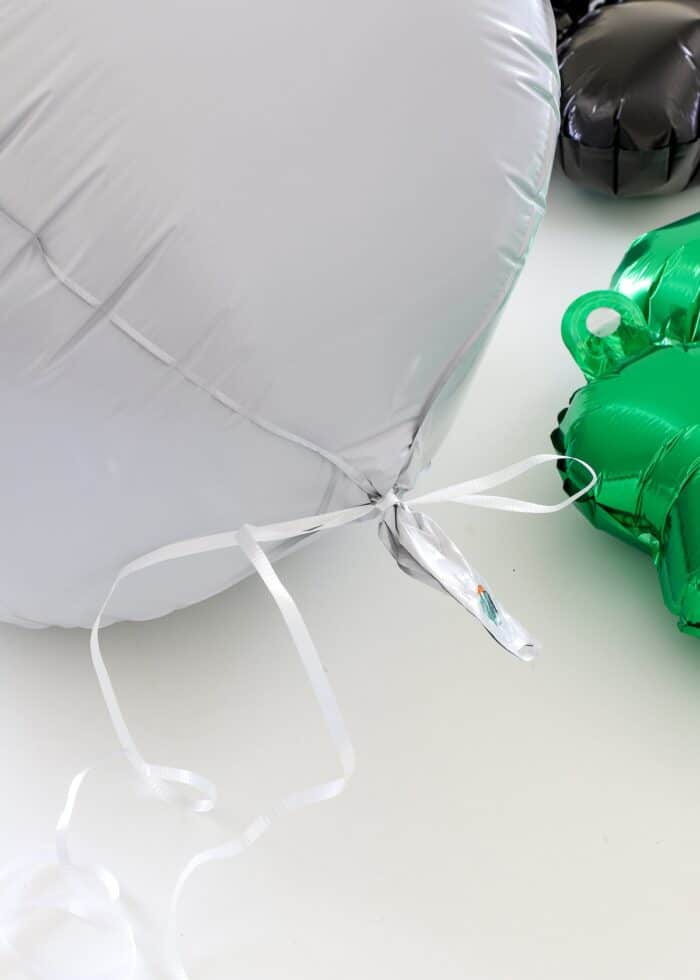
Step 2 – Secure Ribbon to Ball Balloon
Next, cut a piece of curling ribbon into a length of about 30″. Fold it in half and tie (the folded end) around the base of the white ball balloon. When you tie the ribbon, you need TWO long tails extending from the base of the balloon (as shown below).
NOTE: You can try stringing your ribbon through the balloon’s ribbon hole. But every time we tried, the pressure from assembly caused the ribbon to rip the holes apart. We found knotting the ribbon around the balloon base worked better.
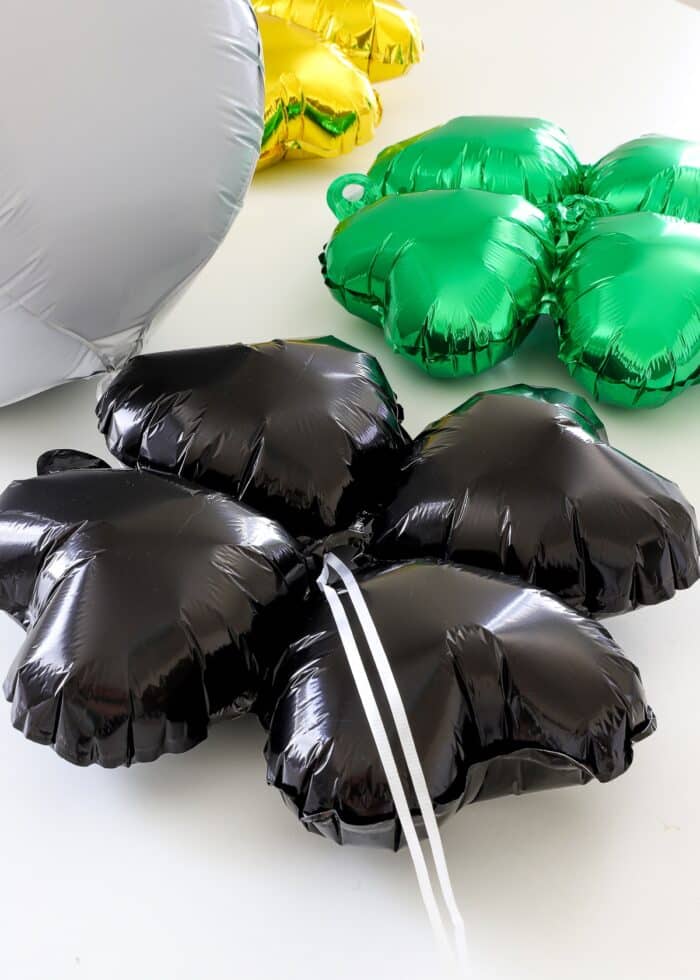
Step 3 – Thread Clover Balloons Onto Ribbon
Next, you will take the two loose ribbon tales and thread the three clover balloons onto them. Start with the clover balloon you want closest to the white ball (in my case, the black clover).
Next, string on the middle clover balloon…
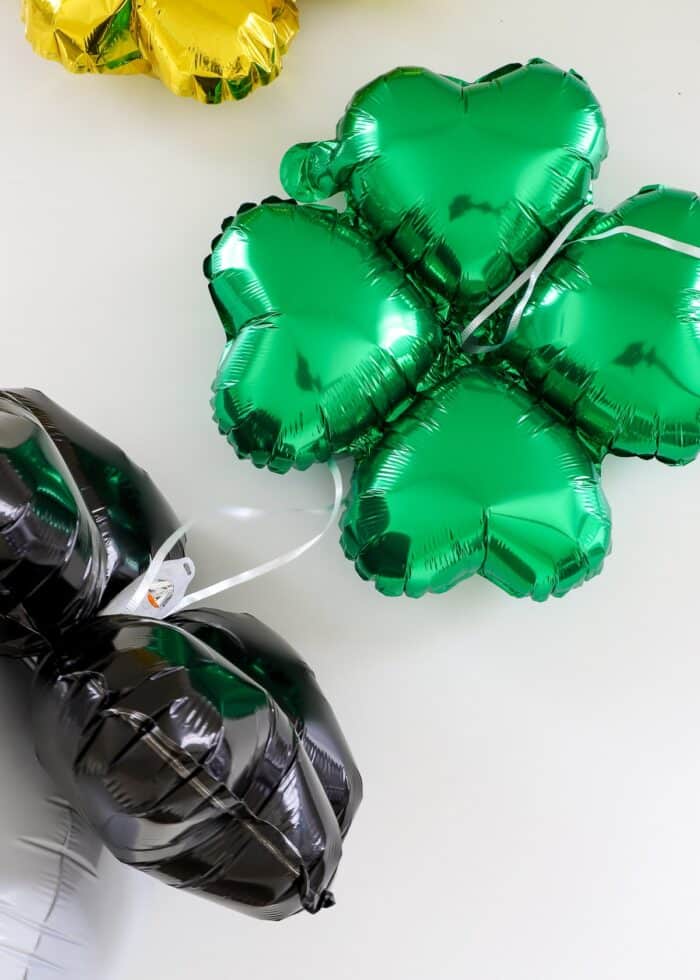
…and finish by stringing on the final (bottom) clover balloon. At this point, all three clover balloons should be threaded onto the two ribbon tails extending from the base of the white ball balloon.
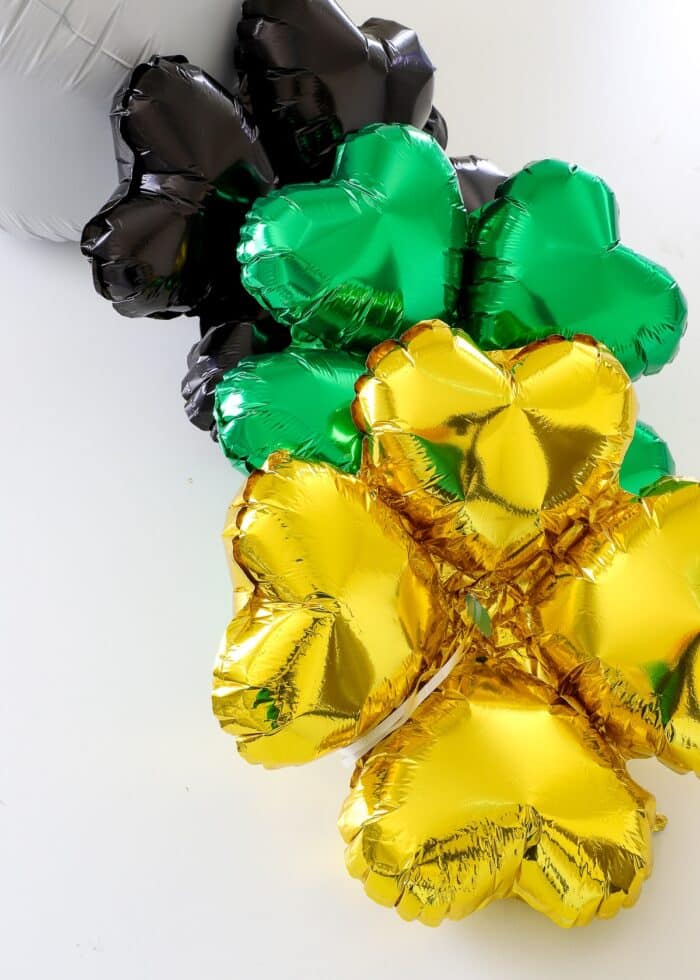
Step 4 – Secure Balloon Arrangement
Next, you will need to tighten the ribbon strings underneath the bottom of the final clover balloon to cinch everything up tight and hold the entire arrangement together.
I found the easiest way to do this is to place a popsicle stick in the middle (of the under side) of the bottom clover balloon…
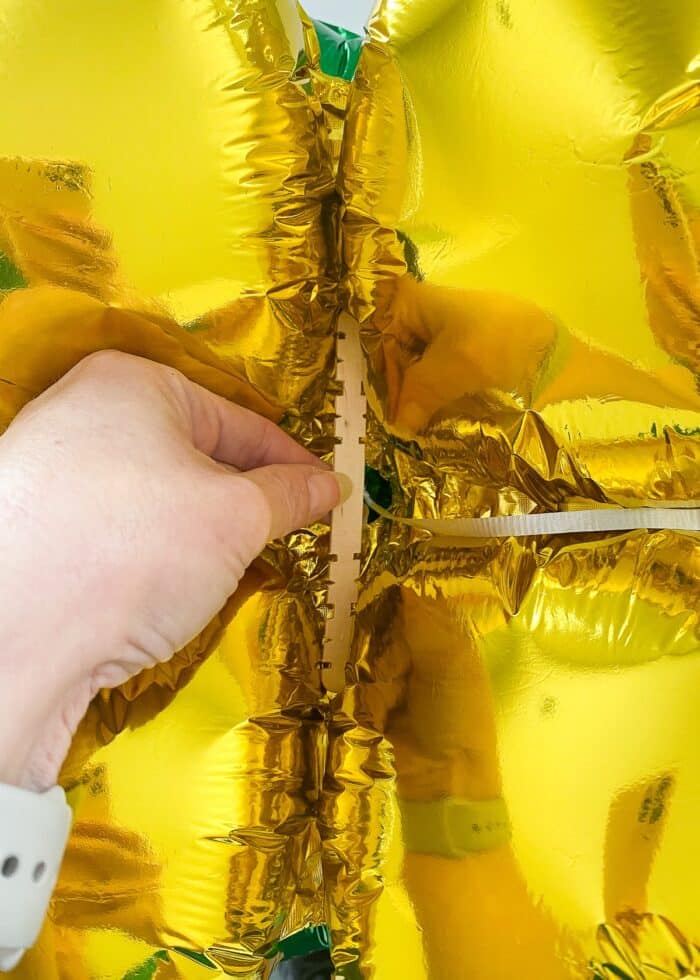
…then knot the two ribbon tales around the center of the popsicle stick, pulling the ribbons tight enough to hold all four balloons together (snugly).
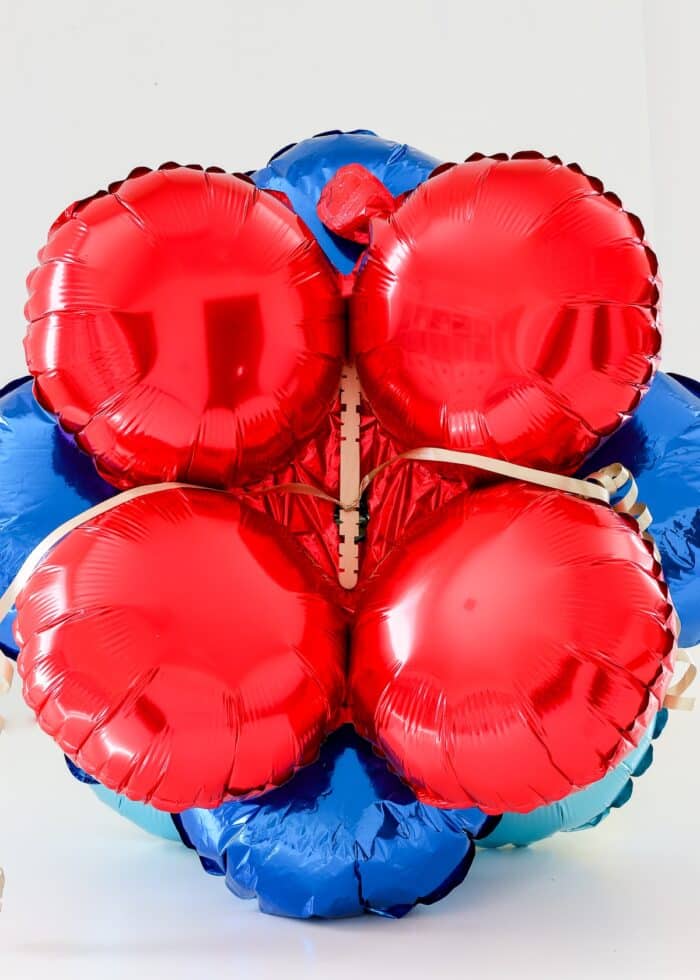
NOTE: The “clovers” of each layer should offset each other so they nestle into a tighter arrangement.
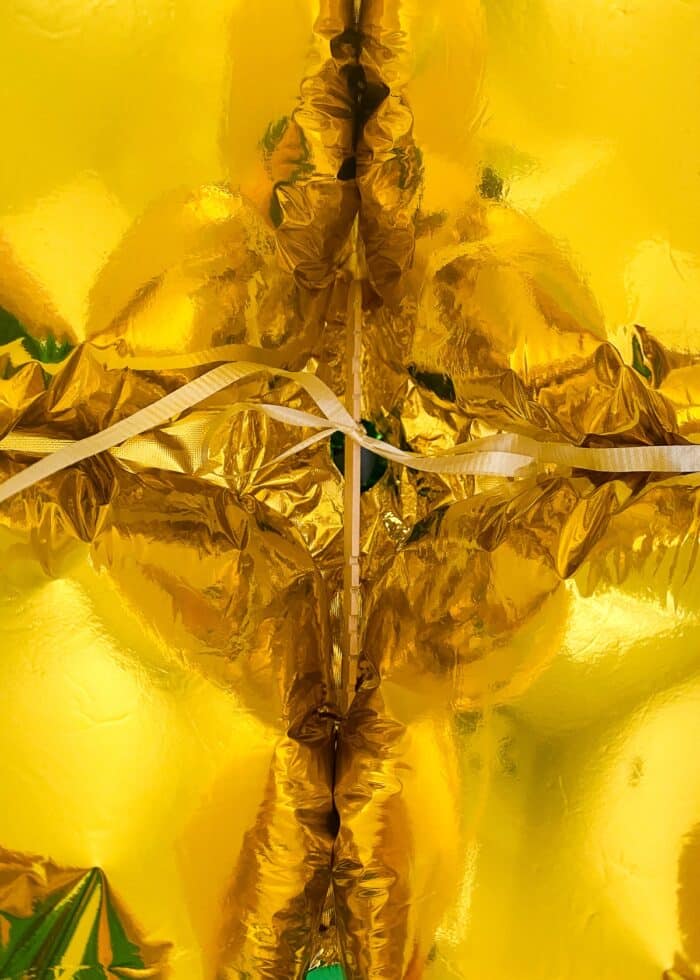
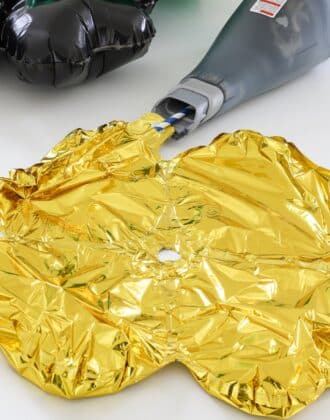
The gold balloon with the wooden popsicle stick is bit difficult to see. Below is a better picture of how the ribbons are tied onto the popsicle stick to secure the entire arrangement.
Once you trim the ribbon tails and turn the arrangement right-side-up, it should sit solidly on a table/surface.
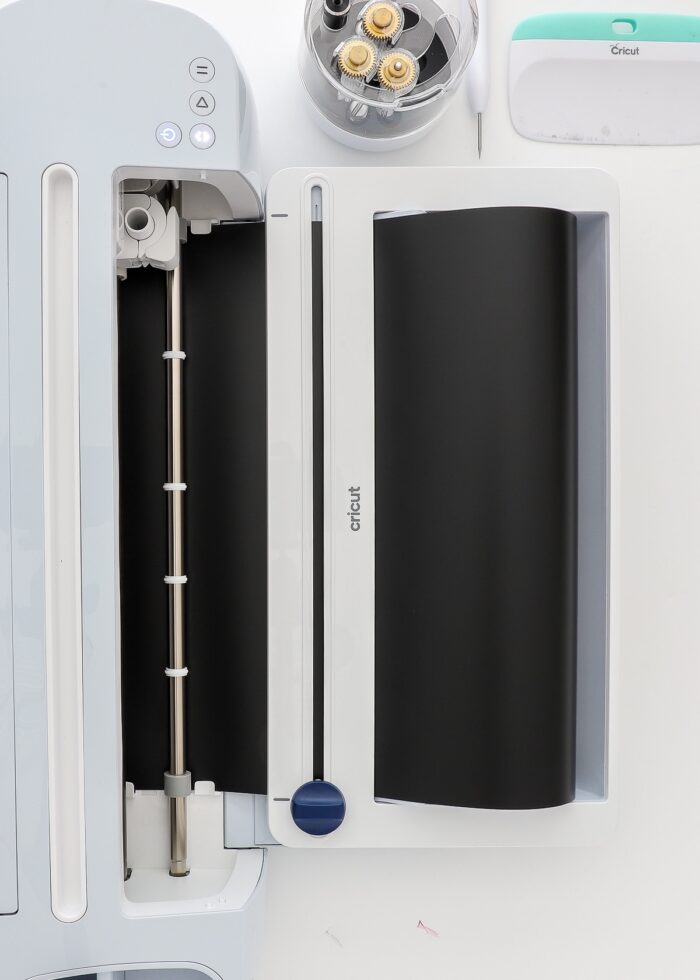
Step 5 – Cut Vinyl Bingo Ball Numbers
If you do not own a Cricut machine, you can use a thick Sharpie marker to draw the Bingo ball numbers directly onto the white ball balloons.
However, cutting the numbers from vinyl with an electric cutting machine (such as a Cricut or Silhouette) will give them a more accurate (and professional) appearance.
I have pre-designed and sized all 75 standard Bingo ball numbers for Cricut Design Space; and you can access my cut file HERE.
TIP! If you have a Cricut Joy, Cricut Explore 3 or Cricut Maker 3, I highly recommend using Smart Vinyl (mat-free) so that you can cut all the numbers at one time without having to load/unload mats over and over.
Step 6 – Add Bingo Numbers to Balloons
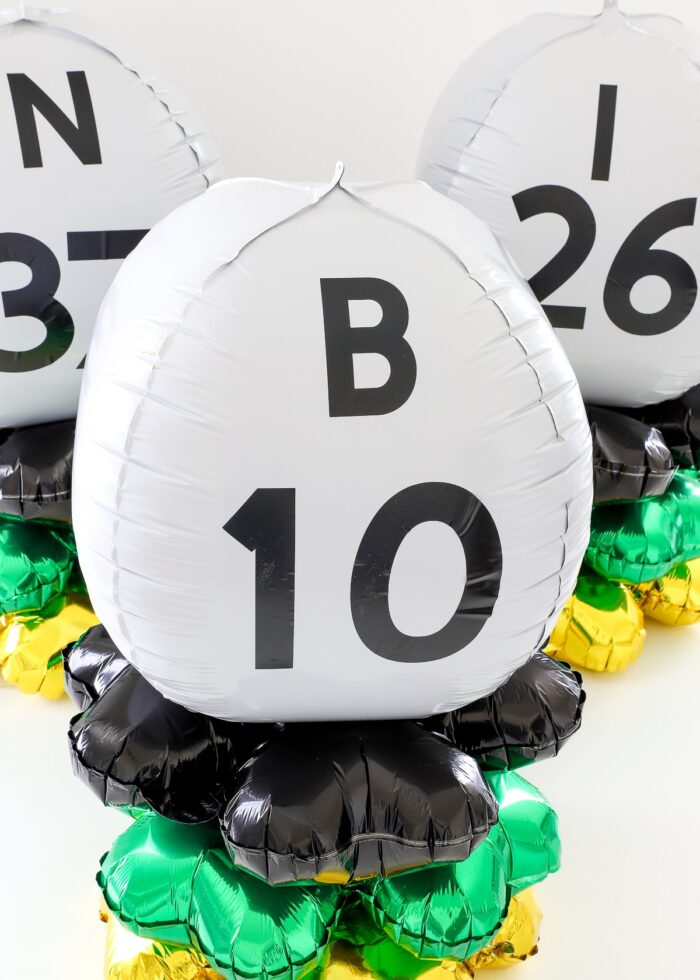
Once your Bingo ball numbers are cut from black vinyl (and weeded), there is no need to fuss with transfer tape. Simply peel off the letters and numbers and place them, by hand, onto one side of the large white ball balloons. Typically, the (smaller) number is on top and the coordinating number is on the bottom.

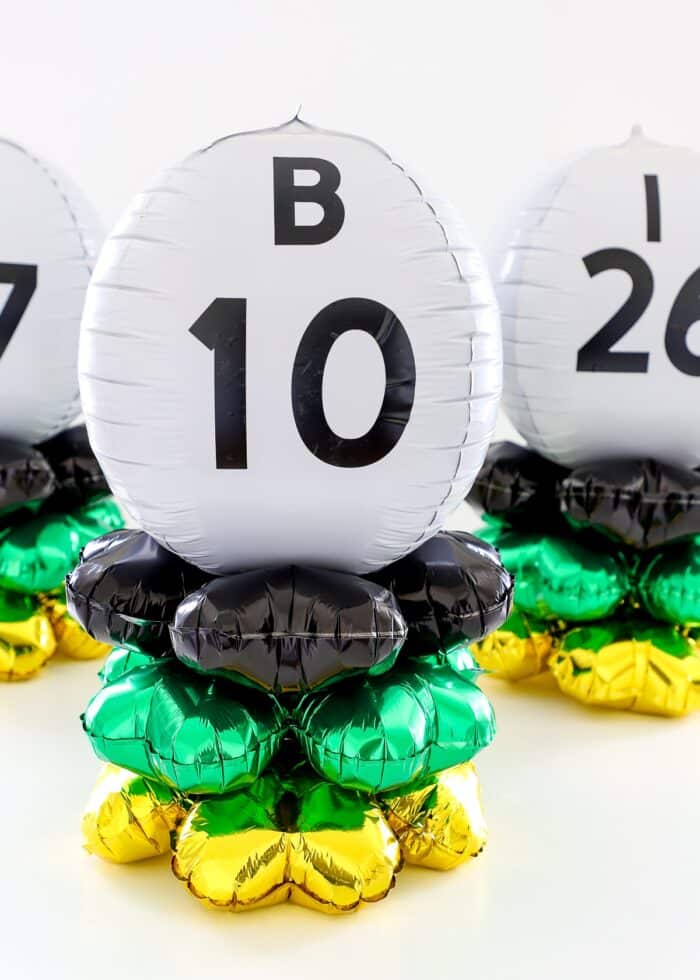
Even if you do not make 75 unique Bingo table centerpieces, be sure to make a variety using all five letters (B-I-N-G-O), so as to give the appearance of randomly-called numbers!
Once ready, place onto party tables to serve as tall, eye-catching, and on-theme centerpieces. Because these are so grand, you really won’t need much more to decorate your Bingo hall!
TIP! Did you know you can deflate mylar balloons and use them again? If your event/party is a regular one, don’t hesitate to repurpose the balloons…even the ball balloons with the vinyl numbers deflated without issue! See how: How to Deflate Mylar Balloons | Step-By-Step
This party idea is a bit of a departure from my usual home decor and organization projects. But since we couldn’t find any great Bingo table centerpiece ideas AND we got so many compliments on them from guests, I wanted to share so others could use the idea too.
(And even if you aren’t decorating for a Bingo event, this budget-friendly balloon centerpiece idea can be adapted to any party theme – just pick a different balloon topper!)
Megan

3 Comments on “(Easy!) DIY Bingo Table Centerpieces”
This is the greatest idea! Thank you for sharing this with us.
Don’t forget to remind folks HOW to deflate mylar ballons to reuse. I didn’t see it, so I thought I would share. Using the same straw you used to fill the balloons, carefully insert it back into the opening far enough to get past the end of the valve inside. Gently press on the balloon to let the air inside escape out of the straw. Let the balloon “exhale” all of it’s air, flattening it as you continue gentle pressure and when it’s all removed, just refold your balloon and store it flat to live another day. I have sold and fill balloons as a fundraiser for a school group I advise. I have done this personally and recommended it for our customers for years to reuse balloons. P.S. I love your BINGO BALL Centerpiece Idea! It’s so cool!
Love this! So creative along with your other creations! Can’t wait to brainstorm a fundraising event and using this theme!