DIY Standing Frames for Canvases
As many of you know, early last year, my mother unexpectedly passed away. My family and I then spent the next 8+ months cleaning out my childhood home – a house my parents lived in for the final 34 years of their 51 year marriage. As we sorted, purged, and de-cluttered, we unearthed a bunch of things. Some amazing things, some not so amazing things, and quite a few odd things that I dragged home to transform into neat things for our home. I’ve been documenting these transformations here on the blog under a series I dubbed “Treasures from the Basement.”
Up until now, the word “treasures” was a bit tongue-in-cheek, referring to all the crazy and unwanted items I saw potential in and couldn’t help but rescue. However, in this latest installment…the word “treasure” is for real. Today, I am going to show you real treasures from my parents’ home…treasures created by my Mom’s amazing hands…treasures that I will honestly cherish for the rest of my life.
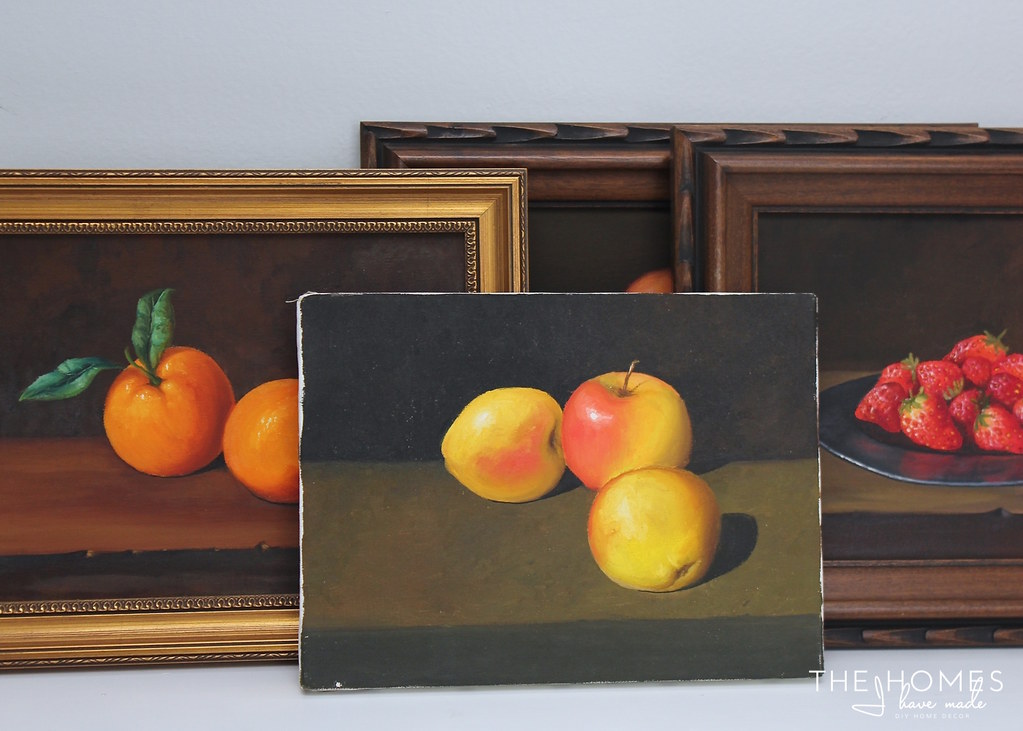
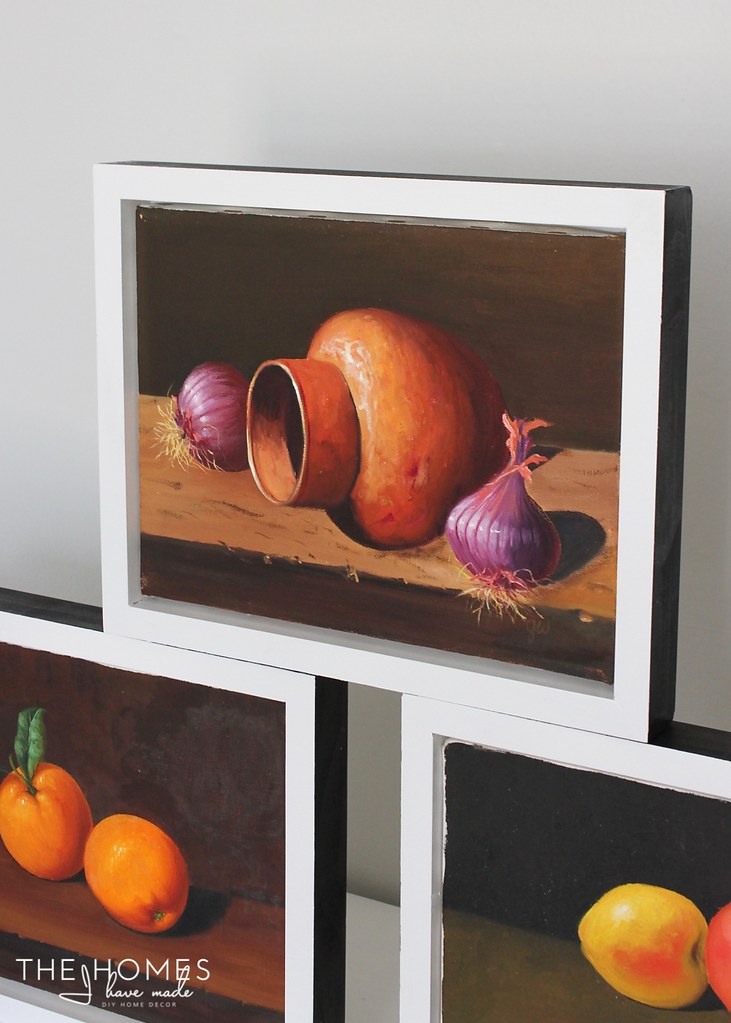
I’ve told you many, many times that my Mom was an amazing crafts-woman. She seemingly did every craft you can think of and and did them all beyond well. For as long as I can remember, there was a series of about 6-8 still life oil paintings on the dining room wall in the house I group up in (the one we just cleaned out). Mom took classes and painted them long before I was born. I was always awe-struck by these paintings, as was my entire family. In addition to the ones framed on the dining room wall, we also found a bunch of un-framed paintings down in the depths of the basement. It was so neat to see some of her practice paintings and drafts. The framed ones were obviously the ones she was most proud of.
As things shook out and items started getting divided up, I ended up with four of Mom’s amazing paintings. (I’m not necessarily sure I’ll get to keep them, but I am considering myself their guardian for now 😉 Sad to say, for the last year, they have been in a box in our laundry room. I had a hard time getting them up on the wall because the frames were mis-matched, not my style, and one canvas didn’t even have a frame (the apples were a practice painting we found in the basement). I reeeeeeaaaalllly wanted these paintings up on our walls, but I also wanted them framed and hung in a way that felt true to my style and our house. At the very least, I wanted them in matching frames. I just couldn’t bring myself to pay for 4 brand-new frames because 1) I just wasn’t sure what I wanted, and 2) custom framing is SOOOOOO expensive.
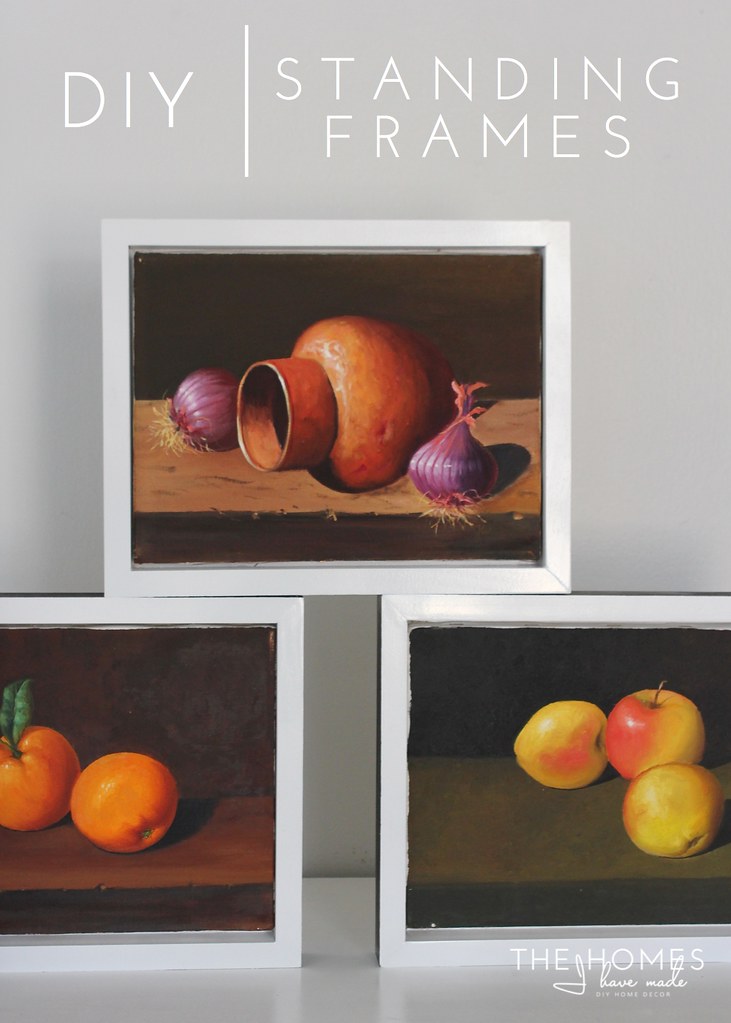
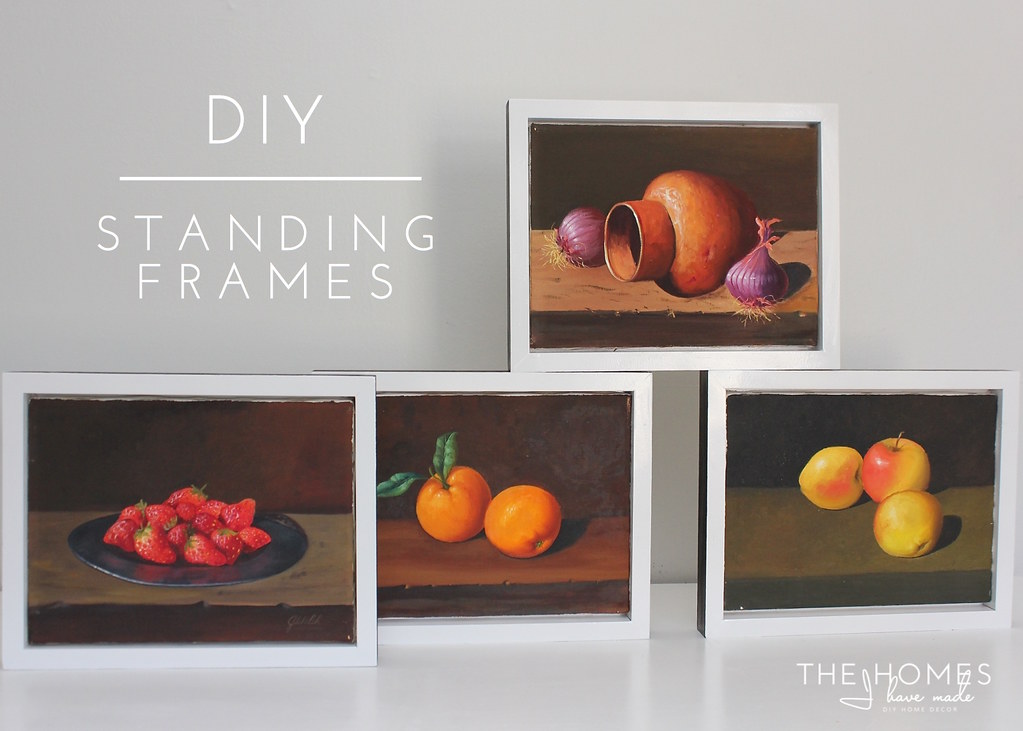
Some day, I will get these into the professional frames they deserve. But for now and for the sake of getting them out of the box and up on the wall, I thought I’d try my hand at another DIY frame project. After a ton of trial and error and a lot of wasted wood, Mom’s paintings (finally!) have new frames. Take a look!
These frames are far from perfect. I chalk it up to both my novice wood-working skills and the fact that these canvases are no longer perfect squares (um…they have to be almost 40 years old!). But I made them, they were inexpensive (I think it cost me about $25 for all four frames total!), and I learned a ton along the way!
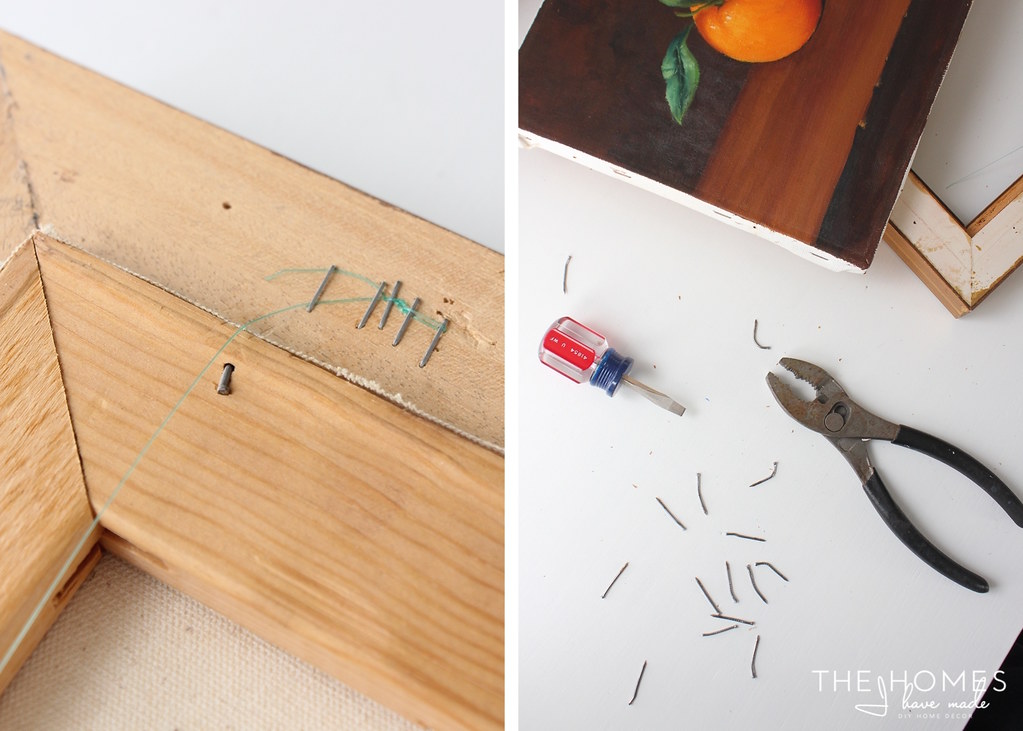
I first realized that a new frame job would be possible when I determined the canvases were only held in their original frames by simple nails. Knowing that I wouldn’t ruin the paintings by taking them out of the frames, I was certain I could DIY some sort of solution! I started by removing the canvases from the frames using a flathead screwdriver and pliers.
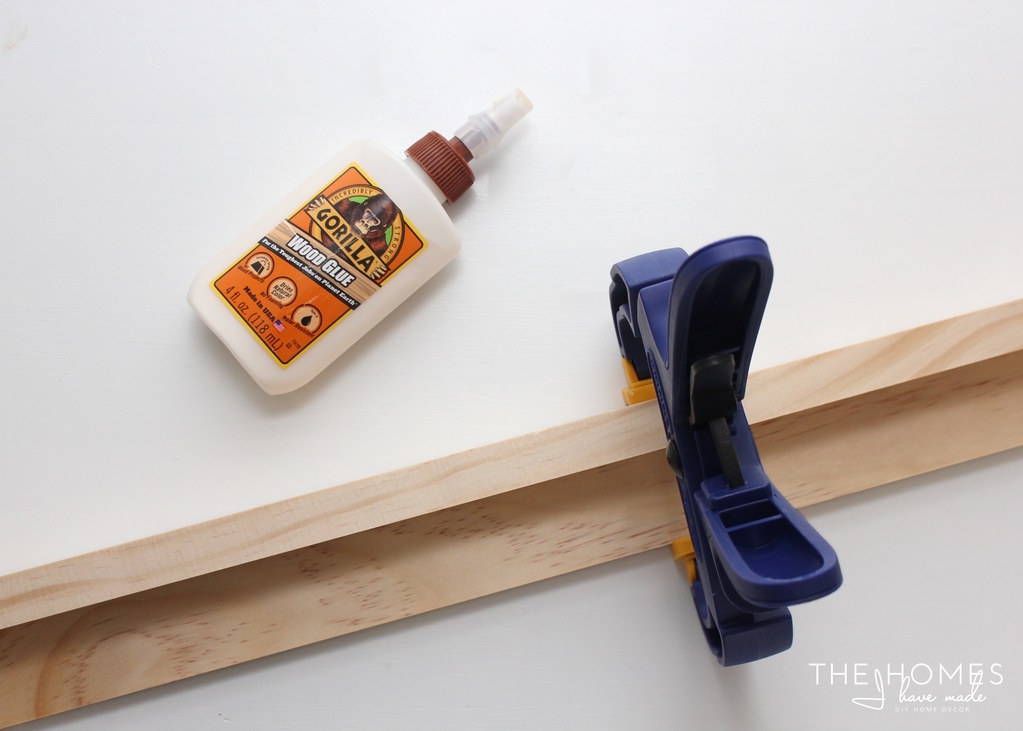
Next, I glued 48″ lengths of 1x2s to flat lengths of pine with my favorite Gorilla Wood Glue. I secured the wood with clamps and allowed them to dry.
I was able to do my last few framing projects by hand with a mitre box and saw with great success, but this project required A LOT of cutting. And as I kept getting my cuts wrong (#iamhorribleatmeasuring), I was growing weary. Determined not to give up, we borrowed a power miter saw from a good friend and boy what a difference it made! I’ve never used a power saw before and it was SO.MUCH.FUN! Using the power miter saw changed this from a multiple hour cutting session to just minutes for each frame!
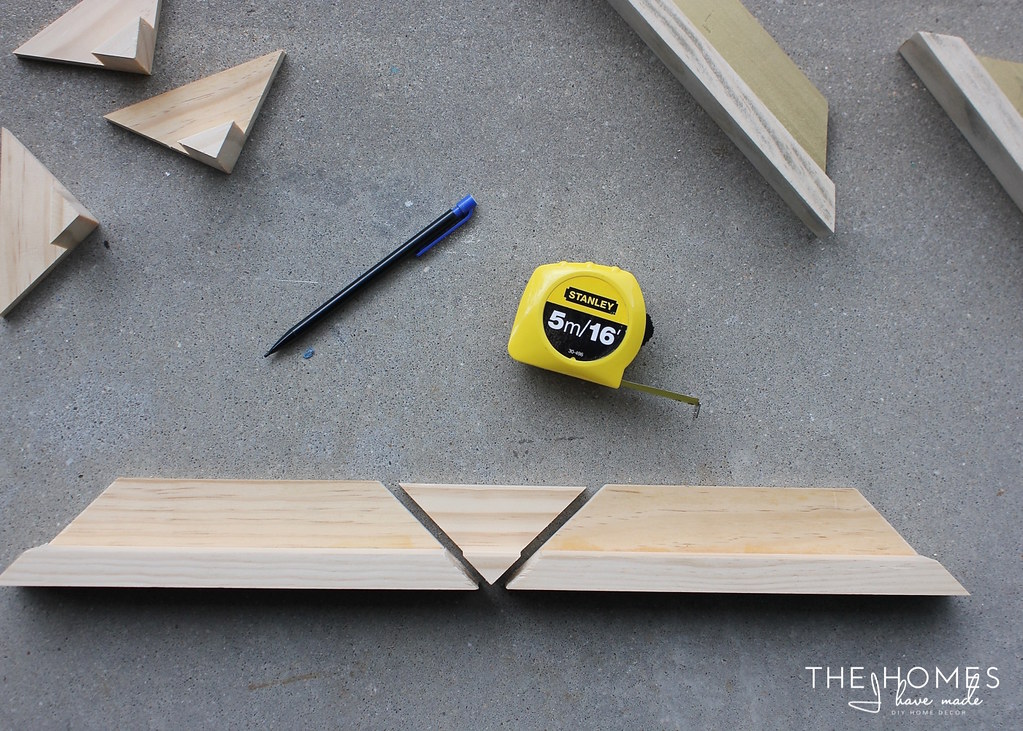
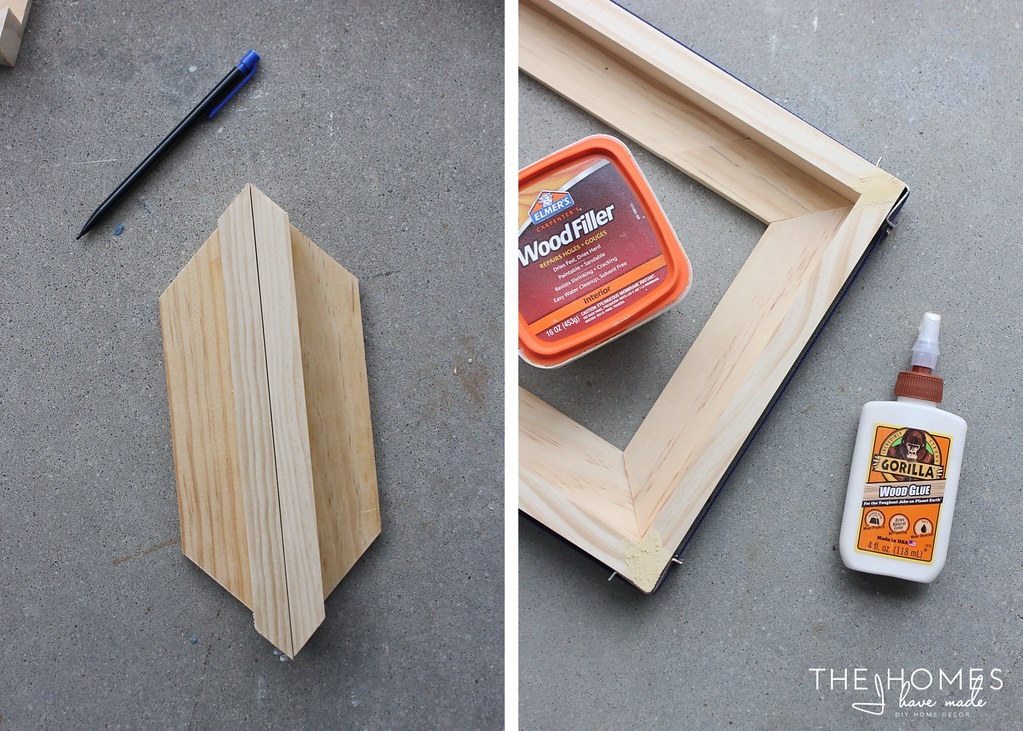
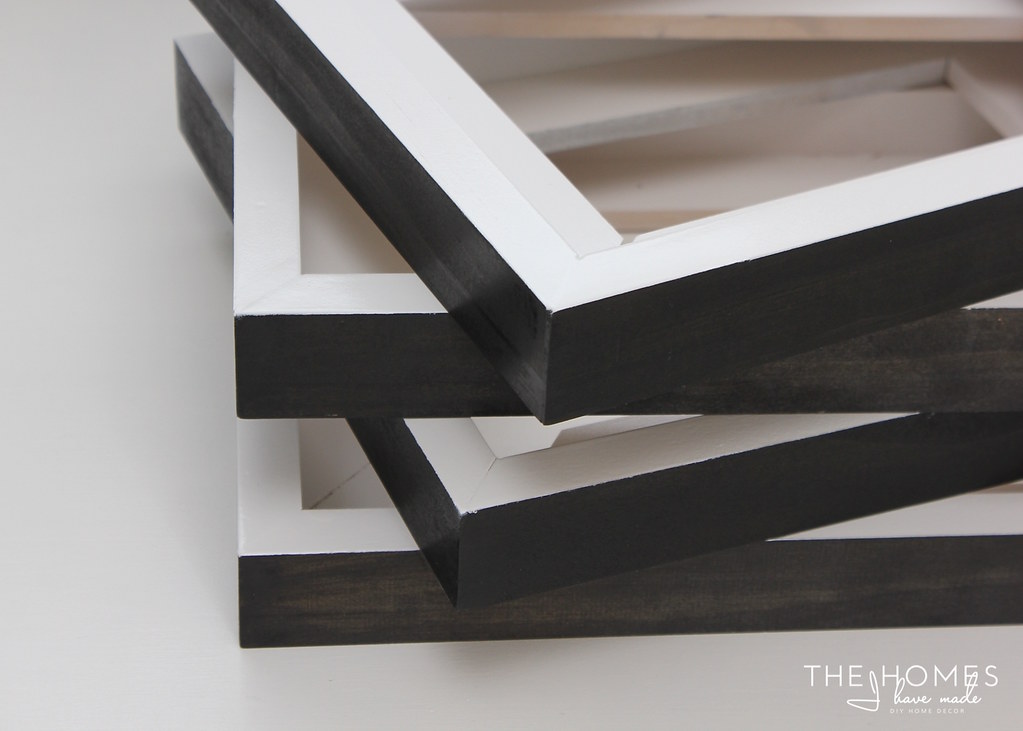
I cut each length of wood about a 1/2″ longer than my canvas on each side, all at 45 degree angles. Because I wanted the bottom/flat wood piece always on the interior of the frame, it meant that I wasted a bit of wood in between each cut (below, top middle). To ensure I’d end up with a perfect square, I made sure my lengths for the top/bottom matched up and the right/left sides matched up (bellow, bottom left). Once all my wood was cut, I dry fitted the frame around my canvases to ensure it would fit. Once I was comfortable with the measurements, I assembled the frames by putting wood glue at each corner junction and securing it tight with a band clamp. I also put wood filler on all the corner seems (below, bottom right); once dry, I sanded everything smooth.
You guys. I must have tried a dozen different paint/stain combos for these frames. I really struggled with finding a combinations that looked right with the paintings but also worked in our home. The paintings are quite dark and all the frames in our house are bright white; at the same time, white glossy frames didn’t seem like the right answer either. After trying everything I could think of, I settled on stained outsides with white tops and insides. I’ll show you why in a bit!
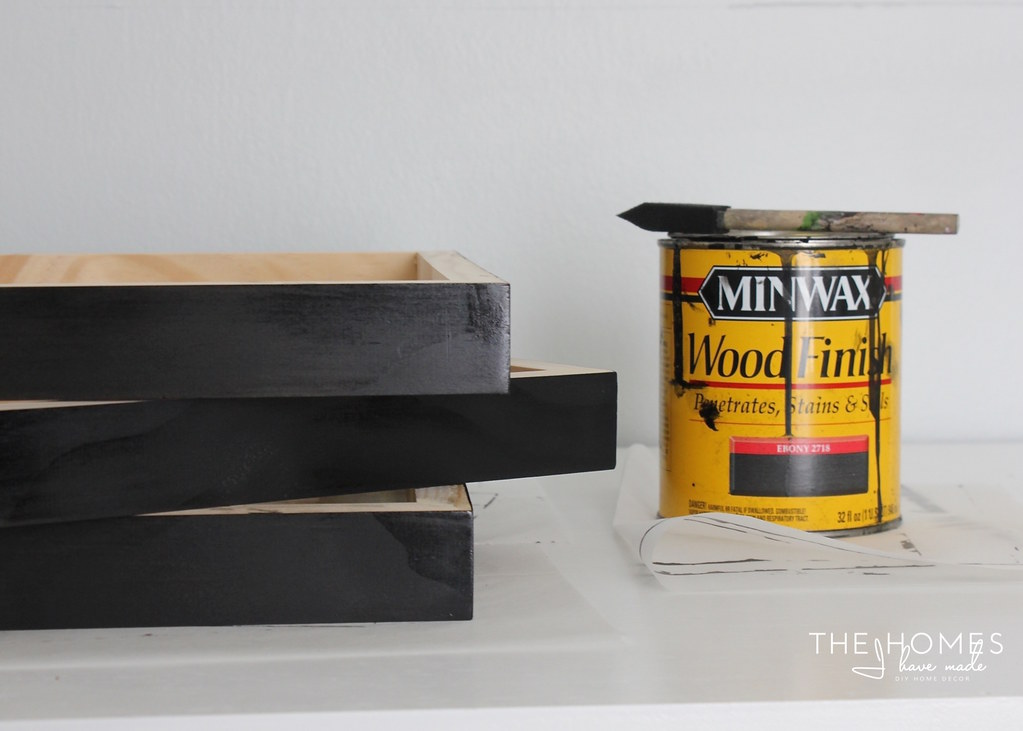
I stained the outsides with some leftover Ebony stain I had from previous projects. I treated the frames with wood conditioner first (not shown), and then gave each edge two coats of stain with a small foam brush. I allowed for ample drying time between coats and wiped away excess stain where I could.
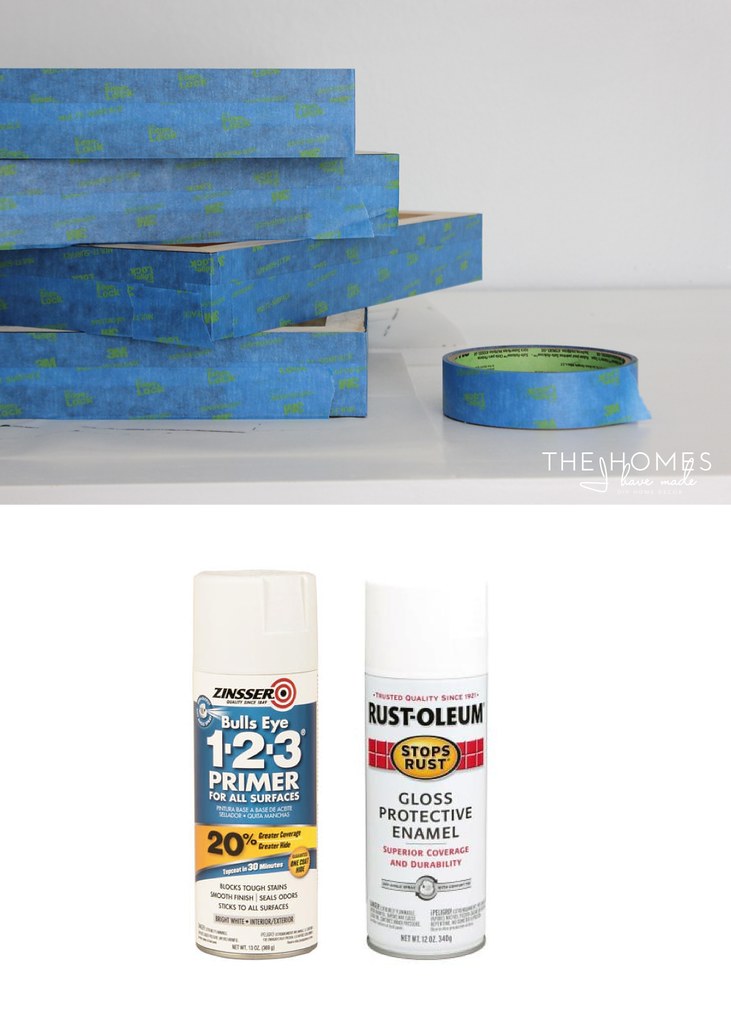
Once the stain was dry, I taped off the sides with painter’s tape and then gave the tops/inside lip of all four frames a primer+white spray paint treatment, exactly as I detail here!
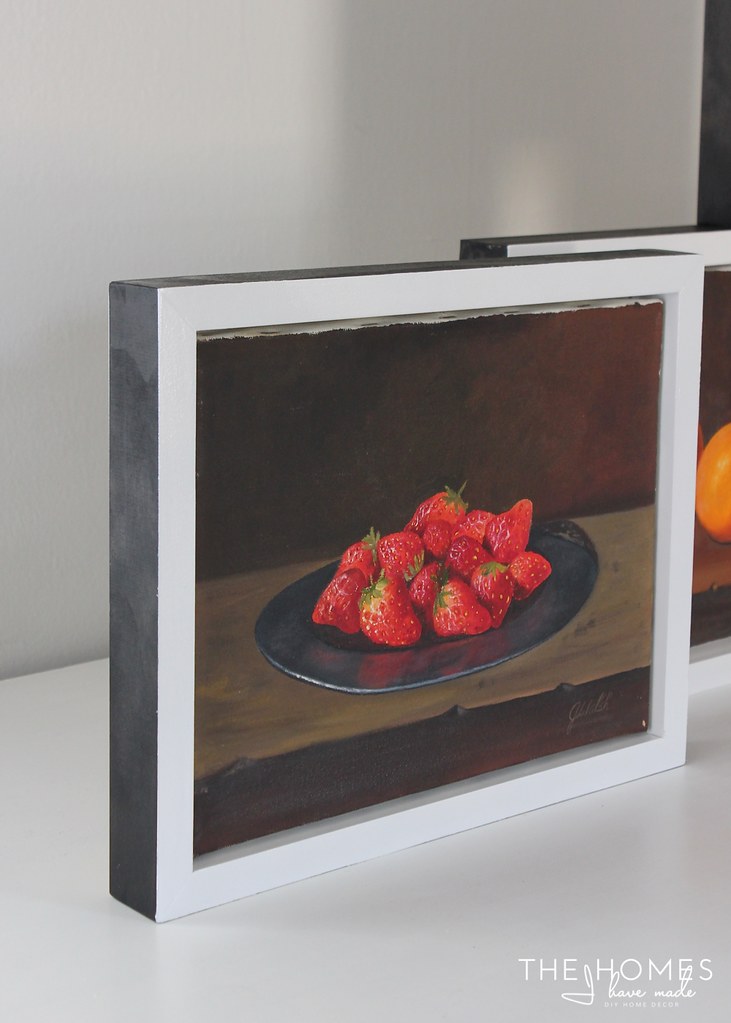
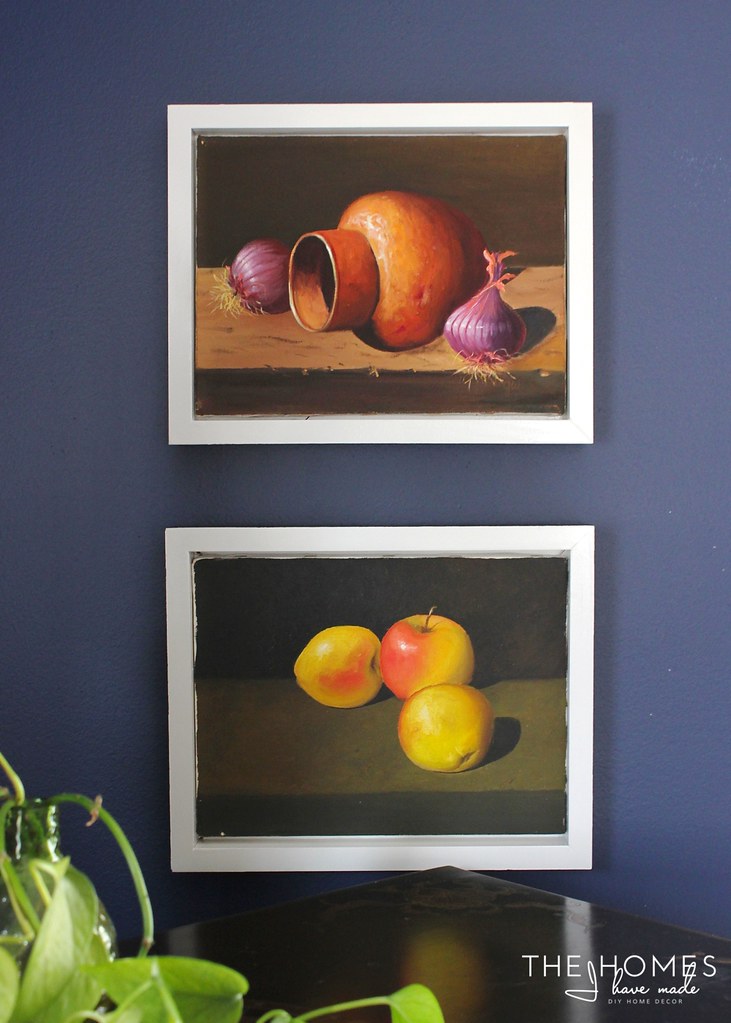
I removed the tape to reveal four beautiful paint+stain shadow-box like frames!
For the most part, the canvases nestled right into the frames. Two were so snug they barely fit, two were a bit loose so I secured the canvases to the frames with small wood screws through the back of the frame into the wood canvas stretcher.
Admittedly, the fit isn’t perfect on all four frames. You guys, I tried and tried and tried. I tried so hard. (Hence why I’ve been hinting at this project for three weeks!) The frames would be a bit roomy. I’d measure and then cut my lengths just a tad shorter, and then suddenly the canvas wouldn’t fit in at all. I ultimately decided I was okay with roomy rather than making myself crazy trying to get a perfect fit 😉
Now a bit about why I painted the top and inside edge white. When I designed (and bought all the wood) for this frame project, I hadn’t paid too close attention to the edges of Mom’s paintings. While the canvas was wrapped the way a normal canvas is, she only painted the fronts of the canvases, not the sides. After popping the canvases into my frames and seeing her jagged edges, I realized why my folks had them framed they way they were. I had already invested quite a bit of time into these frames, so I wasn’t up for a re-design; and no way was I going anyway near these canvases with paint to darken the edges. So…I thought white paint would reduce how much you notice the jagged edges of the paintings. And honestly…from a distance, you can’t really tell, so my tricked worked!
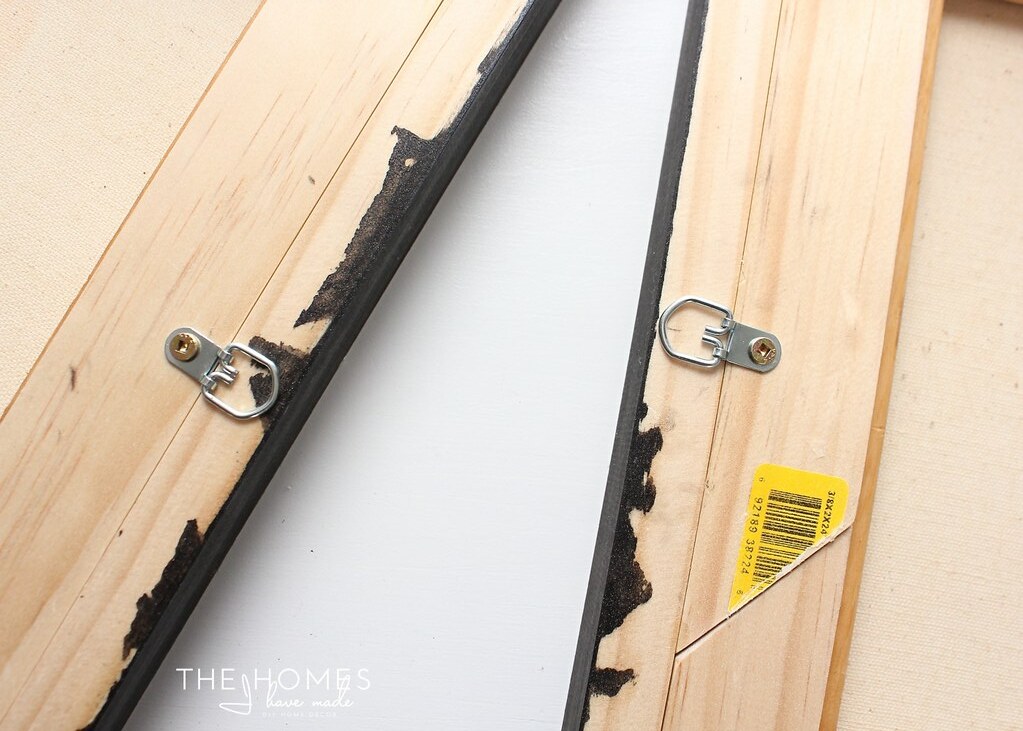
I have to say….I REALLY love these frames. I LOVE the stained edge with the white faces. Are they the most suitable, perfectly designed frames for these paintings? Probably not. But they sure make my modern-clean-asethetic-loving heart sing! I love that they stand up completely on their own. I think they will look amazing on bookcases, nestled into dishes and china. However, in this house, at least for the next two months, I don’t have any bookcase space to put them on. So up on the wall they were going. To hang them, I screwed on simple D-ring hooks.
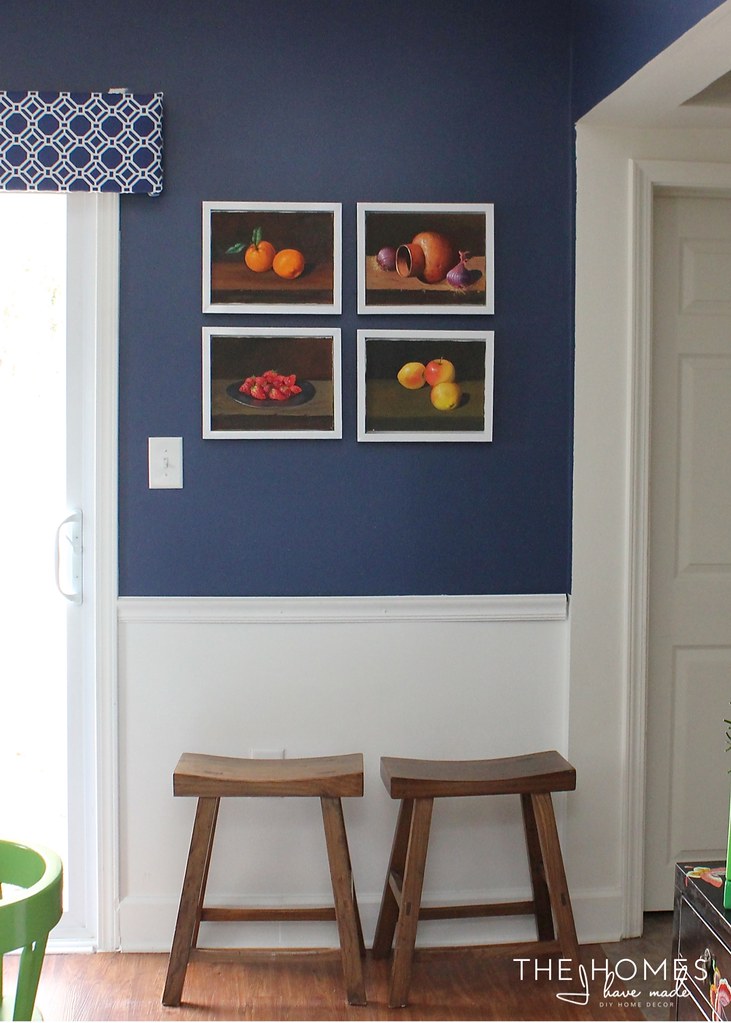
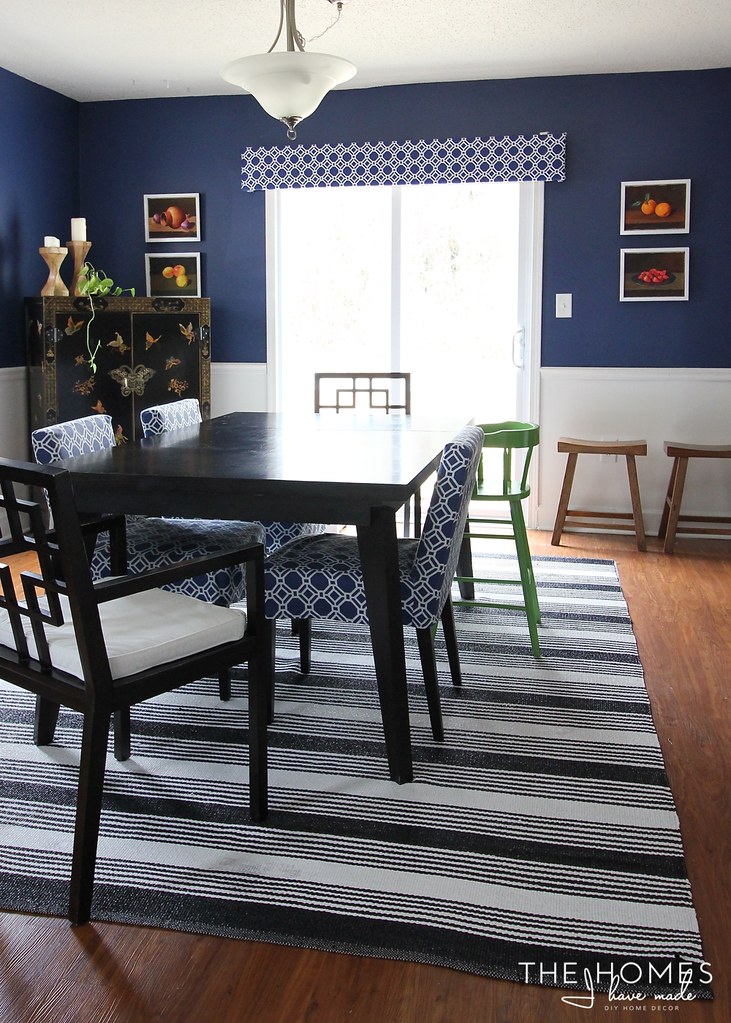
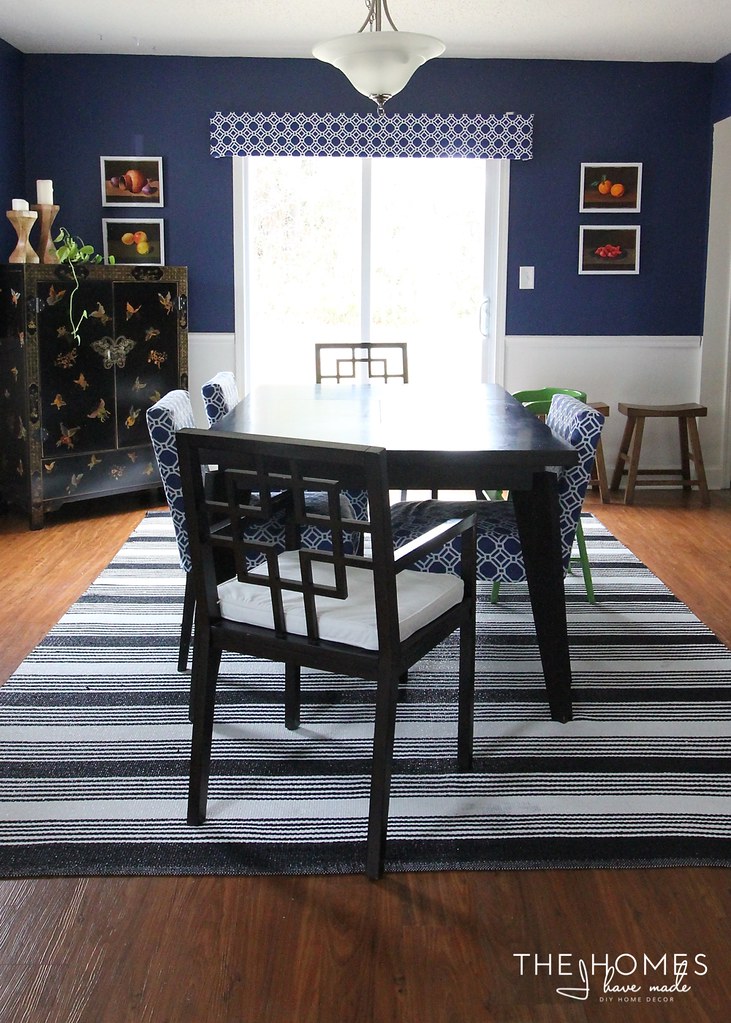
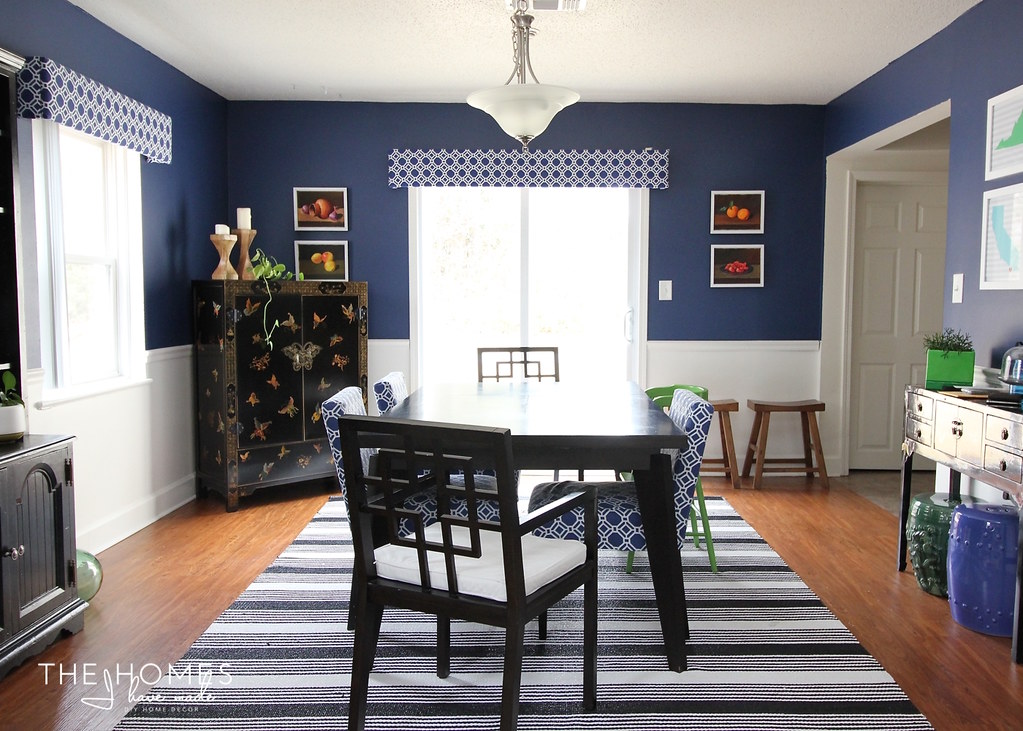
My original plan was to hang them all together in our dining room. I LOVE them together as a set, but they felt so cramped on this little wall. After just a few hours of them up, I knew they needed to be split!
I’m such a sucker for symmetry; and while our butterfly cabinet is a smidge too tall for this arrangement, I like the two-and-two much better in this space!
I can’t even tell you how much I love seeing this art on the walls. I see them and they remind me of so many good times with my family around our dining room table in that house that is now empty and no longer ours’…at birthdays and Christmases and every other holiday and family gathering. They were always there, always part of our family landscape.
I know my DIY skills don’t quite do Mom’s art justice, but seeing these paintings up on the wall these last few days made all those exasperating cuts and wasted wood worth it. At least they are out of the box. Gosh – I love them so. Wasn’t she just so good?
It’s amazing what art can do for a space. Real art. Art that has meaning and a story. These four little frames have completely changed this space for me. Both design-wise and emotionally.
These paintings feel a bit ridiculous next to/near our more modern State Prints (on the right side wall). We’re not here for much longer, so I’m going to overlook it for now…
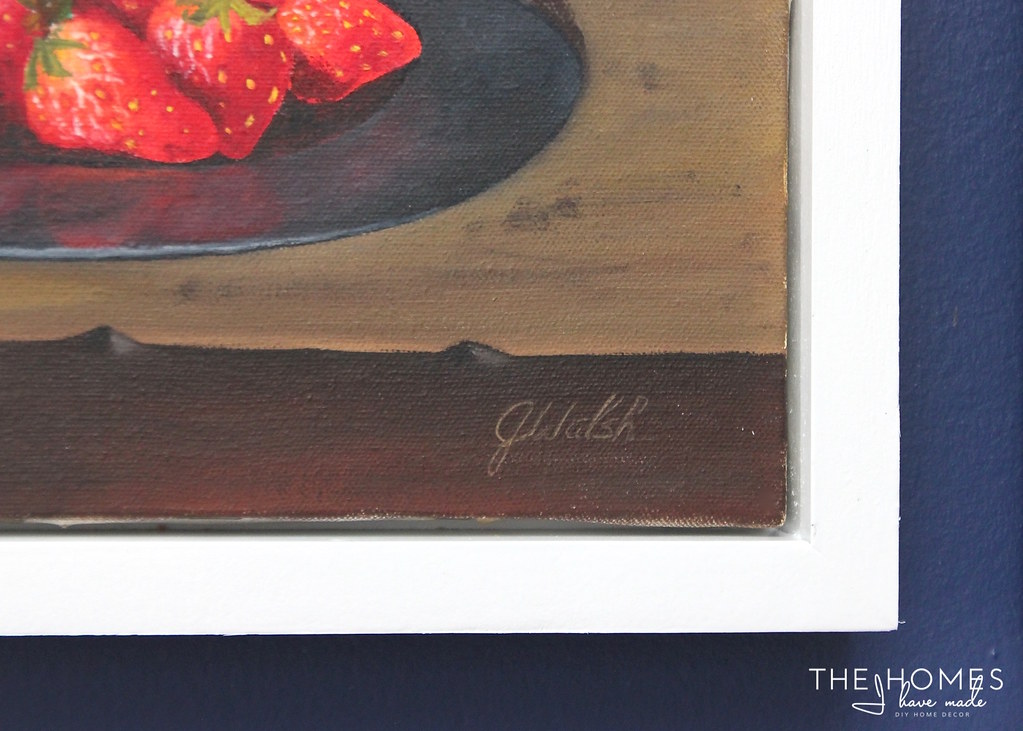
…because seeing that signature…in the bottom righthand corner…is everything to me. That signature that was on every school permission form and Doctor’s note and dance tuition check. That handwriting that was in every birthday card and love note in my lunches…I’ve missed it so much…and I love seeing it every day.
I miss Mom more than I realize sometimes. But as I’ve said so many times in person and here on the blog, I am just so thankful that we have so many of her beautiful hand-crafted works to remember her by. Quilts, sweaters, clothes and now these paintings…are such a wonderful, lovely and ever-present gifts…reminders of who Mom was and how much we loved her and she loved us. Having these on my wall helps me feel like she’s here…I hope she likes my frames 😉
Phew – that one took a bit more out of my than I expected so I’m going to sign off there 🙂 I hope you all loved seeing my Mom’s work and my budding wood-working skills! I’ll see you back here on Wednesday with a moving update!
Megan





7 Comments on “DIY Standing Frames for Canvases”
This is so sweet! And I love that you were able to think outside the box to not spend a lot of money on the frames. I liked them either way, in the four together or as they are now with two and two.
Question, what is the color called in the room? I tried to find it on your past blogs but never found the name. Thanks and love your blog!
Hello!!! Thank you SO much for your nice comments!! To answer your question, our dining room is painted Azurite by Martha Stewart. I LOVE this color so much – I still love it today as much as I did when we painted the room three years ago – and that is really saying something considering how much I change my mind! Hope that helps!
I love the frames and absolutely adore the artwork. Your mom sounds like she was an amazing person, and I'm sure she'd be thrilled with all the love and care you've put into preserving her art. Great job!
I LOVE what you did with the pictures. They turned out fabulous. And never think that the frames you made aren't professional enough. I love your little trick to make them look right. I don't think I would ever have thought of that.
And can I just say I am jealous you have artwork like that to hang up? My grandma was a great artist, and supposedly each grandkid is supposed to get a piece of art, but my mom won't let them out of her possession. I am super jealous you get to put up amazing artwork that reminds you of a special person. Thanks for sharing this project.
My Mom died Jan. 31 2014. I received some of the art she had in her home from various trips she took to Alaska, Peru, Europe. In addition, I have some crafts she made – at the end she had dementia but her sense of color and her own unique creativity came through in things she made in her crafts class. I treasure her sense of color in the artwork and crafts and feel comforted whenever I see them in my home. She was 96 when she died. A long life, well-lived. We loved her for her capacity to keep us together even in the midst of divorce (1965) that impacted us forever thereafter. I still come across letters she sent with clippings of news articles she thought we would be interested in. Love lives beyond death.
Beautiful wood work! I love the frames they look great, and your moms artwork is amazing! She is definitely quite the painters 🙂
Thanks for sharing
Lauren | LB Designs
xx
The frames look so great and really highlight your mom's art. I have most of our canvases hanging frame-less; but there are a few I'd like to make more of a focal point by adding a clean, modern frame.