See-Through Puzzle Pouches
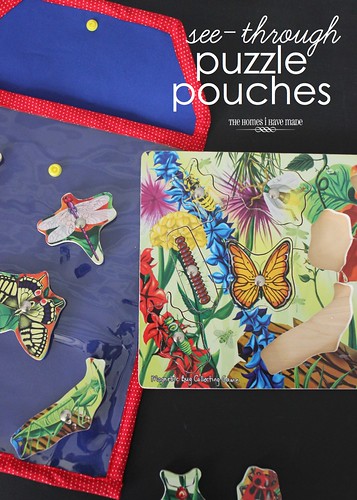
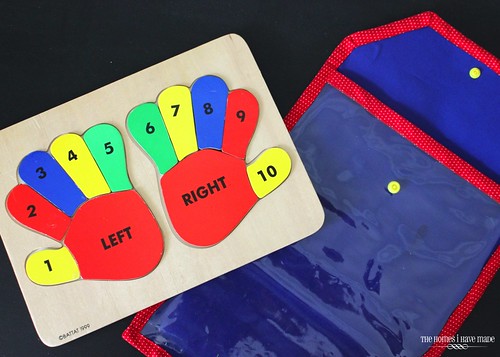
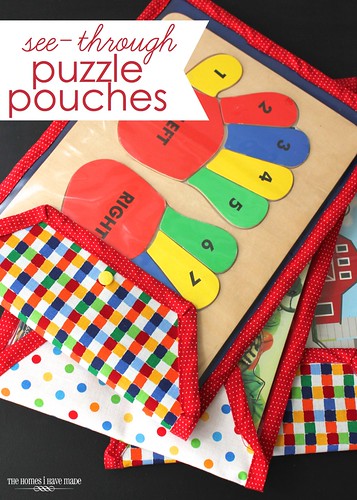
Over the years, Henry’s accumulated a nice little wooden puzzle collection – either from birthday gifts or hand-me-downs, and we now have 5 or so of these puzzles in our playroom. I love these types of puzzles – the chunky pieces are great for little hands, and the sturdiness of the solid wood means no bent or broken pieces. My only issue with them is that they don’t typically come with lids or boxes, making corralling all the various pieces a bit tough. After the millionth time of putting these back together because a certain little someone pulled them out of our puzzle drawer sideways, I was determined to find a better storage solution. I know they make little shelve/drawer-type things for these puzzles, but in my no-spending Lent, I was on the hunt for an organization solution I could DIY from my stash. Using a similar process as one of my most viewed previous projects (the See-Through Purse Pouches), these DIY puzzle pouches were born!
These see-through pouches are made to fit standard wooden puzzles (9″x12″); but this tutorial can easily be modified to hold any size puzzle you have!
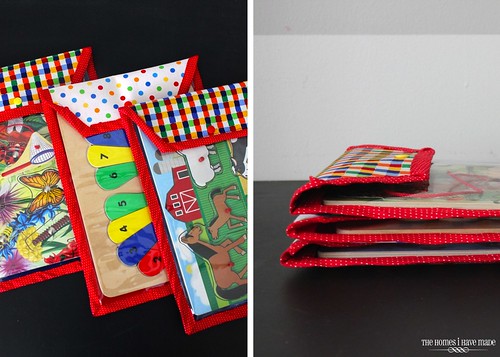
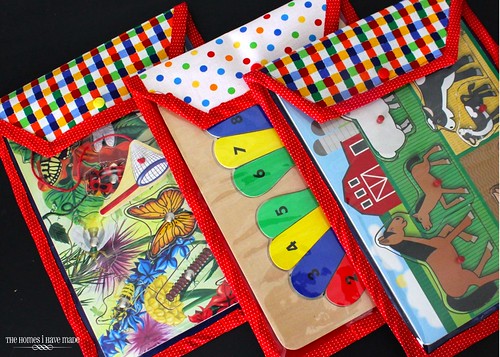
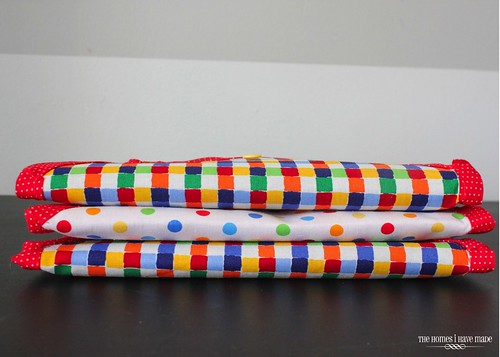
A combination of fun fabrics and polka-dot bias tape make these not only a great organizational solution, but a whimsical addition to the playroom!
If you’re familiar with my See-Through Purse Pouch tutorial, the process is very, very similar. These directions are to make one puzzle pouch. Just repeat for as many puzzles as you have!
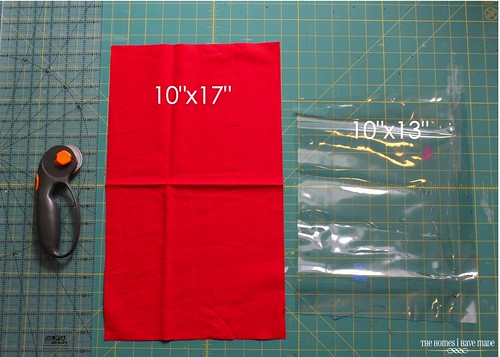
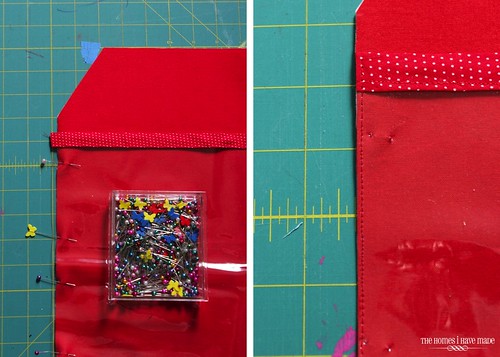
Start by cutting down one piece of solid red fabric to 10″x17″ and one piece of clear vinyl to 10″x13″.
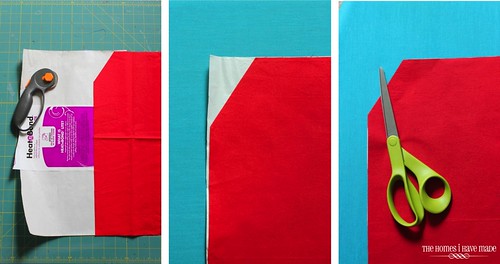
On one short end of the red rectangle (the 10″ side), use a marking tool to mark two points: one 2″ in across the top, and the other is 3″ down from the top. Using a rotary cutter and clear ruler, connect the two marks and cut a diagonal line. Repeat on the other side.
Next, adhere your red rectangle to some light-weight sewable Heat-n’Bond. Cut down some Heat’n’Bond to 10″x17″. Iron the Heat’n’Bond to the WRONG side of the red rectangle. Once cool, use a scissors to trim off the excess Heat’n’Bond at the diagonal edges.
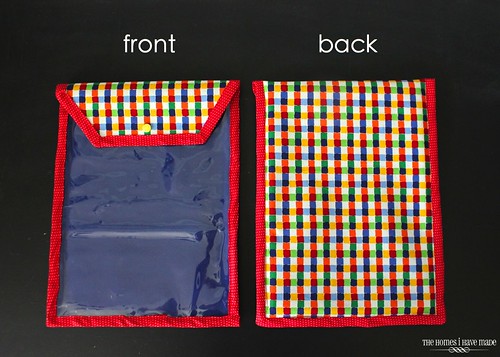
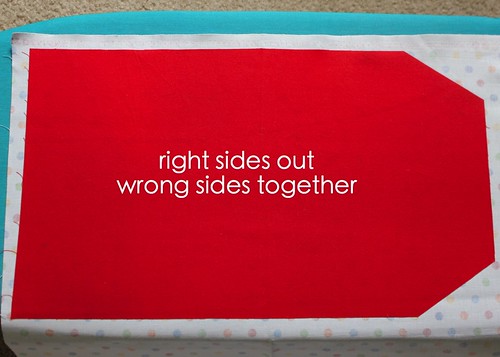
Next, iron your red rectangle, WRONG SIDES TOGETHER, to a coordinating printed fabric for the back. In the image below, the RIGHT sides of the fabric are facing out, the WRONG sides are facing in, and the Heat’n’Bond is holding the two layers together.
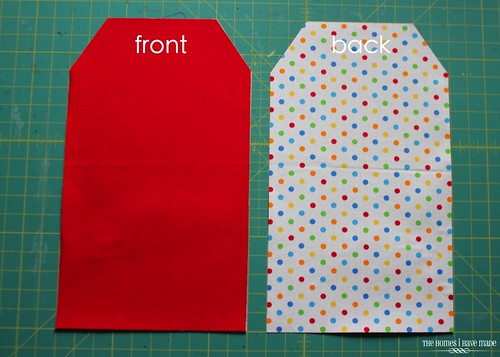
Below is an image of TWO finished rectangle pieces for TWO different pouches. I just wanted to show that on one side is a solid red and on the other is the pattern. Set this piece aside.
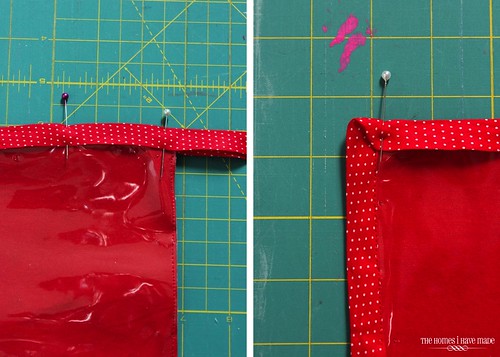
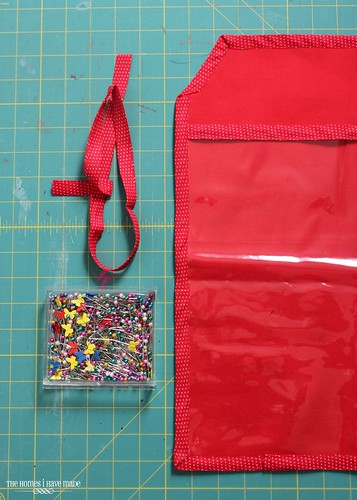
Take the vinyl rectangle and some coordinating bias tape. Pin the bias tape along one of the 10″ sides and then sew the bias tape to the vinyl. Be sure you sew with the shorter side of the bias tape facing up, to ensure you catch the longer edge on the other side. Need help with sewing bias tape, I use this tutorial 🙂
With the bias tape attached, now it’s time to baste the vinyl window onto the fabric rectangle. Line up the bottom and two sides of the vinyl with the bottom and two sides of the fabric rectangle and pin all the way around. Machine baste the vinyl to the fabric rectangle close to the edge.
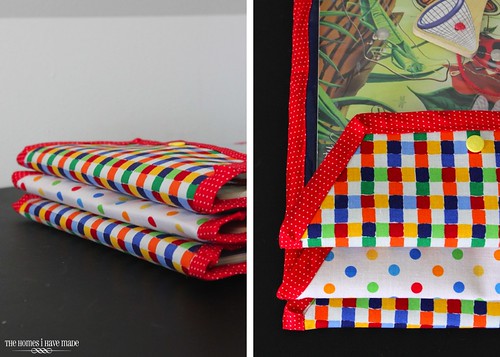
This next step is the most difficult and can be a bit exasperating. I wish I had a clear, simple, and fool-proof method for you to follow when applying the bias tape around the entire perimeter of the pouch. Alas, after three attempts using three different methods, I haven’t quite found a perfect approach. The bends around those diagonal cuts at the top make adding the binding a bit tricky! Instead of making myself crazy, I reminded myself that these are just to hold a child’s puzzles and don’t need to be perfect. With that disclaimer, I found that sewing one side at a time, and then folding and mitering the corner at each bend as I came to it, was the cleanest and quickest approach.
Slowly and carefully work your entire way around the pouch. Not only does adding the bias tape give more sturdiness to the case, but it also cleans up that raw and rough outer edge.
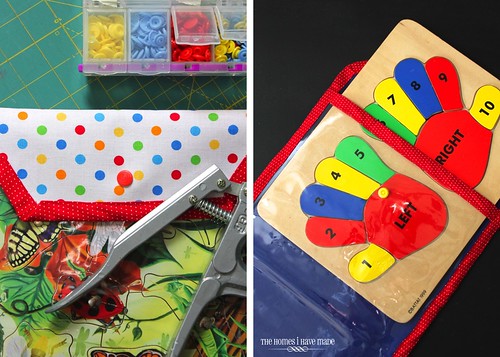
The last step is to add a snap (if you wish, velcro could also work here!). To find the right placement, I slid a puzzle into the case and then folded the top down to the right length. I marked both the flap and the pouch underneath and added a snap in the right spots with my snap tool. And that’s it! Slide your puzzle back in, and you’re all done!
I knocked out two more before calling it a day. I still have two more to make for our last few puzzles. They are all cut and ready to go but are standing by as a rainy day project. I have a few other things I’m antsy to get to 😉
Henry really loves these cases, and I do too! He likes to play with the snaps and put all sorts of things in the pouches; I love that I no longer have puzzle pieces all over the playroom! Oh – and those cute fabrics get me every time!
Not only are these a great organization project and awesome scrap-buster, but this little combo would make a great birthday gift. They are also the right size to hold coloring books and crayons for on-the-go entertainment! So many possibilities using the same technique!
Psssst: If you love this idea but don’t want to make your own, these inexpensive zipper pouches work almost exactly the same way and you can get them in a variety of colors!!
Finally, if you’re looking for a few more solutions, be sure to check out my Ideas for Storing Wooden Puzzles post!
Megan






15 Comments on “See-Through Puzzle Pouches”
I absolutely love this idea!! Perfect for the classroom!! Thanks so much! Pinned 🙂
What a wonderful idea!!! I was just trying to figure out some way to organize our growing collection of puzzles! Thank you for sharing, I will definitely be making some of these in the near future.
~Alicia
You are brilliant! Thank you!!
You are brilliant! Thank you!
I LOVE this idea and could definitely use it in my own house. I am always getting frustrated with puzzle pieces falling everywhere. Thanks for the great idea!
These are adorable and perfect for organization! I wish I could buy some!
These are adorable and perfect for organization! I wish I could buy some!
I am glad you linked to this post today. I bought my nephew a stencil kit that didn't come with a good storage solution. This will be a perfect solution. Way better than the zip top bag that I had been thinking about. Thanks!
These are great! I have the jumbo knob puzzles from Melissa & Doug and was wondering if you’ve ever used these pouches for that. Should I allow extra width since the knobs are so big and if so how much do you recommend? THanks!
Hi Jenny!
So glad you like this project. I have never used these pouches with anything but the flat puzzles shown. If you make them extra big, then I think they would work, but you’d have to test it. Another thought is that you could cut the clear vinyl wider than the back fabric. Still line up all the edges so that it “bulges” a bit in the front to make room for the knobs. Does that make sense?
Let me know how it turns out if you try it!
Megan
I realise this is a very old post… But where do you get the vinyl from? This is the second tutorial I’ve come across that uses it, and I can’t find any! I’m from the UK, but it would help if I knew what to search for. We are now the proud owners of 7 board puzzles and I need somewhere to store them!
Hi Bethan!
Hmmmmm….I guess I’m not sure what it would be called overseas. Here, it’s in the fabric store, in the section with tablecloth material (not sure that helps). It comes in different gauges (weights); and is the same stuff used on like clear pencil pouches, cosmetic bags, etc.
Sorry I can’t be of more help, but we recently moved our puzzles to a different storage solution that’s working really well…you can see it here!
Hope that helps a bit!
Megan
Would you sell these?
Hi there! Unfortunately, I only share the How-Tos and don’t sell anything I create. That said, I’ve found these pouches from Amazon are about the same size and work great!
Hope that helps!Megan
Excellent DIY you explained it so clearly
might I suhggest rounding all edges . . . use a teacup to trace
mark the bottom corners, the top adges AND the flap . . . . so much easier to
gently work bias around a curve . . . . faster too, and clean, neat finish