Monster Party – Spotlight on Decor – Part I
As promised, I am back today to start a series of posts spotlighting all the various projects I have been working away on over the past 6 weeks for my son’s Monster First Birthday Party! (If you missed the big reveal, you can read it here!)
This ENTIRE party was one huge DIY marathon, and it’s been killing me not to share each project as I completed it! I’ve been chomping at the bit to show you everything, so let’s get started!
First up: the party decor! To keep this from becoming a “monster” of a post (ha.ha.ha.), I am breaking this into a two-parter. Today, I’ll show you all my paper-related crafts, and this weekend I’ll have my other projects up, all with shopping sources and tutorials!
Whether designing a room or planning a party, I always have to find an inspiration source first (it really helps if I have something to refer back to in order to ensure everything matches and coordinates just right!). I had a bunch of different party themes floating around in my head, and was having a really difficult time deciding on a theme until I found this fabric from Spoonflower!

Although it was on the pricey side (16.20/yard – eek!), I couldn’t find anything else I loved nearly as much. I ordered two yards, vowing to use it for something really wonderful in the future. When it arrived, I was absolutely thrilled with the colors, quality of fabric, and size of the monsters! I was expecting them to be little, but they are 4+ inches tall (guess I can’t read those little ruler guides!) I am in love with this fabric, and am so thankful it survived the party with no stains or rips!
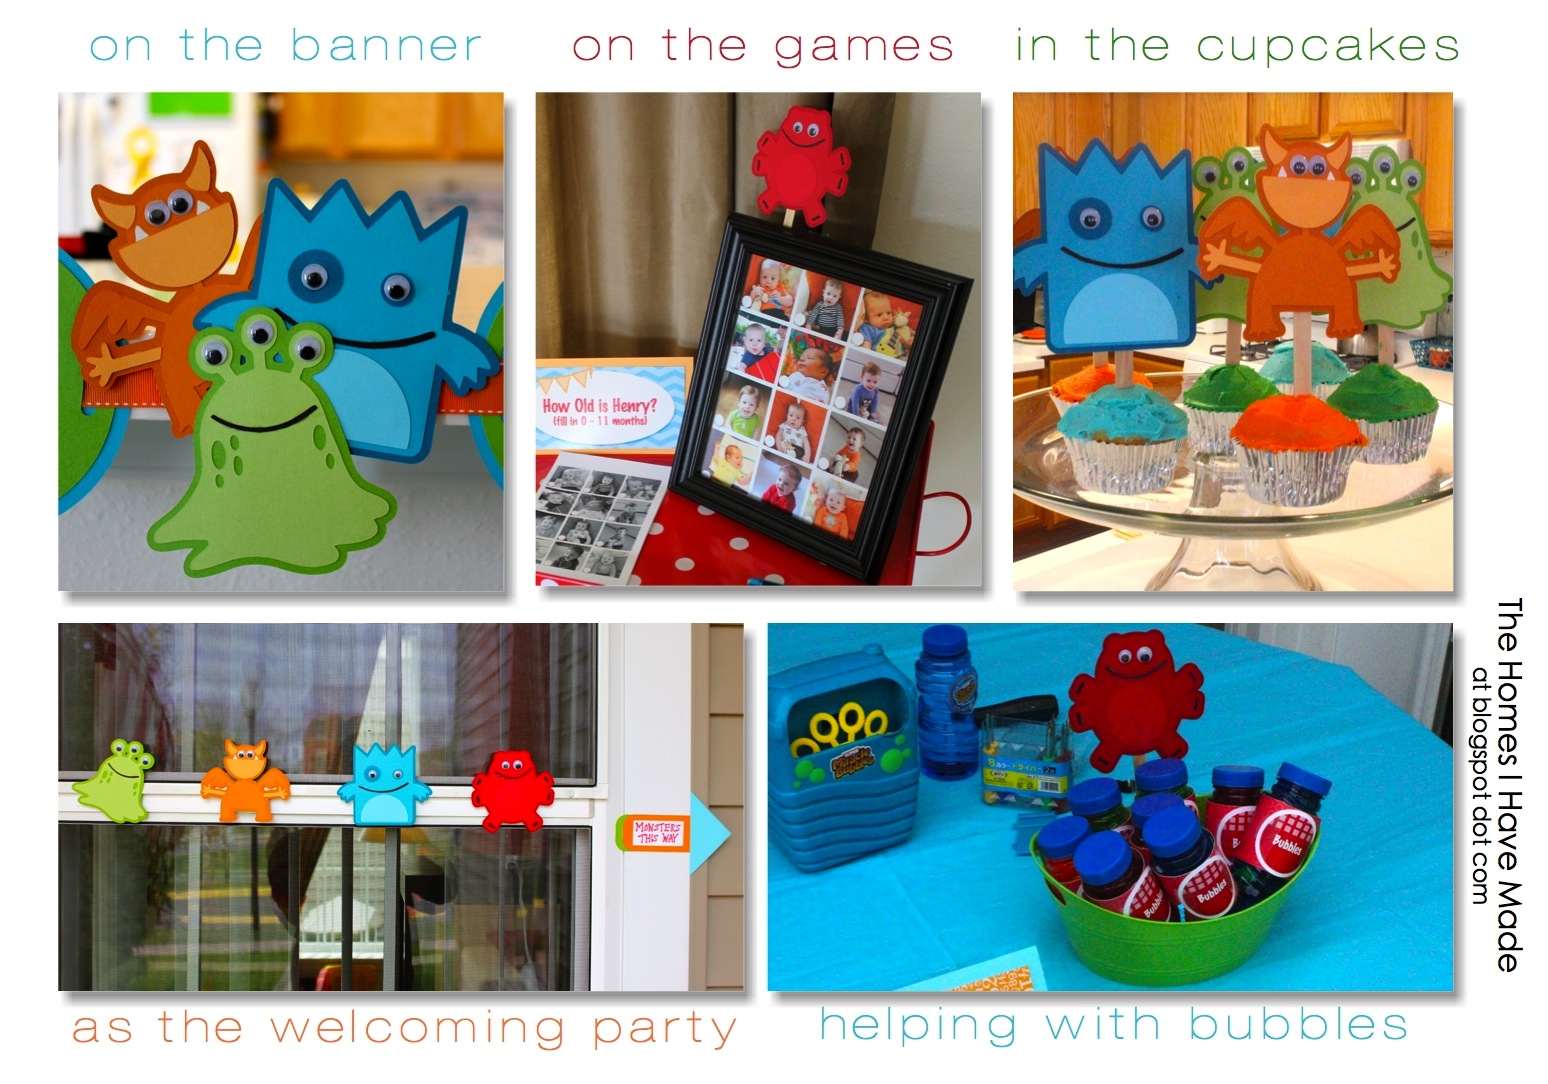
Once I told my sister about the monster theme, she suggested I use the Mini Monster cricut cartridge for my party decor! All of the monsters you see here are from that set!

The first craft I did was the invitations! I used the “card” function on this particular cartridge, which made any monster into a two-fold card! For the paper, I used the cricut-brand 6X12 Rainbow paper stack to make these little guys – half green, half orange! I printed the inside poem on glossy photo paper (it always looks nicer!) and adhered it with glue. The monsters’ bellies seemed bare, so I added a monogram “H” for my son’s name. Lastly, I loaded each invite into a clear cellphone envelope! I just loved the idea of these little guys floating through the mail system!
Lots lots more here!

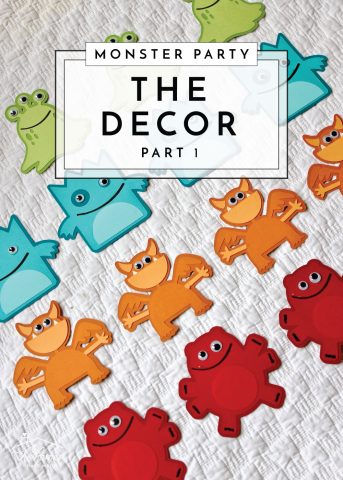
Having had so much fun making the cards, I knew I wanted a bunch of little monsters all around the party! I went to Michaels and picked out a bunch of 12×12 solid card stock: four shades of each of my four colors. Although the multi-colored invitations were fun, I really wanted each mini monster to be monochromatic! With my colored papers in hand, I picked four different monsters from the cartridge that 1) I loved, and 2) had relatively few “pieces.” These came together really quick, and were so much fun to stare at during my weeks of prep time…I felt like I had company back in my craft room!
HINT: to cut down on the cutting and gluing, I used googley-eyes for all the eyes (purchased as the Dollar Store!). Major time saver!
The monsters were sprinkled throughout the party space to really bring the theme to life! They were easily one of my favorite projects from the whole party, just because they were so darn cute!
With the rest of my card stock, I used the Doodletype cartage to make the Happy Birthday banner letters and the Mini Monograms cartridge to cut the circles.
Want to save this post?

This banner was really fun and simple to make, AND it was super effective along the bar! Here’s how I did it!
Happy Birthday Banner Tutorial
- I cut the letters, letter shadows, circle tags, and circle shadows using the cricut machine. I attached the letters with poppin-dots to give them dimension.
- Next, I strung orange grosgrain ribbon through the green circles with the cut out tabs. I used my sewing ruler to make sure they were spaced evenly.
- I then glued the ribbon to the green circles so they wouldn’t slide and loose their spacing.
- I continued on with each letter until the whole phrase was glued to the ribbon.
- To attach the backing, I turned the banner face up (to ensure each letter was centered on the blue circle). I added glue to the blue circle and gently placed each letter onto its backing.
- I made two additional monsters to match the mini monsters, but these guys were 11 inches tall! Each one was attached to the end of the banner!
- (not shown) The banner was attached to the kitchen bar using packing tape on the back of every letter! It didn’t budge the entire party!

As I was cutting out all my monsters, I went ahead and cut out three big number 1s using the Letter Envy cartridge. I used red since I was using the other 3 colors a lot more, and these would then stand out. Each “one” was about 8″ tall. One was attached to the pinwheel outside the house, one to the highchair banner, and one in the top of the cake! (By the way, all the monsters (big and small) and the numbers were all cut in one sitting – in order to be efficient, I had planned out ahead of time what was going to be cut from what color, etc! The gluing of everything was then done in another sitting. All in all, the paper stuff came together super fast thanks to the cricut!).

Speaking of the high chair, this cute little pennant banner literally took about 15 minutes to make! I used the same basic concept that I used in my Valentine’s Day banner!
Pennant Banner Tutorial
- My materials included scraps of matching fabrics and a diamond-shape quilting ruler/template.
- With WRONG sides together, I folded the fabric and placed the diamond’s middle along the seam.
- I traced the triangle, and cut it out using pinking sheers (I love the zig-zag edge and it means I don’t have to flip it!). It’s a little hard to see, but I then sewed the pennants shut, starting and stopping 1/2 inch from the top fold, essentially leaving an opening to thread my ribbon through!
- I cut a piece of ribbon, found its center, and hot glued one of my ones to the ribbon.
- I then strung my pennants onto the ribbon (on each side of the “1”) using a large safety pin attached to the end.
- The banner was hung on the high chair with packing tape and double stick tape! Again, no issues of it falling off!
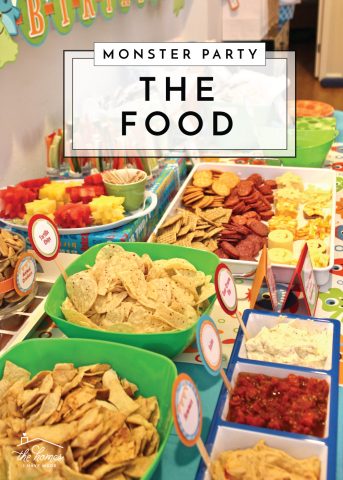
PHEW! I think that’s enough for one night. Hope you enjoyed the pictures and quick tutorials. This weekend, I’ll post the tutorials for my flower arrangements, my decal table runner, and my flower poofs and next week I’ll have all the details on the food!
See you soon!!!!

You can now catch up on all the Monster Party Posts here:


Megan
14 Comments on “Monster Party – Spotlight on Decor – Part I”
Wow! What a lot of monsters…and a lot of work! Everything turned out super cute. I'm sure you son was thrilled! I'm visiting from Tatertots and Jello.
Have a lovely Easter weekend!
Deborah
OH my goodness, I LOVE this!! Love, love, love it! What excellent use of the Cricut! I have one and I don't think I've even come close to its potential. Obviously. I'm pinning this to my party inspirations board
: )
I am SO glad you loved the monster fabric I designed, so much!!! I have had such a wonderful response to it, I made coordinating pieces on spoonflower to it…the post and pictures of all YOUR work is adorable!!!
Thanks again for choosing it, I really appreciate it!!
Oh my goodness! I am sooo glad I stumbled across your monster creations. I can not wait to use my Mini Monster's Cricut cartridge for my grandson's first birthday. Quick question, what cartridge did you use for your letters and the circle tag? I love how the circle tag has slits on both side to slide a ribbon through it to hang. GREAT job!!!! Thanks for your help. -Linda
Oh my goodness! I am sooo glad I stumbled across your monster creations. I can not wait to use my Mini Monster's Cricut cartridge for my grandson's first birthday. Quick question, what cartridge did you use for your letters and the circle tag? I love how the circle tag has slits on both side to slide a ribbon through it to hang. GREAT JOB!!!! Thanks for your help. -Linda
Hi Linda! Thanks so much for your kind comment! The circle with the tabs is from the Mini Monogram cartridge and I honestly can't remember the font – I borrowed my sister's cartridge so I can't go back and look through mine and figure it out! Sorry I can't be more helpful there! Good luck!
Thank you soooo much! The circle tab was the most important anyway. 😉
I love your party ideas! I'm doing a monster themed 1st birthday for my little guy and came across your blog. Where did you get the monsters for your "Adopt a Monster?" Did you make them or buy them? I'm hoping for buying as I have no crafty skill in me!!
Hi Jennie! Thanks so much for your comment! Yes, we made the "Adopt a Monsters" – you can get my full tutorial here: https://thehomesihavemade.com/2012/04/diy-monster-stuffies.html If you don't want to make your own, we modeled ours after Ugly Dolls – do a quick google or Amazon search, they're pretty easy to find (just a little pricey!) Good luck!
Love this theme! Thank you for sharing. Going to use this theme for my son's 1st birthday. And because I am not as creative or patient, nor do I own or even know what a Cricut is… here are some options for the lazy moms like me…
http://www.orientaltrading.com/plush-monsters-a2-6_1385-12-1.fltr?Ntt=monster
http://www.orientaltrading.com/goofy-monster-squeakers-a2-25_1789-12-1.fltr?Ntt=monster
How much would you charge to make those invitations my baby brothers first birthday in February 14 we are having his party the 15 his theme is monsters its his first birthday and we just love those invitations if you could make them for us text me at 9186450583 and tell me a price please and thank you
The monsters are just so cute, you’ve done a fantastic job!
Thank you so much for the inspriation! I’ve modeled my son’s 1st birthday party after your’s. In fact, I bought a Cricut just so I could do it all. 🙂 Quick question, how did you address your invitations in the cellophane envelopes? I’m stuck at that step. Also, did you have to pay extra for postage? Thanks again!
Hi Malia!
I am so excited to hear that you found inspiration from our Monster party! All these years later, it is still my favorite! To answer your questions, I am pretty sure I used peel-and-stick mailing labels (like the kind you run through your printer) and just stuck them to the envelopes on the backside. And as far as I’m aware, there is no extra charge for the clear envelopes as long as they are standard size but you may want to drop them off at a post office just to be sure?
Hope that helps…and if you get a chance…I’d love to see pictures once the party is all over! Have fun!
Megan