DIY Glittered Pinecones (+ Ideas for Using Them in Your Holiday Home!)
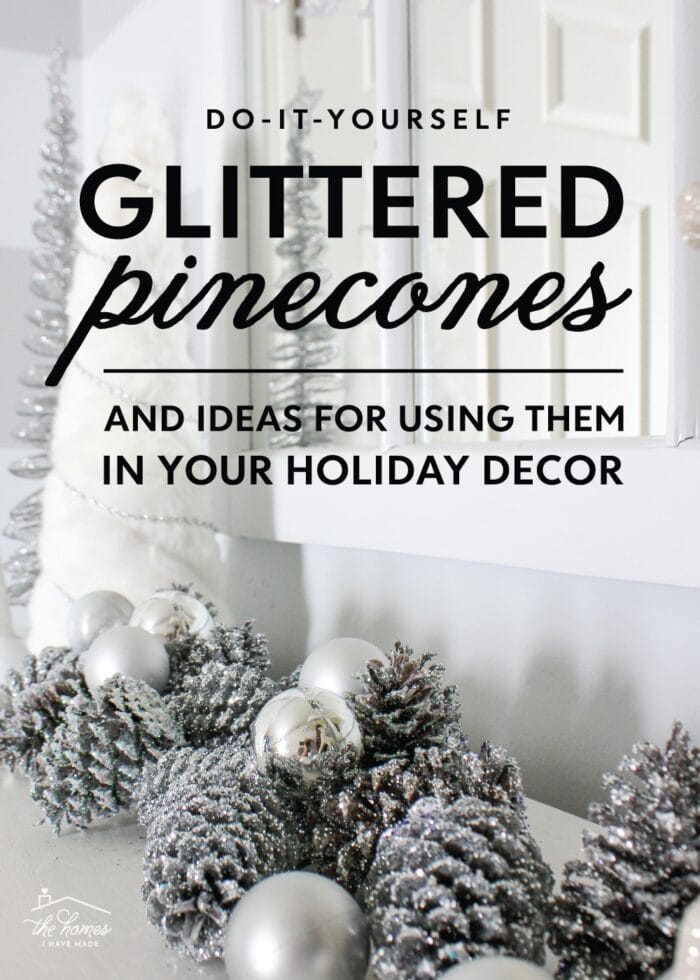
If you can believe it, today’s super simple Christmas craft is one of the most popular on my site! Although messy, these DIY glittered pinecones are quick, easy, and inexpensive to make…and can be can be used all over your holiday home to add a whimsical touch of nature to a variety of surfaces. From ornaments and wreaths to vase fillers and garlands, the possibilities really are endless. So head on outside to collect some pinecones and then stock up on some chunky glitter…because once you make one batch, you’ll probably want to make lots more!
Glittered pinecones are commonly seen in the floral section of craft stores, home decor magazines, and fancy ornament collections. However, making your own isn’t just cheaper than store-bought versions; it also allows you to customize them to your particular decor scheme!
Once you get the process down (and embrace the mess!), these are really easy to make in bulk. So whether you need a few for a single vase or a bunch for a large wreath, you can easily pull them together in a single winter afternoon!
Supplies Needed
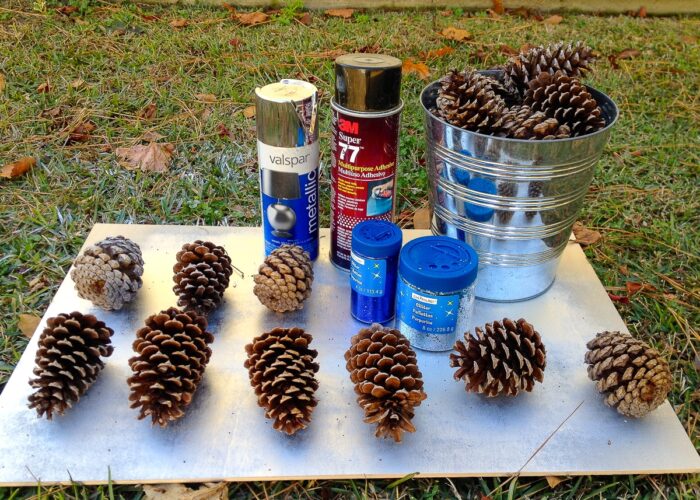
Here is what you need to make a set of glittered pinecones:
- Metallic Spray Paint – The pinecones will look more sparkly if they are painted first. I recommend matching your base spray paint to your glitter color (if possible). If you don’t want to load up on tons of spray paint, a good metallic silver works great for most glitter colors.
- Spray Adhesive – Don’t even bother with glue…spray adhesive is the quickest and easiest way to get pinecones super sticky and ready for lots of glitter.
- Glitter – Skip the fine stuff and go for good ol’ “classroom glitter.” While fine powder is lovely on small projects, I found that chunkier craft glitter gives off much more shimmer!
- Pinecones – I am fortunate enough to have pine trees all around me, so a couple trips to the park with some buckets provided ample pinecones for crafting. However, you can also purchase pinecones in bulk at the craft store or from Amazon HERE.
Set Up Stations
Glittering pinecones is really simple, but seriously messy! So I highly recommend taking this project outside. Start by setting up an outdoor work space with two different stations:
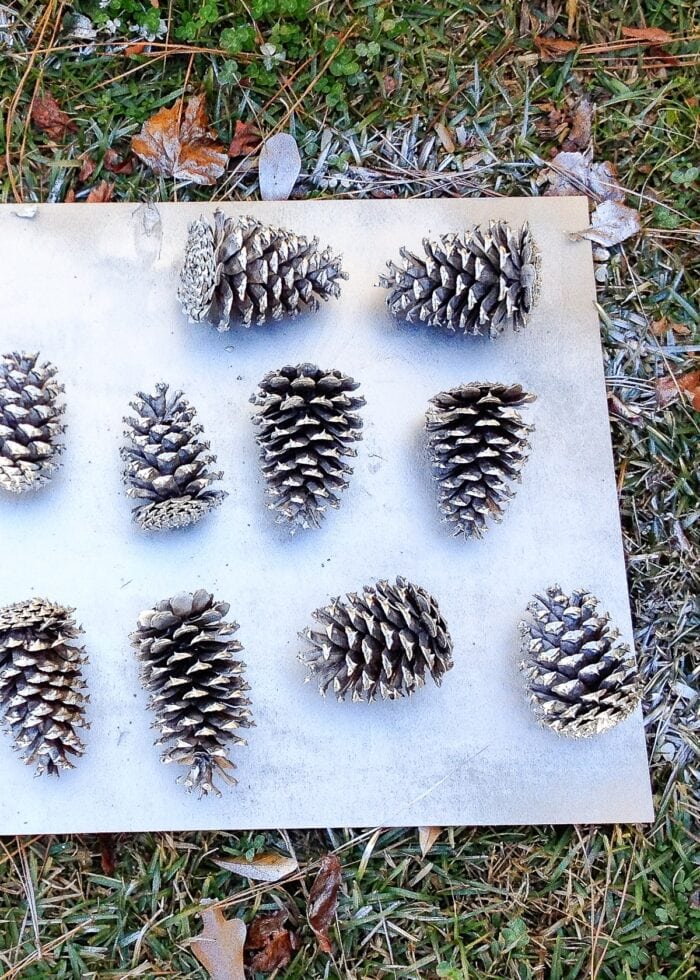
- Station 1: Paint and Glue – You can use a table or tarp; I usually spray paint on top of a scrap sheet of plywood since the paint doesn’t stick to the wood.
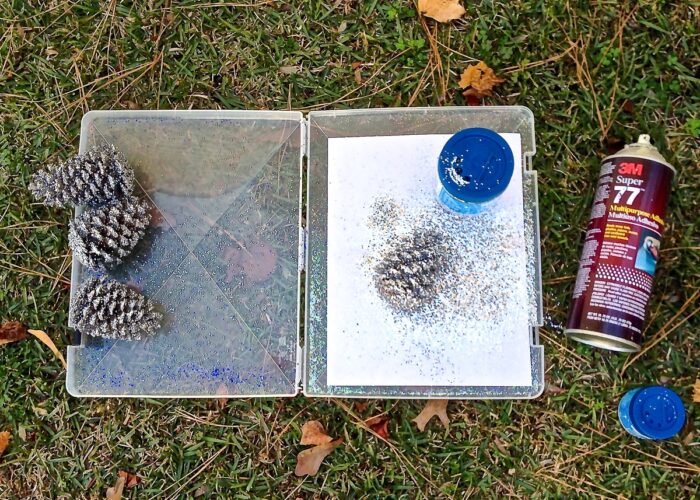
- Station 2: Glitter – You can certainly use a glittering tray like this one; but when working in bulk, you might want something bigger. Plastic box lids or cookie sheets are nice and big, and also allow you to easily catch excess glitter to pour back into the original container.
Step 1: Spray Paint the Pinecones
Lay out your pinecones with several inches of space between them. Spray all the pinecones with metallic spray paint from every direction. It’s really hard (and not worth it) to get every nook and cranny of the pinecones coated in paint. Just focus on giving them a nice base coat; you don’t even need to let them dry before flipping them over.
TIP! I recommend spray painting the pinecones all at one time in big batches.
Step 2: Cover In Spray Adhesive
At least in my experience, spray paint alone is not sufficient to hold glitter on the pinecone. You will need to use spray adhesive on top of the spray paint; however, you don’t need to let the paint dry before moving on to gluing and glittering.
Unlike the spray paint…when applying the spray adhesive, rotate the pinecone around to get into every spot possible. The more glue = the more glitter = the more sparkly the result. This gets messy quickly, so I had the best luck using a plastic-gloved hand to hold one pinecone at a time and moving it all around as I sprayed.
TIP! Be sure to spray the adhesive far away or in the opposite direction of your glittering station. This will keep the glitter glue-free, and you will be able to pour excess back into the containers.
TIP! Although you can spray paint all the pinecones at one time, I recommend glueing and then glittering one pinecone at a time. In order for the glitter to stick, you need the spray adhesive to be super sticky. If you spray too many pinecones at once, there’s a chance the adhesive will dry before you get to the glittering step.
Step 3: Glitter the Pinecone
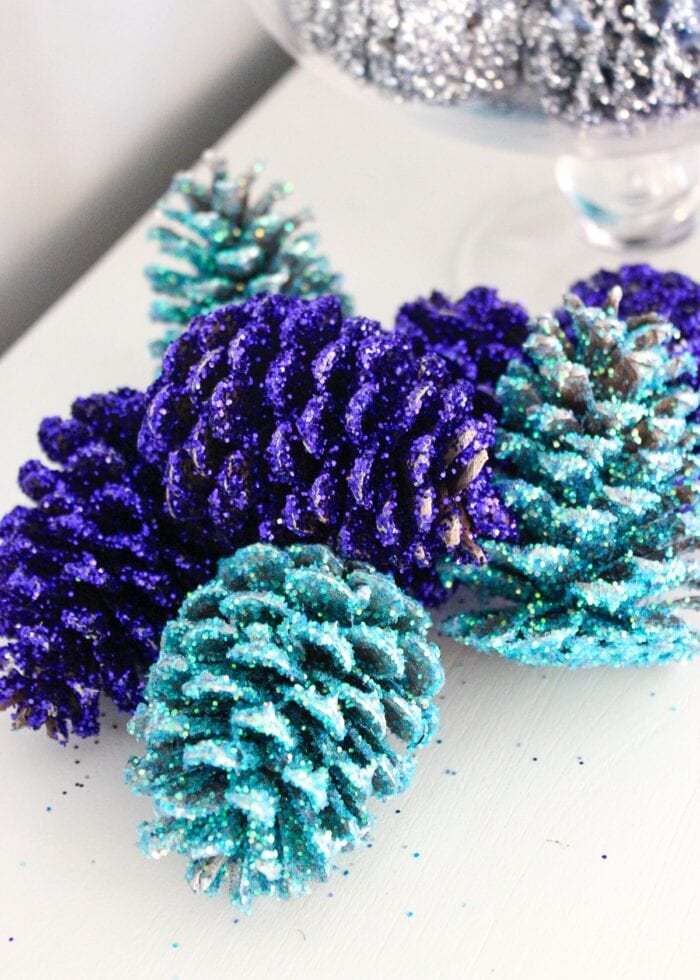
With your pine cone fully saturated with adhesive, move to your glittering station and then liberally dump glitter all over it, turning as you work to get it covered on all sides. Be forewarned…this gets pretty messy and you’ll end up with a ton of adhesive and glitter on your fingers. I don’t think it can really be avoided, so just embrace your inner child and have fun!
TIP! Give the pinecone a few good shakes before letting it dry. This will remove a lot of the excess glitter and prevent it from making a complete disaster of your house!
Step 4: Repeat
Keep repeating Steps 3 and 4 until all your pinecones are glittered. I recommend working in color “batches,” glueing and then glittering all the silver, then all the gold, then all the blue (or whatever colors you’re using). This keeps your glitter from getting mixed, which allows you to pour the excess back into the bottle to re-use it.
Ideas For Using Glittered Pinecones in Your Christmas Decor
Okay – so this is a super simple and inexpensive Christmas craft project, but what can you do with all these beautiful glittered pinecones once they’re done?!? Here are a bunch of ideas I’ve used over the years!
Fillers for Glass Jars & Bowls
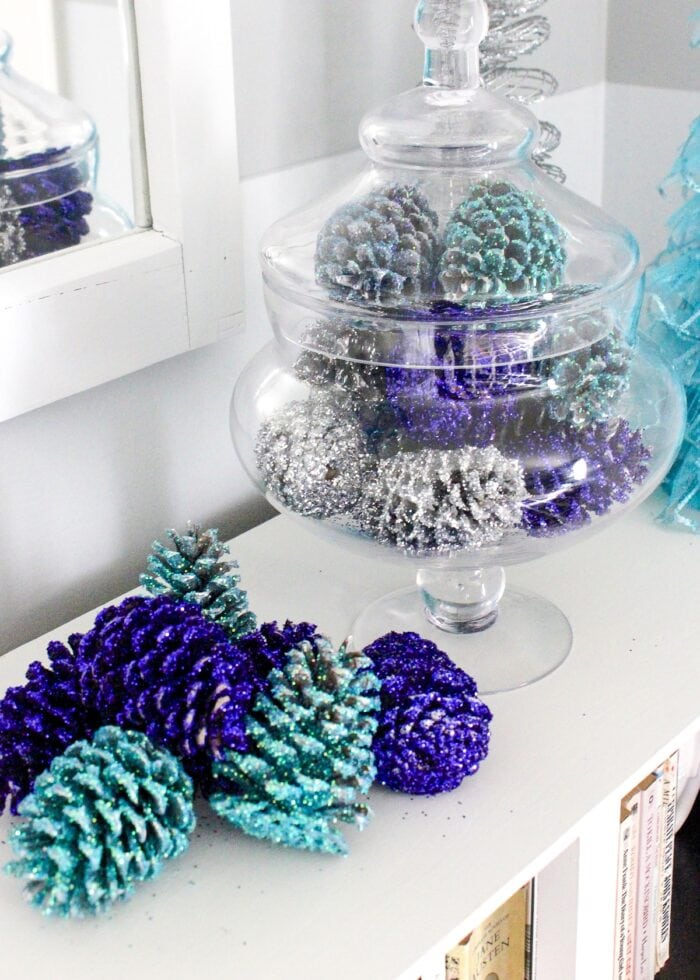
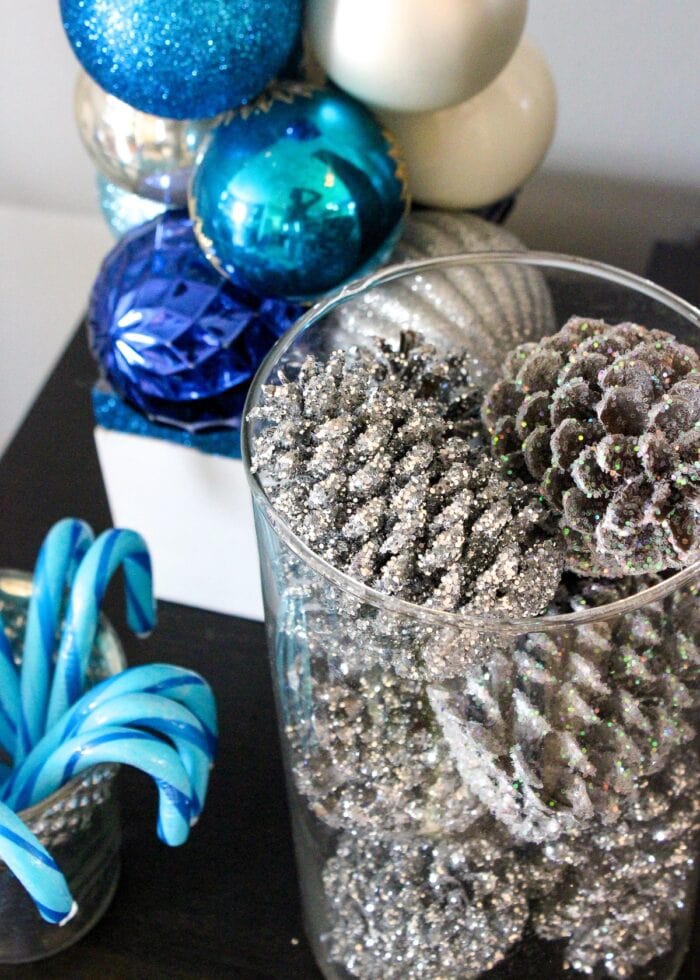
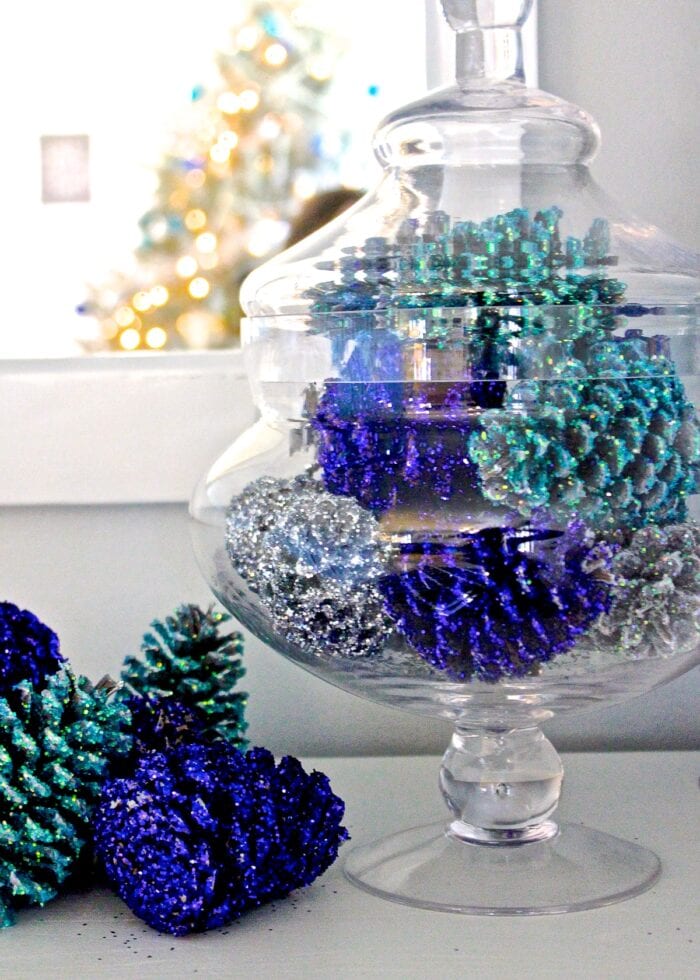
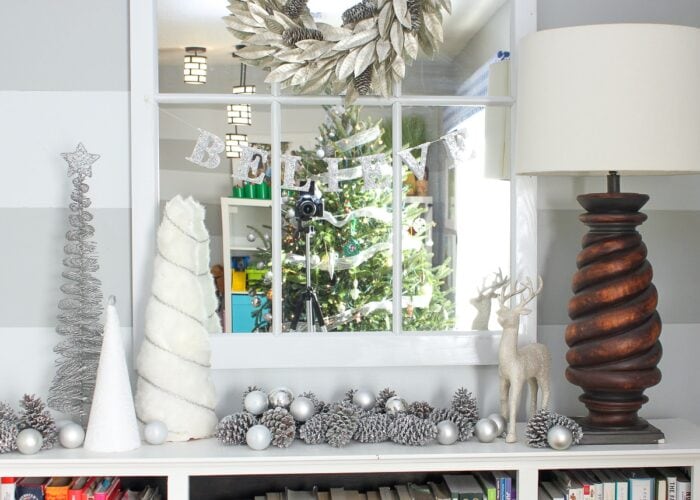
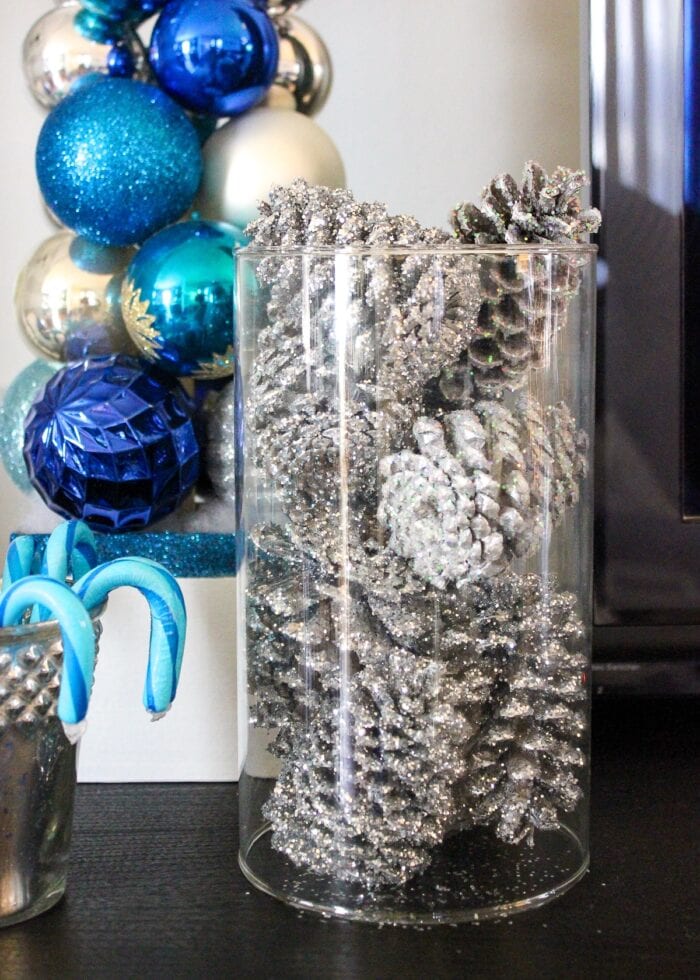
The easiest and quickest way to use the glittered pinecones is as “fillers” for any clear container around your home. From large bowls and trays, to apothecary jars and vases, just load them up to add a touch of sparkle to any surface in your home. These clear vessels can be used on buffets, console tables, bookcases, dining hutches, or even as centerpieces to your holiday meal.
Pinecone Christmas Ornaments
Once glittered, you can easily make DIY pinecone ornaments. Use hot glue to attach a pretty ribbon to the top of each pinecone; then hang them on the branches of your Christmas tree!
Christmas Tree Fillers
Similarly, secure pinecones to floral picks (or just use floral wire) to insert them deep into Christmas trees in order to fill them out and add a rustic touch among the pine needles.
Fireplace Mantel Decor
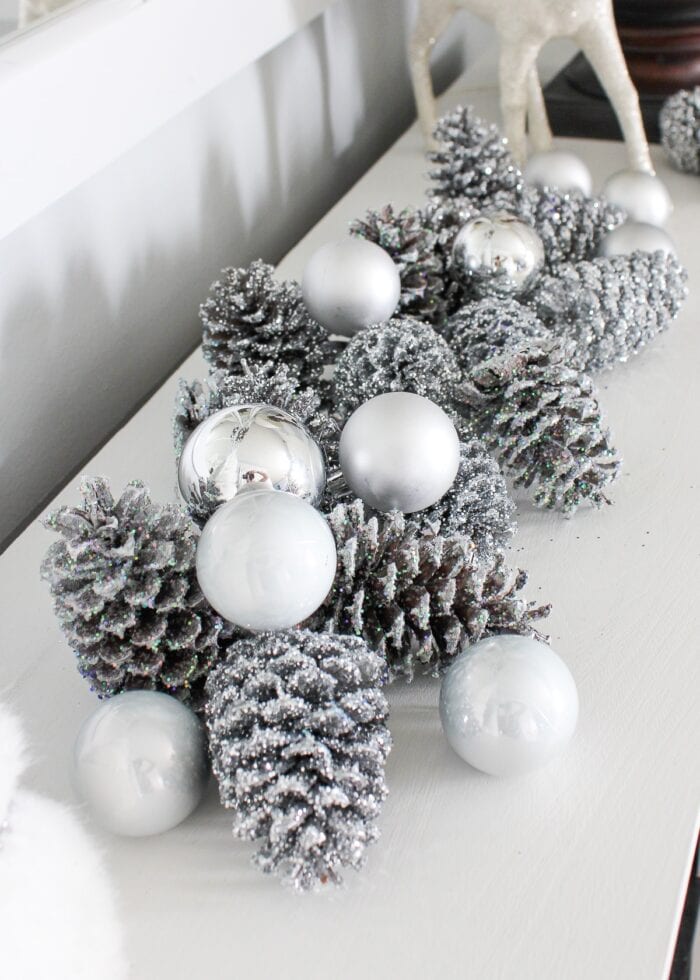
If you have a mantel or console table, consider displaying a long stretch of glittered pinecones down the entire surface. Create a visually interesting combination of textures by tucking in candles, round ornaments, or greenery.
Pinecone Garland
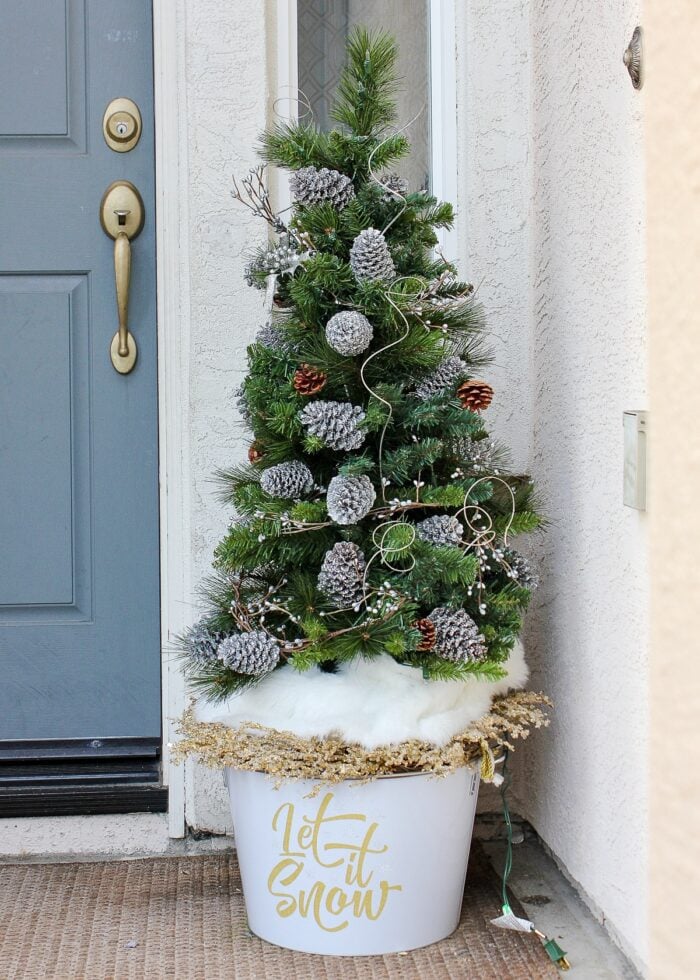
If you like to use fresh greenery around your home, glittered pinecones are an excellent way to add in some sparkle to your banister, railings, or mantel. Like with the tree, use floral wire or floral picks to insert to the pinecones alongside ornaments and bows to break up the green.
Pine Cone Wreath
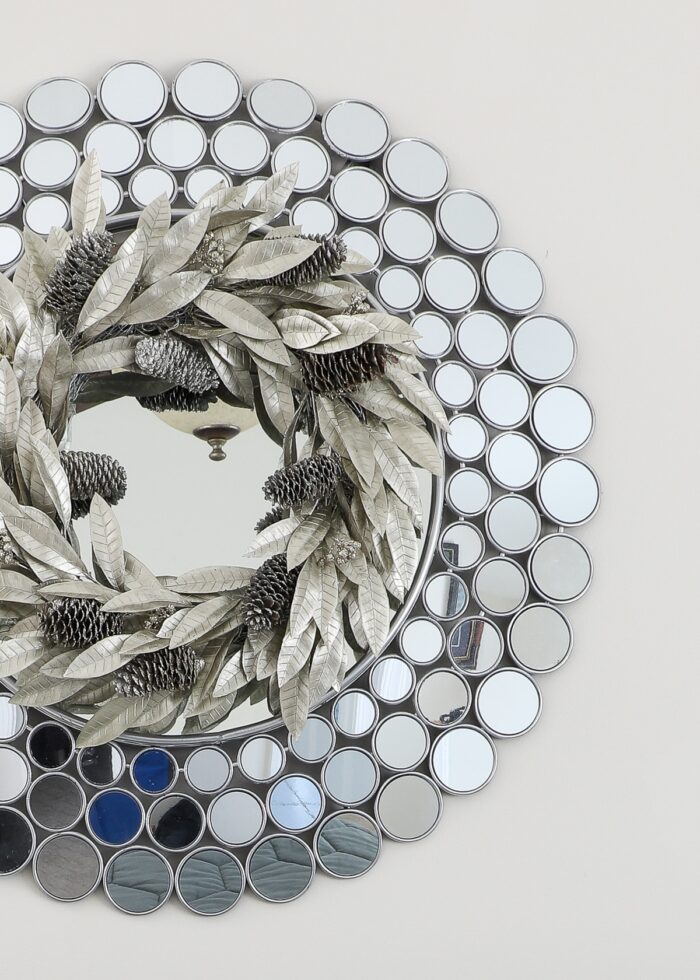
If you glitter lots (and lots) of small pinecones, consider transforming them into a gorgeous pinecone wreath! Hot glueing them to a wreath form is one option, but my floral wire technique can also be used to add different sizes of pinecones to fresh wreaths!
Pinecone Christmas Tree
Similarly, consider transforming glittered pinecones into a gorgeous tabletop tree! By combining a styrofoam tree base with floral picks, you can instantly create stunning centerpieces for just a few dollars. Here’s a great tutorial to follow.
Years and years ago, I made a whole batch of these gorgeous glittered pinecones. And each season, I always find fun and creative ways to use them throughout our holiday decorations. So rest assured…not only are these pinecone holiday decorations easy, inexpensive, and oh-so-beautiful, but they have true staying power too! I hope you give this fun Christmas craft a try!
Megan





65 Comments on “DIY Glittered Pinecones (+ Ideas for Using Them in Your Holiday Home!)”
So so pretty! Love your color choices 🙂
I love these! They look great and I love that you really could make them "your own" (customize color, etc.) for pennies!
Runt
[email protected]
http://www.runtspickins.wordpress.com
( If responding to my comment, please email or comment a blog post of mine. Unfortunately I do not get email notifications when there is a response to my comment. I just found this out and I'm totally bummed thinking about how many responses I've missed! =[ )
I used to make these as a child, but I used elmers glue and we only glittered the ends. These are so cute!! I love that the glitter is all over. Thanks for sharing 🙂
would spraying the cones with the spray glue then adding them to a small trash bag with the glitter in it, then shake, work for doing in bulk?
Hi Kristine! Thanks for your comment. That's a great idea, and certainly worth a try! If they don't coat perfectly well, you can always touch up afterward! Good luck!
pretty colors!!
pretty colors!!
A small paper bag works great..but only glitter one cone @ a time.. Be gentle when shaking the bag. I turn the bag in a rolling motion too. Hardly any mess & super quick!
I love these! The colors you chose are amazing too. I want to make some of these to add to my Christmas decor! I've included this project in my DIY Christmas Decor round up on the blog today http://www.emilyfranceschini.com 🙂
The wheels are turning. Our school colors are purple and gold (yellow, technically) and we can NEVER find nice decorations in those colors. This has a whole new world of possibilities! THANKS!
I collected them as soon as they fell off the tree. Do I need to bake them or do something to get any bugs out?
My Mom told my that I should bake them, but I didn’t – whoops! It was pretty late in the season, and we didn’t have any issues with pests, but it’s probably better safe than sorry!
OK, I didn’t bake. Am I going to be giving buggy gifts to people? Can I bake after glittering and all? Help! How long would you bake?
Good Morning!
I don’t think you need to worry!! Truth be told, I think I missed the baking step until my Mom mentioned it and I had no issues with bugs in my house. And we still have all of our pinecones and bring them out each year. I would NOT bake them after painting/glittering. If anything, you could put them in the freezer if you are really worried??
Again, I wouldn’t worry, but keep an eye on them for a few days to see if you notice anything!
Hope that eases your fears!
Megan
Pingback: PIne Cone DIY Projects To Welcome Fall
Pingback: Awesome Glitter DIYs for Holiday Decoration - Noted List
I wonder if there is a way to hang these on the tree? Any ideas for attaching hangers?
Hi Vickie!
They would make beautiful Christmas ornaments, wouldn’t they?!? I would imagine you could either hot glue ribbon or twist wire around the stem to make a loop, then use ornament hooks to hang them? Please let me know if you give it a try!
Have a great rest of the weekend!
Megan
Pingback: 30+ Festive DIY Pine Cone Decorating Ideas - Hative
Pingback: Mom Gathers Pinecones. The Way She Transofrms Them Is Surprising And Exquisite
They sell eye hook screws at the hardware store to turn these into ornaments 🙂
Pingback: 24 ways to add Glitter to Home Decor | Home Designing
I was curious on the blue pine cones, if you used blue spray paint or if you used silver also.
Everything was done with silver spray paint – the chunky blue glitter covered really well!
Hope that helps!
Megan
Could you sent the pine cones then gitter them or vise vera
Pingback: Pine Cone Crafts for Fall and Winter - Crafting a Green World
Pingback: 15 Pine Cone Crafts for Fall and Winter – Crafting A Green World | Screenny
Pingback: Glitter Glitter Everywhere | d'art creatif
oops! Didn’t think about “bugs” !!!!! I have painted and glittered. Will I have a problem now with bugs or will the paint and spray glue kill them? Should I still try to bake them after the fact. Now I am freaked about giving as presents. EEEEK
Good Morning!
I don’t think you need to worry!! Truth be told, I think I missed the baking step until my Mom mentioned it and I had no issues with bugs in my house. And we still have all of our pinecones and bring them out each year. I would NOT bake them after painting/glittering. If anything, you could put them in the freezer if you are really worried??
Again, I wouldn’t worry, but keep an eye on them for a few days to see if you notice anything!
Hope that eases your fears!
Megan
Pingback: All That Glitters : DIY Holiday Projects with Sparkle | The Budget Decorator
Pingback: 33 Creative DIY Ideas for Wintertime - DIY Joy
Pingback: 40 awesome pinecone crafts and projects - A girl and a glue gun
Pingback: 15 Creative DIY Winter Decoration Ideas For The Festive Season | homedesignfind
Pingback: Oh Hanukkah, Oh Hanukkah! | Sweet E's Blog
Pingback: Colorful Christmas - A girl and a glue gun
Pingback: DIY Holiday Projects with Sparkle • The Budget Decorator - HDWALLO