DIY Reversible Cork Board (with a white board back!!!)
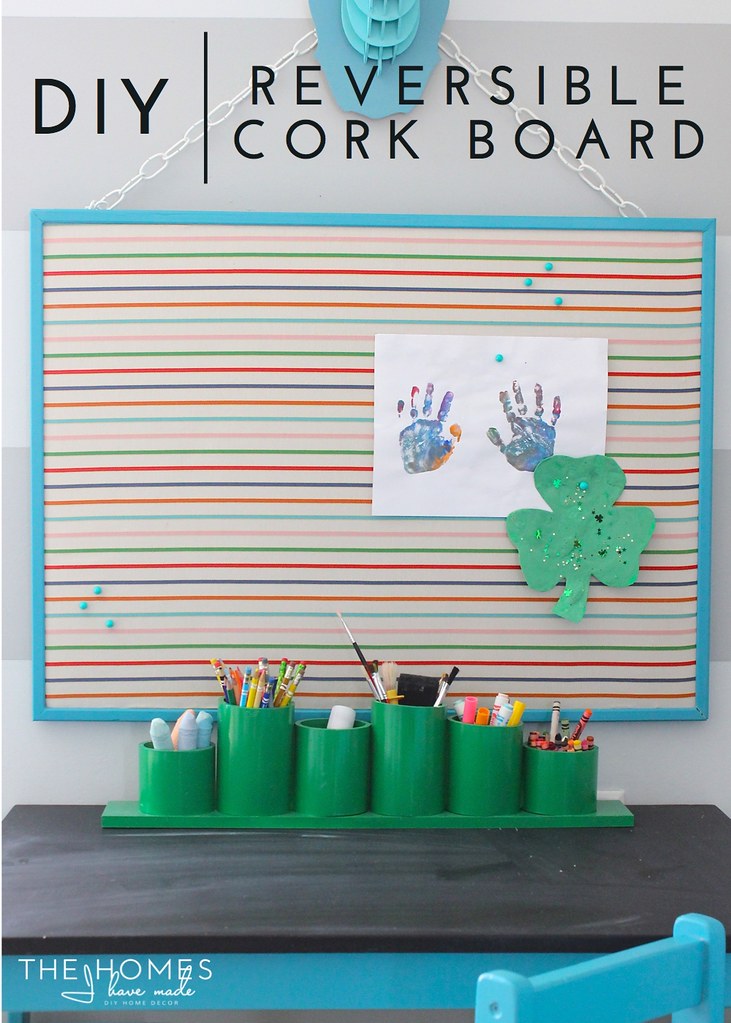
Sometimes I am way too ambitious for my own good! When I taught myself to sew years ago, I practiced first by making placemats and then went directly to sewing slipcovers for our sofas. True story. My husband’s gotten used to it, but you better bet I received a lot of eye rolls and “are you sure this is going to work?” on this latest framing project. Because, in my typical fashion, I went from making a few pretty straight forward frame projects (here and here) to attempting a relatively tricky one. BUT! With a solid idea and some perseverance, my project (which I was almost certain was going to fail) actually worked out. Curious? Have a peek at our new playroom brag board!
You should know by now that almost every makeover project I do has a story, and this one goes like this.
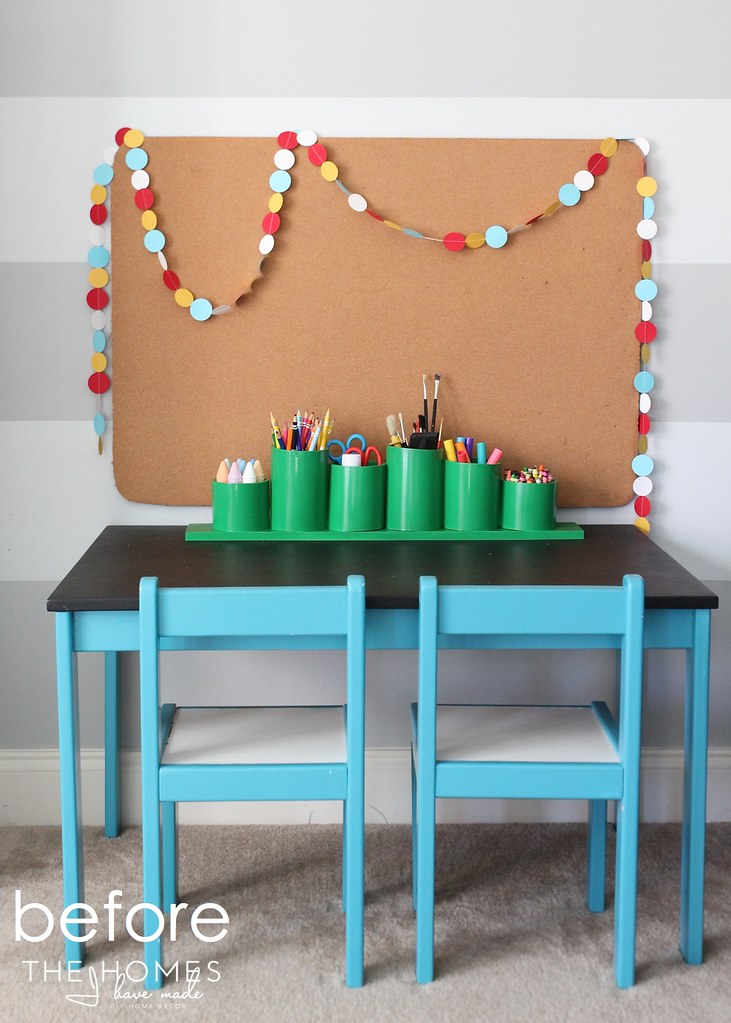
In recent weeks, my child, who until now hated to color/paint/draw or do any type of art activity, suddenly turned into a non-stop artist. Between the projects he was bringing home from school and things we were making at home, we had art everywhere; and he was as eager to display it all as he was to make it. A while back, I brought in an old cork board from the garage and put it over Henry’s table. At the time, it more more for aesthetics so I just taped it to the wall and called it done. Well, amidst our recent art frenzy, this board has gotten a lot of love…and it kept falling off the wall, so then we’d just lean it against the wall, but then Henry had a hard time pinning up his art because it wasn’t sturdy. All this to say, with our friend’s power miter saw still in the garage, I jumped at the chance to give this sad old cork board a more durable update!
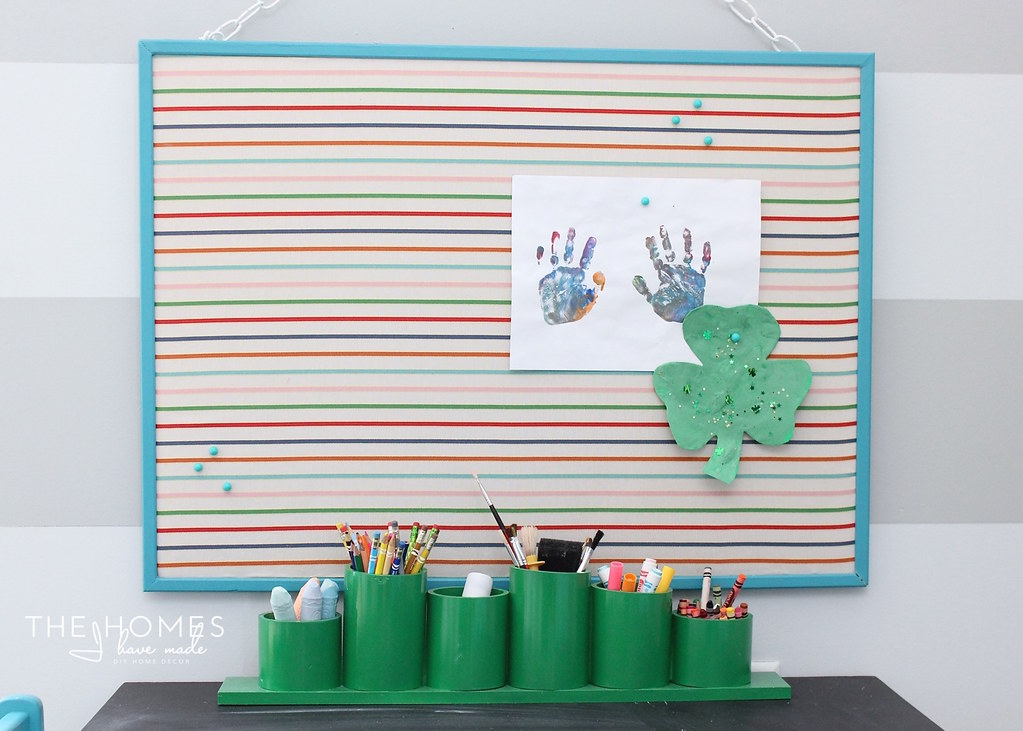
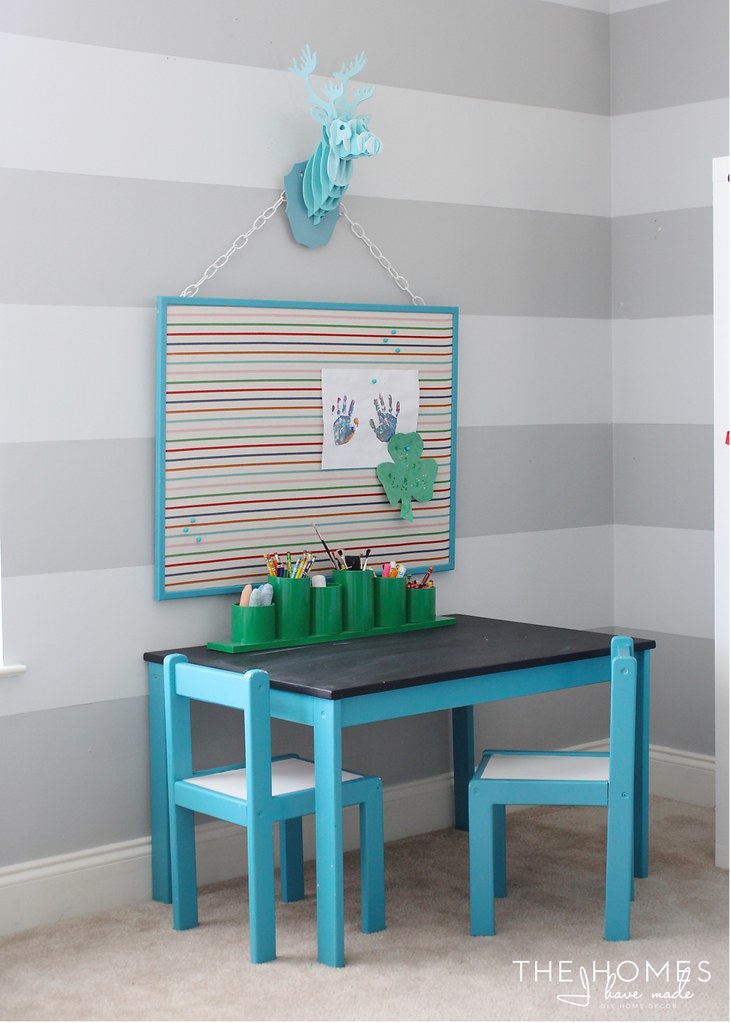
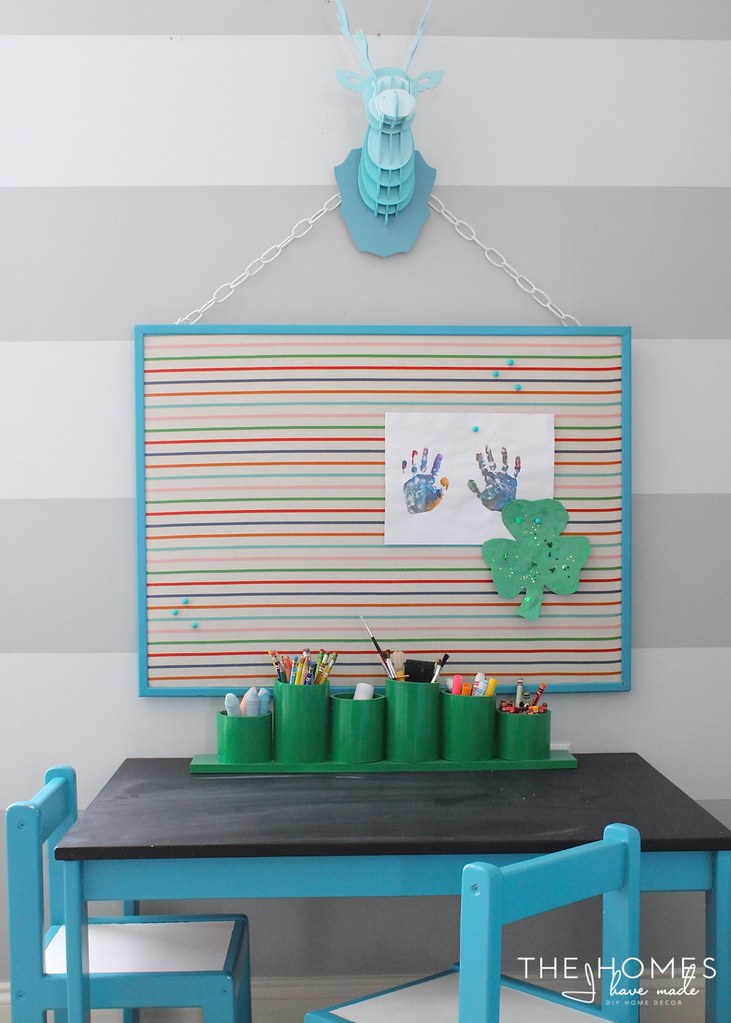
A frame and some fabric later, we have a cheerful brag board that is now up off the table…ready to be filled with anything and everything Henry can make…
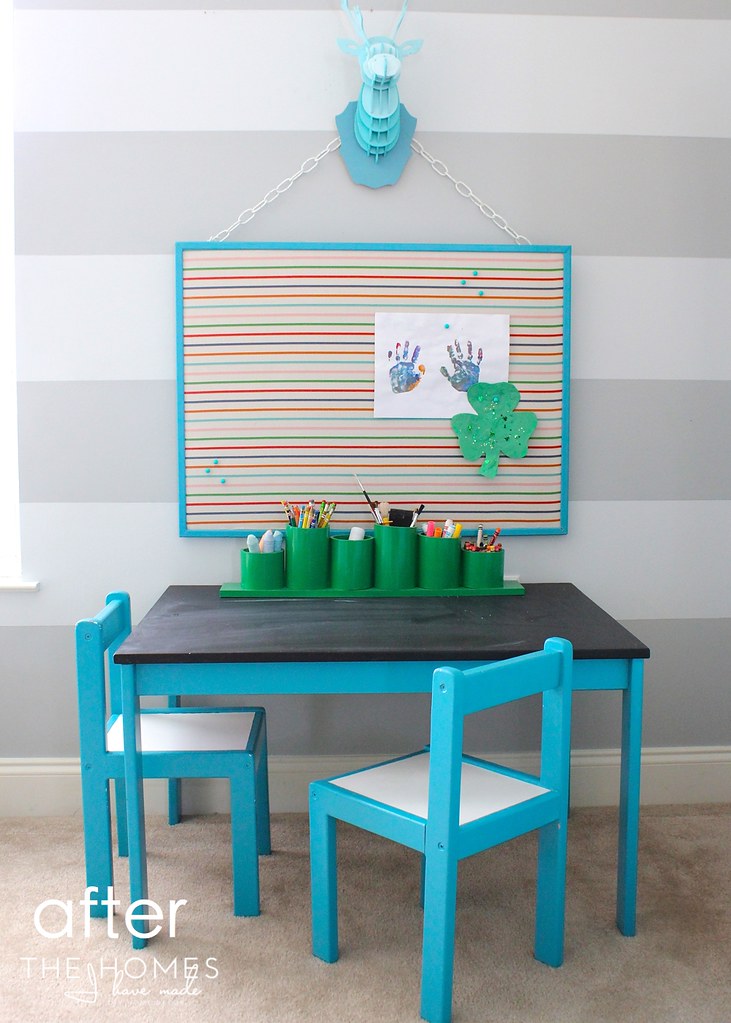
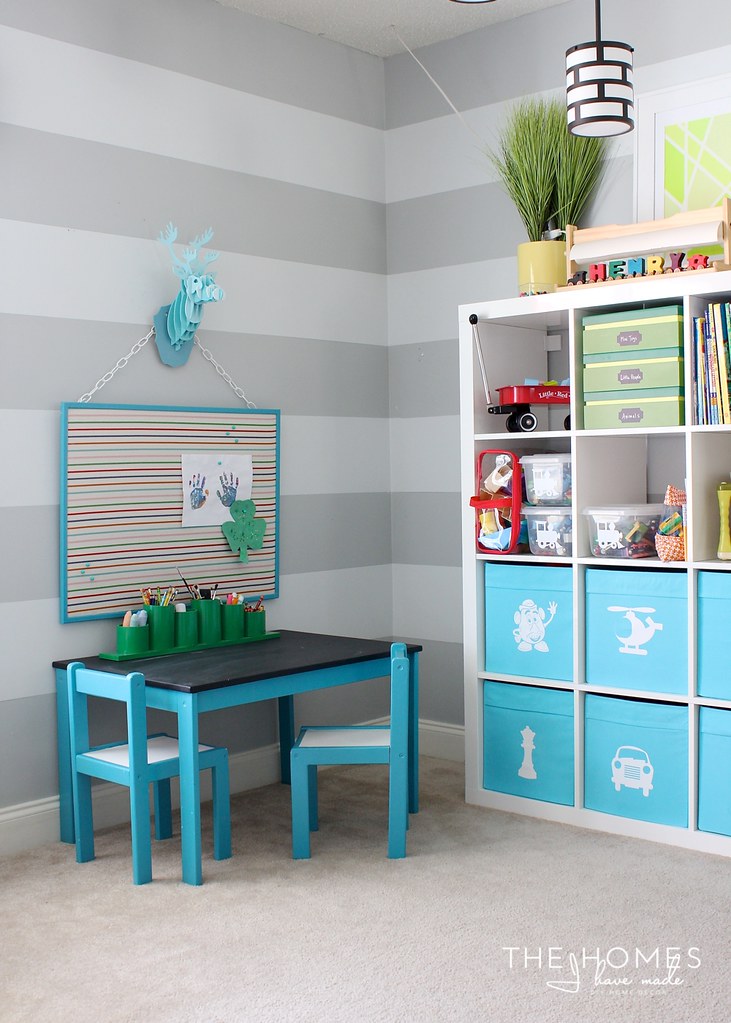
After a bit of re-arranging, we now have a super cheerful art spot that both Henry and I can sit at comfortably. The green art caddy (tutorial here) has a newly permanent home, with all of our supplies at the ready. The candy-colored striped fabric is something I’ve had in my stash for a while and am pretty sure it is the inspiration fabric for our playroom in the next house (yes, I’m already starting to put things together in my head!). All in all, I feel like I have finally landed on a table/chairs/board arrangement that I love!
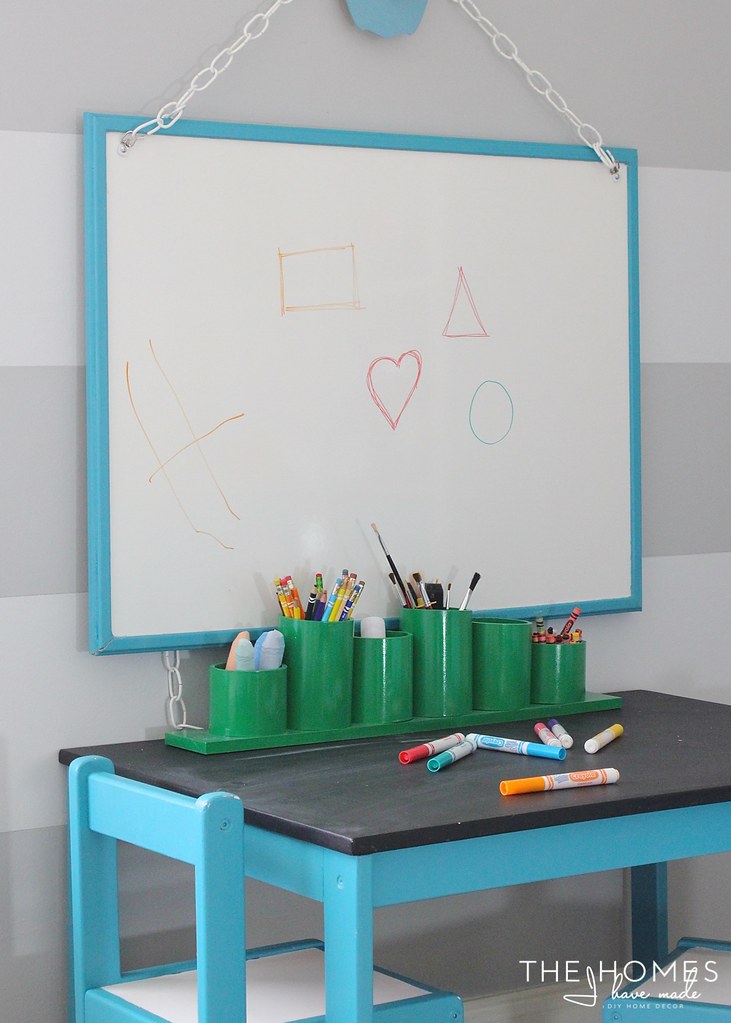
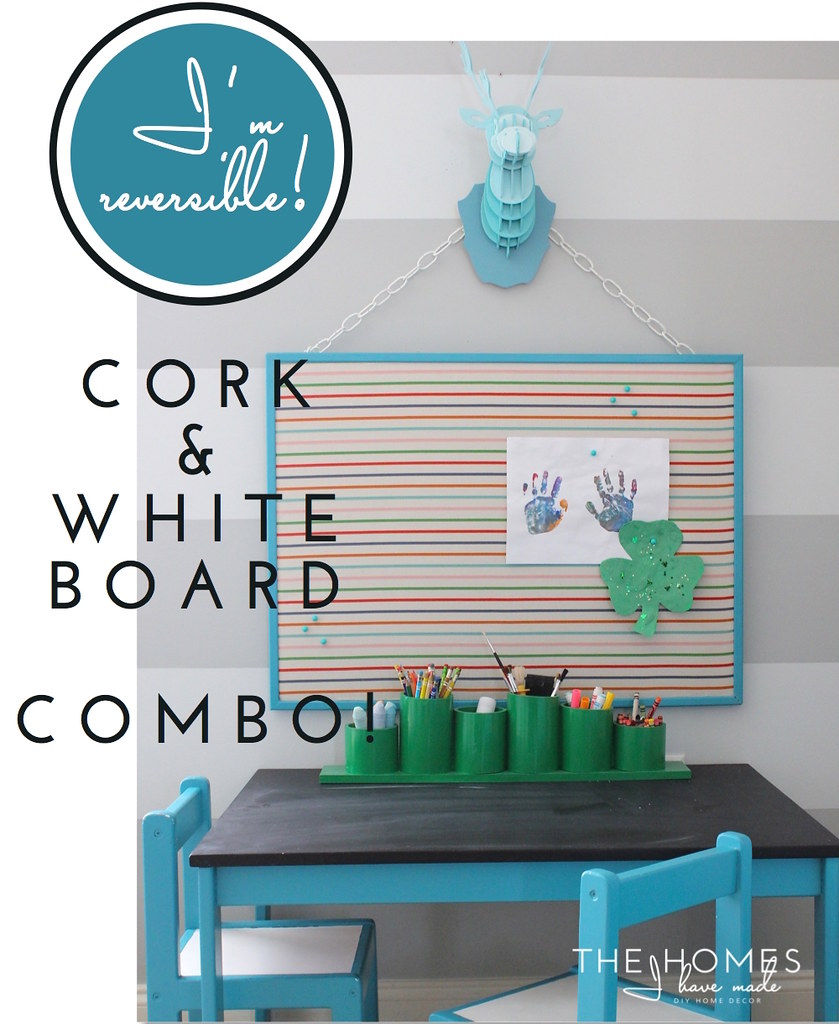
But this cork board has a fun little secret (as mentioned in the post title!). Our Henry is not only suddenly into drawing and coloring, but is also very excited about learning to make his letters and draw shapes. When I stumbled upon dry-erase covered MDF at Home Depot, I KNEW I had to incorporate it somehow. Yup! The backside of our cork board is a simple and sleek dry-erase board!
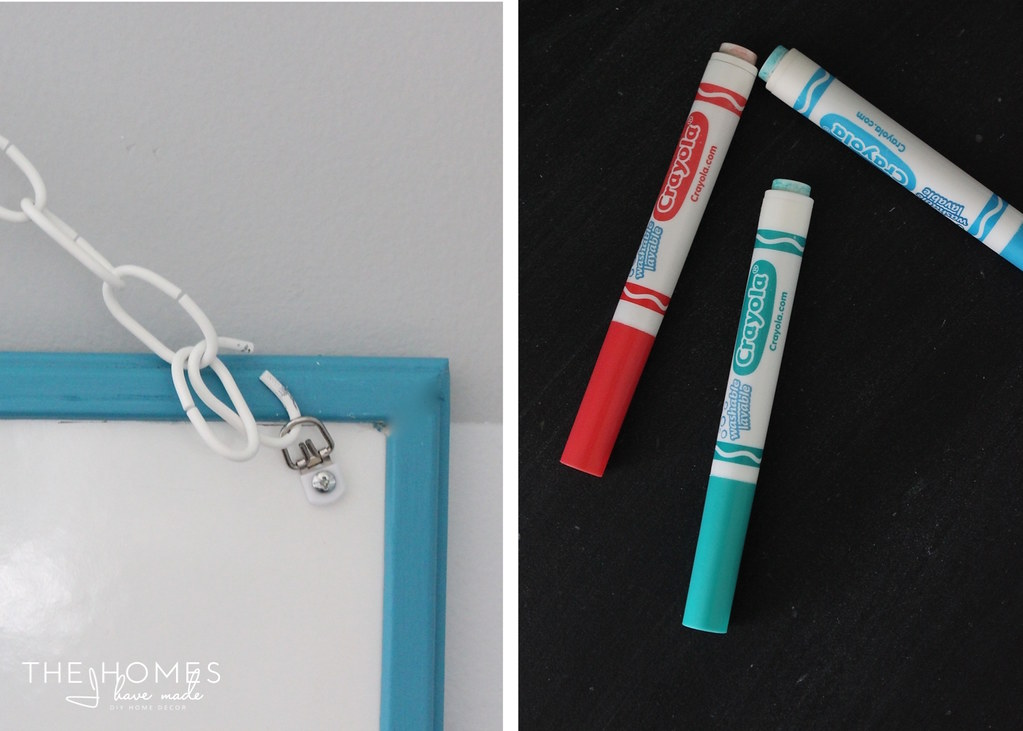
I try to streamline what is in our home as much as possible, so the idea of making a two-boards-in-one was super appealing to me. The white board isn’t out all the time, but when Henry wants to draw or practice letters, all we have to do is flip the chain right around. Instead of using dry-erase markers, which aren’t so kid friendly for their staining and their odor, we found that washable markers come right off with a wet paper towel! So there’s no need to worry about which markers Henry is using for which projects!
So…this project was one of those brilliant ideas that took a bit to figure out and a lot of perseverance. I wanted to have it framed out (that was the whole purpose from the beginning), but wanted to make it visually appealing no matter which way it hung. I’m super proud of how I pulled this together, but it was touch and go there for a bit…you ready to see how I did it?
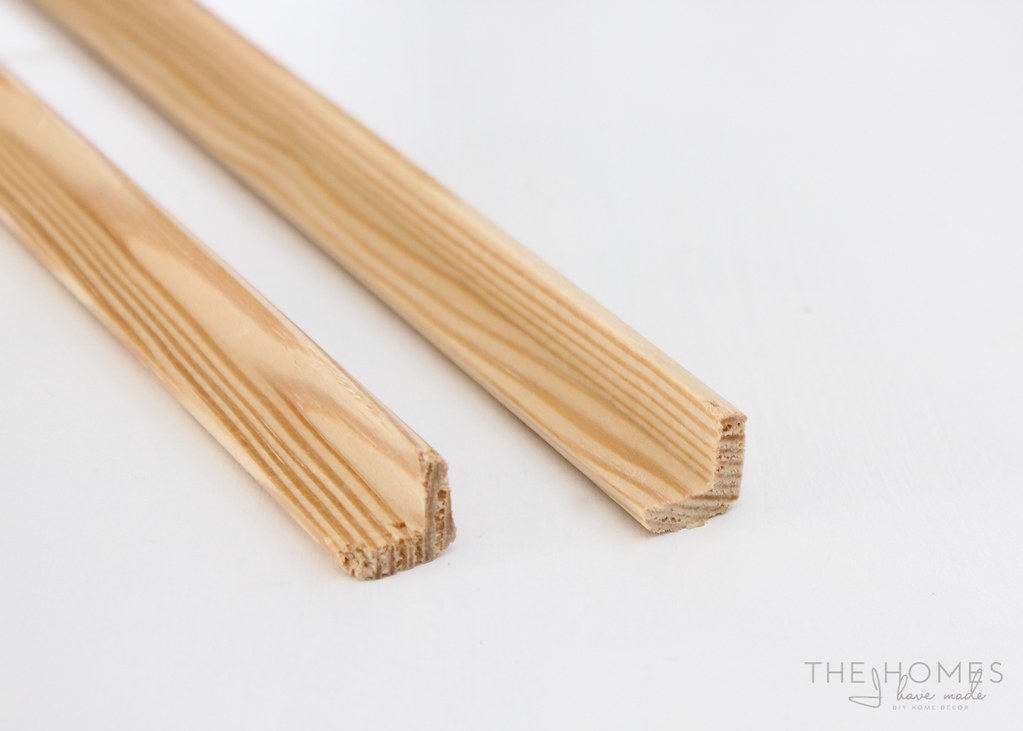
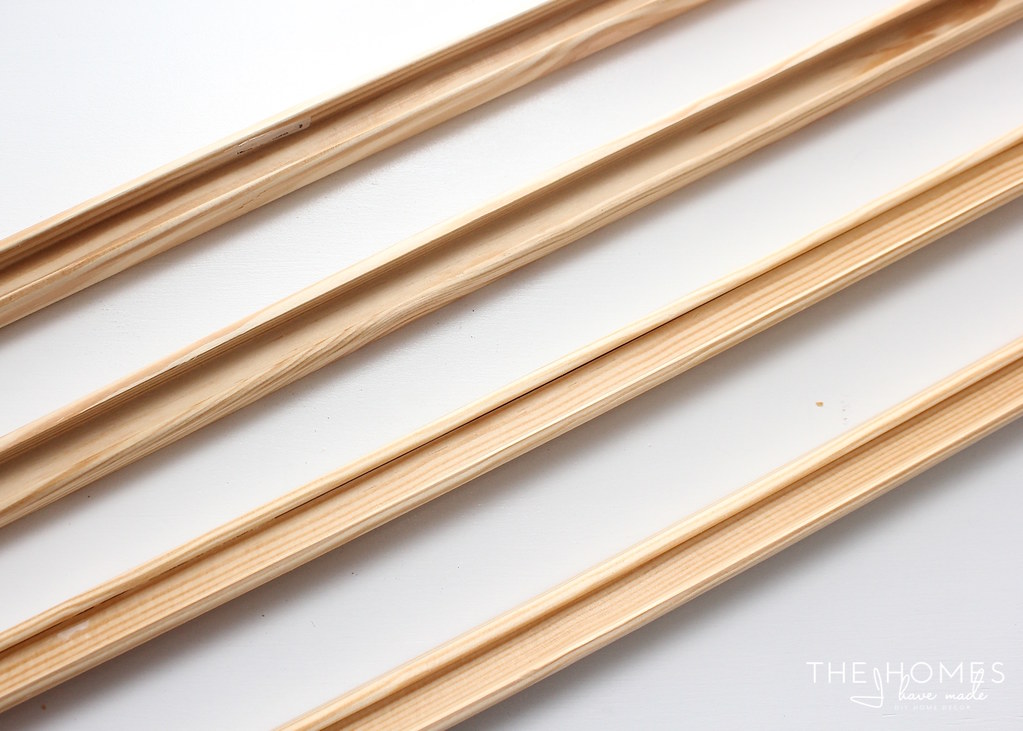
I must have stood in the trim and moulding section of Home Depot for over an hour trying to figure out some sort of framing solution that would allow me to sandwich both the cork board and the white board into the same frame with relatively little hassle. I ultimately landed on this trim (below), I don’t even know the name, but it’s small corner moulding…1/2″ on each side. I realized that if I glued them together along the bottom edges, I had a channel that my boards could fit into, so I bought enough to run the four edges of the board twice – two stretches of trim for each edge.
I started by using my trusty Gorilla Glue to glue the trim together. Because of the awkward angle, I couldn’t figure out a good way to clamp the two pieces together, so I just let it dry and prayed for the best. Wouldn’t you know that trim has held tight as ever! #lovethisstuff I repeated three more times so that I had edging for each side of my board.
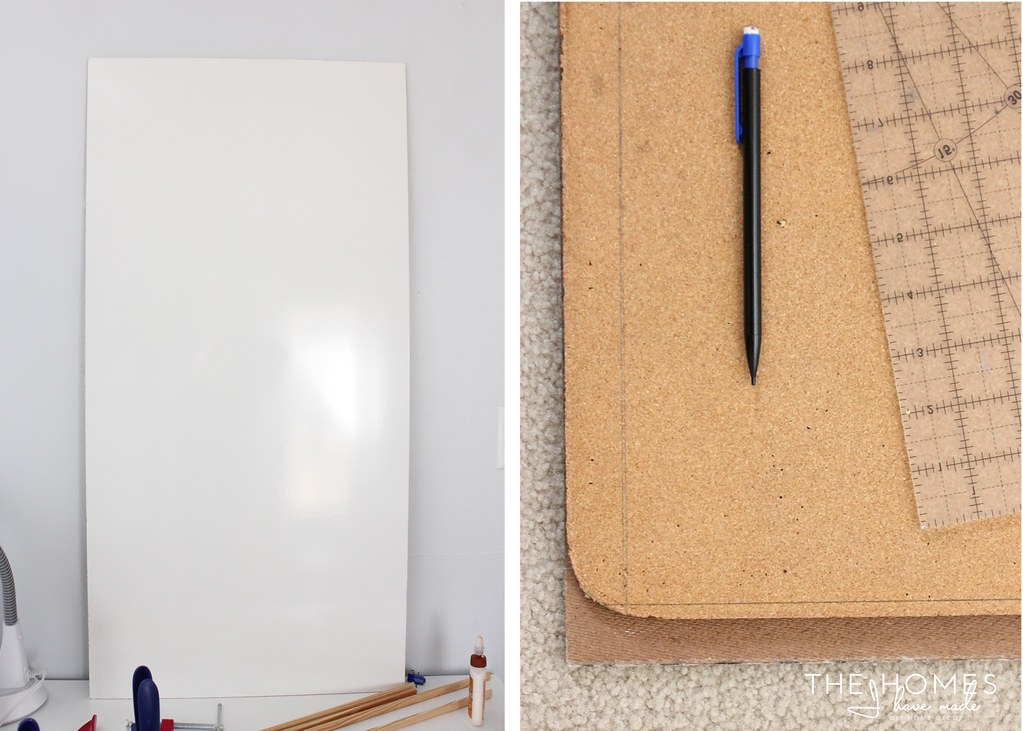
Below left is the sheet of white board I bought. Did you guys know they carried this stuff? Less than $8 for a 2×4″ sheet – no kidding! They have chalkboard sheets too. You better bet my wheels are turning! When I stumbled upon this, my “I’m just going to frame out the cork board” project took on a whole new level! (Hence the hour in the trim aisle!)
I simply used spray adhesive to attached the cork board to the back of the white board (right sides of both surfaces facing out). My cork board had rcounded edges, so I used a ruler and pencil to square everything off.
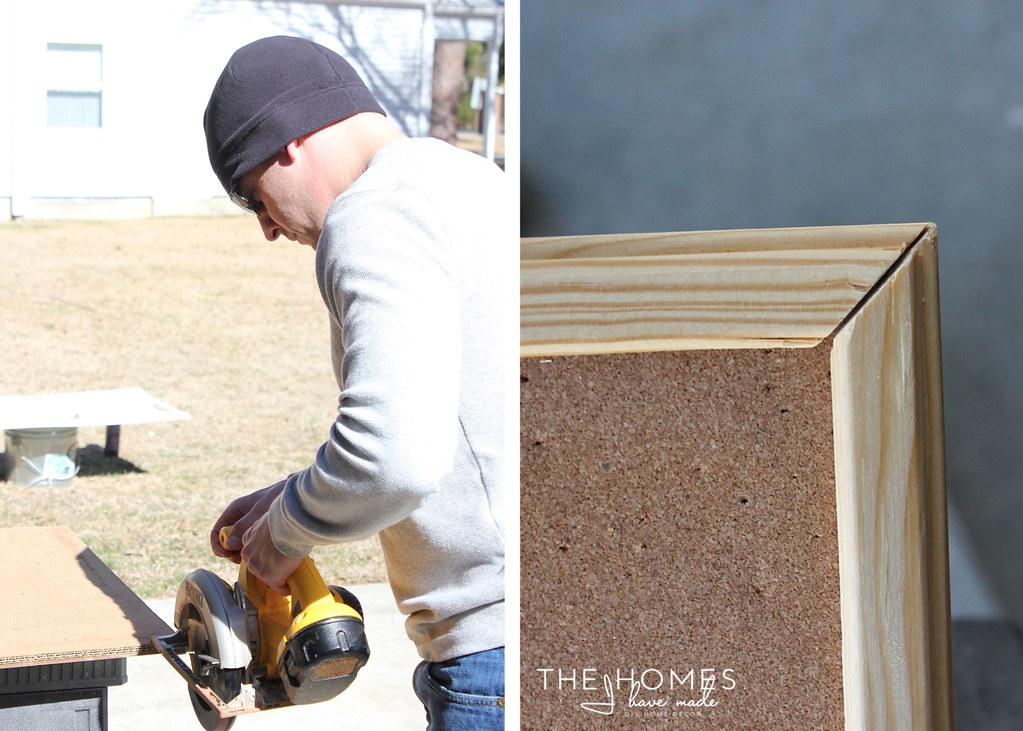
Greg then cut away all the excess cork and MDF with a circular saw. Cutting the two boards together meant I had perfect edges to fit into my trim grooves.
Next, I cut down my grooved trim with the power miter saw. This was touch and go for a bit because it’s pretty tricky to get the fit just right. I highly recommend dry fitting each and every edges before moving on to paint. I’d cut, fit it, measure, pop it back off, cut again, put back on, measure again, etc. With all four sides. The cork and MDF was a snug fit inside the trim, so popping them on and off was a total nuisance. But I kept at it, and I finally had four edges to the frame that fit together decently well. I’m typing that all up in a few nice pretty sentences, but it was honestly pretty tricky, and I almost abandoned the whole double-sided frame right there! Again, I’m no pro here…just figuring things out as I go!
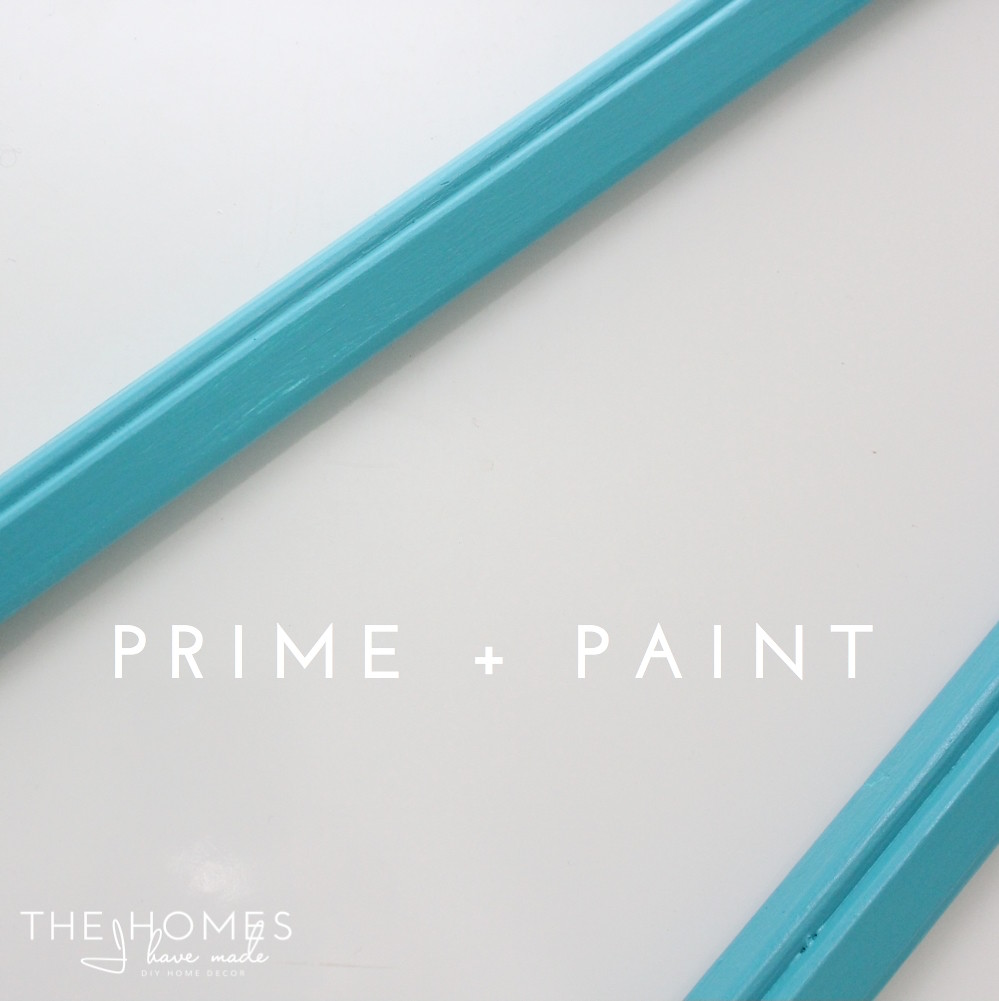
With the trim finally cut down to size, I spray primed them and then gave them 2-3 coats of paint (leftover from the table/chairs).
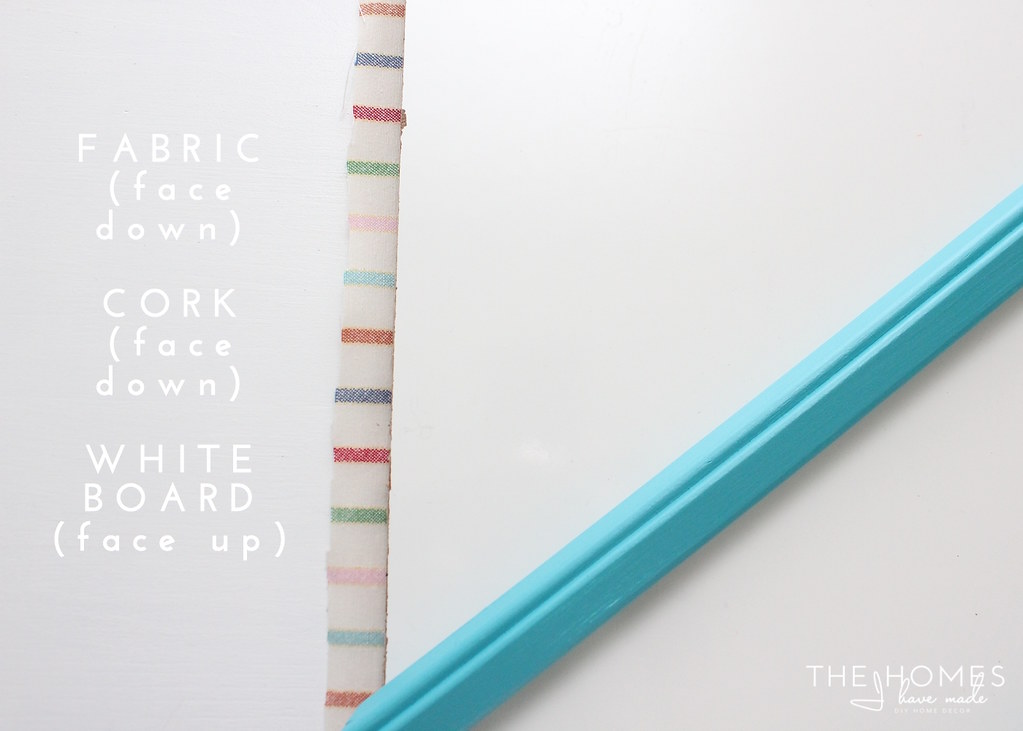
With the trim dry, it was time to assemble everything together and see if it worked. I laid my striped fabric face down (cut a few inches extra longer and wider than my boards), then placed the cork/white board combo onto the fabric so that the cork was down onto the fabric and the white board was facing up.
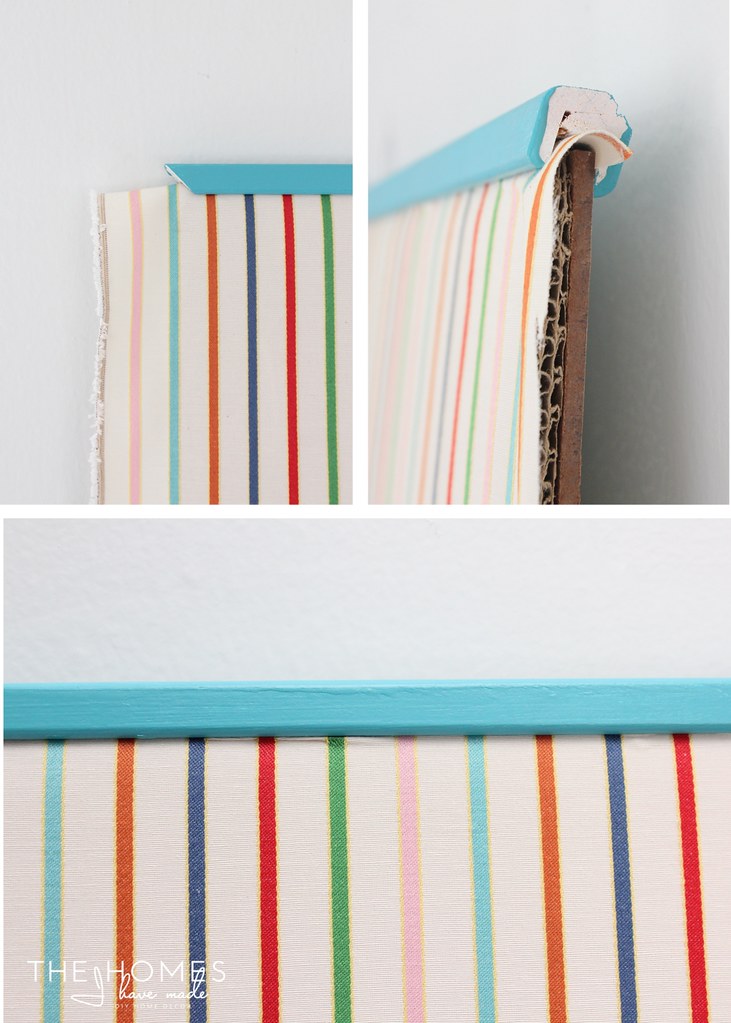
I then shimmied the trim edging over all three layers. The trim cinched down the fabric and ultimately held everything together. I debated back and forth about the merits of cutting the fabric extra big (knowing it would stick out on the back), but was so glad I did because not only did it allow me to pull the fabric taught, but it also allowed the trim to slide on nice and smoothly!
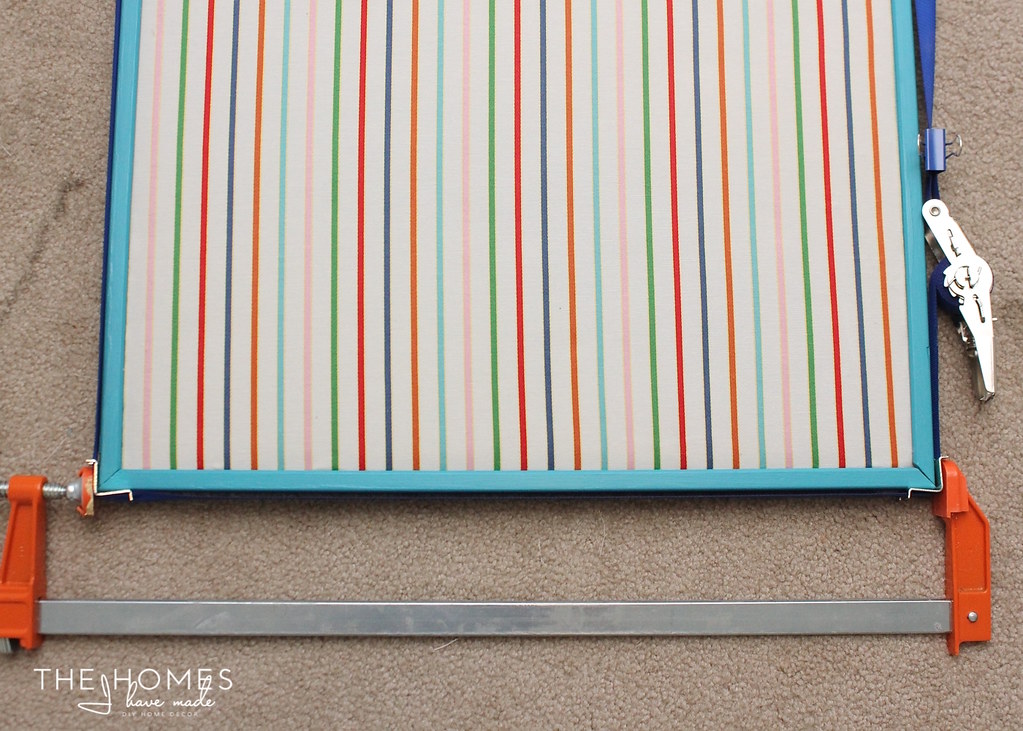
With all four edges on, I put wood glue at each corner, and wrapped the entire frame in my band clamp. I had two corners that were a bit stubborn (because the trim was a bit warped), so I secured those extra tight with a long clamp.
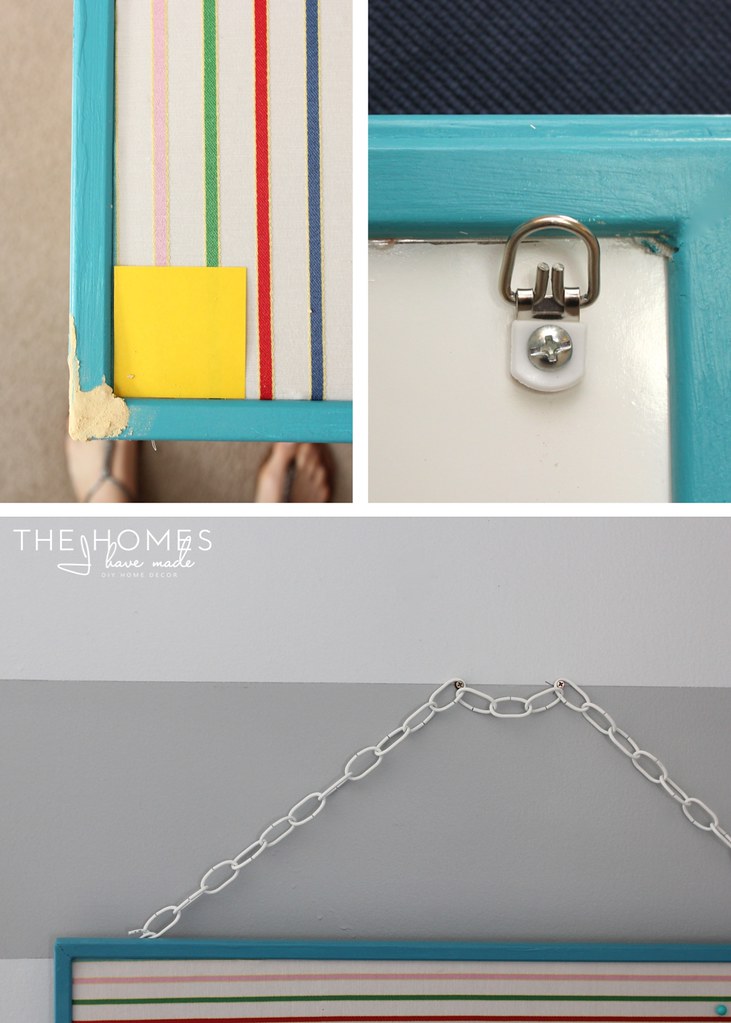
Once the glue was dry, I filled the corners with wood filler, sanded them smooth and touched up the paint. I used small sticky notes at each corner to protect my fabric. On the back side, where the fabric stuck out, I simply used a sharp rotary cutter to trim away the excess fabric and it worked wonderfully!
The final step was to attach hanging hardware. Oh friends. I thought I was in the homestretch here only to almost strike out at the last minute. I REALLY wanted to put my hooks on the outside edges of the frame so that flipping the board would be super simple and the whole board would hang flat against the wall. Wouldn’t’ you know the second I tried to screw anything into the trim, it split. The trim is pretty thin and delicate, and I’m not even sure pre-drilling would have helped because I was using some itty bitty screws. After a bunch of hemming and hawing, I decided to screw the hooks right into the white board side. It’s not my ideal solution, but the board is hung on the wall and is flippable and usable on both sides – all things I wanted! I could have used ribbon or rope, but we had the chain on hand and I liked the industrial look of it! The board is pretty heavy, so I decided to hang it on two bear claw screws (best things ever!).
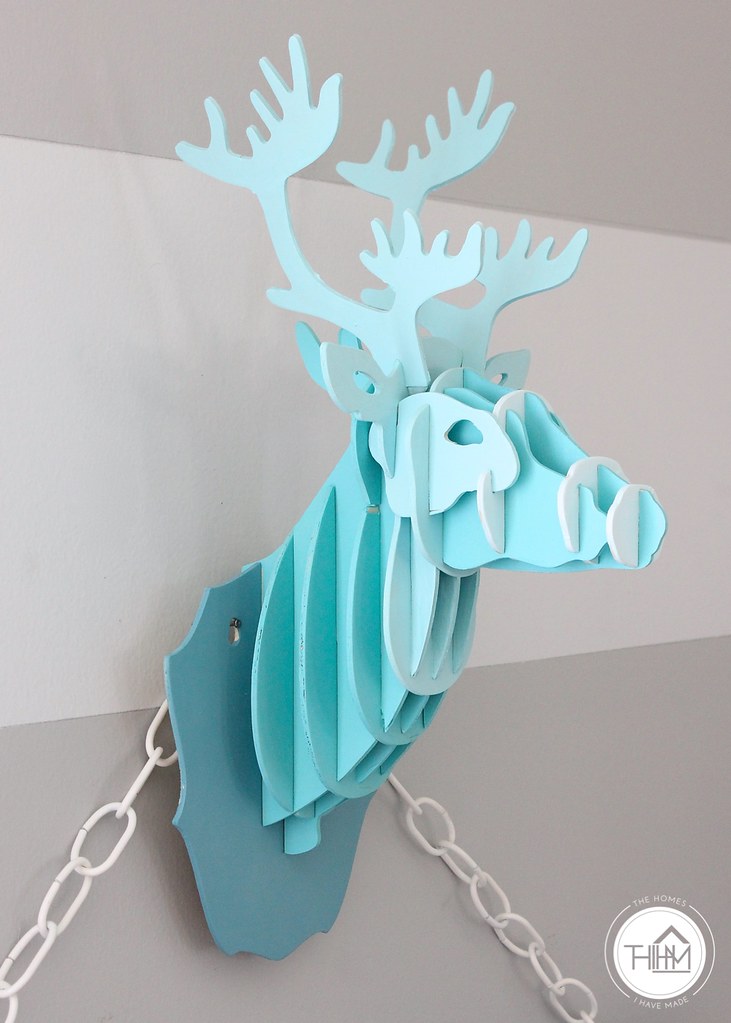
To cover up the screw/chain situation, I painted this deer head I had stashed away. This one was an unexpected headache too, I’ll share the details here on Monday! He was worth the trouble though because I LOVE the way he looks up there!
As I said, we re-arranged a bit: we simply slid the Expedit over to make room for the table/board combo on the small wall by the window. This little corner makes me so happy, and I feel like this is (finally) a really good arrangement for this nook!
Henry couldn’t wait to start pinning up his projects as soon as I finished snapping the photos. He’s really good with the tacks, but obviously, if you have younger kids or don’t want your kids using tacks, you could use clips here instead!
So this one might have done me in! I’m ready to put away the miter saw and not make any more frames for a while! Still, I learned a ton, and I am pretty excited to have our blah cork board fancied up into something charming and oh-so useful!
What do you guys think? Are your kids artists? How do you display their artwork? Do you take on projects that are beyond your skill set? I’m ready to step back from the challenging projects and find my DIY joy again – thankfully, the weather is warming up and I have some furniture pieces that are ready for a paint job! (Ummmm…aren’t I supposed to be getting ready for a move?!?!)
Have a great weekend! See you back here Monday!
Megan






2 Comments on “DIY Reversible Cork Board (with a white board back!!!)”
Love how it turned out, very creative. And, love the deer head too.
Fabulous project! It came out wonderful!! I love the versatility of the project and the sleek & cuteness of it to, so great for a kids room. The toy room & nook is looking great 🙂
Lauren | LB Designs
xx