Chic Tiled Herb Garden
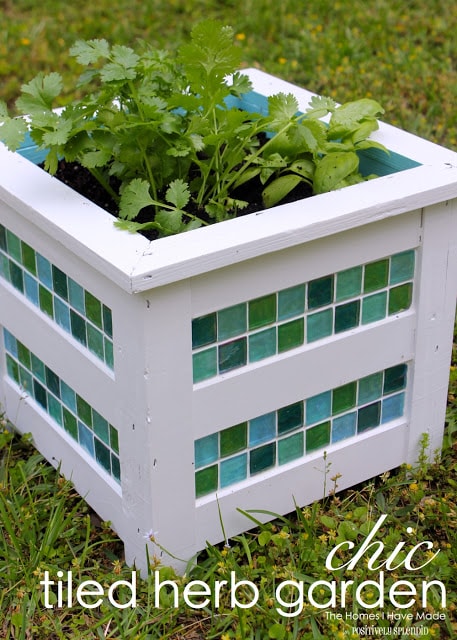
I was inspired to do this project for a couple of reasons: 1) I stumbled upon this gorgeous teal and green tile at a garage sale and was antsy to do something with it; and 2) I’ve been hankering to start growing some fresh herbs…so this project was a great way to satisfy both “cravings.”
This project was a little time-consuming when you factor in all the drying times at the various steps. However, it was such a gratifying project to work on, and the final result is just so stunning that all the waiting time is worth it. If you’ve never tiled or grouted anything, don’t be intimidated…I didn’t use any fancy supplies or techniques – all my supplies can be found at a craft store and hardware store.
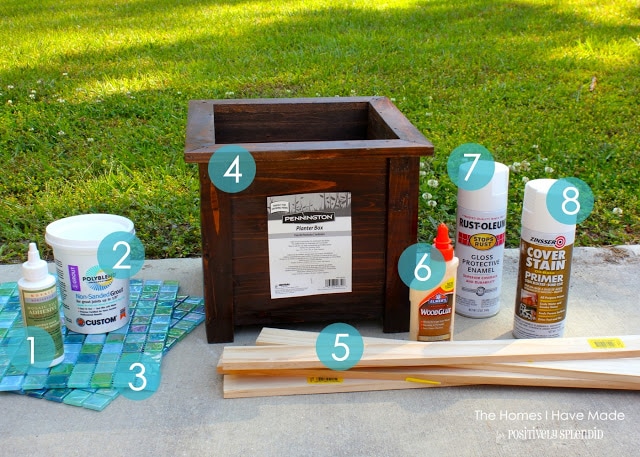
Here’s what you need:
- Mosaic tile glue – I found mine at Michaels for a few dollars.
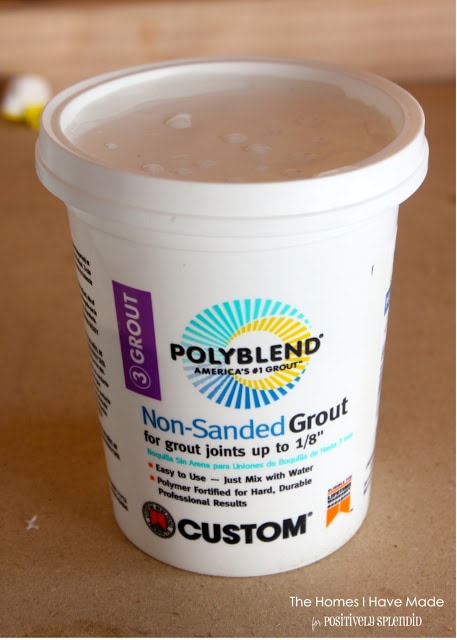
- Grout – This was also just a few dollars at the hardware store; it comes in a variety of shades (I chose Pure White) and you mix it right in the container it comes in!
- Tile – For this one planter, I used less than one sheet, so it’s a great project to use up some tile you may have leftover from other projects!
- Planter – For ease, I chose a straight-sided planter. This allowed all my cuts to be straight lines and simple measurements. If you’re savvy with a miter saw, feel free to use an angled planter – the results would be equally as stunning! Also, if you’re turned off by the prices of planters at the big hardware stores, check Marshalls and TJMaxx, as they often have similiar things on their shelves!
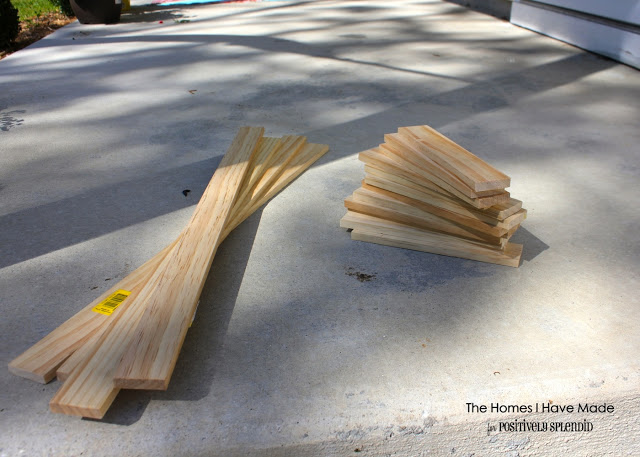
- Wood slats – These are 0.5″x2″x24″ pine cuts. For one planter, we used four strips cut down to size. To make things easier, pick the straightest, cleanest wood you can find in the pile!
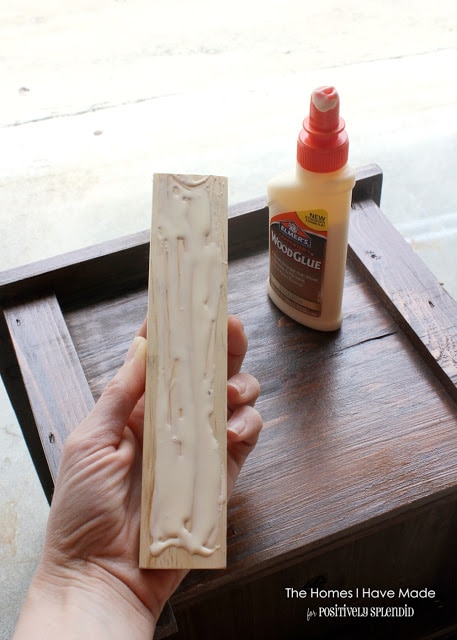
- Wood glue
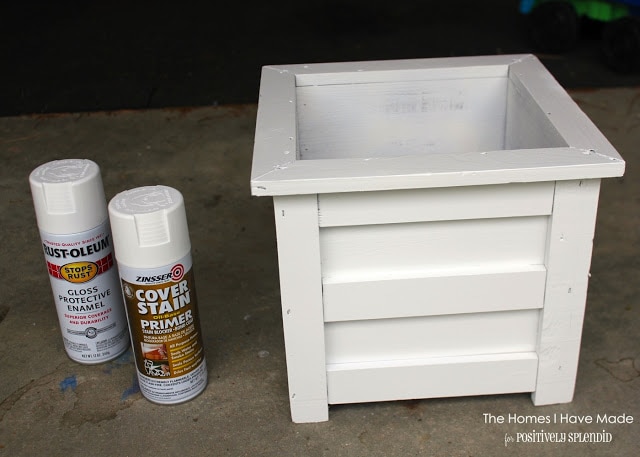
- Spray paint – my white of choice is Rust-oleum’s Gloss Protective Enamel
- Spray primer – my primer of choice is Zinsser Cover Stain primer
The first step is to cut down your wood strips to the correct size. Measure where you want your wood strips to be, in my case it was down the center of each side, nestled in between the vertical supports. My cuts were 7.25″. If you don’t have the capability to cut wood at home, ask the friendly folks at your hardware store – they’ll do it for you if you have your measurements ready!
A quick note – cut and fit each slat as you go. On my planter, not each one fit perfectly – some needed to be cut down a bit more to squeeze in.
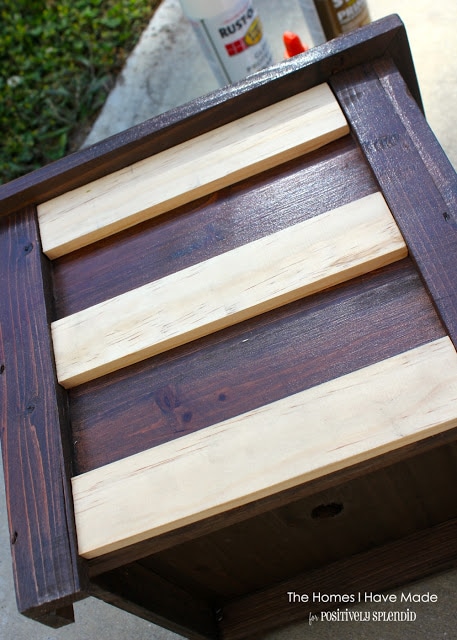
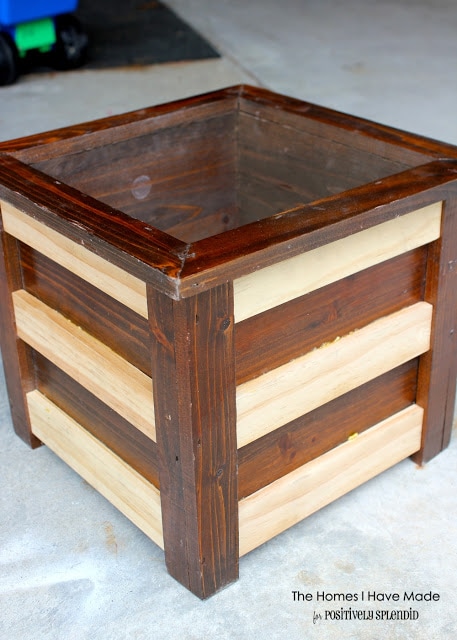
Once you have your 12 wood slats cut down (3 for each side) and they all fit, it’s time to adhere them to your planter. To do this, I simply used wood glue. I positioned my slats at the very top, the very bottom, and halfway in between.
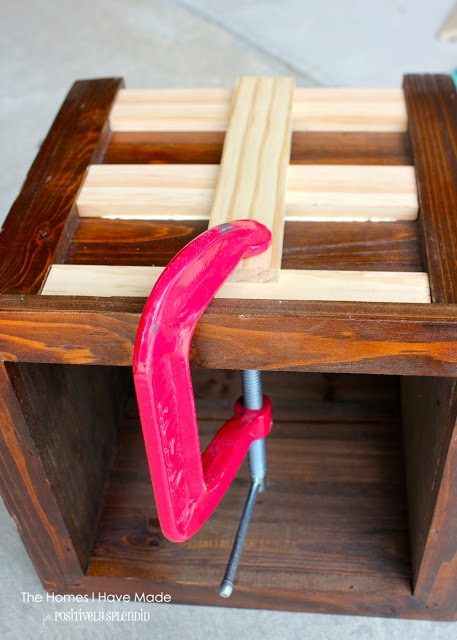
When using wood glue, it really is best to clamp your items in place while they dry. Unless you have a ton of clamps, the easiest way to clamp your wood is to use a forth slat stretched perpendicular to your glued slats. Give each side at least 30 minutes to dry before rotating your planter and moving on.
As you move around the box, make sure your slats line up horizontally so that they look even and part of the original design!
Next, paint your planter. I started with two light coats of primer followed with two light coats of white spray paint. Let your planter dry thoroughly before moving on.
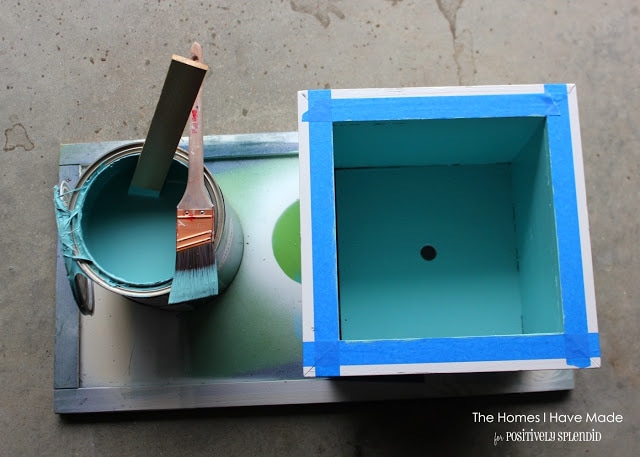
The next step is optional but totally fun. Tape off the top rim and paint the inside of the planter a coordinating color. Although most of the planter is filled with soil, the top inch or so can be seen, and the punch of color adds an unexpected pop!
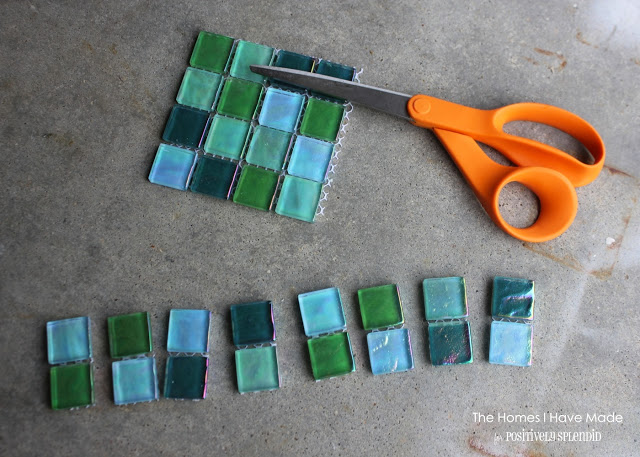
While my paint was drying, I readied my tile. I would have loved to be able to just cut 2×8 tile strips and lay them right into my channels, but they wouldn’t quite fit – shucks. Instead of cutting all the tiles apart and placing each one by hand, I cut the tiles into 1×2 strips.
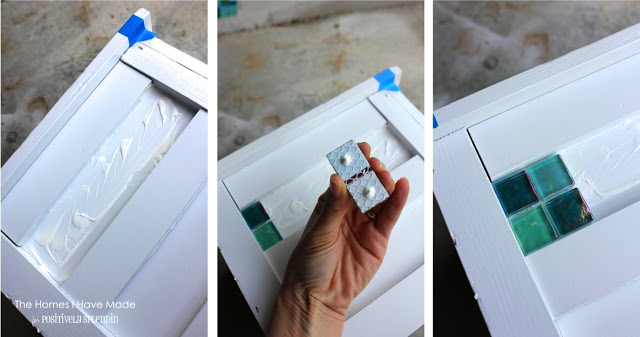
Using the mosaic tile glue’s instructions, I attached my tiles to the channels made by the wooden slats. I covered the channel with glue and also placed a dollop of glue on each tile. I carefully placed my tiles into the channel, evenly spacing them as I went. This is where the waiting game really begins: it can take about 2 hours for the glue to really set…so, tile one side, take a 2 hour break, and then tile the next side and so on.
Per the glue’s instructions, I let my planter sit overnight so it could really cure. The next morning, it was time for grout!
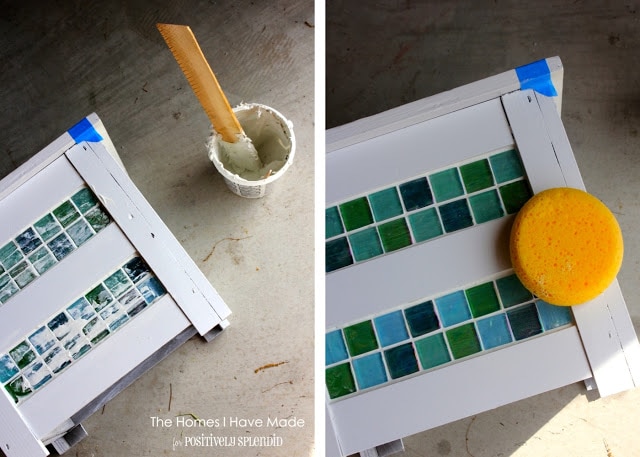
Again, I used the instructions on the side of the container to apply the grout. Instead of using fancy tools (because of the small space I was working in), I just found it easier to use my fingers to apply, wipe, and smooth the grout. It was messy but worked better than any tool I could find! After letting the grout dry for 20 minutes, I went back with a wet sponge and water and cleaned the whole thing up!
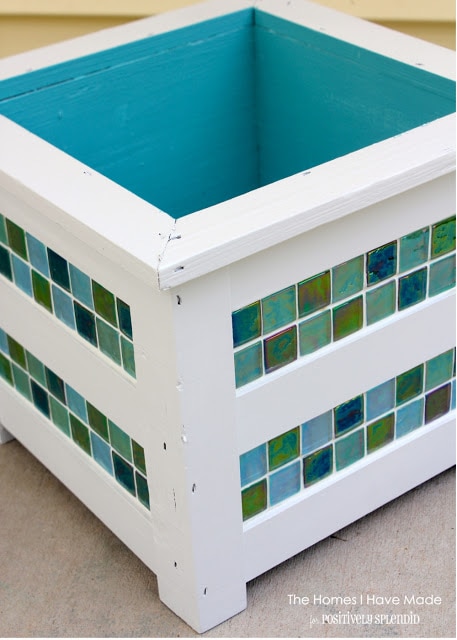
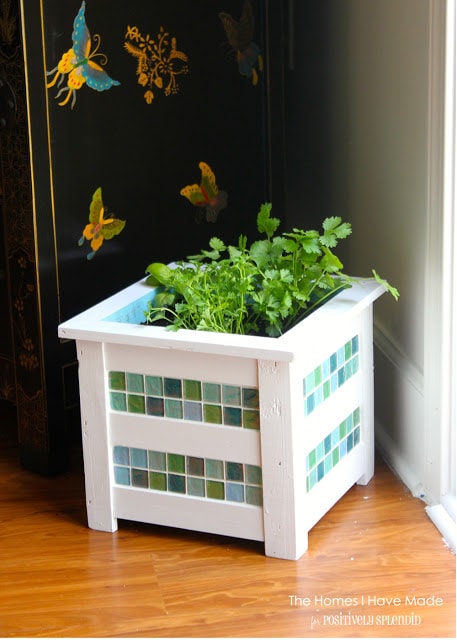
One more buff with a dry t-shirt and my planter was ready to go! Ain’t she pretty???
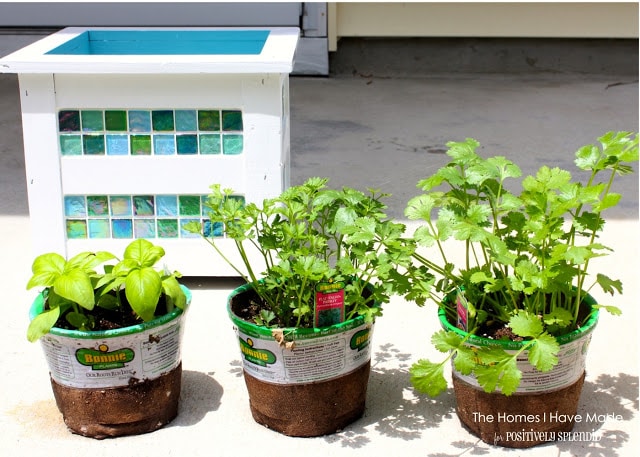
I’m a little impatient when it comes to plants, so instead of starting with seeds, I bought some herbs already sprouted and ready to go right into my planter!
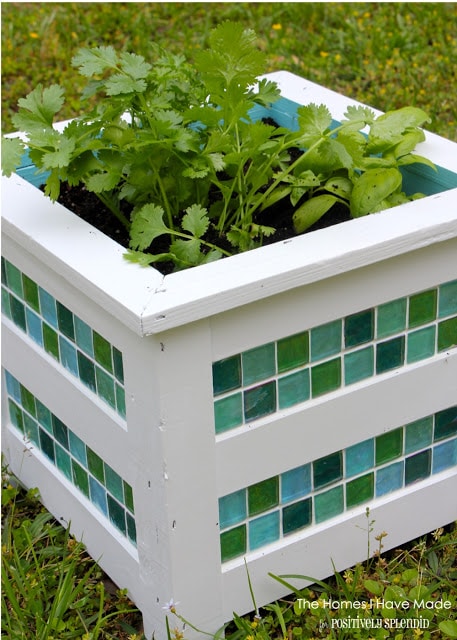
Some potting soil and a few minutes later, my herb garden was up and running!
Although this planter would be fine outside, my intention was to bring it into my dining room where it can get lots of natural light but is safe from our persistent deer and other neighborhood “pets.” 🙂
It’s so exciting when a project turns out even better than you imagined it would! I love this little addition to our dining room: glam meeting function is what I’m all about!
Hope you have a great start to your week. On Thursday, I’ll have that Living Room preview (that I teased you with last week) finally up for you!
Megan




2 Comments on “Chic Tiled Herb Garden”
🙂 Great idea 🙂
Nice post it is helping me get good idea for mosaic tile.