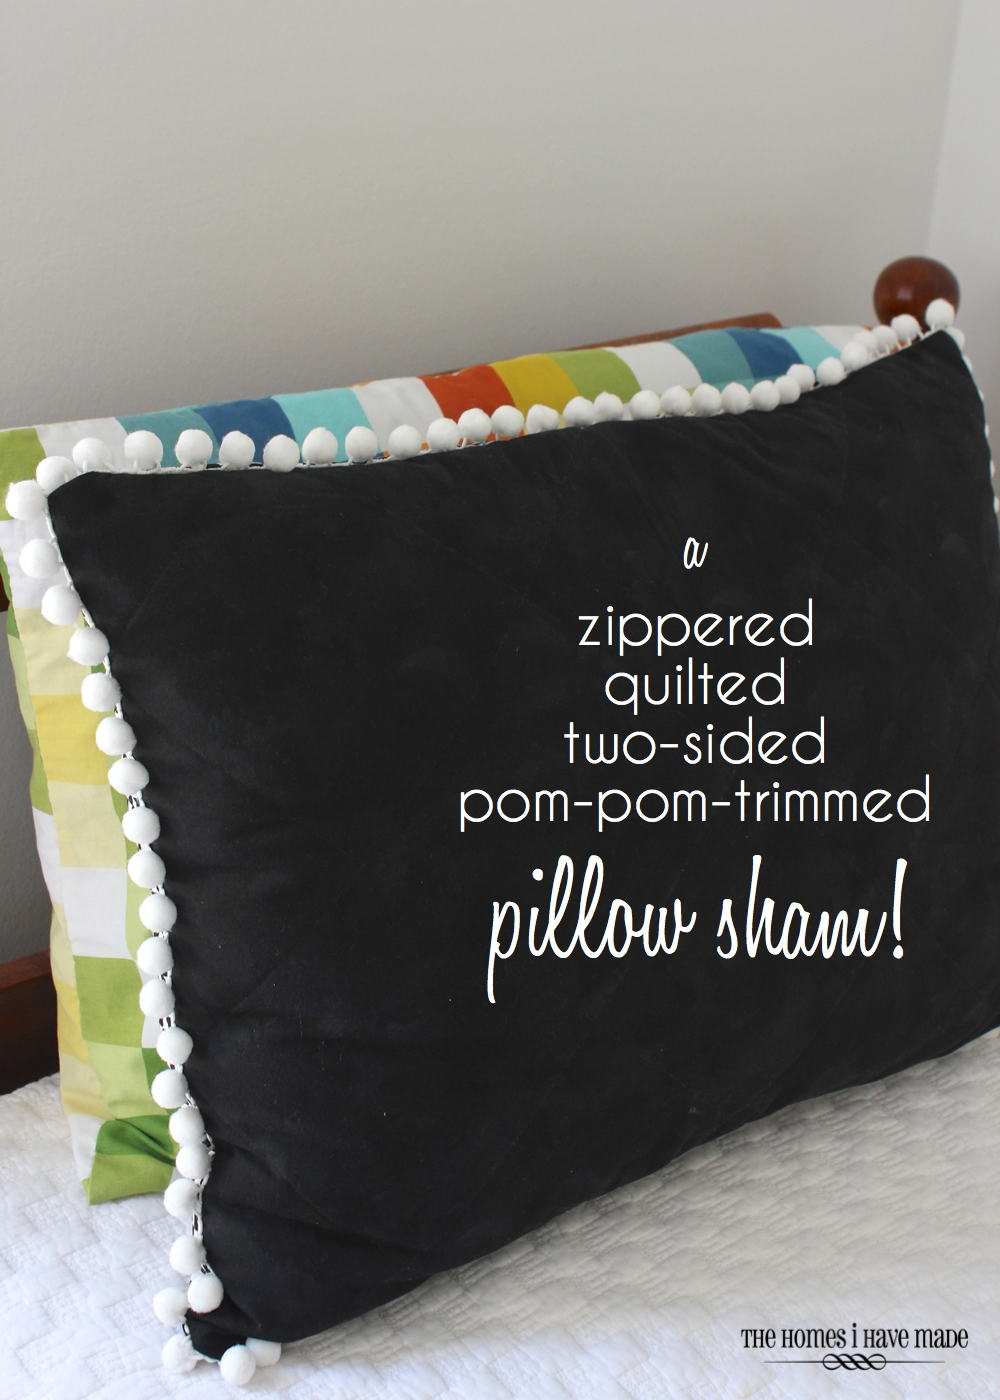
A Zippered, Quilted, Two-Sided, Pom-Pom-Trimmed Pillow Sham!
Hello everyone! Hope you are all enjoying the long weekend. We’ve had beautiful weather, and I’ve been busily wrapping up (what feels like) a million projects! I’m excited to reveal everything I’ve been working on in the coming weeks so check back often!
Last week, I previewed Henry’s “final” big boy bed arrangement. While I had already made a few throw pillows and pillow cases for his “new” room, I wanted one more sham-type pillow to complete the display. I was poking around online and really, really liked the simplicity of this quilted, black, reversible pillow sham from PBTeen. It was only $20, and as I was in the midst of a bunch of projects for this room, I thought to myself, “wouldn’t it be nice just to buy something for this room?!?” But then my lessons from my no-spend Lent kicked in – in all honesty, I had every single thing I needed to make my own pillow sham in my craft room, even down to the trim and the zipper. Instead of spending the $20+shipping, I spent an afternoon and pulled this baby together. It was fun to use up what I had on hand, and my result is just as fun as the one I was going to buy!
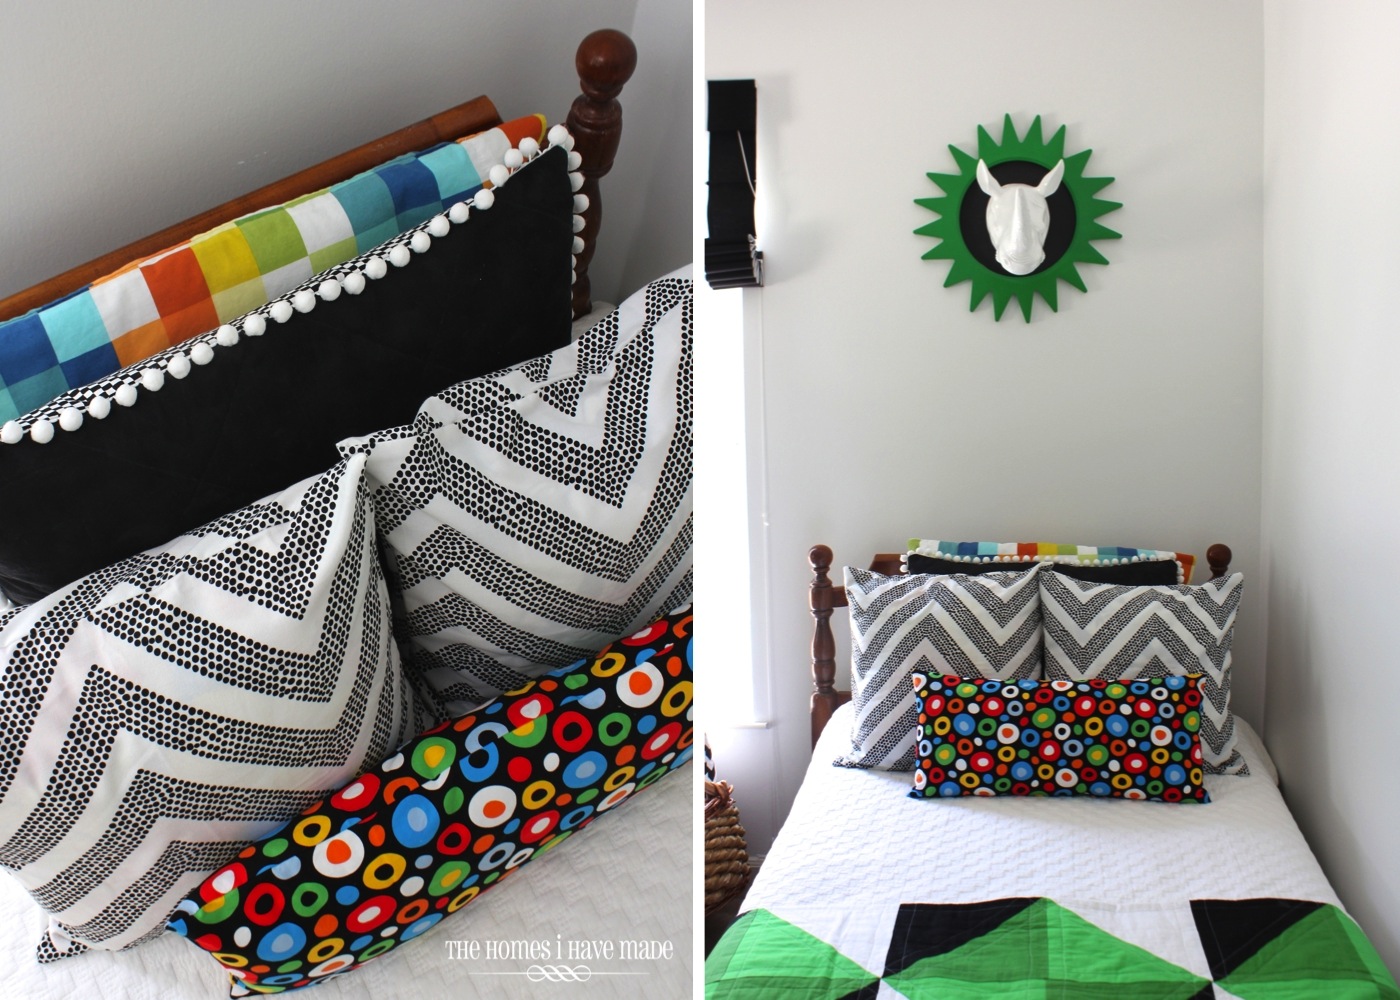
Actually, mine might be a pinch cuter since it has pom-pom trim AND coordinates with his quilt 😉
Wanna make your own? Here’s what you’ll need:
- Solid fabric (in a color of your choice), cut to 21X27″
- Muslin or inexpensive cotton, cut to about 25×30″
- Quilt batting, cut to about 25×30″
- Coordinating print (in pattern/color of your choice), cut to 21×27″
- Pom-pom trim, about 3 yards
- 18-20″ zipper
- Sewing machine, coordinating thread, zipper foot
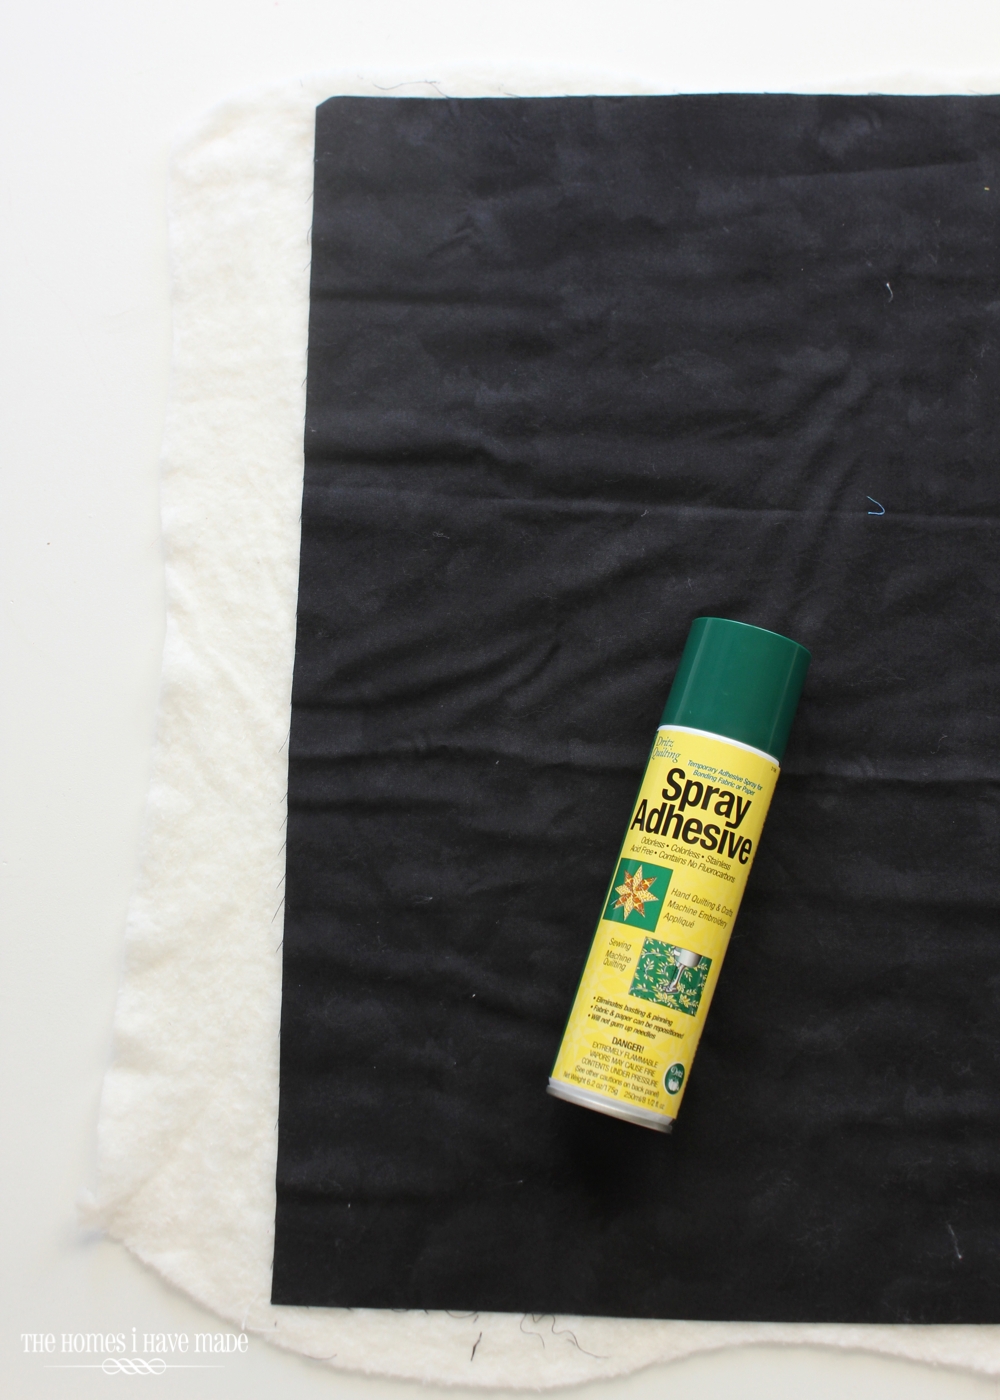
- Fabric spray adhesive (optional)
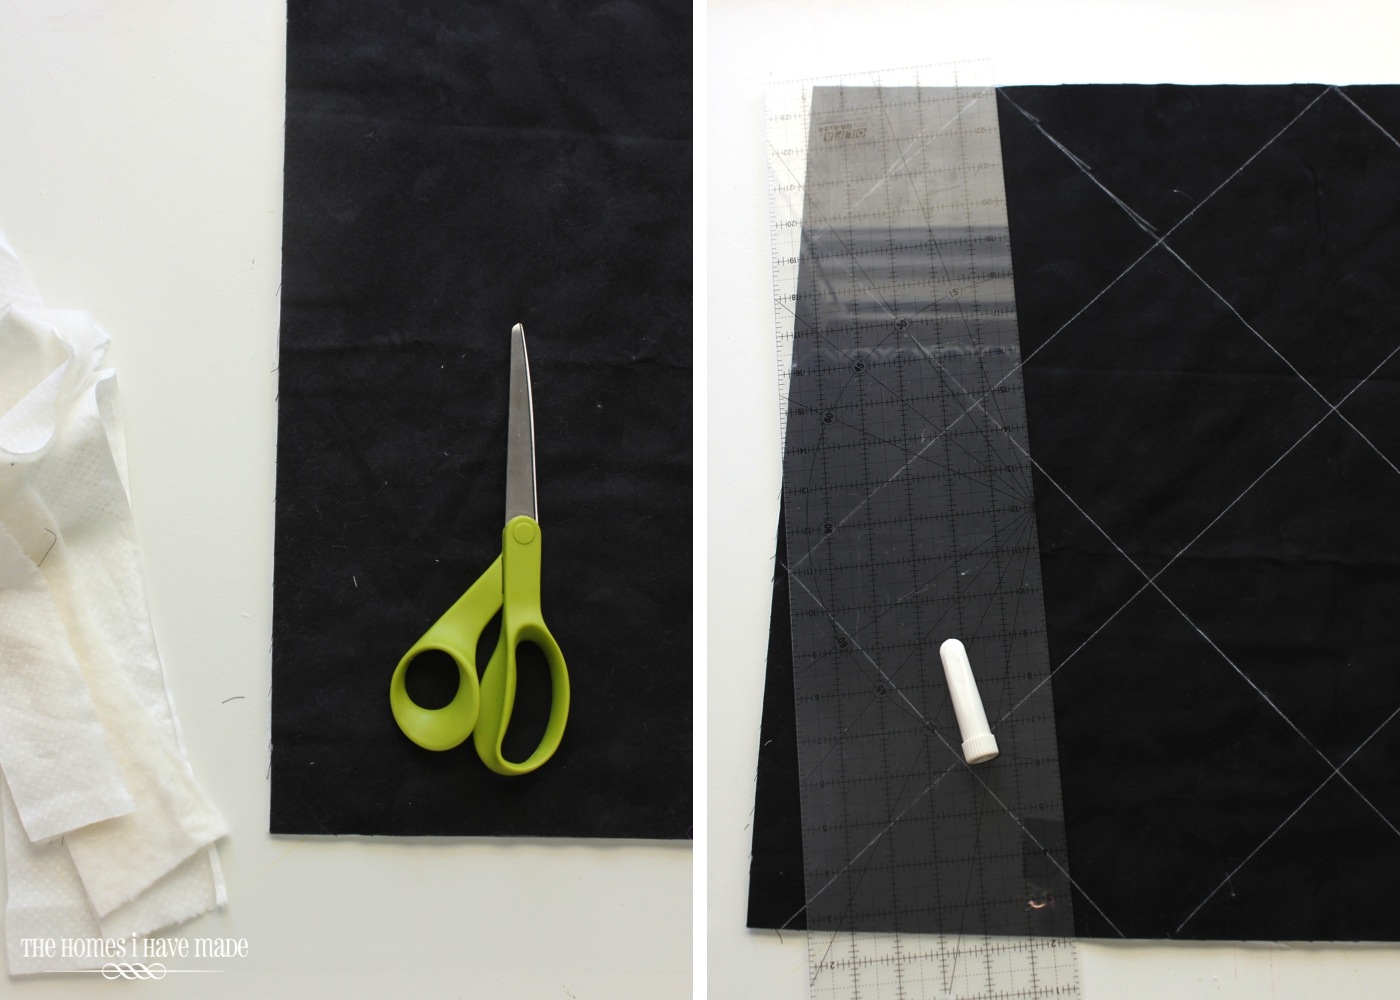
The first step is to make the quilted pillow top. Using spray adhesive, bond your solid rectangle to a piece of quilt batting. Smooth out the wrinkles.
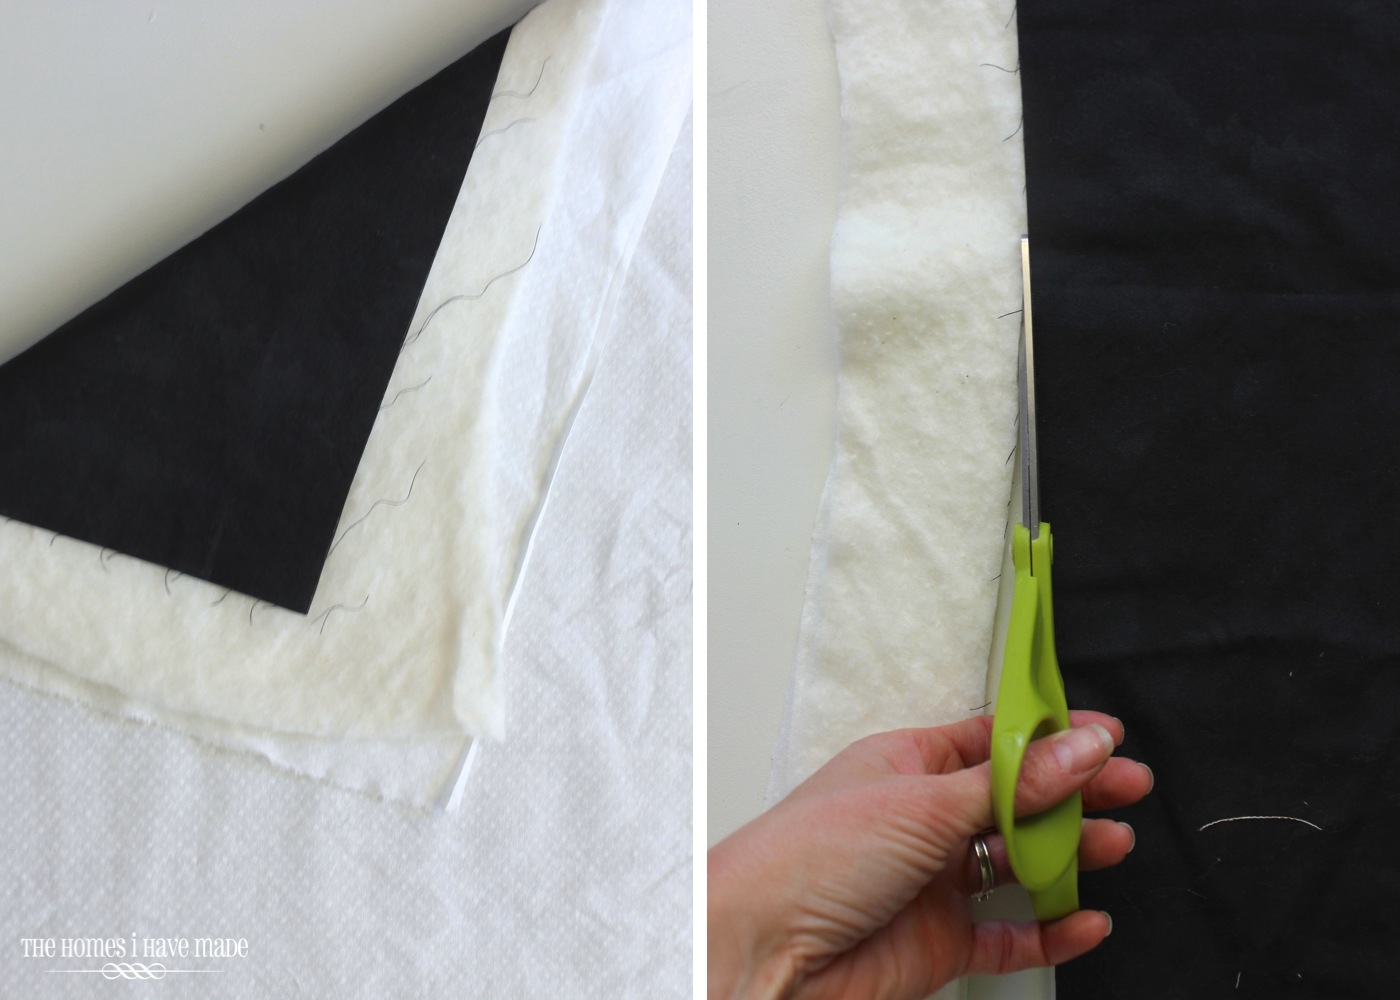
Then, take your black/quilt batting rectangle and bond them (right sides out) to a rectangle of inexpensive cotton or white muslin. With your three layers bonded together, trim down to 21×27″. NOTE – if you don’t have fabric spray adhesive, you can use safety pins to hold your layers together!)
Using a quilting ruler and a chalk marking pen, draw out a grid for your quilting. I chose to use the width of the ruler (6″) at a 45 degree angle.
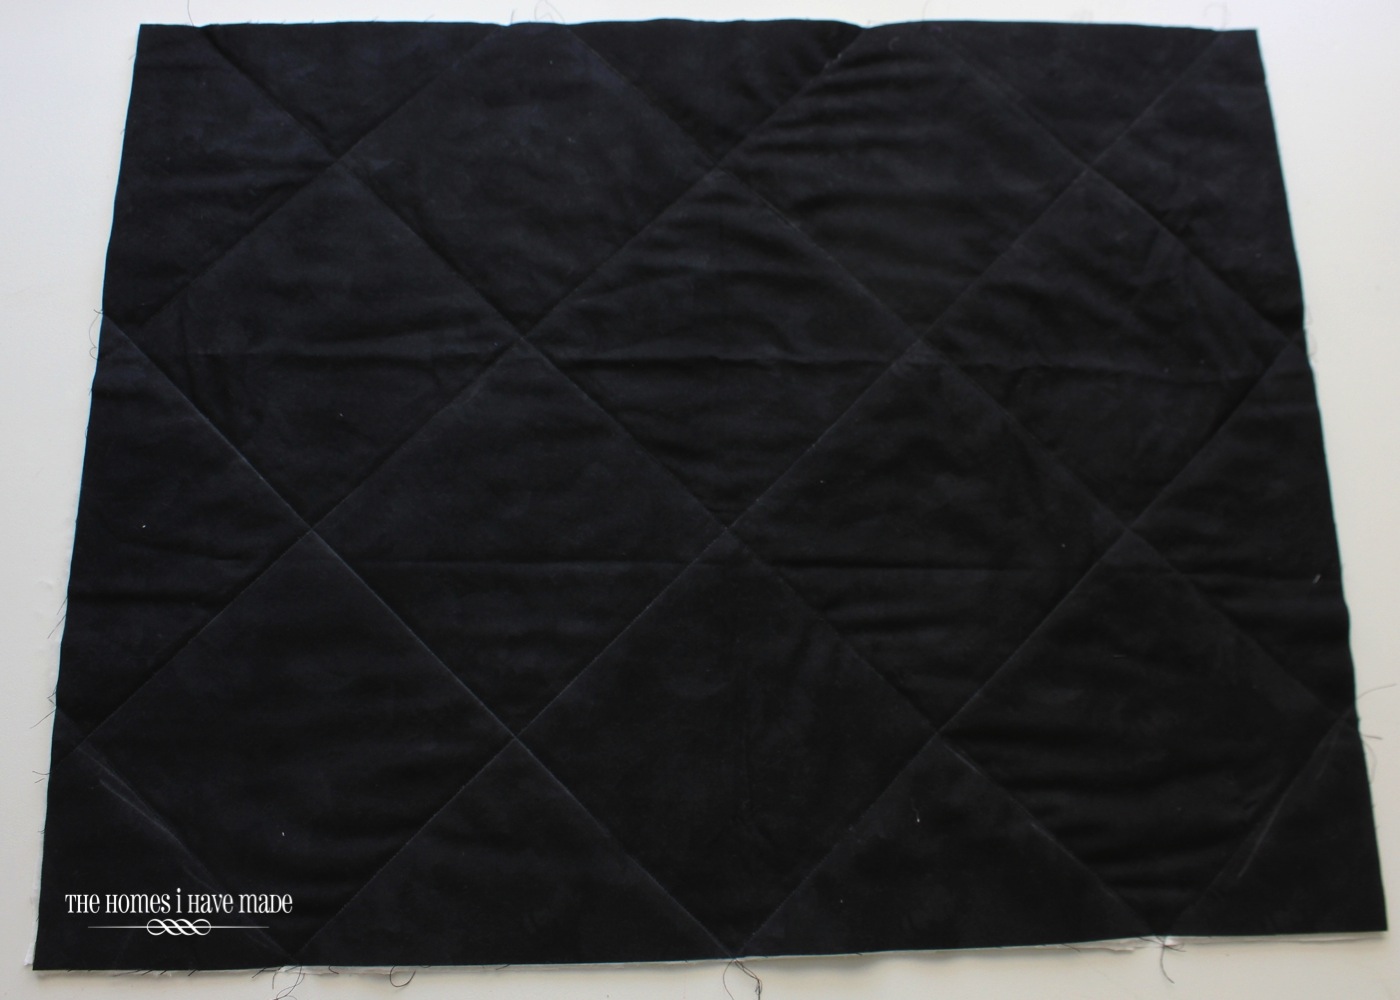
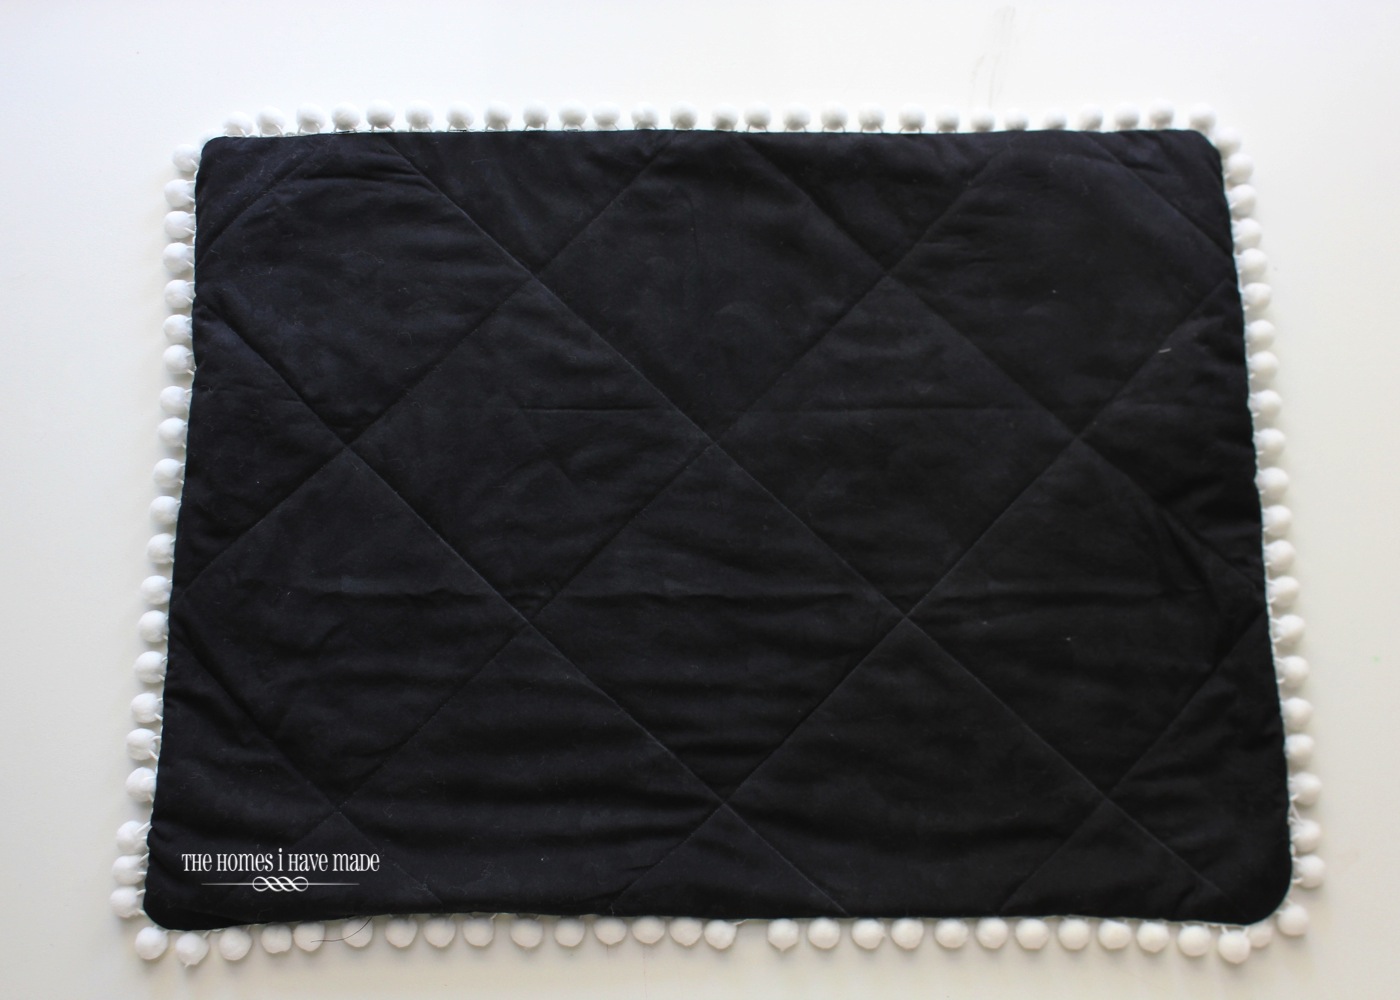
Using a walking foot (if you have one!) and matching thread, machine quilt your pillow sham top. These three layers (black, batting, white) sewn together will now serve as your quilt top.
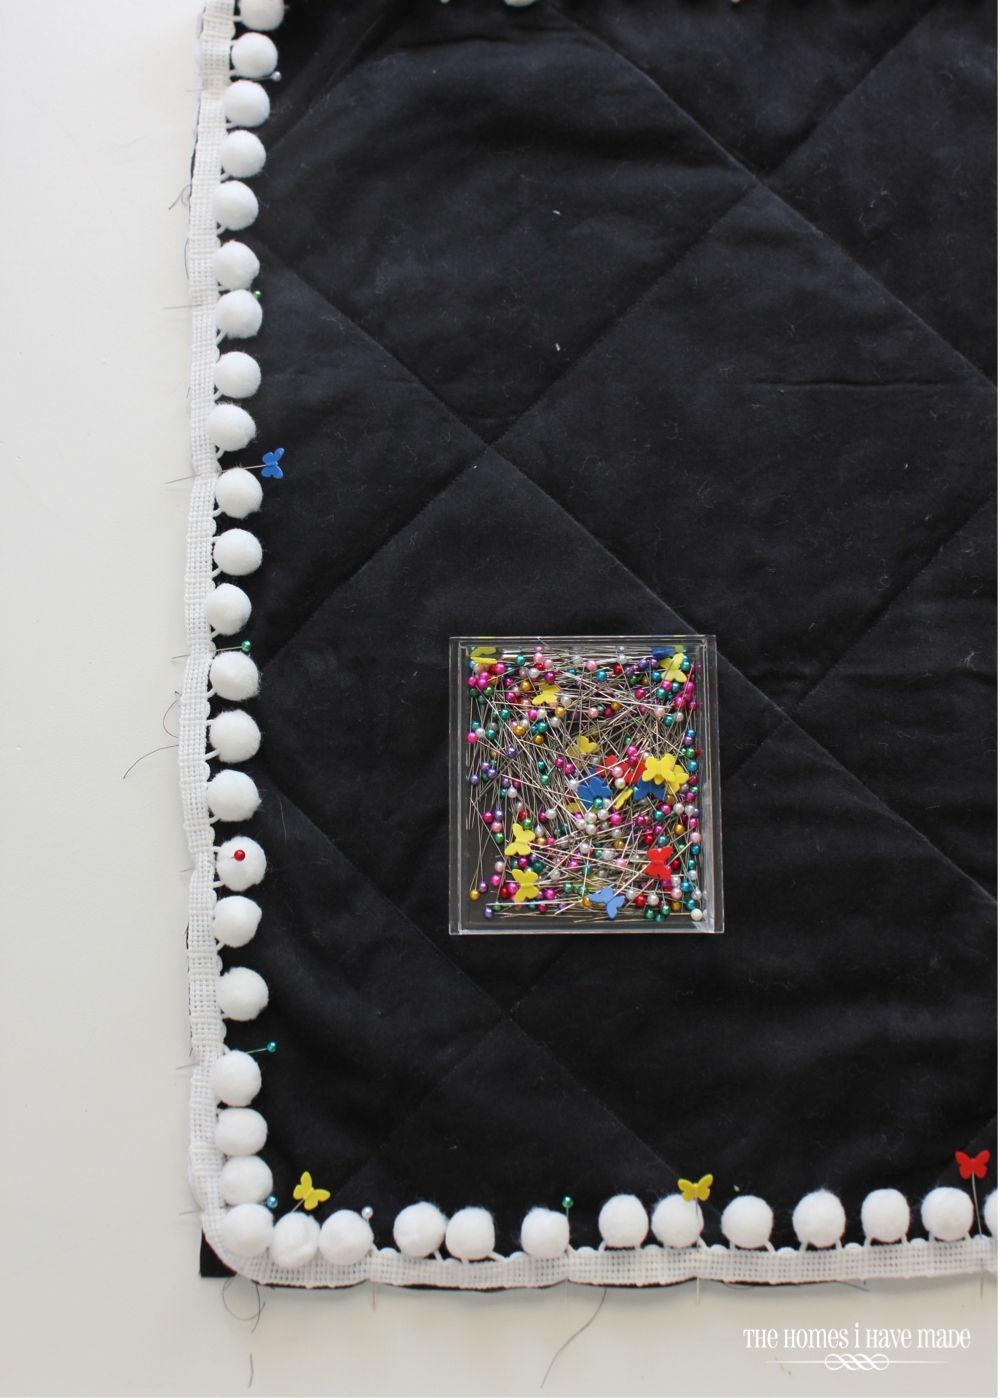
Next, pin the pom-pom trim around the perimeter of the RIGHT side of the quilted pillow sham top and sew in place using a zipper foot.
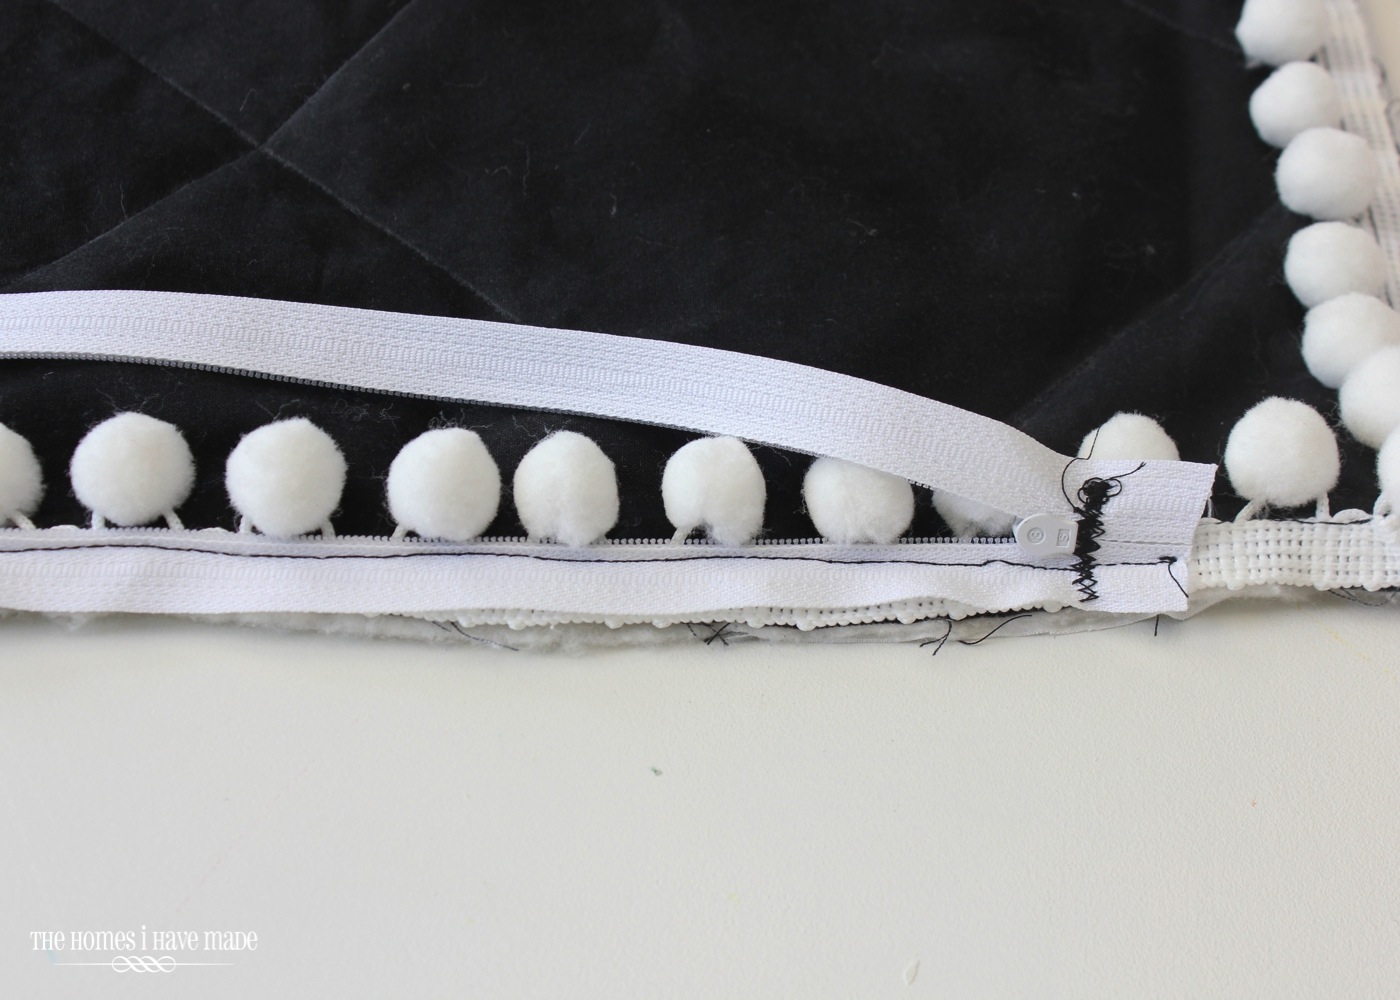
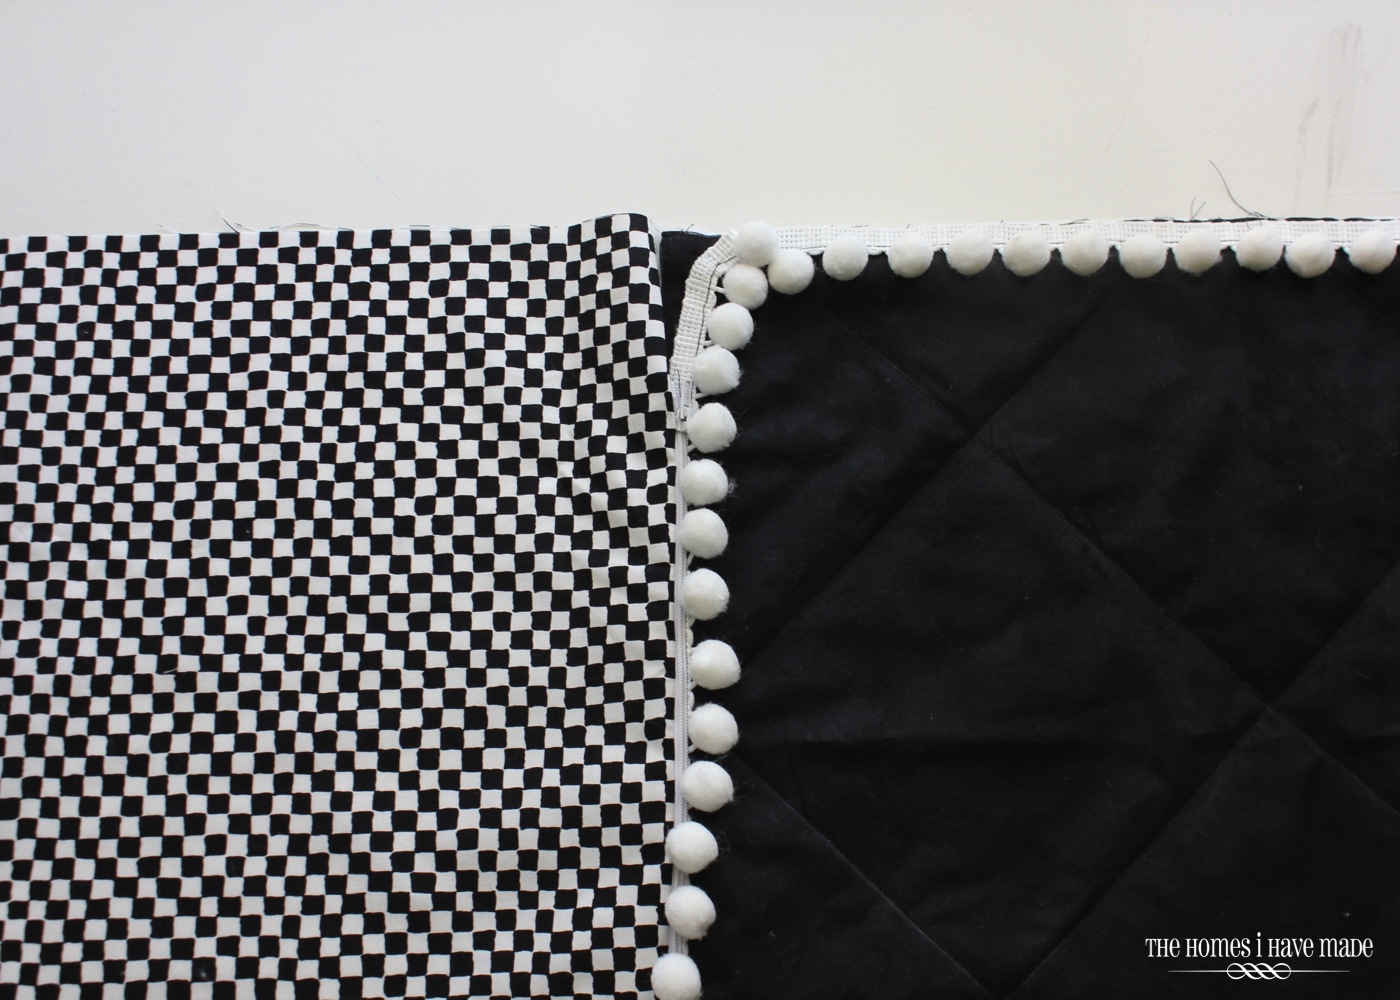
I’m not a super pro when it comes to installing zippers, but I have found installing the zipper “flat” and then sewing the project together is pretty easy! Start by sewing one side of your zipper, right sides together, to the pillow top along one of the short edges.
BEFORE you sew the pillow together, sew the other side of the zipper to the fabric you will use for your pillow sham back, again, right sides together. With your zipper installed, you should have the front and back of your pillow sham held together on the short ends with the zipper in between.
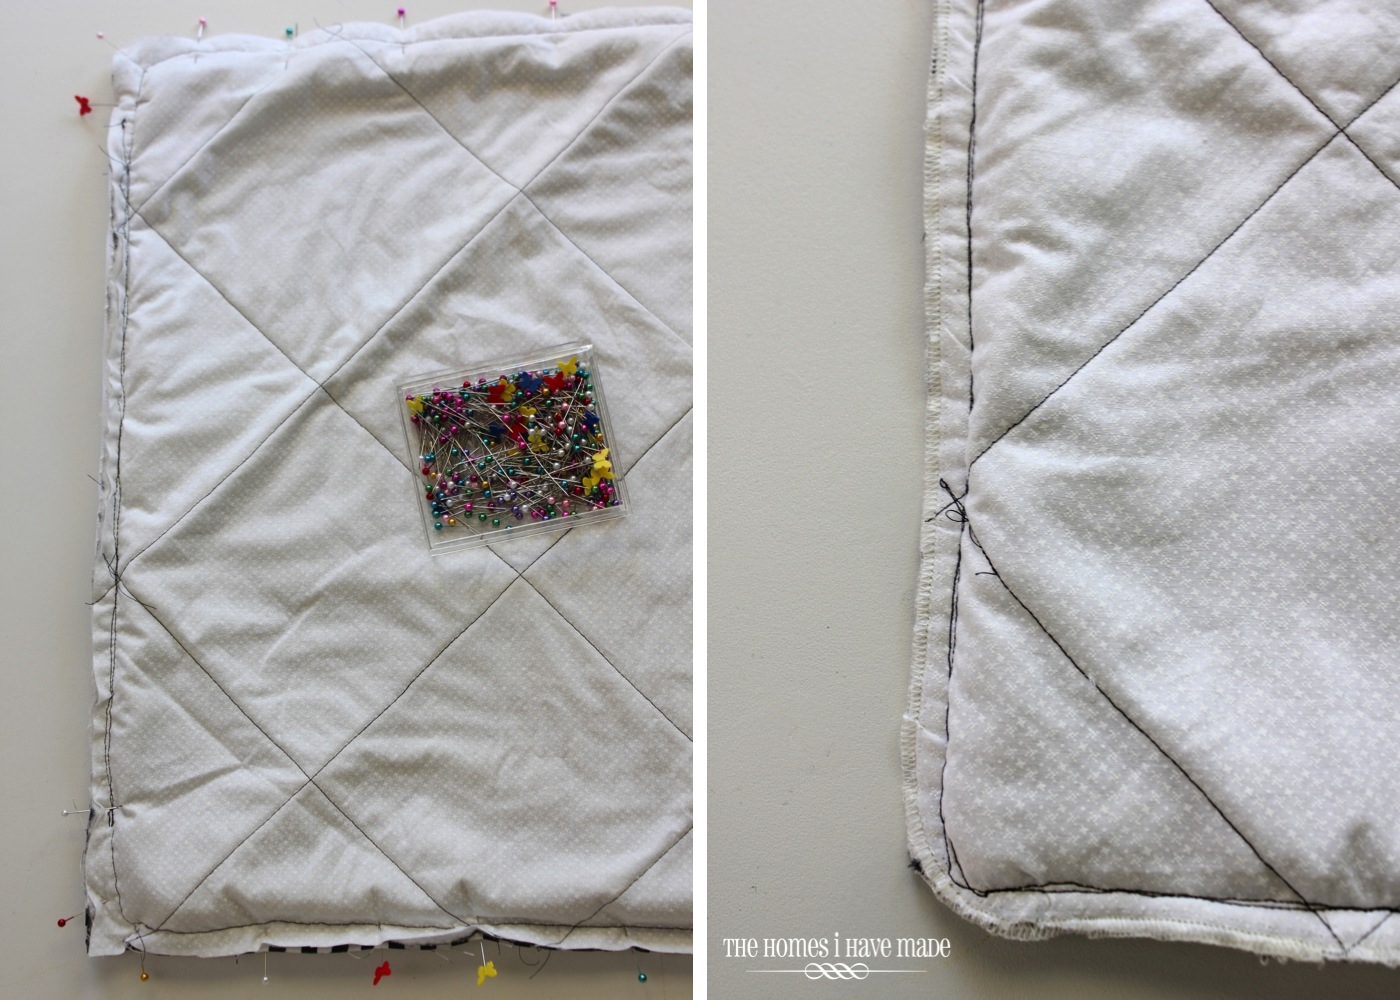
Once you have the zipper installed, it’s time to sew your pillow together! Before you pin and sew, make sure your zipper is opened enough to get your hand through to flip it right-side-out! With right sides together, pin the pillow sham together from one end of the zipper, all the way around to the other end of the zipper. Sew the pillow shut on all sides; and if you want, go back and finish off your seams with a serger (just makes it all a little cleaner!).
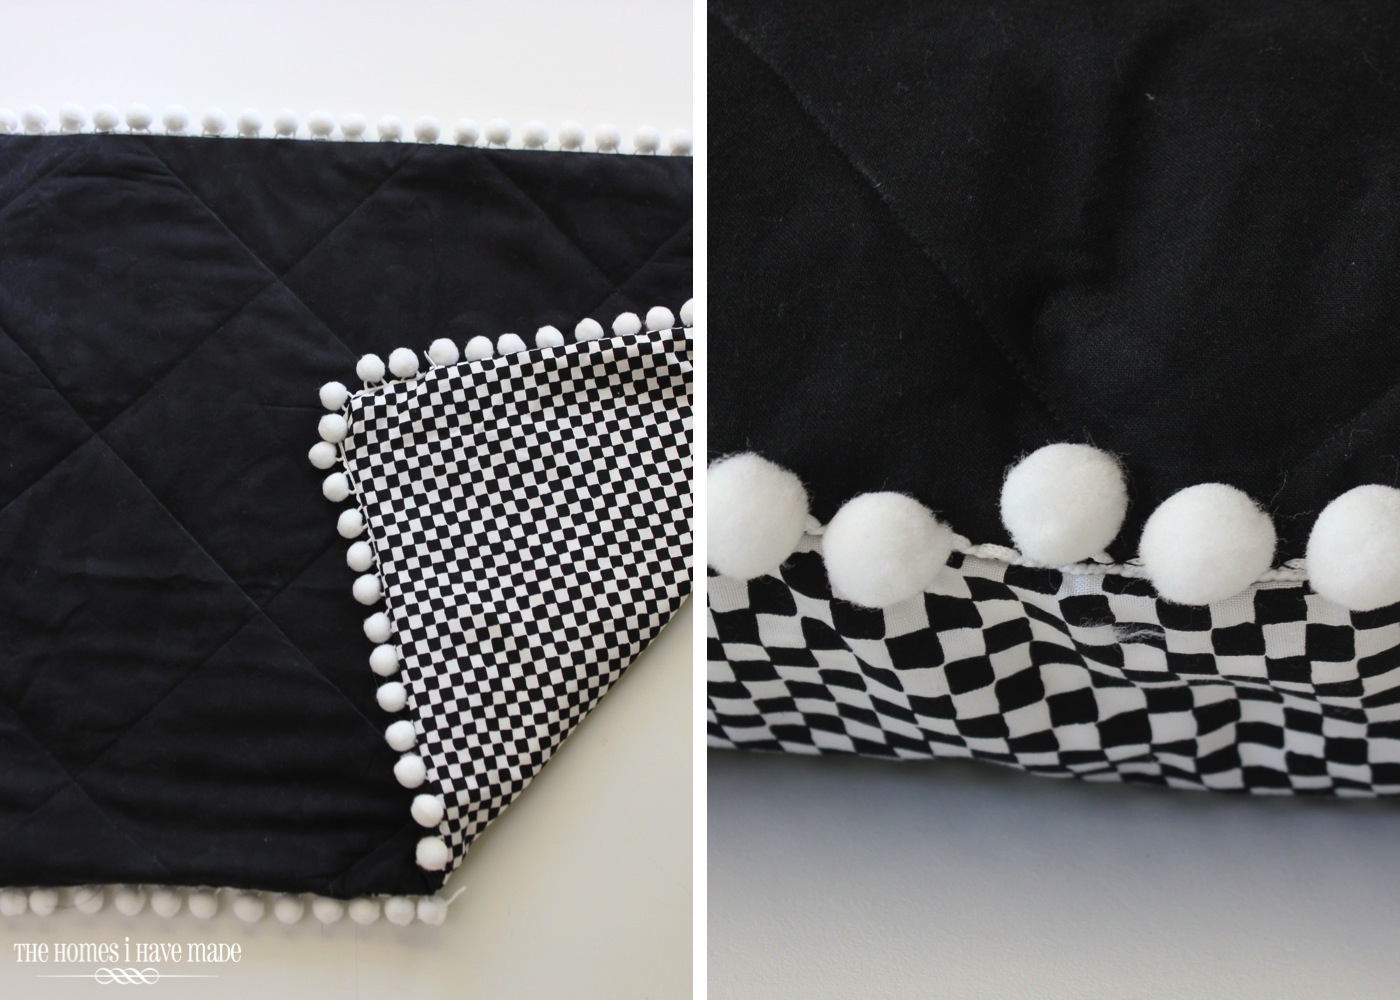
Flip your pillow sham right-side-out through the opened zipper, push out the corners, and you’re all done!
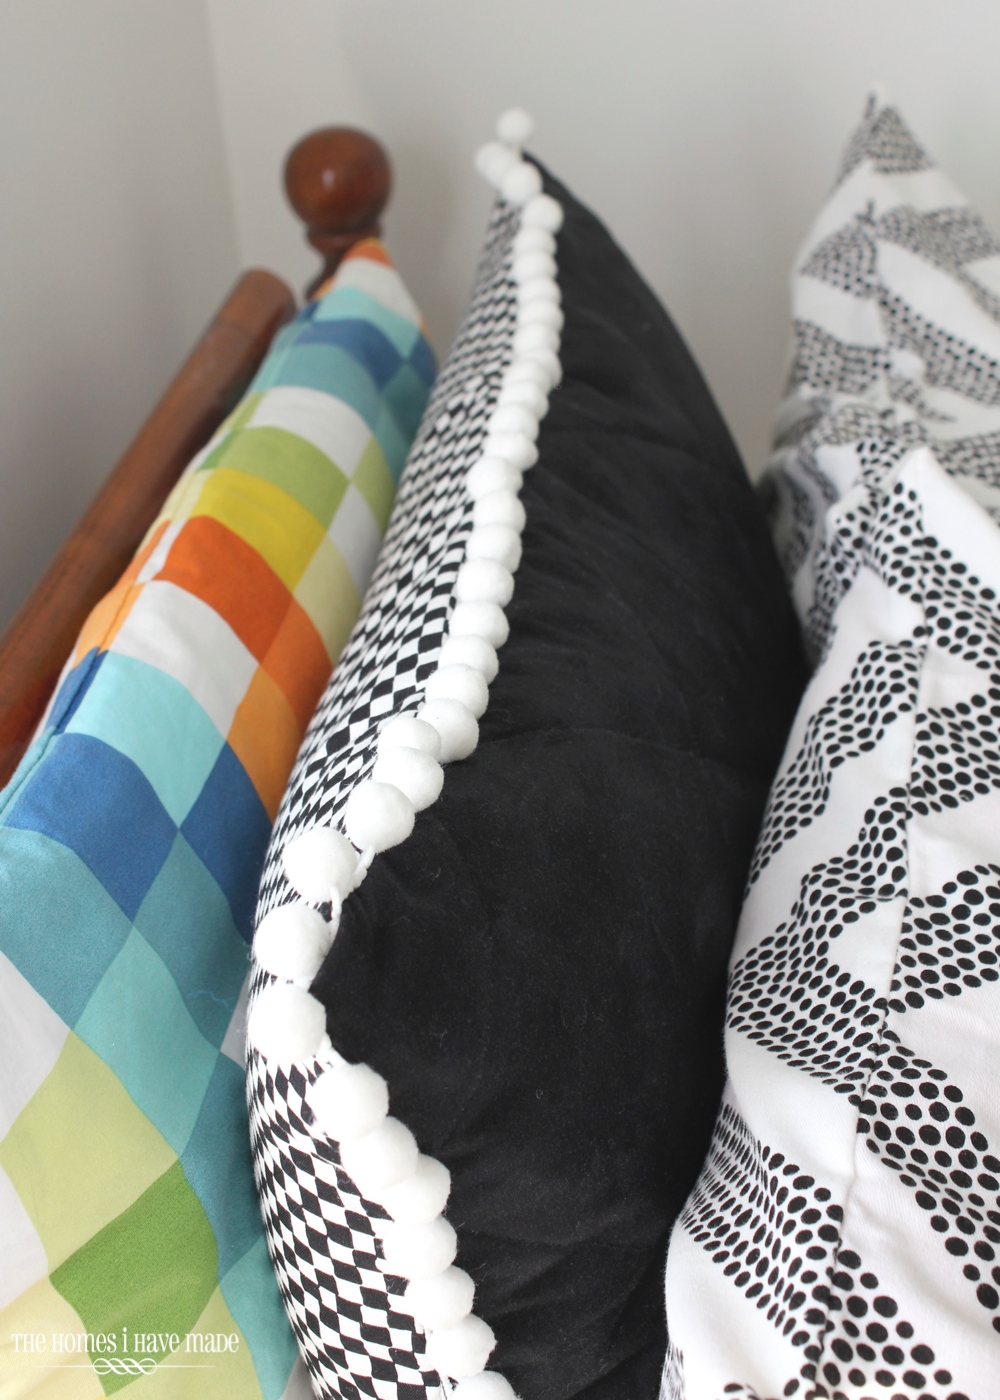
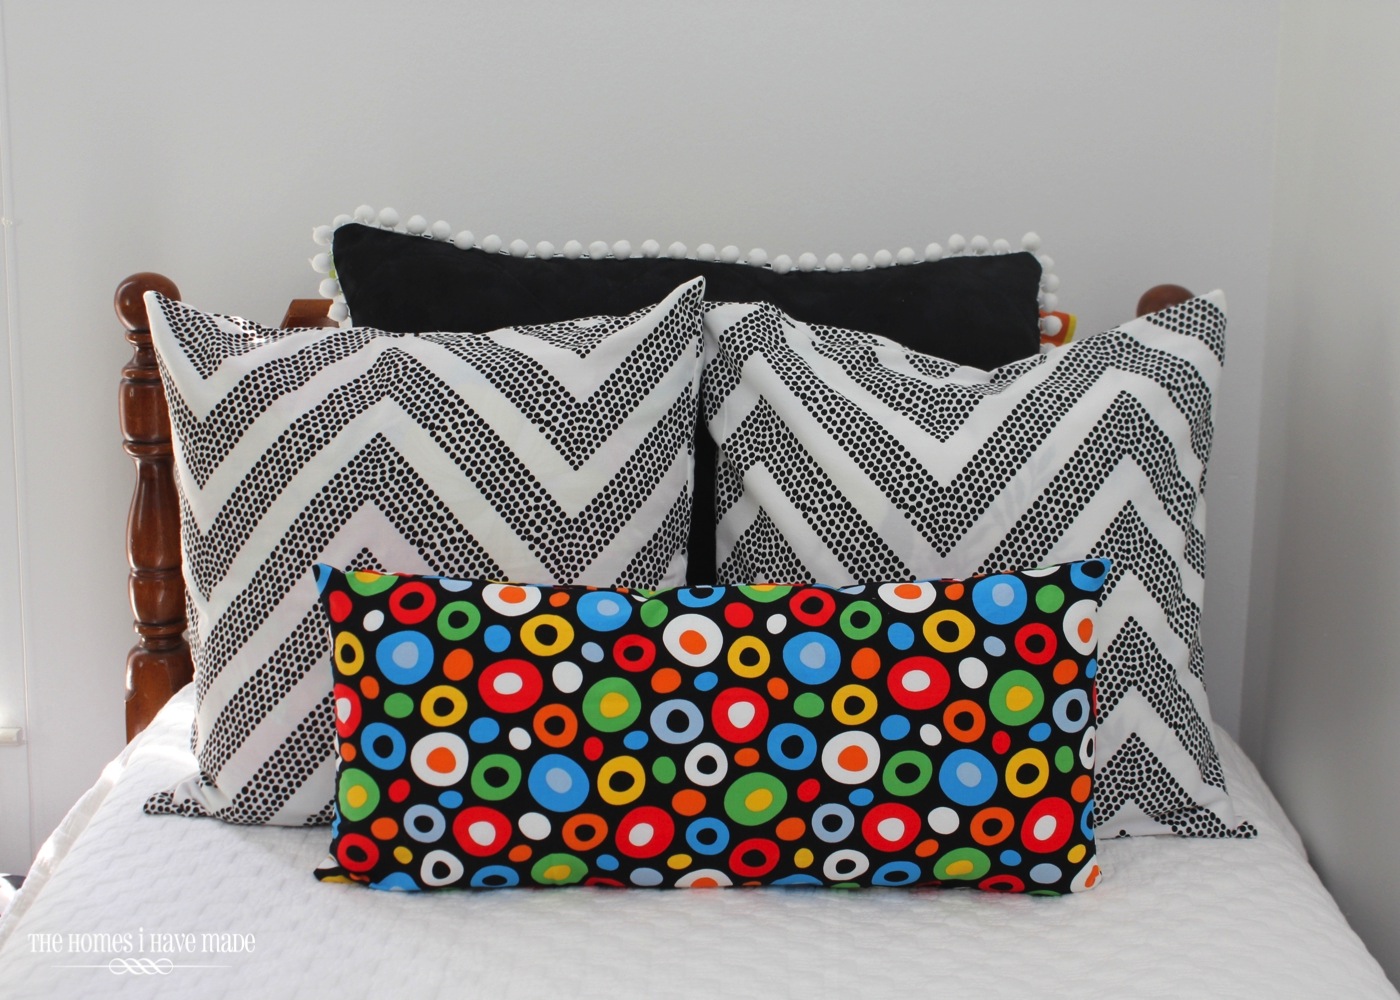
Layer your sham with some more throw pillows and funky bedding, and you’ve got a great set of patterns and textures for any bedroom!
This sham is layered with my super simple throw pillows – if you missed the tutorial, be sure to check it out – you’ll never look at body pillows the same again!
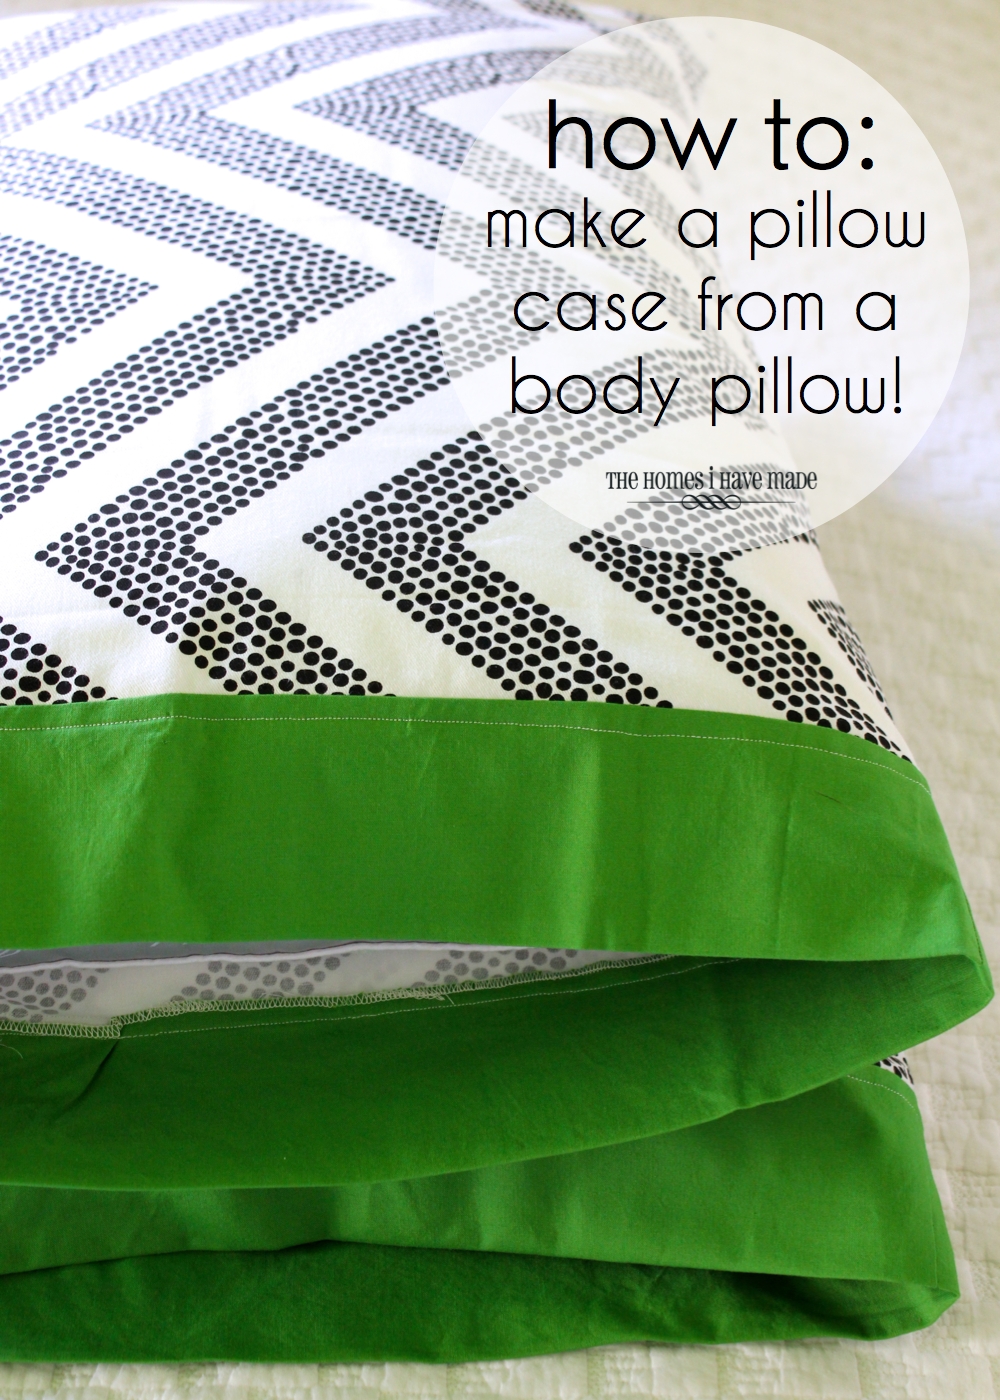
The remainder of the body pillows were turned into coordinating pillow cases.
And there you have three different easy-sew pillow/bedding projects for your next bedroom makeover! Even if you’re not a super experienced sewer, these are projects you CAN do – promise 🙂
Hope you all have a great start to your week. Oh – and do you know about the CRAFT SALE this weekend? If you’re a DC Metro Area local, be sure to get in touch with me!!!!!
Megan




One Comment on “A Zippered, Quilted, Two-Sided, Pom-Pom-Trimmed Pillow Sham!”
I love the little pom pom trim. Such a simple additional for such a powerful impact. I love sewing and i might try this out next time.