


Filling a Wall with Just One Piece of Art
I am so excited to share today’s project with you. Because while it may seem like I crank out project after project with ease, very few come together flawlessly and exactly as I imagined. But this wall installation did. It was quick. It was easy. It was affordable. And it was wholly transformative in all the best ways.

Big Wall, One Frame
In our new home, we have a big blank wall in the dining area. And I only had one piece of art to put on it.
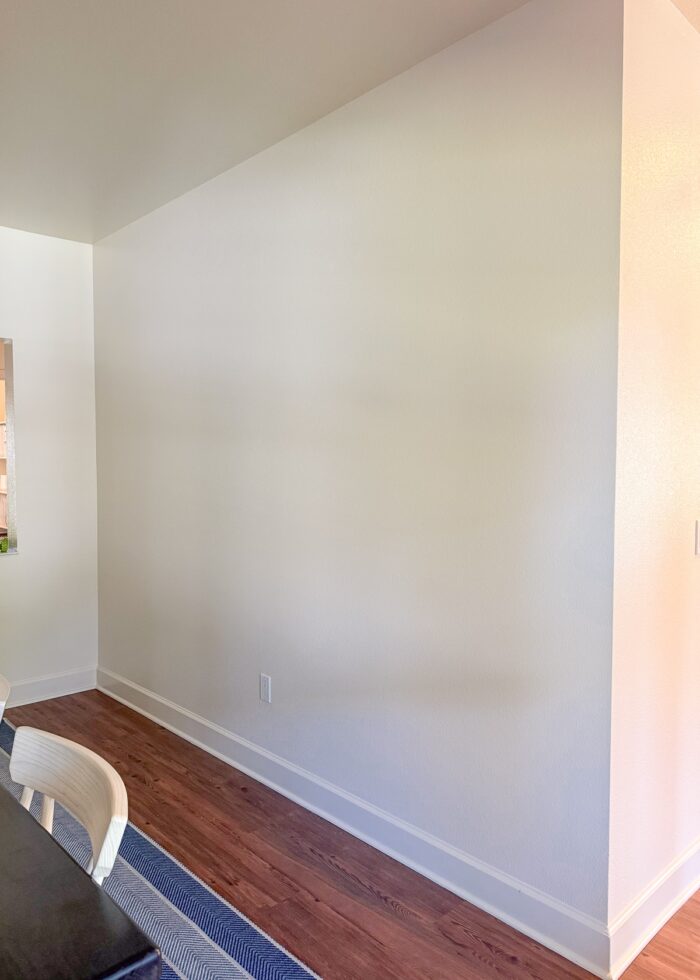
Even though the frame itself was fairly large (32” square), it was insufficient for the 10’x9’ wall.
My original instinct was to curate a gallery wall (a bunch of smaller frames with coordinating pieces) to fill it up.
But I quickly realized that not only would that take me a while (I’m very slow to pick out art), but the cost for lots of different prints would add up FAST!
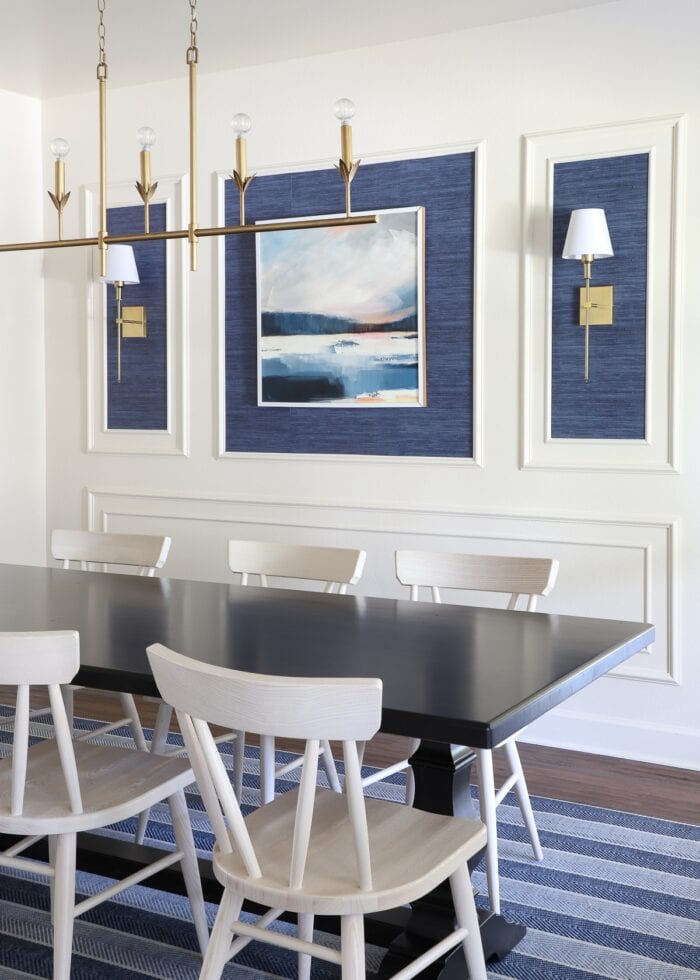
Instead, I wanted an affordable way to fill up the whole wall while making my single piece of art look intentional, proportional, and super stylish. And boy, I think I accomplished that!
A Trim Kit to the Rescue
Somewhere in my late night dreaming-and-scheming, I got hooked on the idea of hanging trimmed-out wallpaper panels around my artwork to make it look bigger.
I loved that this would add color and pattern without wallpapering the entire wall. But I wasn’t quite sure how to frame it all out.
Sure – Greg and I could do the math and rent a saw and buy a bunch of trim to create our own design. But in the haze (and exhaustion) of just moving in, that all felt like a little too much to tackle.
Then when I came across this Etsy listing, I immediately realized there was a quicker and easier way to bring my scheme to life.
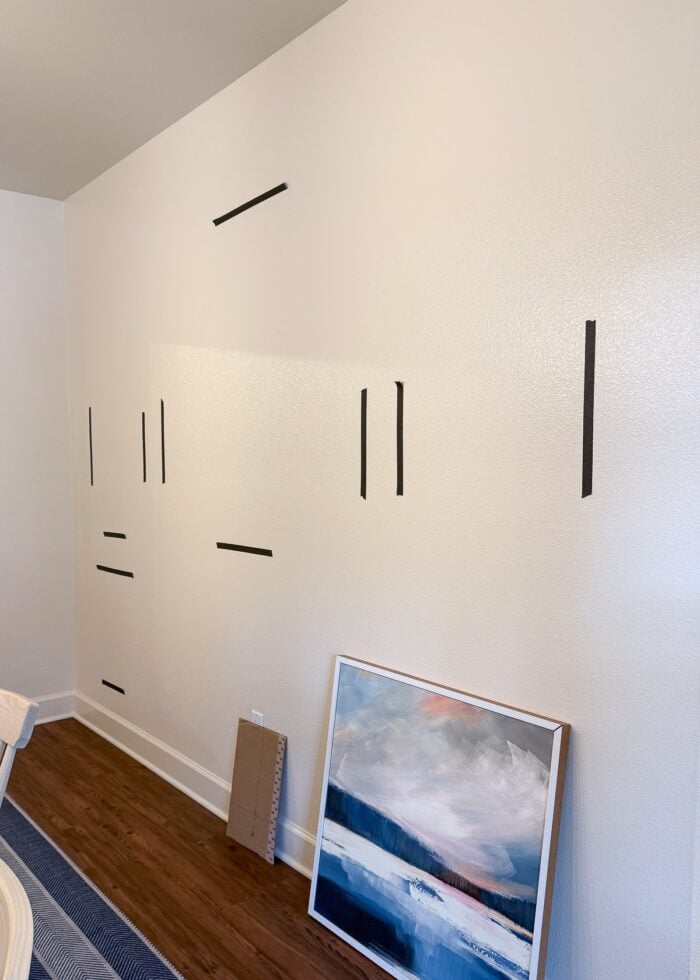
And so after taping out potential designs on the wall and going back-and-forth with the shop owner to get every measurement juuuuuuust right…
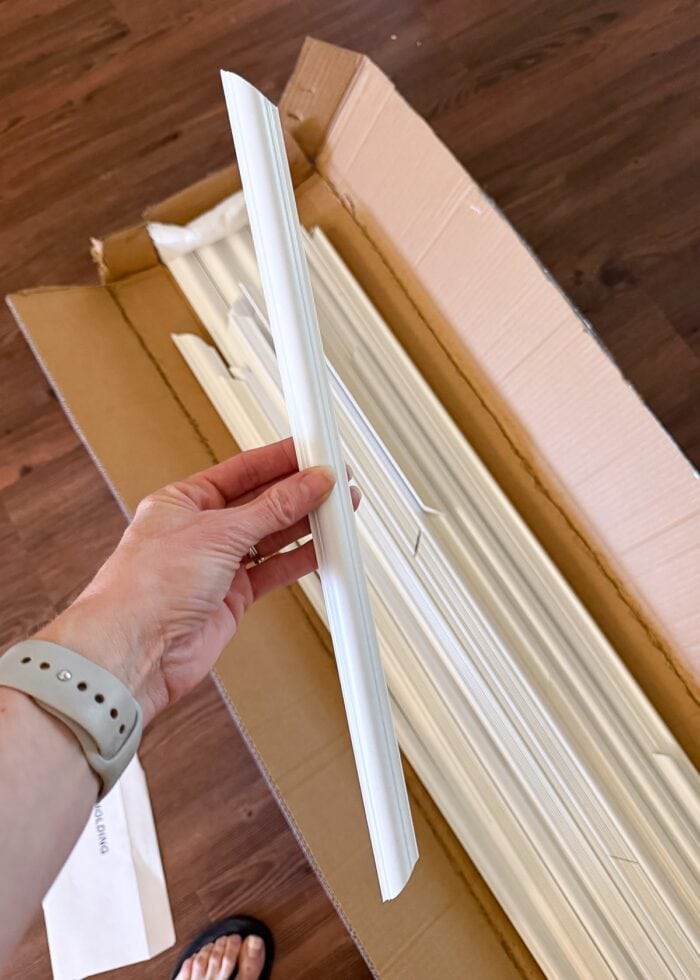
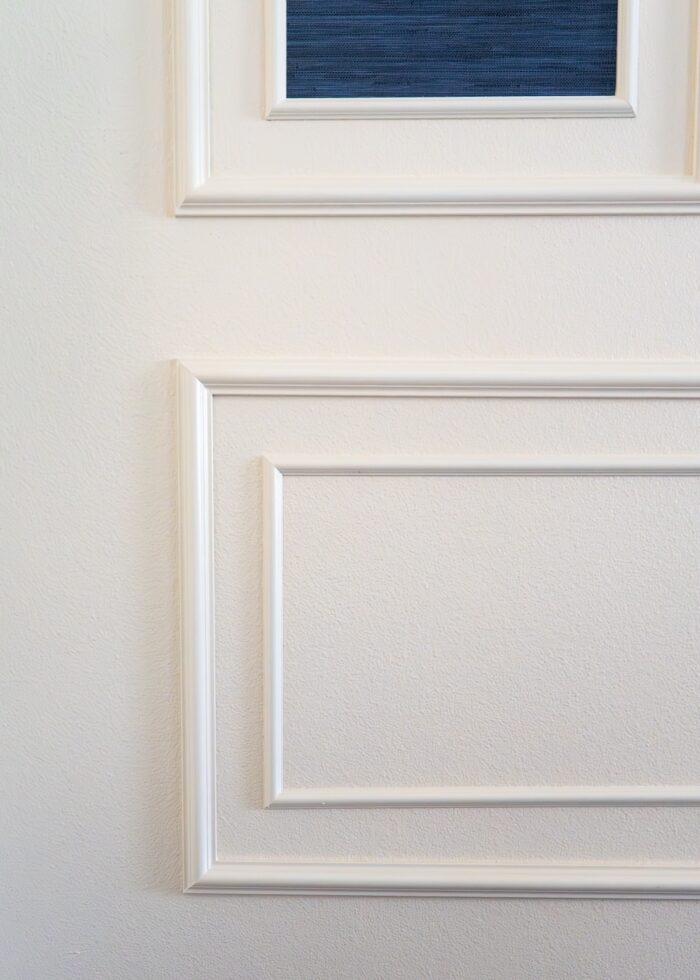
My box of PVC trim arrived in the mail, all pre-measured, cut, and ready to be hung on our wall!
Installing a Trim Feature Wall
Greg is a pretty good sport about my design whims. But when I told him we needed to borrow our neighbor’s nail gun to hang up this mysterious box of trim, he was pretty skeptical.
Once we laid out all the trim and figured out the placement of the first piece though, it was literally like assembling a puzzle.
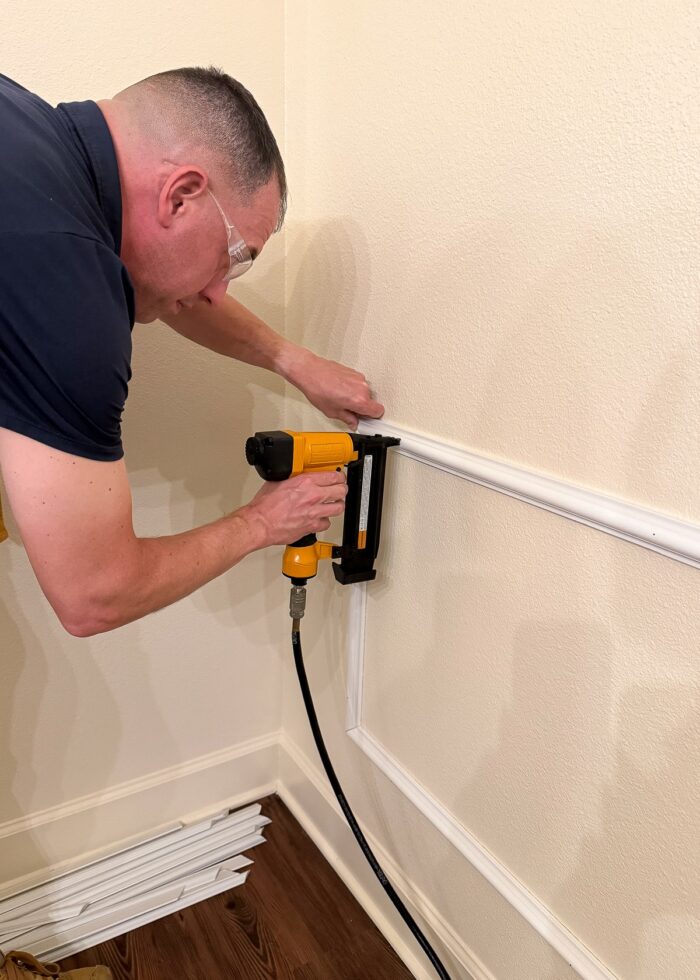
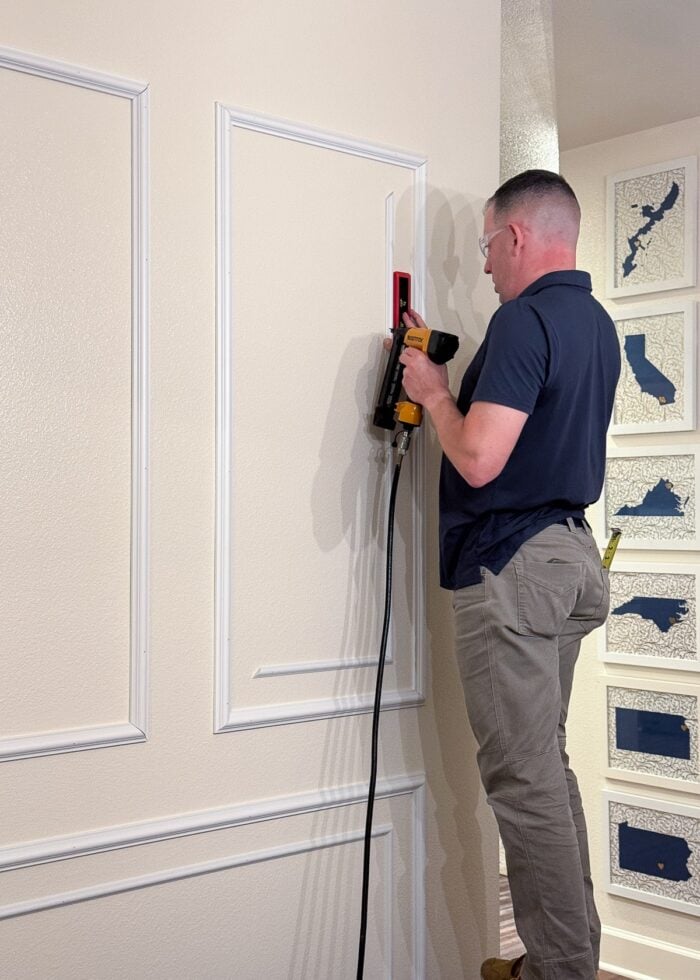
We would hold a small level against each piece to ensure it was straight, and then we’d nail through the trim into the studs with the brad nailer.
In just over an hour or so, we had every piece of trim secured to the wall in perfect formation!
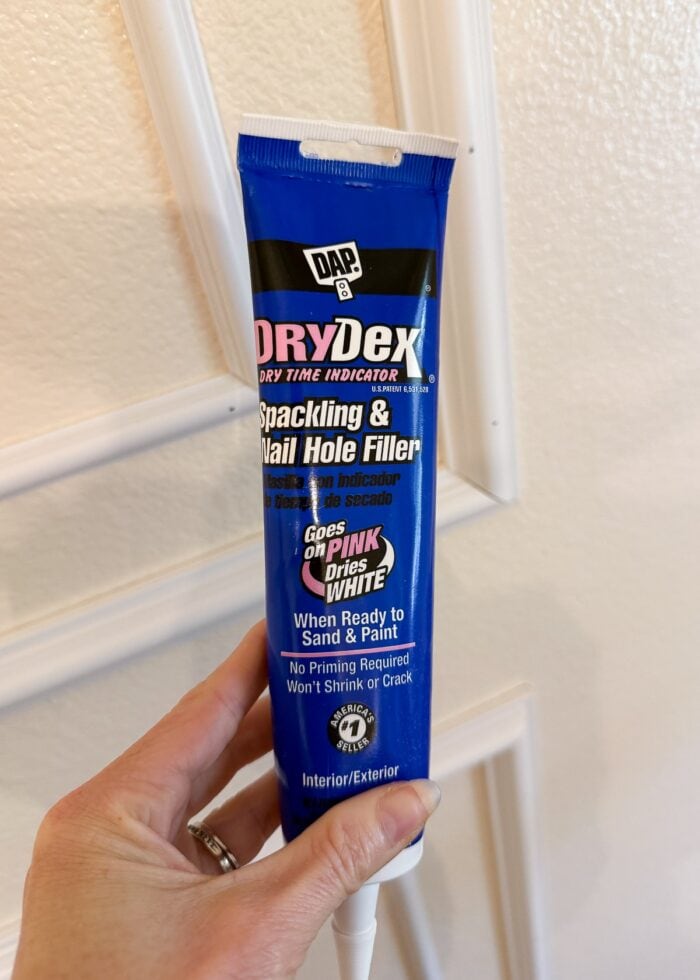
Typically when dealing with trim, your next step is to caulk all the seams and edges. Because we’re renters and I need to be able to pull all this trim cleanly off the wall, we skipped that step. But I did fill the corner seams and nail holes with paintable filler.
Want to save this post?
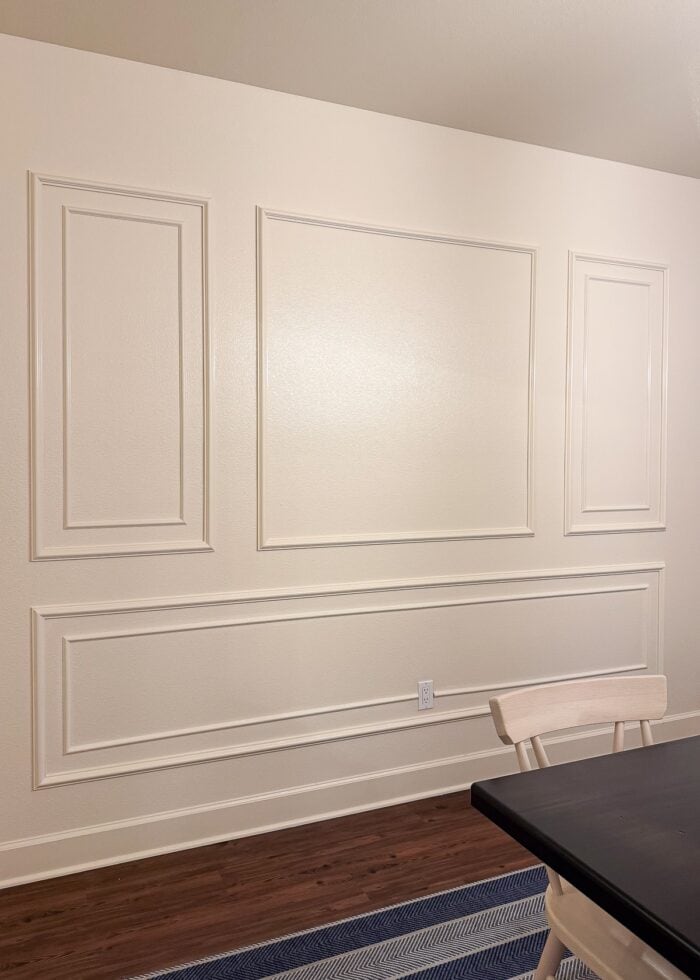
Once dry, I painted all the trim to match the existing wall color.
From Good To Better
I actually couldn’t believe my eyes when the trim was installed and painted; I even considered stopping here…but I had more plans!
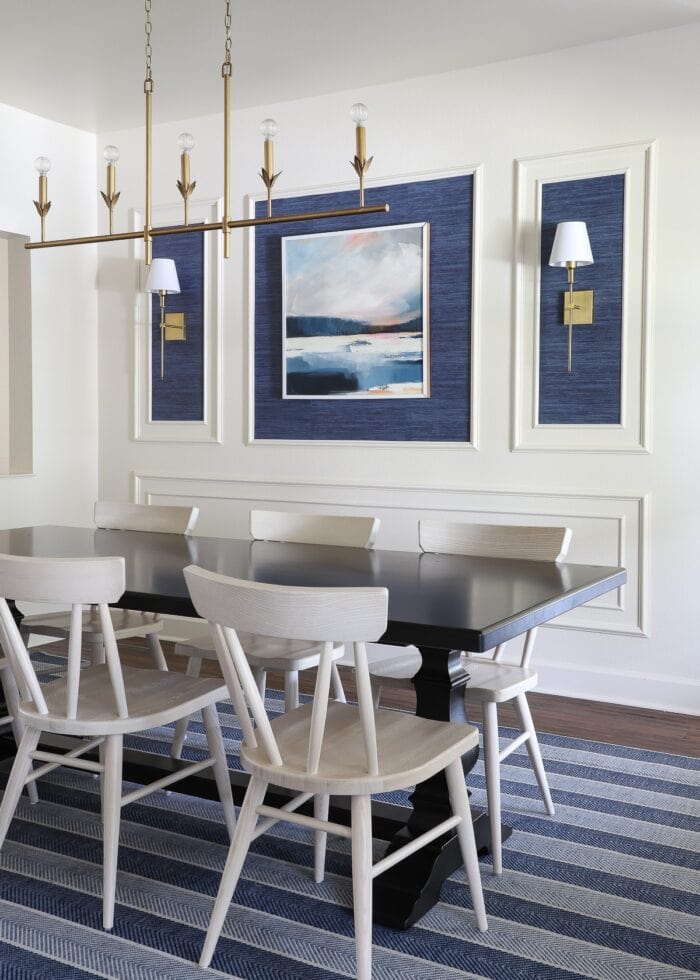
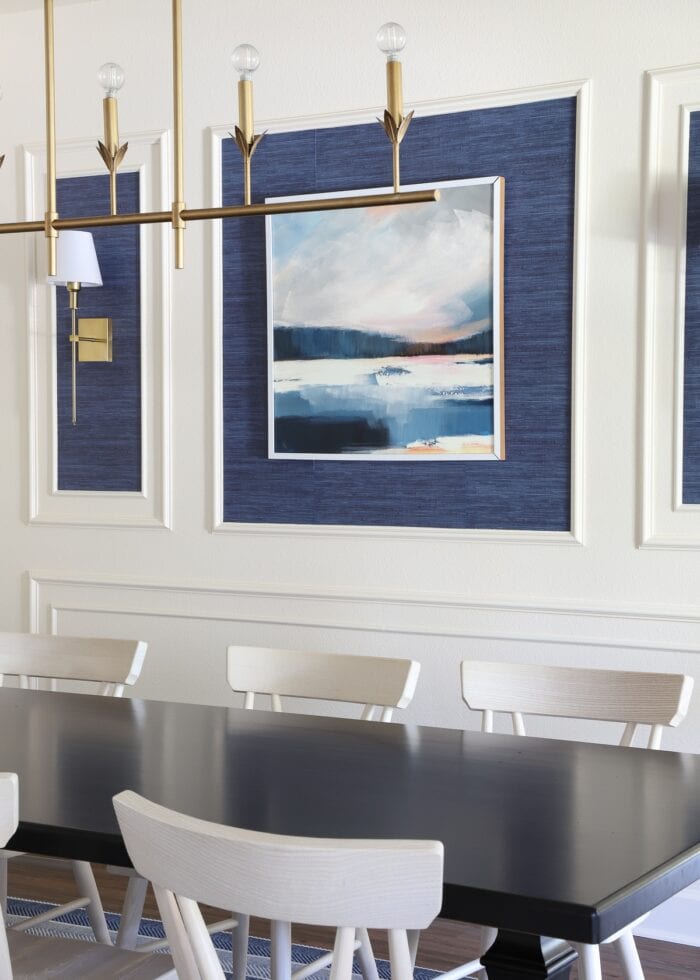
Into the three top squares, I installed this navy grasscloth wallpaper. After wallpapering so many full walls over the years, it was refreshingly quick to do these little applications.
And lucky for me, it used just 1 roll of paper!
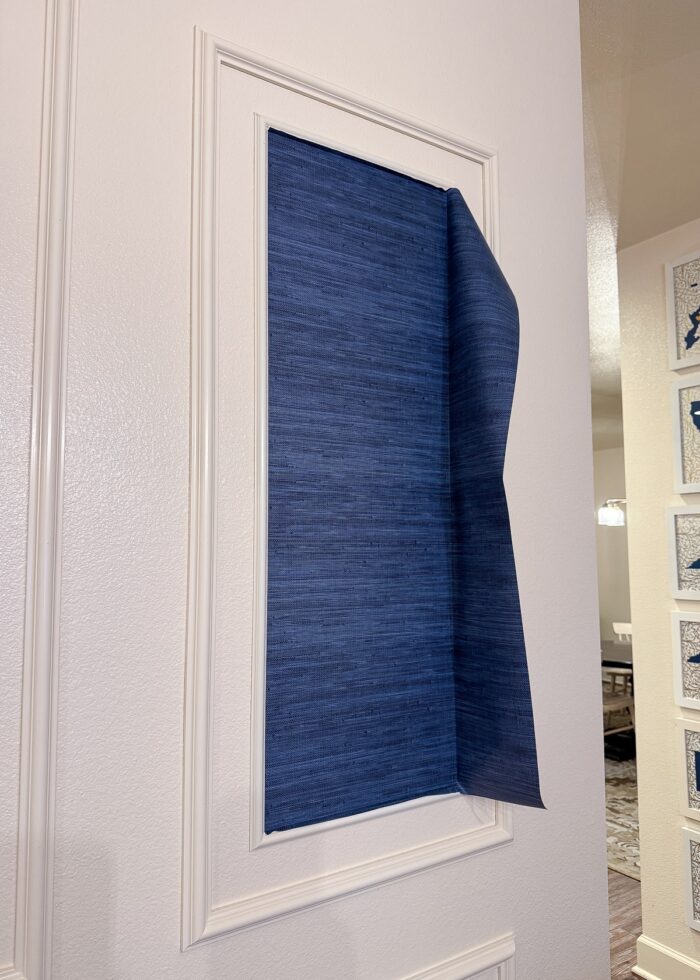
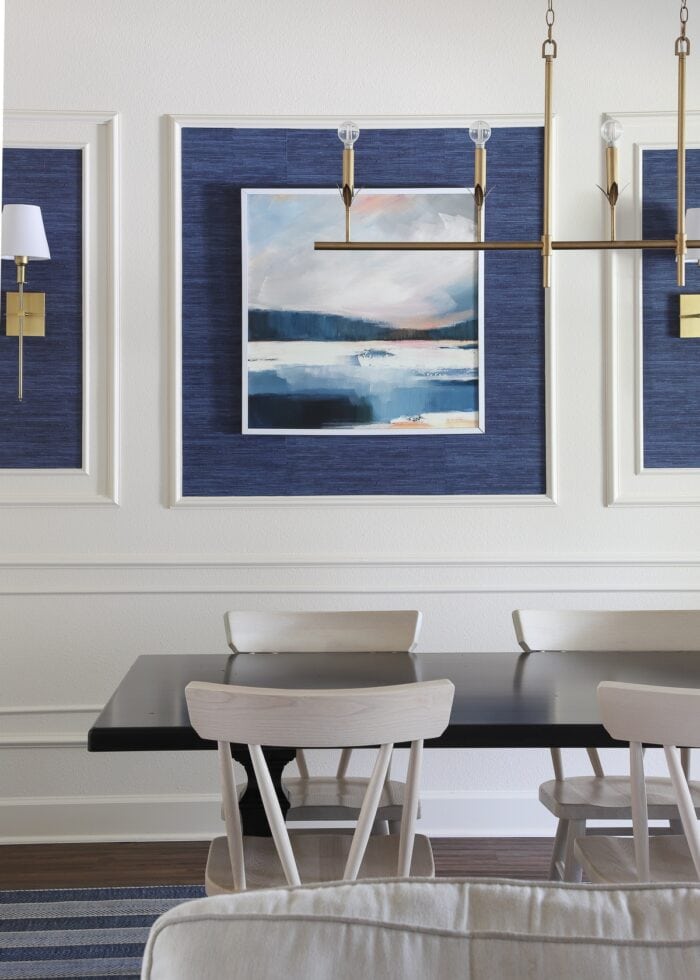
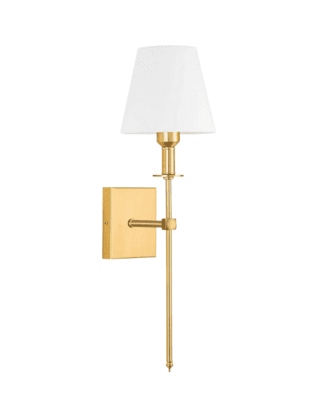
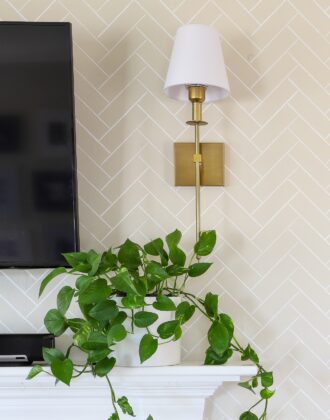
Once papered, I hung our battery-operated light sconces in the skinnier rectangles and that one piece of art in the large square.
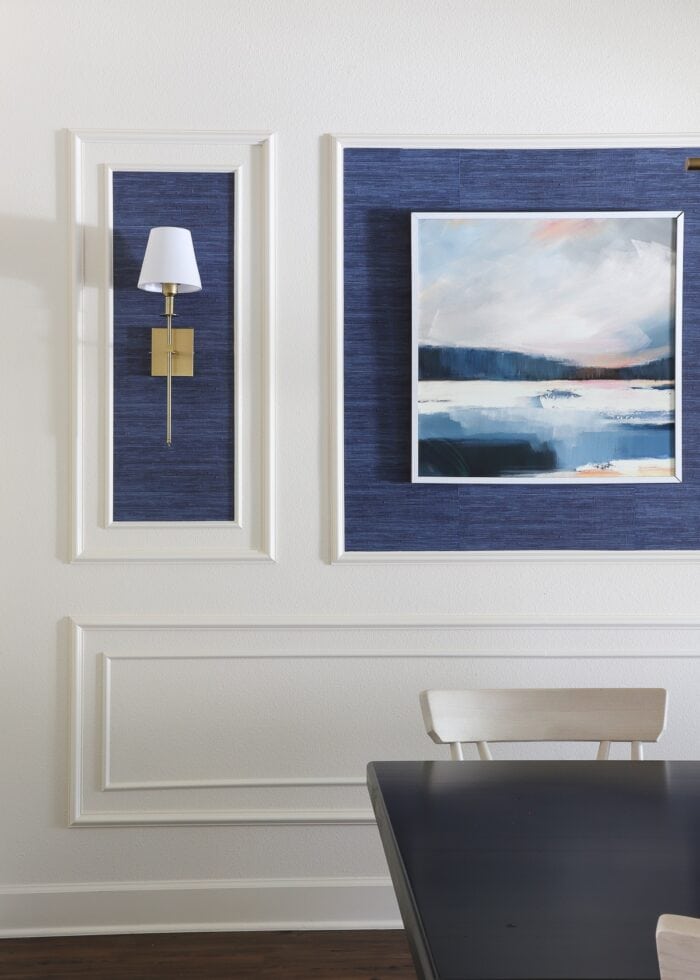
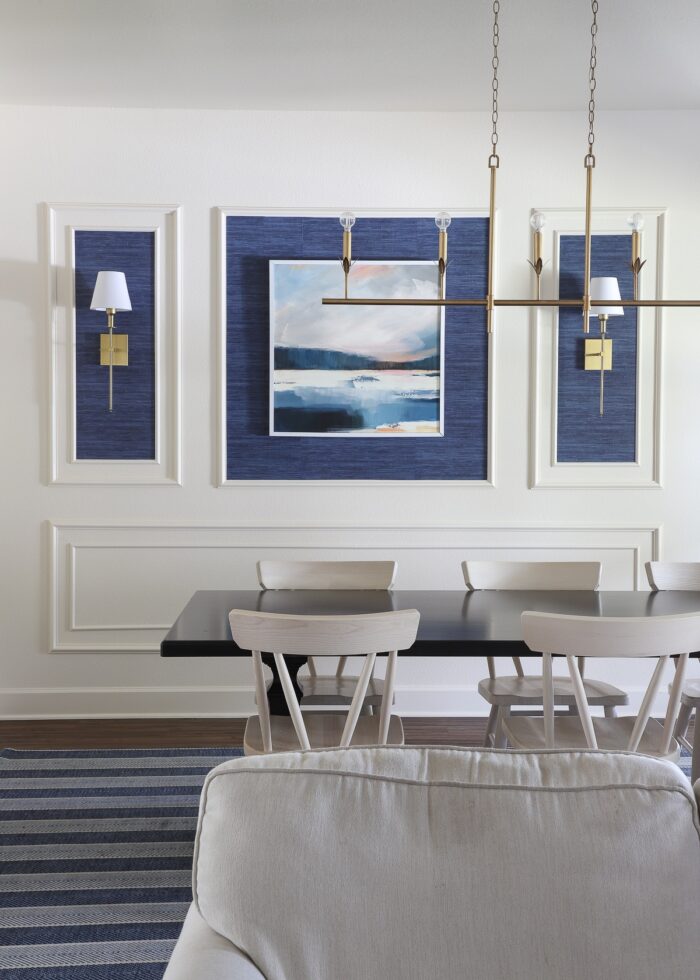
These were all things I already owned and didn’t make any sense on this wall on their own. But in the context of the trim and the wallpaper, it came together quite spectacularly!
Key Takeaways
This feature wall project ranks among my favorites because of a few key details:
1 – In all our homes, I’ve never had or installed a trim feature wall. And quite honestly, this project makes me regret not trying it sooner. For approximately $200, we were (almost instantly) able to give so much depth, charm, and style to this big blank wall. Even before the wallpaper, lights, and art, the visual upgrade was noteworthy.
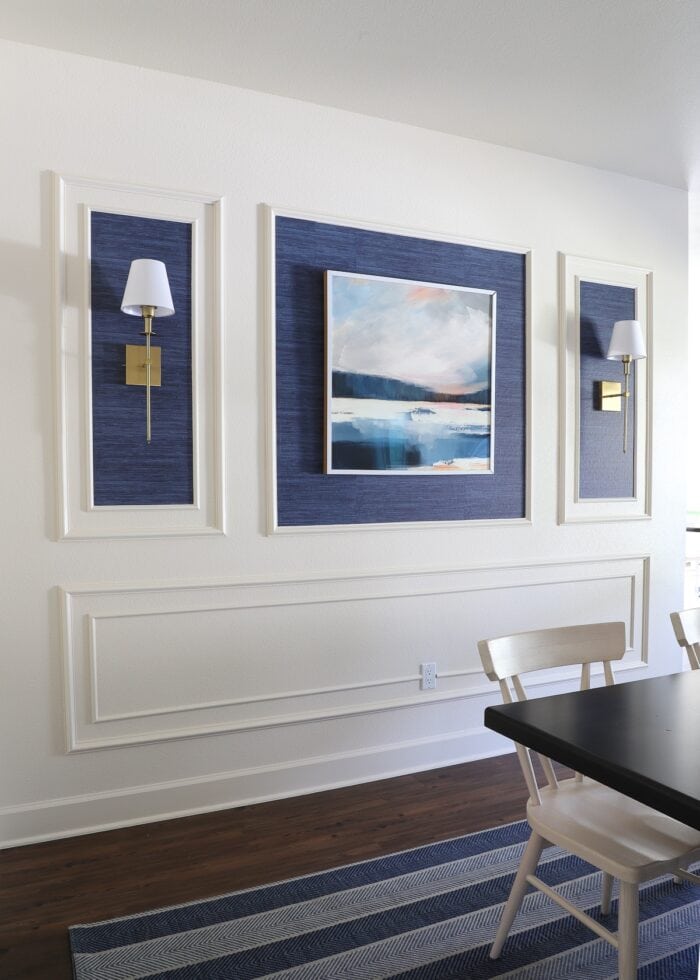
2 – Buying the pre-cut kit was a serious game changer. Could we have figured it out on our own? Sure. But to have the math and cutting done for us took this project from idea to complete so much faster. And sometimes, you just want things DONE.
3 – And finally, to say that this wall feature project completely transformed this space would be an understatement. All too often, I feel like I need to add more and more to make a room feel complete. But here, going BIG and SIMPLE completely finished the room in one fell swoop. It has a very “less is more” feel to it and I still love it every time I enter the room! myself how it all turned out!
Dive Deeper Into This Project
This space also has a brand new dining room table. I’m sharing why we got it and where it’s from in this week’s Voice Notes. Click below to listen!
Megan



3 Comments on “Filling a Wall with Just One Piece of Art”
Looks awesome! (Was Greg still speaking to you when finished?)
Do those lamps give a decent amount of light. I’m thinking of using them as bedside lamps.
Amazing job-this truly looks fantastic!! I had no idea you could go to Etsy for trim kits-so smart!
To be clear, I was less skeptical and more worried. A nail gun is like a gateway tool. Next thing you know, there will be a piece of heavy equipment on the driveway and Megan will be talking to me about skylights.