Awkward Nook? Give It Some Shelves!
We’re used to dealing with some pretty frustrating situations in our rental homes. Ugly carpeting. Bad wall colors. Dated tile. You name it, we’ve had it! Our current home has another nuisance feature: a nook. An awkward, horribly-placed, practically-useless nook. I was determined to make this spot look and function just right for this room, so we ultimately decided to add some floating shelves. And whoa…this awkward spot immediately went from exasperating headache to shining focal point!

Our Problem Nook
Nooks can sometimes be quaint, charming, or even helpful.
Not this one.
This nook is located smack in the center of the one (and ONLY!) solid wall in our entire kitchen/family room/dining room area.

Could we have put something inside the nook? Sure. But everything we tried looked like we stuffed it in.
Could we have put something across the front of the nook? Sure. But we don’t own anything that wide. Plus, it would have looked like we were trying to hide the nook, since you can see it all the way to the ceiling.
Covering up the nook really wasn’t an option, so we had to find a way to use it.
Finding a Purpose for the Empty Nook
Besides being a big void of hard-to-use space, the most frustrating thing about this nook was that it prevented us from putting our dining hutch in the dining area.
We eventually found another spot for the hutch itself.
But losing the hutch combined with a lack of cabinets in the nearby kitchen really left us short on storage space for the serving dishes, entertaining supplies, and plants we typically put in/on it.
So we began brainstorming how to transform the empty space we did have into the “dining hutch” we didn’t.
Basic DIY Shelves
Greg and I are handy, but we are not carpenters.
So while we loved the idea of turning the nook into some sort of custom built-in, we also wanted a DIY project that was relatively simple to install (and uninstall…since we’ll eventually have to take it back down too.)
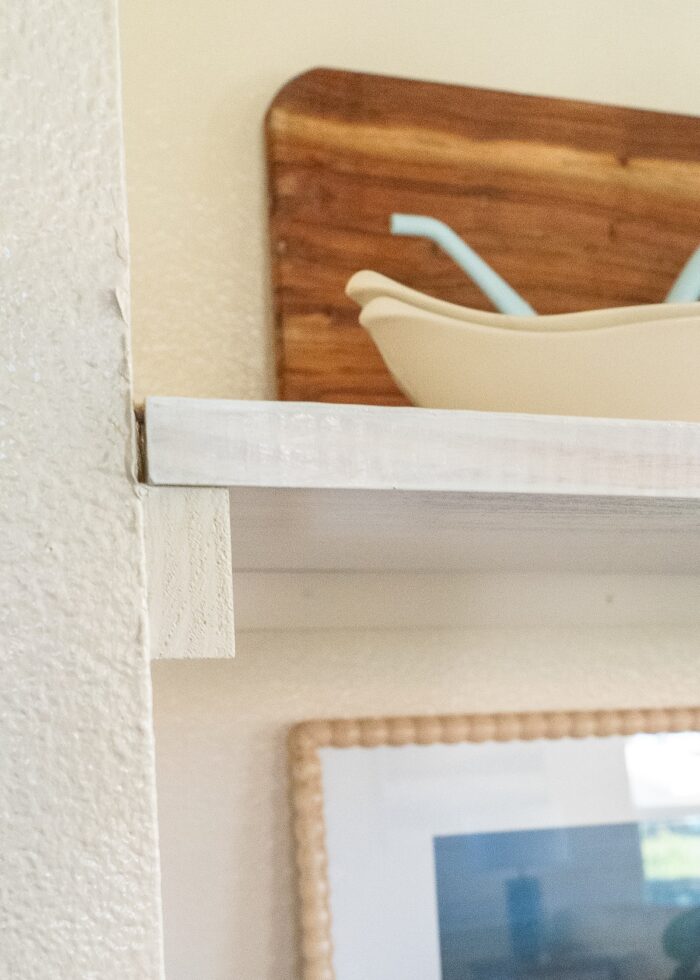
We noticed that all the closets in this home have shelves constructed the same way:
A basic ledge “frame” made of 1x2s with ¾” plywood stretched across as the shelf.
Not only was this approach well within our skill set (and required tools we already owned), but we liked that the simple design would feel consistent with the rest of the house.
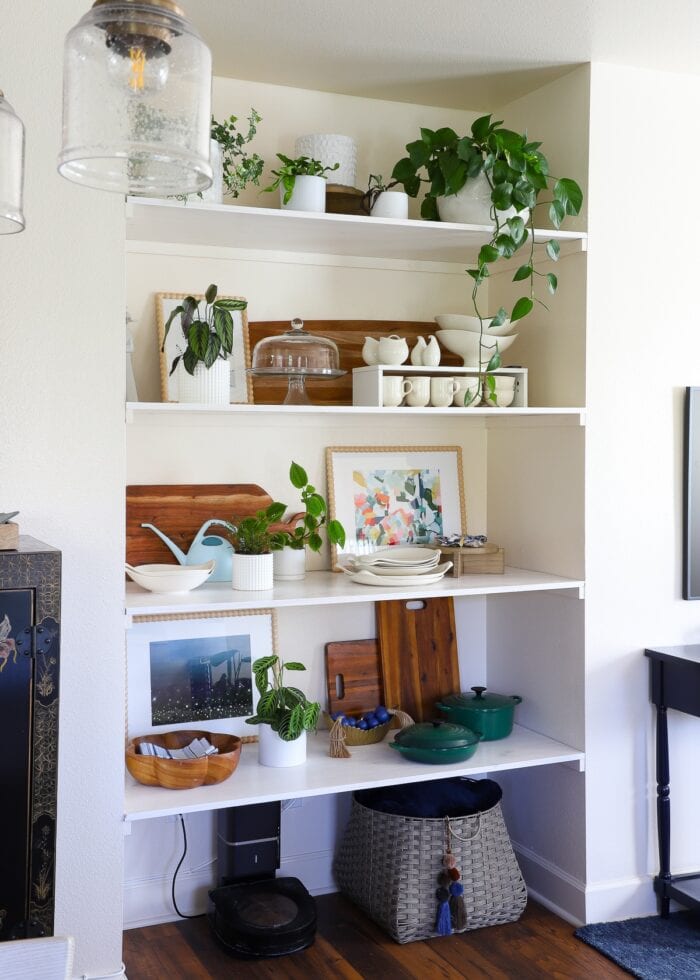
We ultimately decided to make 4 equidistant shelves (from floor to ceiling) that perfectly filled in the nook opening.
Here was the general process:
Want to save this post?
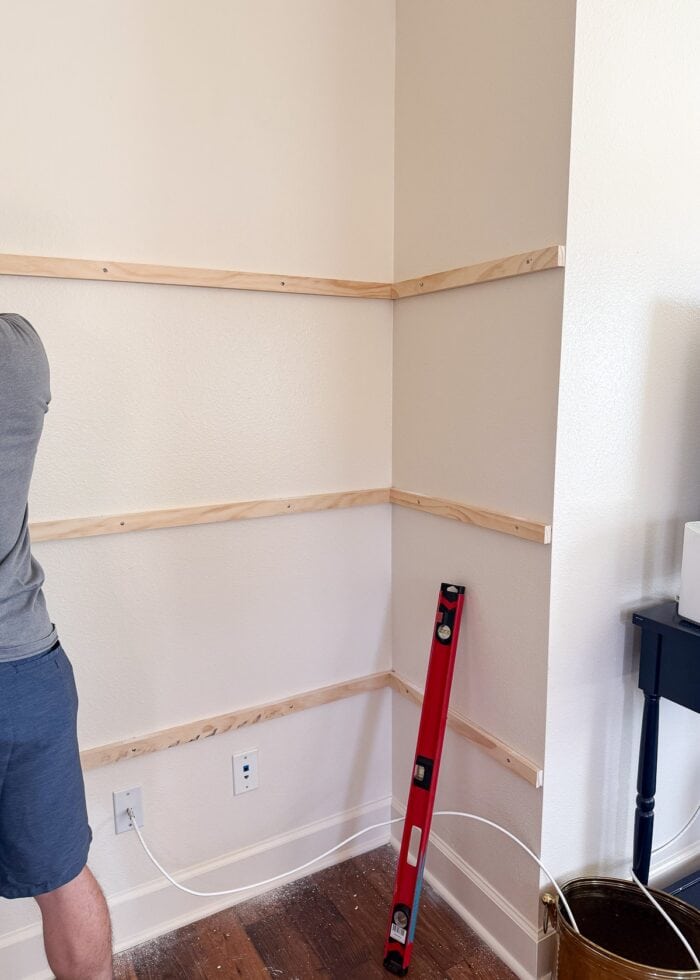
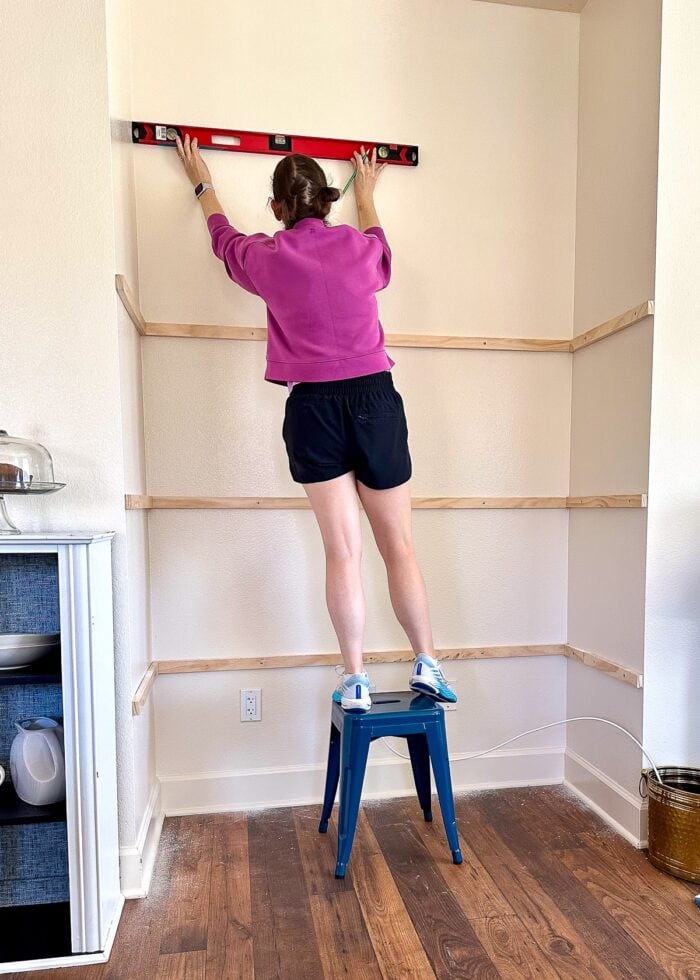
Step 1
After cutting down 1x2s into the right lengths (4 widths, 8 returns), we screwed them into the wall using a level and dry wall anchors at 22” high intervals.
Step 2
We then trimmed down these sheets of ¾” project wood and checked to make sure they fit inside the nook.
Step 3
Next, we stained them with three coats of this white stain+poly (so they could hold up to dishes, planters, frames, etc.)
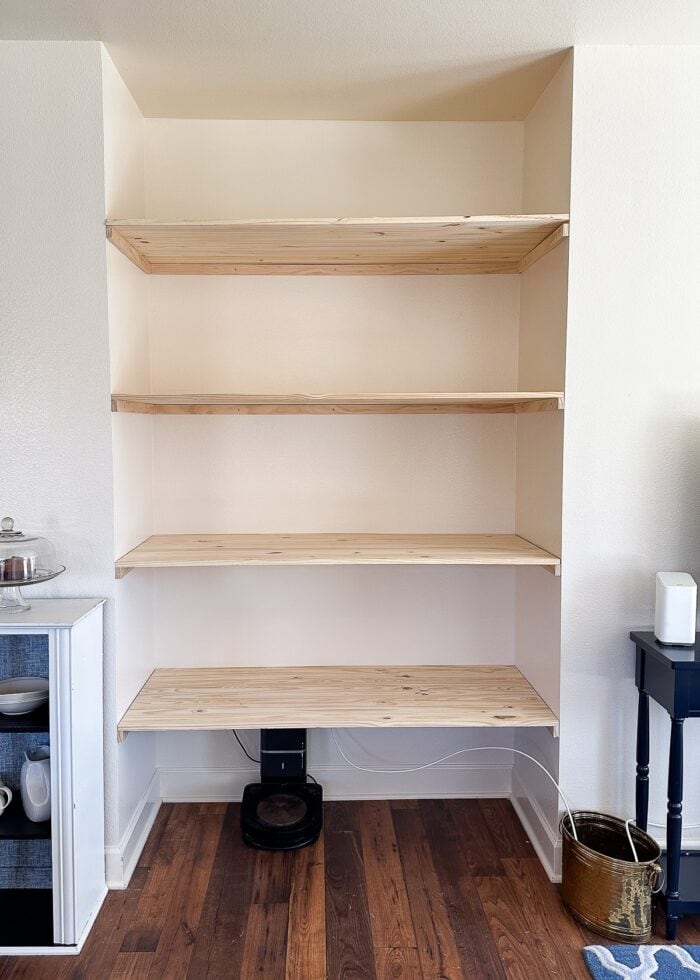
Step 4
Once dry, we placed the shelves on top of the 1×2 ledges and secured them (from the top down into the 1x2s) with wood screws.
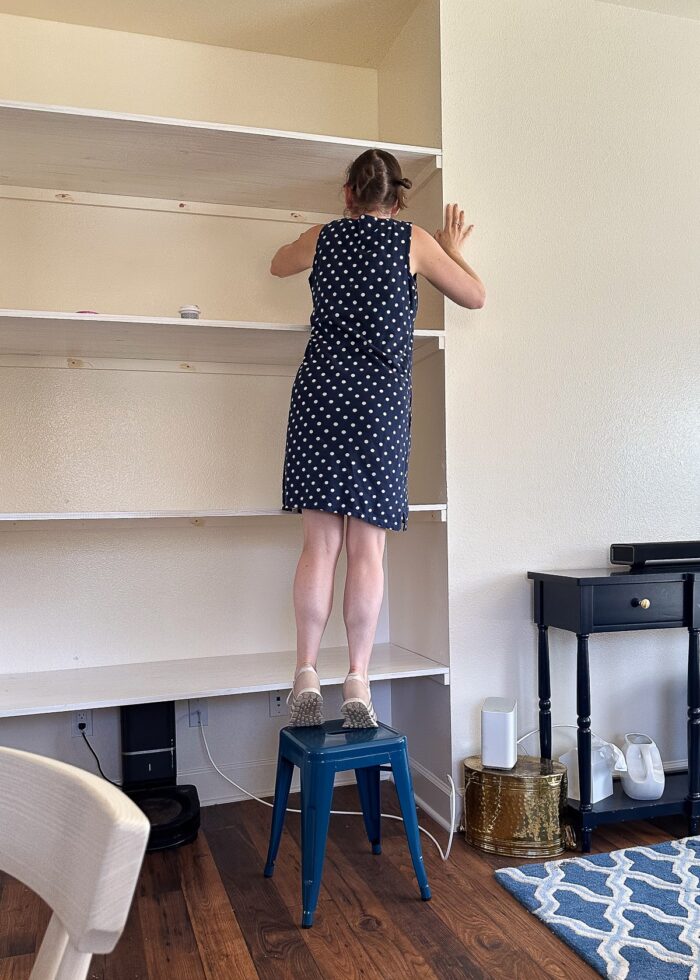
Step 5
We finished the shelves off by filling all visible holes and painting the 1-x2s to match the wall color (so they’d visibly blend in).
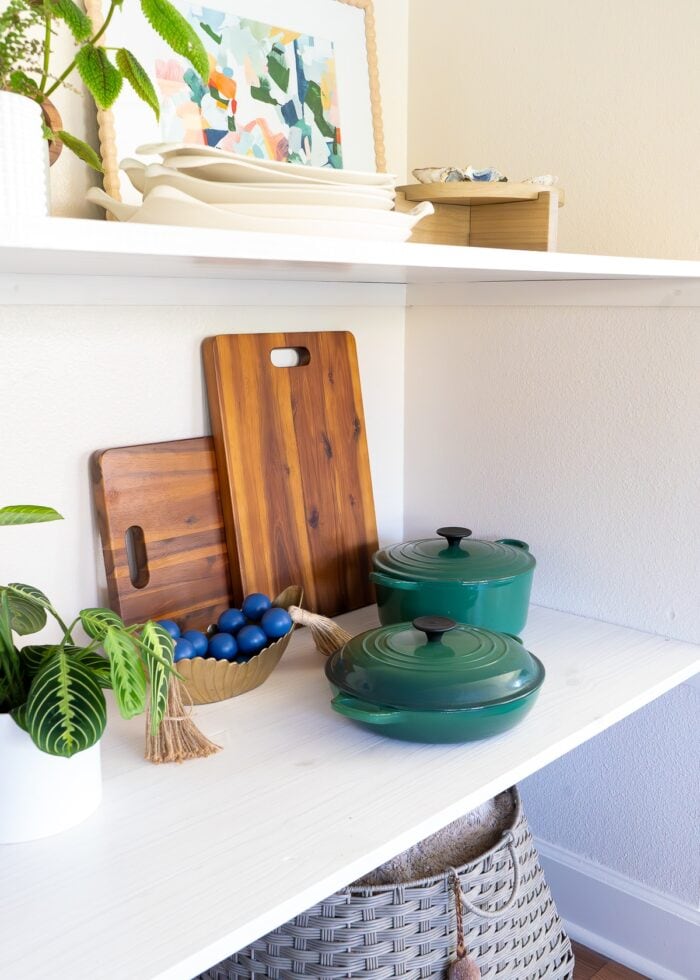
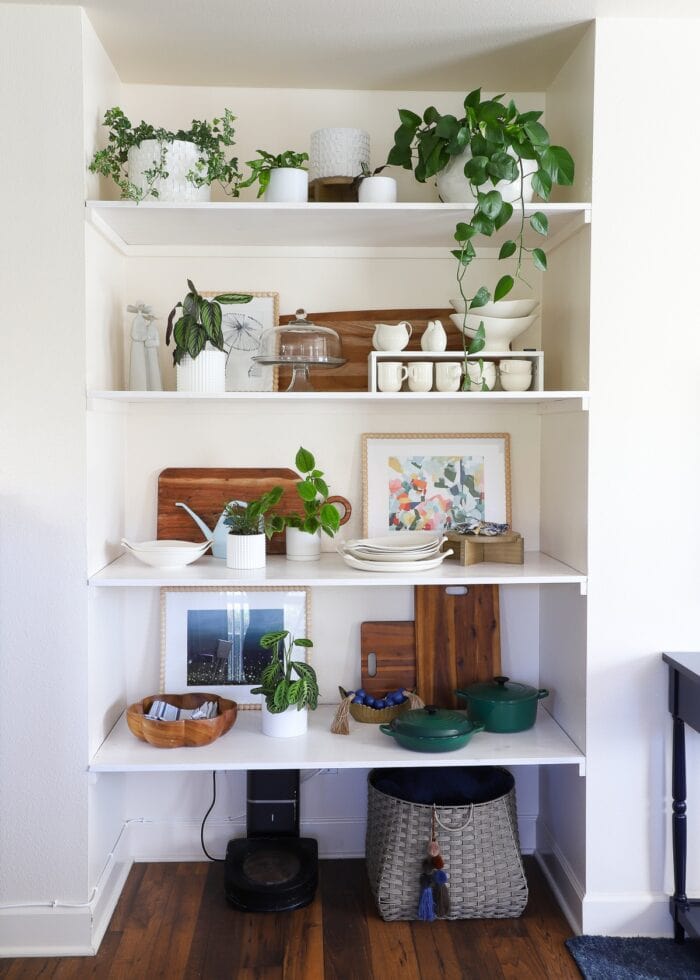
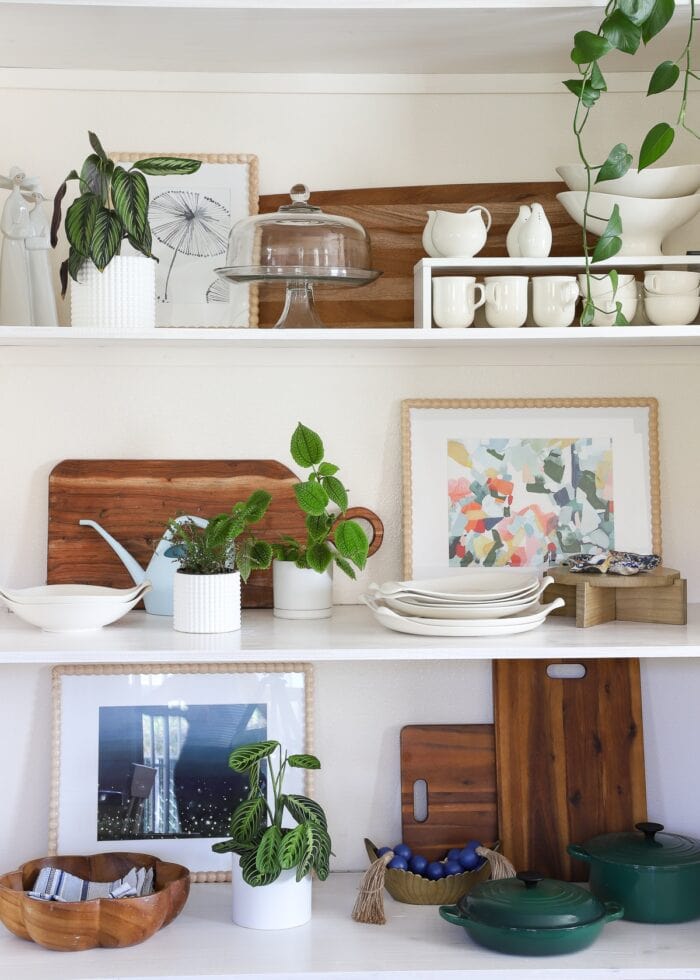
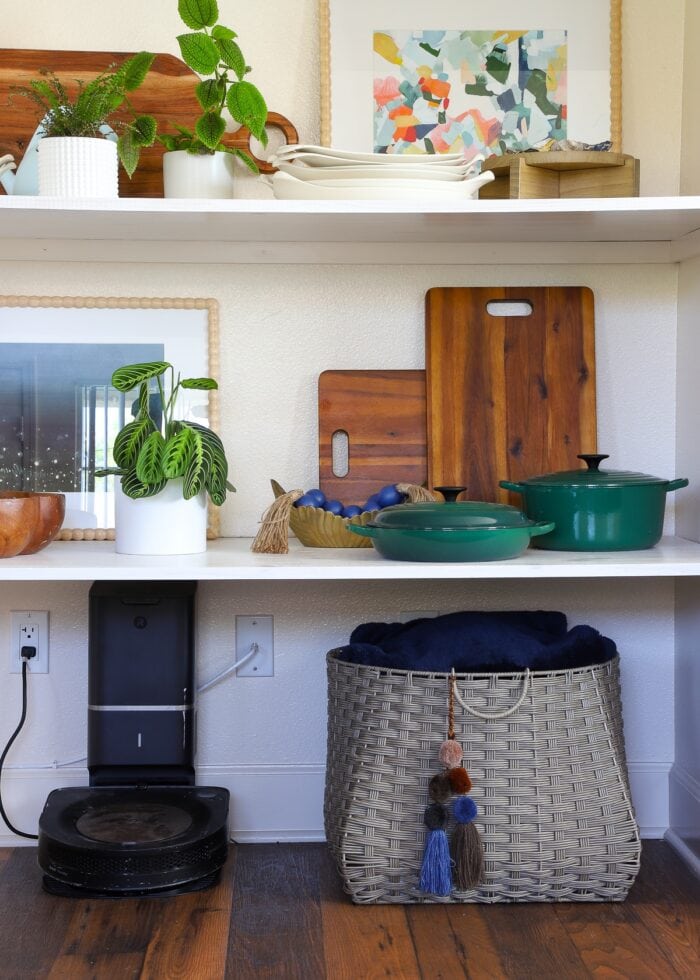
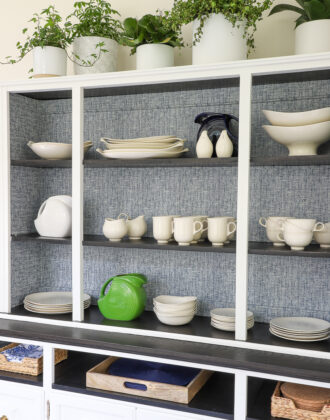
Styling Deep, Tall Shelves
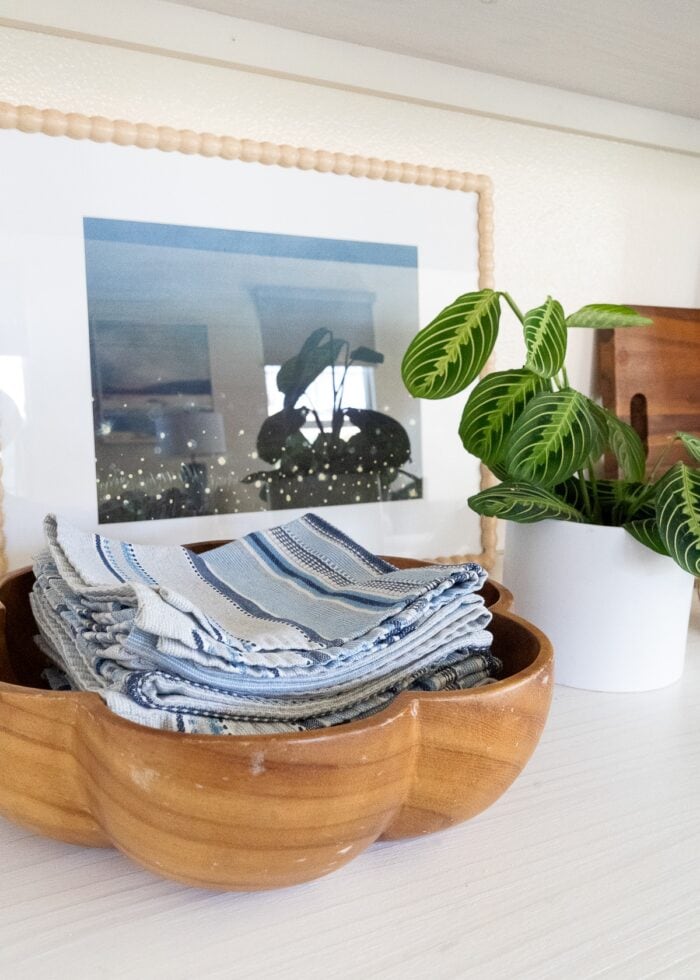
With the (very) wide and (very) deep shelves complete, I then had ample space for the dishes, serveware, and plants that used to be on our dining hutch (and so much more)!
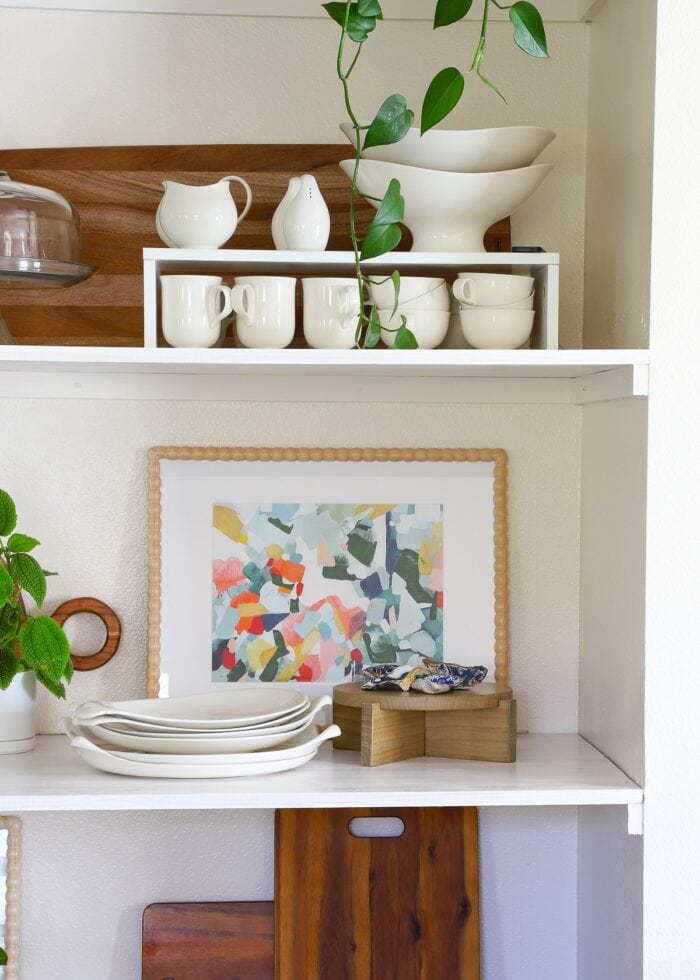
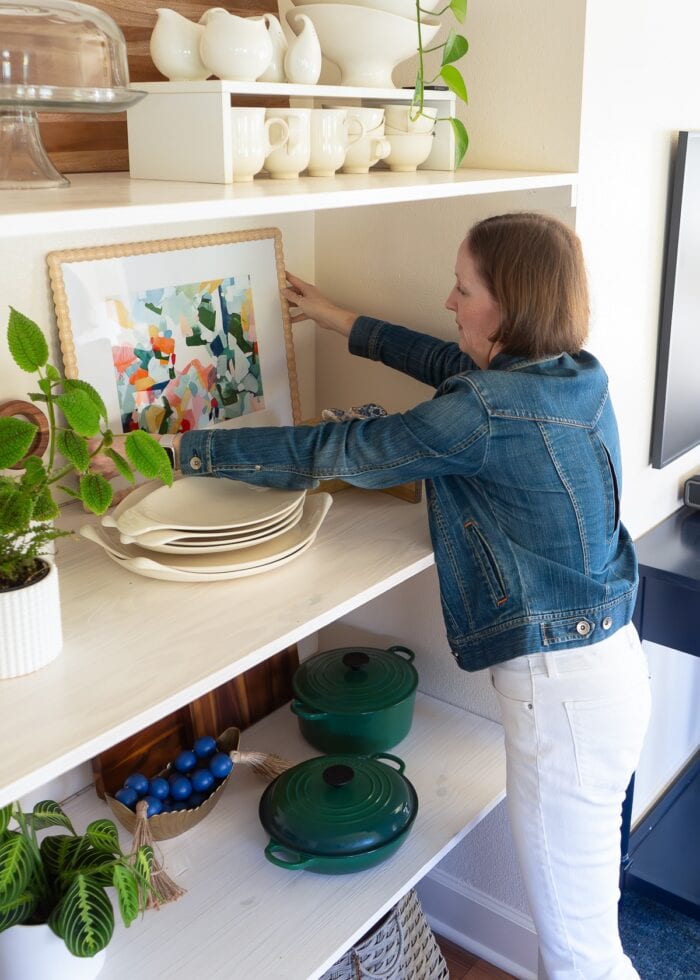
Styling such BIG shelves was actually pretty tricky. I wanted them to be functional, but I didn’t want them to look messy or cluttered.
I break down all the styling tricks I used in this week’s voice notes below!
Turned Wood Frames | Wood Risers | White Flower Pots | Hobnob Flower Pots
Key Takeaway
Of all the projects we’ve accomplished in this rental home, this might be the one I’m most proud of.

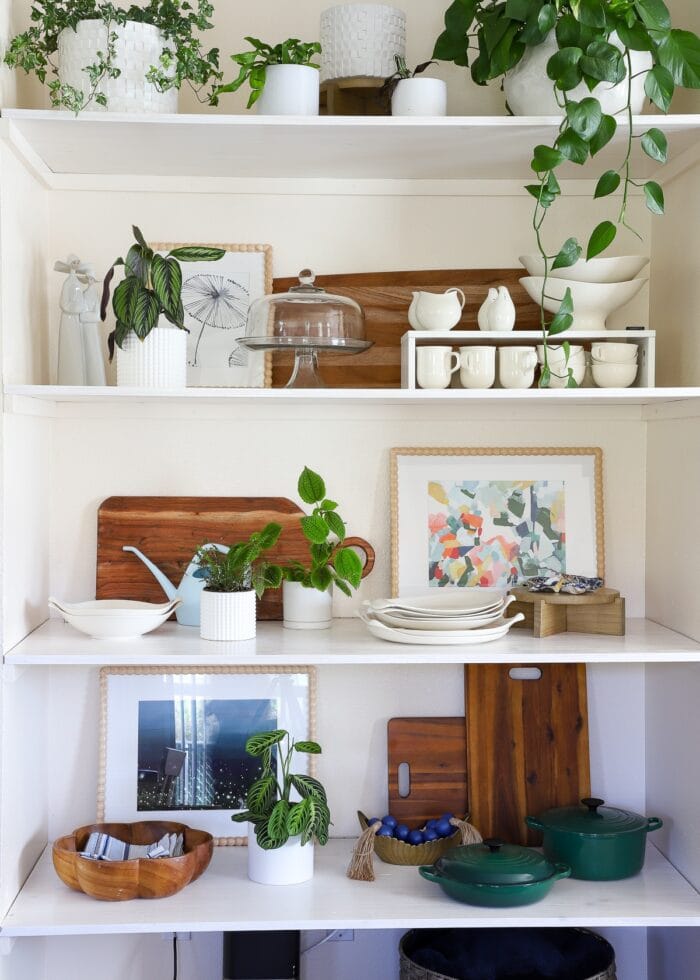
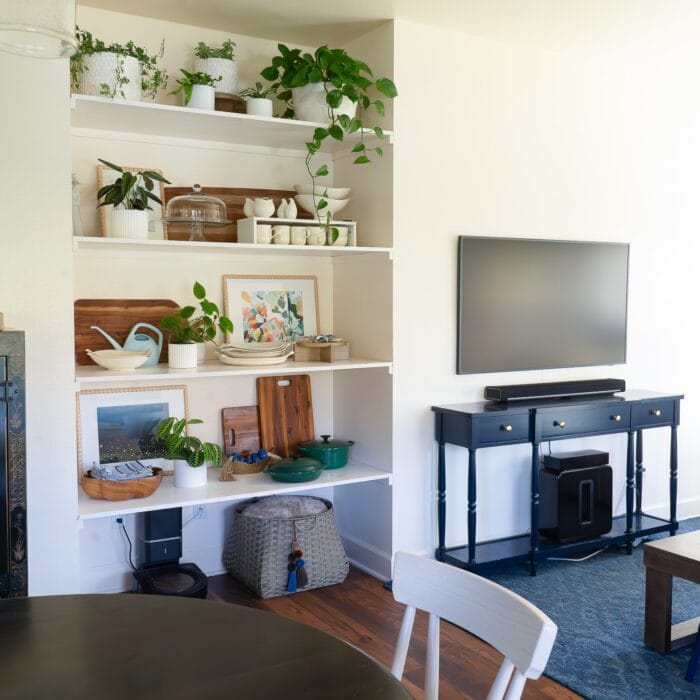
Once I (finally) accepted that we’d have to create an alternative to our dining hutch, we were able to outfit this awkward, wide open space in a way that allowed us to take advantage of every single inch all the way to the ceiling (more than we would have been able to do with a piece of furniture, actually!)
This problem nook-turned-built-in bookshelf ended up being the super stylish focal point in this open kitchen/dining/living space!
Megan


4 Comments on “Awkward Nook? Give It Some Shelves!”
Such a practical, easy, and impactful project! Love how you brought the wood floor color up onto the shelves with the cutting boards and other wood accents. Thanks for explaining your reasoning on why you decided NOT to paint or wallpaper the back of the nook — I have a similar situation and I’m weighing the pros and cons in our space.
We have a similar nook arrangement but I used a very heavy bakers rack with drawers. It’s about half the width of my space so the sides are equal in size and there’s an outlet behind it that allows the keurig to plug in cord hidden. For our uses two door (cheap hollow ash cabinets) we removed the cabinet face frame and put in a real door to be able to have storage on the door. The original cabinet has one shelf in the top section and one in the bottom creating a jenga like pantry. We reused the two strips attached to the wall, remove the entire shelf at the middle, and added more matching strips of painted 1×2. We found a fake oak grain colored melamine shelves at Home Depot. These shelves were very deep. They hid from view in the lower area my stand mixer, my crockpot, my instant pot and a soup pot. Easy to get yet concealed. I was able to not put a single thing on the floor. The upper got same treatment with risers for short cans and tall Oxo squares for baking. Note – we are a gluten and grain free couple who do not have snack in pantry. All my baking goods are from gluten free mixes (I make my own) or decanted bags of almond, coconut, cassava and tapioca flours. The door holds my baking ingredients such as soda, powder, baking spices like cinnamon, seeds like poppy seeds, maple sugar and honey. So it’s far simpler that a traditional standard American diet with snacking supplies for kids. Lest you think we live an austere life, we do snack but the things we snack on are usually fruit, pieces of cheese, bowls of plain yogurt. All in the fridge. I shared this panty especially for those readers who may be animal base or ketovore diet followers. I lost 55 lbs on the new eating style.
Wow, perfect execution of the design ideal to go all the way up when possible. 👏 And now in the coffee break you get to tell us how you landed on that beautiful green Le Creuset collection instead of blue!
I recently used a design tip I’ve gotten from the blogs over the years: put a trim piece across shelves to make them look thicker. Did this to a built-in bookshelf and it was a game changer.
Your plants are gorgeous up there! Absolutely do not blame yourself if your Ivy starts slowly becoming pale and dying — it is known as one of the most impossible houseplants to keep! The spider mites will win. I’ve finally given up after decades and only enjoy ivy varieties outside (esp the Algerian variety that looks like it was done with a paintbrush that I so badly wanted inside 😢).
Excited for Coffee Break! 💝
these look so pretty 🙂