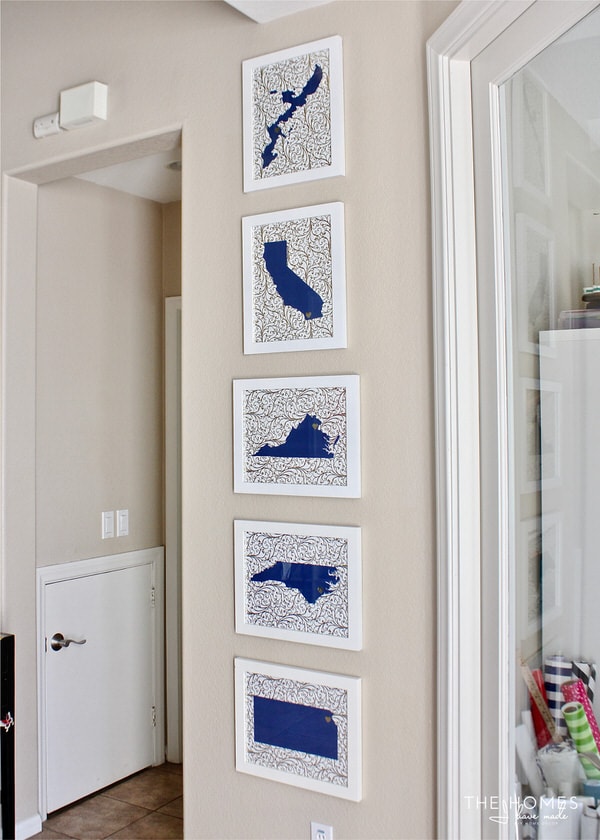
How to Hang a Gallery Wall with Command Strips
You guys know I don’t hesitate to hang things on our rental walls with nails. Every rental we’ve lived in has allowed it (with the requirement that we fill any holes larger than a quarter); and until all the peel-and-stick technology really advanced in recent years, nails/screws were really the only (good) option for hanging things securely. Since I was comfortable with making holes in our walls (and filling them) and it was what I had always done, I never really gave using Command Strips much thought until a friend of mine recently hung her entire gallery wall using them. Our current walls are textured and I’m not quite sure how filling them will go, so I figured it was a good time to give this popular nail-free technique a try too. Wouldn’t you know it…I found hanging a display of frames with Command Strips so much quicker and easier than using standard hardware. However, the actual process of measuring and hanging the frames is a little different. Today I wanted to show you how to hang a gallery wall with Command Strips so you can get the same well-spaced, secure, and removable display in your own home!
Applying the actual Command Strips to your frame and the wall is pretty straight forward…you just follow the directions on the box. It was the measuring, determining the final placement (because you can only stick them on once), and the leveling of the frames that took some ingenuity. Here is the process I followed to get awesome results on not one but two different gallery walls in our entryway!
What You Need
To hang a gallery wall with Command Strips, you will need a few things:
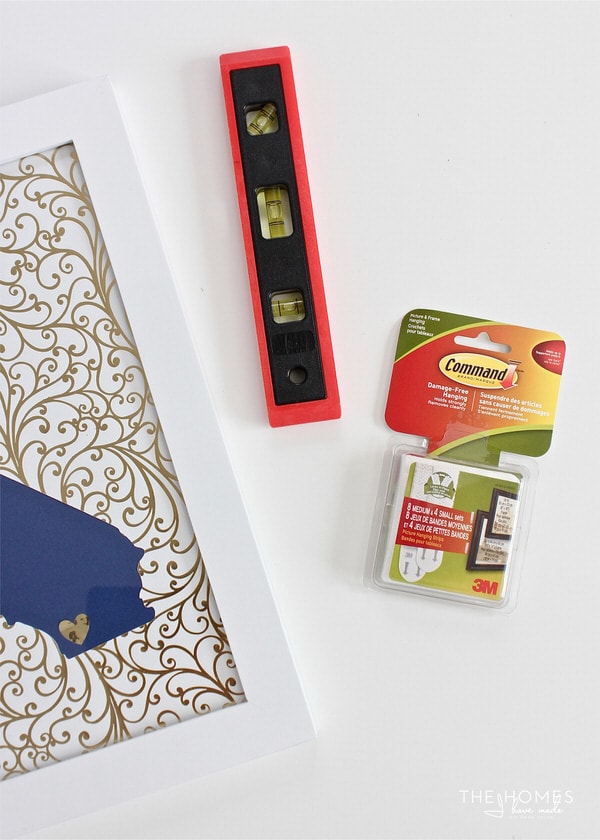
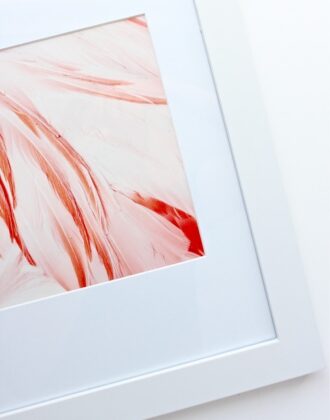
- Frames (obviously) – If you want to use this method, be sure you pick frames that have a solid surface along the back of the frame that you can secure strips to.
- Command Strips (obviously) – I found buying combo packs that contain different size strips (Small + Medium and Medium + Large) quite handy for hanging a wide range of frame sizes.
- Template Paper – Wrapping paper and brown paper bags are both great options for creating templates.
- Painter’s Tape

- Level – A mini level is ideal for this project so you can easily rest the level onto the frame as you’re sticking it to the wall.

Step 1. Clean off Your Wall
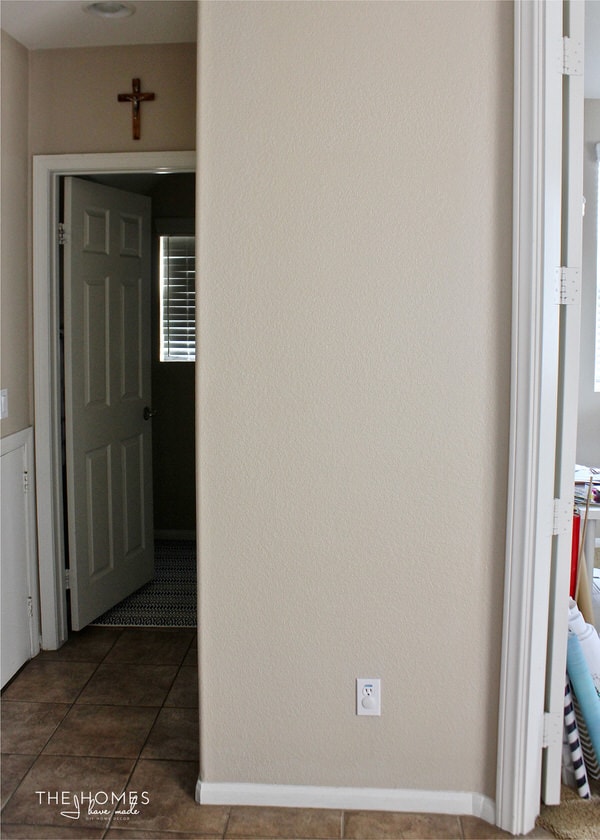
Anything that involves peel-and-stick technology is going to require that your walls are clean to ensure the adhesive works as well as possible. Since I was going to be hanging frames…with glass…in a high-traffic area…in a house with children…I wasn’t taking any chances. You don’t need to go crazy, just run a damp cloth or microfiber rag over the wall where you want to hang your frames.
Step 2. Create Templates of Your Frames
Creating templates of your frames is a good idea for any gallery wall project, but I found them quite necessary for this kind of installation. Not only do they help you design and properly space your display, but they will also help ensure your frames end up in the exact right spot when it comes time to actually stick them up. To create templates, trace your frames onto wrapping paper, paper bags, or other large paper you have on hand.
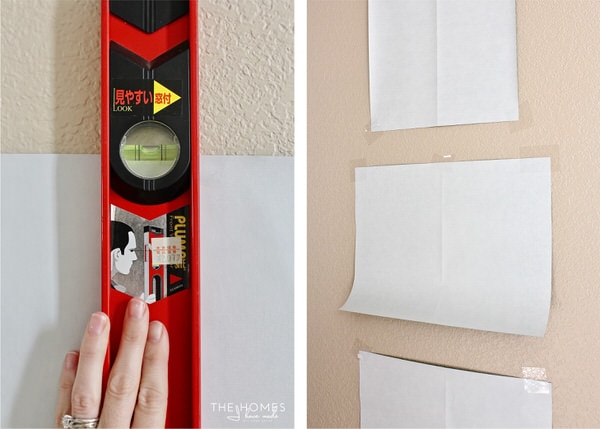
Step 3. Stick Templates to the Wall with Tape
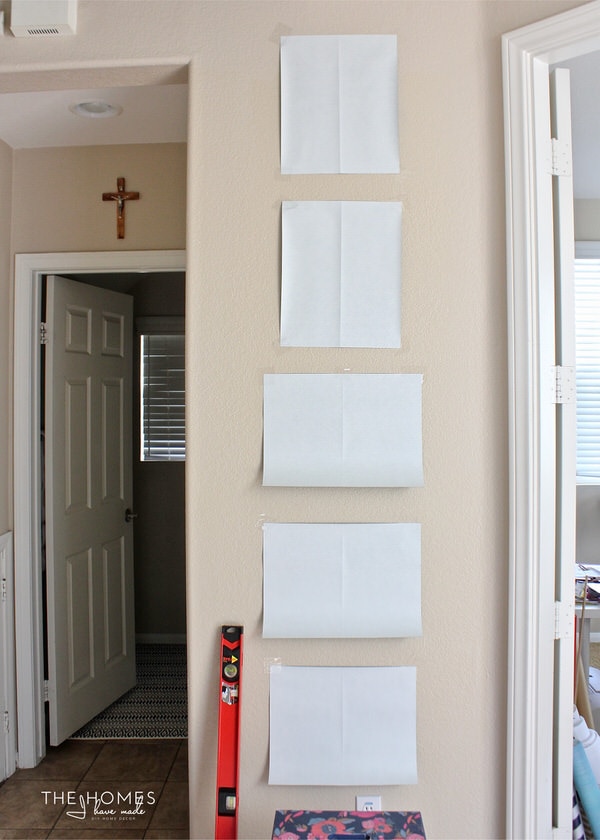
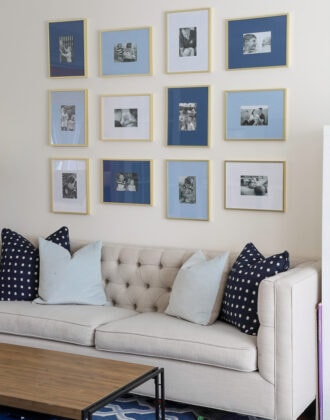
With templates created for all of your frames, you can set to work desinging your arrangement and measuring out your spacing. If you’re going for a more random and collected display, place and tape and re-place and re-tape your templates until you land on an arrangement you love. If you’re doing a very symmetrical or ordered arrangement (like shown here), take the time to precisely measure out the exact spacing and layout you want at this point. Once you determine the final placement for each frame, use tape to secure your templates to the wall. Although you don’t need to tape all the way around the template, be sure they are centered, level and relatively secure.
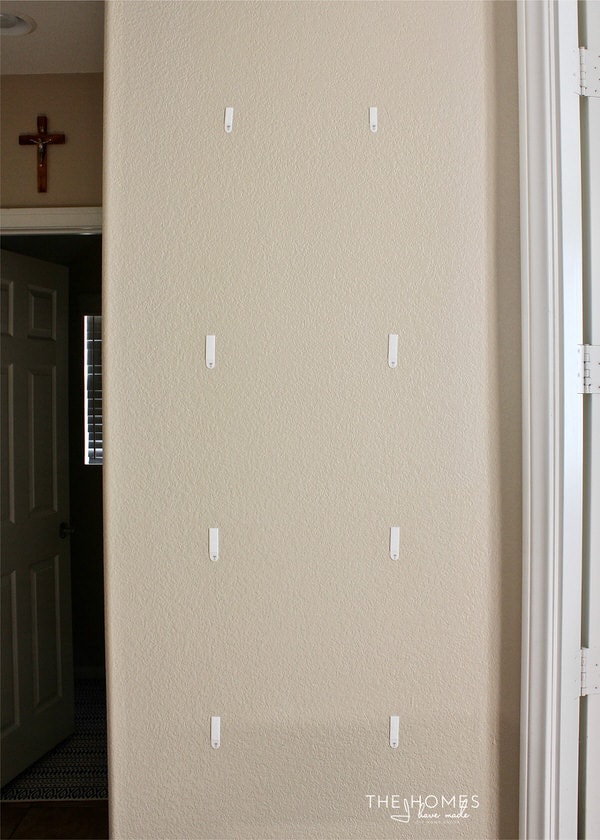
Step 4. Transfer Template Placement to Wall
If you were hanging your frames with nails, you would be able to puncture right through the template and place a nail hole exactly where you need it. But that same process doesn’t work when you are essentially using stickers to hang your frames. In order hang your frames in the exact spots you just so painstakingly determined, you will need to transfer your template placement to the wall so that you can fully remove the template and put the frame in its place. I found the best (and most inconspicuous) way to do this was to make tiny dots on the wall with a pencil at each corner of the template. These tiny dots will serve as your guides as you stick the frame to the wall. Once you are confident you can see your tiny dots around each template, go ahead and remove your templates from the wall.
Step 5. Apply Command Strips to the Frames
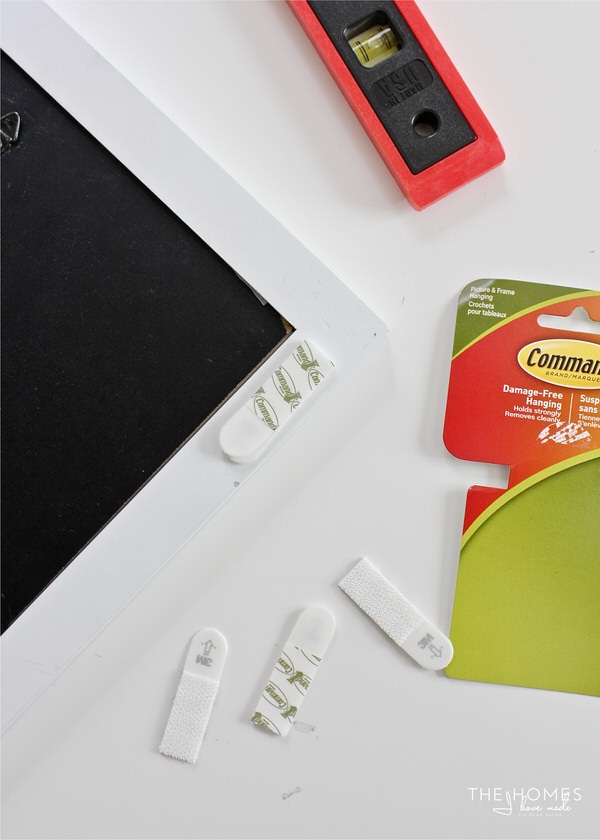
Now it’s time to ready your frames for hanging. I recommend using the directions on the Command Strip box for determining where and how to put the strips on your specific frames. You might be tempted to skip the waiting time, press for less duration, or use less strips than the directions call for. I was too. But again, you’re dealing with potentially big and heavy frames filled with glass, so I recommend following the directions to a T. I did and haven’t had a single frame fall down yet!
Step 6. Stick Frames to the Wall

It’s finally time to stick your frames to the wall! To do this, you will use your small dot guides and a level to ensure your frame is not only where you want it, but also straight. After trying a few different ways, by far the easiest and best results come by following these steps:
- Remove the sticker backing from the strip that will go on the wall. Yep…go ahead…take them off.
- Find one of your guide dots (it really doesn’t matter which one), and line the corresponding corner of your frame up with that dot.
- Go ahead and press the Command Strip on that same side onto the wall.
- With just one side secure, place the small level on top of your frame.
- Use the level to determine the final placement of the other side of the frame (yes, you can still slightly adjust the frame up and down with the first side stuck to the wall), and then stick the other side of the frame to the wall.
- Press and hold your frame in place according to package directions.

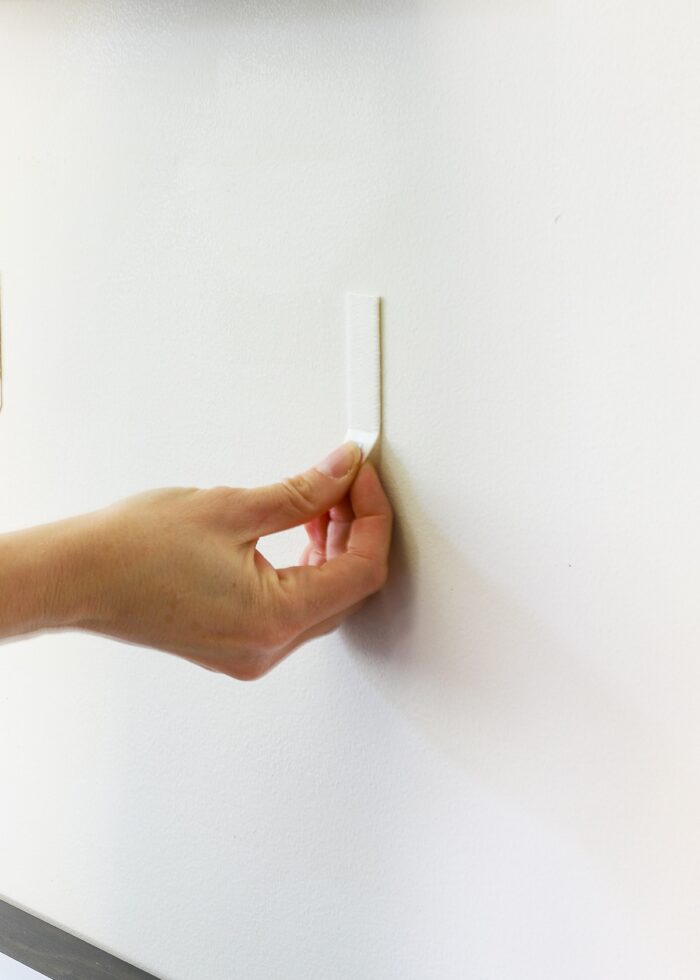
Step 7. Remove Frames to Allow for Curing
With your perfectly placed frame on the wall, you will be very tempted to leave it. However, the directions recommend removing the frame, letting the strips cure, and then placing the frame back onto the strips. It sounds scary, but it’s not. Your little dots are still there to guide you, so go ahead and remove the frame by lifting the bottom of ot away from the wall, ultimately separating the two halves of the Command Strips.
While your strips are curing, go ahead and repeat Steps 6 and 7 to hang the rest of your frames on the wall.
Step 8. Re-Hang Frames on Wall
With all your frames hung (and then removed) and your strips fully cured, you can safely hang your frames back up…for good this time! Use the exact same process you did in Step 6 to re-hang your frames. If you’re very precise, your strips should line right up and you will be able to essentially “click” them back together, resulting in your frame secure to the wall exactly where you want it!

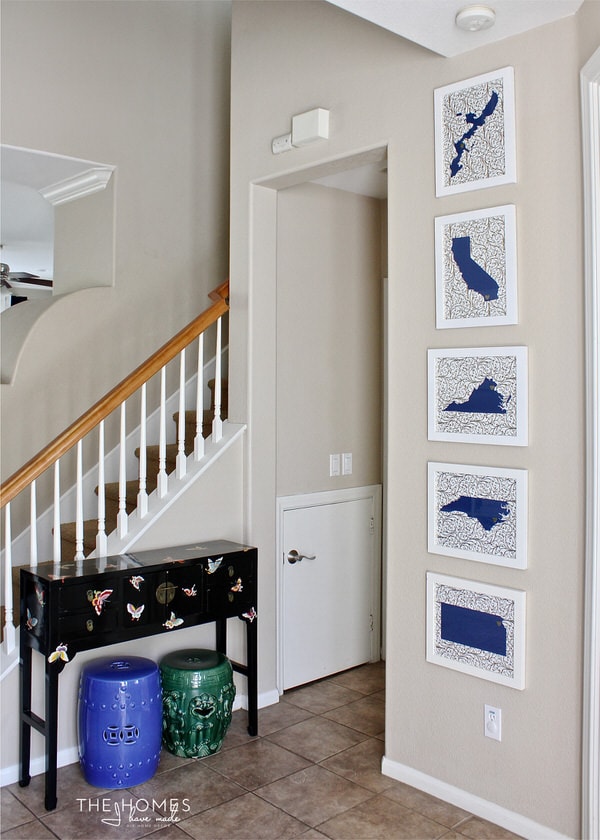
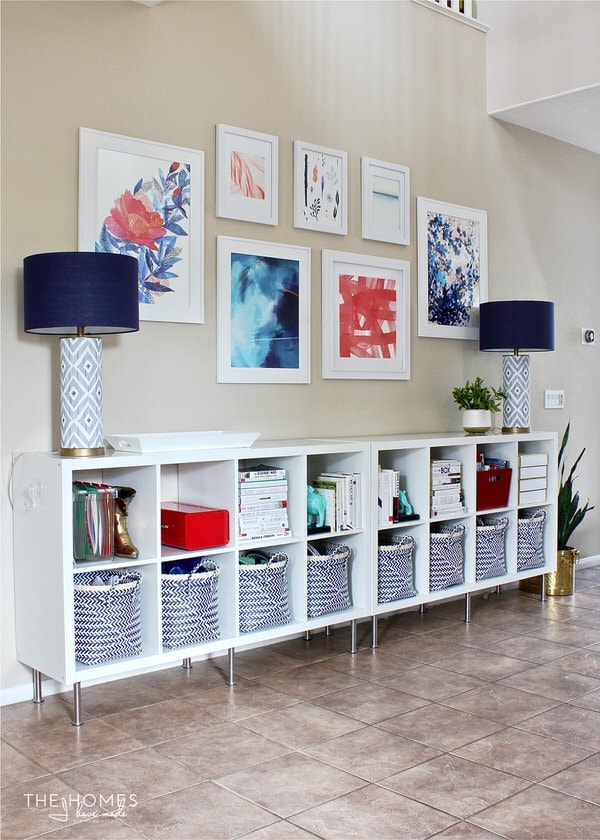
Using Command Strips to hang frames on the wall was a really interesting process for me. While it did take a bit more work (templates, cure time, re-hanging the frames, etc) and the strips themselves are quite a bit more expensive than simple nails or screws, I actually found that I had more control over the exact placement of my frames and got much better results using the Command Strips. Not only was getting precise spacing easier, but I also love that the frames don’t move when someone slams a door hard or they are dusted.
Here’s the other foyer gallery wall I used using the same method:
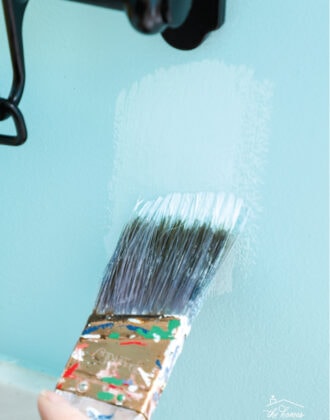
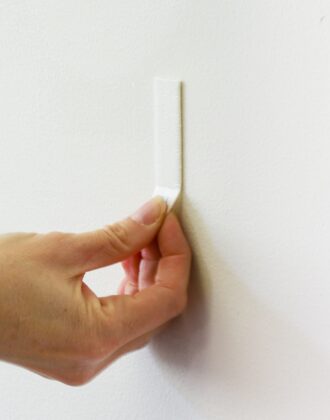
Do Command Strips Damage Walls?
Curious to see how Command Strips come off the walls? I shared everything I’ve learned about how to remove Command Strips (so they don’t damage your walls or peel paint!) See it here: How to Remove Command Strips (The Proper Way!)
The few gallery walls I’ve now hung with Command Strips are the most straight, well-spaced and secure displays I’ve ever hung…and the fact that I didn’t make a single hole in the wall (and therefor have no holes to fill!) is the cherry on top! If you’ve never tried to hang a gallery wall with Command Strips, I highly recommend it. They are a bit more expensive, they do take some practice, and you do have to adapt your hanging process, but I find the sturdy, clean results really are so much better!
Megan

6 Comments on “How to Hang a Gallery Wall with Command Strips”
We just converted our art work to command strips this last PCS – and, as we are preparing for our next PCS, I can say they are a lifesaver! I agree there is some extra expense but the great thing is one you make the initial investment, you can reuse them for the next house. The one thing we learned from flat paint walls and command strips – avoid the clear ones. They tend not to remove as well and will peel a layer of the wall off with it during removal (paint brush in hand to repair the damage as I type this). But, overall I am beyond impressed and super happy that my hole-filling is limited this move. Now I am off to scrub the oven and wash out the fridge before inspection.
I am super OCD about gallery walls. It really bugs me when any of the frames are “off.” I lay a large piece of butcher paper on the floor and lay my arrangement on it until I have it just right, then trace around each of the frames. Then I tape the whole piece of butcher paper to the wall with painter’s tape, making sure the outlines of the frames are level. If using nails, you can use a hanging stick (paint stirrer with a screw sticking out halfway) to place the frames in their outlines and mark the nail hole. You can hammer it straight through the butcher paper. If using command strips you can use a push pin to make tiny holes in each corner of the outlines and then take the butcher paper down. It works great, and if you’re careful removing the butcher paper, you can even fold it up and reuse it.
I LOVE command strips they are so versatile and easy to use. Plus no fuss, no mess and no refilling. Thanks for sharing, it looks awesome!
Thank you! You answered EVERY question I had! 🙂
Thank you! This is SUPER helpful and has given me an approach. Curious, I noticed that you have textured walls (as I do). Have you experienced any issues with adhesion over time?
Hi Brandi,
Thanks for your note, and I am so glad you found my post helpful! To answer your question, I’ve had all the art on our textured walls hung with Command Strips for about 2 years, and I haven’t had a single issue! Nothing has fallen down and I haven’t had to re-hang anything! I personally wouldn’t hesitate to use Command products on textured walls but it wouldn’t hurt to do a test on your specific walls before you do a lot of hanging!
Hope that helps!
Megan