“You Make My Heart Burst!” Valentine Treat Jars
Quite often, I post my holiday gift ideas very close to the actual holiday; and they almost always include a line that says something like “I promise these are really quick to make and use only things you have around the house, and you can get them done by tomorrow.” Well, this time I really mean it. Using items you likely have on hand (or can easily get!), you can pull these cute jars together in just an hour or so! So if you need an idea for a neighbor, teacher or co-worker this Valentine’s Day, give these oh-so-“punny” Valentine Treat Jars a go!
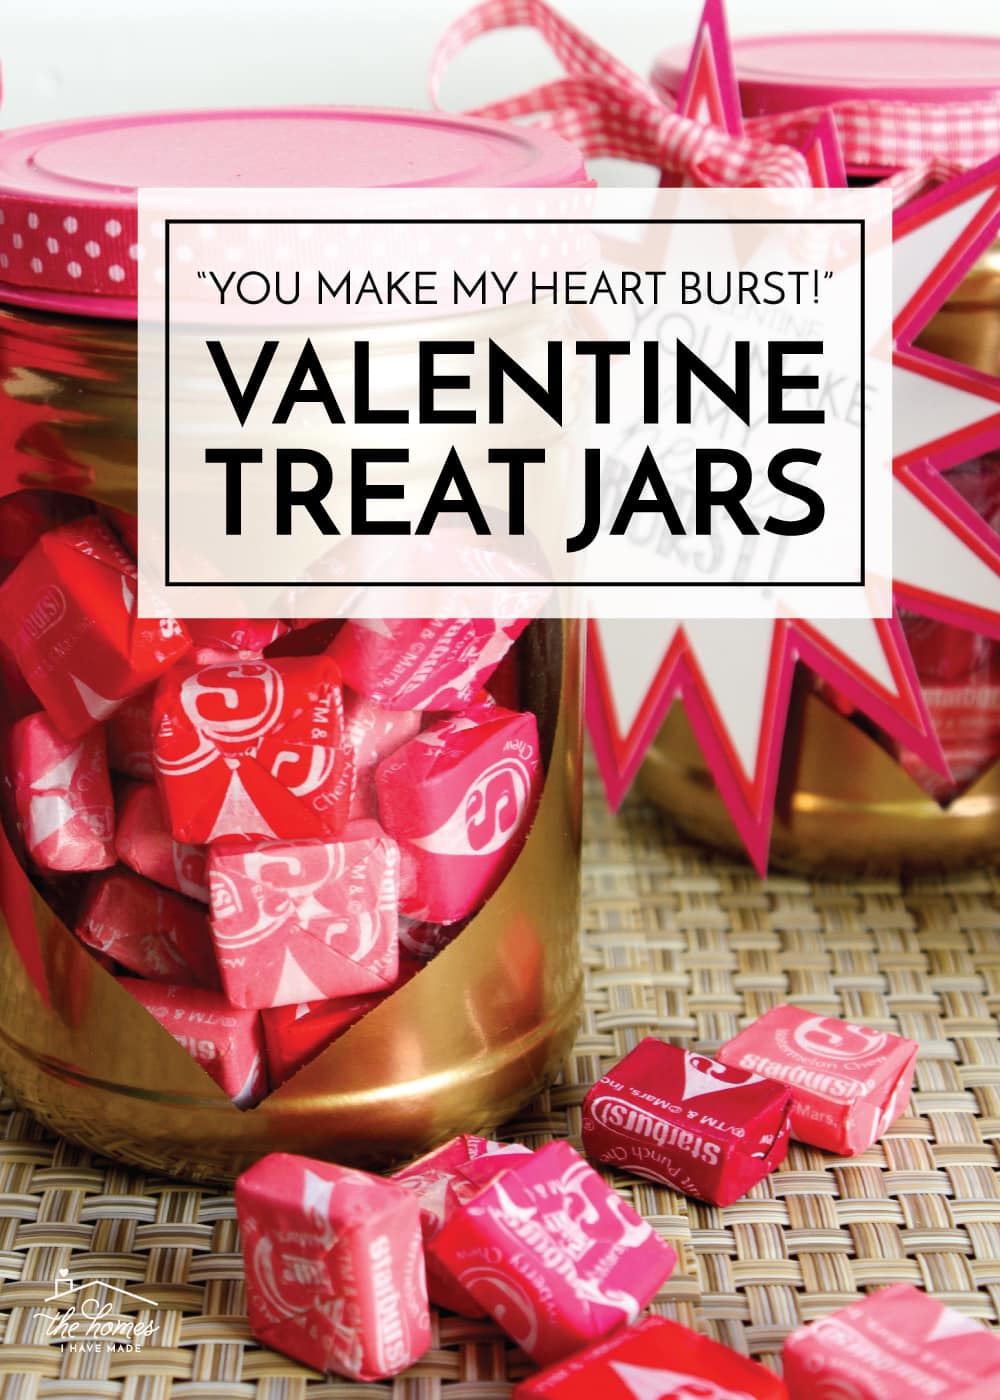
I certainly can’t take all the credit for this adorable project. Valentine’s Day puns are all over the web, and I got this cute painted heart window idea HERE. Still, these turned out too darling not to share, don’t you think?
Supplies Needed
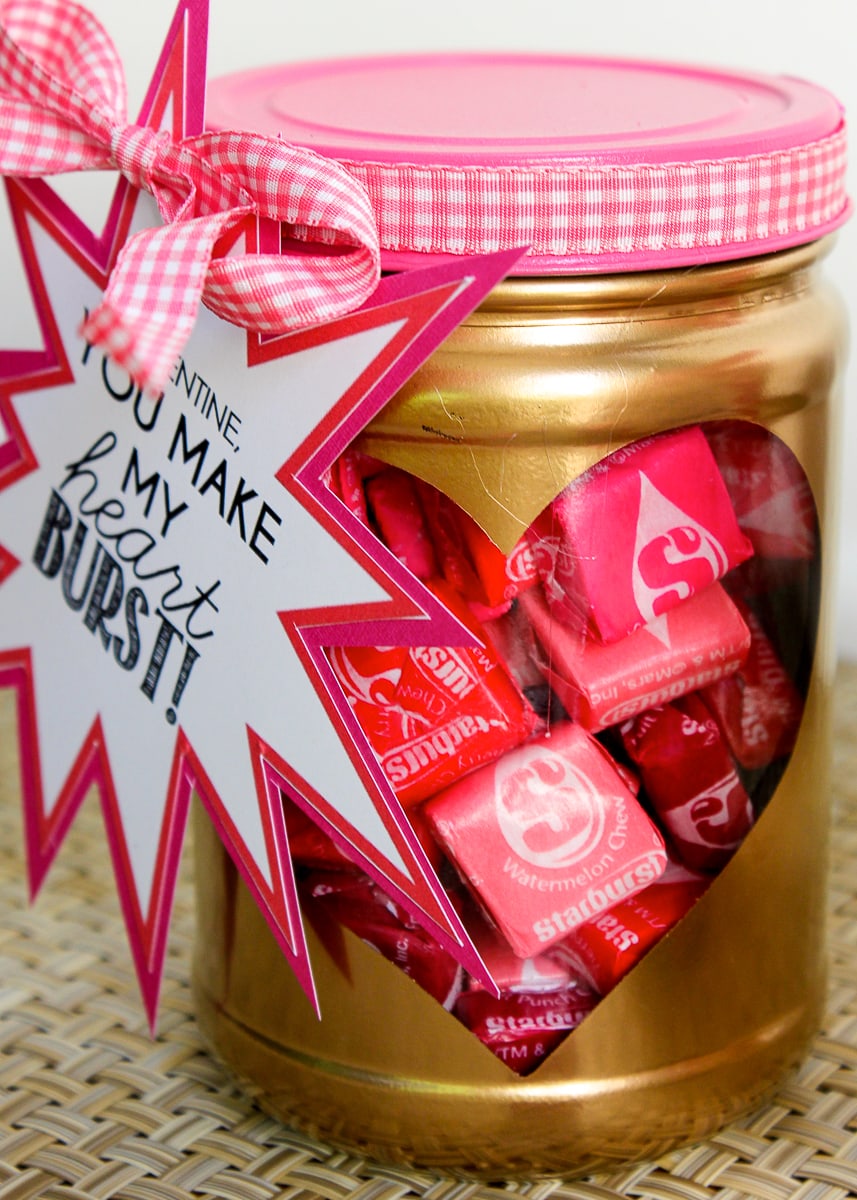
Here is what you need to make these “Heart Burst” Valentine Treat Jars!
- Glass Jars (see my notes below about using jars you already have on hand!)
- Spray Paints
- Vinyl, contact paper, or sticker paper (to create heart decal)
- E-cutter (such as a Cricut) or scissors
- Valentine Ribbon (or pink and red ribbons)
- White Cardstock
- Hole Punch
- Pink and Red Starbursts
Preparing the Glass Jars
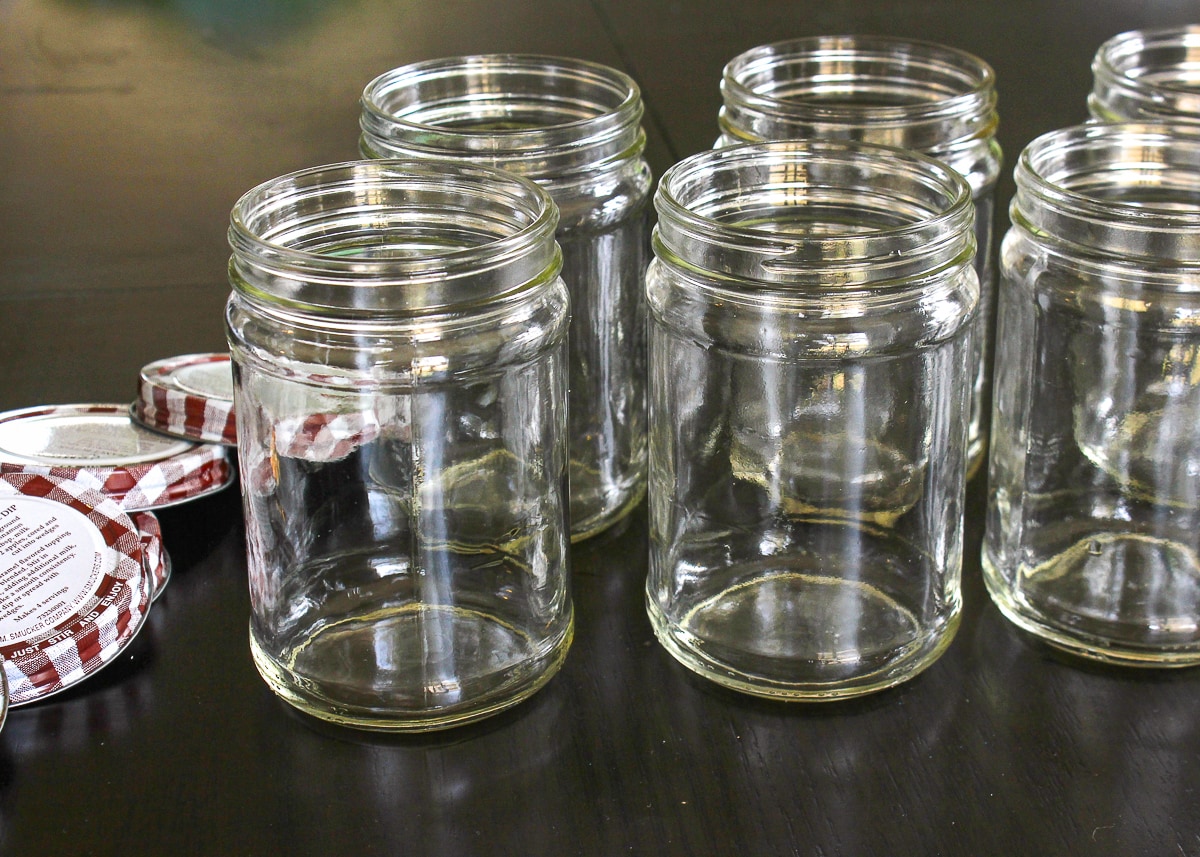
You can certainly purchase new, clean jars here. However, if you tend to save up solid peanut butter, jelly, or other condiment jars, this is a great project for repurposing them! I love these peanut butter jars because they are a great size for holding treats (not too big and not too small), and are perfect cylinders (which are easy to decorate!)

A soak in hot, soapy water takes the labels right off with some scrubbing. I also suggest running jars through the dishwasher to disinfect them and remove all traces of peanuts or other foods, just in case there are any allergies.
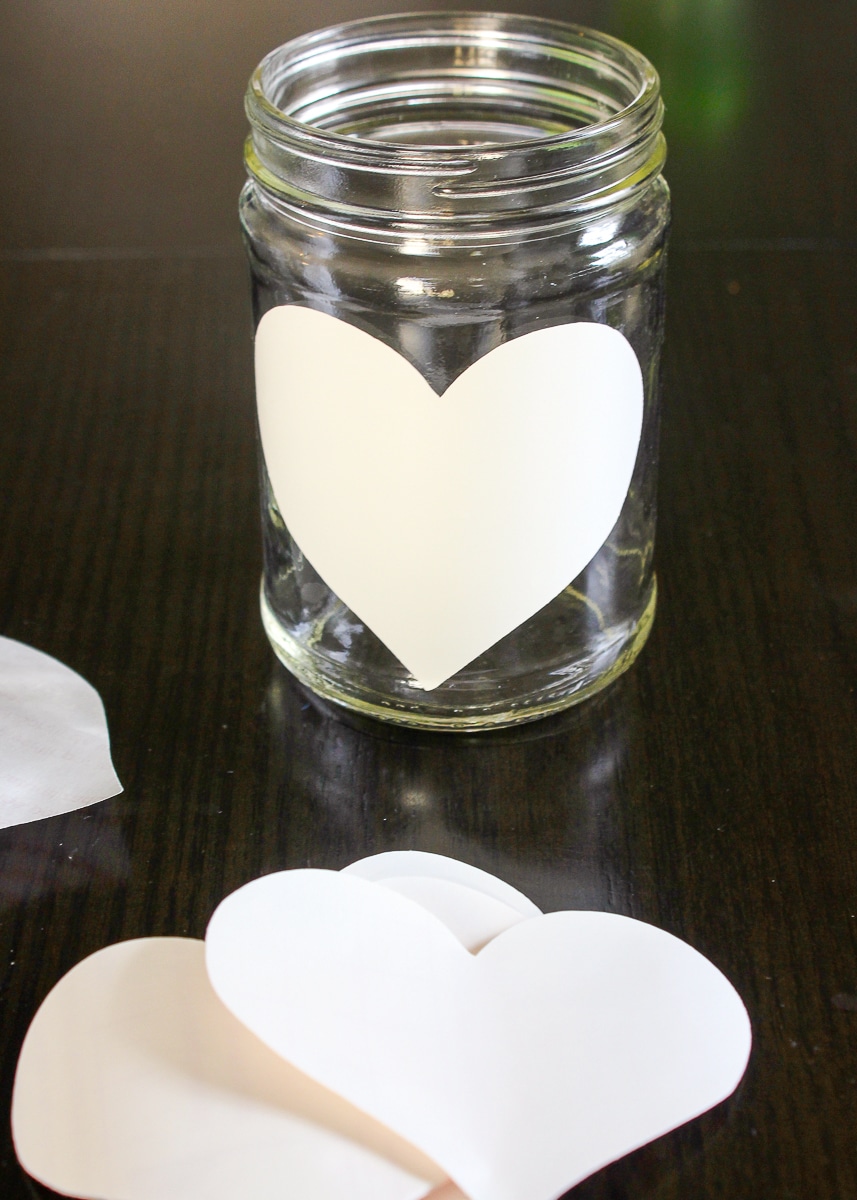
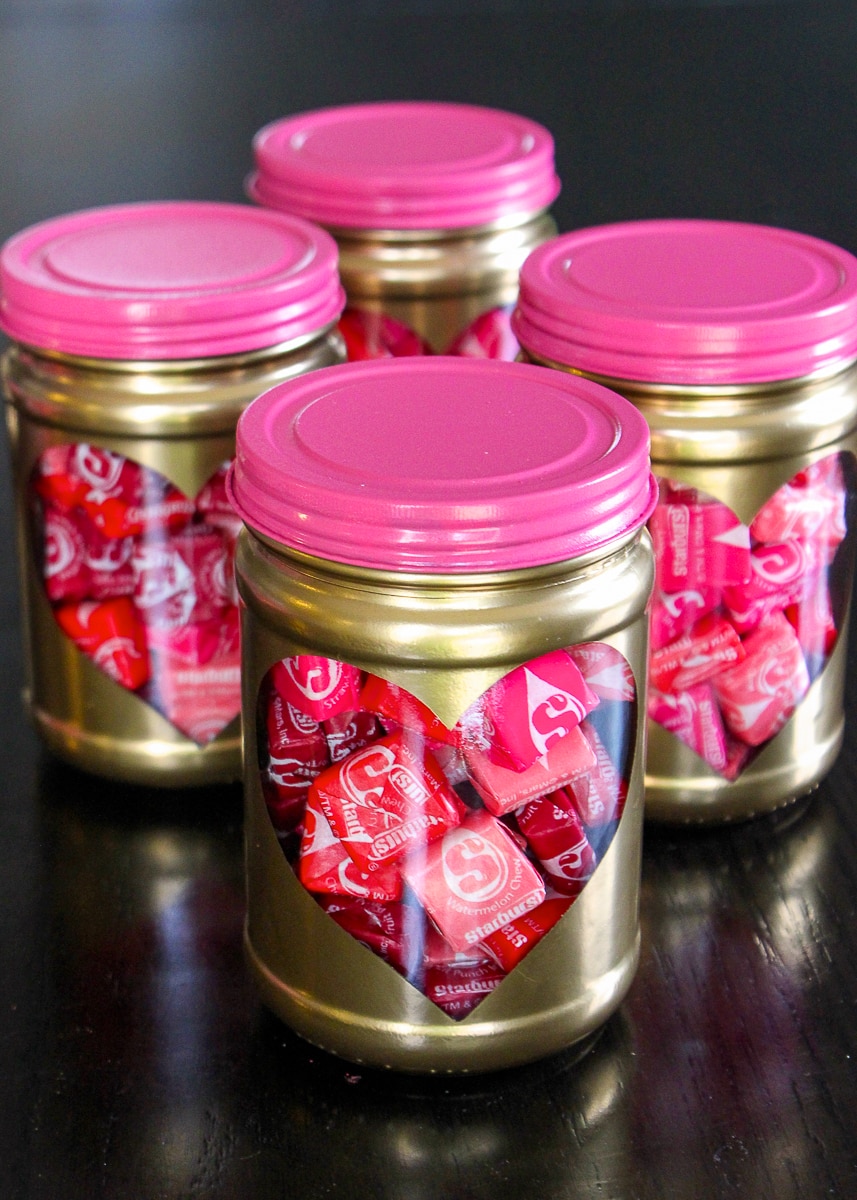
To make the little heart peek-a-boo window, cut a bunch of 3″ tall hearts from vinyl, sticker paper, or contact paper using an e-cutter (such as a Cricut), a die-cut machine, or a scissors.
Next, apply them to the fronts of the clean and dry jars.
Finally, give the lids and jars a quick upgrade using spray paints (I used pink on the lids, and gold on the jars).
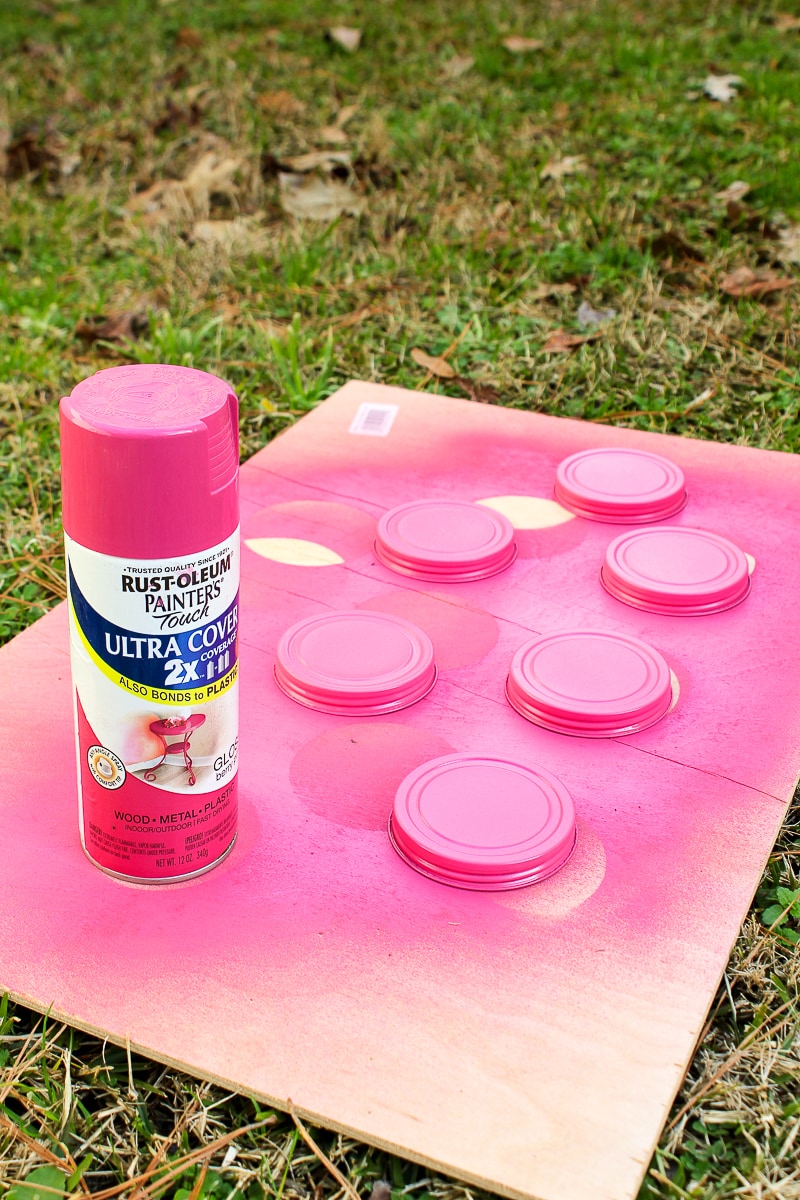
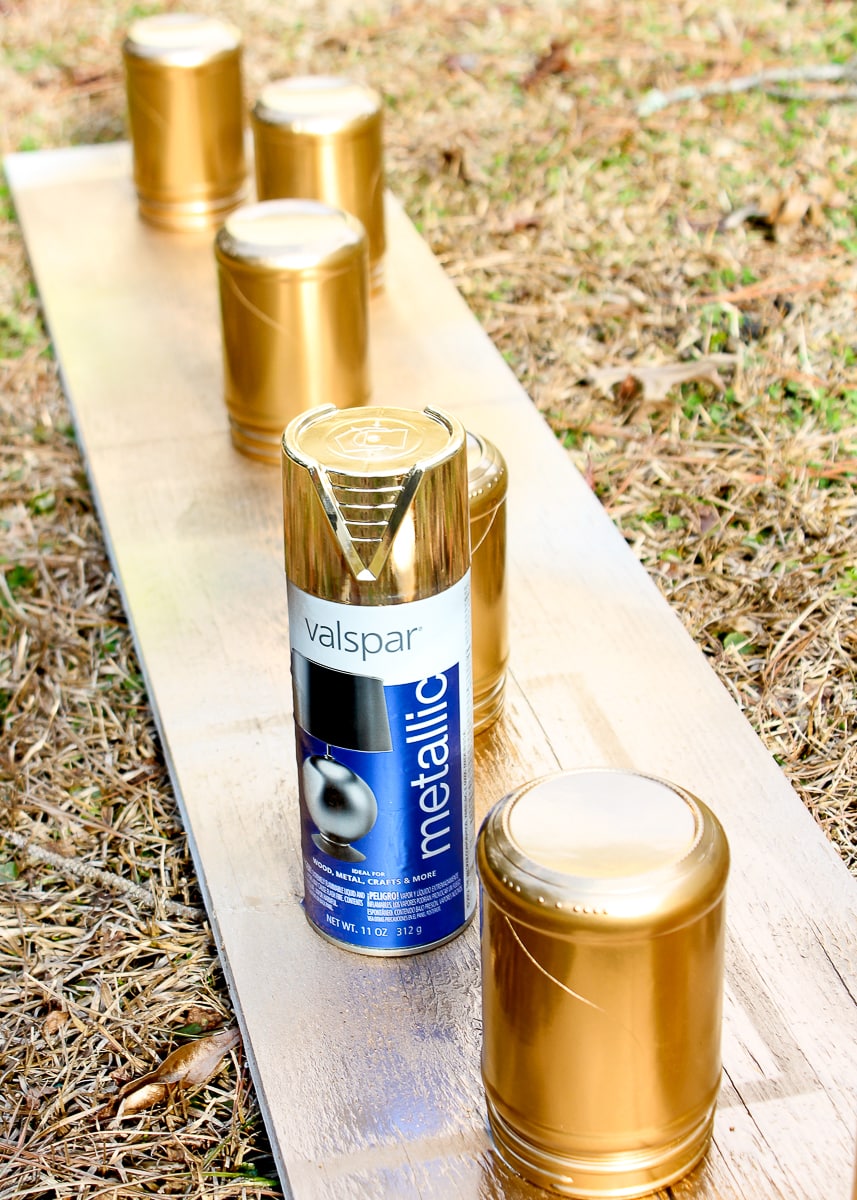
Typically, it’s best to remove any tape or decal while the paint is wet to get nice clean lines. These jars are a bit tricky to handle when wet, so I suggest waiting for them to fully dry before removing the sticker heart.
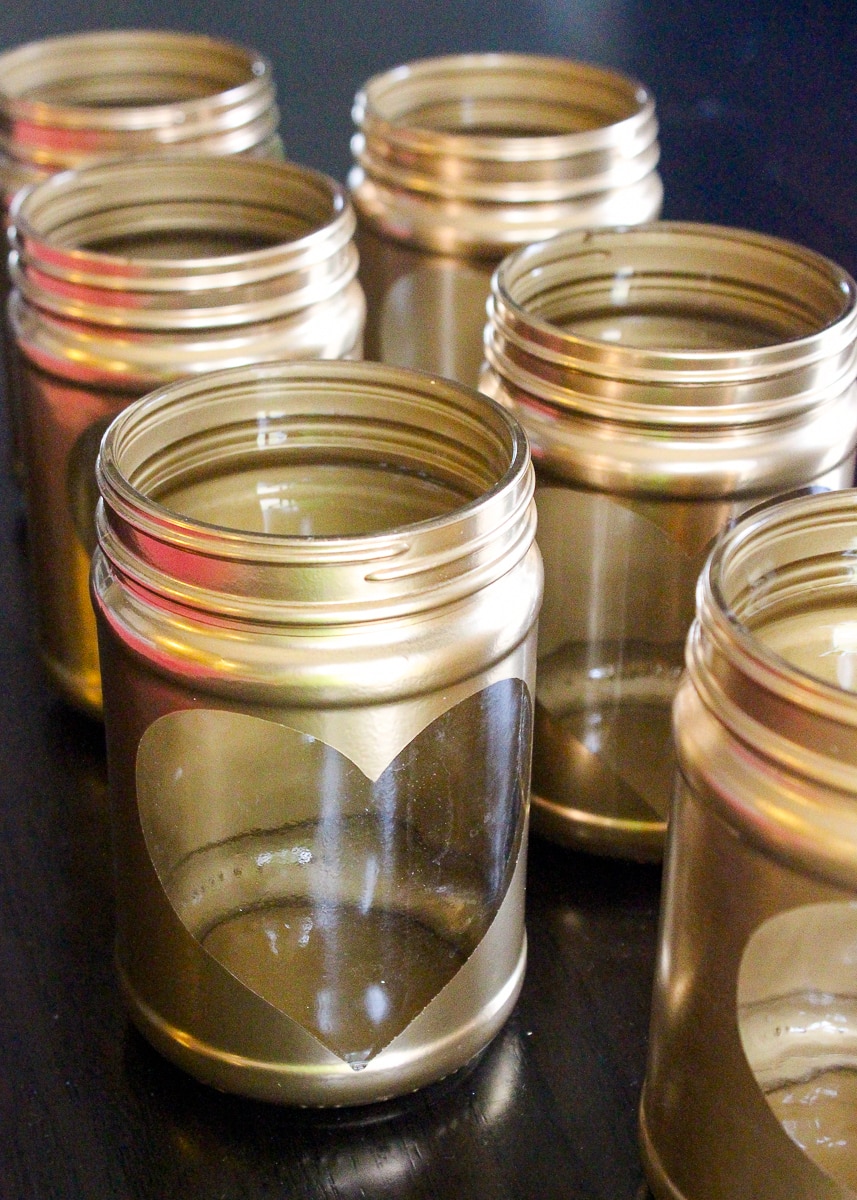
When the jars are fully cured, fill them up with red and pink Starburst candies!
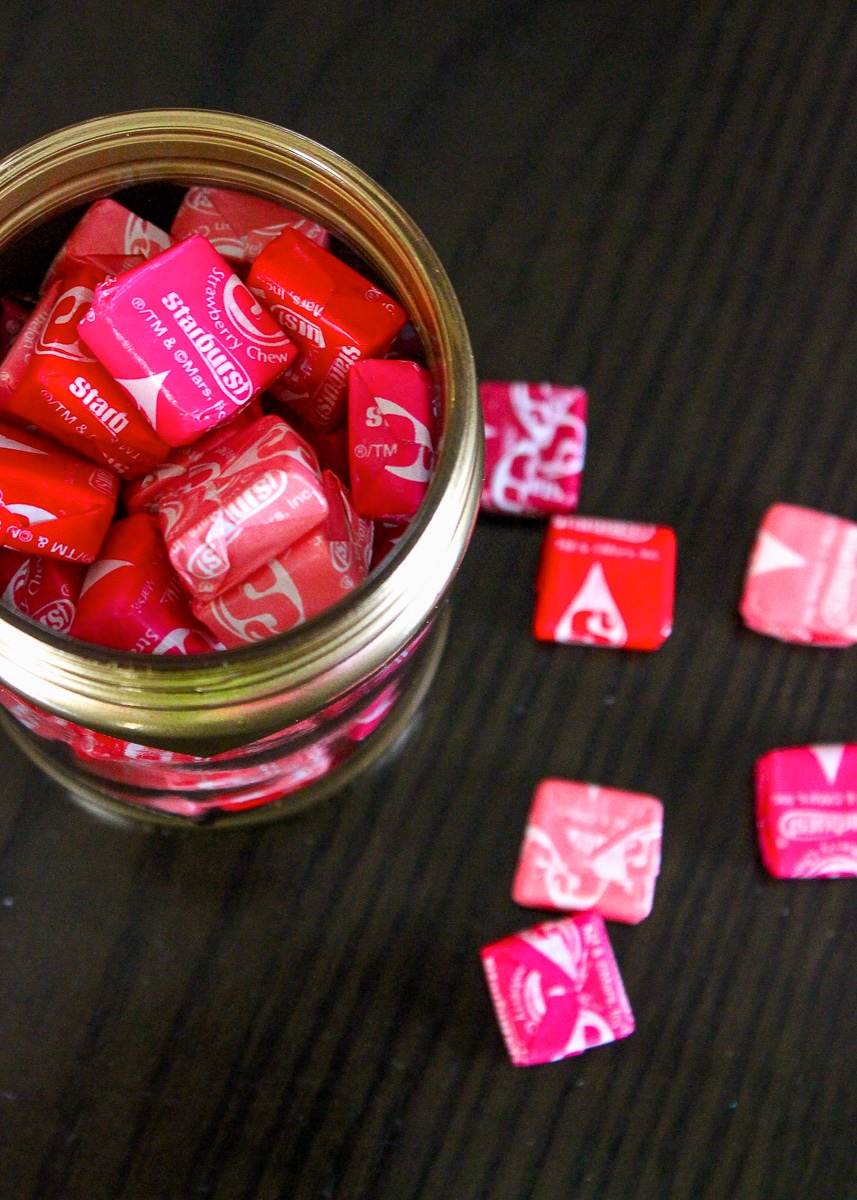
Finally, secure the lids onto the jars nice and tight!
Make the “Heart Burst” Labels
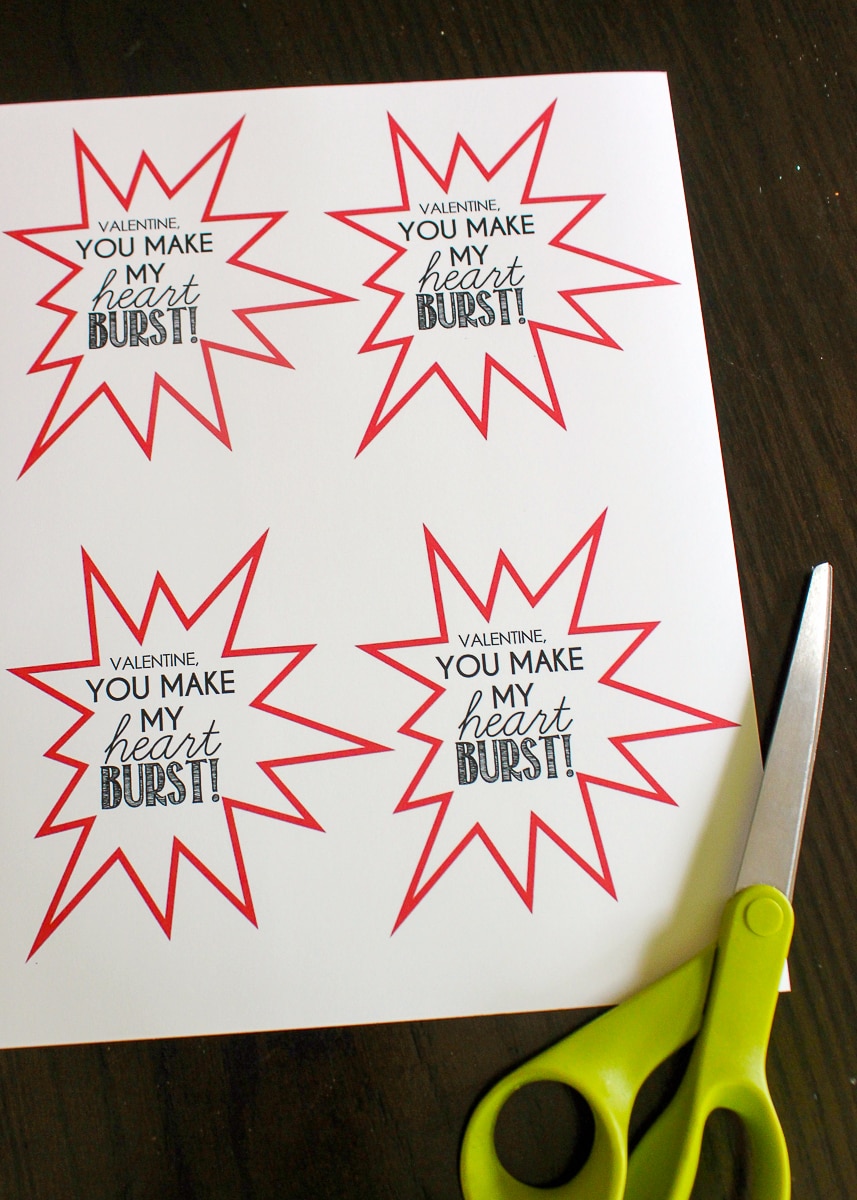
To make the “heart burst” labels, use any basic burst shape you like within your Word processing program (such as Microsoft Word) or that you find via Google. Then add your text, and print the labels out onto white cardstock.
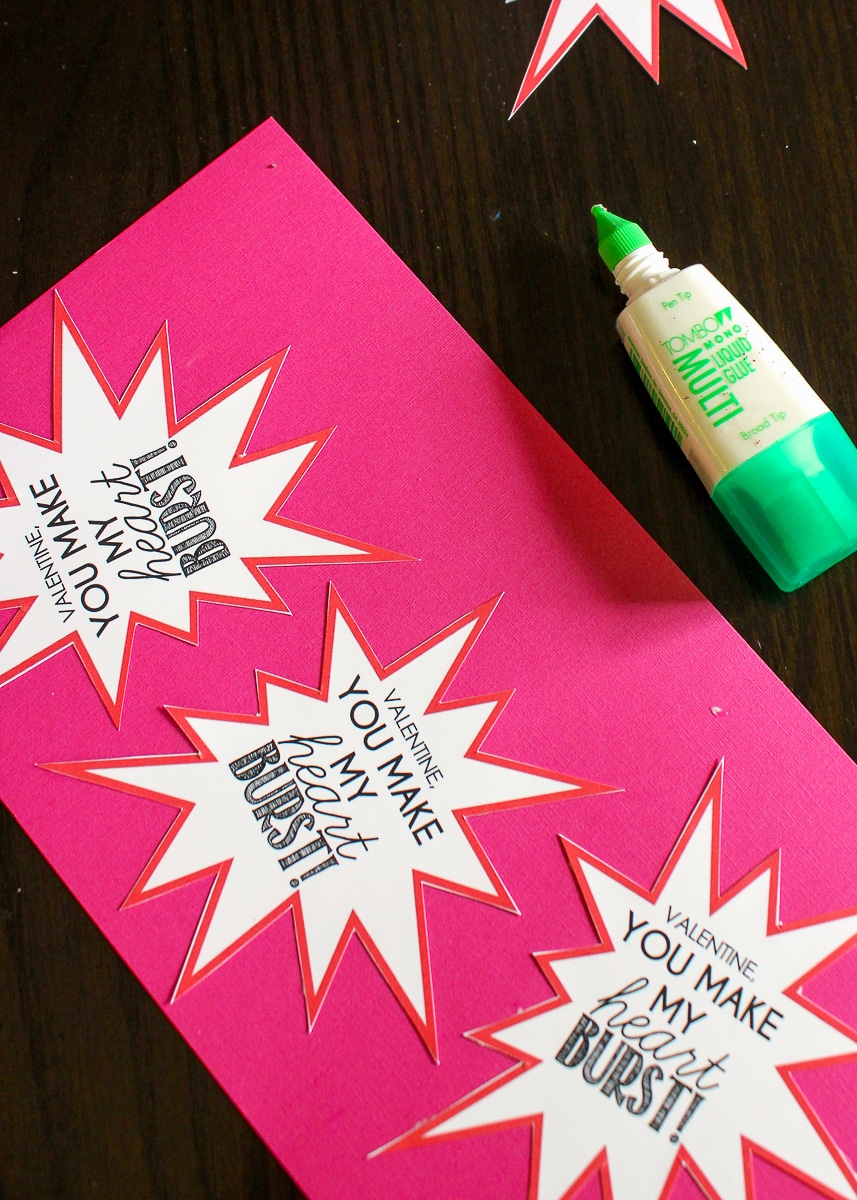
To add a colored border, simply glue the white burst labels onto colored cardstock and cut them out again with scissors, leaving a thin border all the way around. Finish them off by giving each one a hole with a hole punch.
Finish Off the Valentine Treat Jars
To add the ribbon and tag to the jar, start by hot glueing some thin Valentine-themed ribbon around the edge of the lid. This allows the lid to be opened without untying the label.
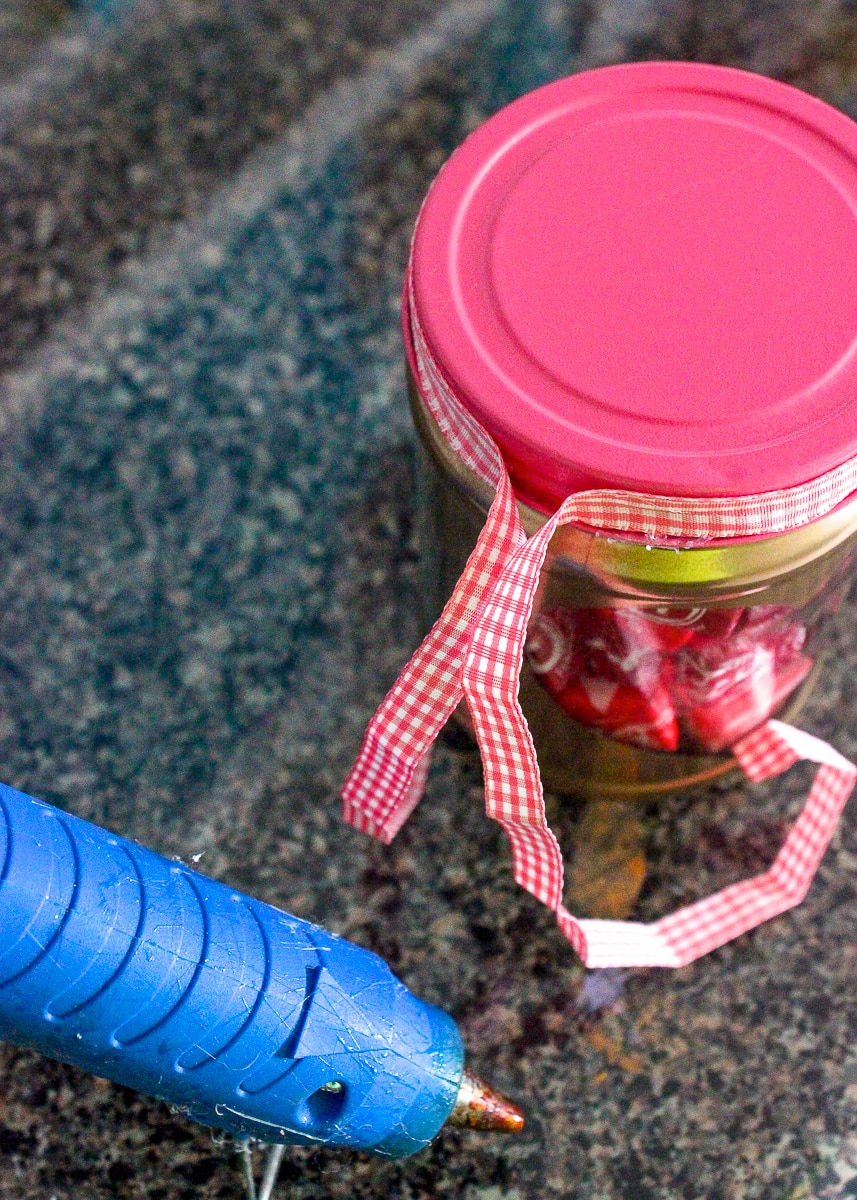
Next, pull both ends of the ribbon through the tag from back to front. Then with both ends of ribbon on the front of the tag, tie a simple bow to keep it all in place!
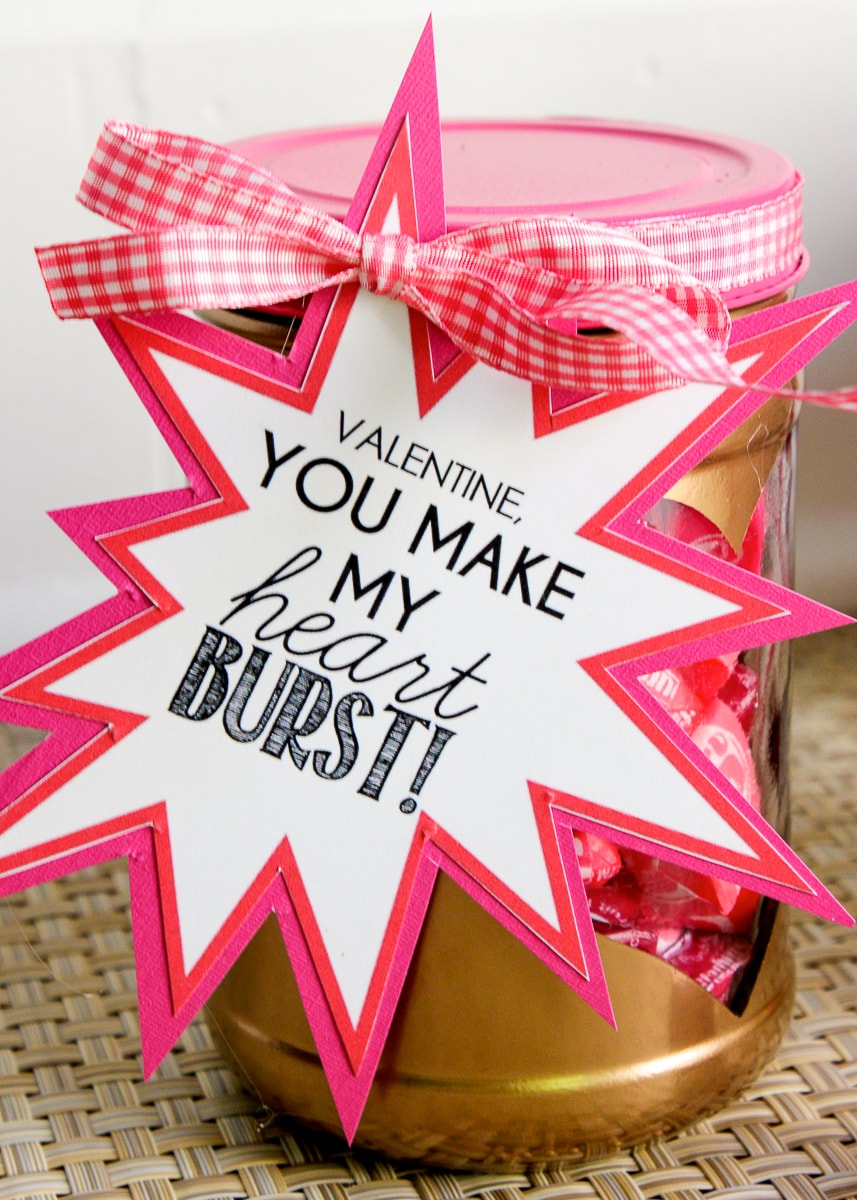
Now your jars are all ready for gifting to friends, neighbors, co-workers, teachers and more!
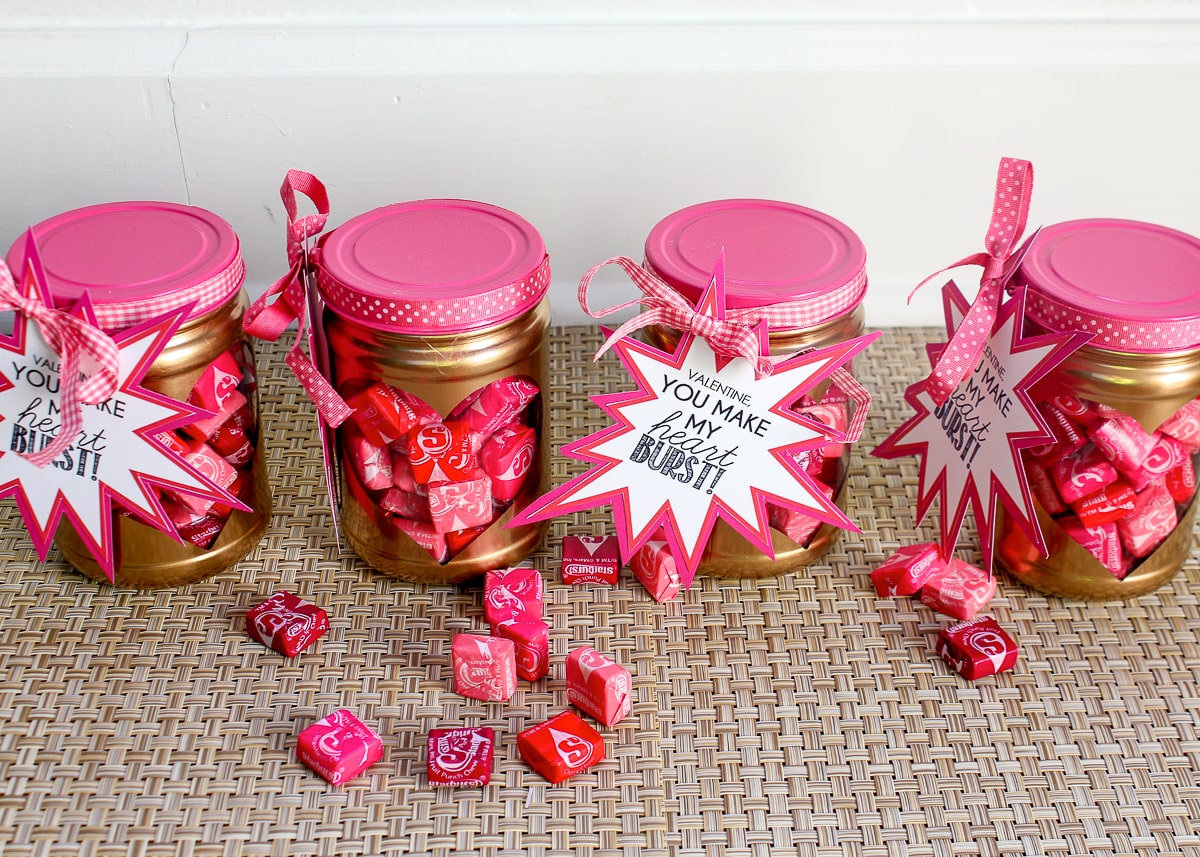
These “Heart Burst” Valentine Treat Jars are really fun and not at all hard to make. I had everything but the Starbursts in my house; but even if you didn’t, these wouldn’t cost too much to make in bulk!
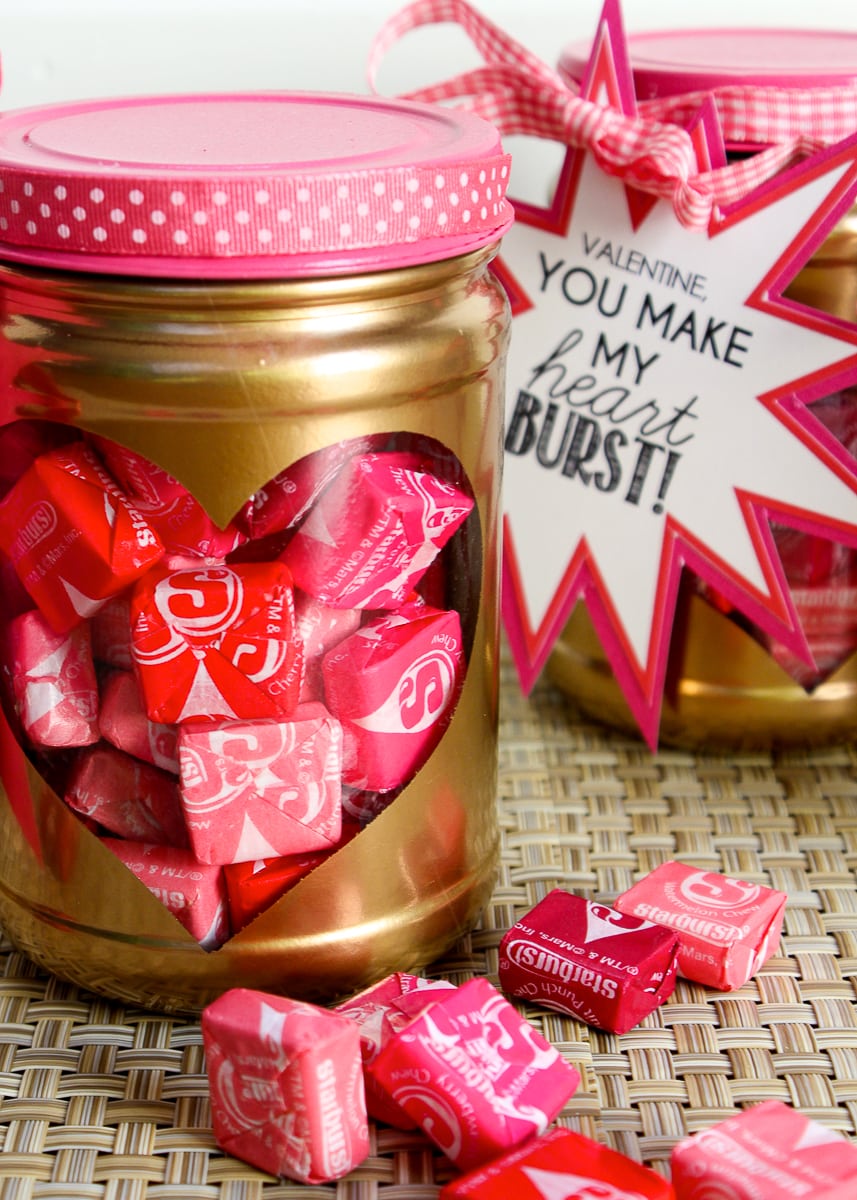
Isn’t it amazing what a little paint, paper and ribbon can do to a plain ol’ peanut butter jar?!?
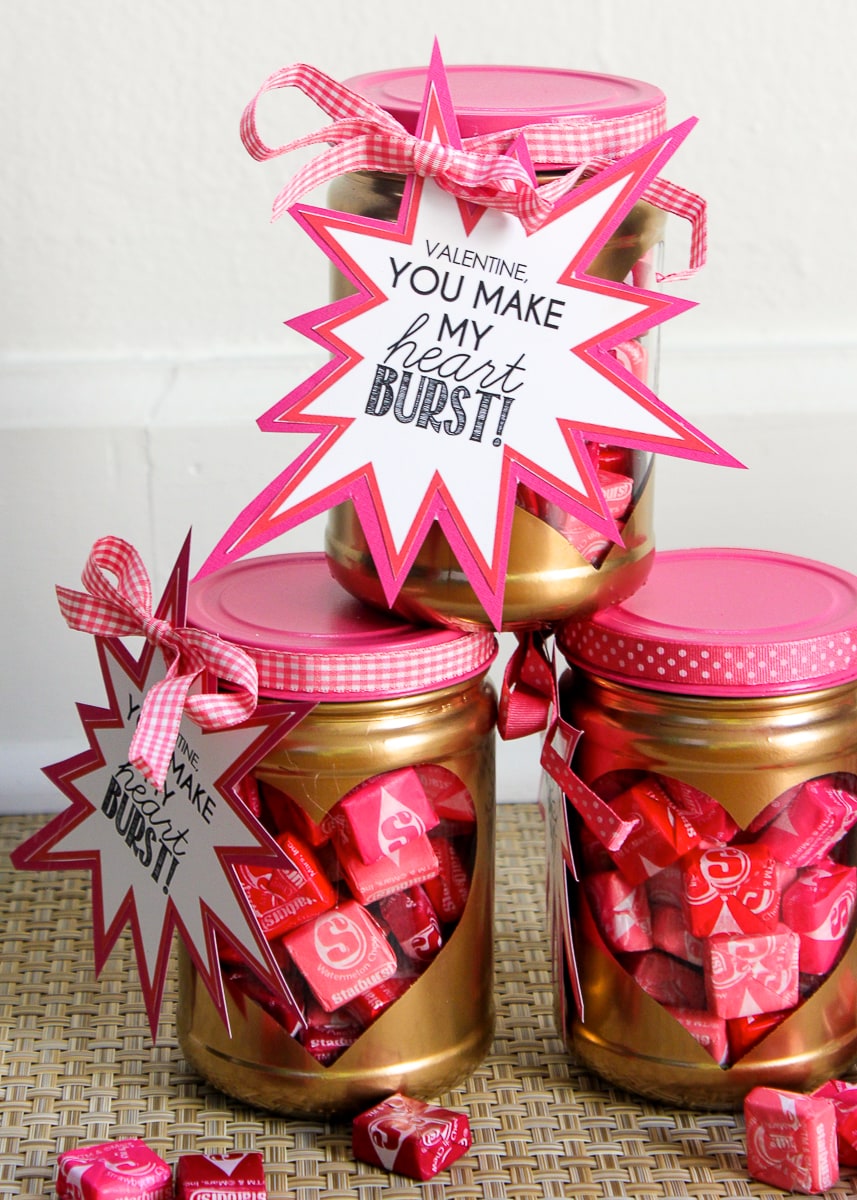
I hope you give this fun Valentine project a try!
Megan


15 Comments on ““You Make My Heart Burst!” Valentine Treat Jars”
Truly stunning decorations using The Jars. I am in love with these jars 🙂
Thanks
danasurfboards.com/surfboard-signs
What a cute gift!! I'm definitely filing this away!
What teacher wouldn't love all this cuteness! Great idea and tutorial!
~ Ashley
Pingback: 34 Mason Jar Valentine Crafts - DIY Projects for Teens
Pingback: 18 thoughtful DIY Valentine’s Day gifts that your significant other will absolutely love – News and Entertainment
Pingback: 18 thoughtful DIY Valentine’s Day gifts that your significant other will absolutely love – BuzzNet
Pingback: 55 DIY Mason Jar Gift Ideas for Valentine’s Day
Pingback: 50 DIY Valentines Day Gifts for Him - Prudent Penny Pincher
Pingback: DIY Valentine's Day Gift Ideas - A Heart Filled Home | DIY Home Decorating & Money Saving Tips
Pingback: 21 Creative DIY Mason Jar Gift Ideas For Every Occasion - Live Better Lifestyle
Pingback: 28 Awesome DIY Valentine’s Gifts Ideas For Boyfriend To Make You Say WOW – Taxa Craft – taxacraft.com
Pingback: 28 Awesome DIY Valentine’s Gifts Ideas For Boyfriend To Make You Say WOW – Taxa Craft – taxacraft.com
Pingback: 10 Great Valentine's Gift Ideas for Teens and Tweens! - MomOf6
Pingback: 100 DIY Valentine's Day Gifts in a Jar - Prudent Penny Pincher
Pingback: 10 ideas para crear un regalo en un frasco-Dulce + Elite