A Space Saving Tip
Are you sick of pink and orange flowered projects yet? I know I’ve been showing tons of stuff from my niece’s bedroom…it’s just that there were so many fun things we did in this room and I want to share them all!
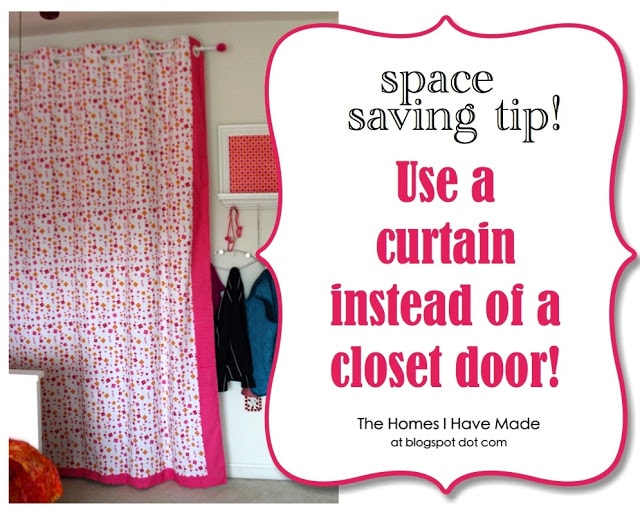
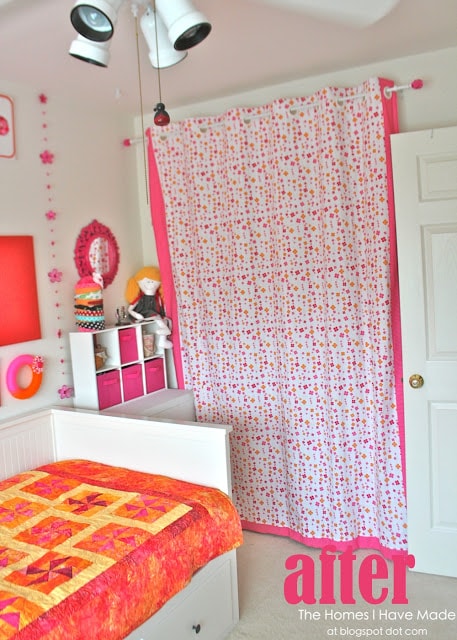
For example, like this tip!
I’ll tell you why we did this after the jump!
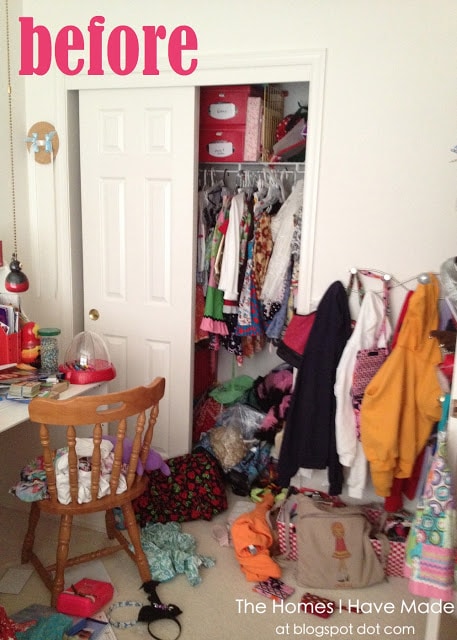
When we started this bedroom makeover, one of the BIGGEST problems was the closet. Not only was it overrun with stuff, but it’s tucked back in a tight corner, and the sliding closet door meant stuff often got tucked or stuffed (and forever lost) back inside!
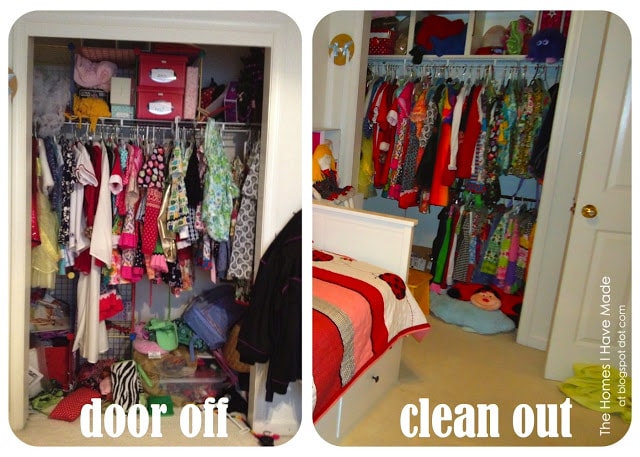
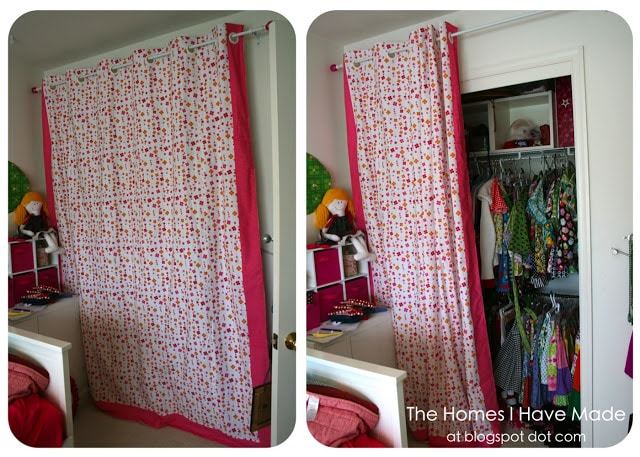
When I saw this mess, I instantly knew we needed to remove this door, especially if my sister had any hope of her daughter learning to hang up her clothes! So…the door came off (below left), and clothes were purged and organized. My sister even added a floating curtain rod to hang skirts! (below right).
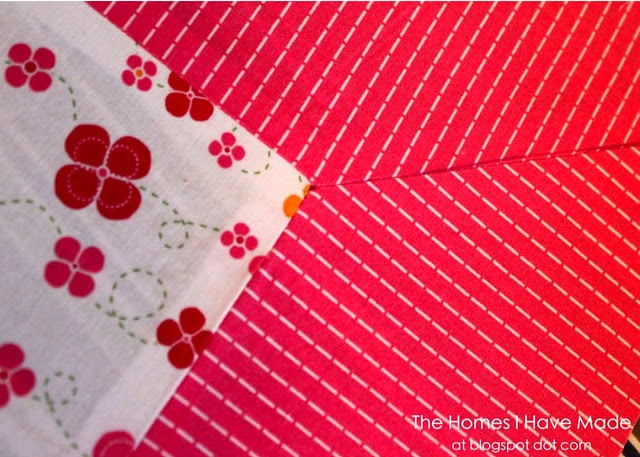
Then came time to make the ginormous curtain to cover the closet – that was my job! I used the flower theme fabric for the main body, and then added strips of this Raspberry Running Stitch on all three edges! I even taught myself how to do mitered corners, which look so spiffy! My pictures didn’t turn out great, so I can’t show you how I did it…but fortunately, the wonderful folks over at Sew4Home just did a tutorial on the subject (and it’s far better than anything I could have showed you!).
But my corners do look pretty, don’t they?
When it came time to hang the rod, I knew a rod pocket was NOT the answer – that would make the panel too hard to open and close. This project became the perfect excuse to try out another product I’ve had my eye on! Snap together grommets!
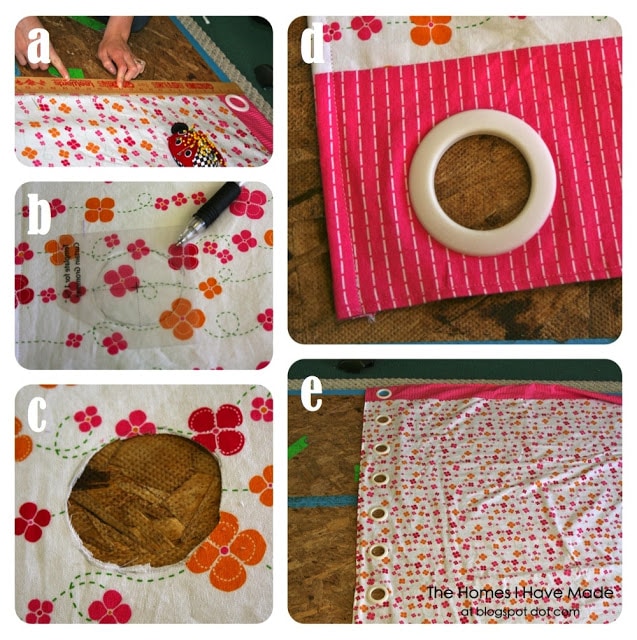
Have you tried these? They are amazing….and SO easy to apply! Here’s how I did it:
- (a) Measure the top of your curtain panel to determine the amount and spacing of each grommet.
- (b) Use the provided stencil to lightly trace circles at each grommet location.
- (c) Using a sharp scissors, cut out each hole you just traced.
- (d) Snap the grommet pair on, one on top and one from the back.
- (e) Repeat down the entire curtain!
That’s really it! I couldn’t believe how easy they were, and the final look was really professional looking! Now my niece can open and close her closet “door” with ease!
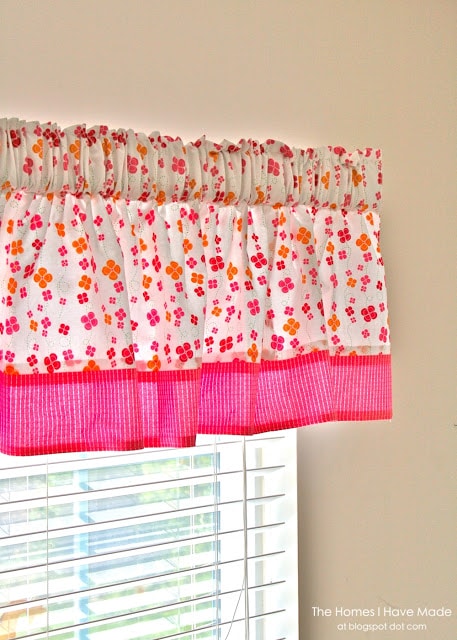
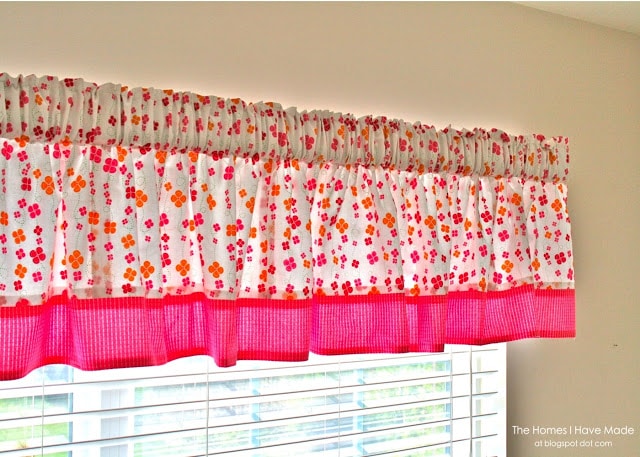
P.S. The closet curtain matches the window valence on the opposite wall. Since I never posted pictures of the valence, I just had to show you how cute it is!
I made it using the same fabric treatment as the closet curtain, and it is lined with fabric lining. FYI – I made the valence twice the width of the window to give it nice fullness!
Such fun and whimsical fabric treatments for this little space, don’t you think?
That’s all I have for you this week! Be sure to come see me next week – I have some BIG changes going on around here! See you then!
See You Soon!
Megan
Megan




2 Comments on “A Space Saving Tip”
Wow. That looks like my room. I used to store everything in my room, until I bought a house with Sheds and now a lot of my stuff gets stored in them. It's a time savor and room savor. Hope that helps you out. Have a great day!
such a cute room! Closet doors are so clunky and totally in the way most of the time. This is an awesome idea. Now I am staying and looking around your blog for more ideas.