Magnetic Menu Board – Part II
Hello, Hello! On Monday, I showed you my Magnetic Menu Board and explained how it works! If you missed it, you can read it here! As promised, I am back today to show you how I made it!
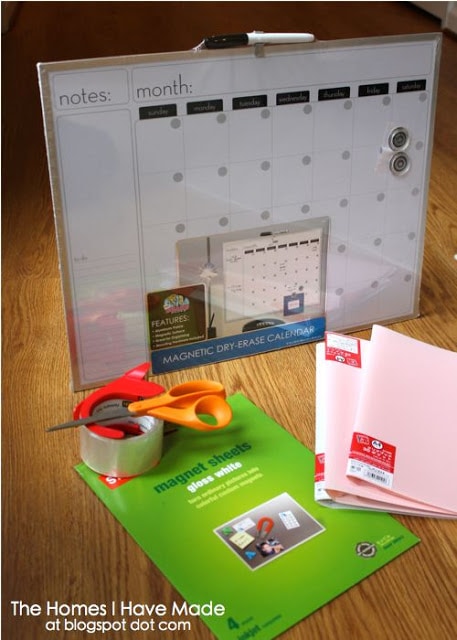
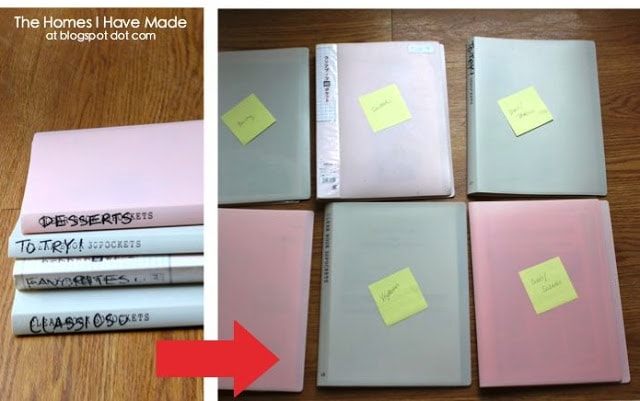
I started here:
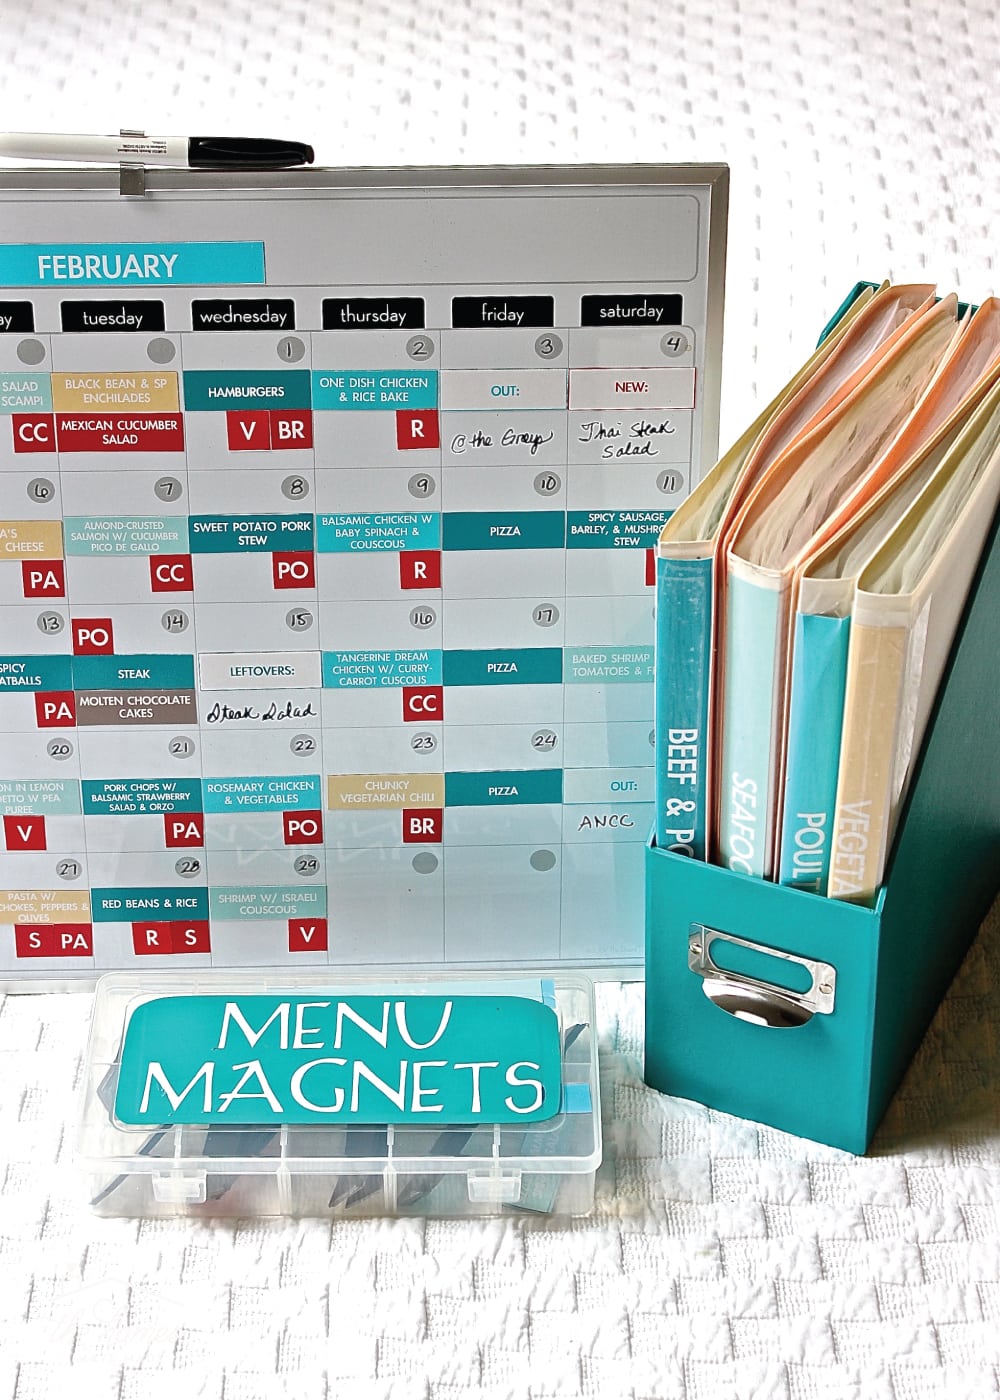
and ended here:
Materials Needed
Here’s what you need to create your own Magnetic Menu Board:
- A magnetic and dry-erase calendar
- 2 packages of magnetic sheets (you can find these anywhere from Walmart to Amazon…mine are from Staples and are glossy, which give the magnets a nice and professional look!)
- 6 books filled with clear plastic page protectors (mine are from the Y100 Store in Okinawa – yes, I stocked up before I left years ago! – but any binders or similar-type books would work!)
- Magnetic Menu Board Editable and Changeable Templates
- Other supplies:
- Scissors
- Clear packaging tape
- Recipes – you’re on your own for that one!
- Small craft storage box to hold magnets (similar)
- Magazine file for storing recipe books
- Vinyl for labeling magnet box
Unfortunately, the first step is the most “not fun” and time consuming! If they are not already done so, you must first organize and/or sorted your recipes!
Before this project, I was already printing (or copying) recipes (from emails, online, or cookbooks) that make it into our regular rotation and then store them in handy books. As I said in my original post, my recipes were already somewhat organized…I just expanded my system. Instead of “Favorites,” “Classics,” “To Try,” and “Desserts,” I instead organized my recipes by main protein source, and then lumped my sides/salads and desserts into categories of their own. Here are my 6 categories!
- Poultry
- Seafood
- Beef/Pork
- Vegetarian
- Sides/Salads
- Desserts
Once my recipes were organized, I could begin making my magnetic labels.
You can make similar templates using Illustrator, Canva, Word, PowerPoint, Excel etc! I specifically sized my labels to take up only half of a square on my calendar (the width was also dictated by the calendar box widths.) To do this, simply measure the height and width of a “day” on your calendar and use that as a starting point. My boxes are 2.5″ wide by 0.75″ tall. You may want to print a test to make sure the come out the size you want! I then copied and pasted the box as many times as I could.
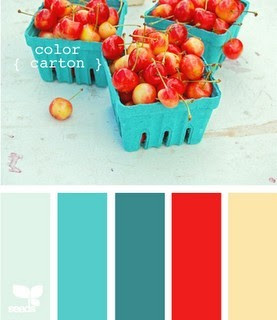
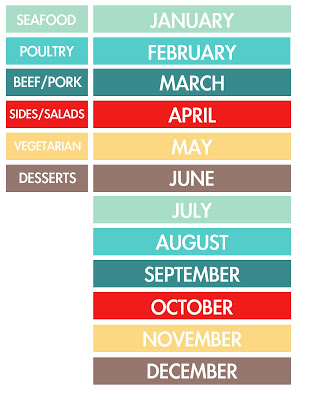
Because I had 6 categories, I needed a color scheme. In preparation for our next move, I have been looking at a lot of different color schemes for our next house, and am pretty sure this is the one! (I know, I’m ridiculous already picking out ideas for our next home!)
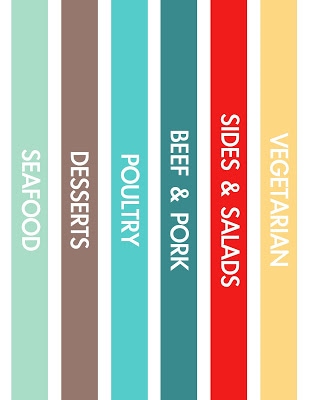
Anyway, I used these colors for my labels and had a sheet for each color:
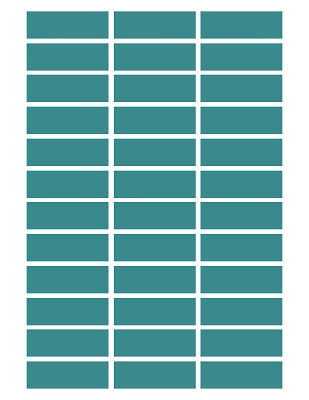
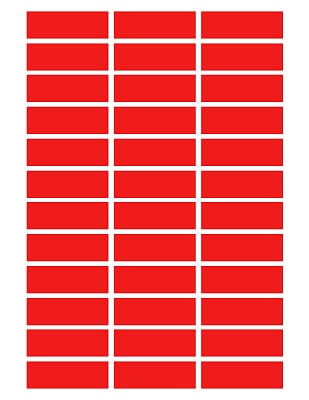
Using the text function, I simply added the title of each recipe to the appropriate color sheet!
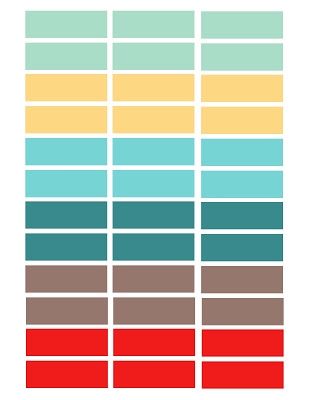
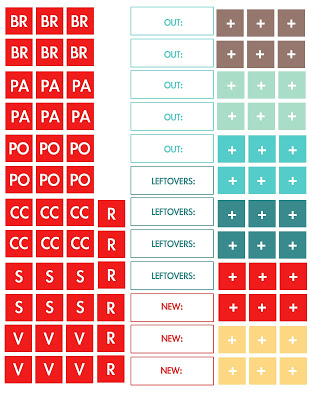
I also made a sheet with 6 blank labels of each color in order to have extras!
Next, I made my sides and symbols sheet. You can see all these labels explained here!
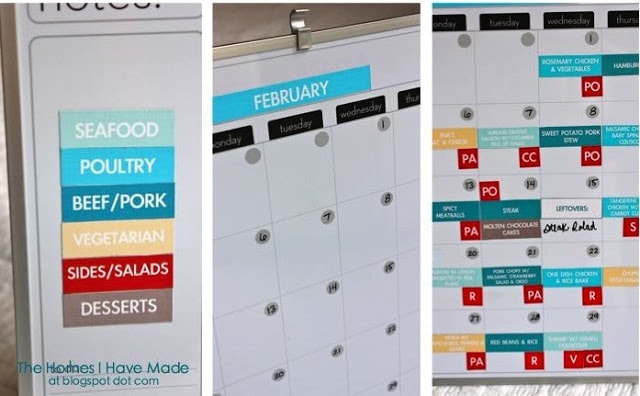
Lastly, I made “key” magnets (so I could always remember what each color stood for) and month magnets to match!
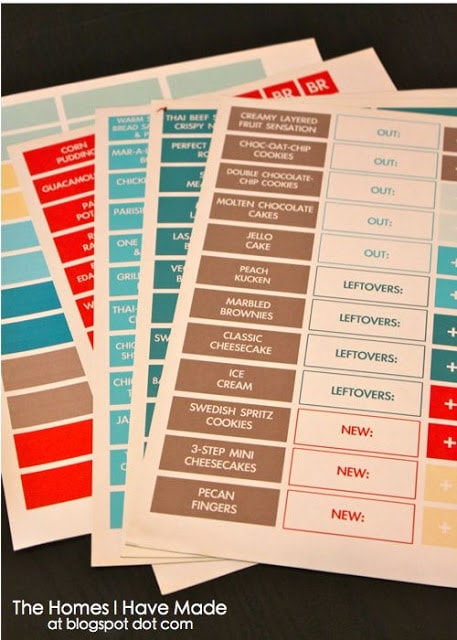
With everything all typed up and ready to go (make sure you proofread!), I printed out all my labels onto those magnetic sheets!
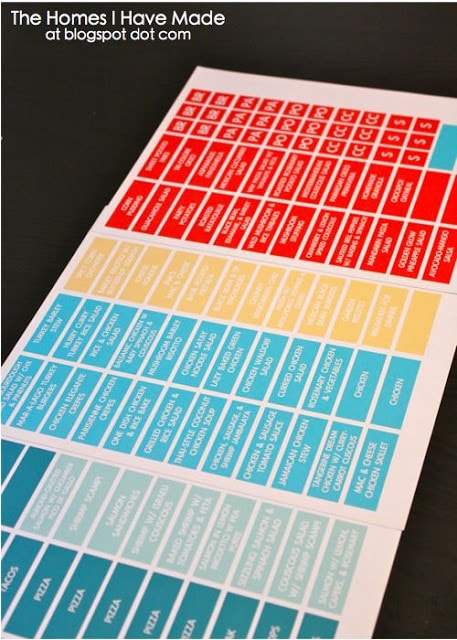
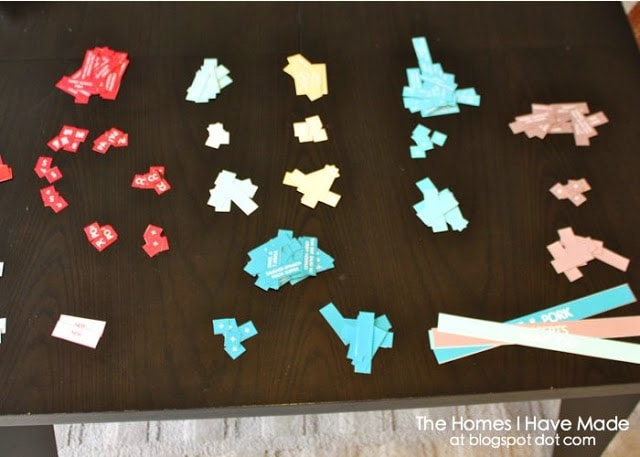
Here is how my recipe labels looked all printed out before cutting!
Using a plain ol’ scissors, I cut out each label (btw – these cut BEAUTIFULLY! I was SO worried, but they cut just like paper!)
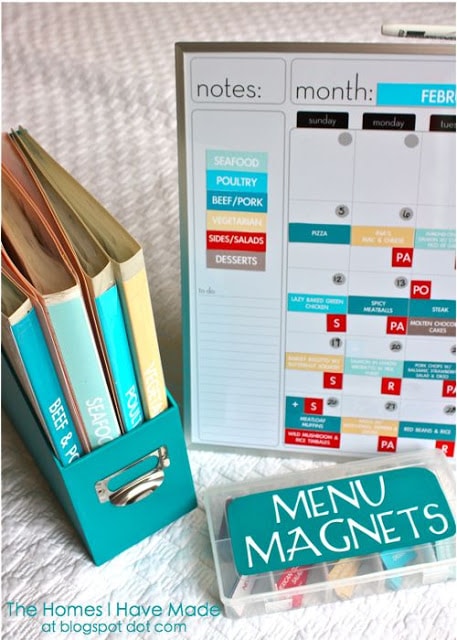
I then added my “key” magnets and setup my board for February…learn how to set it up here!
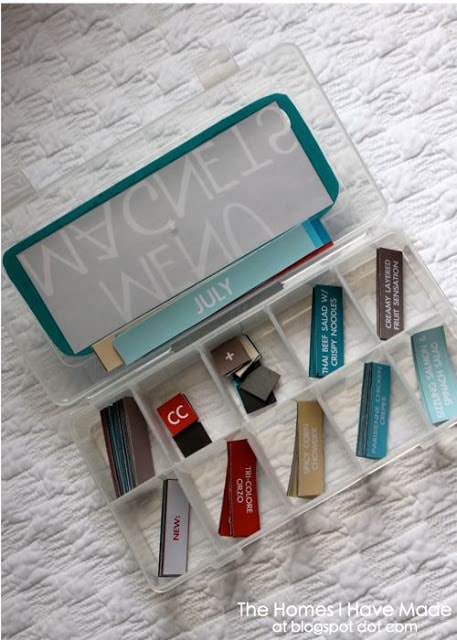
And then organized my remaining magnets in a little craft box:
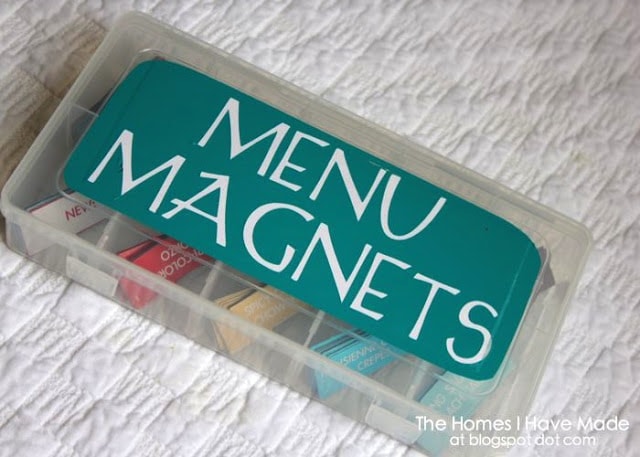
I used my cricut to make a matching vinyl label for the top of the box!
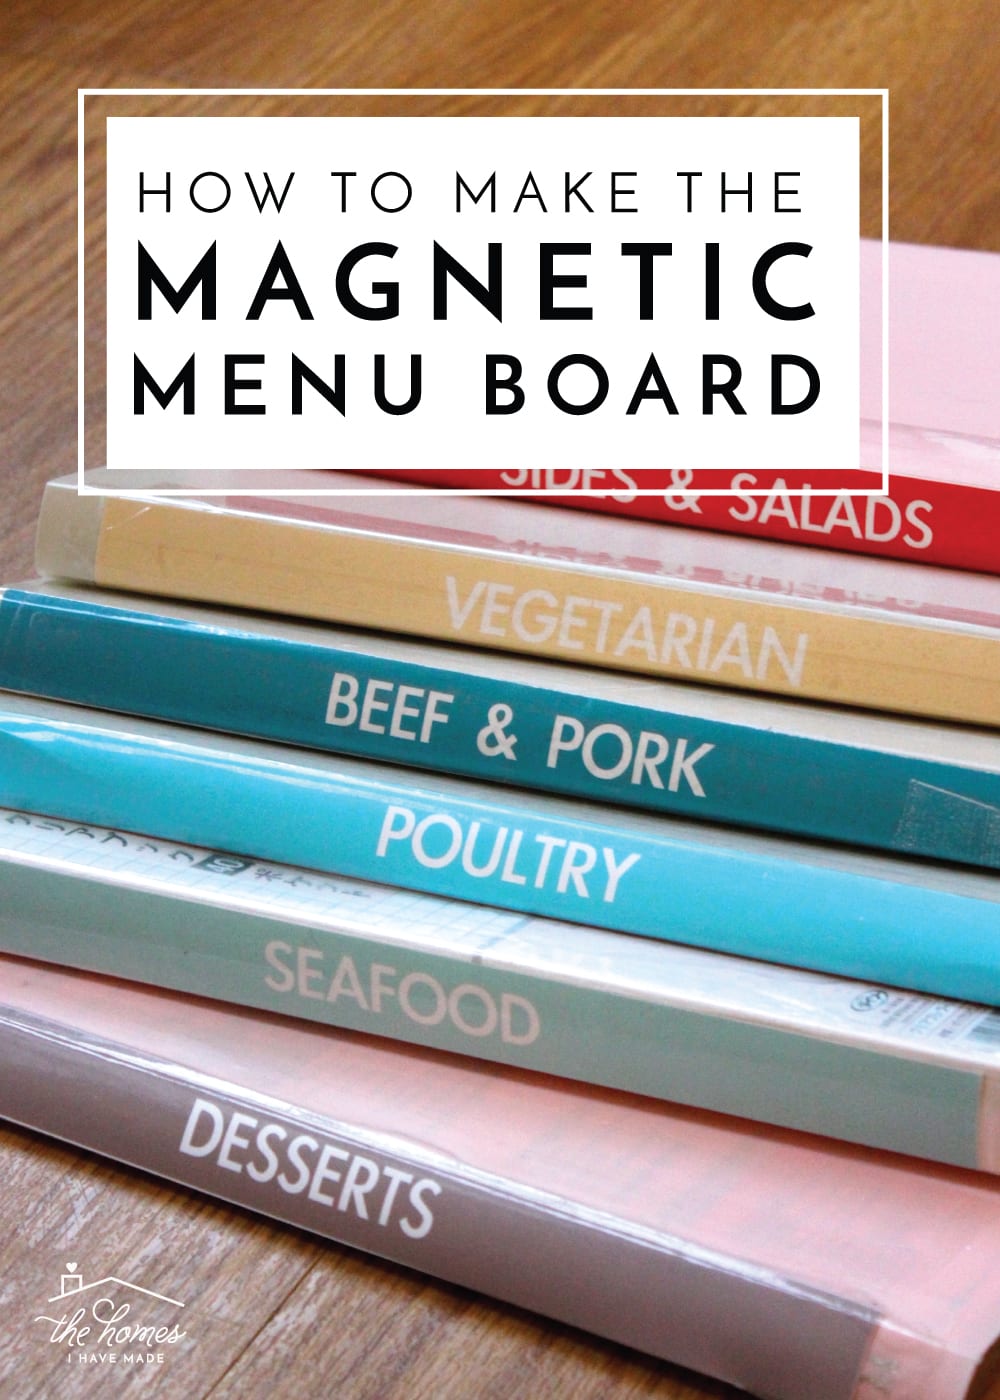
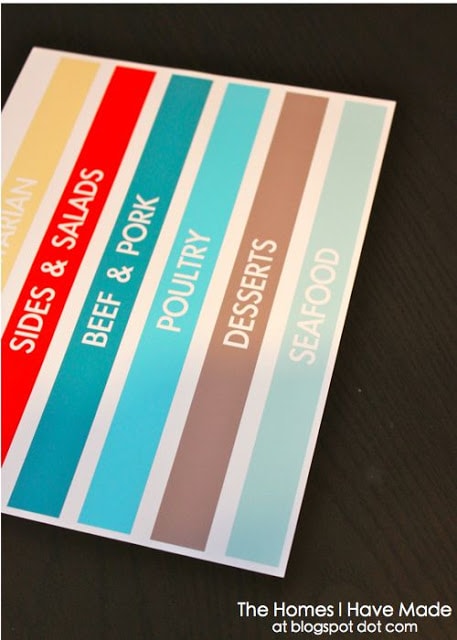
With the menu board and magnets done, it was time to turn my attention toward my recipe books. In addition to my labels, I also made a template for my spines…these I printed on card stock!
I cut out each spine…
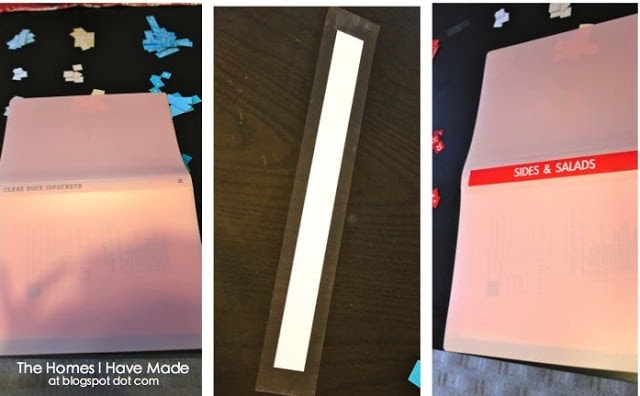
And mounted each spine onto the notebooks using the clear packaging tape (use extra for re-enforcement!)
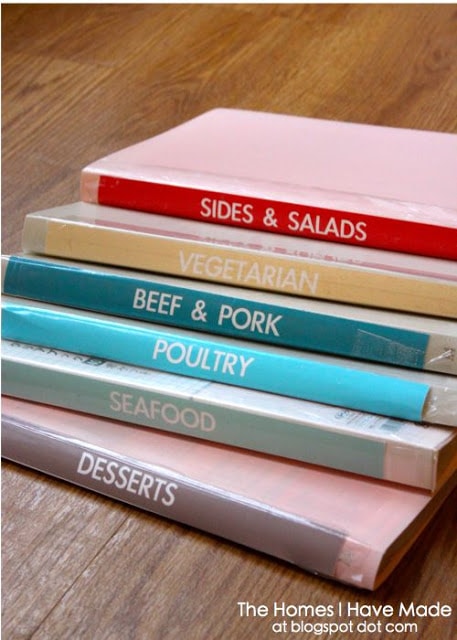
Once all six were done, I had pretty spines that coordinated with my magnets!
I loaded my books into a magazine file and now have everything sitting nice and tidy on my counter!
Get the Magnetic Menu Board Templates!
Creating your own Magnetic Menu Board is now quicker and easier than ever! I’ve created three fully editable/changeable sets of templates…all you have to do is set your categories, type in your recipes, print and assemble! SHOP HERE!
The video tutorial below shows how quick and easy it is to make the ultimate meal planning system perfectly tailored to your needs!
This project took me less than 1 nap to complete (ha…I measure my project length in nap time now!) ONCE all my recipes were organized and sorted – that’s the time-consuming part! It came together so quick and easy thanks to the magnetic sheets, and I’m telling you friends, this system really works great! Hope you enjoyed the tutorial! Next week, I am sharing the beginnings of my newest project…a “tween” girl’s bedroom makeover!!! Can’t wait! Have a great weekend.
Megan



64 Comments on “Magnetic Menu Board – Part II”
Feel like a fool but are the magnetic sheets colored? How do you get the magnets colored in so many different shades? Love the idea and have been menu planning for years with just a calander on the fridge. Only go grocery shopping once a month for the main stuff and stop weekly for bread milk etc. Thanks for posting. Shelly
Hi Shelly! The magnetic sheets are white, just like an ol' piece of printer paper! All the color comes from my templates above. I customized the colors of my boxes to my liking, then printed them out the blank white paper and cut out each one! Hope that helps!
I puzzled over how to create my own template for several hours, and then I Googled "Avery template 2.25 x .75," which were the dimensions I wanted. I'm using the template for Avery 8987–it's exactly what I need, and I can edit and customize as much as I want. Can't wait to make my own magnetic menu board!!!!
I LOVE LOVE LOVE this! I modified mine a bit slightly, to save ink i printed the words in color on a white background, and I used 1 martha stewart for avery binder with dividers (Im 23 so my recipe collection is still small!) and a magnetic calendar i had from college. LOVE this idea and thank you so much for streamlining our lives!
ALSO, I used the martha stewart for avery labels, which were rectangles with a little curve cut out, which i thought was cute! Avery template for "classic labels" http://www.avery.com/myavery/selectproduct.do?Ns=Rank%7C0&N=4294966356
I am so excited about this and cannot wait to put it to use. I have all the magnet cut outs finished, now I just need to purchase a white magnetic board with bigger calendar squares. I was able to type in the provided templates by saving the PDF file then right clicking and copying image, then pasting the image into paint. Once you paste into paint you can create text on top of each rectangle. Thank you so much for this!! Although it was a bit time consuming, in the end it will be a huge time saver!! My husband and I are planning to only go shopping bi-weekly once we have our calendar up.
I am really curious what type of printer you used for this project. Thank you
My plain ol' HP printer 🙂
This is great! I'm linking to this project. 🙂
This so amazing. I never finish anything I start. I think this will help me with my weight loss goals, since a major part of losing weight is planning!! Do you sell this and make it?
Um, thank you. I love you. I'd write more but I'm on my way to Target to get supplies.
Do you know how to pull the colors off of the color scheme?? Referring to RGBs for each color. Since your match seemlessly, I was wondering if you knew.Thanks.
Hi Julie! This is Megan over at The Homes I Have Made! You left me a question re: matching the RGB colors on my magnetic menu board prints. While I could have used the RGB colors, my program actually has a "match color" function..other programs (including Microsoft programs) have a similar "pick" color function! Hope that helps!
What type of binders did you use? The binders I've tried don't fit in the magazine file 🙁
The binders I used were actually plastic notebooks filled with clear cellophane pages; unfortunately, I bought them overseas (in Okinawam Japan) so I don't have a link of where you can get your own! Maybe try a different box or book ends to store your bigger binders?!? Good luck!
Curious to know if your system has worked for you so far and if you have kept up with it! Thanks for this amazing idea and yes I have repinned your idea!!!
Melissa
You are awesome. Seriously. That is all I have to say about this. And thank you SOOO much for the printable templates!!
That's just great!! Thank you for sharing it with us!! 🙂
Aurore
I'm a little confused as to how you got the labels onto the magnetic sheets. Did you run the magnetic sheets through your printer? Or did you print on plain paper and then somehow adhere the paper to the magnet sheets?
Yes, they are printed RIGHT ON to the magnetic sheets! Pretty wild, huh?!? The magnetic paper is specifically designed to go through printers!
Yes!! I'm so excited. It seems everytime I set my mind to do something one of the blogs I'm following features it. I saw this on Uncommon. I have a monthly calendar dry erase that I'm not using. And I've been gathering freezer friendly recipes for weeks from joelenes.blogspot.com. Then I found some super cute vintage recipe cards from lovevsdesign.com. I'm super excited. I'm making my store list now. Once I'm done with this project I'm going to make my very first craft blog. I'll be sure to link back.
So, do you use the To-Do section to write your shopping list? 🙂
What is your new Etsy shop name? I would love to purchase the templates!
You did an awesome job with this menu board! I'm new to the whole field of menu planning…. I found this totally inspiring. Thanks!
What kind of binders did you use for the recipe binders? I like the look and size of them. Thank you.
WHAT ARE THE NUMBERS FOR AFTER THE MAIN SECTIONS AND ABOVE THE SIDE?
Hi Tausha,
I included those numbers in case you wanted to use them as the dates on a magnetic calendar (instead of writing them in). Notice how they go from 1-31 🙂
Hope that helps!
Megan
Love this! What type of printer do you have/use?