Ideas for Decorating Wall Plaques – Stenciling with Glitter
Hello Everyone!
I am back today with Part II of my Ideas for Decorating Wall Plaques series! Did you see Part I on Monday?
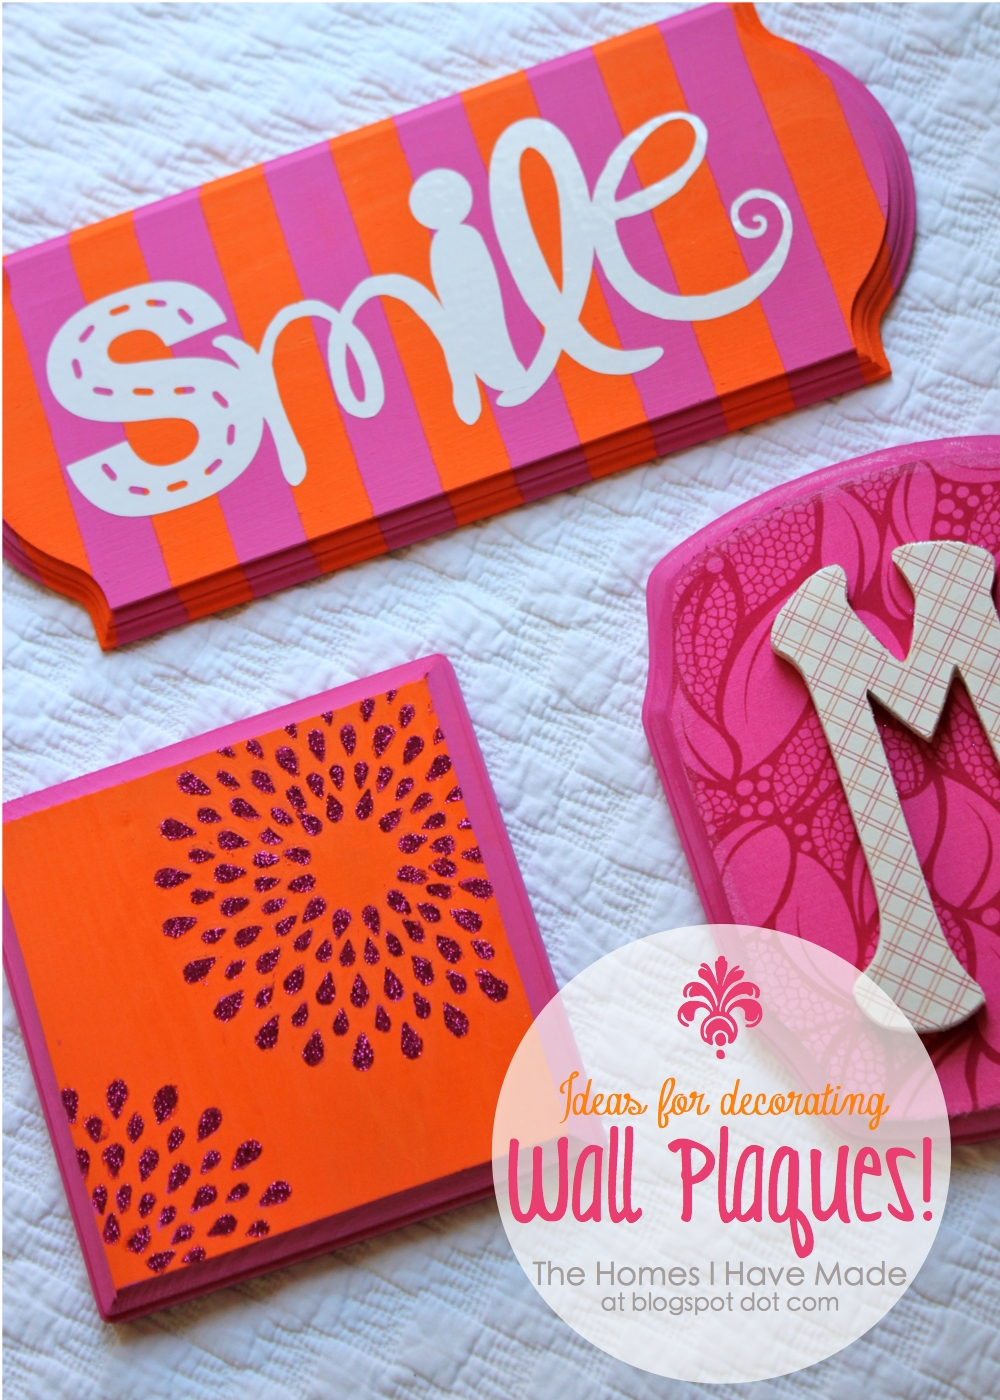
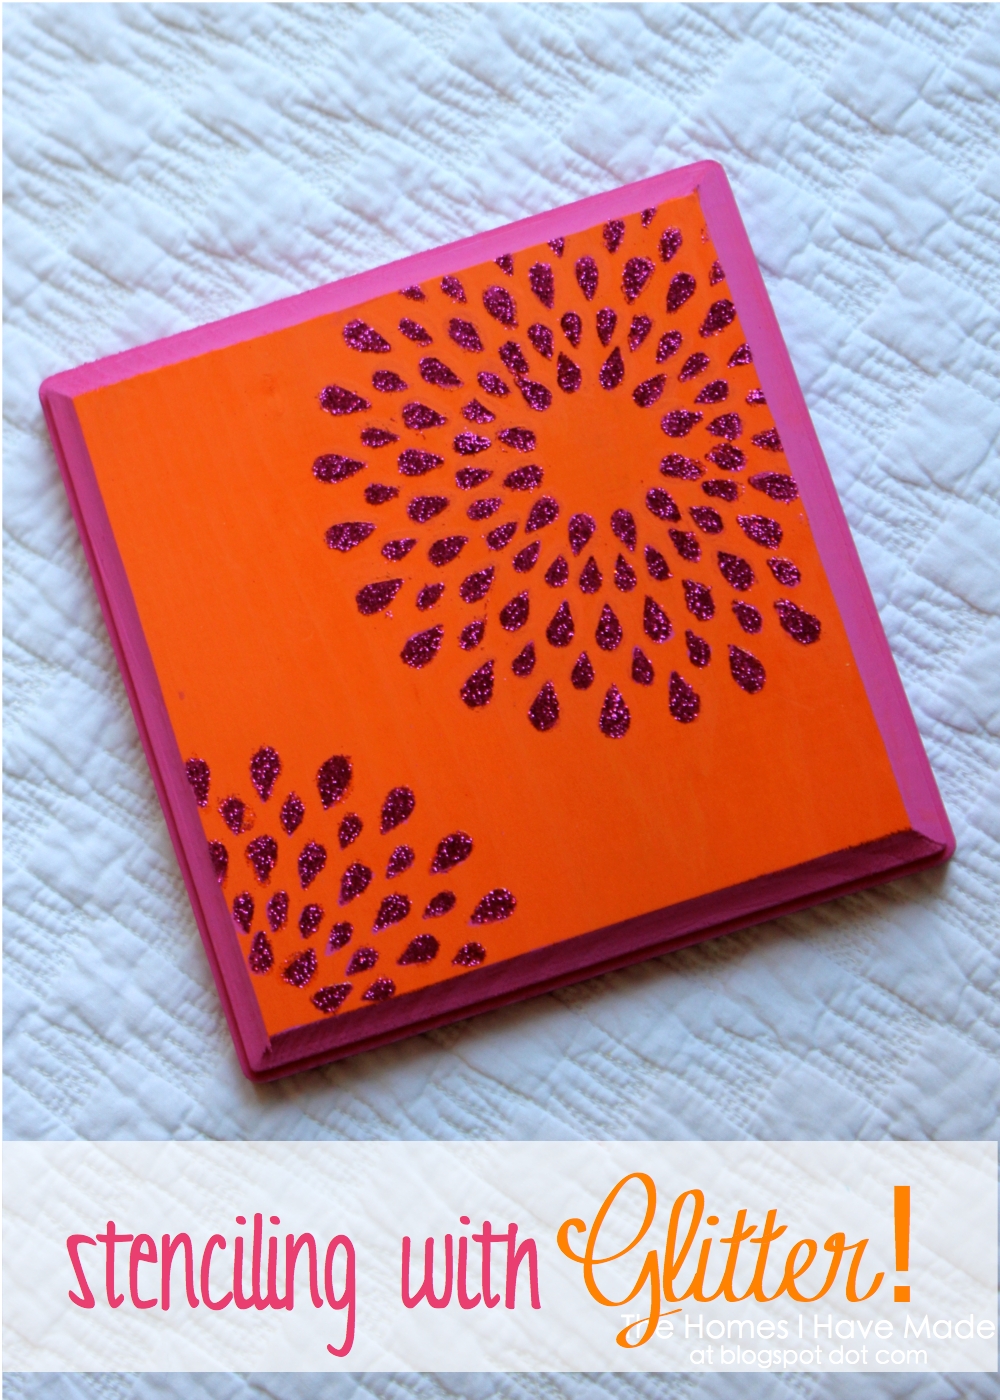
Today, I am going to show you how I made this little cutie!
Here we go!
I realize that stenciling is no big deal and nothing new to many of you out there! But this project puts a fun spin on stenciling by using glitter! Here’s what you need to make your own:

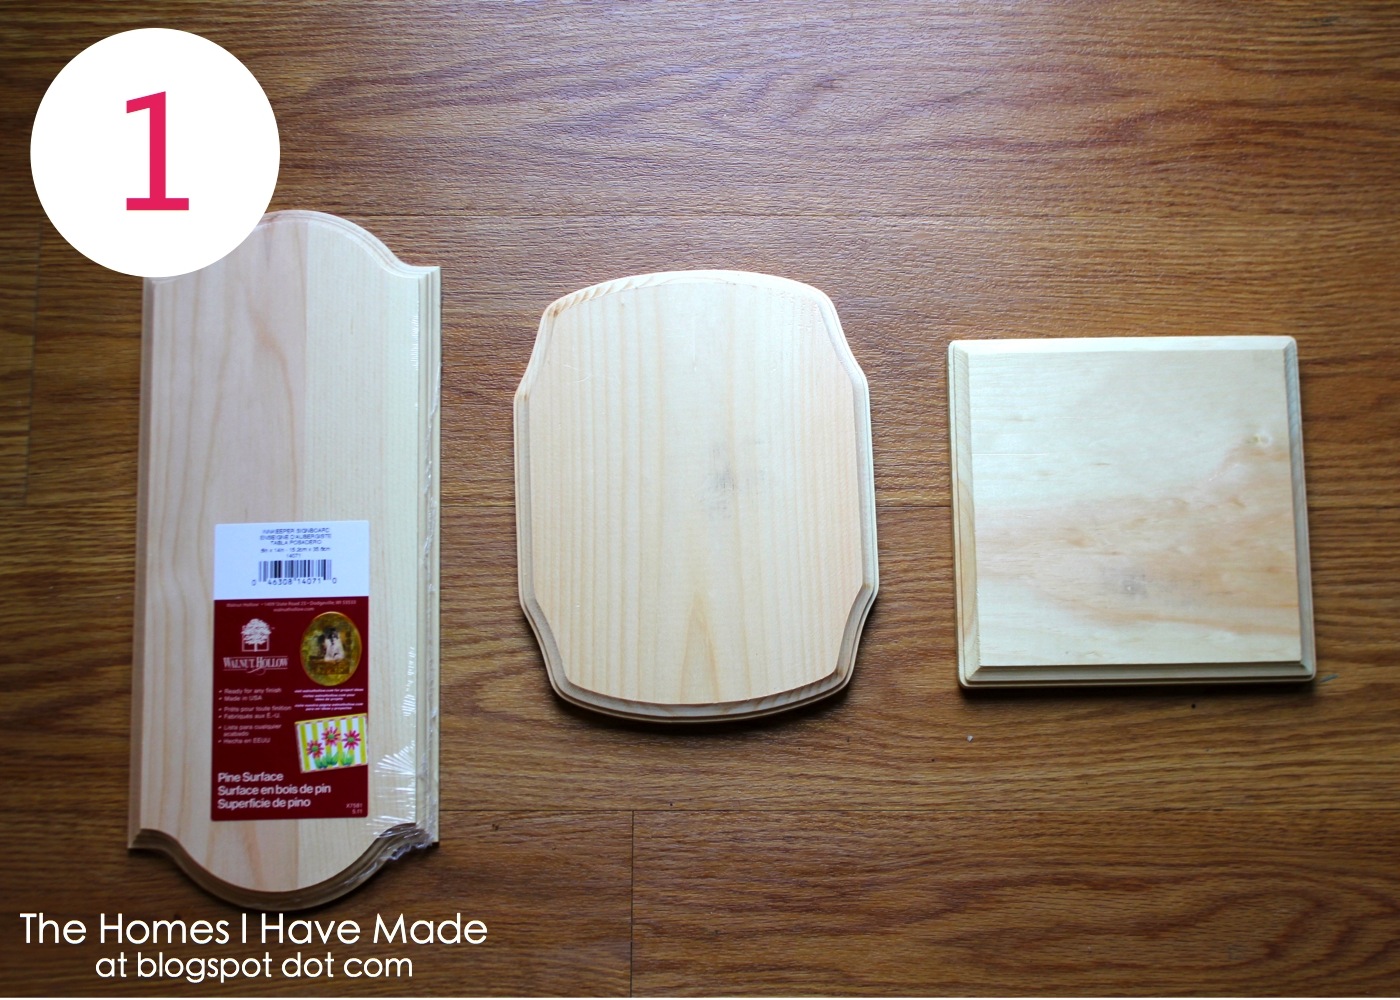
1. Same as the first plaque I showed you, start by cleaning up your plaque by removing any labels or tags, and gently sanding down the edges if they are rough.
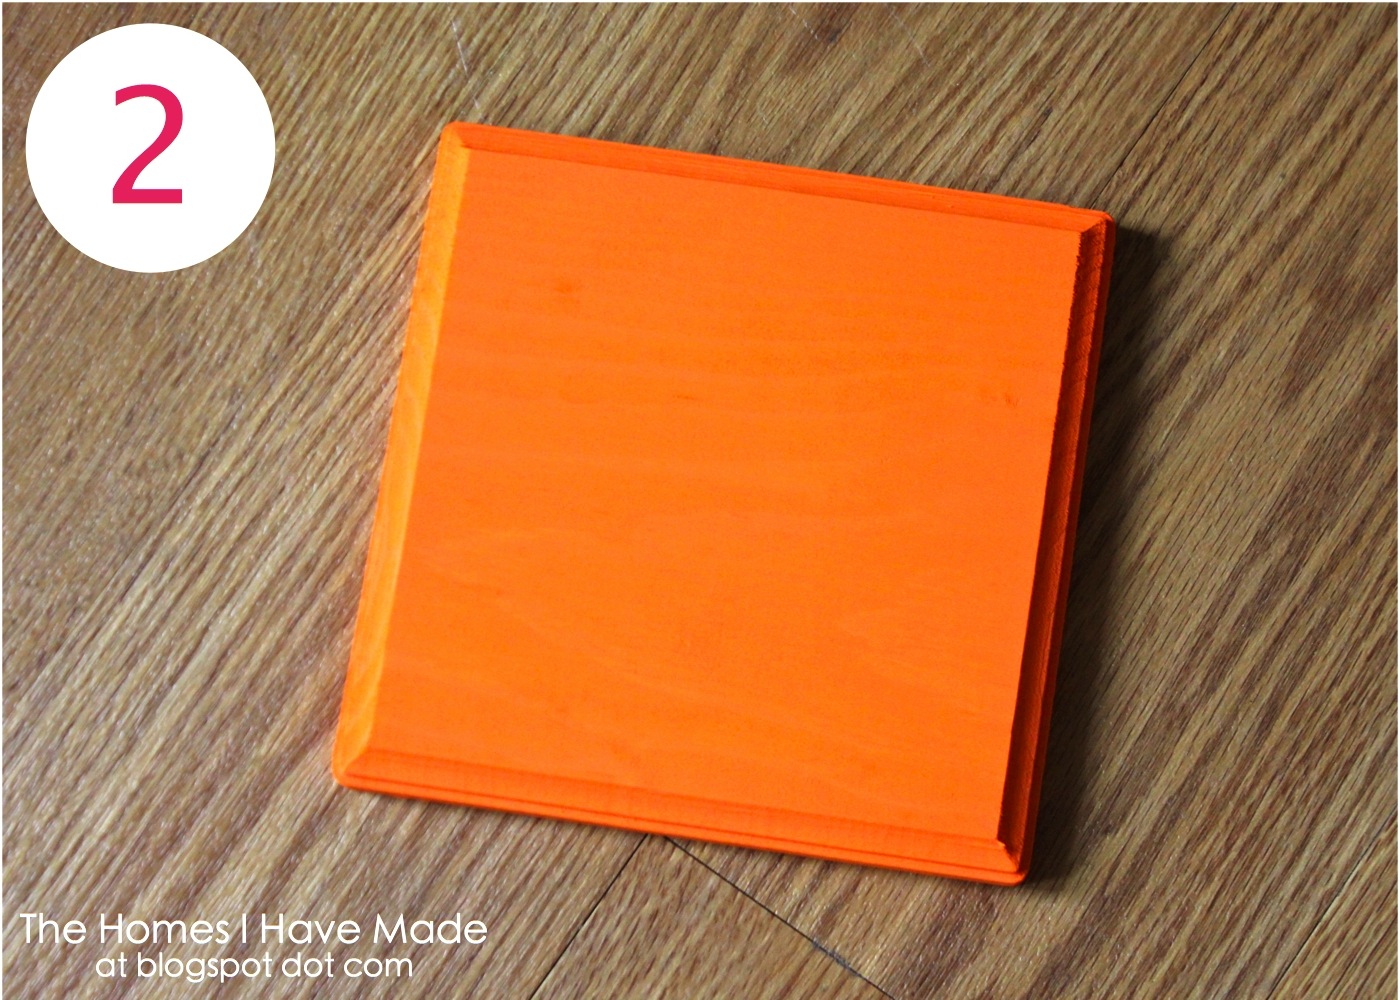
2. Paint your plaque. Using a paint brush or sponge, paint a nice, even base coat on your plaque, including all for sides.
3. Stencil your plaque with paint. (You could possibly skip this step, but I wasn’t sure how well the glitter alone would cover my orange paint…to be sure your design shows up nice and bold, do a quick stencil with paint first!). Choose a stencil (I used one of Martha Stewart’s), secure it with painter’s tape, and lightly dab on a contrasting color paint. Move the stencil around until you get the patten you desire.
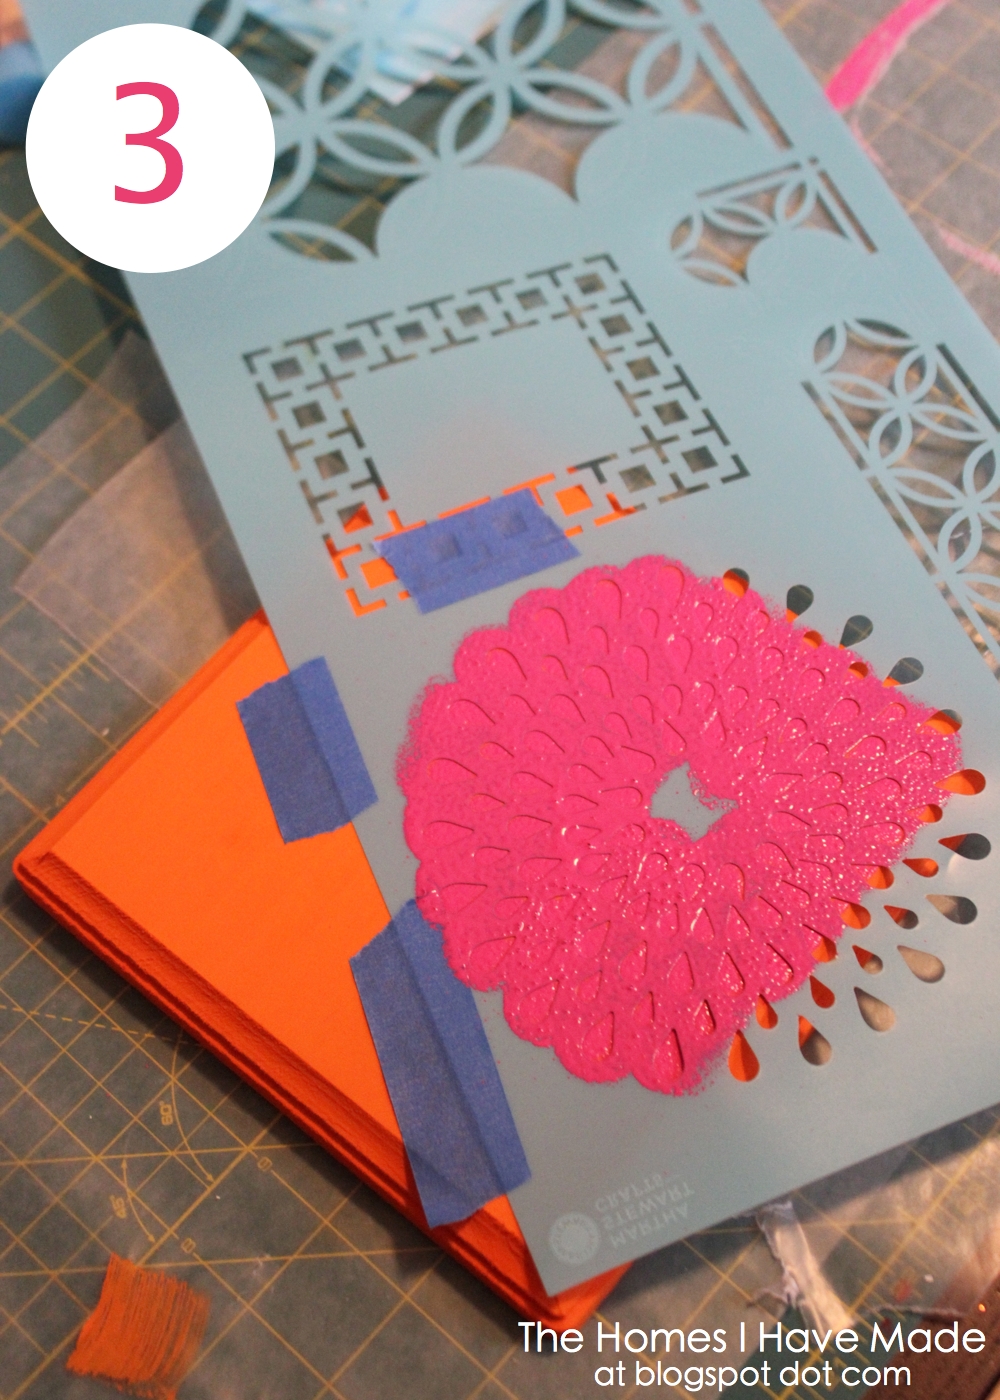
4. Re-stencil with glitter. Once your paint is fully dry, line up your stencil again and re-tape it down to hold it in place. Working in small sections, apply glue (with a paint brush) and add glitter to your stenciled image. Once, you’ve worked your way around the entire image, remove your stencil…and admire your beautiful work!

5. Paint the edges. This was a last-minute (but much needed decision). Using a paint brush, paint the edges of the plaque to match your stencil. You can use painter’s tape to keep you in line, but it’s pretty easy to free hand!
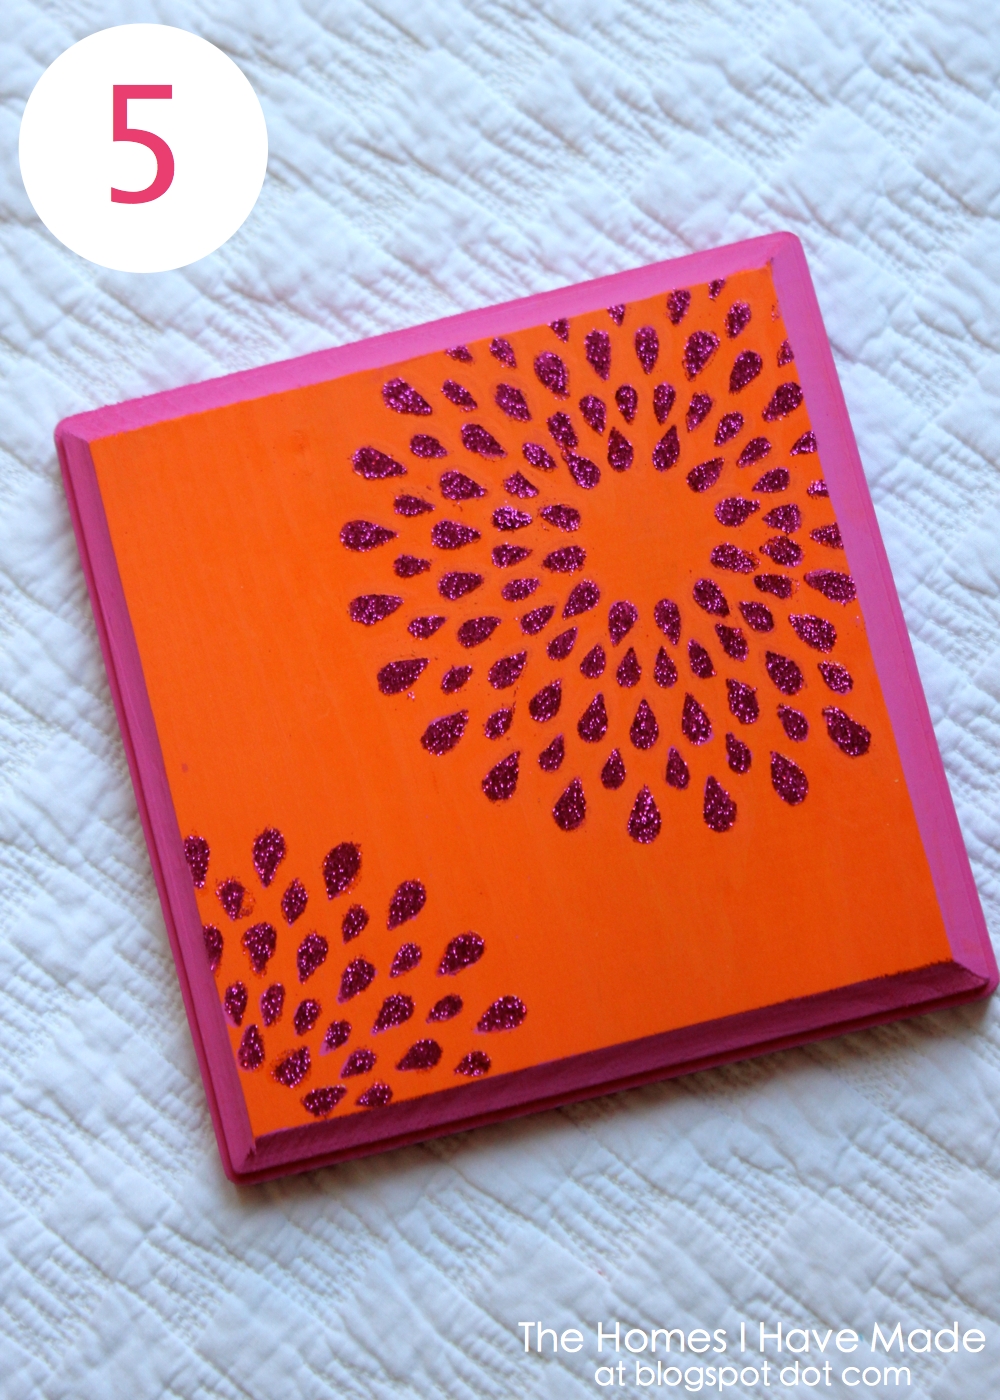
Using glitter for this project took it from “Plane Jane” to “Fabulous Frida”!!! and it really was so simple! (Btw, I found a huge package of Martha Steward glitter (retail value = $30) in the clearance section of JoAnn’s for $15! Check the clearance section, people!!)
See you back on Friday for my final tutorial in this series! Until then…

I am linking this post to:


See You Soon!
Megan
Megan

3 Comments on “Ideas for Decorating Wall Plaques – Stenciling with Glitter”
Love, love, love! I was just thinking how I would like to make some wall plaques so this came at a perfect time! Thank you!!
Great idea! I had never thought of this before. I will definitely have to try it!
I'm going to have to do this for my dorm room!
clarepurvis.blogspot.com