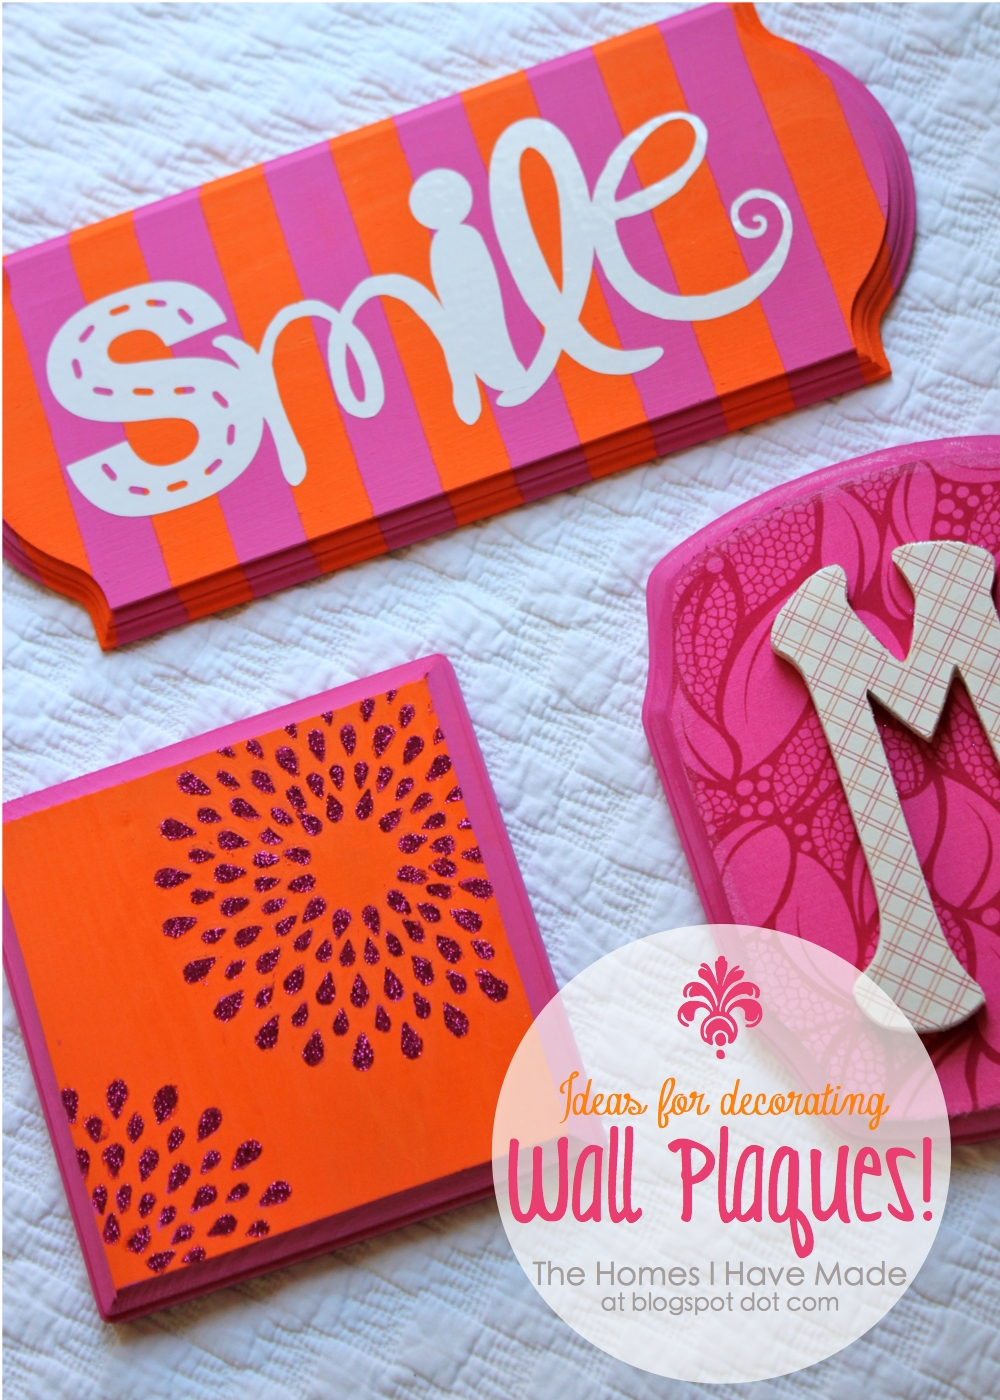
Ideas for Decorating Wooden Wall Plaques
Let’s talk about wall plaques, shall we? (Random, I know!) It’s just that I know you’ve seen them around craft stores (especially lately, in all sorts of shapes and sizes!), and maybe wondered what you could do with them! Or perhaps you have some in your craft stash, and your are waiting for inspiration to strike in order to give them the star treatment! Since I recently used a few of these babies on my niece’s gallery wall, I thought it would be fun to give you some (hopefully) new ideas on how to use these craft gems!
Fabric and Paper

Here is what you need to make one of your own!

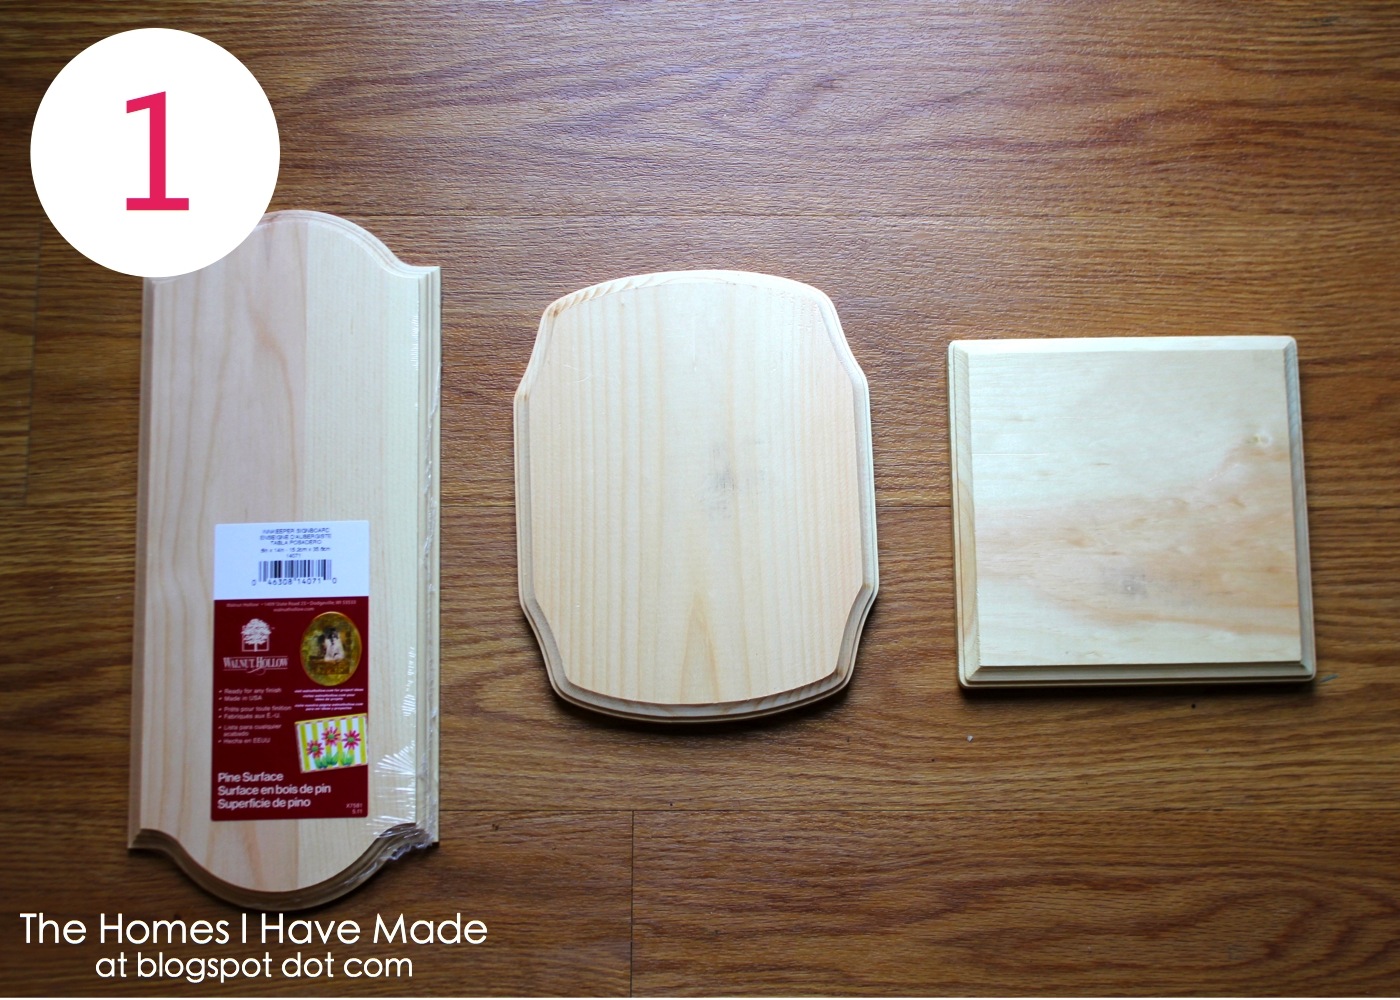
1. Clean up the plaque. I bought my plaques (with coupons) at JoAnn’s. Before getting started, peel off and clean any stickers or tags, and sand down the edges if they are rough.

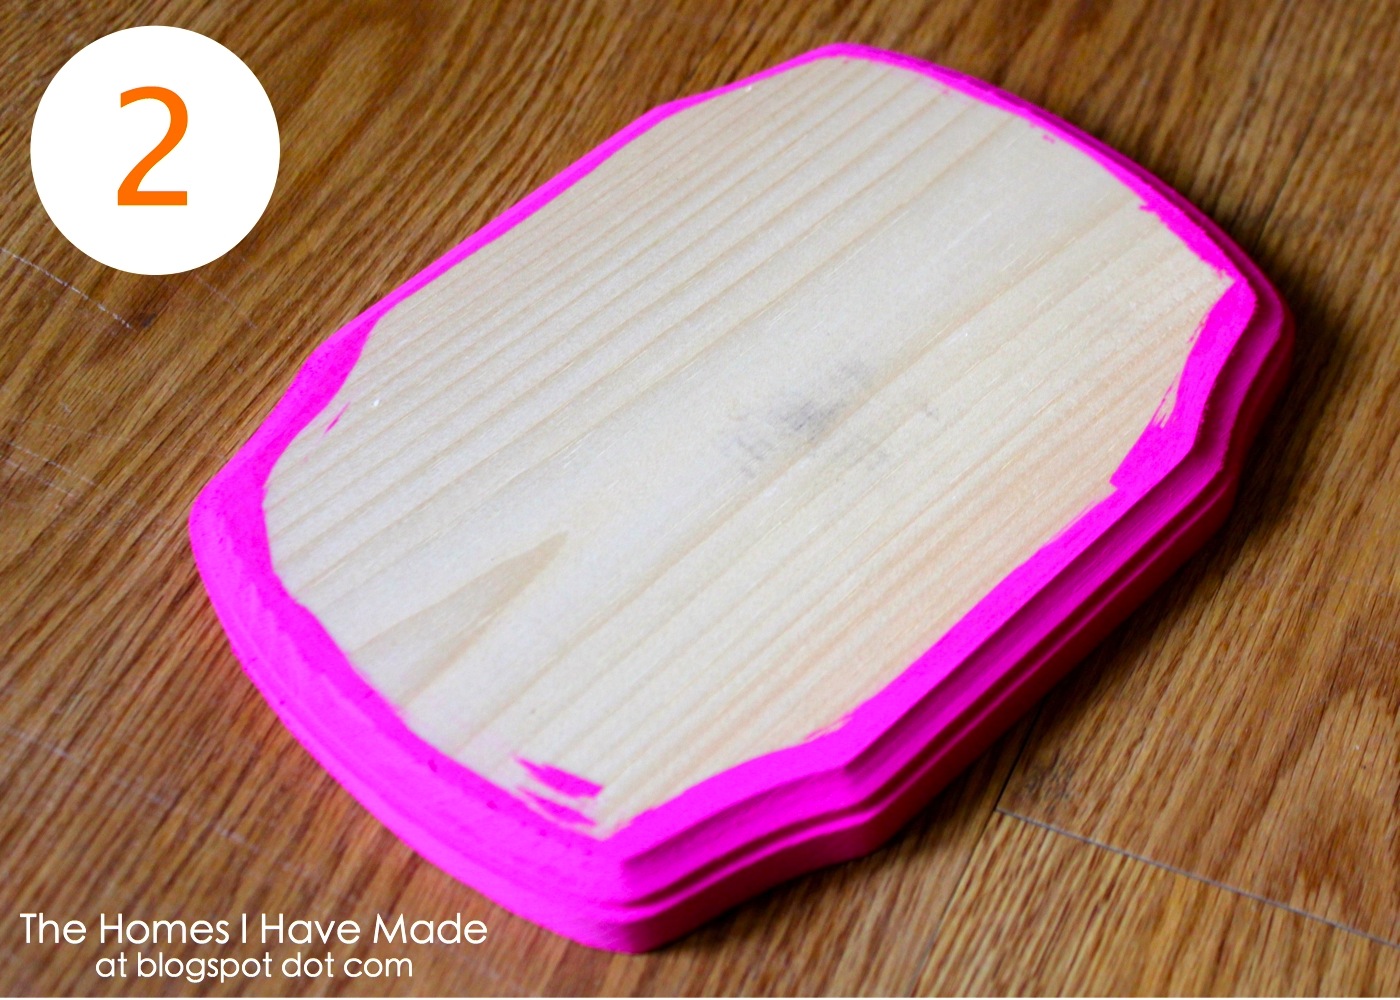
2. Paint the edges of the plaque. Because the fabric will cover the front of the plaque, you only need to paint the edges (you may certainly paint the entire thing if you wish!). Using a sponge or paint brush, cover the edges with craft paint – do two or three coats to get nice even coverage. Be sure to paint 1/4″ or so onto the top surface of the plaque so there is no wood color peaking through if your fabric isn’t cut just right!
3. Prep and cut the fabric. (You can skip this first part if you wish!). I first ironed my fabric to fusible web. Not only did this give me a paper surface to trace on, but it also allowed me to iron my fabric on to the wood (yes, that actually works!). Once fused, I turned my plaque top-side-down onto the wrong side of my fabric. With a pencil, I then traced as close to the top of the plaque as I could. Once fully traced, I simply cut out my shape! (NOTE – this is not a perfect process! Even with tracing, I still had to go back and trim here and there to make sure it fit on top of my plaque just right! Play with it until you have no fabric hanging over the top edge).

4. Secure the fabric to the plaque. Because I used fusible web, I just ironed my fabric right onto my wooden plaque. To ensure that it didn’t come off however, I went back around the edges with matte Modge Podge. If you don’t want to bother with the fusible web, you can secure your fabric with craft glue or Modge Podge. (NOTE – I wouldn’t use hot glue because it creates lines and bumps once it dries!). Now, set your plaque aside.

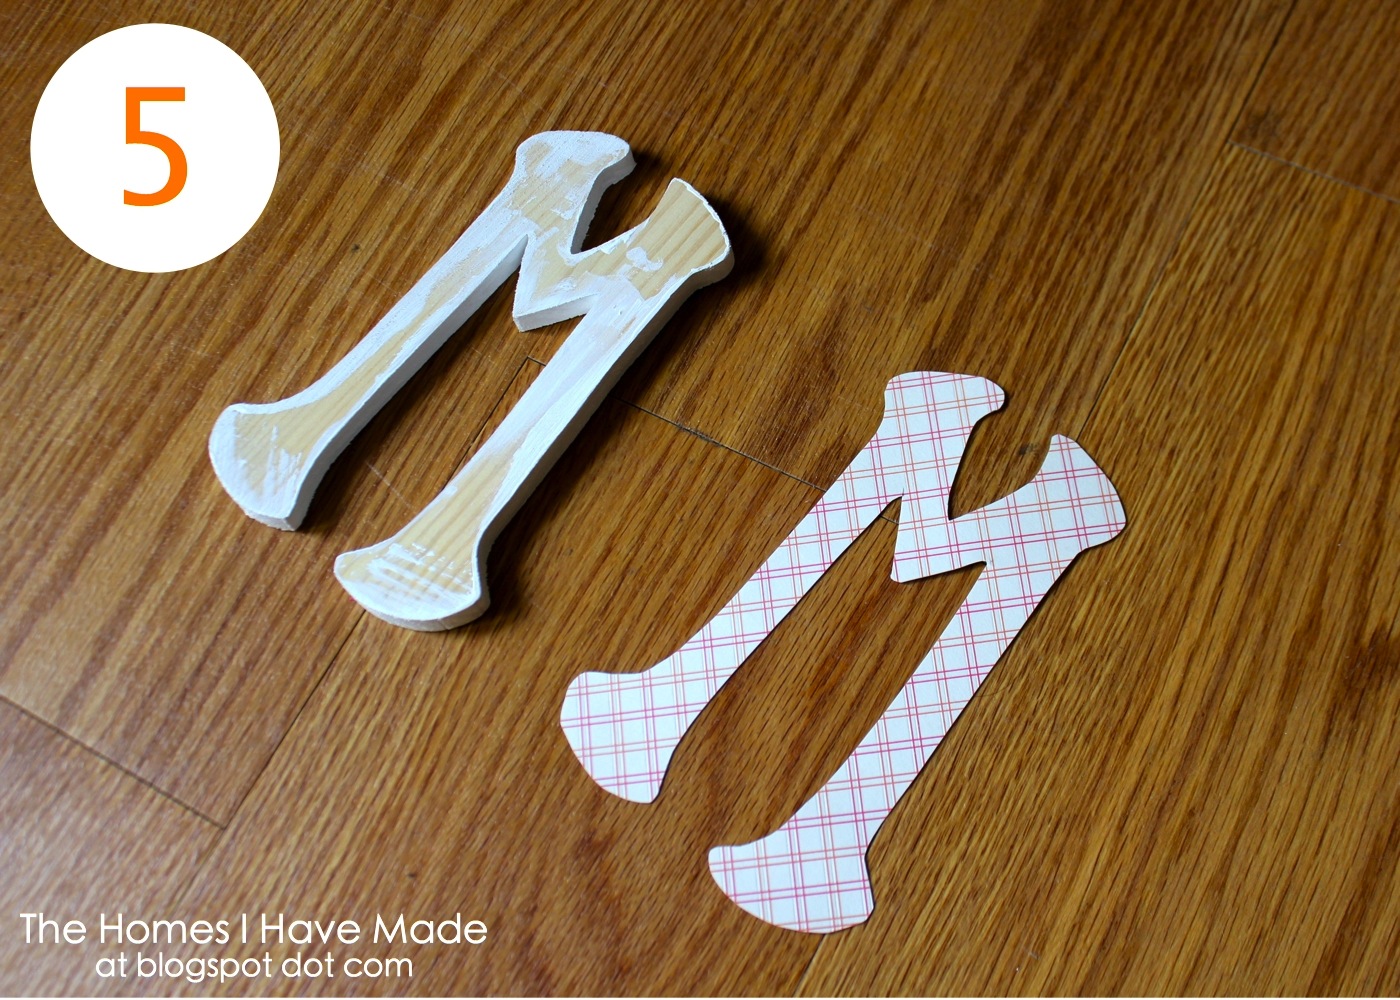
4. Create the wooden monogram. Repeat the paint/trace process with the small wooden letter. I painted the edges of my letter “M” with white craft paint, and then traced the letter onto coordinating scrapbook paper. You could certainly use fabric here as well, but I really liked the differences in texture. (However, I do think a tone-on-tone approach would look really neat too!). Wait…don’t adhere your decorative covering to your letter just yet!
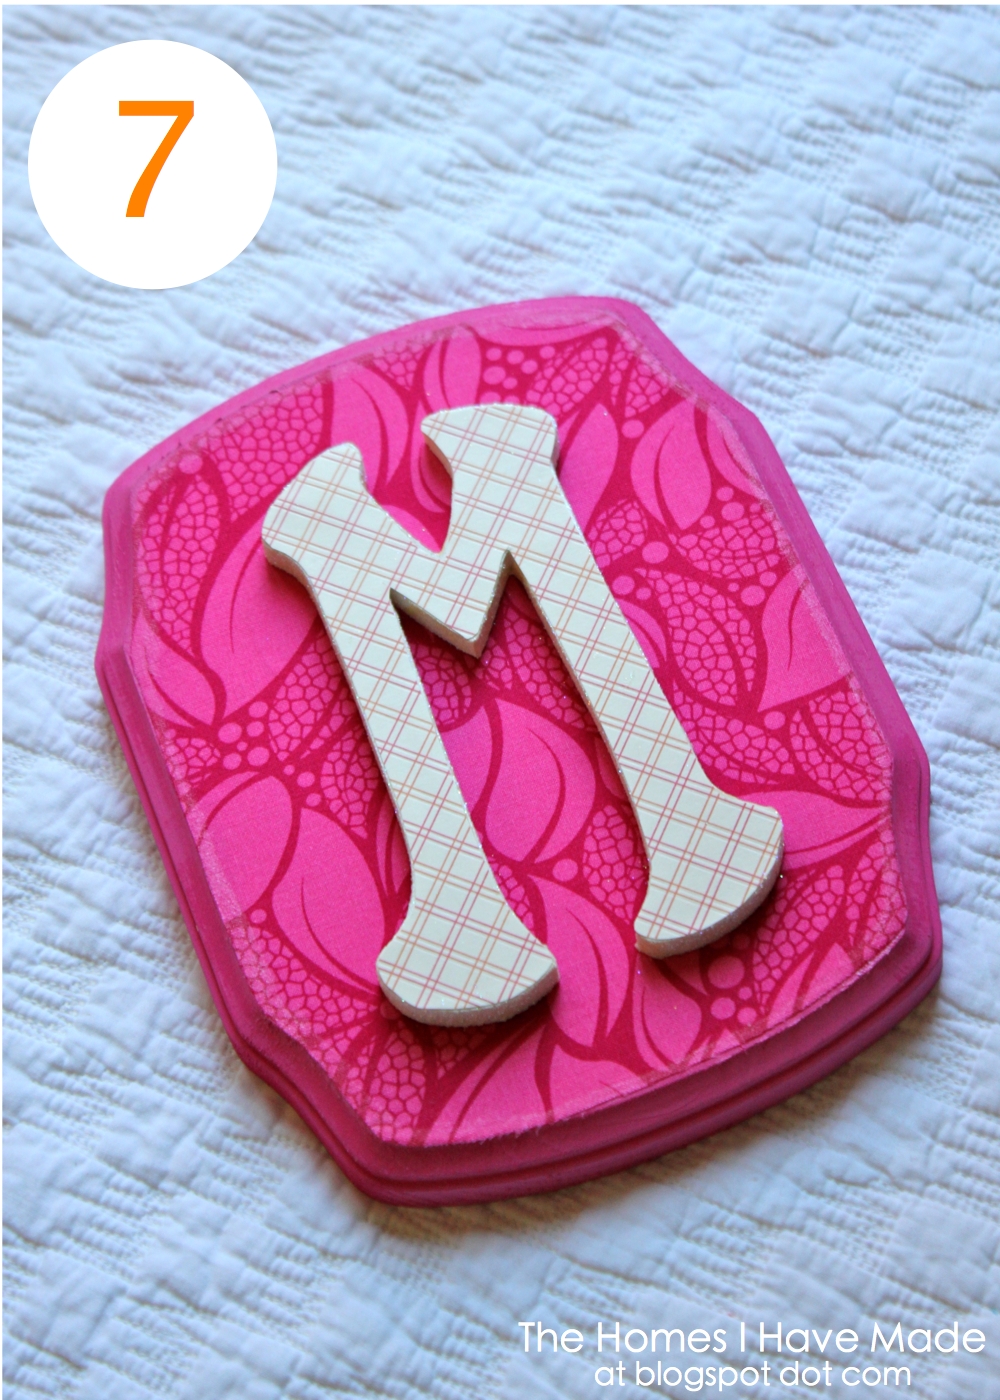
5. Glitter the edges of the wooden letter. To give the letter a little glam around the rim, cover the edge (all the way around) with craft glue. Lightly sprinkle glitter to cover the edges. This is simple to do, and really adds a lot once the plaque is up on the wall!

7. Assemble your plaque. Using craft glue, attach your scrapbook cut out to your wooden letter, and then attach the letter to the fabric-covered plaque using hot glue. In order to hang it on the wall, I made a “wall hanger” out of a pop top from a soda can.
Stencil & Glitter
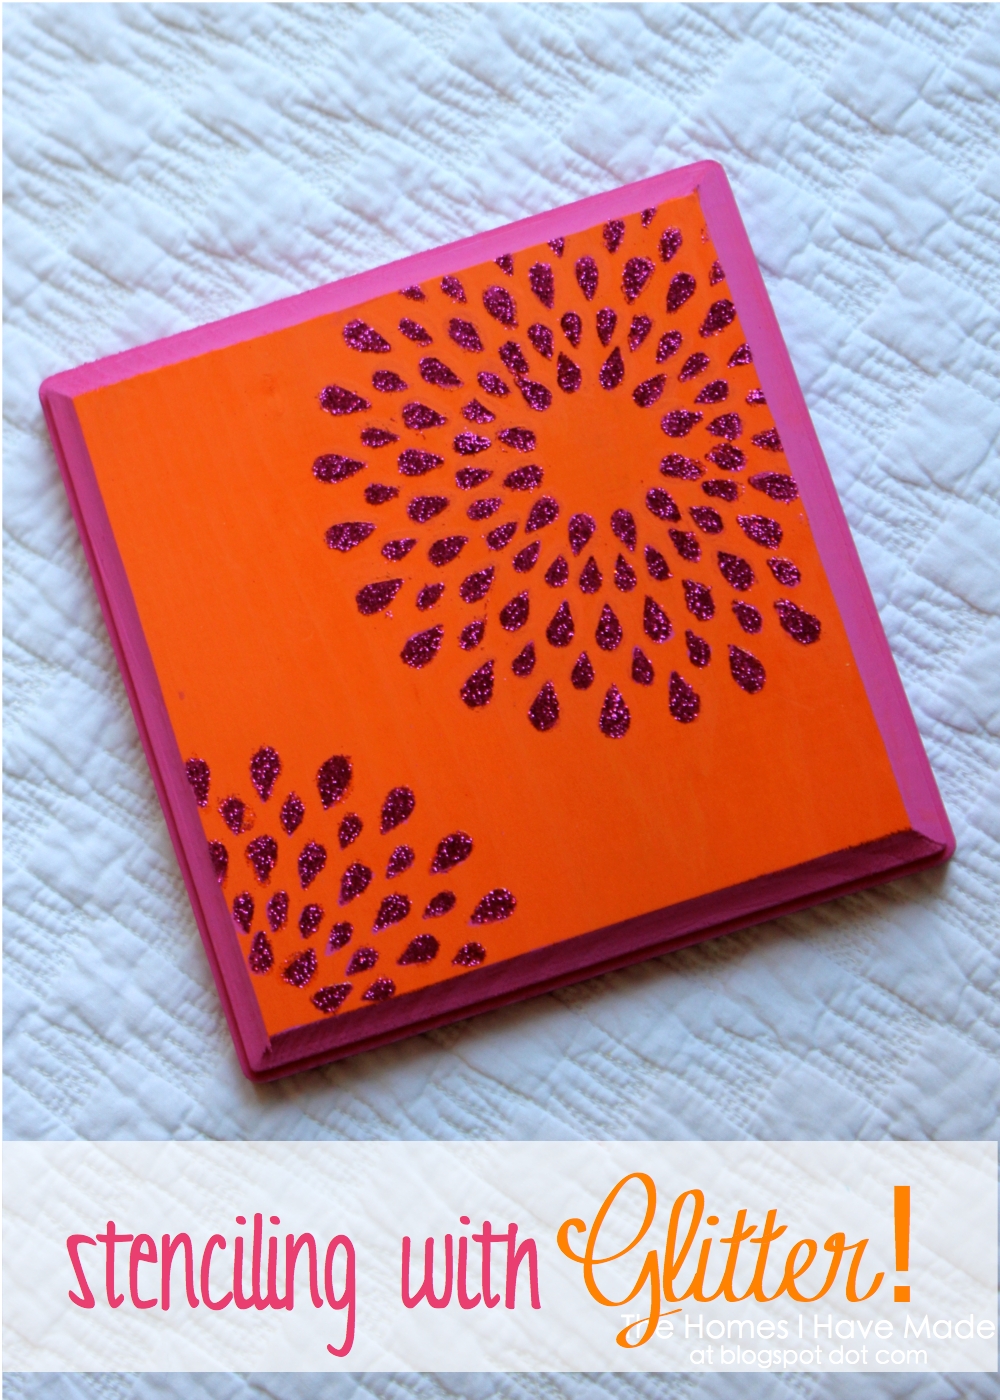
I realize that stenciling is no big deal and nothing new to many of you out there! But this project puts a fun spin on stenciling by using glitter! Here’s what you need to make your own:

1. Same as the first plaque I showed you, start by cleaning up your plaque by removing any labels or tags, and gently sanding down the edges if they are rough.
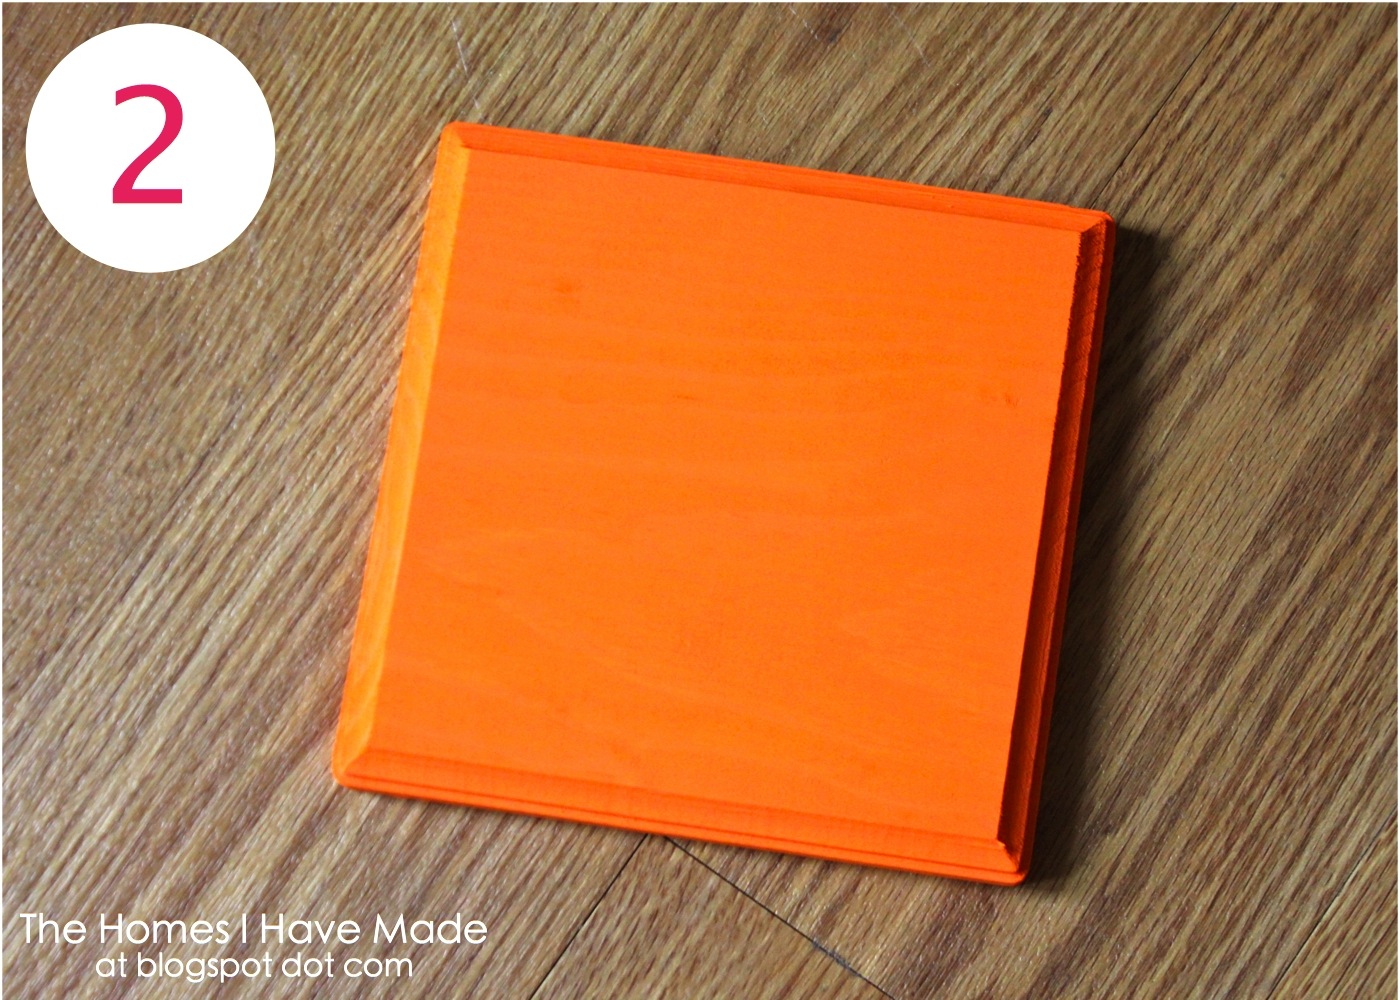
2. Paint your plaque. Using a paint brush or sponge, paint a nice, even base coat on your plaque, including all for sides.
3. Stencil your plaque with paint. (You could possibly skip this step, but I wasn’t sure how well the glitter alone would cover my orange paint…to be sure your design shows up nice and bold, do a quick stencil with paint first!). Choose a stencil (I used one of Martha Stewart’s), secure it with painter’s tape, and lightly dab on a contrasting color paint. Move the stencil around until you get the patten you desire.
Want to save this post?
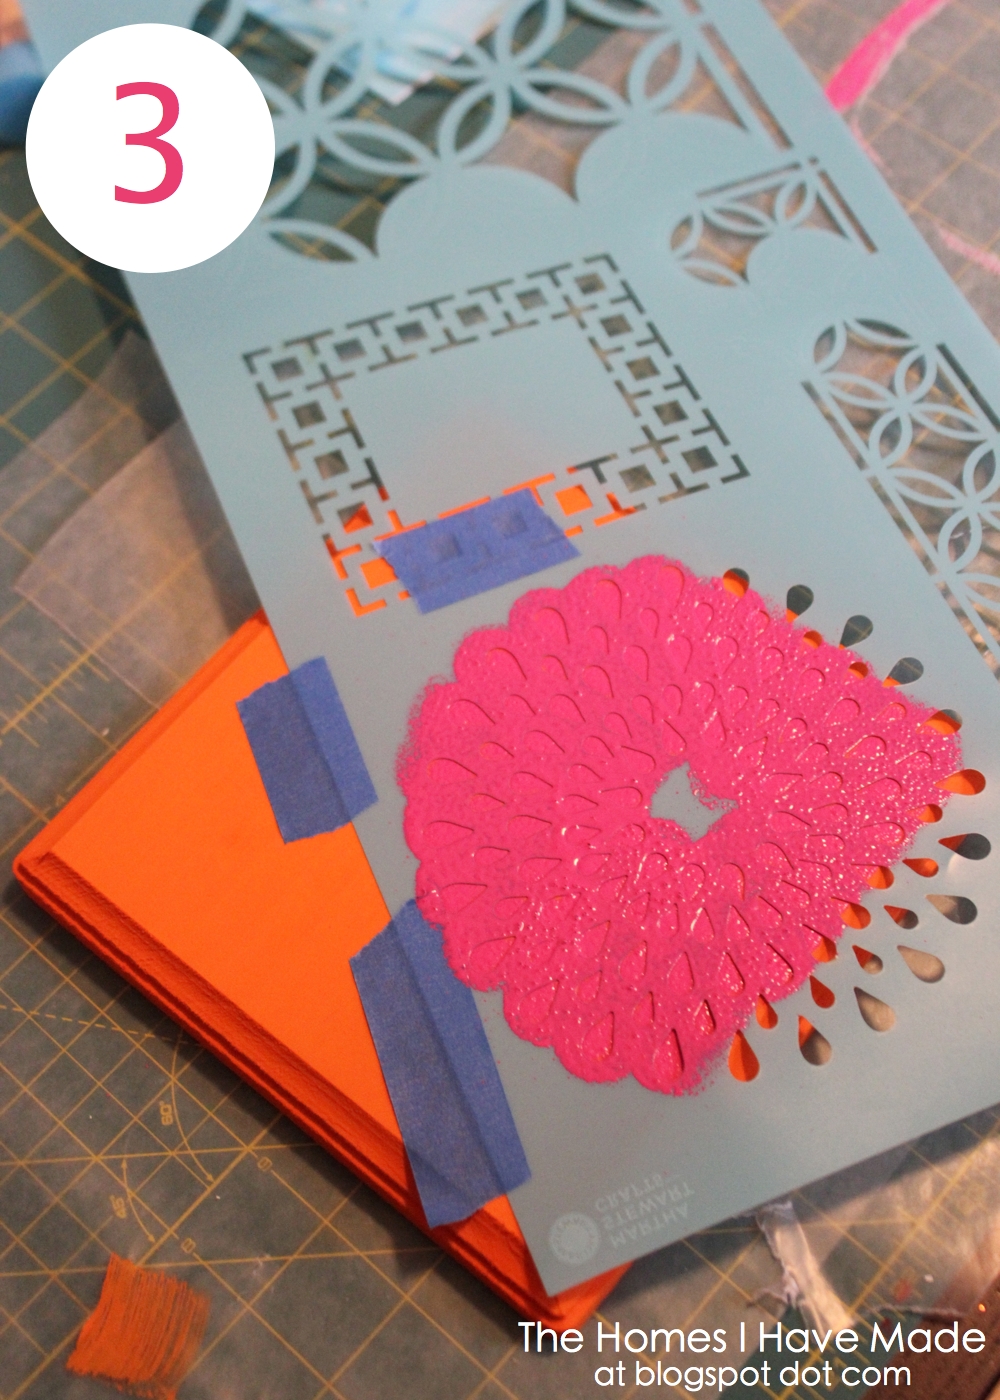
4. Re-stencil with glitter. Once your paint is fully dry, line up your stencil again and re-tape it down to hold it in place. Working in small sections, apply glue (with a paint brush) and add glitter to your stenciled image. Once, you’ve worked your way around the entire image, remove your stencil…and admire your beautiful work!

5. Paint the edges. This was a last-minute (but much needed decision). Using a paint brush, paint the edges of the plaque to match your stencil. You can use painter’s tape to keep you in line, but it’s pretty easy to free hand!
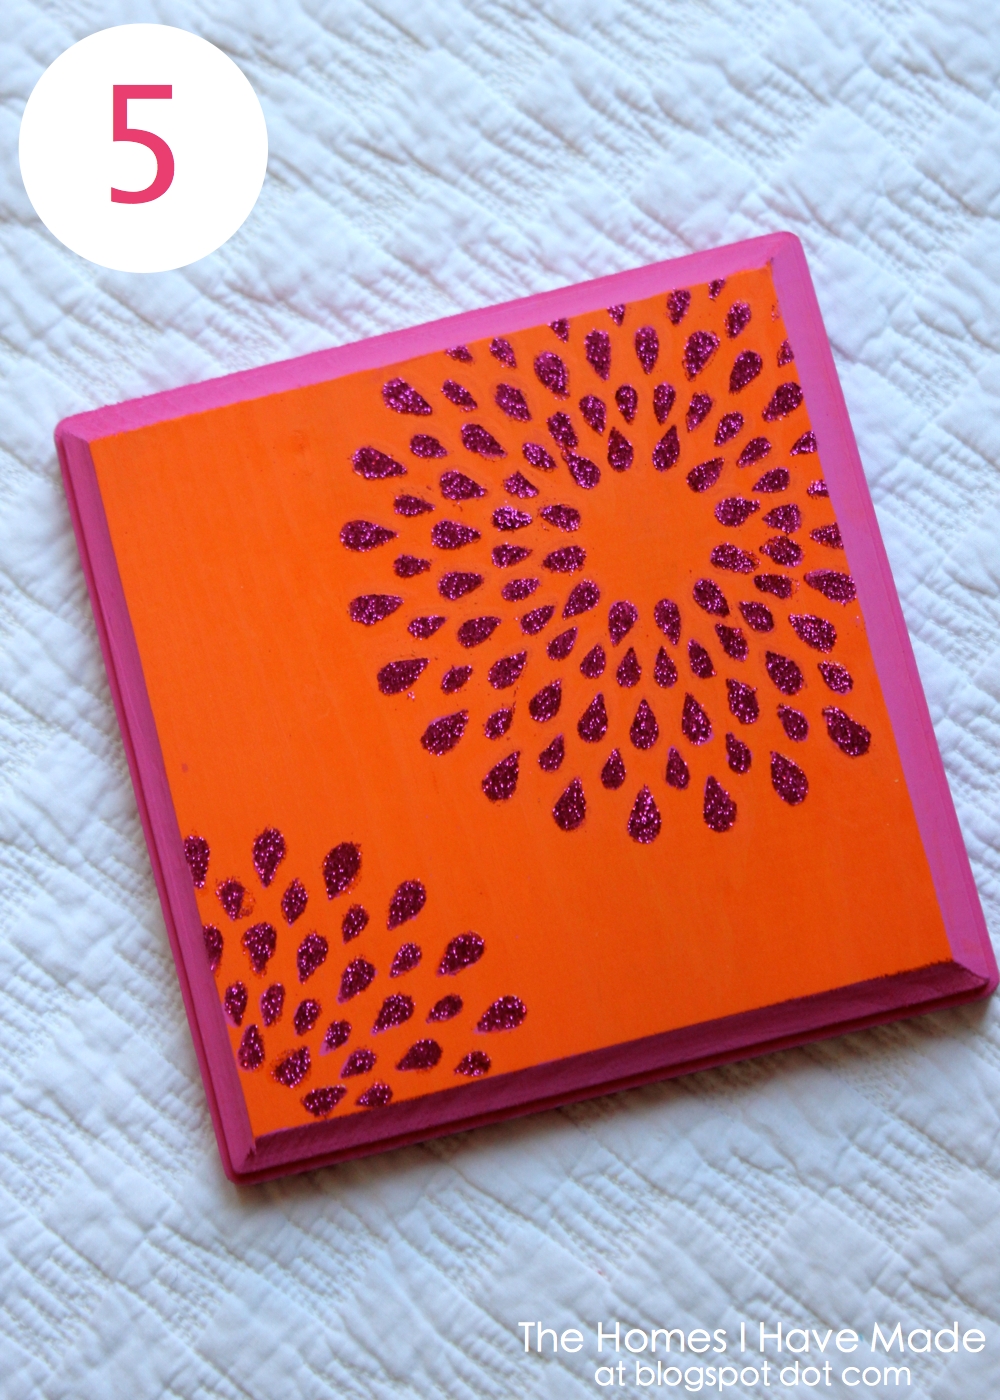
Using glitter for this project took it from “Plane Jane” to “Fabulous Frida”!!! and it really was so simple!
Striped Word Art


1. Same as the other plaques, before you get painting, clean your plaque. Remove any tags and labels or sticky residue, and sand any rough edges.

2. Paint a base coat. Using plain ol’ acrylic craft paint and a brush or sponge, apply a nice, even coat of color to your board. Let dry, and repeat 1 or 2 more times. Let dry thoroughly before continuing.

3. Apply tape. Apply strips of painter’s tape to create your stripes. You can make these any distance apart you like…but to avoid measuring (I’m lazy that way), I simply used the width of my tape as the width of my stripes (I had an extra length of tape that I put down to “measure” between each stripe and removed it as I went…does that make sense?). Really press down and make sure your tape is secured to the plaque (including all the groves down the edges).

4. Paint contrasting stripes. Using a complimentary color, paint all your exposed surfaces (including the edges) with a brush or sponge.
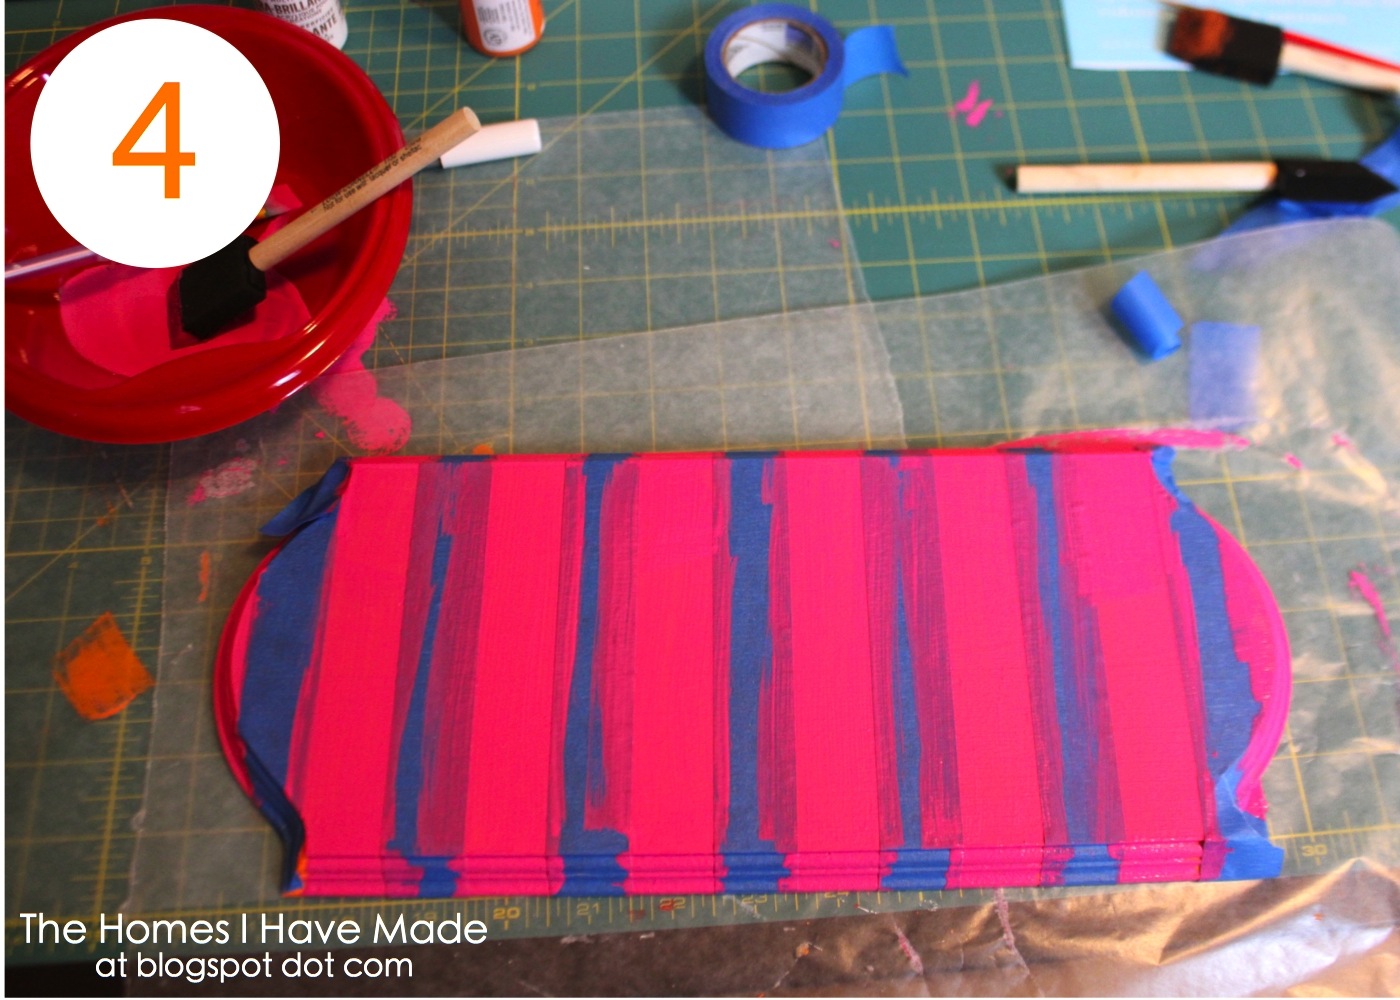
5. Remove your tape. Before your paint is completely dry, go ahead and remove your tape. Despite my efforts, I still ended up with some messy spots, so I went back and touched them up by hand!

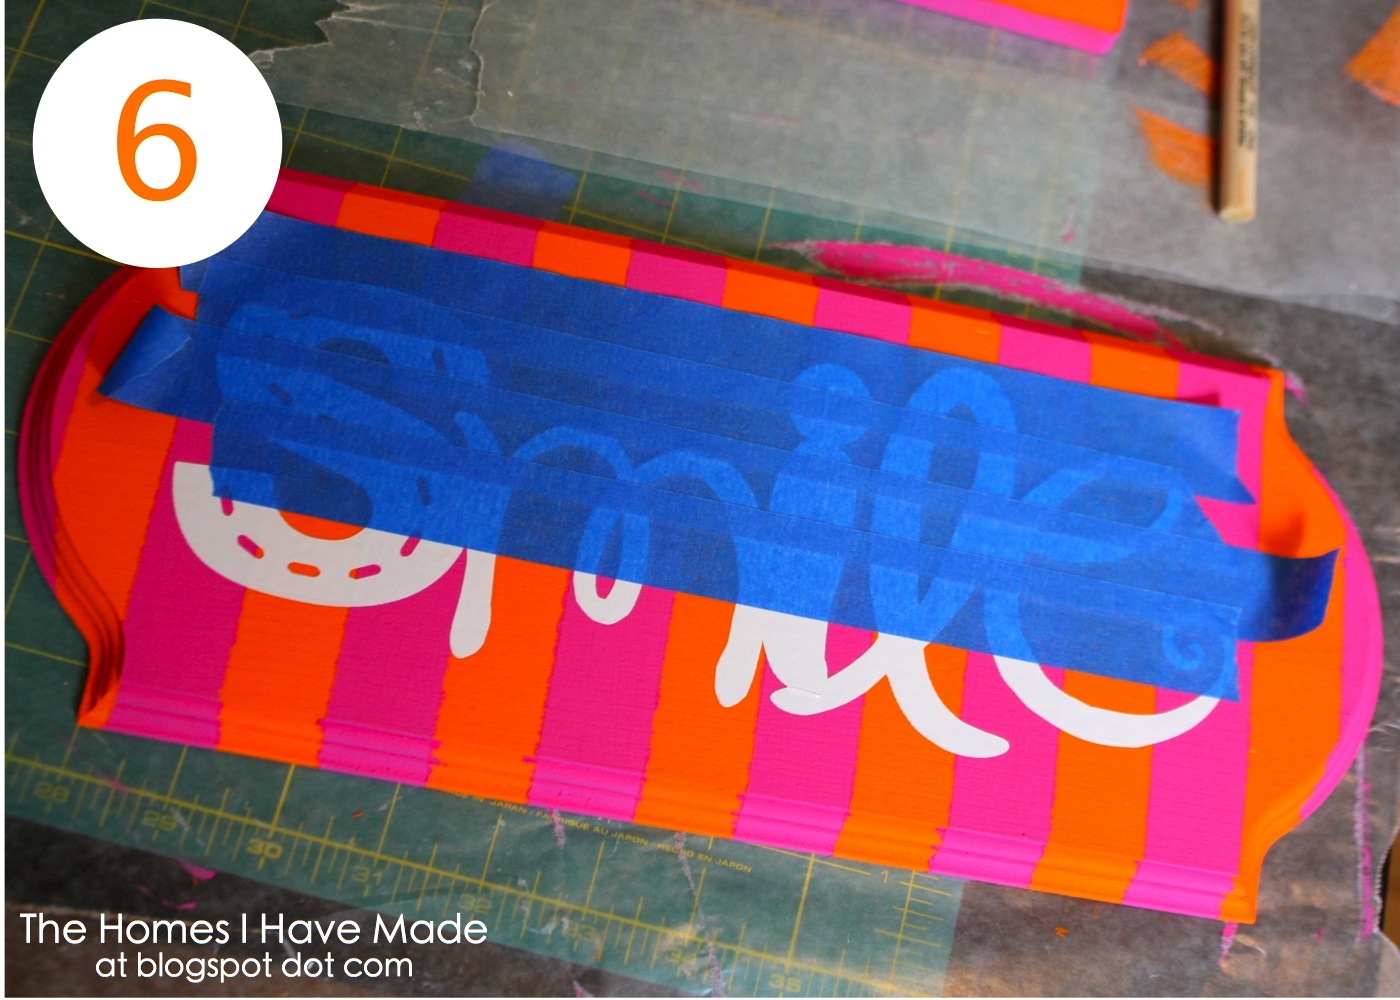
6. Cut out a word from vinyl. I used my Cricut and the “smile” image on the Mini Monogram cartridge for my plaque, but you can use any method (including free hand!) to generate letters, a phrase, or an image!. Once cut from vinyl, use transfer taper or painter’s tape to apply the image evenly and smoothly to your plaque!
All done!
I really hope you’ve enjoyed these quick tutorials. These plaques were really fun to work on and get creative with my supplies and methods! I ended up giving all three as a birthday present to my niece (for her new room), and it was really fun to see her reaction! These would make great gifts and/or a fun addition to any nursery, gallery wall, entry way or office space!

See You Soon!
Megan
Megan
One Comment on “Ideas for Decorating Wooden Wall Plaques”
So beautiful and simple!!! I love this ideia 🙂