Easy Herringbone Toe Kicks
I can remember the exact day I became addicted to DIYing decor projects for my home. My husband and I had been married for about 6 months, and we were moving into our second apartment in Okinawa, Japan. As is always the case, our (relatively new) curtains bought for the first apartment didn’t fit the windows in the second. I badly wanted new curtains for the space, but didn’t want to spend any more money on decor stuff. On a whim, I challenged myself to make new curtain panels for our dining room using only fabrics and supplies I had in the house. I was pretty limited on coordinating fabrics at this point (I had used up almost all my room fabrics!), and I really, really had to get creative to pull this off. Those curtains turned out to be my very favorite project in the entire apartment, and I was officially hooked on using items in new and refreshing ways to make things personal and unique to for home.
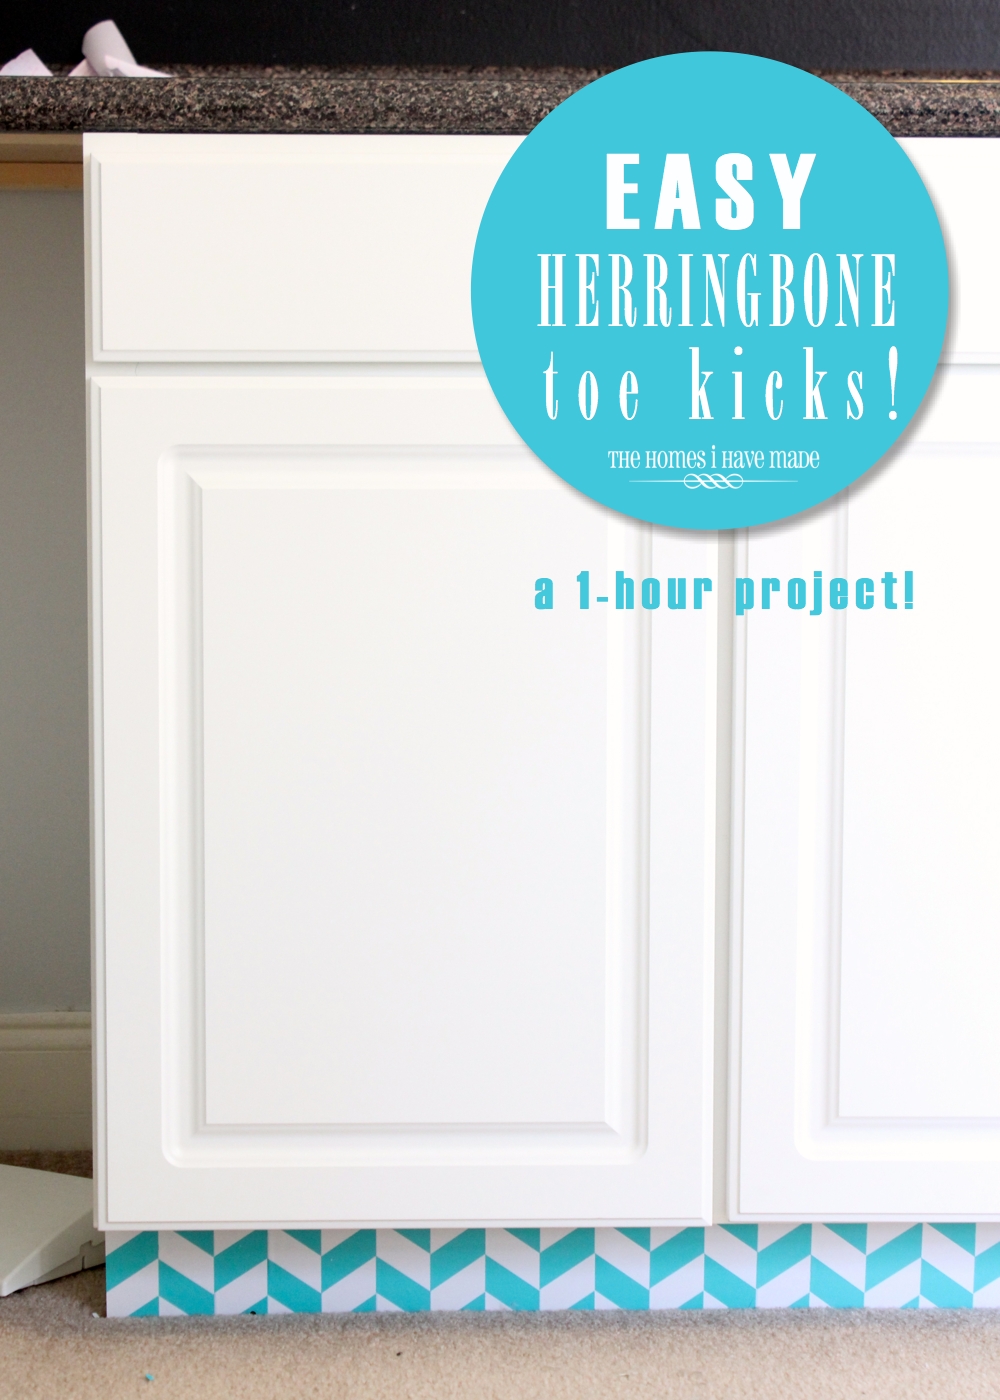
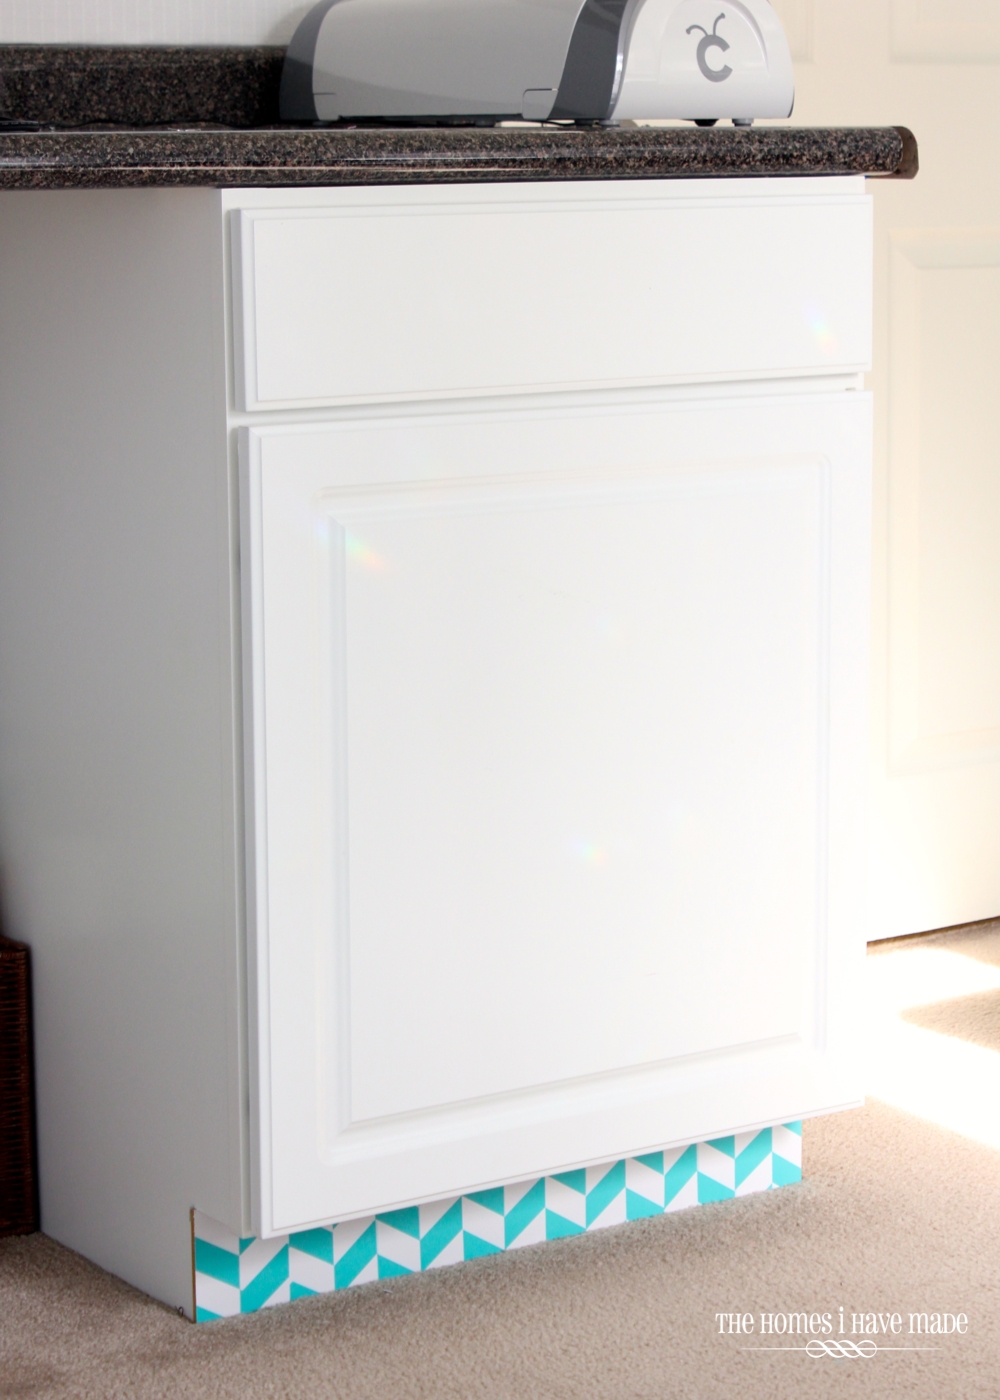
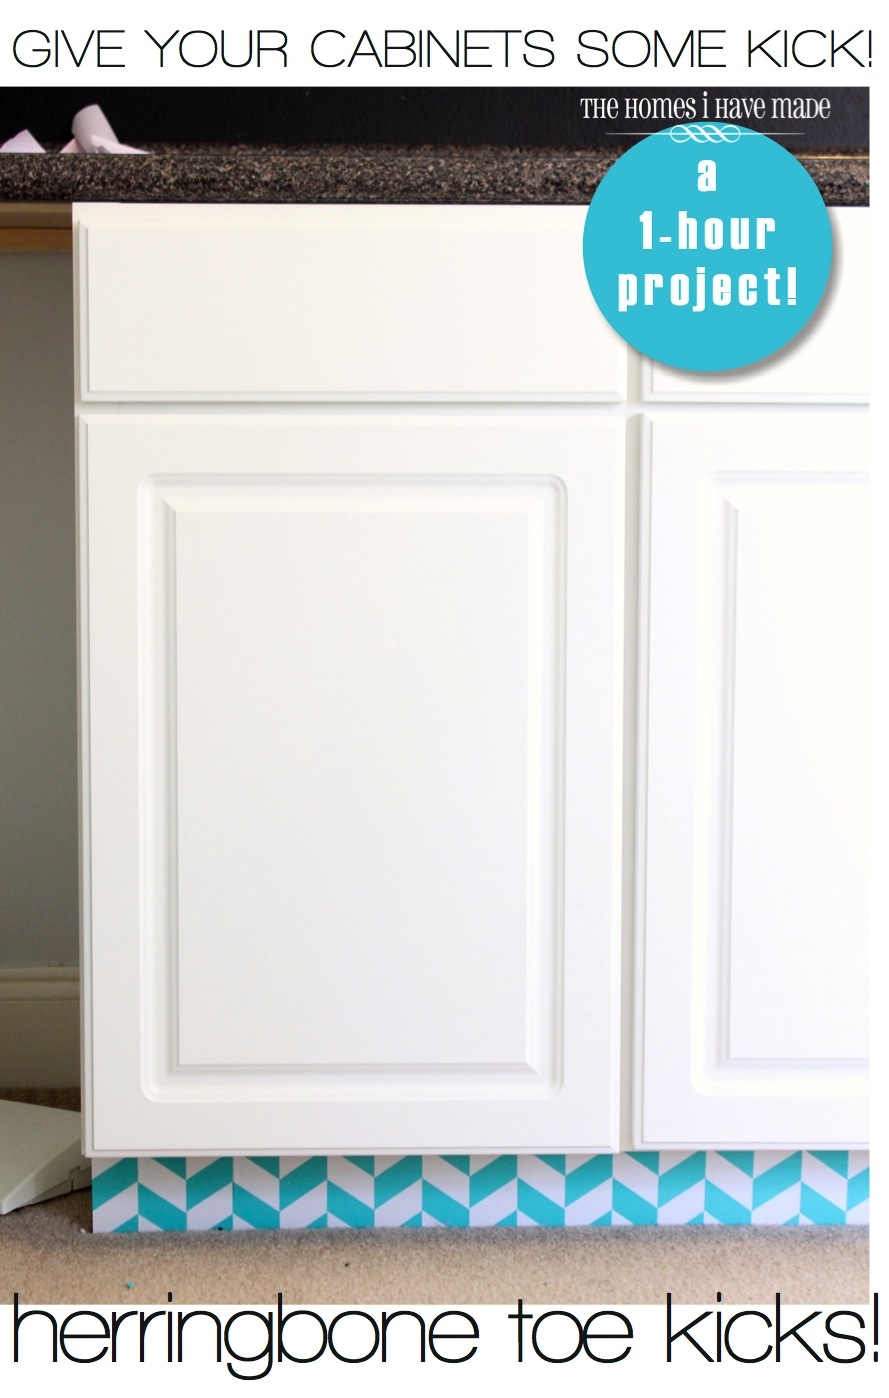
So, why this little walk down memory lane? Well, I just completed a super fun little project that brought me that same sense of pride, satisfaction, and enjoyment as those curtains did years ago. Nothing fancy here, but with some contact paper and an hour of my time, I added a super fun little detail to my craft space.
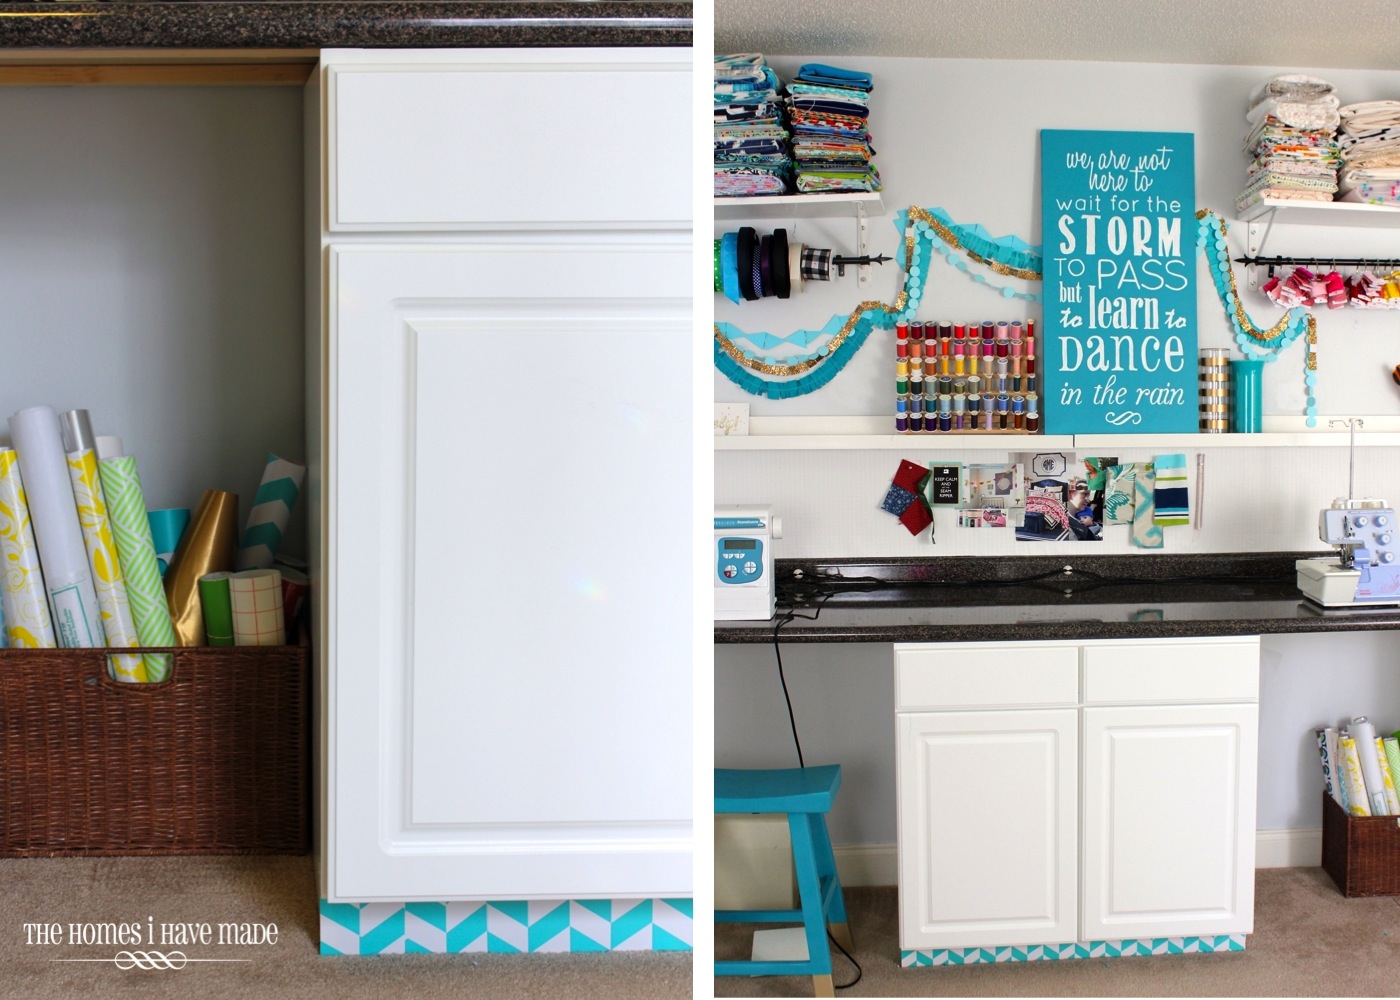
I love me some white cabinets. LOVE them. I think I tell my husband every day how badly I want a white kitchen. Okay – maybe not quite that often. Anyway, when we were selecting cabinets for my craft space, I knew without hesitation that white was the way to go. As the room started to come together though, the whole space was feeling, well….very white. I wanted to add some color somewhere. Then I saw Emily Henderson jazz up these toe kicks, and I knew I had found my answer. However, I didn’t have enough vinyl or tape in the right colors to do stripes like hers’, and I refused to go out to the store to buy more supplies when I knew I could use something in this house for a similar effect!
As I was rummaging through my contact paper/vinyl basket, I came across this chevron contact paper I bought at Marshalls over a year ago. Instantly, I knew I had my answer. The only problem? I am SO OVER chevron…anyone else with me on this one? And I just didn’t like the idea of chevrons running across my little baseboards. Then I remembered a wonderful thing about chevron. With a little tweaking, chevron can be turned into….herringbone!
This project literally took me an hour and used only things I had in the house. Now, two things made this a pretty quick project:
- I only had four cabinets worth of toe kick area to cover – it’s not like I was working my way around an entire kitchen…a whole kitchen will take more than an hour, but probably not too much longer!
- We never “installed” our toe kicks when we installed the cabinets. Because our cabinets sit on carpet, we jammed slid them against the base of the cabinets and they don’t budge. So…to cover these, I didn’t have to get all down and dirty. All I did was pop them out, cover them in contact paper, and pop them back in.
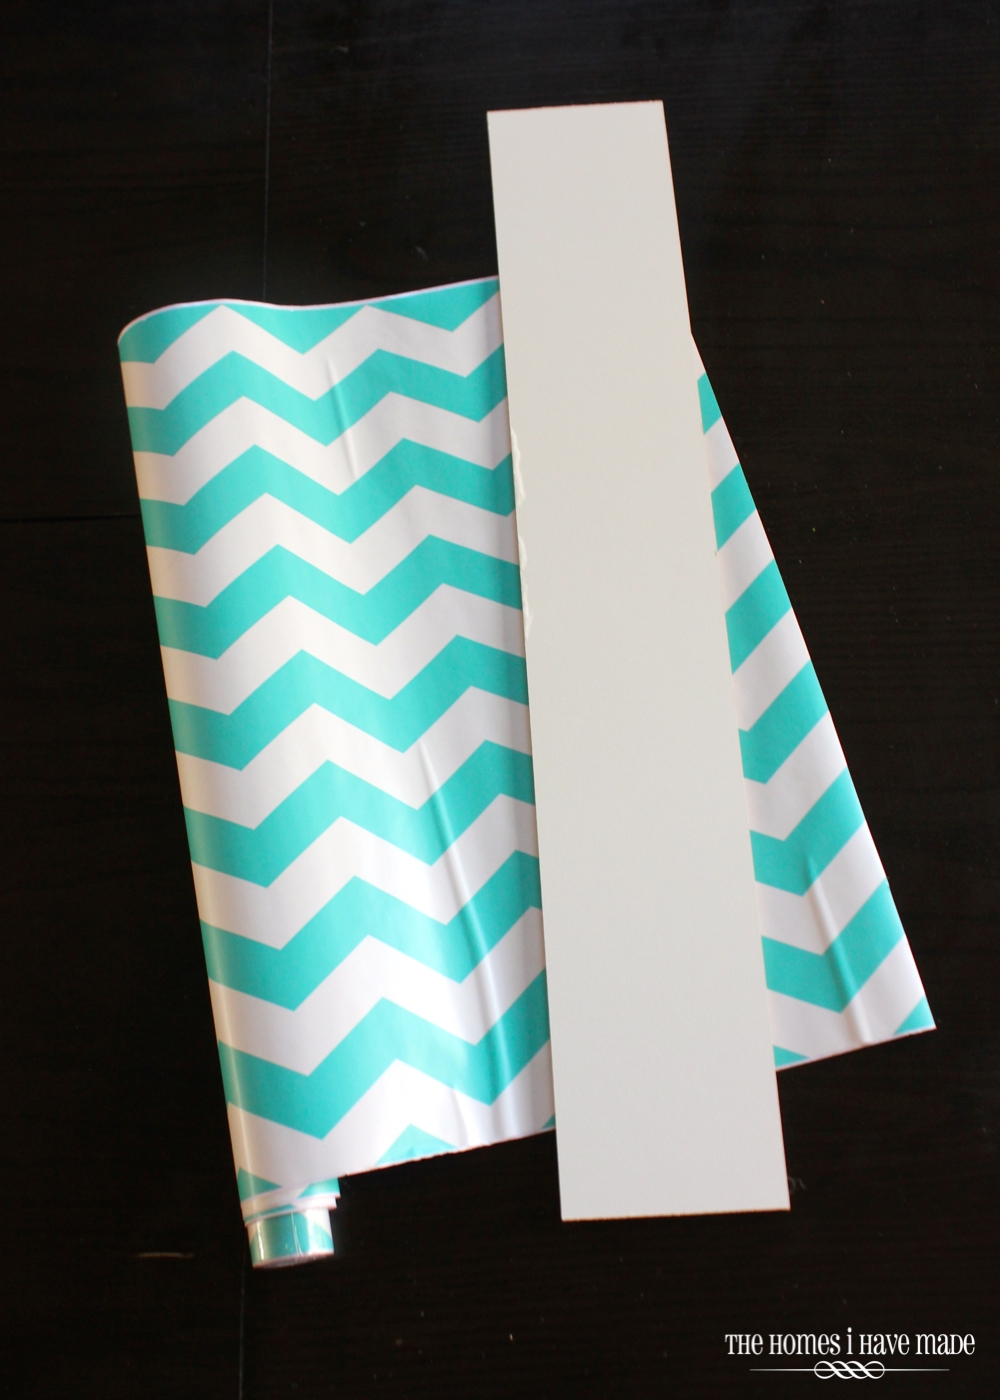
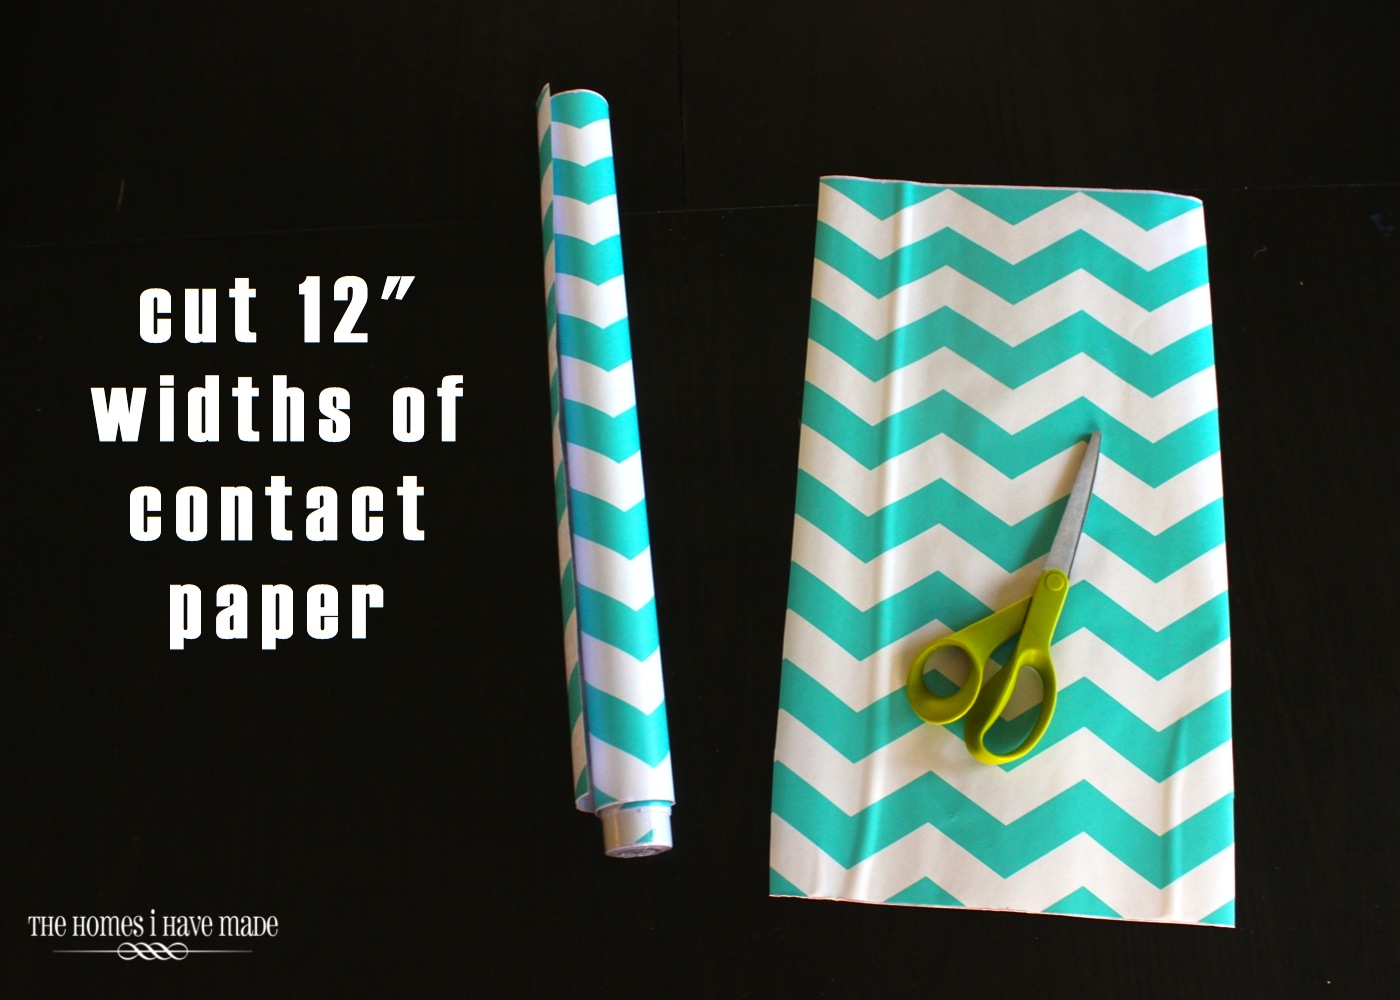
The first thing I did was cut about 12″ widths of my chevron contact paper. This width doesn’t really matter, it was just a pretty manageable size.
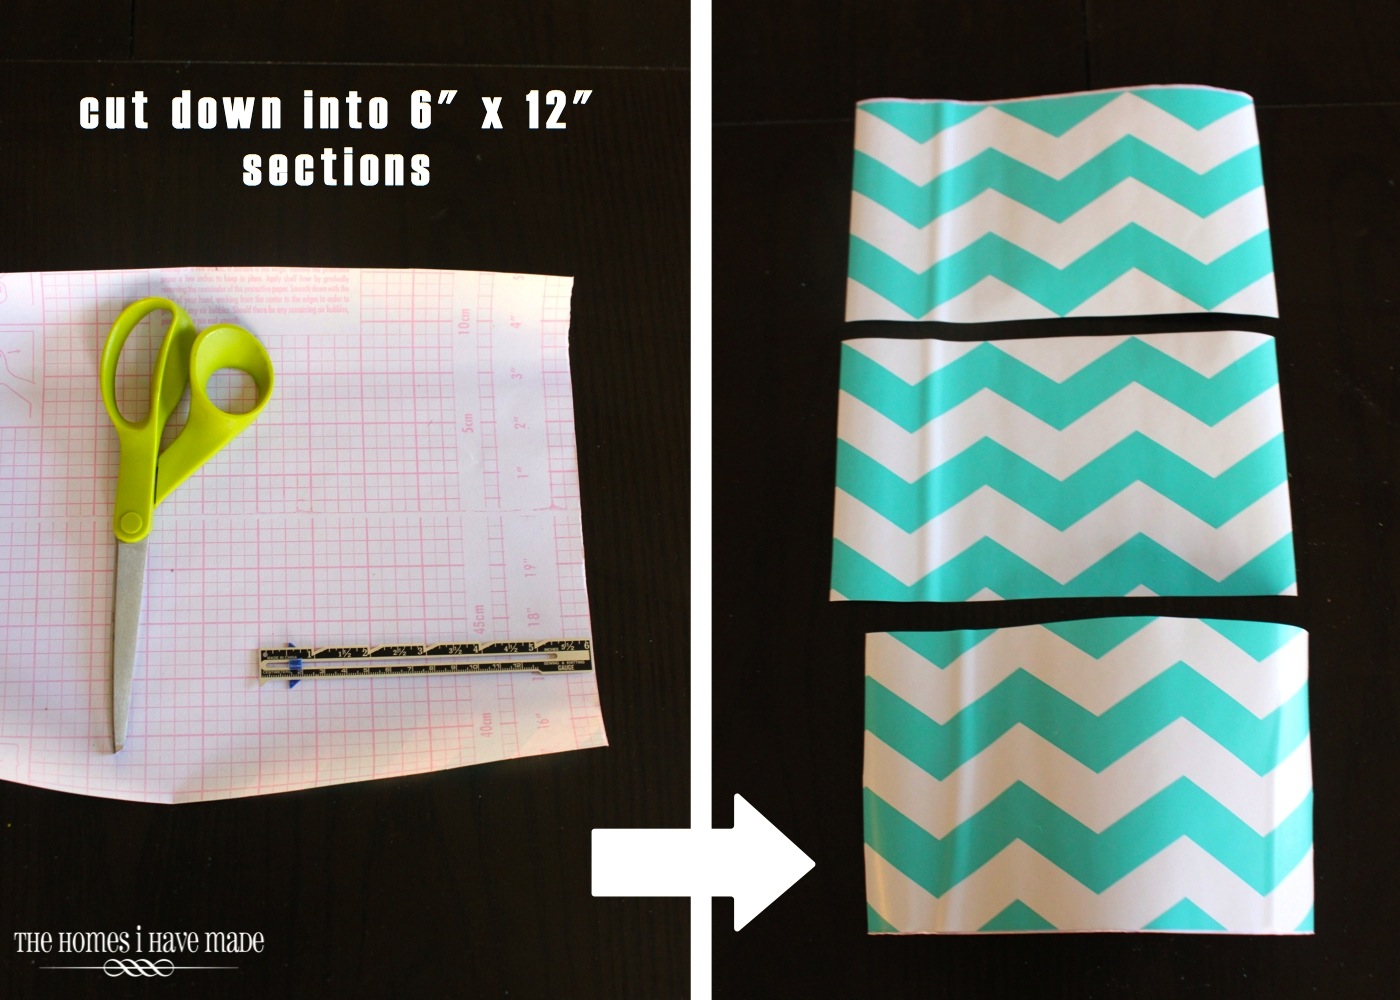
I then rotated the 12″ cut, and cut each rectangles into three 6″ sections. In the end, I had three 6×12″ rectangles.
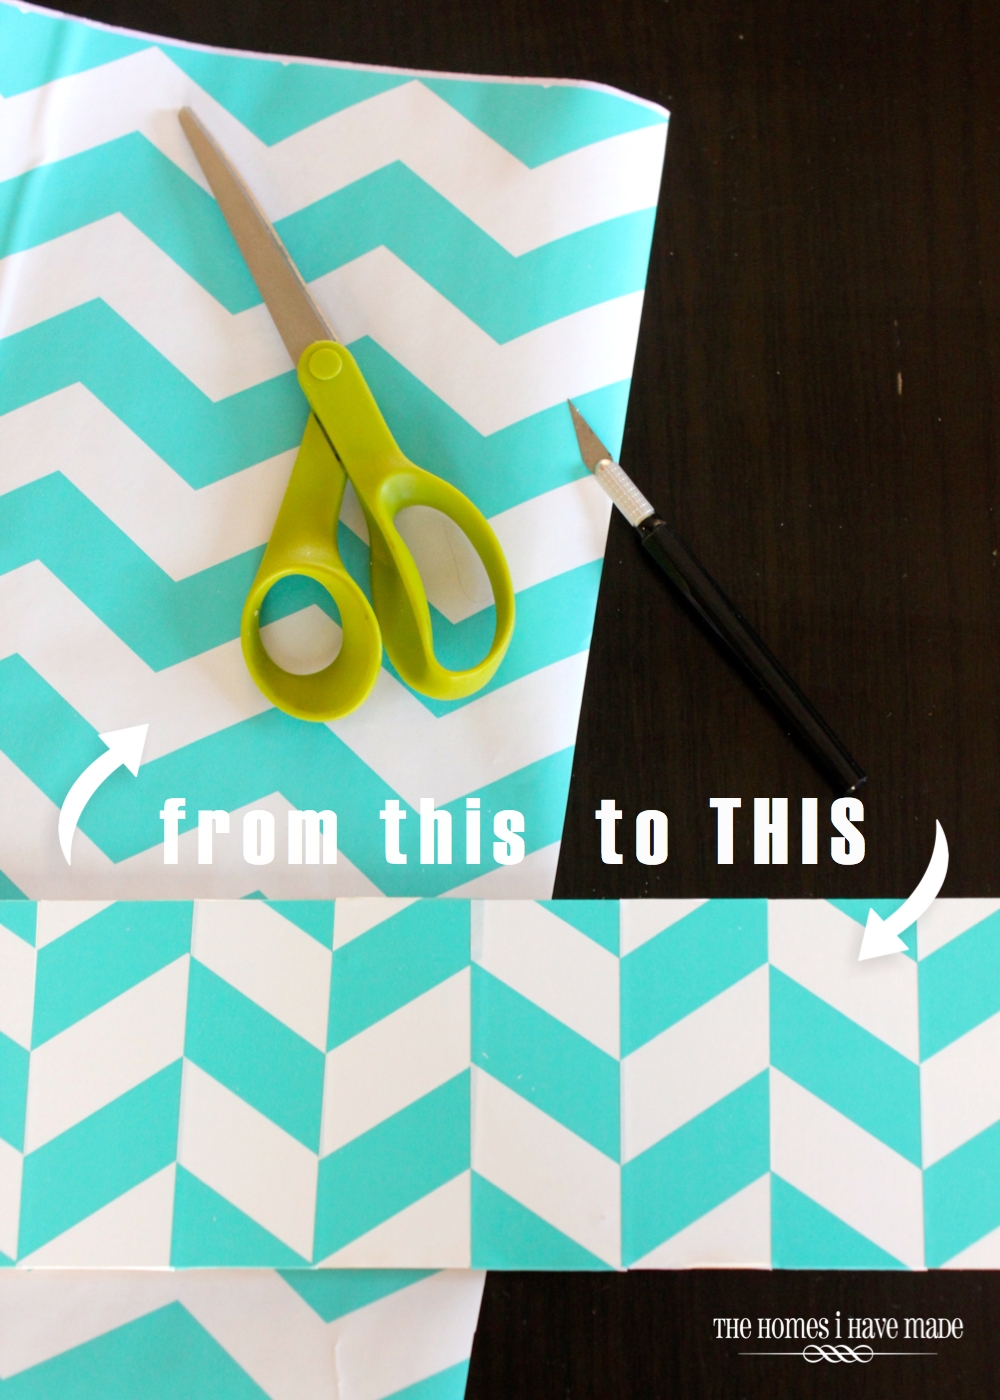
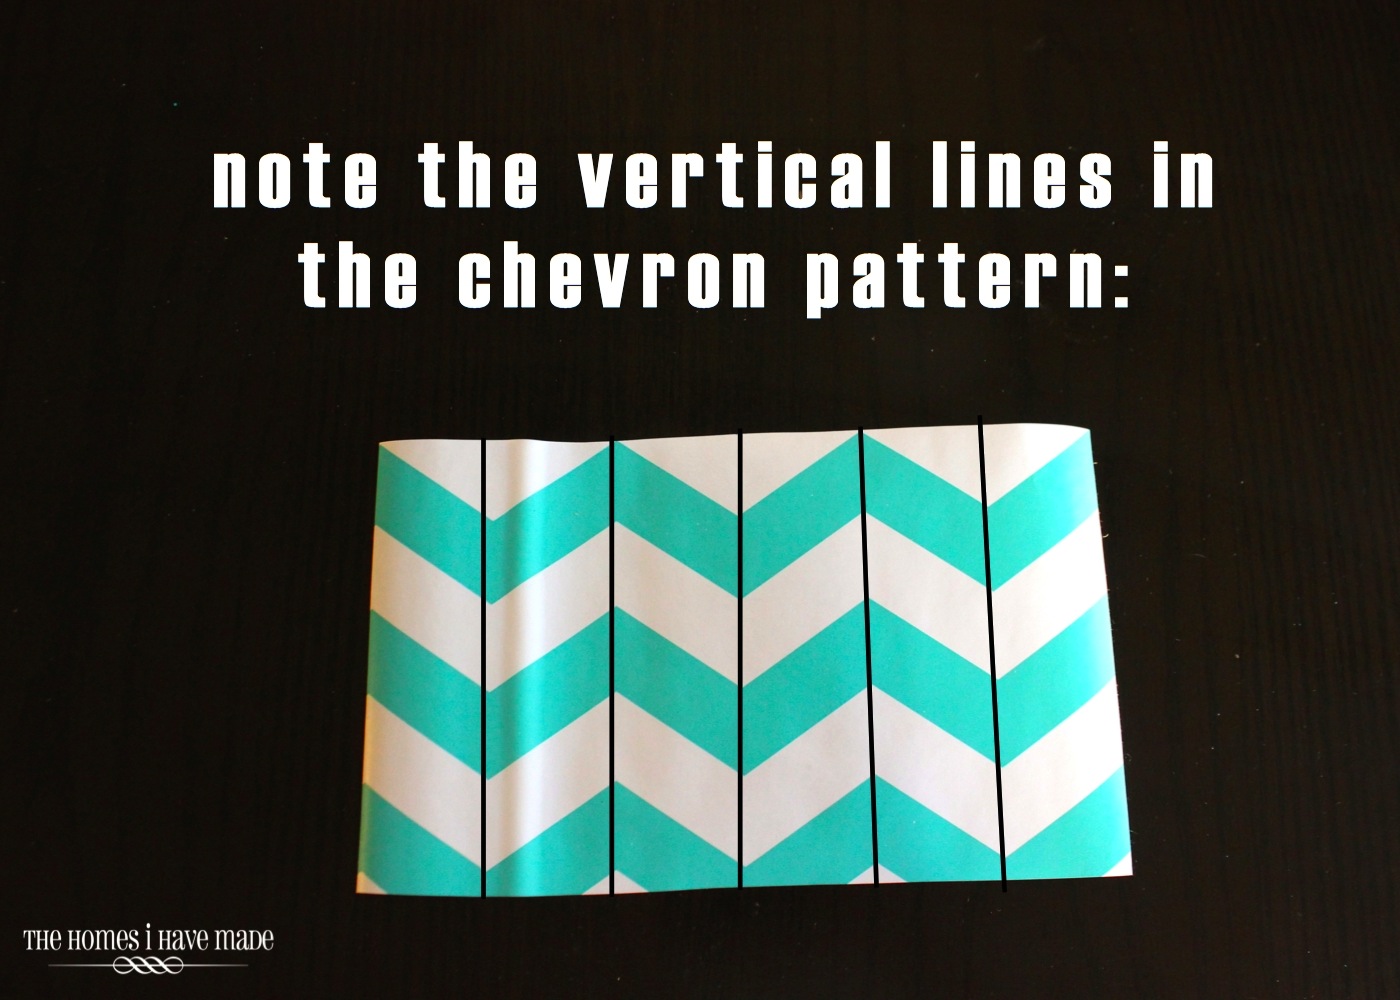
Now, no need to draw pencil lines or measure, but notice how there are vertical “lines” in a chevron pattern, where the horizontal lines bend to go in the opposite direction. I marked them in black below. These are the lines you want to cut.
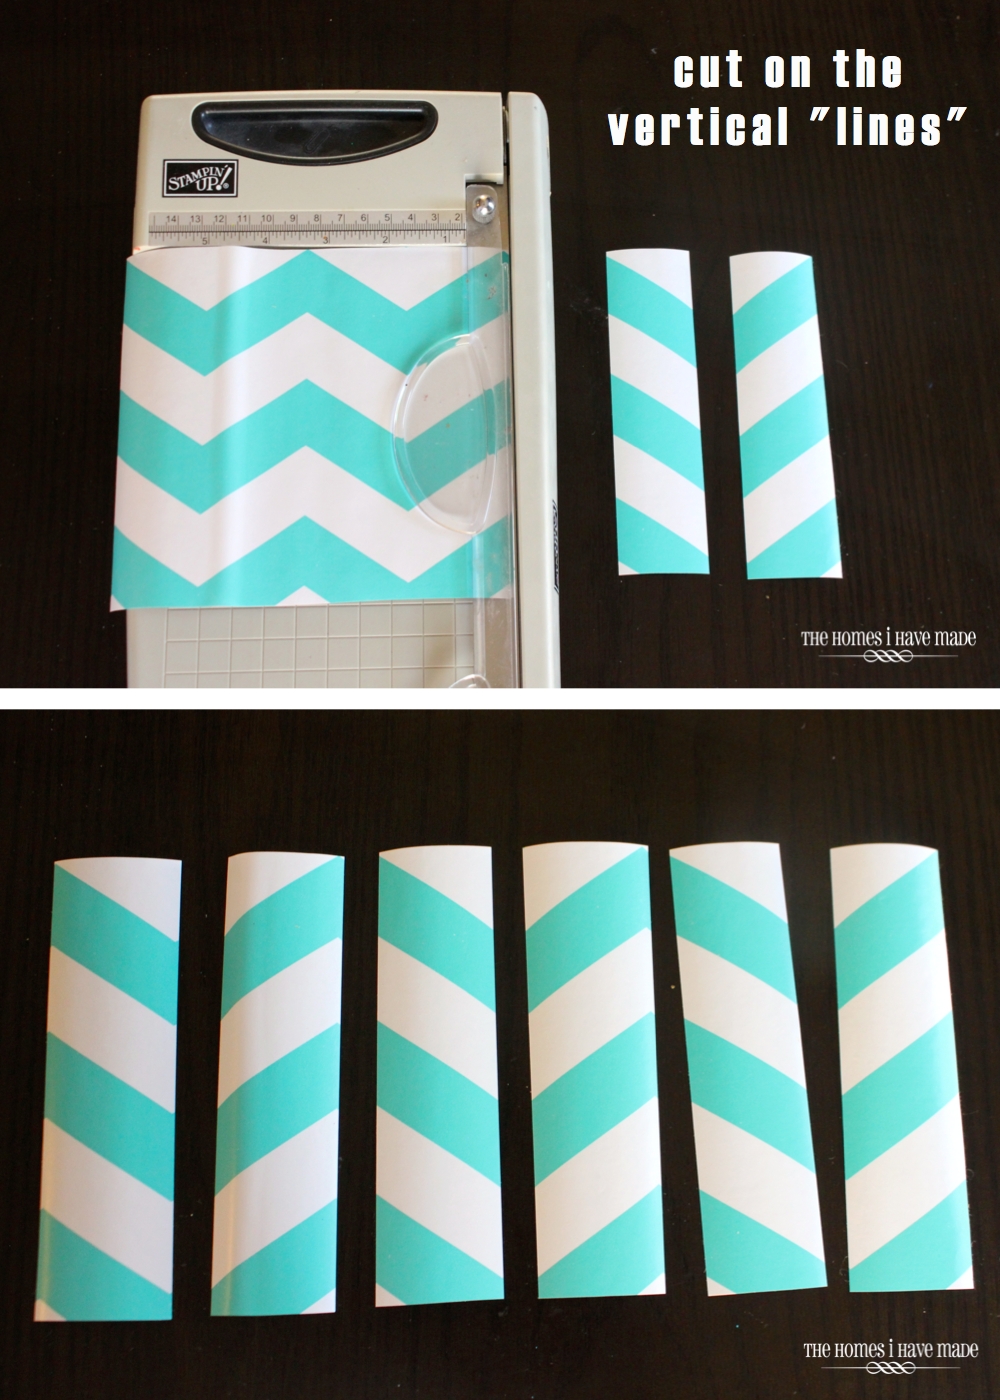
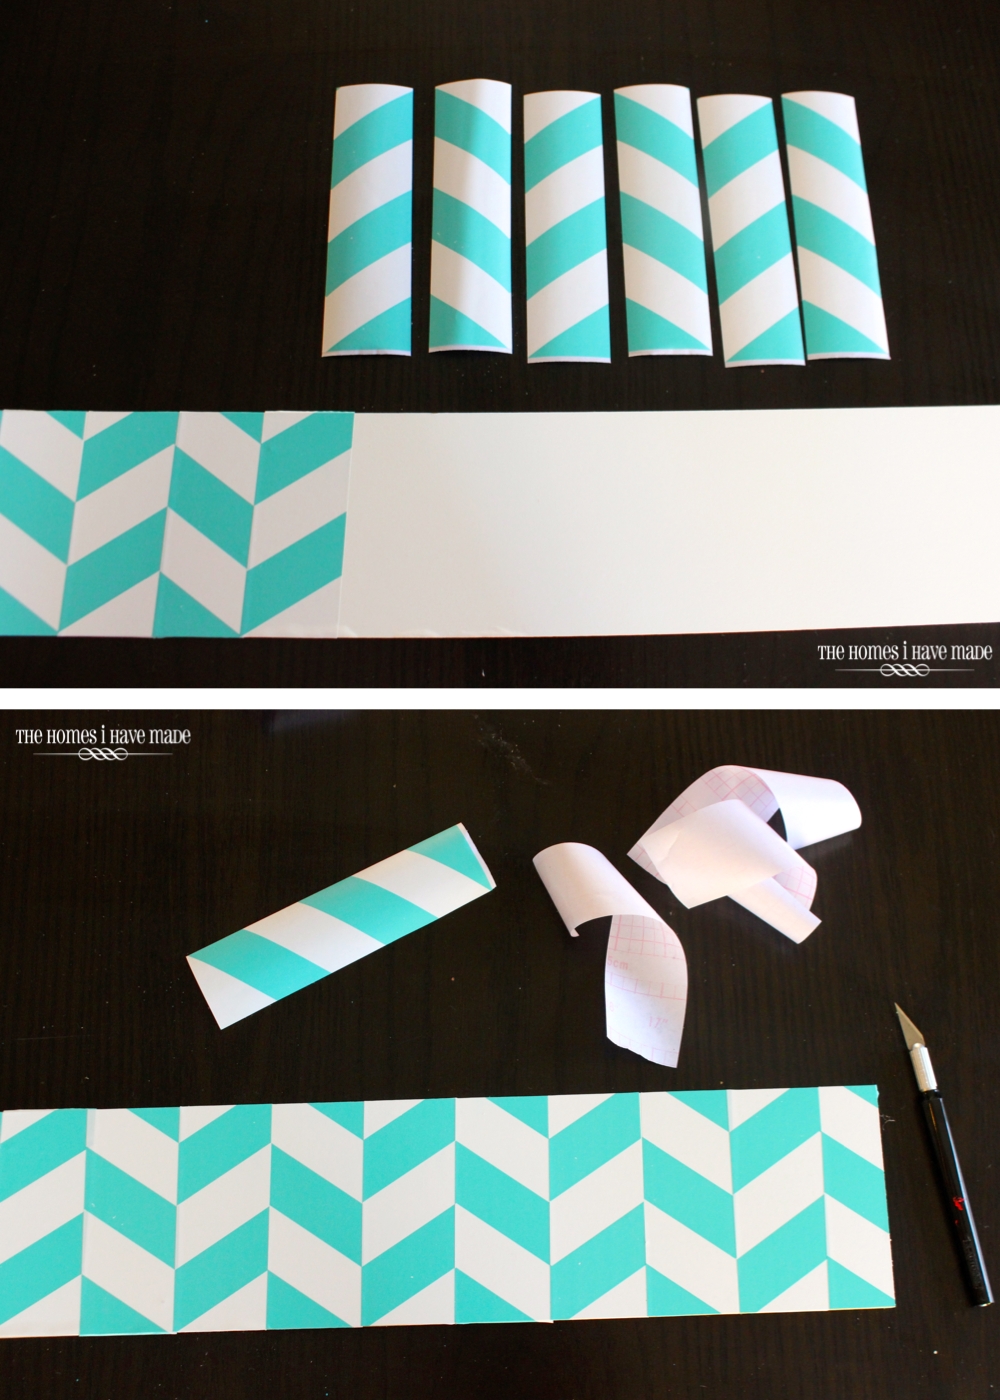
All I did was feed my rectangles through my paper cutter, slicing at each vertical “line.” It makes things a little easier for the next step if you keep them in the order you slice them off.
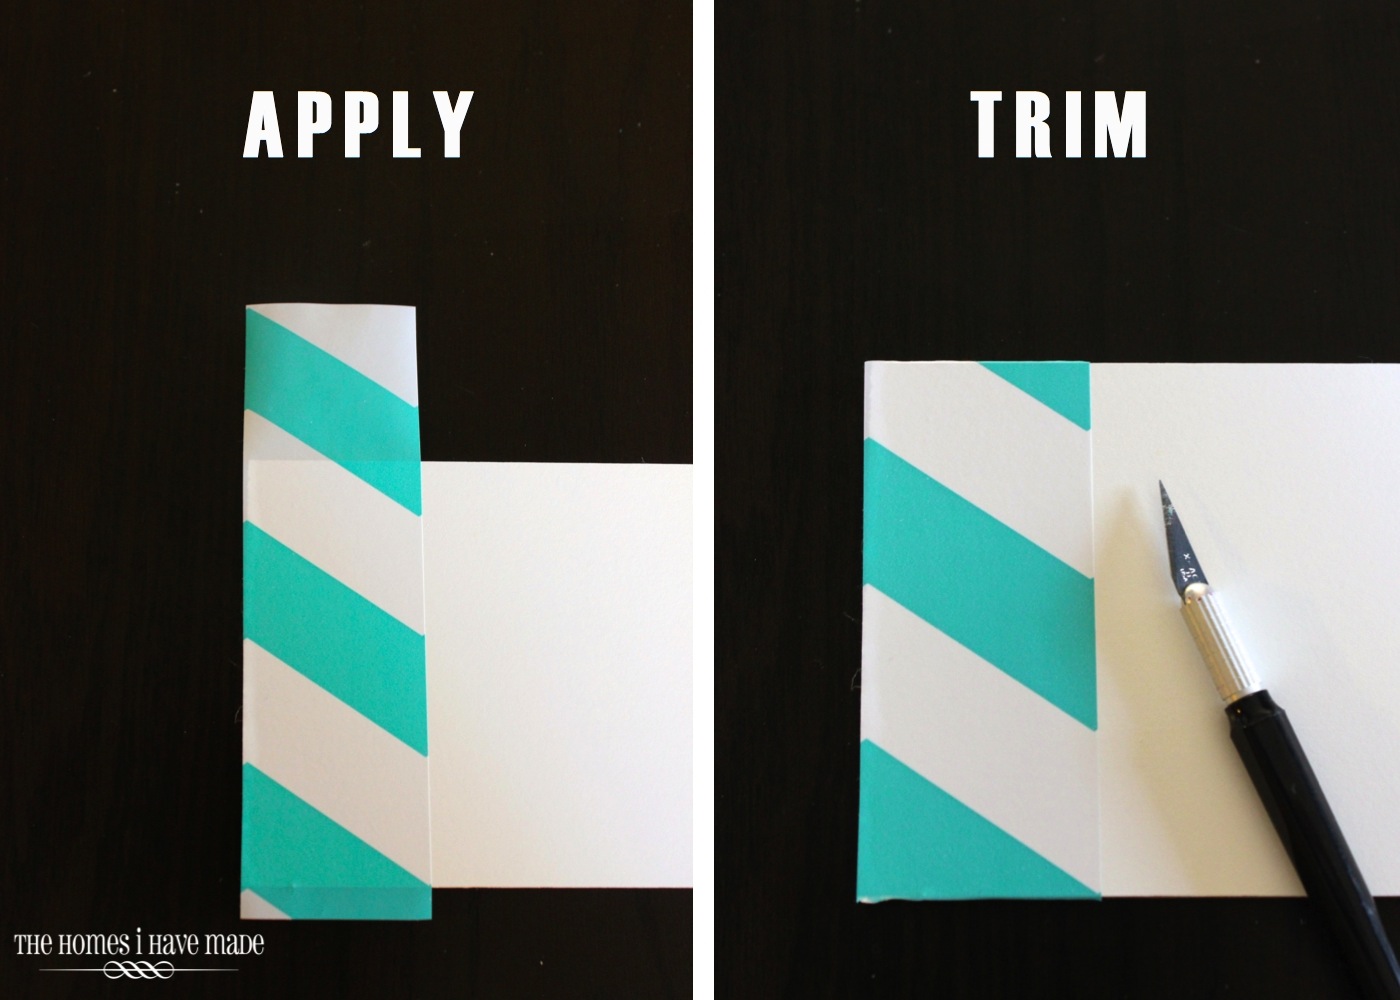
Once you have your vertical strips cut, it’s time to apply them to the toe kicks. I placed my first strip along the left edge. It doesn’t really matter where you place it vertically, but I chose to have the full white chevron complete. Before moving on, I used a simple exacto knife to trim off the excess paper on the top and bottom by sliding it along the edge of the toe kick.
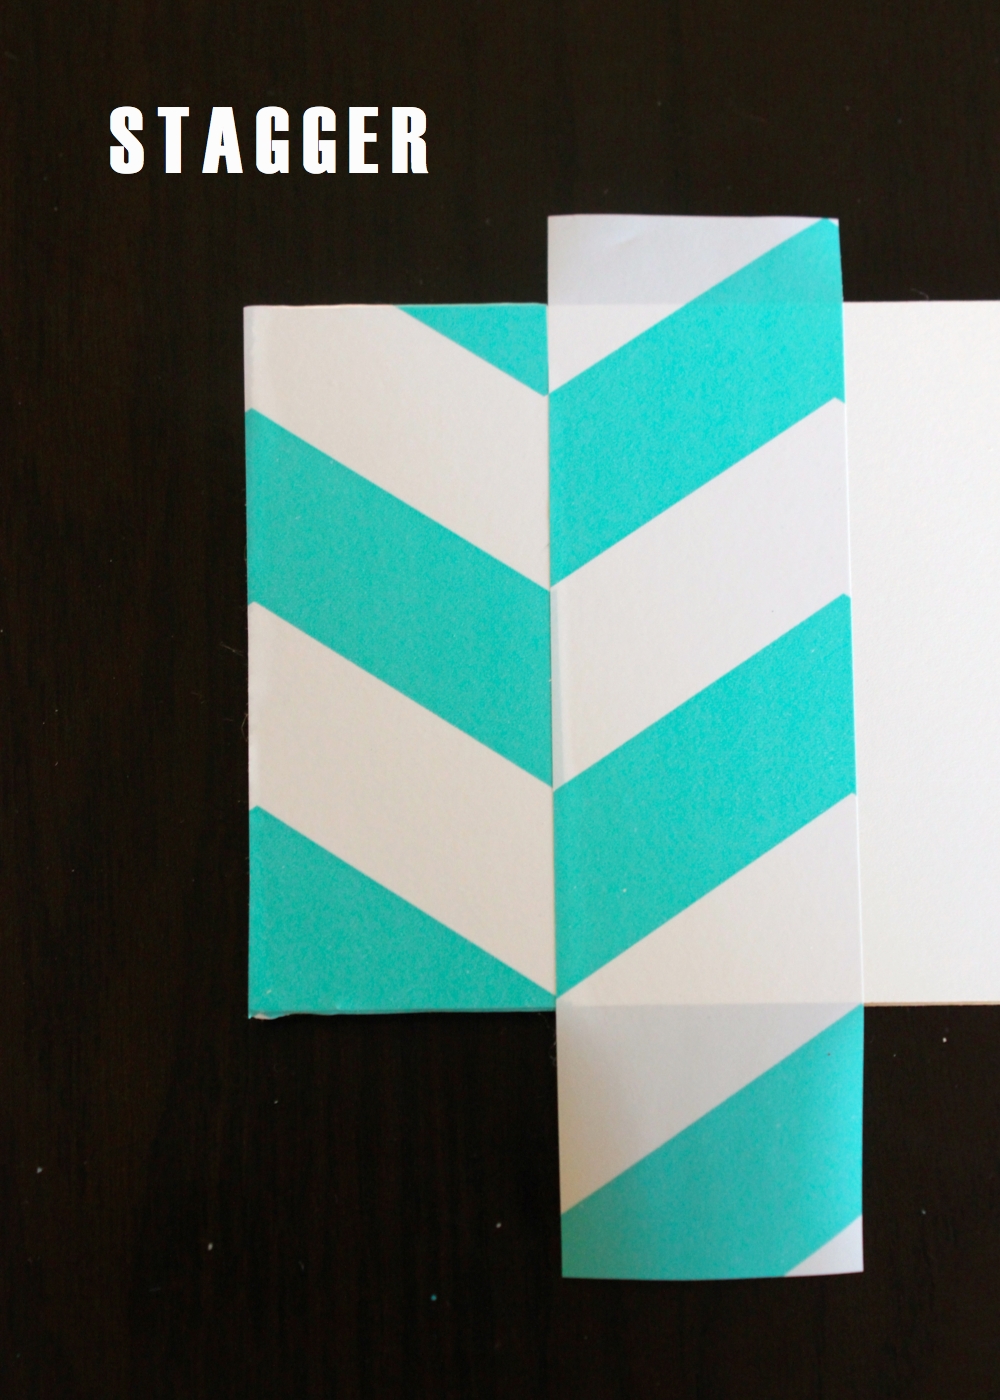
Here’s the big step to turn your chevrons into herringbones: place your next strip on the toe kick, but stagger the colors up (or down) one “notch.” Now, instead of continuing the chevron pattern, the alternating colors create a herringbone effect! Cool, huh?
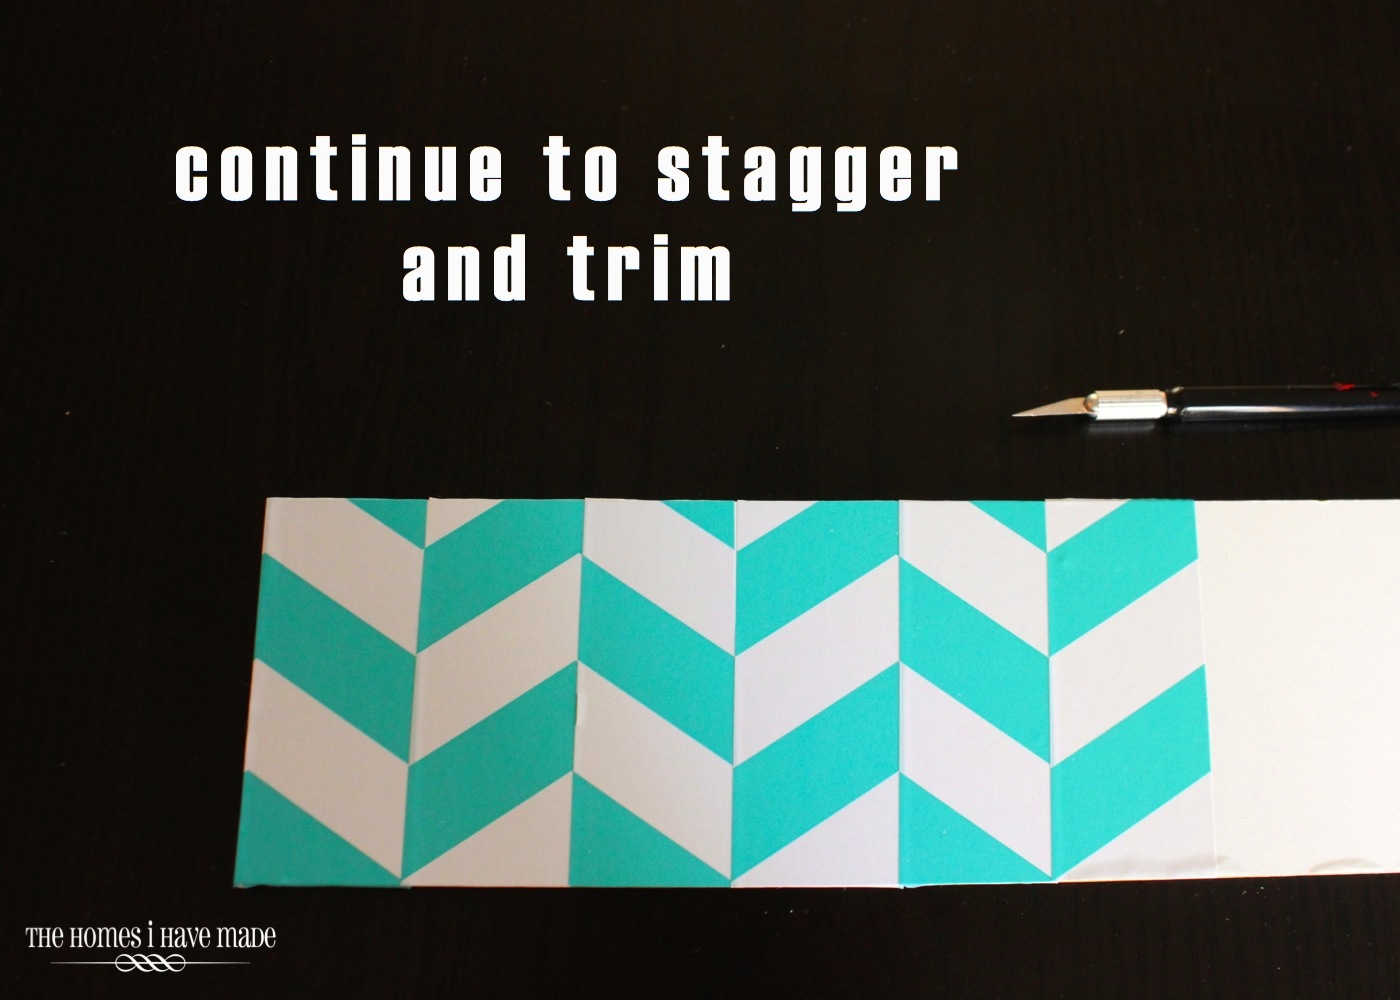
Continuing staggering and trimming the contact paper as you move down the board.
Once you get your initial strips placed, continue with your next section of contact paper.
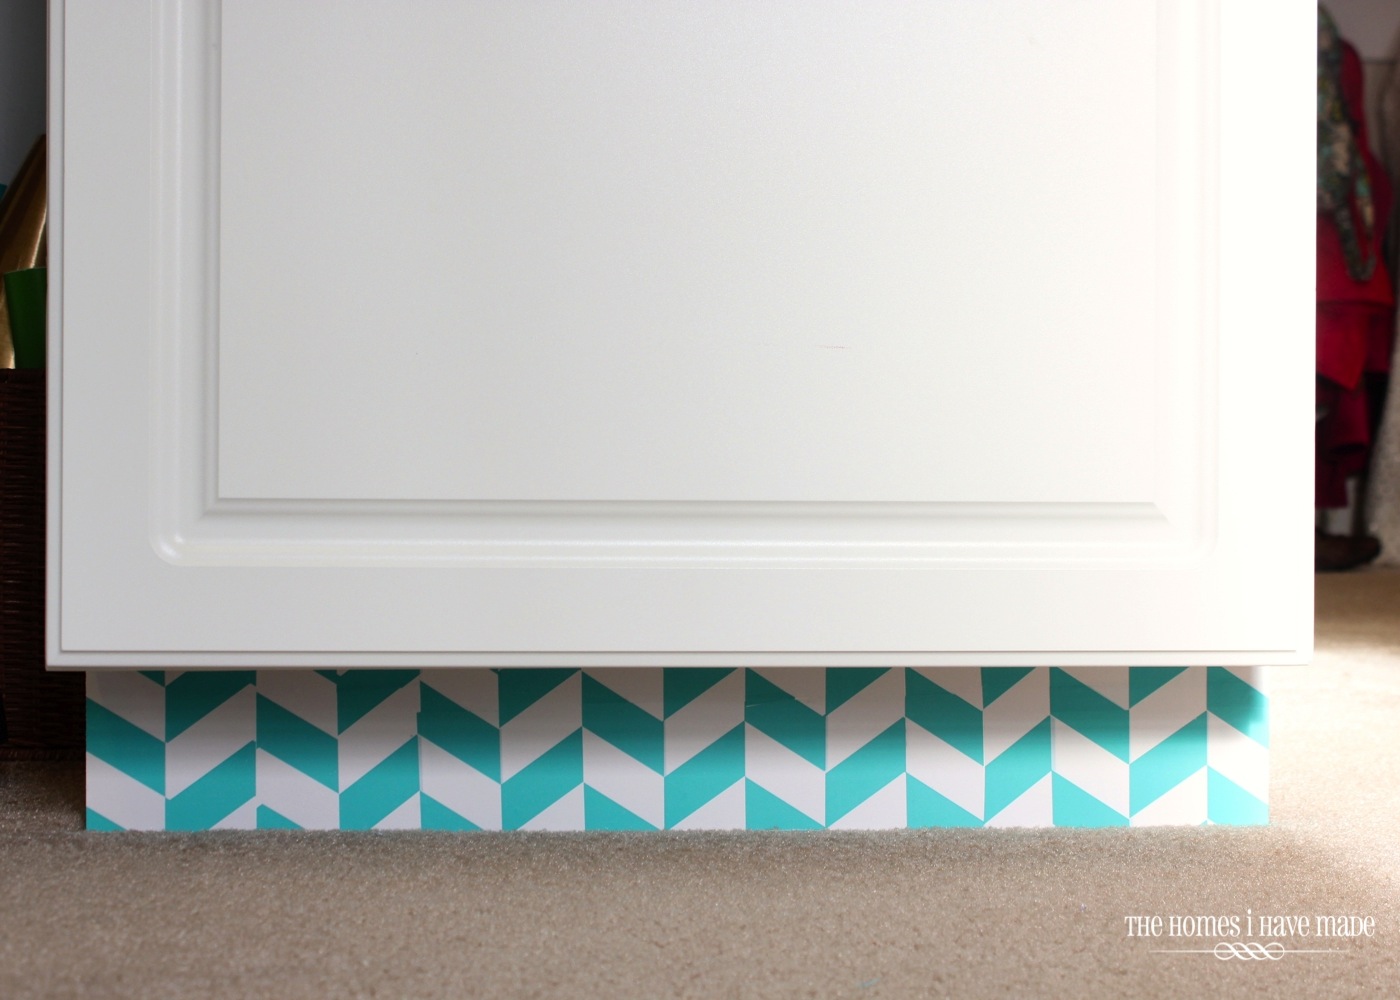
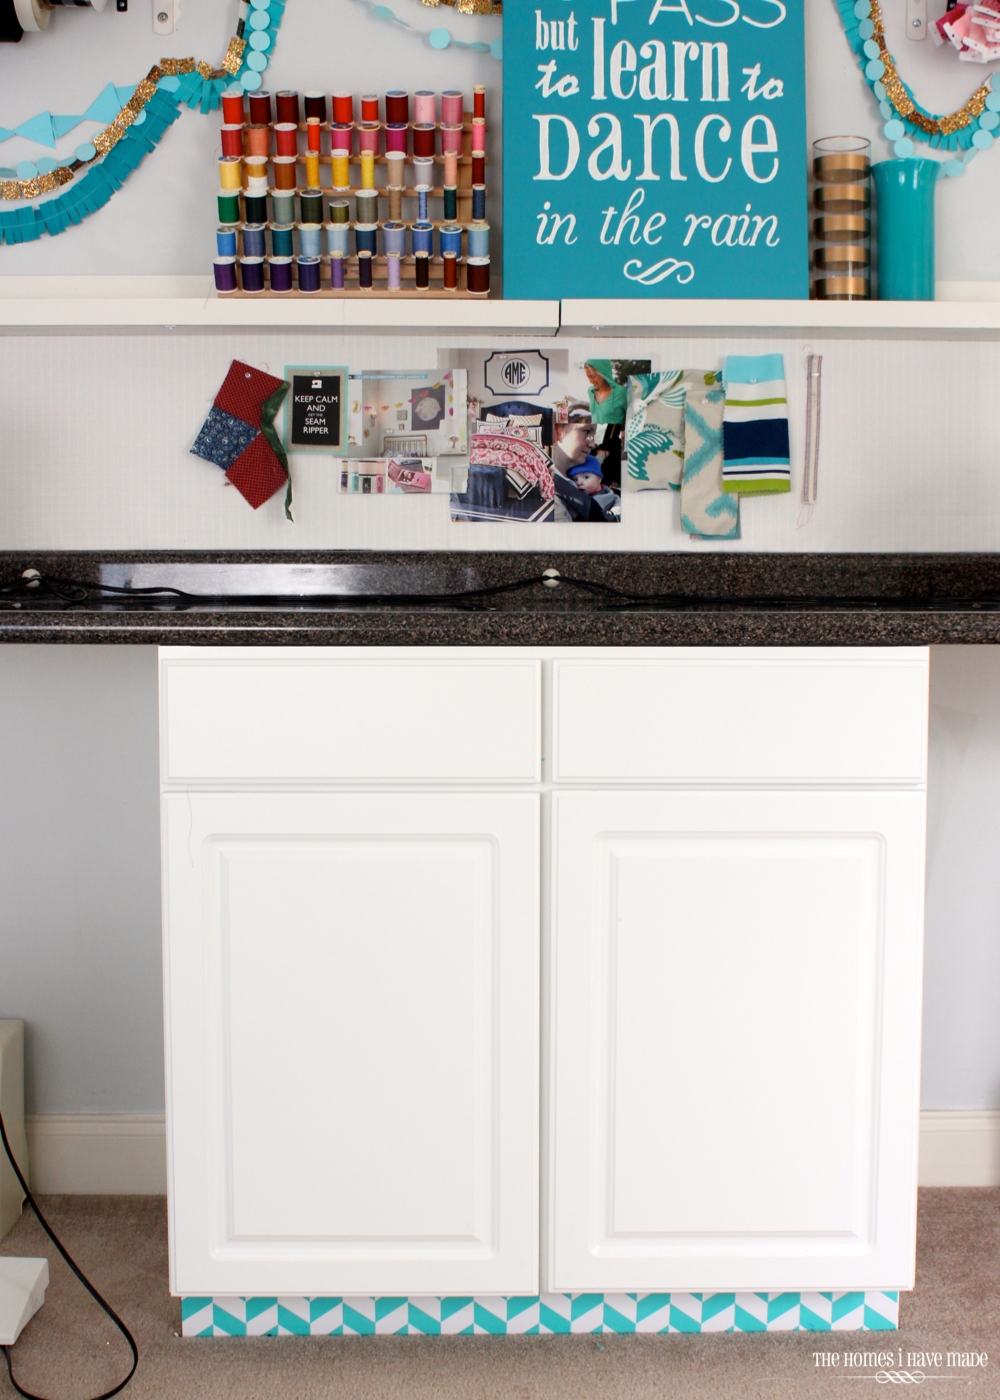
Once all the contact paper was applied and trimmed, I popped the toes kicks back into place.
It’s not a huge, dramatic change, but just a little dose of color. For me, it’s often little details like these that make me really love a space!
You may spy, with your little eye, one more new addition to this wall. On Wednesday, I’m going to regale you with stories of my backsplash; and then on Friday, I’ll give you a full tour of this completed craft space!
Megan



7 Comments on “Easy Herringbone Toe Kicks”
Ahhhh! This is so awesome! I'm embarrassed to say that I never thought about turning chevron into herringbone. I am pretty much over chevron too and I have a ton of chevron contact paper! Now to figure out what to use it on! Thanks so much for the idea!
Fantastic tutorial! What a great way to customize small details. Thanks for sharing <3
– Annie
http://littlestsparrow.blogspot.com
I would have NEVER thought to turn Chevron into Herringbone! Excellent work Megan!
Love the herringbone pattern. It really adds to the room. Great idea!!
Amazingly smart & creative! I love it! I never would have thought of that…like, ever.
So clever, Megan! Thanks for the tips on how to turn chevron into herringbone. Genius! I love the way it looks – such a fun pop of unexpected color!
Pingback: My Blog - Top 10: DIY WITH CONTACT PAPER