A Magnetic Menu Board Update – Answering Your FAQs!
I hope everyone is having a great labor day weekend! Let me tell you, we are putting in A LOT of labor this holiday weekend, working in the garage on some really great furniture makeovers. Unfortunately, none of them are quite done and ready to reveal (I really should try to focus on one project at a time, huh?), but thought I would take this chance to write a post I’ve been meaning/wanting to write for a while now!
To date, Part I has received 55,800+ hits and 40 comments; and Part II is “close” behind with 18,700+ hits and 57 comments. These numbers probably seem small to many “big” bloggers out there, but for me they are huge! This project (originally posted in February 2012) has brought me tons of traffic, new followers, wonderful compliments and kudos, and also recognition from some pretty great blogs!
I Heart Organizing / The 36th Avenue / http://www.lemeilleurdudiy.com / The Happy Housewife and others!
I’ve also received lots of questions…lots and lots of questions…many of which are repeats, and that is the exact reason why I am writing this post today. I’ve been so overwhelmed with the positive response to this project that I wanted to try and answer some of the questions I get frequently.
Q. Do you sell the Magnetic Menu Board Templates?
A. Yes, I do! Now in three color schemes! Shop HERE.
Q. How do you get your recipes printed on the magnets?
A. I surprisingly get this question a lot, and perhaps it’s from people who didn’t read Part II, where I detail exactly how I made the entire thing! Or maybe I just wasn’t as clear as I thought I was. The recipe magnets are simply printed right from my computer onto Glossy Magnetic Paper purchased from Staples. Yes – this stuff exists, yes it’s safe for your printer, and yes…it’s awesome! I did not print labels on stickers and adhere them to the magnetic paper. I simply loaded my printer with the magnetic paper, printed them out, and cut them with scissors! Couldn’t be easier!
Q. What kind of printer did you use to print the magnets?
A. Our household printer…we have an HP Photosmart C5580 All-in-One. I did make sure I had new cartridges, and printed them at the highest quality I could.
Q. What font did you use for the magnets?
A. Arial
Q. How do you match the labels to the color combos found on Design Seeds or other sites?
A. I made my labels using My Digital Studio, and in that software is a “match” tool, where I can match text and shapes to other objects on my screen. I simply saved the jpeg of the color scheme I wanted from the Design Seeds website, opened the image in my label file, and then used the match tool to color all my boxes. After everything was colored the way I wanted it, I deleted the color swatch graphic out.
Q. I have the JPEG files of the label templates but can’t seem to edit them! Help!
A. The JPEG files DO NOT have editable text boxes. To insert your recipe names onto the JPEG files, any photo editing software, such as Photoshop or Illustrator, is ideal. Digital scrapbooking programs or Microsoft Programs (i.e., Word, PowerPoint, Publisher) also work. If you choose to use Word or PowerPoint, note that the files are JPEGs, so you must insert them as images/photos and place text boxes over the labels in order to add your recipe names. If you are a Mac user, you can add text boxes to the JPEG files using the Preview program. Finally, there are free photo editing programs available online that will also work, PicMonkey is a favorite!
Q. I want to make my own. How big are all of the labels?
- Recipe labels: 2.25″x0.75″
- Spine labels: 11.0″x1.0″
- Month labels: 5.5″x0.75″
- Sides labels (the small red ones): 0.75″x0.75″
Q. Do you really use your menu board and plan your meals this way?
A. Yes!!!!! Absolutely! I do not have the time or desire to create projects for the sake of blogging about them. Everything I make is intended to be used, loved, played with, and cherished…or simply to make our life easier/prettier/better. I meant what I said in my original blog post: I gave this project a TON of thought before I actually executed it. I wanted it to be exactly what I needed it to be, and it is!
Every month, I tear the board down and start from scratch exactly as I detailed in my original post. For some, planning out a whole month’s worth of meals isn’t practical, but for us it is. Do I alter it as I go? Yes! Do I sometimes opt to order dinner in rather than make the one I have planned? Yes! Do I sometimes swap magnets around or push meals to another week because we end up with more leftovers than I anticipated? YES! But this meal planning approach provides me with a jumping off point, helps me not repeat meals from week to week, and mostly: helps me prepare for and shop for groceries with much less time and effort! In the few weeks where we were moving and I was without my menu board, I felt a little lost and frustrated preparing for my grocery trips. As soon as the board and magnets came out of the packing boxes…it was up and running!
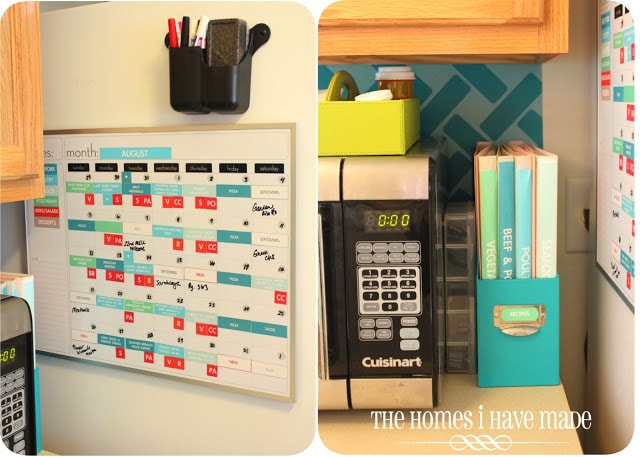
In fact, here it is in our new kitchen (you can tell it’s our new kitchen by the fun tile backsplash!)!
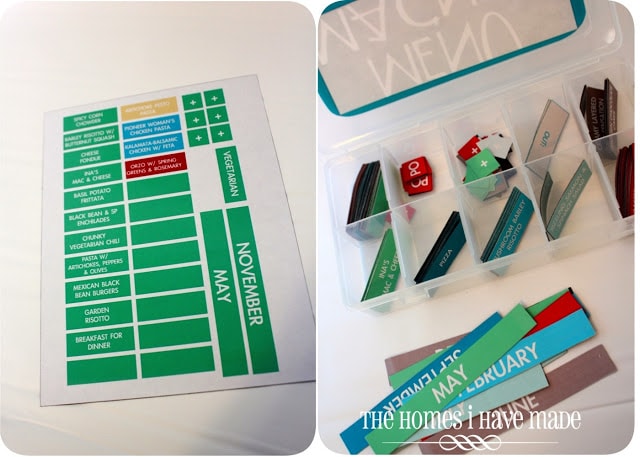
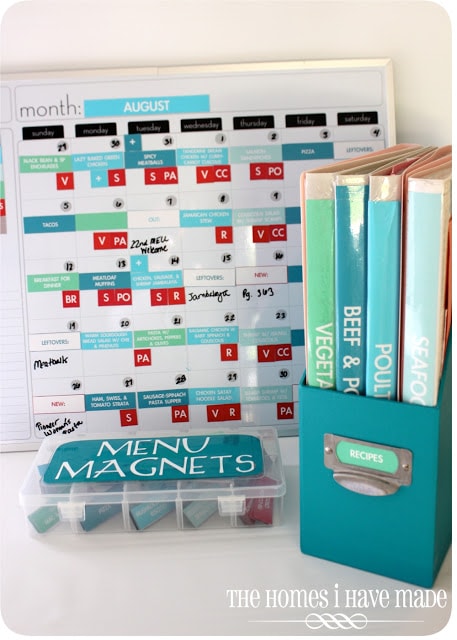
You actually might notice that I’ve updated a few things since the original post! First, I updated the colors to match our new kitchen (I know…totally un-necessary, but I’m kinda crazy like that!). It was pretty easy too…I went into my original file and just changed all the yellow boxes to green. I left some blank green magnets for future recipes, and then added in some of the recipes that have made it into our standard rotation! After I had my page all ready, I printed it out on another magnetic sheet. Just like before, I cut out all the magnets with a scissors and loaded back into the magnet box!
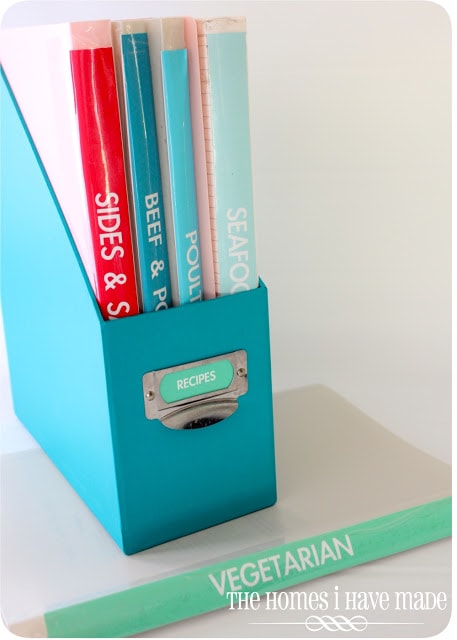
I also updated the recipe book to match the new color scheme and (finally!) put a “RECIPES” label onto my magazine file box!
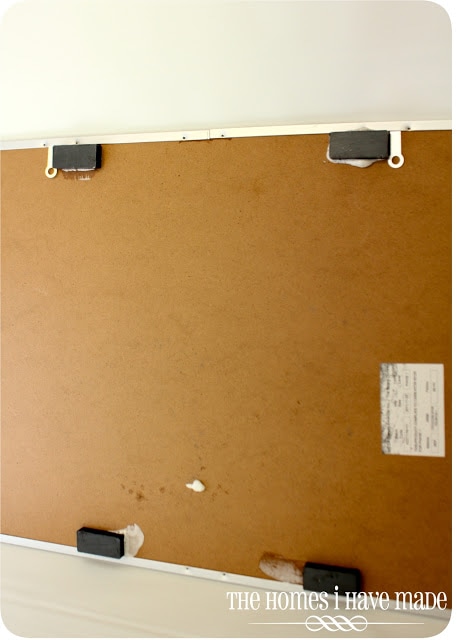
I also added some heavy-duty magnets to the back of the board so that it can hang on the refrigerator rather than rest on the counter. This board is pretty heavy, so I used four heavy-duty magnets adhered with gorilla glue (ignore the glue seepage…I am so bad at judging the amount of gorilla glue required!)
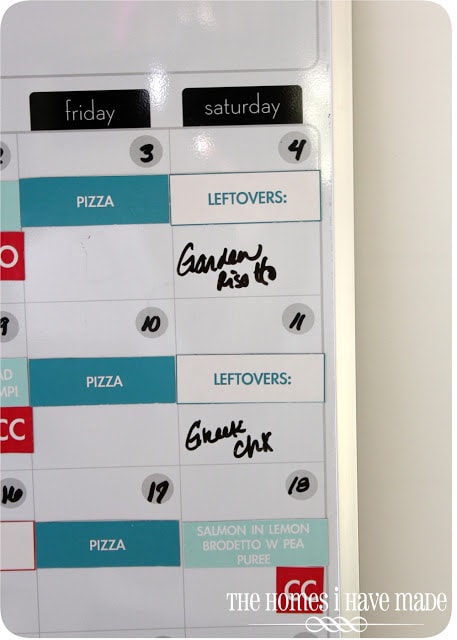
I’ve also adapted how I plan my week just a bit! I found that the one meal that always got pushed to the next week was Saturday night’s meal. It seems like we almost always end up going out to eat, or we exhaust ourselves working on projects that I never feel like cooking. Finally, it dawned on me to make Saturdays “leftover” nights (and I cook accordingly during the week to ensure there is a meal in the freezer ready for us!) Other than that small change, I use the board exactly as I detailed in my first post!
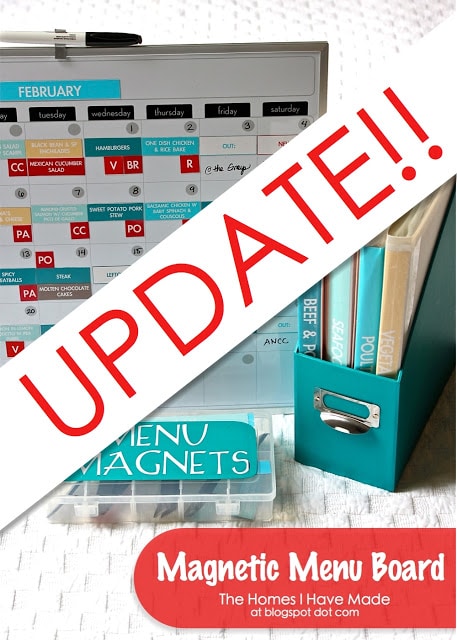
Here is the latest iteration of the board, all spruced up to match the new kitchen and ready to work hard for us!
Megan




10 Comments on “A Magnetic Menu Board Update – Answering Your FAQs!”
You are Amazing! I had NO idea there was such a thing as magnetic paper! I'm running out to the store now to buy some because I can't wait to make my own menu board! Thank you for all your hard work!!
Megan, you are a-maz-ing! I have been saving this post in Pinterest for a couple of months now. I'm very excited to say that all I need to do now is print and cut. This is so exciting. Thank you so much for all your hard work. Oh and I added 1 more color for home lunch for my little girl, that way we have her lunch meals planned as well. Again thank you!
I made my own magnetic menu planner after seeing your post in February. It has worked wonders! Yes, I do have the occassional meal that gets pushed around or subsituted last minute by eating out or pancakes simply because I got busy. Aside from that, this has made grocery shopping amazingly simple. I'm using food before it goes bad in my fridge. I've also loved this because I can make sure that I'm not duplicating what my kids are eating at school for lunch (thanks to the monthly calendar provided by our school district).
This is awesome! I don't make a lot of crafty things, but this looks like something I would actually make. I've been looking for something like this for a while. I'm sure it's going to make grocery shopping a heck of a lot easier. Thank you so much for this!
This looks fanTASTIC! And congrats on your success!! I'm following you now : )
I made my own menu board after your original post. Its for a week only as I couldnt get a month view magnetic board here in the uk (and didnt fancy drawing out my own grid) so with a few adaptions and useful pockets for takeaway menus I have something I can reply on, just got to finish decorating my kitchen and then it can be put on the wall. I have all my recipes stored digitally in evernote to save on paper and space.
You should link to this FAQ at the end of your Part 2 post. I had to dig around to find it.
Thank you for the wonderful idea! I struggle with meals (I cook because I have to) and doing meal planning only once a month would take a load of my shoulders. I've been trying weekly plans, but the weekend comes and I think, "Already?! Didn't I just do this?" I like how flexible your plan is, in case there are changes later in the month I can't predict ahead of time.
What size is your magnetic board? I’m sure the size will affect the label size.
OK, it seems to me, whenever you move to a new home, that since this menu board is as important as a “planner” &/or household binder, that it should be kept out till the last minute, when you’re packing for a move. And then wrapped in something see through so keep magnets from being lost, and loaded in the car along with other important things that you keep aside to have on hand at all times, even during the move. That way there is NO lag time or doing without, you hardly miss a beat! Or, at least take a photo of it with your cell phone so you can refer to while in the moving process & transition… even though you obviously won’t be able to move magnets around on the photo 😉
I thought I was the only one obsessed with menu planning (which is a good thing!). I wish I had found this post years ago, but glad I did today because I’m going to buy your kit. I believe it will save me time designing my own. Thanks for all the work you put into this!!!