A Clever (& Easy!) DIY Shoe Storage Shelf
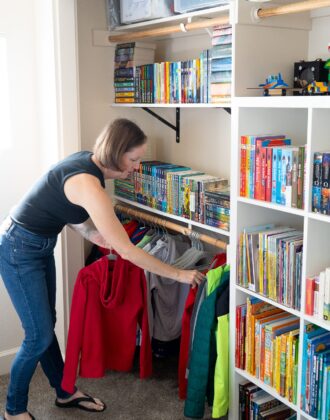
When moving into a new house, sometimes you are lucky enough to connect with the existing/previous residents. Oftentimes they’ll give you pictures and videos (and even answer all your nagging questions!); but every now and then, they’ll offer you something specific to the house that they no longer need. The folks previously living in our new house offered us a shoe shelf they custom built for the master closet. At first glance, I wasn’t interested. But upon further inspection, I realized it was actually a pretty clever design and a great use of space!
Previous Shoe Storage
For the last 6+ years, I have been using this solution to store my shoes. And for a long time, it worked well.
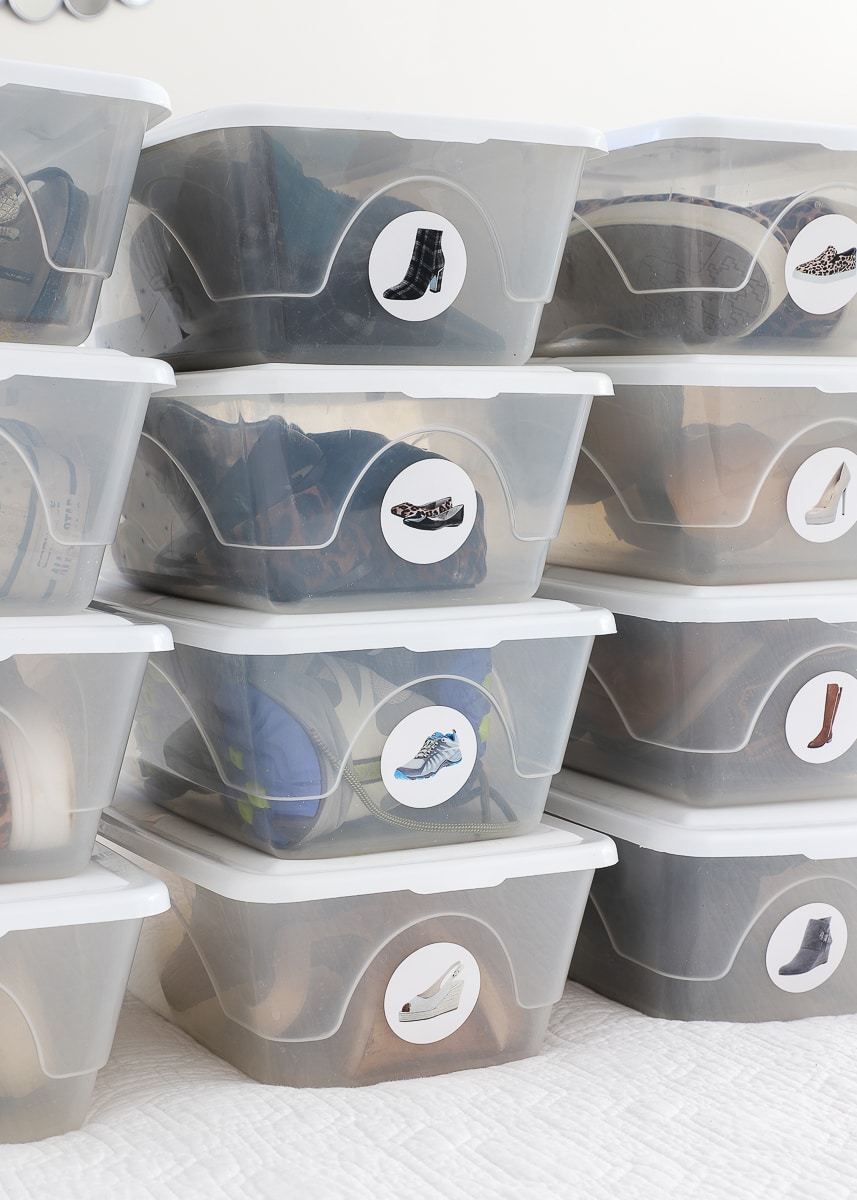
In the last year or so though, I grew pretty weary of stacking and unstacking boxes on a high shelf just to get a single pair of shoes down.
It didn’t take long for my shoes to be littering the floor of our master closet, while (many of) the boxes sat empty on the shelves.
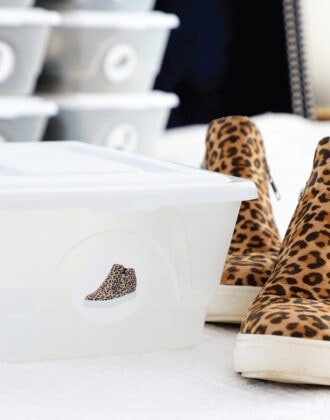
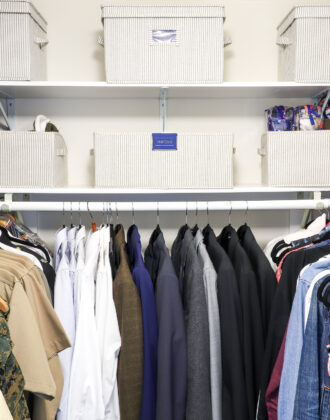
During my work with a local organizing team over the past year, we organized several large shoe collections using these shoe organizers from The Container Store.
I loved how they looked AND how they worked (no more stacking boxes!) And when they finally went on sale, I had a whole lot sitting in my cart ready for purchase.
At (literally) the same time, the residents of the house we were about to move into messaged us asking if we wanted this shoe shelf.
It struck me as bulky (and a little ugly), but I also saw it as a free and easy way to change up my (failing) shoe storage system. I figured if I couldn’t make it work, I’d get the fancy shoe boxes the next time they went on sale.
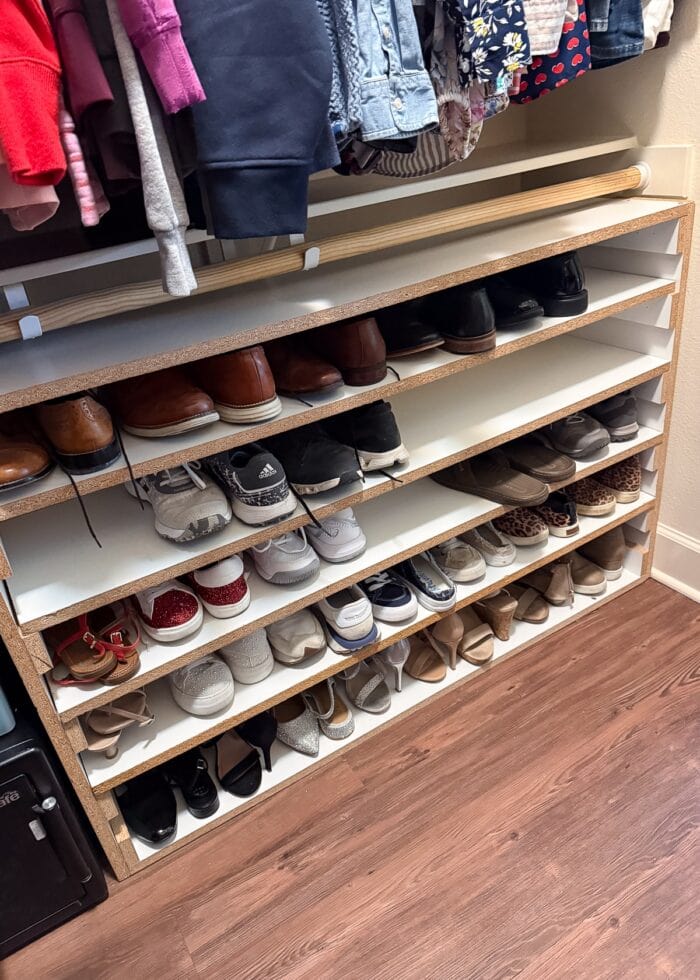
Clever Shelf Design
I didn’t build this shoe shelf, so I don’t have step-by-step instructions for you to follow. But it’s a simple-enough project to replicate and customize for your specific space.
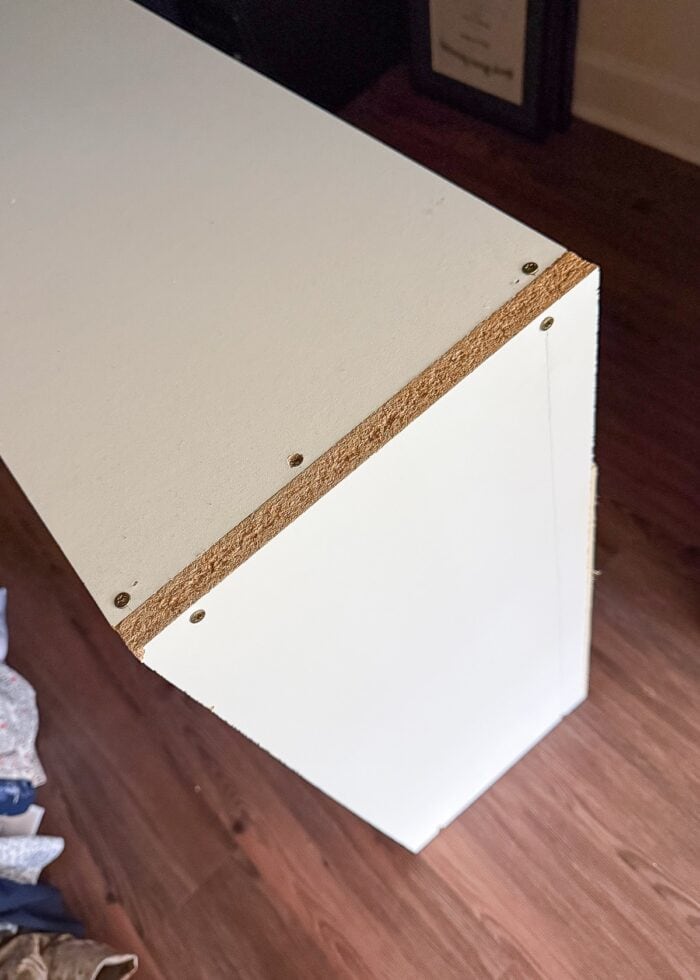
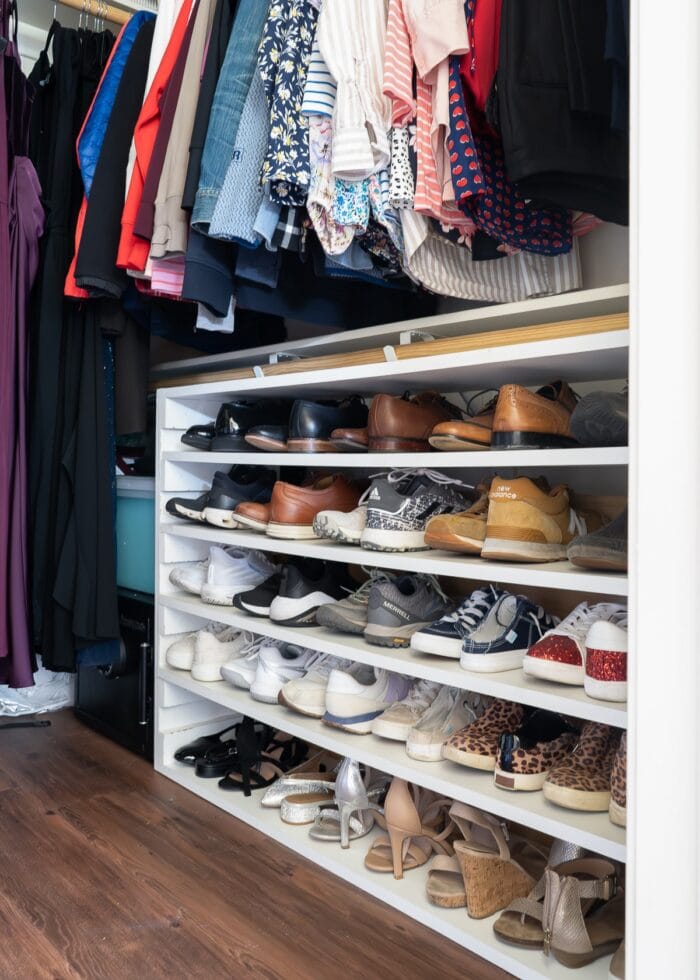
The outer box is constructed of four laminated 12” boards.
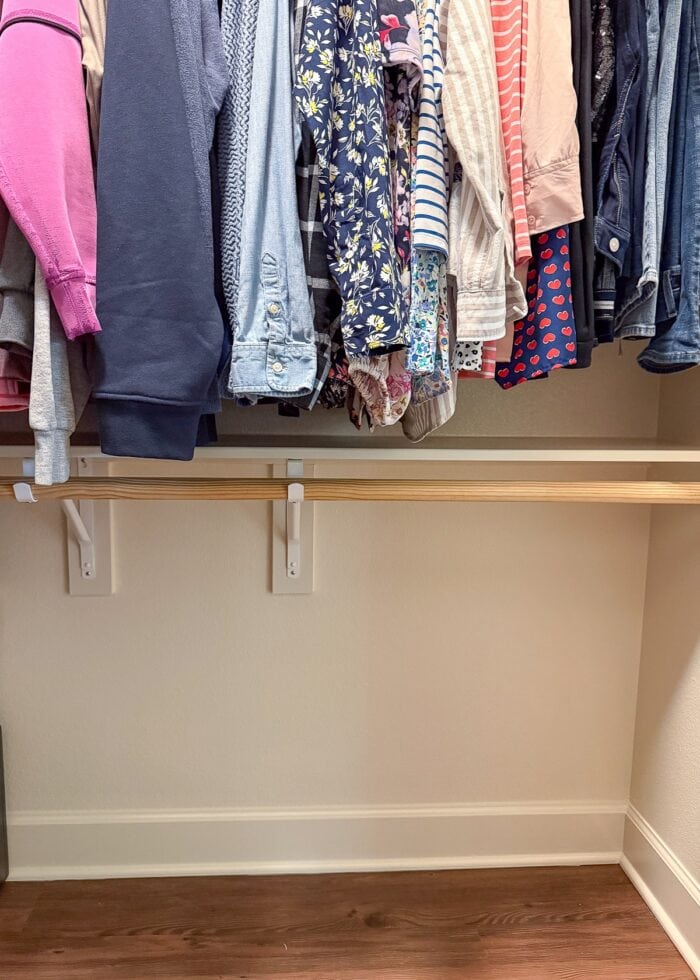
The boards are cut to the exact dimensions in order to use up every inch of space from the floor to just under the closet rod. (You know how I LOVE to use up vertical space!)
The two side boards are screwed into the top and bottom board with basic wood screws along the edges.
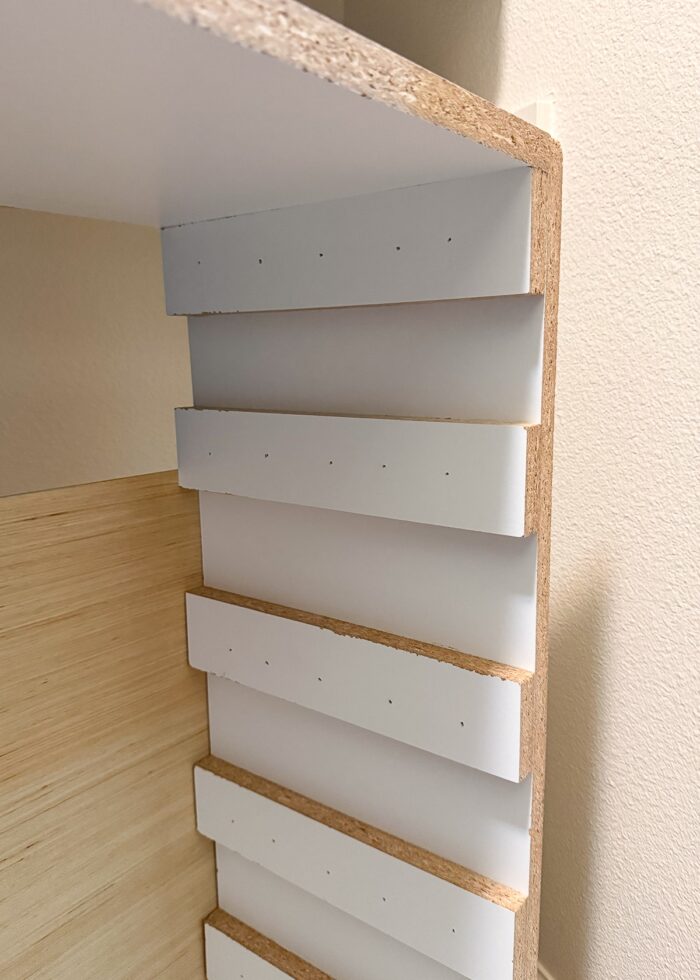
To make shoe-height shelves, simple 2.5×12” returns were cut from the same laminate boards and secured to the sides with a nail gun at 6” intervals.
Be sure to use your own shoes to determine the height of the shelves.
Want to save this post?
And finally, to reinforce the box, a single stretch of thin luan was nailed across the back.
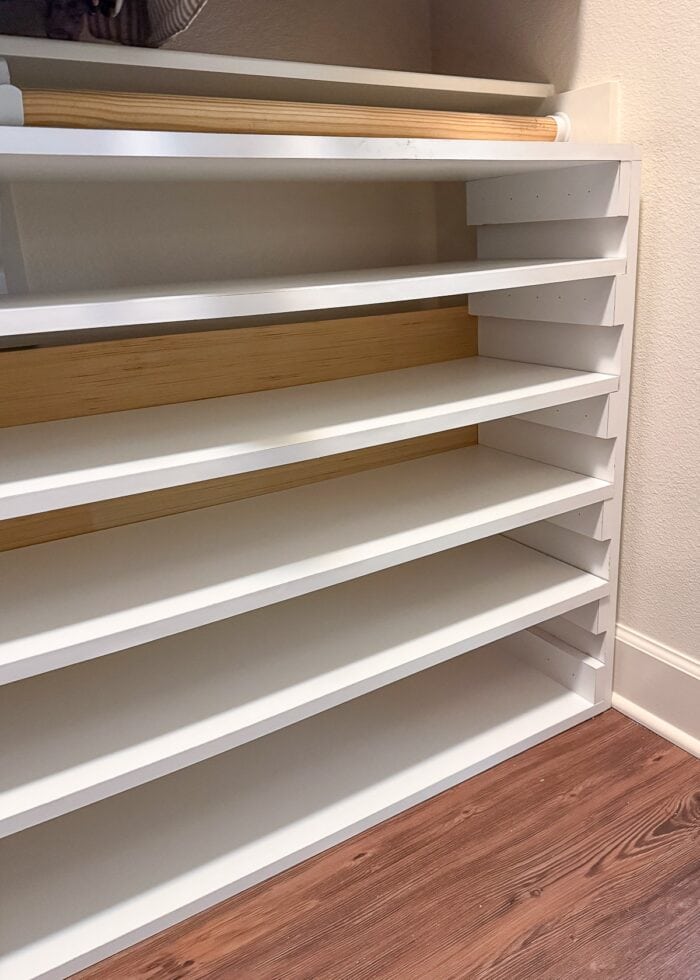
For the shelves, four more boards were cut to fit the interior dimensions of the box. They slide in right on top of the returns to create shallow shelves.
The shelves are not affixed in any way, the boards just sit on top of the returns.
Even though I loved the space-saving design, I didn’t love how “rough” all the raw edges looked. So I bought a single roll of laminate edging; and in 20+ minutes, the whole shelf looked crisp, white, and good as new!
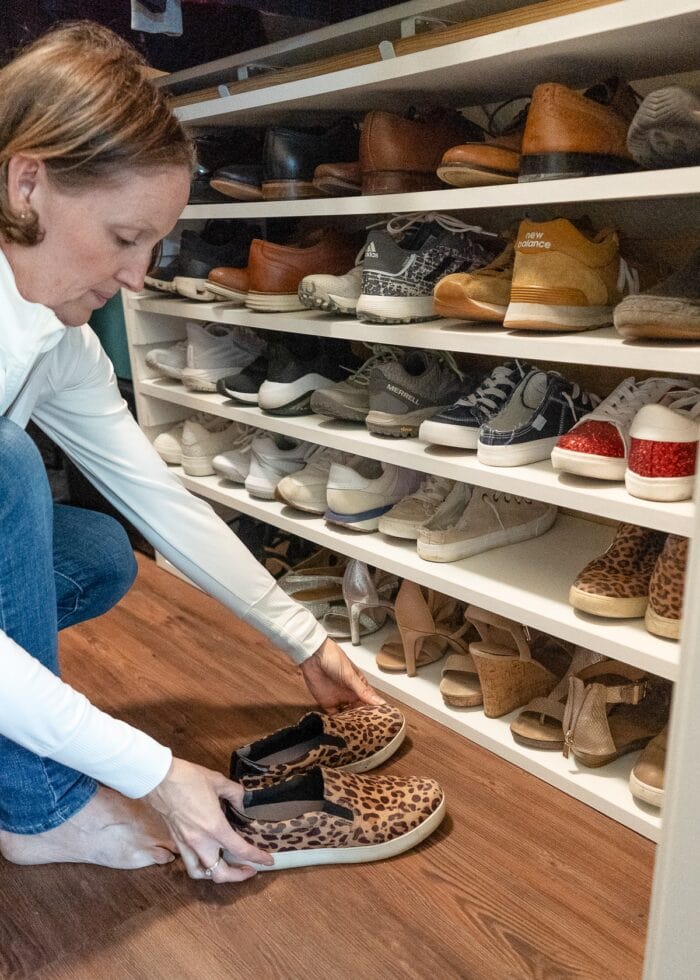
Organizing Shoes
If we had built this shelf ourselves, we could have sized it to fit our particular shoe collection.
Since we inherited it, we had to make our shoes fit in the space we were given.
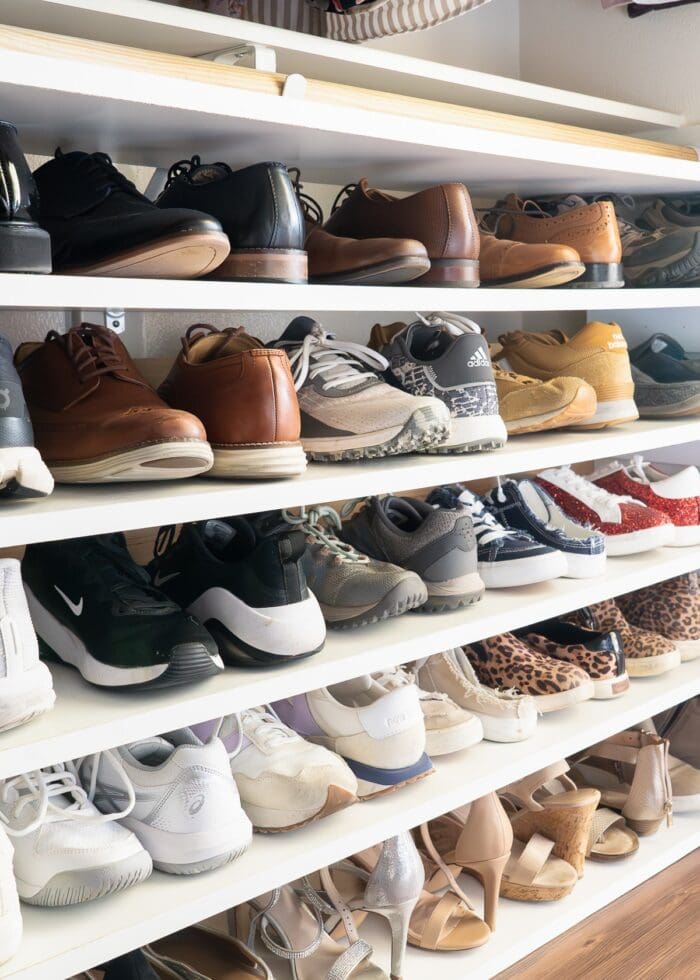
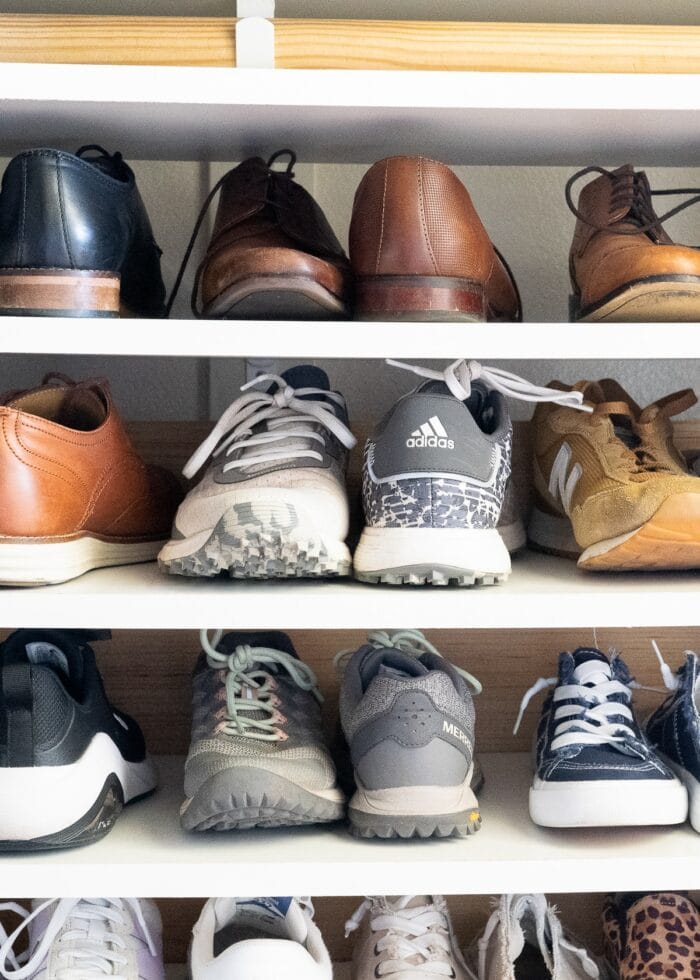
Typically, when you put shoes on a shelf, you place them side-by-side with both toes pointing forward.
However, if you turn just one shoe around so that they sit toe-to-heel, you can actually fit MORE shoes on the shelf!
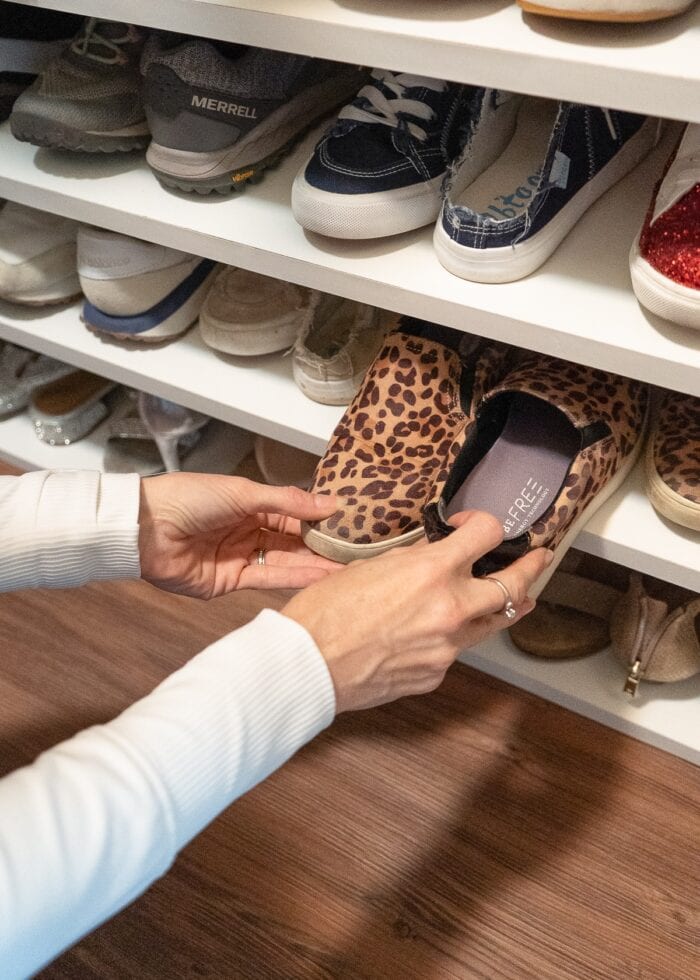
By doing this AND placing shoes in color groups, we were able to create a shoe storage system that looks amazing, is so easy to use, and takes full advantage of an otherwise hard-to-use spot in our closet!
Dive Deeper Into This Project
This shoe shelf doesn’t have any room to spare, but that didn’t really worry me since my closet is an area I have no trouble keeping under control. In this week’s Voice Notes, I’m breaking down the (pretty common) strategy I use to maintain a fairly minimal wardrobe!

Megan
2 Comments on “A Clever (& Easy!) DIY Shoe Storage Shelf”
Ikea has a great shoe organizer called Murvel $1.49 each. Takes up a lot less space than CS boxes. Costs less too!
Not to disparage your organizing esthetic but I prefer the lidded boxes. We moved to a house with a fancy ikea system and I unboxed my shoes. Granted, we have far fewer shoes in regular rotation than you and while many are washable most are not. Our master closet got really smelly. I couldn’t figure out why until I realized it was the result of my slip on shoes which I wear daily without socks. I ended up as an experiment re-boxing them and voila the smell went away. As I was doing the re-boxing I had the opportunity to get rid of a lot of shoes that no longer fit my current life as a part time RVer We donated tons of business casual clothes and suc also for the simple reason that there’s no dry cleaners close to us and I was not wearing the trousers and jackets at all. So their partnered shows had to go. I thought I share this because my 6 pairs of slip on Skechers are now contained as are my winter boots.