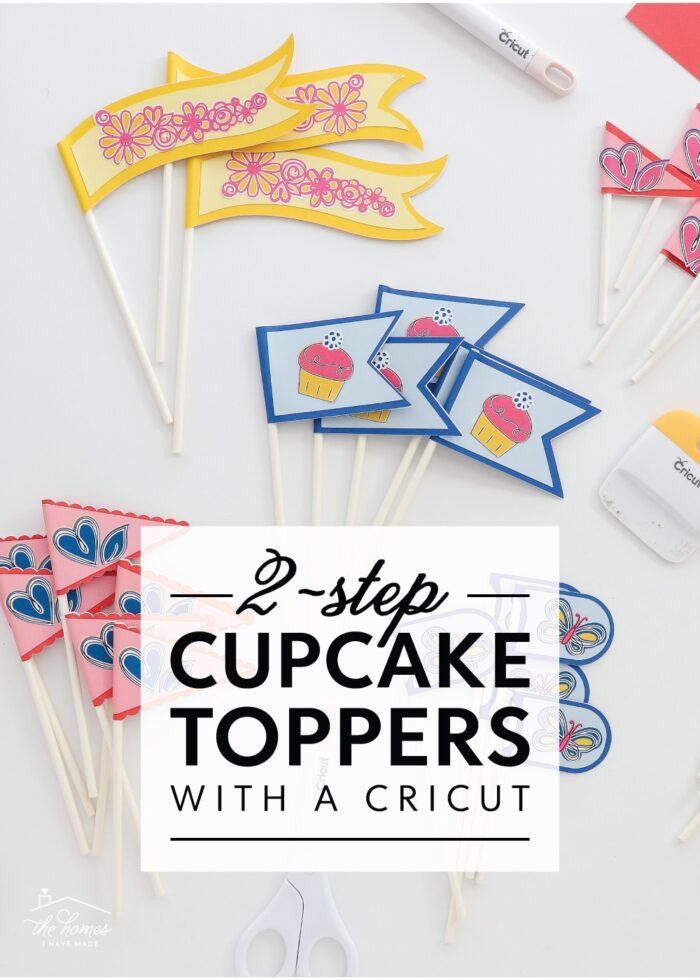
DIY Cupcake Toppers with a Cricut
Next to organizing and decorating my home, my favorite projects to make with my Cricut machines are party supplies! (If you look back through my Parties gallery, you’ll see I’ve made a lot of decor over the years!) Today, I want to show you one of the quickest and easiest party projects you can make: some DIY Cupcake Toppers with a Cricut. Although you can use any paper you have on hand, I made these with the new Smart Paper Sticker Cardstock…which means they were literally a glue-free, 2-step project! Let me show you!
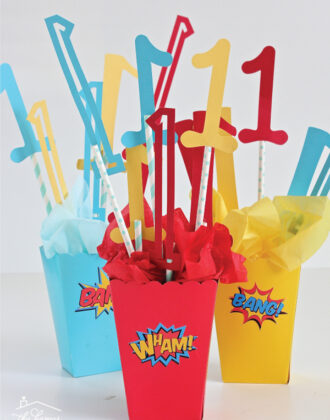
Decorative paper toppers are a really fun way to dress up simple cakes or cupcakes. You can make them in any size, style, color, or design to match your party colors or theme; and since they are little, they come together fast and don’t require a lot of supplies. I recently made this sweet birthday set to send off to The Birthday Party Project!
Supplies Needed
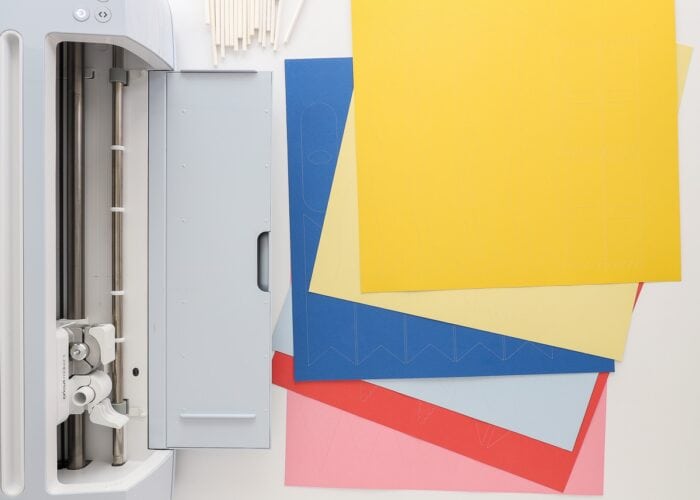
Here is what you need to make these simple DIY Cupcake Toppers with a Cricut:
- Cricut Machine – any Cricut machine can make these toppers, but to cut the paper matless (as shown), you’ll need a Joy, Cricut Maker 3 or Cricut Explore 3.
- Smart Paper Sticker Cardstock – in the colors of your choice
- Lollipop Sticks
- White Sticker Paper (optional) to make stickers for the toppers
- Cricut Design Space File – if you’d like to make these exact same cupcake toppers, you can access my file HERE.
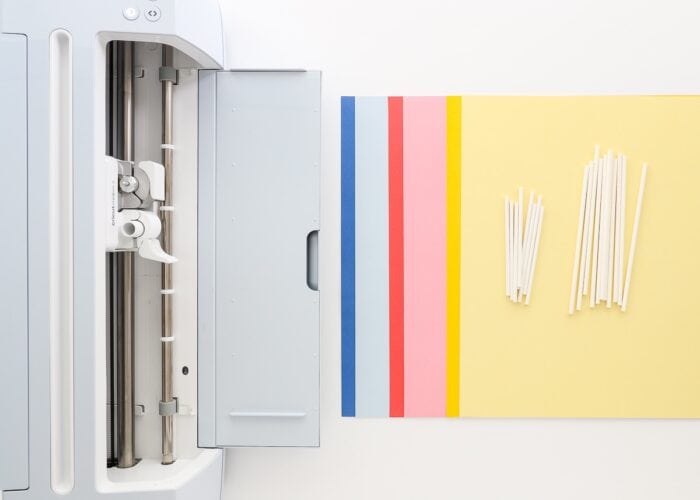
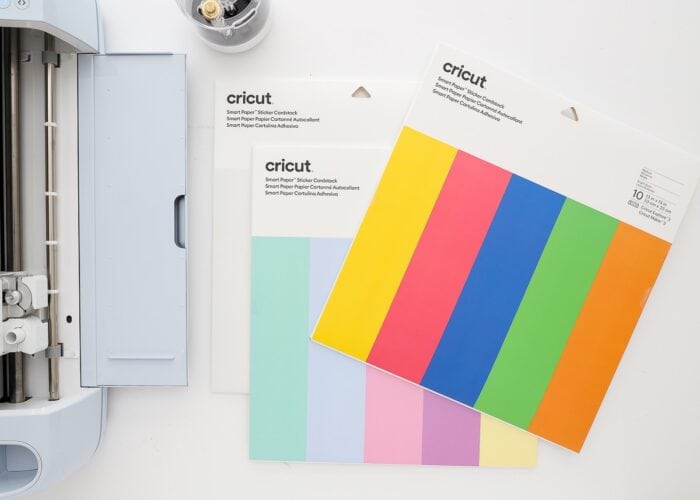
You can use this tutorial to make DIY Cupcake Toppers with any paper you have on hand. However, I intentionally used Smart Paper Sticker Cardstock, which is paper that is already sticky. I absolutely adore this stuff for quick paper projects because it completely eliminates the need for glue or adhesive. It currently comes in four different color sets (Brights, Pastels, White, & Black). I combined the red, yellows, and blues from both the Brights and Pastels sets for my two-tone toppers.
Watch It!
Watch these DIY Cupcake Toppers with a Cricut come together in just minutes in this short video tutorial!
Video not showing? You can watch it HERE!
Design the Cupcake Toppers
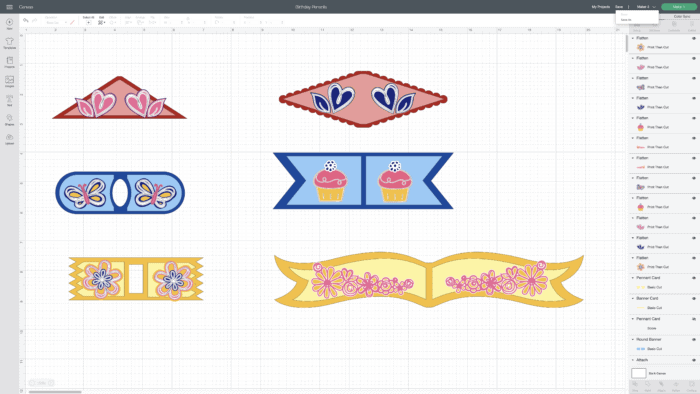
The first step is to design your cupcake toppers in Cricut Design Space. To whip these up fast, simply select a few designs from the “Party Picks and Pennants” set.
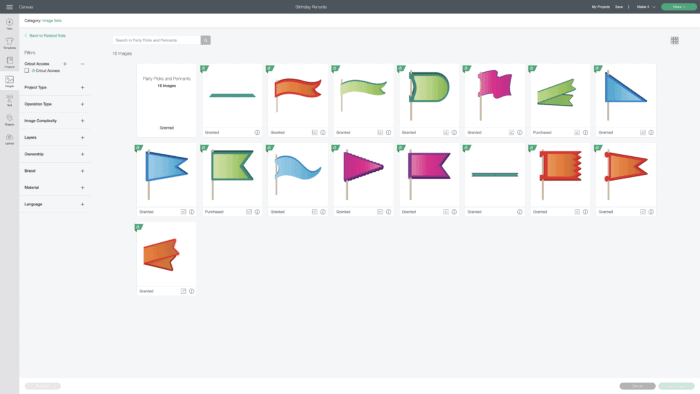
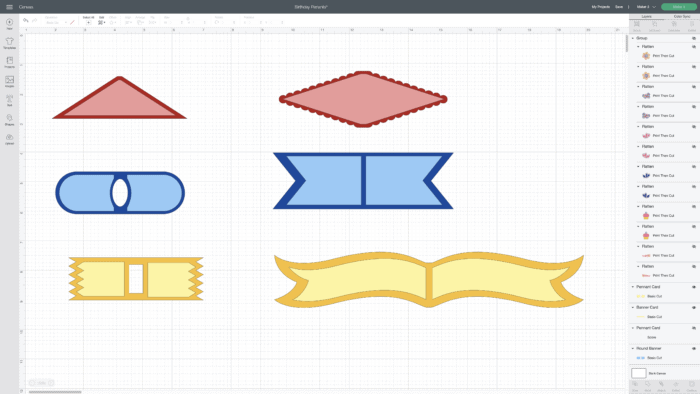
What I love about these particular designs is that they are already two-toned and designed to be folded in half. Simply size them to your preference and adjust the colors to match your party!
NOTE: If you are using Smart Paper Sticker Cardstock, you will need to hide/delete all the score lines from the pennants (since that tool is not supported when cutting matless). Don’t worry – the score lines aren’t really needed to assemble the pennants around a stick anyway!
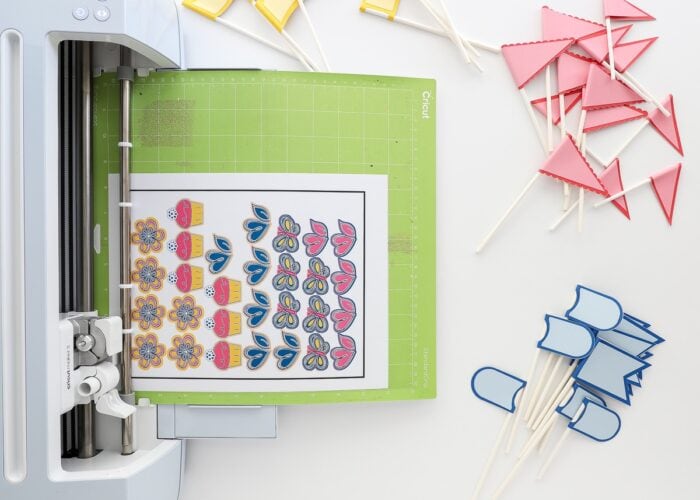
Cut the Cupcake Toppers with a Cricut
Once you are satisfied with your size and colors, send the cupcake toppers to be cut by clicking the green “Make It” button.
TIP! On the cut screen, increase your “Project Copies” to fill the entire paper in order to cut several toppers at once!
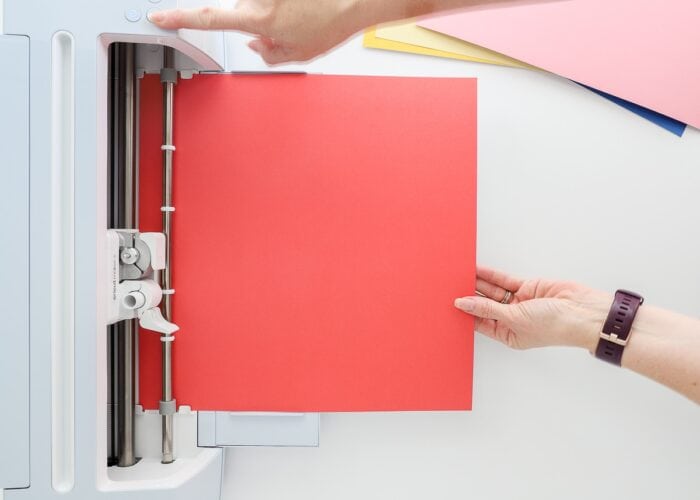
If using Smart Paper Sticker Cardstock on a Joy, Explore 3 or Maker 3, load the paper directly into the machine and set it cutting. If you have an older machine, load the Smart Paper Sticker Cardstock (or any paper) onto a mat first and then proceed as usual.
Once the design is finished cutting, unload the paper/mat…
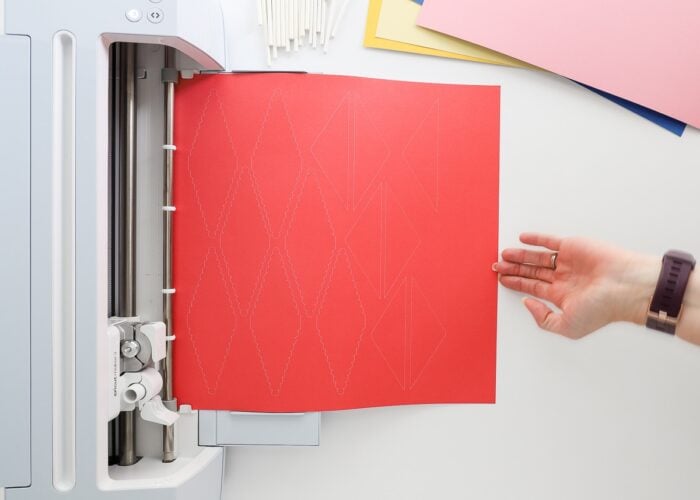
…and then continue to follow the on-screen prompts to cut out the remaining colors and layers.
Assemble the Cupcake Toppers
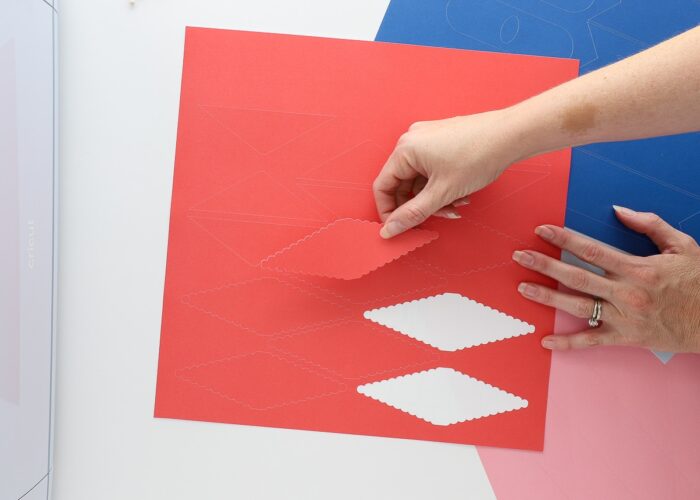
Once all the layers and colors are cut out, assembly is super fast thanks to the pre-sticky paper!
Simply peel up one of the base layers off the paper backing…
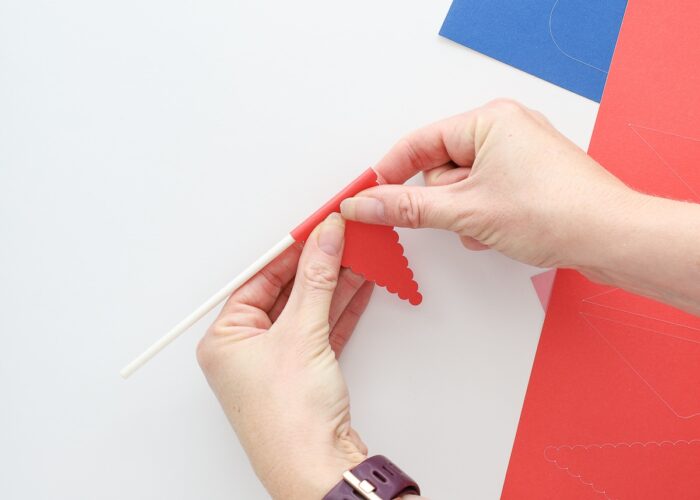
…then put the pennant sticky-side-up on your work surface and place a lollipop stick along the center.
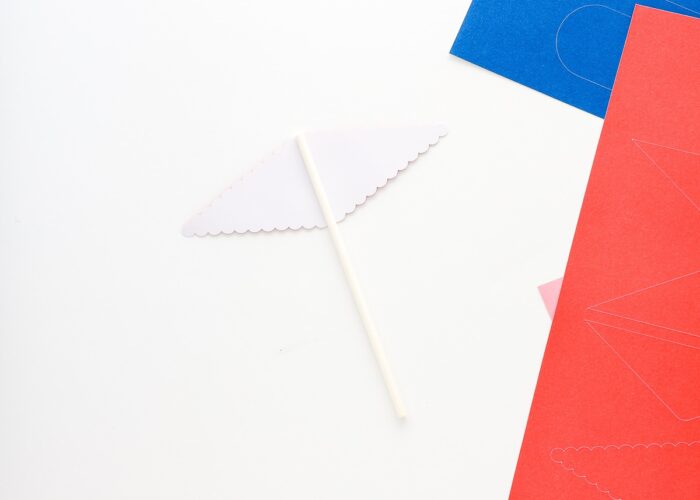
Bring the ends of the pennant together, lining up the edges as best you can and sticking them together.
Smooth the entire pennant flat toward the stick, pressing the two sides together firmly.
NOTE: This paper is very sticky, and you will not be able to pull it back apart. So take your time to get the placement right the first time!
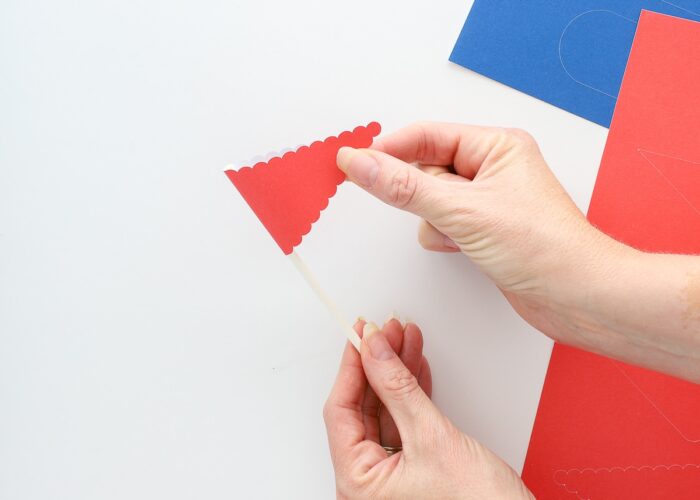
Repeat the process with the top/decorative layer.
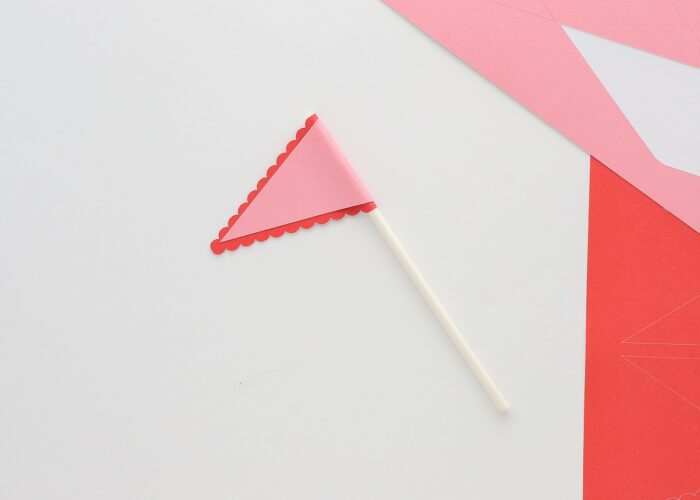
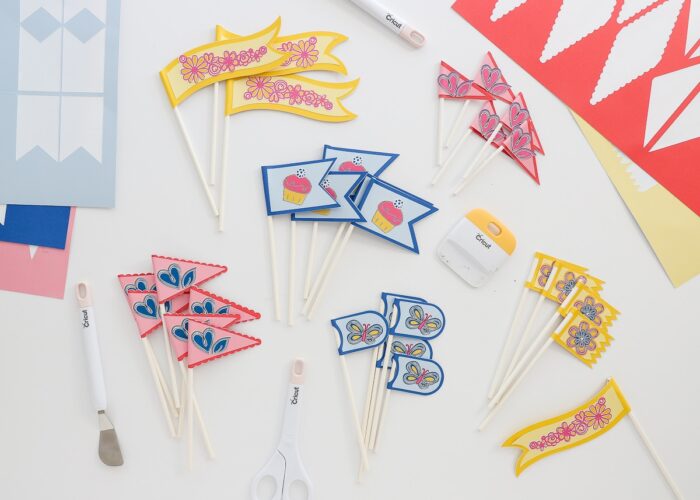
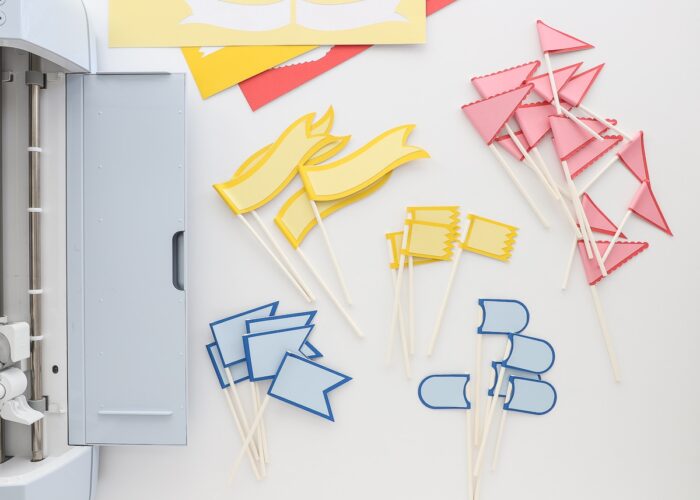
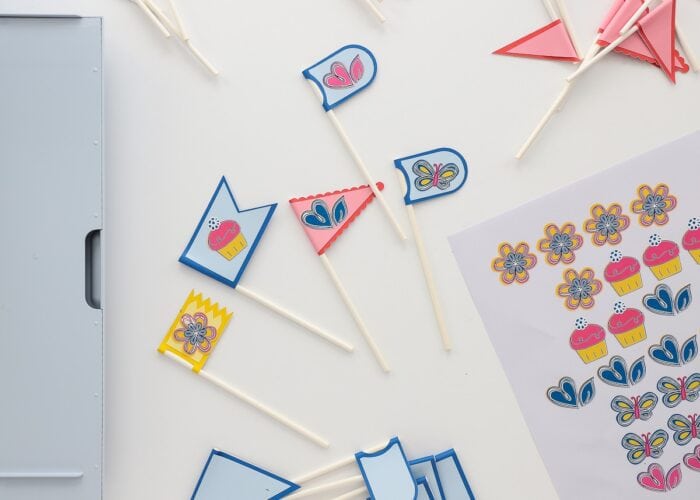
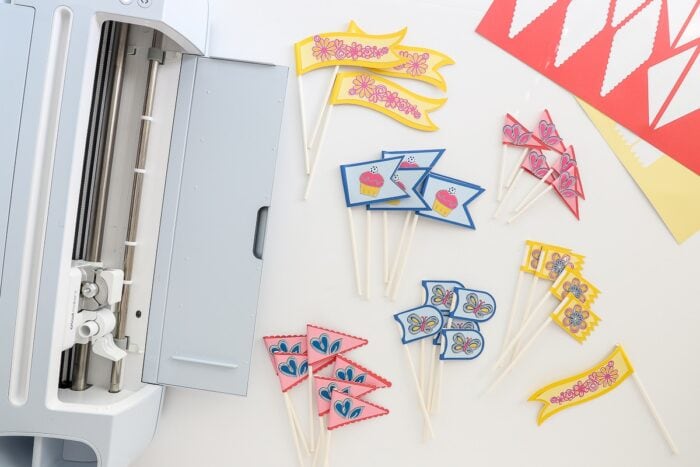
If you pre-cut all your colors, you’ll be able to assemble all the toppers super quickly: just peel, place the stick, and fold over to close! Look at all these fun designs!
At this point, your cupcake toppers are technically done and can be pushed into cakes or cupcakes right away. However, I thought my paper-only toppers were lacking a little something, so I made some quick stickers to dress them up and coordinate them all together.
Print Then Cut Stickers
Making stickers for the cupcake toppers is completely optional, but is a really great way to coordinate generic flags for your specific party. I’m going to very quickly cover how to make the stickers here, but if you need in-depth help, check out my How to Make Stickers with Print Then Cut tutorial!
To make a set of coordinating stickers, I recommend finding an Image set that works with your theme. You can convert any image into a sticker, and this really is the easiest way to make everything match with little effort! I used a few different images from the Garden Birthday Party set.

Once you place the images on your design canvas, take some time to adjust the colors to match your party theme. Once you’re satisfied with the look of each image, size it to fit the cupcake topper and then hit “Flatten” to turn it into a printable image (bottom right-hand toolbar).
TIP! I recommend mirroring each image to fit on both sides of the flag!
Once you are satisfied with your sticker designs, print them onto White Sticker Paper and use your Cricut machine to cut them out.
NOTE: You can only make stickers via Print then Cut with Explore and Maker models (not Cricut Joy).
Once cut out, all that’s left to do is peel them off the paper backing and place them on either side of the cupcake toppers!
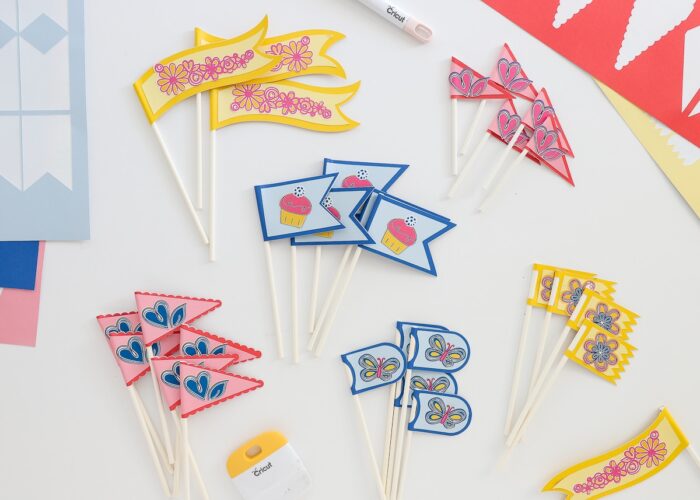
Thanks to all ready-to-stick products, these DIY Cupcake Toppers with a Cricut really do come together in mere minutes!
With countless paper combinations and a plethora of images in the Design Space Library, this project can easily be adapted to any party theme! My favorite way to use cupcake toppers is to order simple cupcakes with pretty icing, and then just stick these right in to coordinate them with the party. Cheap AND easy!
With an all-boy household, I don’t often get to craft up such sweet and pretty projects…I sure hope the kids at The Birthday Party Project enjoy them!
Megan

One Comment on “DIY Cupcake Toppers with a Cricut”
I’ve had trouble cutting the Smart Paper Sticker Cardstock with my Maker 3. Is there a trick to the settings? Not sure if I just got a bad batch of paper. Thanks.