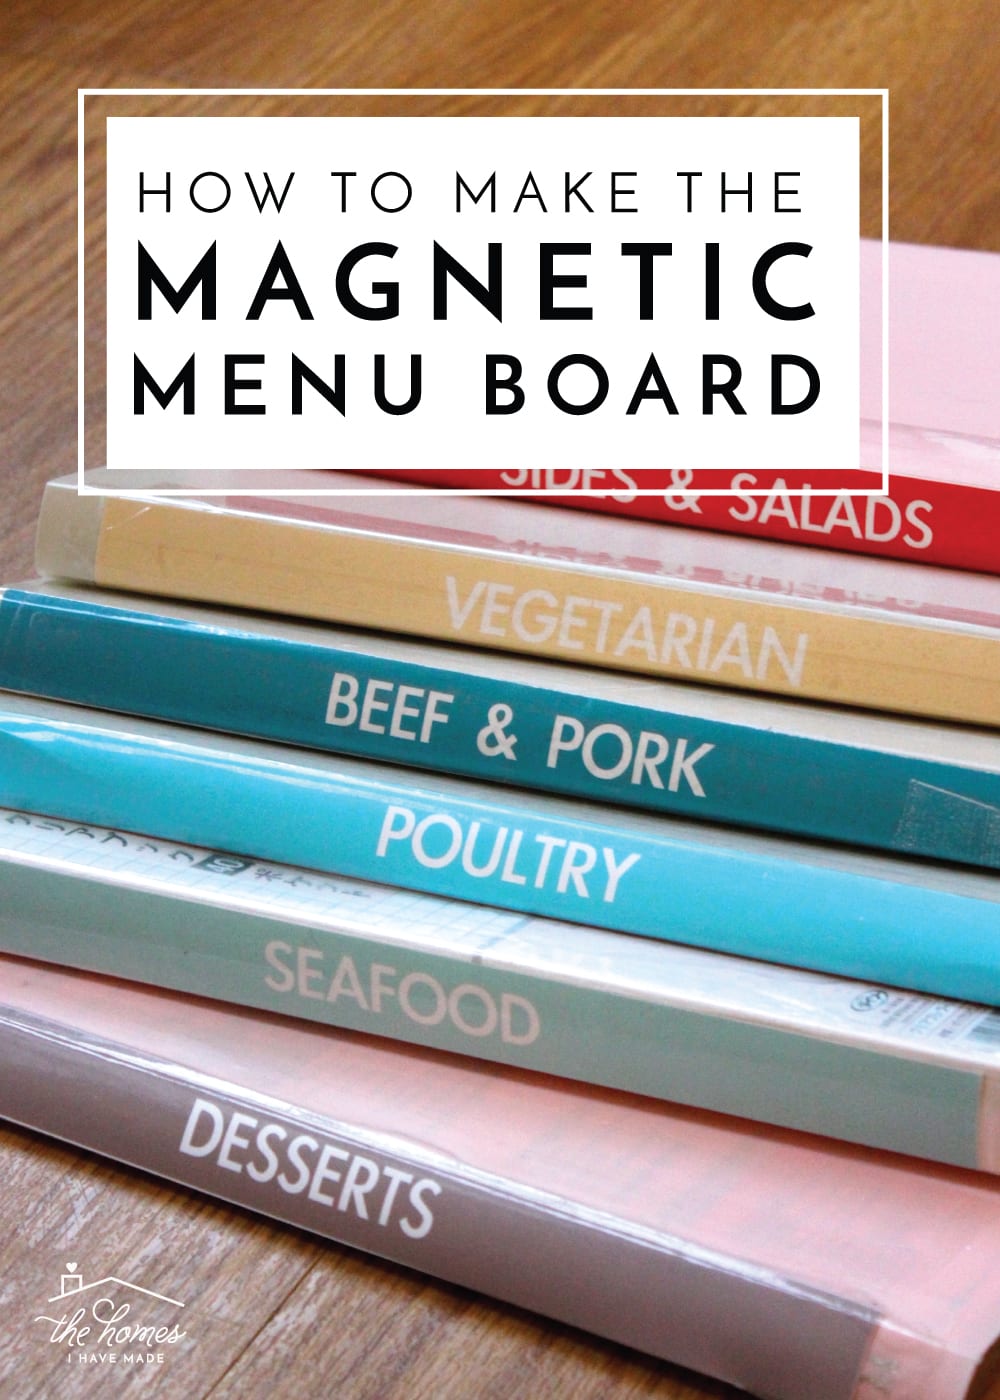
Magnetic Menu Board – Part II
Hello, Hello! On Monday, I showed you my Magnetic Menu Board and explained how it works! If you missed it, you can read it here! As promised, I am back today to show you how I made it!
I started here:
and ended here:

Materials Needed
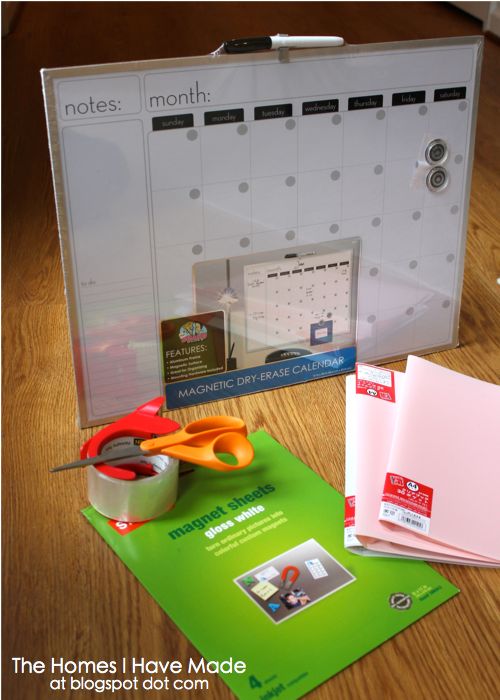
Here’s what you need to create your own Magnetic Menu Board:
- A magnetic and dry-erase calendar
- 2 packages of magnetic sheets (you can find these anywhere from Walmart to Amazon…mine are from Staples and are glossy, which give the magnets a nice and professional look!)
- 6 books filled with clear plastic page protectors (mine are from the Y100 Store in Okinawa – yes, I stocked up before I left years ago! – but any binders or similar-type books would work!)
- Magnetic Menu Board Editable and Changeable Templates
- Other supplies:
- Scissors
- Clear packaging tape
- Recipes – you’re on your own for that one!
- Small craft storage box to hold magnets (similar)
- Magazine file for storing recipe books
- Vinyl for labeling magnet box
Unfortunately, the first step is the most “not fun” and time consuming! If they are not already done so, you must first organize and/or sorted your recipes!

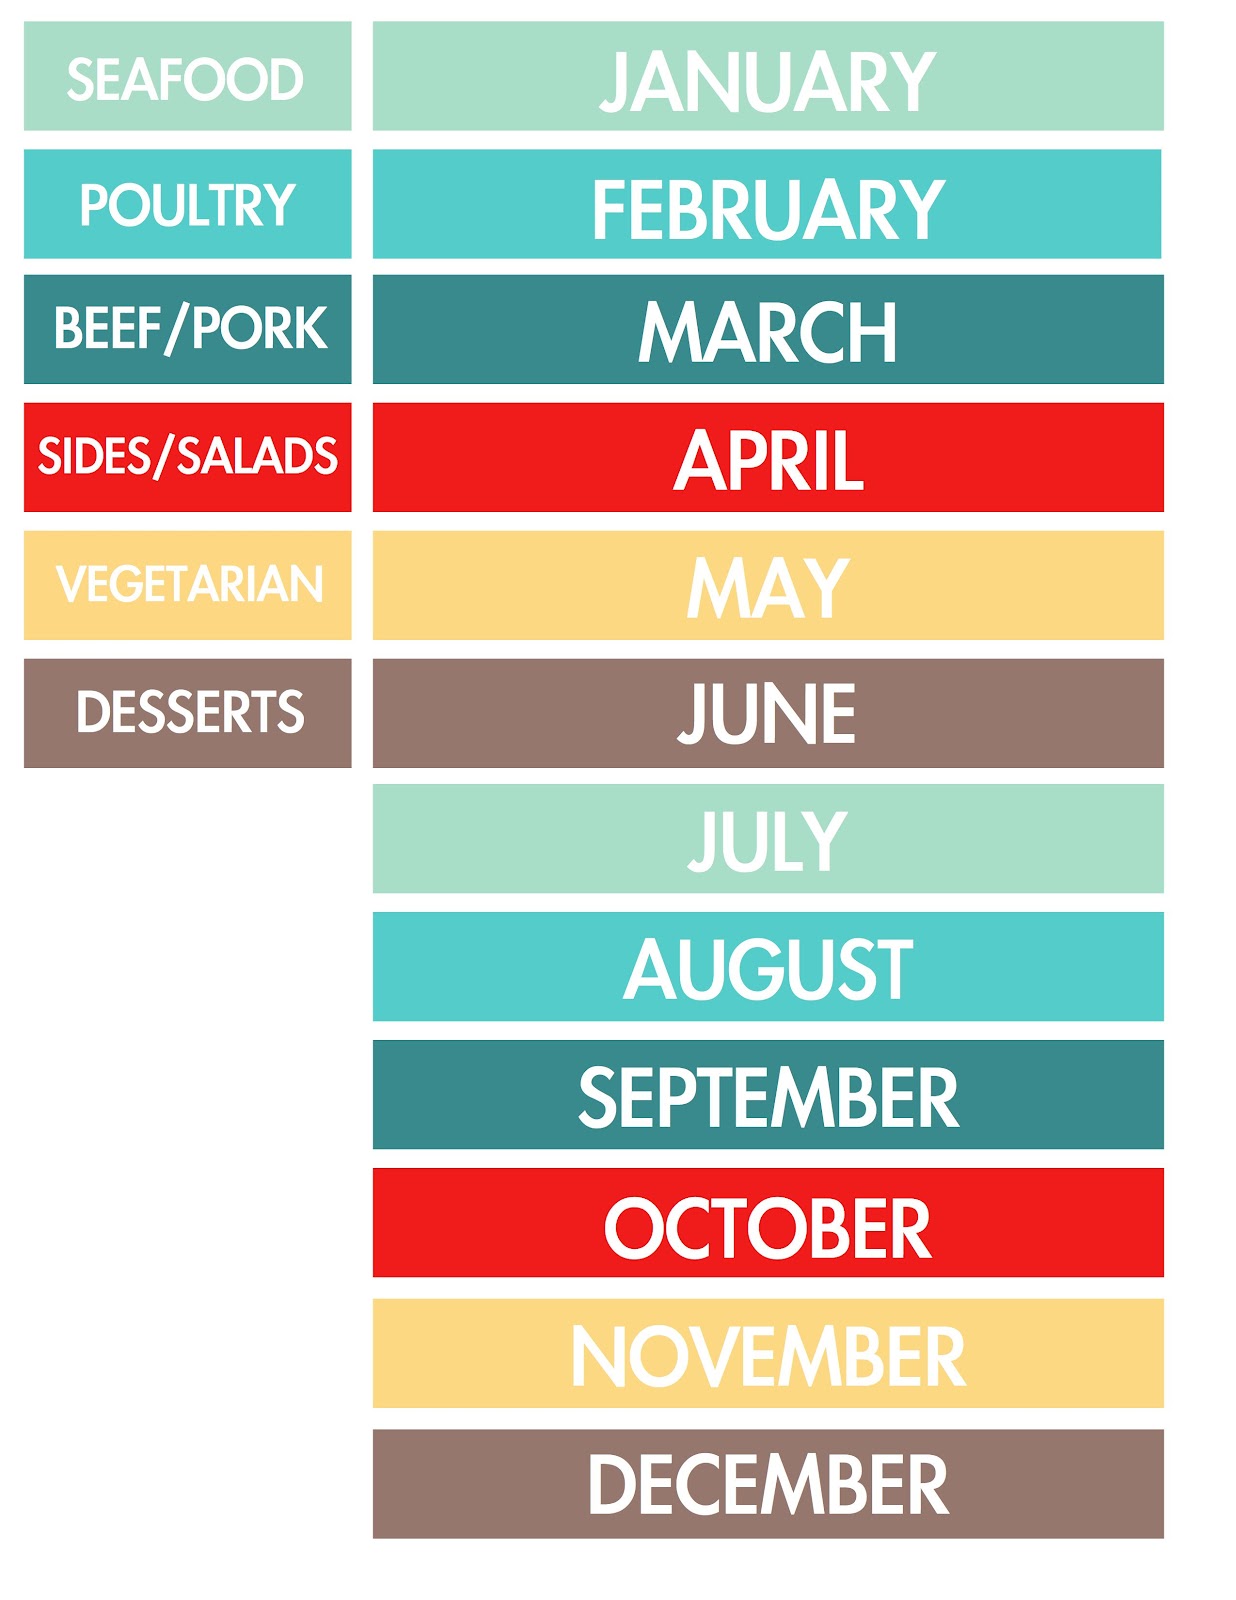
Before this project, I was already printing (or copying) recipes (from emails, online, or cookbooks) that make it into our regular rotation and then store them in handy books. As I said in my original post, my recipes were already somewhat organized…I just expanded my system. Instead of “Favorites,” “Classics,” “To Try,” and “Desserts,” I instead organized my recipes by main protein source, and then lumped my sides/salads and desserts into categories of their own. Here are my 6 categories!
- Poultry
- Seafood
- Beef/Pork
- Vegetarian
- Sides/Salads
- Desserts
Once my recipes were organized, I could begin making my magnetic labels.
You can make similar templates using Illustrator, Canva, Word, PowerPoint, Excel etc! I specifically sized my labels to take up only half of a square on my calendar (the width was also dictated by the calendar box widths.) To do this, simply measure the height and width of a “day” on your calendar and use that as a starting point. My boxes are 2.5″ wide by 0.75″ tall. You may want to print a test to make sure the come out the size you want! I then copied and pasted the box as many times as I could.
Because I had 6 categories, I needed a color scheme. In preparation for our next move, I have been looking at a lot of different color schemes for our next house, and am pretty sure this is the one! (I know, I’m ridiculous already picking out ideas for our next home!)
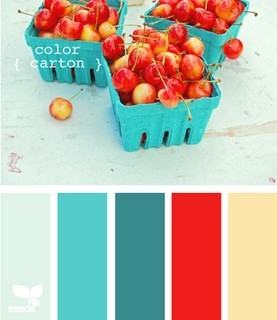
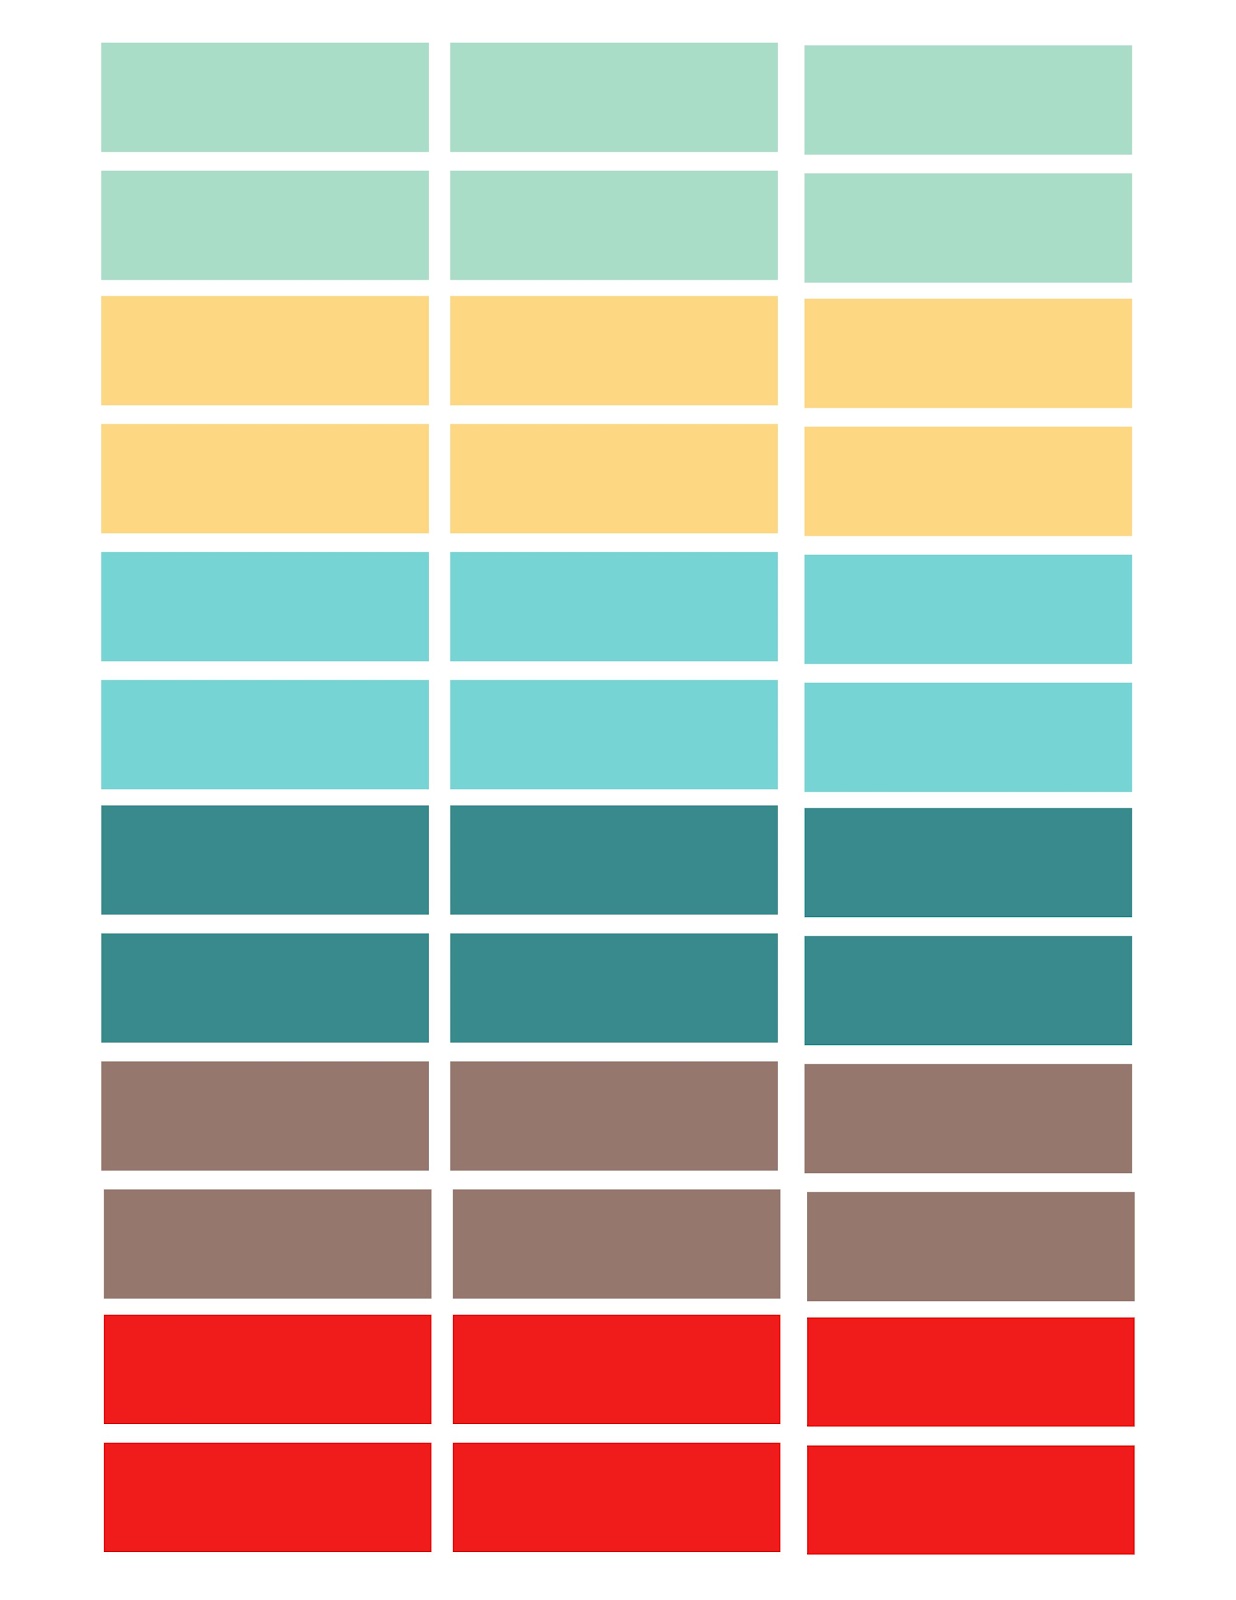
Anyway, I used these colors for my labels and had a sheet for each color:


Using the text function, I simply added the title of each recipe to the appropriate color sheet!
I also made a sheet with 6 blank labels of each color in order to have extras!
Next, I made my sides and symbols sheet. You can see all these labels explained here!

Lastly, I made “key” magnets (so I could always remember what each color stood for) and month magnets to match!
With everything all typed up and ready to go (make sure you proofread!), I printed out all my labels onto those magnetic sheets!
Want to save this post?

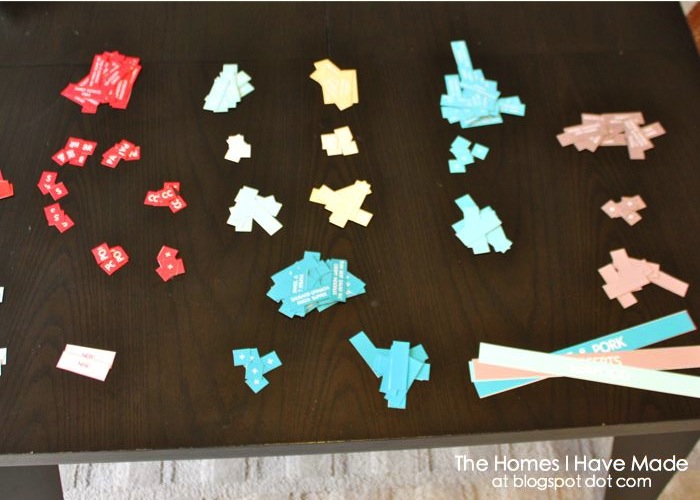
Here is how my recipe labels looked all printed out before cutting!

Using a plain ol’ scissors, I cut out each label (btw – these cut BEAUTIFULLY! I was SO worried, but they cut just like paper!)
I then added my “key” magnets and setup my board for February…learn how to set it up here!

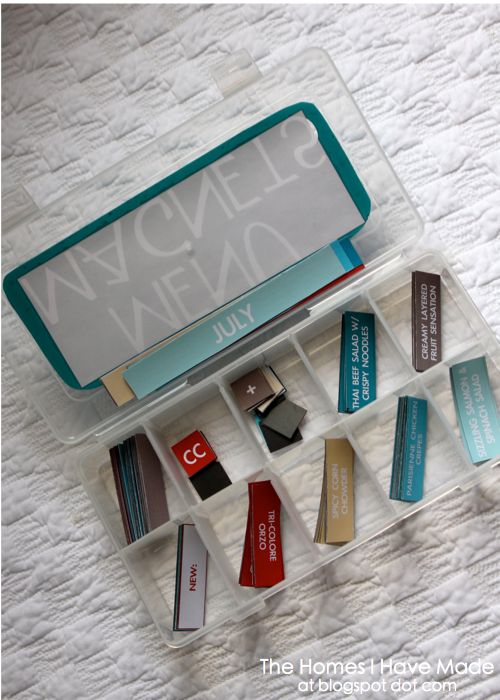
And then organized my remaining magnets in a little craft box:
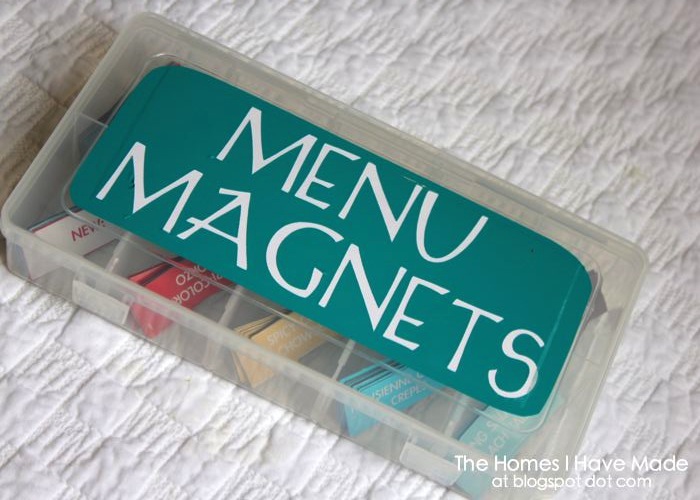
I used my cricut to make a matching vinyl label for the top of the box!
With the menu board and magnets done, it was time to turn my attention toward my recipe books. In addition to my labels, I also made a template for my spines…these I printed on card stock!

I cut out each spine…

And mounted each spine onto the notebooks using the clear packaging tape (use extra for re-enforcement!)
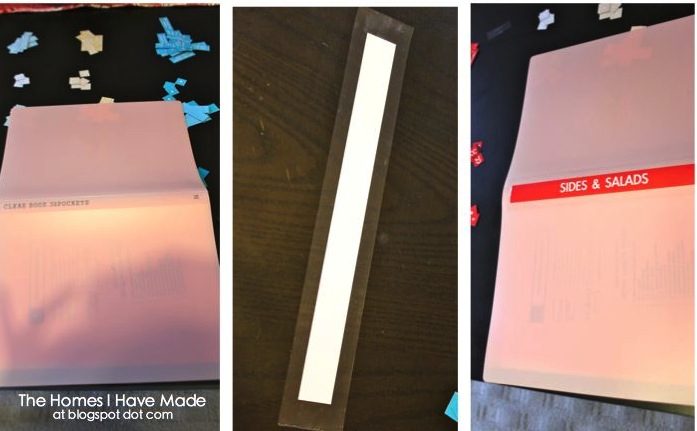
Once all six were done, I had pretty spines that coordinated with my magnets!
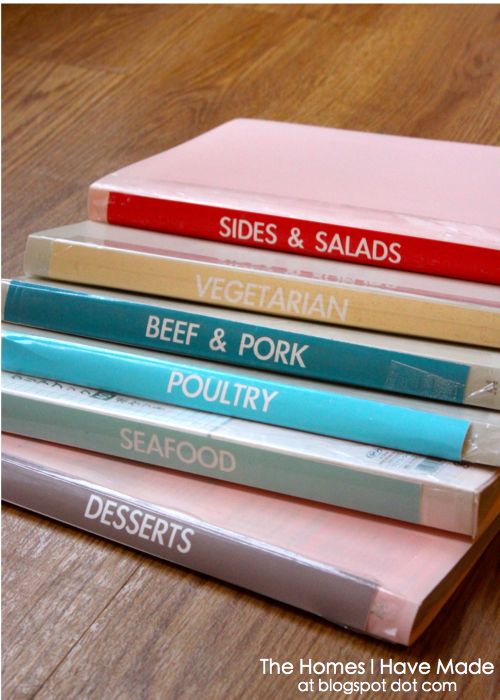
I loaded my books into a magazine file and now have everything sitting nice and tidy on my counter!

Get the Magnetic Menu Board Templates!
Creating your own Magnetic Menu Board is now quicker and easier than ever! I’ve created three fully editable/changeable sets of templates…all you have to do is set your categories, type in your recipes, print and assemble! SHOP HERE!
The video tutorial below shows how quick and easy it is to make the ultimate meal planning system perfectly tailored to your needs!
This project took me less than 1 nap to complete (ha…I measure my project length in nap time now!) ONCE all my recipes were organized and sorted – that’s the time-consuming part! It came together so quick and easy thanks to the magnetic sheets, and I’m telling you friends, this system really works great! Hope you enjoyed the tutorial! Next week, I am sharing the beginnings of my newest project…a “tween” girl’s bedroom makeover!!! Can’t wait! Have a great weekend.
Megan
64 Comments on “Magnetic Menu Board – Part II”
Seriously impressed!! This is great! 😉
visiting from positively splendid party- oh.my.goodness. LOVE this!!! I totally pinned that photo on pinterest, but I'm liking your take on it even better!! now I'm gonna pin YOURs 😀
This is a fabulous idea and you have worked it perfectly – it must have taken you ages!!
Thanks so much for sharing!
Lowri
http://papervinenz.blogspot.com
Wow! What a fabulous system! You work fast too, only 1 nap time. I love how you specifically wrote in what you are having as leftovers and left some blank for the new recipes to come.
This is very impressive and I love your color scheme!
http://kroppinkaren.blogspot.com/
Wow! Just wow! I have been using an Excel spreadsheet and notebook system for a couple of months now, but it certainly isn't pretty! I might have to take a look at doing something like this myself! Thank you thank you for the instructions!
Seriously this is one of the best organising ideas I've seen in blogland – major kudos, impressive!!
How organized are you?! Color me impressed! Thanks so much for linking up to my Saturday 7 Party this week.
This is great. I have a large blended family with 5 kids. We are spending a fortune on groceries and I'm now researching the meal plan for our family. I will be using some of your tips for sure!
This is the best menu board I've seen, as it will work the best for my family. The features I love the most: it's flexible (the magnets), neat (printed), it's color-coded for protein sources (I vary my meals that way as well), it includes side dishes, it's detailed (includes eating out and leftover nights, along with plans to make extra and try new recipes)and you have your recipes all printed out. I have all my recipes in one book (as I type them up and format them the same), and may end up planning two weeks at a time, but those are minor tweaks. Thank you SO much for posting this–I have pinned a couple ideas to come up with a menu board but must have been waiting for this perfect version to come along!:)
Wow–this is amazing! And so generous of you to share all of the steps and printables. I have been wanting/needing to start menu planning, but this is the first time I've felt truly motivated!
If you sold those cute magnets I would buy them…..something to think about!
this is AWESOME! thanks for sharing. i really want to do this for my family. is there any way you could send me the files that i can edit and type on?
thanks!
[email protected]
What a great idea and great tutorial- thank you for sharing- I just recently started once a month cooking (freezer cooking) and I think this is going to be the planning/organization tool that will make this even easier for me. thanks again!
Kerrie
Saw your post at IHeart Organizing and I think its a great system. I especially love having the recipes divided by category. I use binders but they are rather unorganized so I look forward to redoing it a bit! Thanks for sharing!
I have been looking for a good meal organizing system. I love who flexible this is.
Just saw this on iHeartOrganizing and it is AWESOME!! Are you able to share a PDF file that can be typed in? ([email protected]) THANK YOU!!!!
Be careful when downloading the templates for this project. I tried to do it and had issues with my computer and never did get the templates. It downloaded something else instead and messed things up. My computer then could not find my printer. Edward had to uninstall the offending stuff and restart things from scratch before it would find the printer again. Very frustrating.
I do love the idea and that was why it was frustrating to have these issues.
~Linnea
As a designer and an organiser I am absolutely drooling over your menu board. So much so that I just HAVE to make my own now. Its a shame that the materials are so expensive in the UK so im having to adapt by just using a week planner. Still, im excited about my new project. Thank you!!!!
I love you for posting this. I saw it on I Heart Organizing, and I am so doing this!! I've been looking for a new way to plan menus for a long time, so thank you for coming up with one for me!! 😀 Thank you, thank you, thank you!!
This is an amazing system you have created !! I am literally on my way to Target to get the items I need. I downloaded your templates, Thank you so much for including them – what a time saver you are !! The one question I did have was – Is there a way you could email the files?? I can't figure out a way I can type my meals on the template in a pdf file… Help !! My email is [email protected] – Thanks !!!!!
Yipee it works!!! Thank you! I would love what Mandy Zabel said…some way that we could type in our menu-please!!!!
This is great! And in the same colors I have in my kitchen! Also wondering if you'll be offering an editable version?
Hi Erin! Thank you for the comment and how fun that our kitchens are the same color scheme 🙂 At this point, I am only offering the PDF files. I've been really excited and a bit overwhelmed with the interest in this project, so I am exploring other options for making the files available, but it will take me some time to get some things together. In the meantime, other readers here have suggested some great programs for editing your pdf files! Good luck!
These are fantastic and I'm going out to buy all the supplies today to make. But how do I edit your downloadable forms? Should we use word or another program? I'd love to know as I'd like to make this weekend! Thanks! And I saw you on iheartorganizing too! 🙂
My advice would be to use something like photoshop, gimp or paint shop (or if you are experienced – illustrator) to edit the files. Or use an online image editor such as pixlr.com or picnik.com
Thanks for your suggestions!
Thanks for these suggestions Nicola! I've been asked this a lot over the past few days, and have been trying to answer everyone as fast as I can 🙂 These are great tools to use…and another that some people don't know about is Preview (if you're a Mac user) – preview has a text function that allows you to add text, change the color/font, etc. Good luck!
Forgot about preview. I use photoshop and illustrator daily so they come the most natural. You have created a great project that not only works fantastically well but also looks amazing. I found your calendar in the uk and its £60 ($90) so I'll have to make do with my week view for now until my trip to Florida sept/oct 2013 – lol!!
Happy organising!!
X
This is really awesome! I have been wanting to do something similar but I didn't really know how to execute it. This is something I'm going to have to do. Thanks!
This is great! But I did try to change the text in preview and it did not work! 🙁 Bummer! Great idea though!
Wooohooo! I figured out how to add text using Preview…here are the directions:
Click Annotate in the toolbar, and then click Text.
Click where you want the text to appear.
Enter your text.
Hope this helps! 🙂
This worked for me!! Thank you so much for sharing this tip.
Love this!!! Super organized, easy to read/view, attractive to look at. I went out and purchased all my supplies yesterday. Found some cool, lacy magazine holders at Office Depot. Now I just have to figure out a way to edit those pesky pdf labels without having to purchase any software. :/
I finally decided to just go ahead and create my own printable version. I used Windows Word 2010 and inserted a table and made the width/height match. I was then able to tweek it so the colors matched my kitchen scheme. I printed out some of my sheets already. Very cool. Now the biggest hurdle is transferring recipes into the notebooks and then typing up my menu labels and printing them out. It didn't take me as long as I thought it would be create the templates in Word. Took awhile, but not what I thought. Thanks for a wonderful idea!
This is amazing! I love the whole idea and concept and here is hoping that I can get myself organised enough to put it in to action! Thank you so much for sharing!