How To Transform a Dresser to a Media Stand
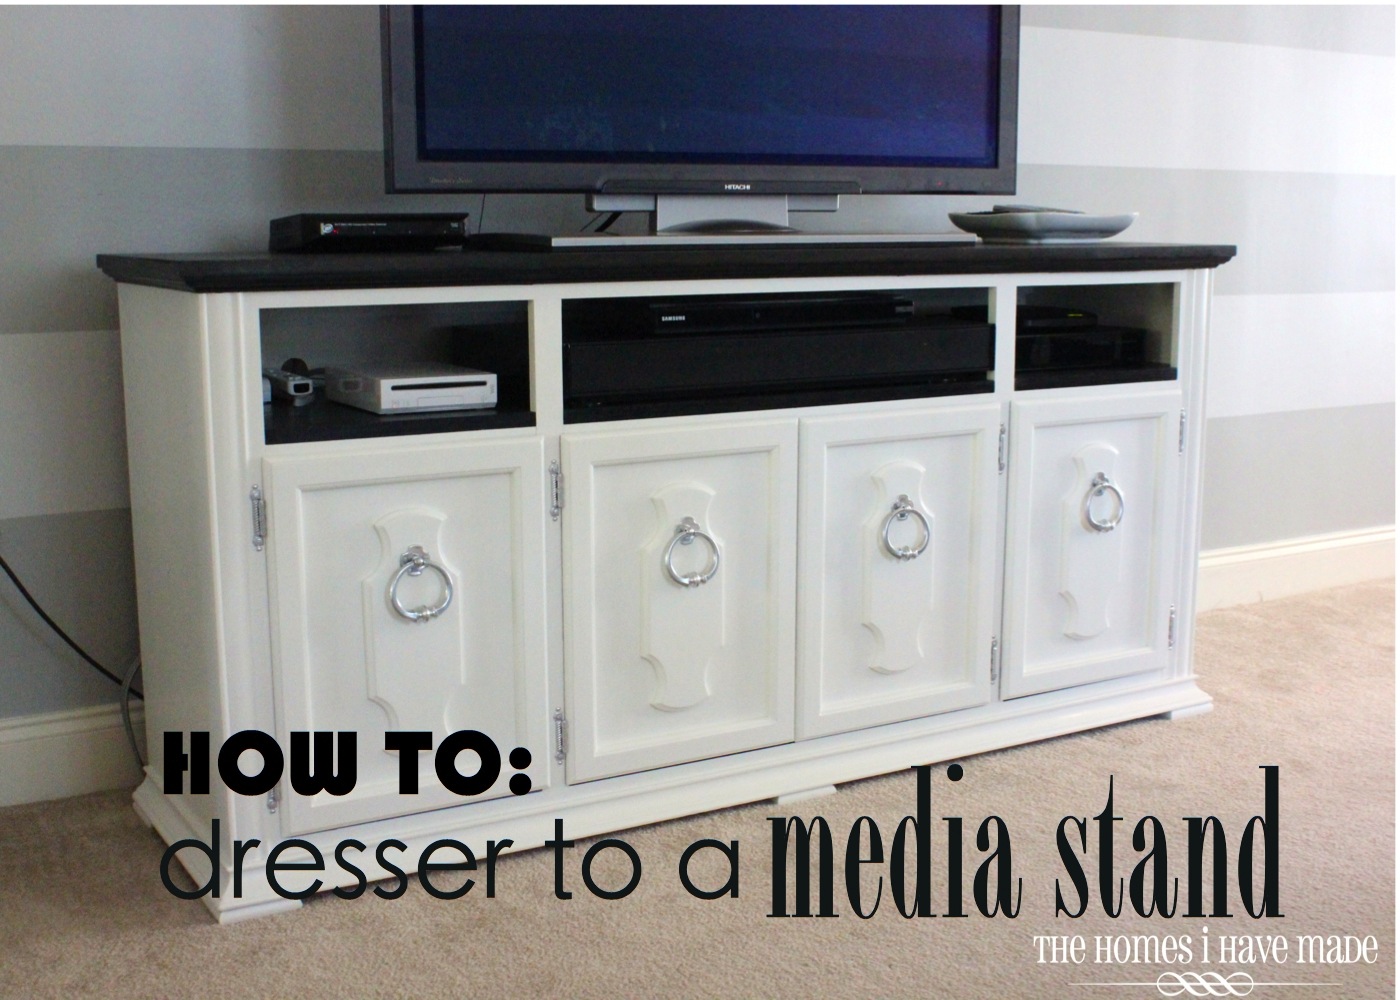
Happy Wednesday everyone! As promised, I am back today with a full-picture step-by-step tutorial on how we turned this old dresser (well, it’s really a base to a china hutch)…

…into this updated and super functional media center!

Let’s get right into it, shall we?
Let me start off by saying that we certainly didn’t invent this idea. If there’s one project I’ve seen over and over the DIY-blog-o-sphere, it’s this kind of dresser transformation. Even though I didn’t come up with the idea myself, I was eager to give this one a try. I just thought it was such a brilliant and beautiful way to not only display all of our electronic components, but also a way to get everything out of reach of little hands.
Okay, let’s get started!
I started off by pulling out the drawers, removing the doors, and removing all the magnets (that hold the doors shut). I was able to do all of this fairly easily with a simple screwdriver.

All the hardware looked interchangeable, but I didn’t want to risk things not fitting quite right once it was put back together. I labeled 5 ziplock bags (left door, left middle door, right middle door, right door, and magnets) and put all the hardware in the right back as I was disassembling.

Next came time for sanding the top. After sanding the red bench a few months back, I have fallen completely OUT of love with the sander. Thankfully, this one was a piece of cake – I just sanded the top to get the finish off and make it nice and clean and smooth. It helped that it was all straight, clean edges…

Mostly…that darn edge had to be done. It would have looked strange had we not done it, so I had to work on most of the trim by hand! Thankfully, though, that’s the only sanding we had to do – phew!

The only other real prep work involved taping off the doors and the inside of the base. We’ve had a bad experience painting the insides of furniture, so we wanted to keep the inside of the unit, and the edges of the doors and frame clean of paint. Some blue tape around the edges worked perfectly!

Below you can see how I taped out the door frames of the base so that paint wouldn’t leak to where the doors would come in contact once re-assemble. (Ignore the blue tape along the backboard…when I first started, I was prepared to paint the back board of the dresser, but I ended up finding a way around having to do that…more details below).

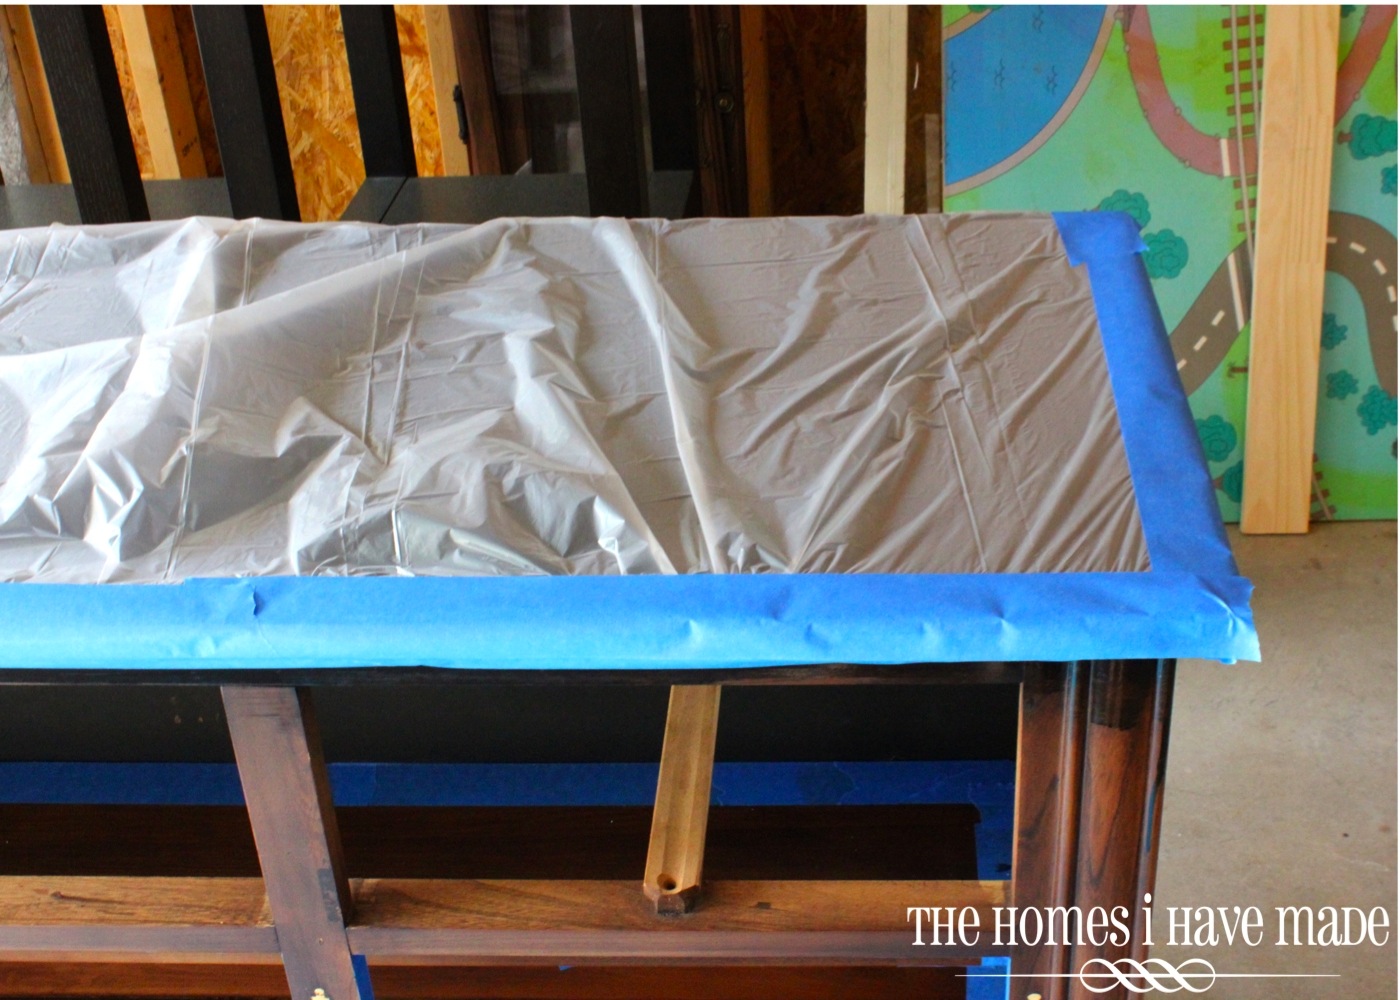
You may recall in my the hutch-to-bookcase project, I regretted staining first and wished I had painted first (because of dust and sanding, etc). Well…I actually did the same thing here (stain first, paint second) despite my own warnings, but I had good reason. This time, the only part of the dresser getting stained was the top, and I could vey easily protect it once it was done!

See? All protected with a painting tarp and lots of blue tape!
With the top done and all protected, I could turn my attention to the rest of the dresser. I started by giving the frame, the outsides, the doors, and the inside portion 2 coats of Zinsser 123 Cover Stain Primer (the brown can….yes, the oil-based one…yes it was a pain to clean up 🙂


A quick note about the photo below…because the drawers were coming out (and the inside paneling was not uniformly painted), we new we had to paint at least some of the inside of the unit. We decided to ultimately tape off the portion that would be seen once the shelves were installed and only paint that portion. That included the “ceiling” of the unit, as well as about 8 inches along the back and sides – a four-inch roller and an angled brush made this inside job pretty easy!

Want to save this post?
Once everything was primed, we didn’t want to move forward with painting until we had the new wooden shelves measured, cut, and fitted. We knew this process would involve a lot of in-out-in-out-shove-push-squeeze-out with the wooden planks, so we didn’t want to put the final coat of paint on until everything was just right.

I’m not exactly sure what wood we used for the shelves 😉 It’s the pretty stuff with the nice finished edges and wide paneling. It was about $35 for a sheet the size we needed. The finished edge was the key here…I didn’t want rough edges all along the front of our new shelves.
I also didn’t want there to be gaps between each panel that would replace the drawers. To make it look like one solid shelf, we cut thinner planks to fit behind the vertical beams of the dresser.

Once we had all the measurements just right, we removed the wood sections, gave them a good sand and clean, then stained them with two coats of Ebony Minwax Stain. (Note – this photo was after only one coat of stain!)

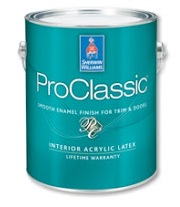
While the shelves were drying, I applied three light coats of white paint with an angled brush and four-inch roller. After doing some research, we decided to go with Sherwin Williams ProClassic in Albacore; we mixed in some Floetrol to eliminate brush strokes.
I was very, very happy with this paint choice – good thing, because we have a ton leftover 🙂

Before the new shelves were installed for good, Greg drilled three 1.5″ holes across the back of the dresser for our cords to go through. We debated one hole versus three…we are SO glad we went with three holes! For one, there’s no way all of our cords would have fit through one hole, but now we see no cords along the back because each section has it’s own hole!

With the holes drilled and the wooden shelves done, we popped them back into place and then screwed them in from below.

I purposely didn’t seal everything up before we put the shelves in because I knew they were going to be a tight fit and would leave some marks as they went in! Case in point:

I taped off a few last spots and touched up all the paint to make sure everything was nice and clean and white!
I then finished off the entire dresser (wood and pained surfaces) with Annie Sloan clear wax. (This was my first project with this product. I am planning on writing a quick post about my experience with it, but I will just tell you quickly: I LOVE this stuff!!!!)

After another 24 hours of drying time in the garage, she was ready to come inside!

We were still waiting on the hardware for the doors to finish drying, but we decided we could bring the unit in and get it all hooked up before they were done…we were antsy to see it in the space 🙂 It took us a while (that might even be an understatement) to get all the components exactly where we wanted them, all hooked up, and all situated, but we finally did…and were amazed that everything fit just right – phew!

The next day, we put the hardware back on the doors, and put the doors back on the cabinet.

After a lot of steps, a lot of drying time, a lot of being put on hold for other projects, we were SO very excited to see this unit finally come to life in our space!

I have one last post for you about this dresser…the hardware! Transforming the hardware gave us a bit of a headache, but I think we ended up with a pretty great result. On Friday, I’l show you exactly what we did!
Megan
19 Comments on “How To Transform a Dresser to a Media Stand”
This was a good suggestion that you put up here…dude…..hope that it benefits all the ones who land up here.
Solid Wood Doors
Thanks so much for the great tutorial! I can't wait to transform some furniture in the summer!
Great work! The stain took beautifully to the wood. No wood conditioner needed. You both did a beautiful job. It looks very professional and fancy! 🙂
So, do you stand back and admire your work? I would. 😉
Julie
I want to do the two tone with a dresser I just got, what sand paper grit did you use to sand the top of the dresser before you stained the top?
I wish I could remember but it was so long ago, LOL! I would say probably 180 to get the finish and stain off and then finished with a 240 to make it nice and smooth. Good luck!
Fantastic tutorial! One of the best out there in the wide world of the internet 🙂
Thank you!
Hello! Thank you for such an amazing tutorial. I have two wood dressers that are looking a little tired and need some love, so I was thinking of painting them. Am I right in understanding that you only sanded the top of the dresser? Did you do anything to the sides before painting?
Hi Natalie,
Yep – I just sanded the top because it was getting a new coat of stain. For all the painted surfaces (i.e., everything else!) I just gave it a good wipe down and then two coats of bonding primer before applying the paint.
Hope that helps!
Megan
This turned out fabulous!!! http://www.lovesthefind.com/
Pingback: 30 Fabulous Furniture Makeover DIY Projects - Hative
Pingback: 10 Fantastic Furniture Hacks That Will Make Your Jaw Drop - The Smallest Step
Pingback: 10 Fantastic Furniture Hacks That Will Make Your Jaw Drop - The Smallest Step
Pingback: modewelt 30 fabelhafte Möbel Verjüngungskur DIY-Projekte - modewelt
This is amazing. I have a piece of furniture very similar to this. Just wondering why you chose rho use the oil bars primer? Thanks!
Hi Lisa!
Thanks so much! To answer your question, I used the oil-based primer because my research at the time indicated it would better adhere to my wood piece, especially since I wasn’t sanding it down. We’ve had this unit for years now and it’s holding up great, so I still always defer to oil-based primer when I’m doing furniture (and just use disposable rollers and brushes to help with easier cleanup!)
Hope that helps!
Megan
Pingback: Awesome DIY Furniture Makeover Ideas: Genius Ways To Repurpose Old Furniture With Lots Of Tutorials – Dress&Designs
Pingback: How To Transform a Dresser to a Media Stand {Tutorial} | The Homes I Have Made – Pinterest
Pingback: 30 Fabulous Furniture Makeover DIY Projects : News Readly
What did you use for support for the shelf?