Striped Outdoor “Rug”
As the weather started to warm up a few months ago, I excitedly began pulling out our bright-colored outdoor furniture and accessories, most of which I completed last summer. One project that I didn’t get to last year was some sort of ground covering or rug for our covered porch, so it was at the top of my To Do List once we started spending more time outside!
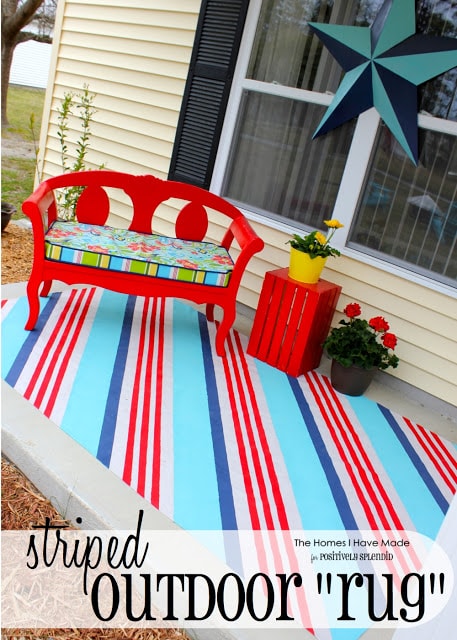
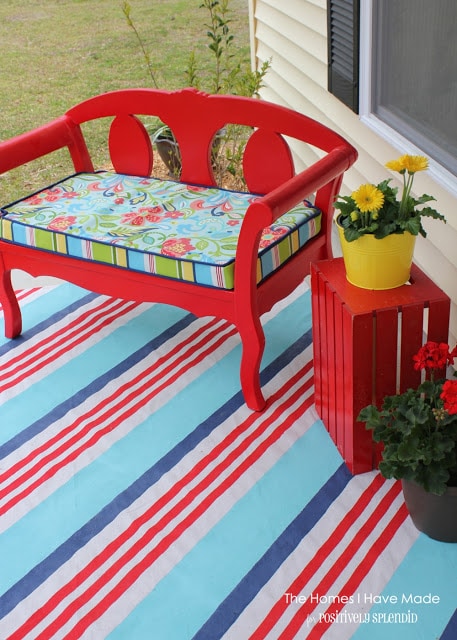
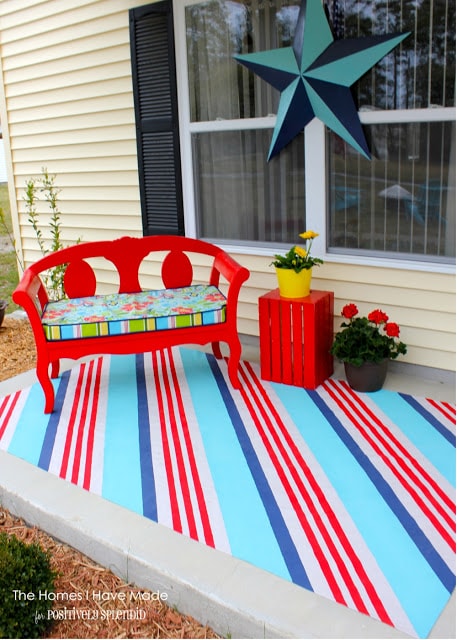
This “rug” was very simple to make; and by using paints I had on hand along with a cheap canvas drop cloth from the hardware store, it was really affordable too! A few short hours of painting, and my porch is fresh and alive and ready for Spring!
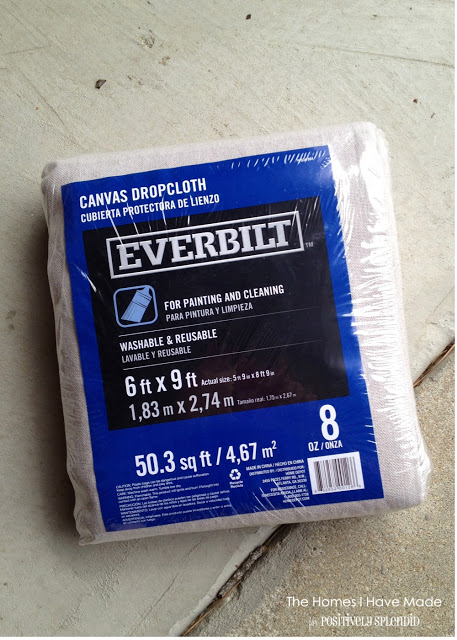
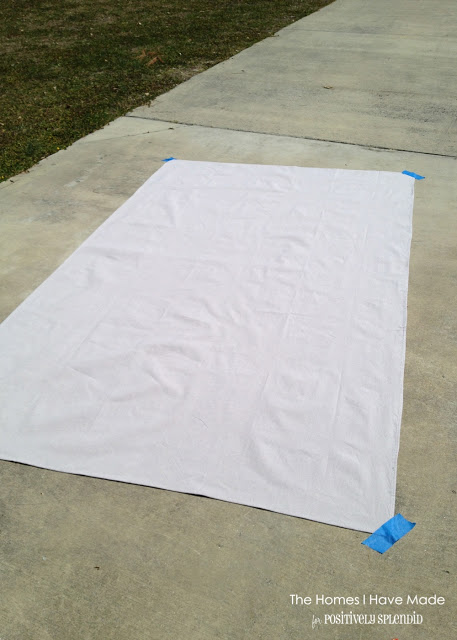
I started with a 6’x9′ canvas dropcloth from the hardware store. Look in the paint section – there are lots of shapes and sizes to choose from. This one cost me about $10.
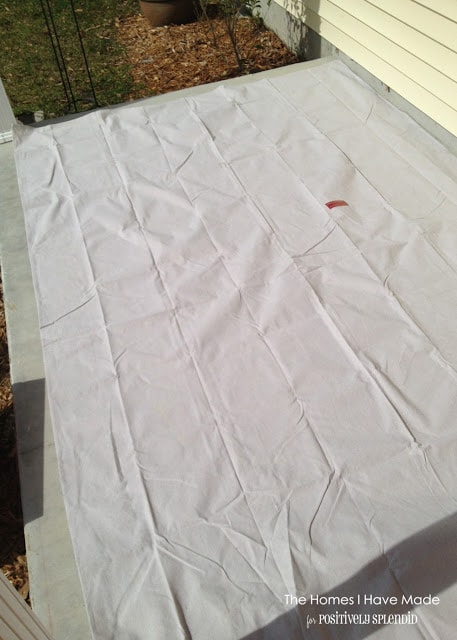
Before getting started, lay your drop cloth down where it’s going to be once finished to check the sizing. On my porch, it was just a little too wide and a little too long for my liking. To fix it, I cut off 11″ from both the length and the width and then hemmed it back up. I also took the time to iron out all those creases. When it came time for taping and painting, it was nice to have a smooth surface to work with.
Once the drop cloth is hemmed to the right size and pressed flat, wait for a clear, sunny day to do this project (unless you have a garage or workshop you can work in! I found the driveway the best place…) It was a slightly windy day, so I taped the cloth to my driveway to keep it from blowing away as I worked.
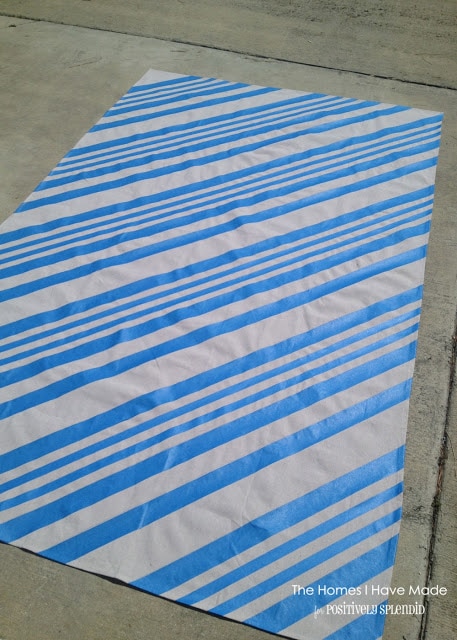
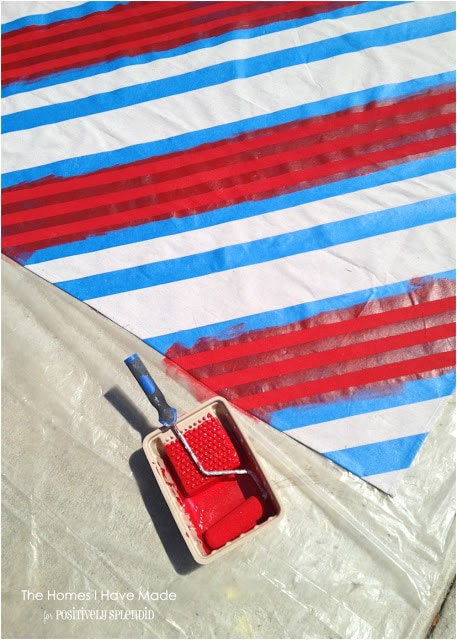
Using a ruler, a disappearing ink pen, and lots and lots of painter’s tape, tape out your desired stripe pattern.
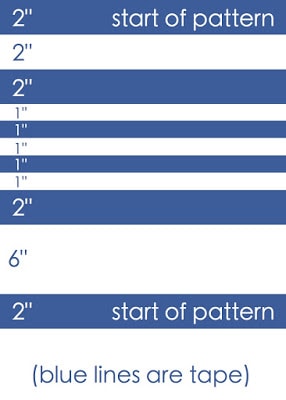
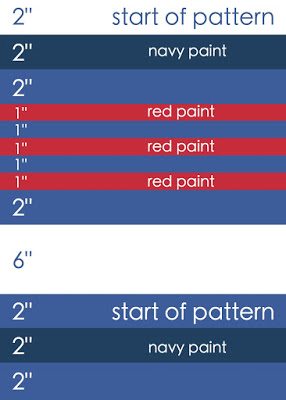
You can certainly tape out any number and width of lines you’d like, but if you’d like to follow my stripes, here’s the pattern I used (done on a 45″ angle):
All the blue lines are stretches of blue painters tape. I used both 2″ wide and 1″ wide tape to achieve my pattern.
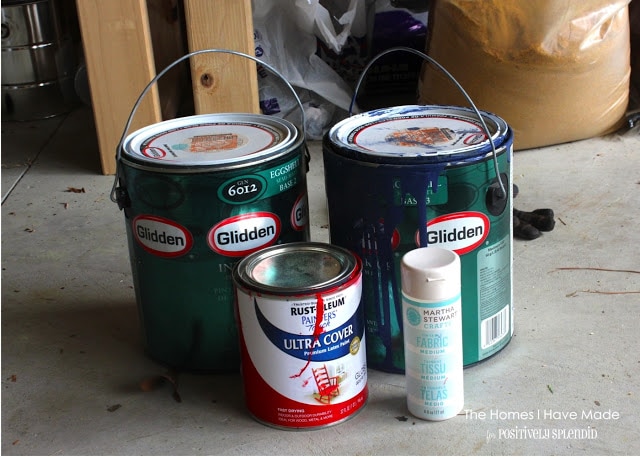
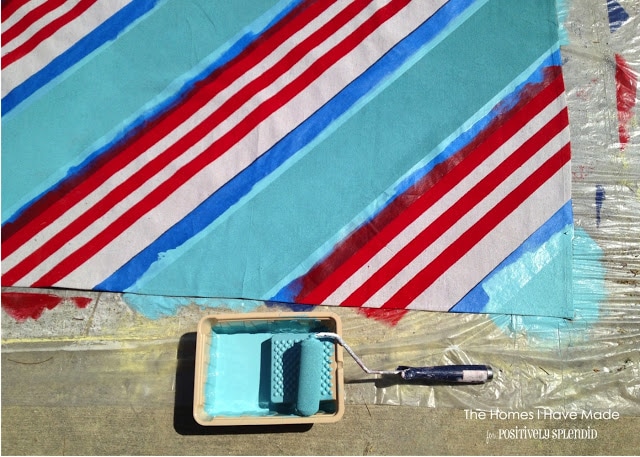
Next, it’s time to start painting. I used three different colors of latex paint that I had leftover from other projects around the house. The red is Rust-oleum’s Apple Red, the navy is Martha Stewart’s Azurite, and the turquoise is Martha Stewart’s Lagoon. I mixed all three paints with Martha Stewart’s fabric medium and applied it using a 4″ roller. The paint will bleed through the canvas so be sure to place a tarp or additional dropcloth under your dropcloth 😉
To replicate my pattern, start by painting the red skinny stripes and then the blue medium stripes; don’t paint the final turquoise color just yet!
First, paint the red…
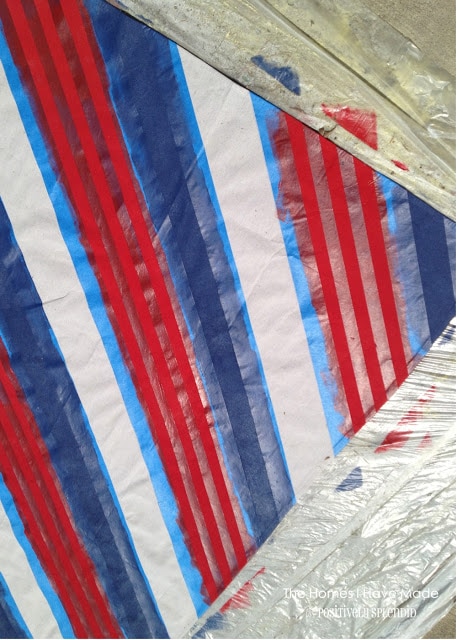
Then paint the navy blue. Note – both the navy blue and the turquoise required two coats of paint; but it dries so quickly on the canvas, that you can apply one coat right after the other.
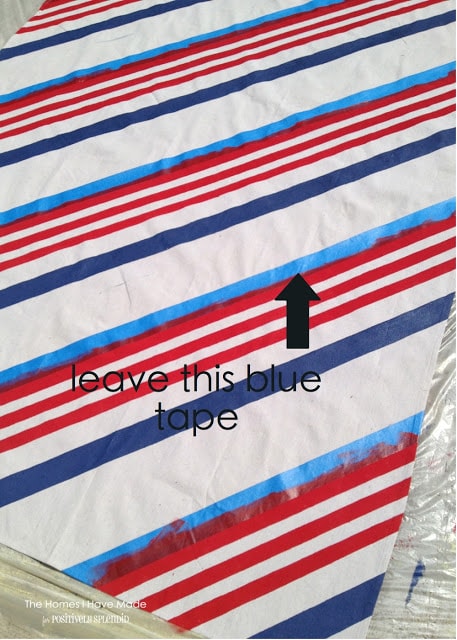
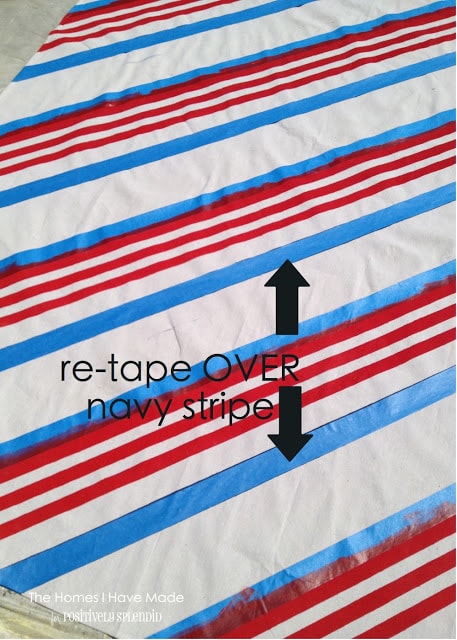
Next, remove ALMOST all of your tape. Peel off all the skinny tape from the red lines and the 2″ tape next to the navy blue stripes. Keep the 2″ tape that borders the red skinny stripes.
Before you paint the final color, re-tape OVER the navy blue stripe with the 2″ painters tape. You’ll see why we did this in a minute!
Now, go in and paint your third color, in my case, the turquoise!
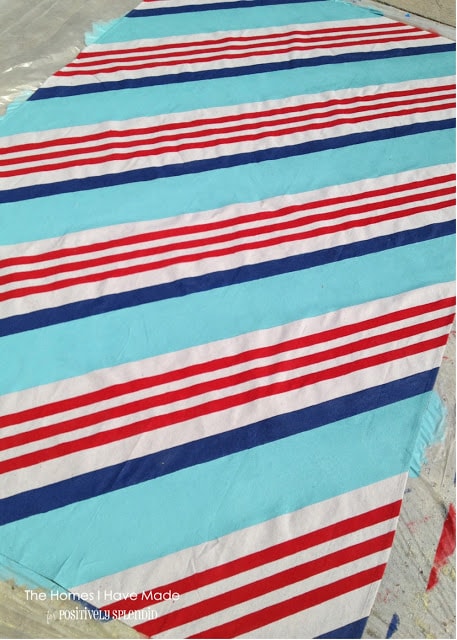
When you remove all the tape, you are left with a pretty spectacular pattern! By taping over the navy blue stripe before painting the turquoise, the two colors are right next to each other instead of having a canvas-colored line in between.
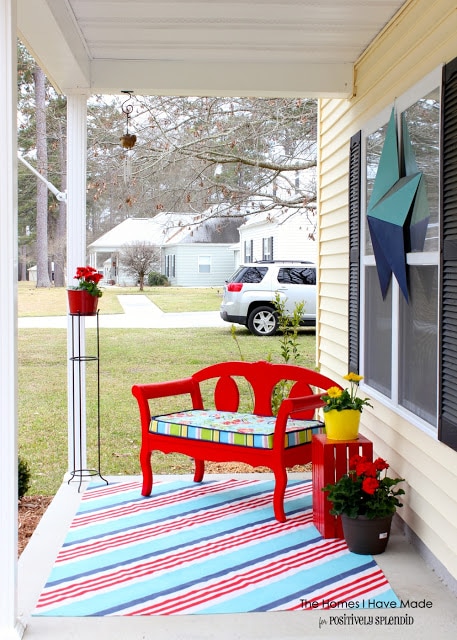
I gave the canvas overnight to fully dry. I then heat set the entire dropcloth with a hot iron and press cloth before placing it on the porch and adding some of our outdoor accessories!
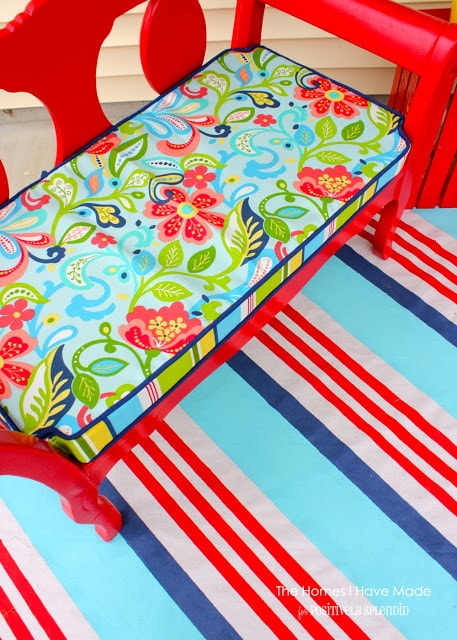
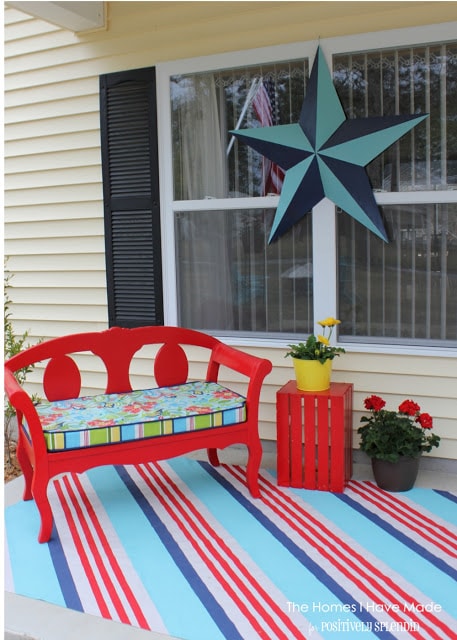
Our red bench with flower cushion (made over last year), a red crate acting as a plant stand, and some bright flowers bring the whole front of the house to life!
I also added a painted star to our big front window. Are you curious how I did it? You can see the tutorial here!
Just add a book and a glass of lemonade and I am ready for some warm-weather relaxing!
I’m mostly caught up on life after loosing a bunch of days last week. On Wednesday, I am hoping to give you a glance at the other half of our Master Bedroom. Fingers crossed this week is better than the last!
Megan




11 Comments on “Striped Outdoor “Rug””
Megan, wow, you did a fantastic job on this! It looks amazing and the colors just pop. I love it! Thanks so much for sharing and am pinning! Have a wonderful [email protected]
I hope you feel better. I got the flu bug too and the headaches were the worst part. Today I went shopping and I was so tired and stuff, especially trying to catch up with 2 teenage girls. This is when cell phones come in handy. sigh!
I love the idea! May i ask though, what is the final step? Heat set and press cloth? I avoid the iron like the plague!
Thanks
Hi Laurie!
You know, it’s been so many years since I did this project, I can’t quite remember the ironing part – except that I do know often-times fabric paint is better “set” into the fabric once ironed. I am sure you could get by with skipping it!
Hope that helps!
Megan
Is this waterproof or is there a way to waterproof it?
It’s pretty hard to get latex paint out of fabric, so I’d say it’s waterproof without any special treatment to it. Ours’ was rained on quite a bit and I think I even through it in the washer once or twice (but can’t remember…it’s been so long!) You could always test paint on a small corner and test it before you do the whole thing just to be sure!
Hope that helps!
Megan
Pingback: 37 Ways To Disguise The Ugliest Parts Of Your Home | Renae Walker ~ Real Estate Agent
Pingback: 20 Ways How to hide home ugly stuff – Fanezine
Pingback: 20 Ways How to hide home ugly stuff - Gustavo Thrace Home Improvement
Pingback: 21 Ways How to Revamp Old Furniture #1 | Furniture Idea
Pingback: 24 Ways To Disguise Your Home’s Ugliest Eyesores