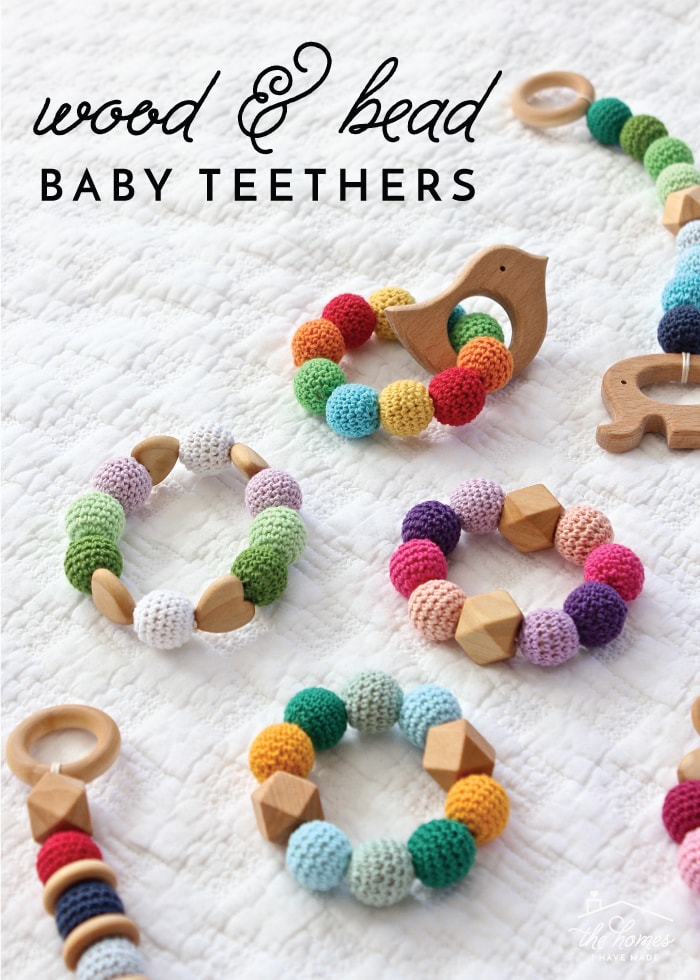
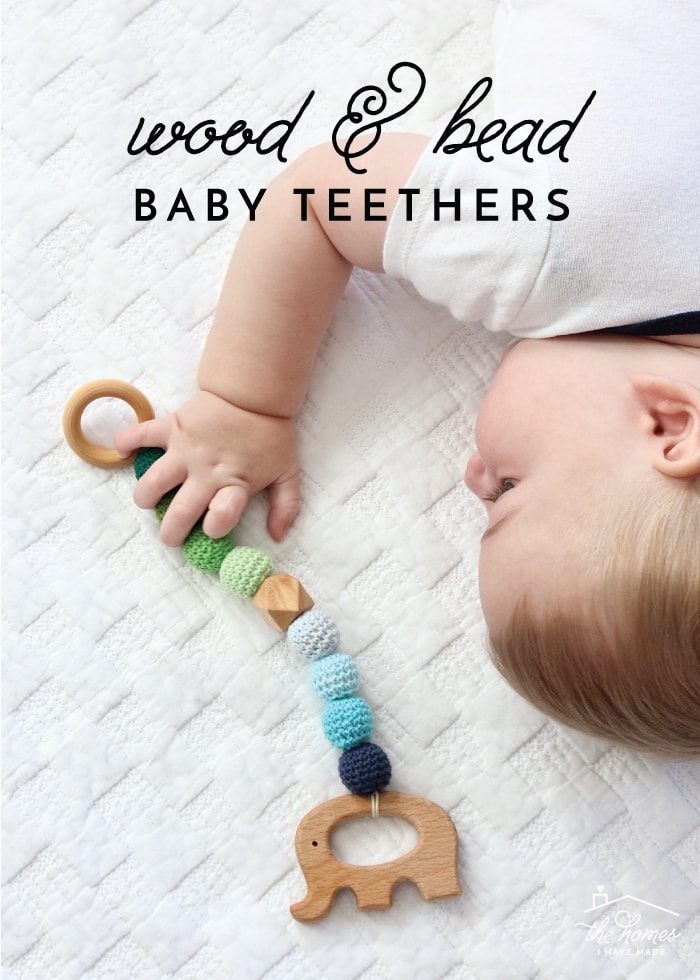
DIY Wood and Bead Baby Teethers
Last Fall when I was pregnant with Sam, I went to a local craft fair where I encountered a booth selling the most adorable silicon bead baby teething jewelry. I honestly must have stood there for an hour debating all the colors and styles and textures, trying to come up with the most versatile pieces for both my wardrobe and baby’s needs, finally settling on a pretty neutral necklace and two plain bracelets. Once Sam got into the teething phase (ummm…seemingly 6 weeks in!), I excitedly pulled out my jewelry only to discover that I didn’t really love wearing Sam’s toys. The tugging and pulling and slobber were a bit much for me; so more often than not, I ended up taking the items off and letting Sam play with them as he wished. The size and texture were obviously so great for his little hands and tender gums, but I found myself wishing I had jumped for the versions with brighter colors and varied beads since we were using them more as toys rather than wearable accessories. Then, when I saw Ashley from Make It and Love It make her own set of wood and bead baby teethers (for just a fraction of the cost of what I paid at the craft market!), I knew I had to give it a go. A box of beads and a few hours later, I had a handful of adorable, colorful, chewable baby teethers to throw in all our bags and toy boxes around the house! Let me show you how easy they are to make!
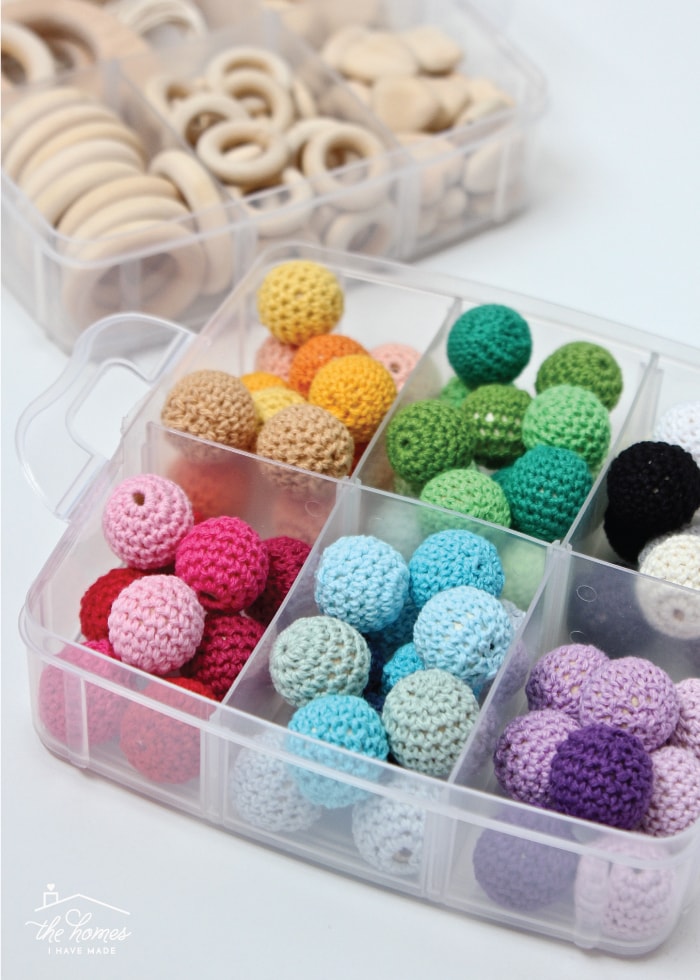
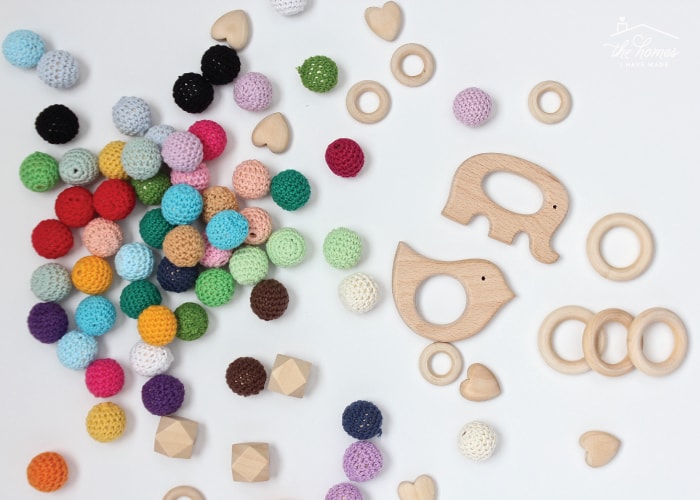
Unlike many of my projects, this one comes with a pretty short supply list. I simply bought THIS kit, which included everything I needed: a plethora of colorful crochet beads, wooden beads and other shapes, string, and a large needle. I really wanted to work with the crochet beads, but if you’re interested in making silicon bead versions, THESE kits are a great option too since they include both bead types (check out all the color options)!
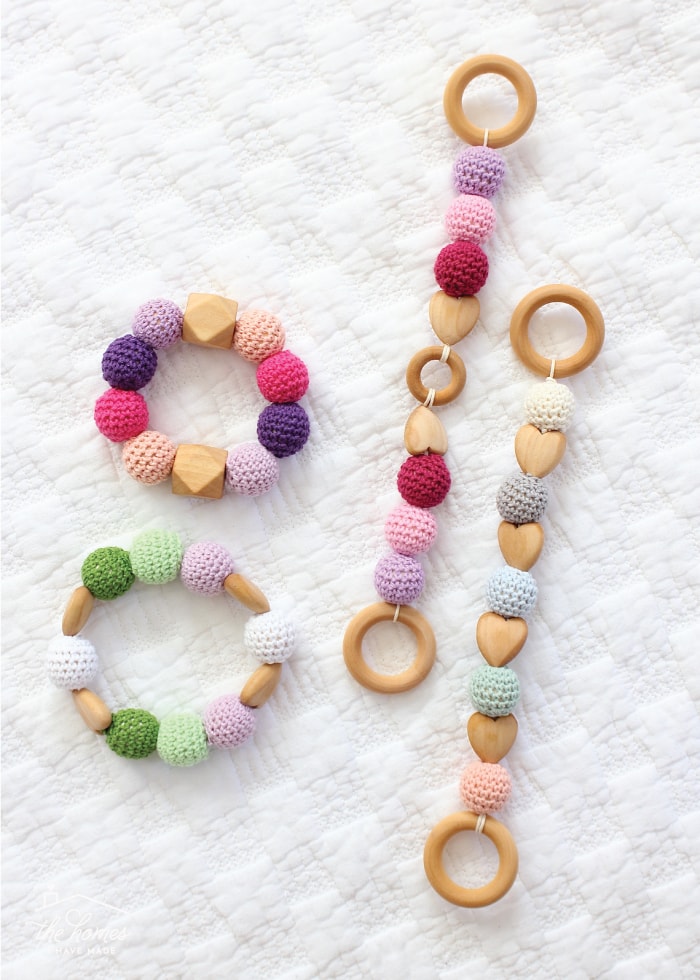
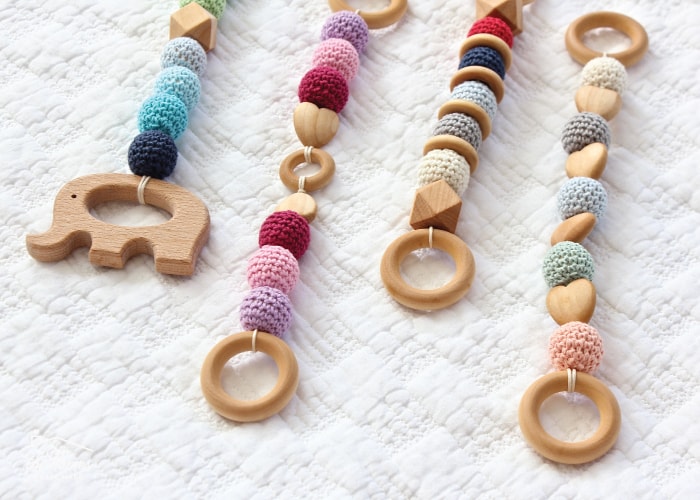
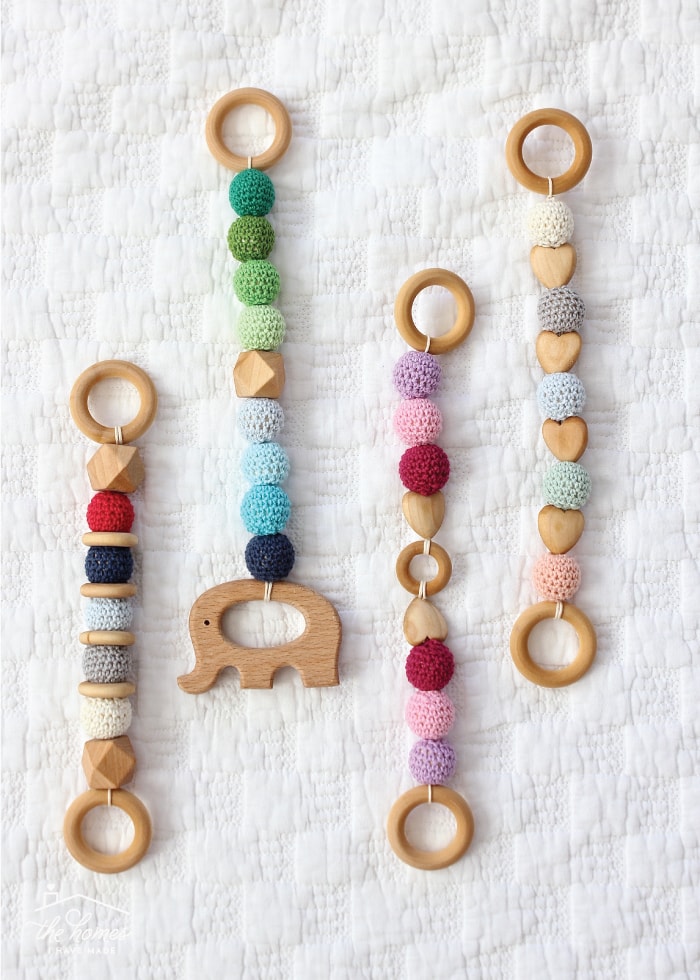
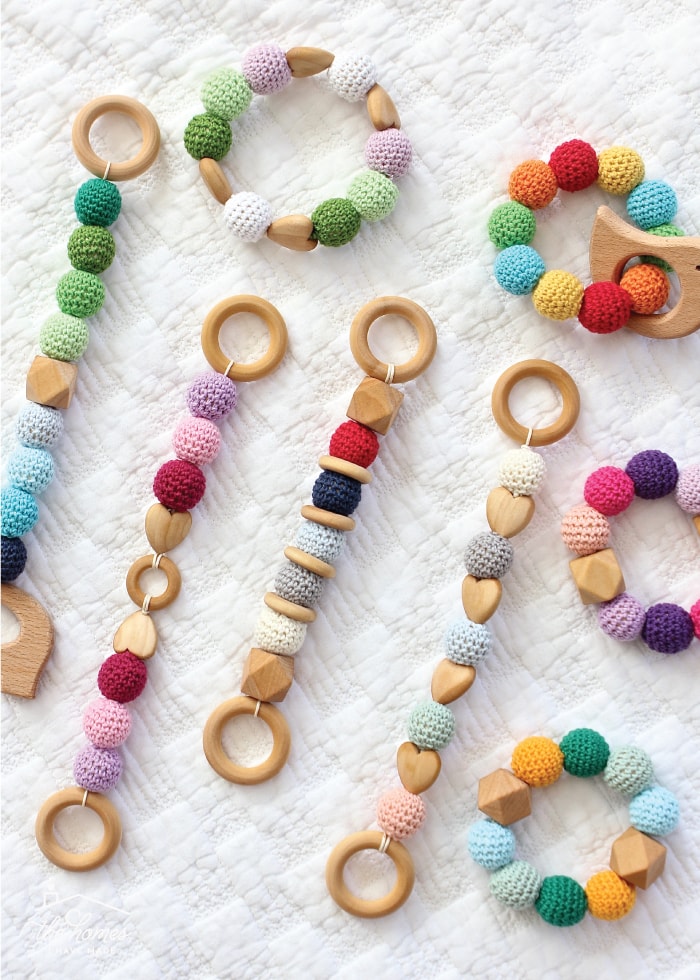
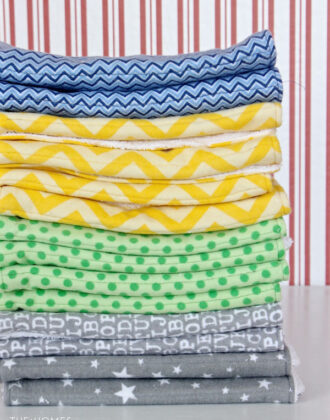
From that single kit, I was able to make 8 teethers…4 ring teethers and 4 long teethers…
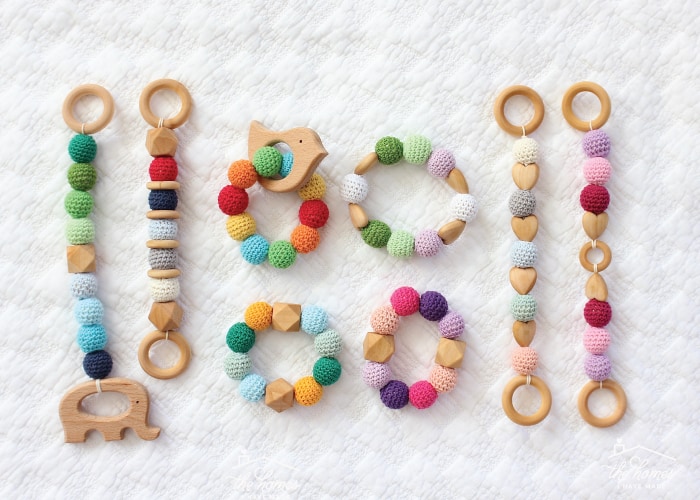
By mixing and matching the colors juuuust right, four of them are a little more “boy”…
…and 4 are a little more girly.
Whether you want to make some for your own baby, have some on hand for baby shower gifts, or just feel like getting crafty, these really are fun and easy to make and don’t require any major craft skills. Here is how to do it!
Before You Make Your Wood and Bead Baby Teethers
On the recommendation of Ashley in her tutorial, I pre-treated my wooden beads, rings and shapes with some coconut oil. Not only does this help moisturize the wood and prevent cracks, but it also enriches the color a bit. Below, you can see how the wooden elements look right out of the box…
And below, you can see how they look with a little oil rubbed into them. Don’t overthink the oil or stress about it. Just rub some into the wooden pieces with a paper towel and let them dry overnight.
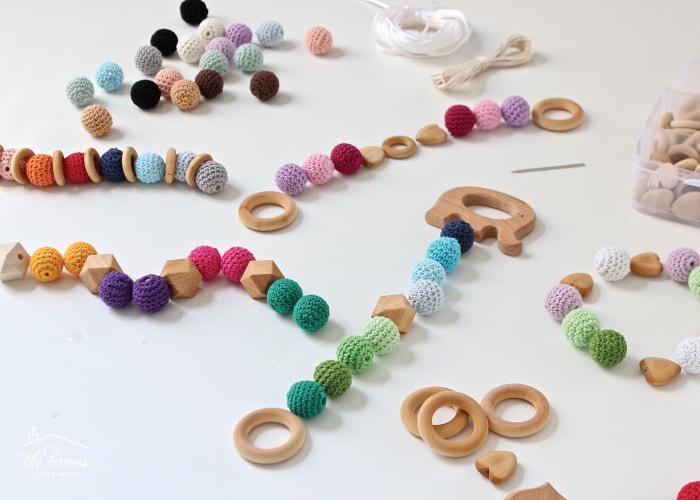
Before you start stringing your teethers together, I also recommend you take some time to play with the various beads and elements to come up with combinations you like the most. As I mentioned, I had to be very strategic with my color combinations to end up with all the various teethers shown here. So if you are feeling overwhelmed or don’t know how to start, just play around and until you find some combinations and designs you love. Oh – and a quick tip when designing: after experimenting quite a bit myself, I found that 9-10 beads (or other elements) are the ideal amount for both the ring and long arrangements.
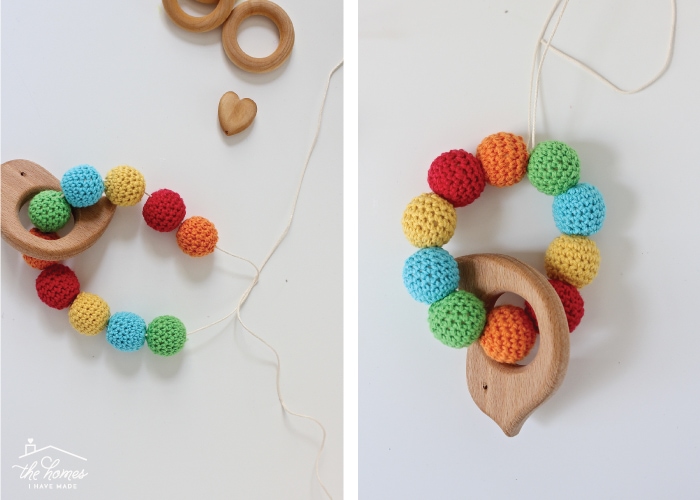
How to Make Ring Wood and Bead Baby Teethers
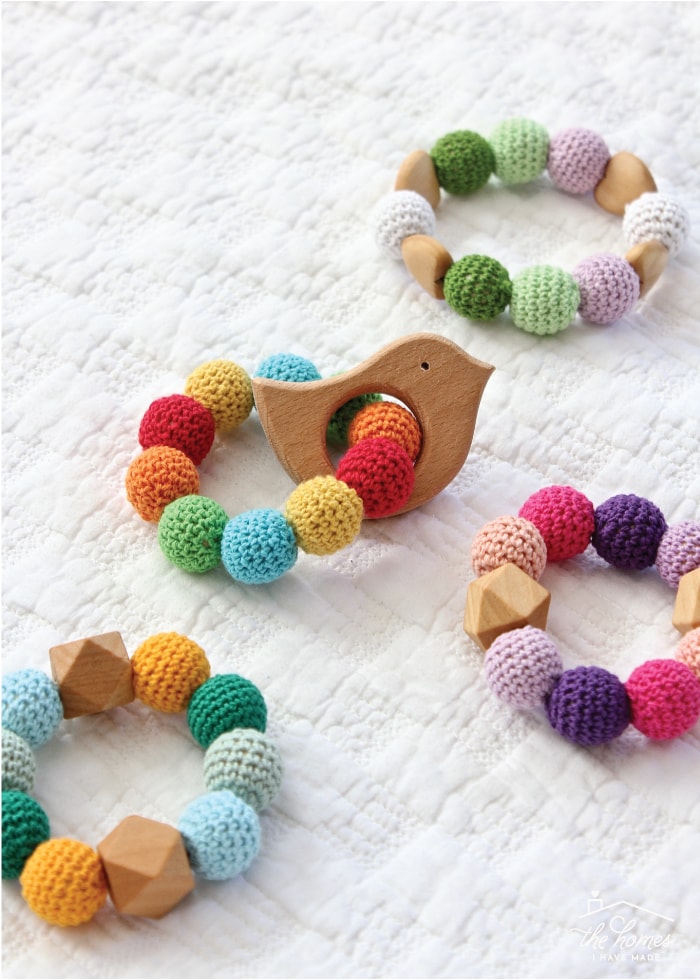
First, let me show you how to make the easier version: the ring wood and bead baby teethers! (All the teethers shown below were made using this exact method.)
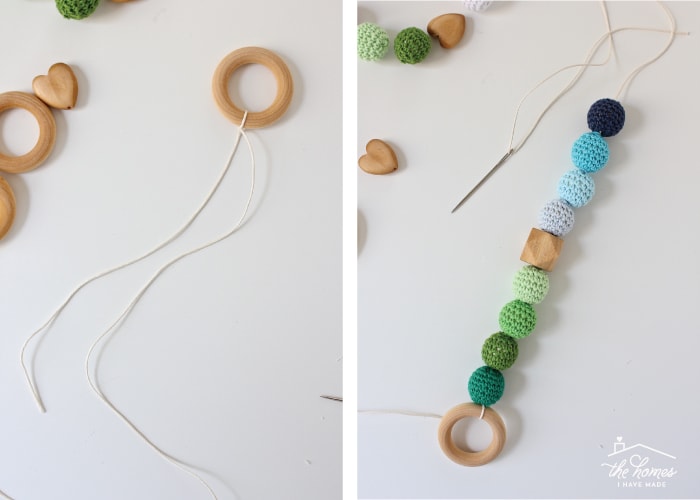
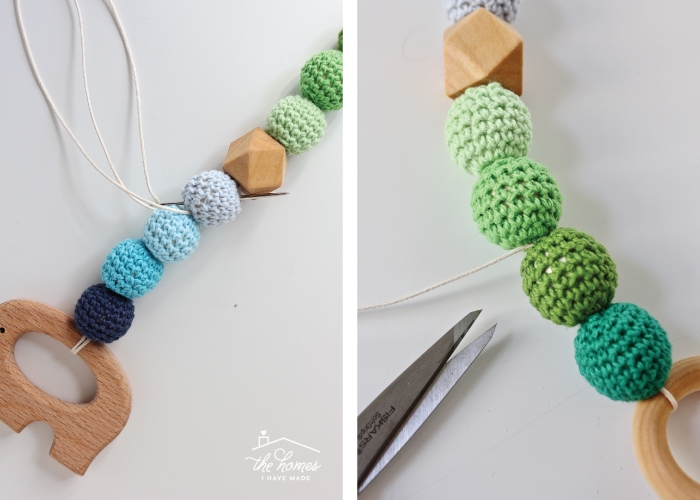
Once you have settled on your design (again, I found 9-10 beads to be ideal), start by cutting a piece of string about 2-3 times the length of your finished design. Using the included needle and string, string the beads together, leaving plenty of excess string on both ends.
Next, pull out your scout skills (if you have them!) and tie a square knot using the two ends of string. Make the knot as tight as possible in order to cinch the beads together.
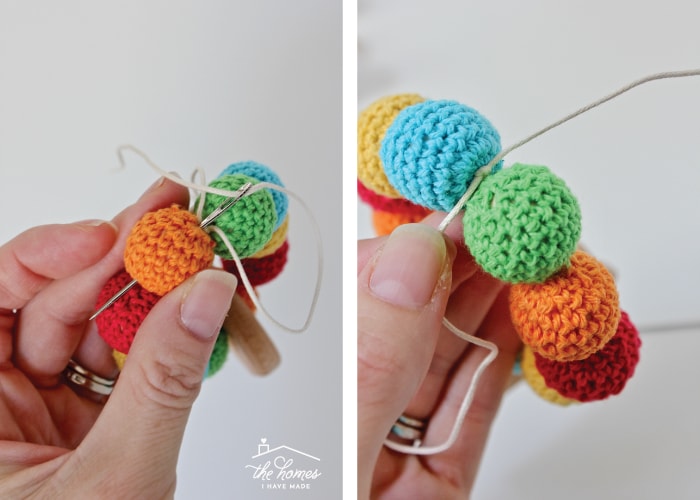
With your square knot tight and secure, use the needle to thread the remaining tails of string back through the ring of beads in the opposite direction. Once your ends meet again on the opposite side of the ring, tie another square knot (or two or three). Trim off the excess string as close to the knot as possible, and then try to move the knot into one of the beads so it isn’t exposed.
And that’s it!
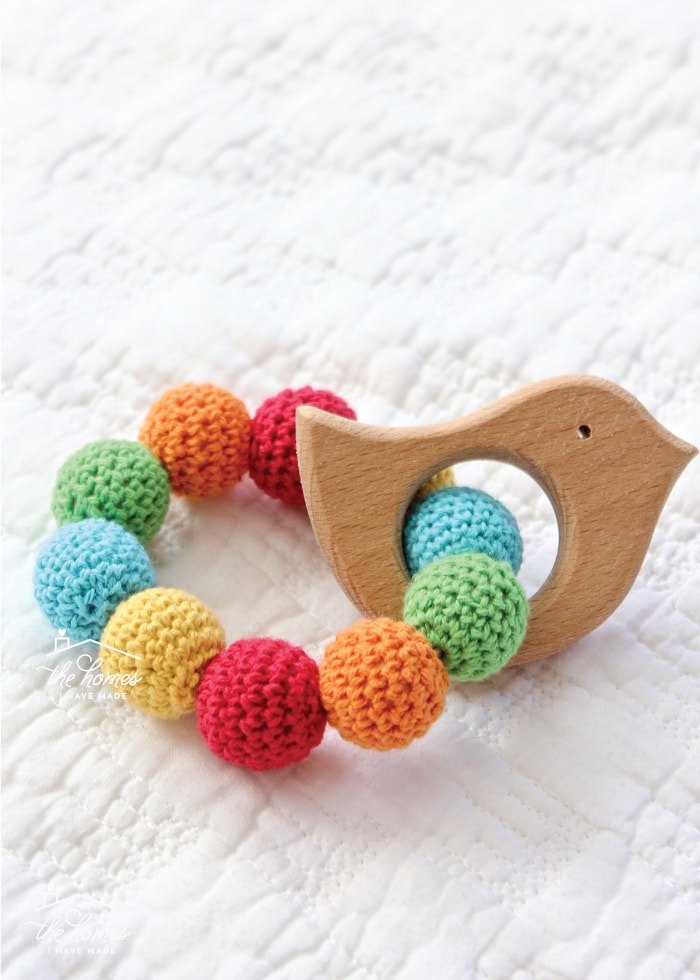
Your teether is ready to hand over to baby!
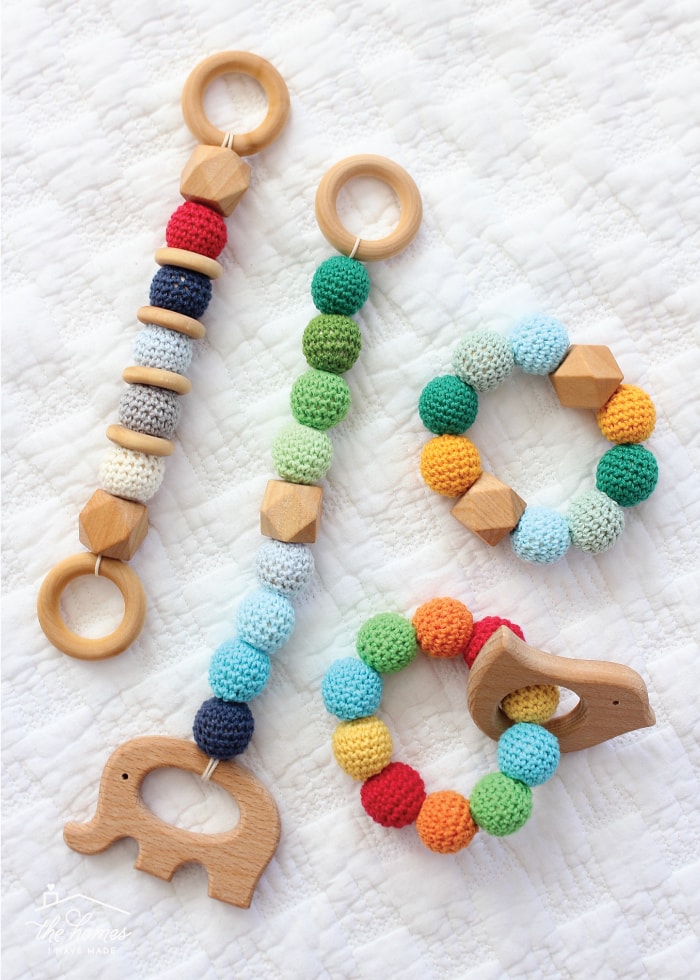
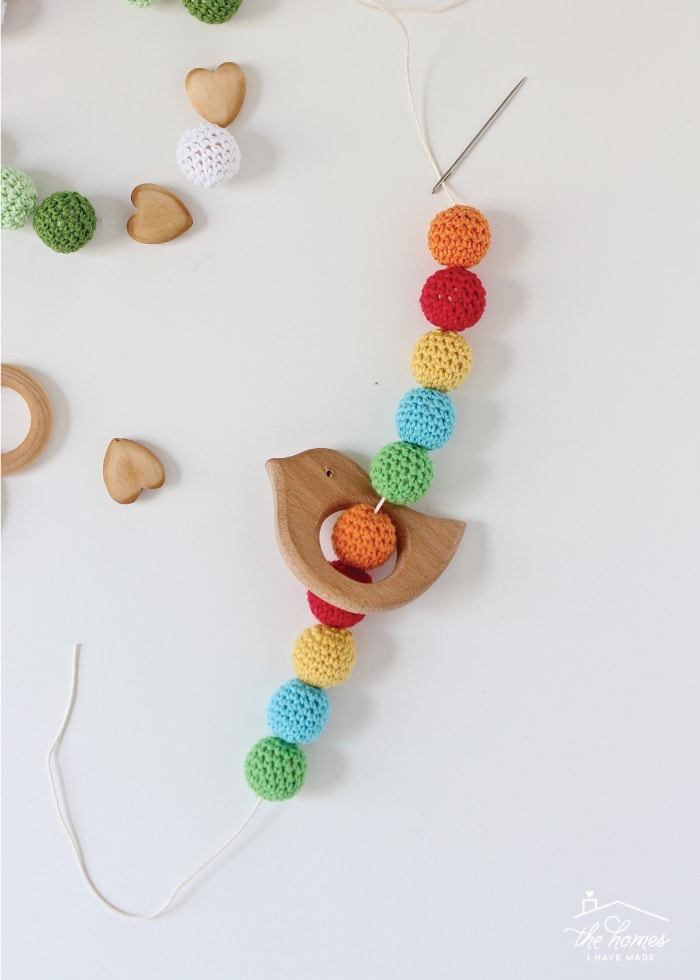
How to Make Long Wood and Bead Baby Teethers
The long variation of the teethers is a fun way to use the rings and other elements included in this little kit.

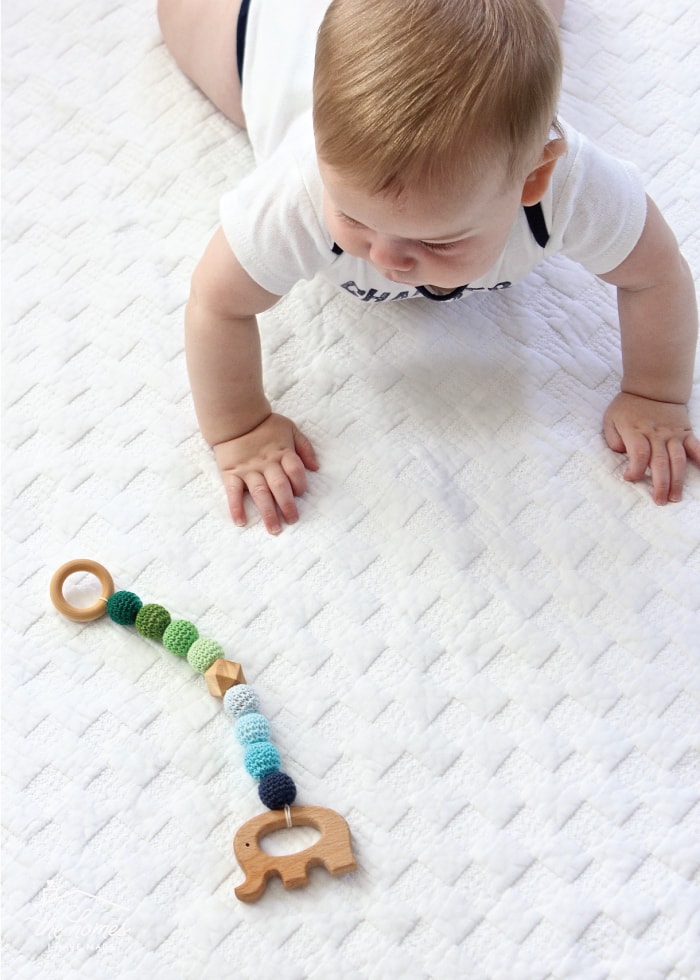
Now having watched Sam play with these teethers a lot, I can say that the wooden shapes on the ends (either the rings or elephant) make for easy holding and grabbing and reeeeaaally get chewed on the most. Although they require a bit more work than the ring versions, I highly recommend making some of these for your little teether!
The trickiest part is obviously tying the cord around the ring or animal shape in a way that is not only secure and pretty, but also allows you to cinch up all the beads nice and tight. Here is what I did that worked the best:
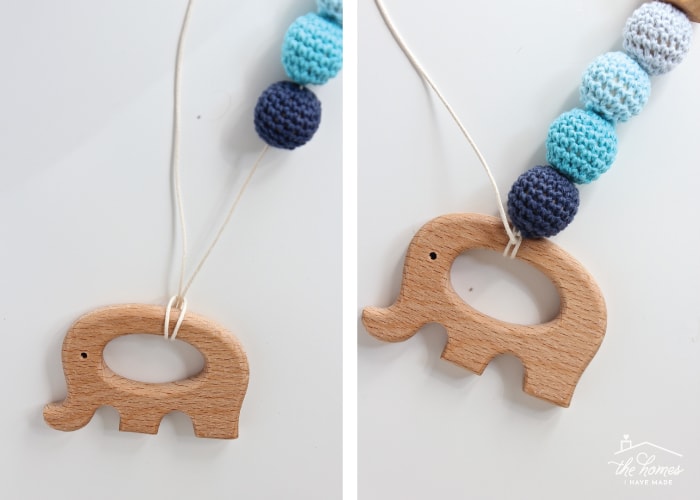
Once you have your design figured out, cut a string that is 2-3 times the length of your finished arrangement. Tie the string around one of your ending elements using a square knot (below left), leaving a few inches of excess. Next, thread the longer end of string onto the needle and string your beads and other shapes right alongside the starting ring (below right).
Once all your beads are loaded on, fold the end of the long string back on itself to create a loop. Feed that loop through your other end element (in my case, the elephant) and pull the ends through the loop as if you were making a slip knot (I think?!?). Cinch the string down as tight as you can in order to bring the beads tight up against the end element.
Once again, thread both of the remaining ends onto the needle, and then work them back through the beads toward the middle (below left). Once the two ends of excess string meet, tie another square knot. Snip off the excess as close to the knot as possible (below right) and work the knot into the middle of one of the beads (if possible).
And with that…the teether is ready to hand off to baby!
Again, all of the long teethers shown in these pictures were made using these exact steps…
Even this pink and purple one below.
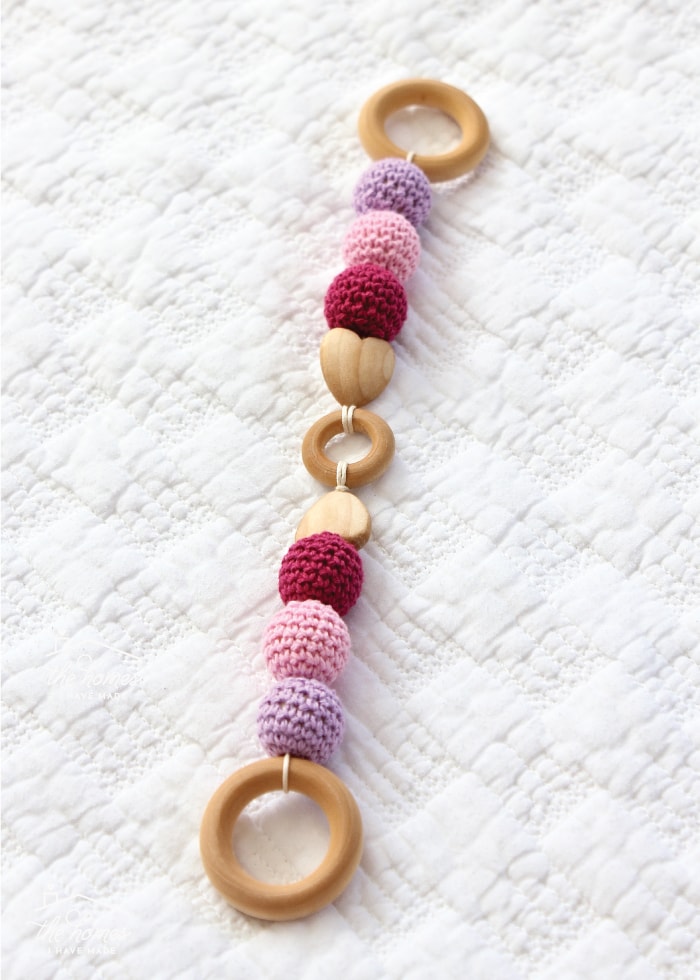
However, instead of assembling it in one long unit (like I did all the others), I made two smaller long sections (using the method outlined above), ending both tails on the small center ring. Hopefully, this picture below helps make that a little more clear:

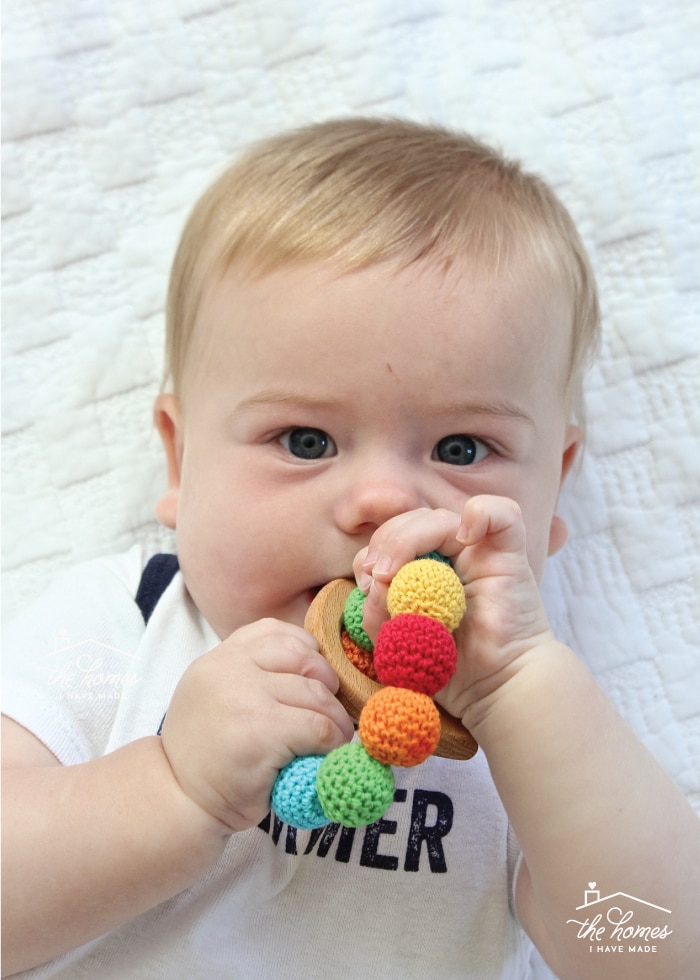
The true test of any handmade toy is really once you hand it over to baby. And I have to say, even I was surprised to see how much Sam loved these right away. The size of the beads really is so perfect for pudgy little hands; and I could tell he really liked the different textures in his mouth…especially the rings and wooden animals. One thing to note: unlike the silicone beads, the yarn on these beads will get a little “cloudy” as they chew and suck on them…but it’s nothing a little rinse with hot water can’t take care of. And of course, please don’t ever leave your baby unattended with this kind of toy. Although I took extreme care to knot these suckers like crazy, I’m still very, very aware of what a choking hazard they can be if they were to come undone. Please use your best judgment.
I’d love to hear if you’ve ever made similar bead teethers for the babies in your life? Do they love them as much as our Sammy? Do you have a system that works really well for you? Do you have other DIY baby toys I should try? Feel free to share in the comments below…and if you love this project, I sure would love it if you shared it on your favorite social channels using the buttons below 🙂
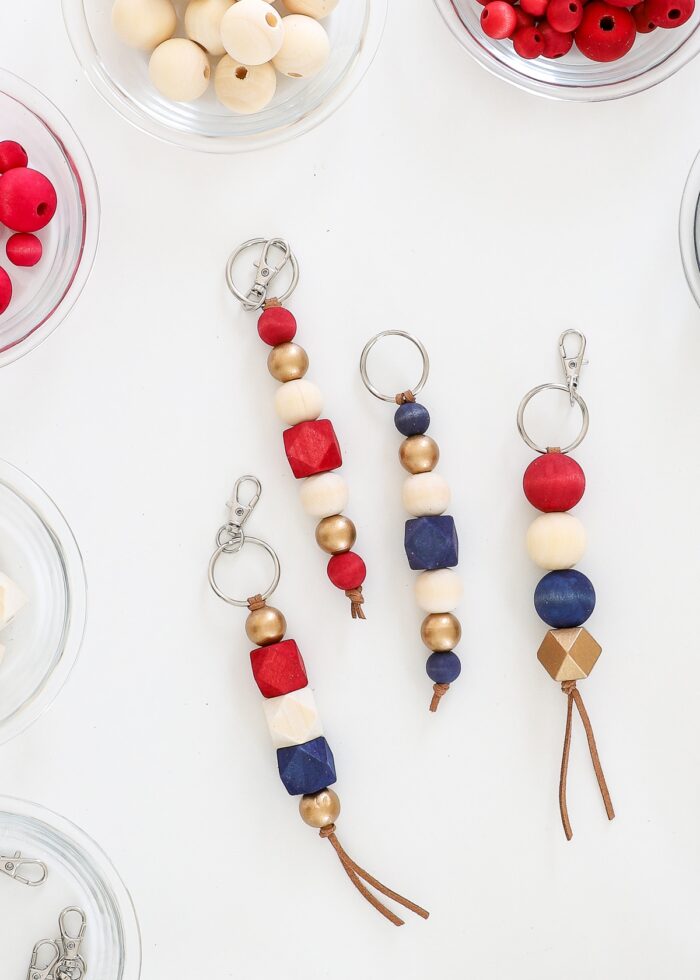
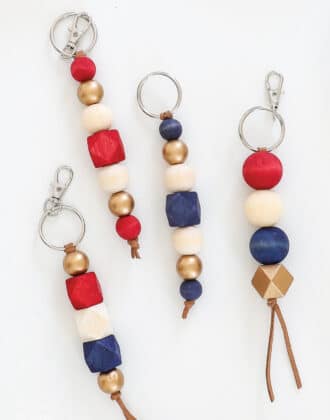
Psssst – Love crafting with wooden beads? Be sure to check out these adorable DIY Wood Bead Keychains too!
Megan


6 Comments on “DIY Wood and Bead Baby Teethers”
Hi Megan,
Gorgeous teething toys. I bought the elephant, ring, heart and a bird from Etsy for my Goddaughter who arrived on my 60th Birthday in Feb. I crocheted beads and added them just as you did, I also made her a crocheted `blankie’ about the size of a face flannel and attached this to one of her wooden rings. They are all very loved and Mum washes them all with white vinegar and lots of rinsing. Result is happy baby Hannah, delighted Mum and overjoyed GodMum
What size satin nylon cord did you use?
Hi Shelby!
So sorry for the delay here. Honestly, I’m not sure…I had some on hand and the packaging is long gone. My guess is 1mm from the look of pictures on Amazon, but I suspect 2mm would work just fine!
Hope that helps a bit!Megan
I looked up slip-proof knots, and a paracord site popped up. It says to make a bow knot followed by a square knot and it will not let go( on paracord. If interested in more details, you can find plenty of info online regarding safety;, how to make them; etc. always make your own decision regarding your children child’s safety. I do LOVE LOVE this baby toy post and intend to share it! Thanks so much for it! ♥️🥰♥️ ( I went to instructables.com Tie One On, The(Para)Cord of Many Uses by gizmologist.
Correction: Tie One On! ( exclamation after the word ‘ ON’ above post)
Thanks so much for sharing this great tip, Debbie!! I really appreciate you circling back and letting us all know so we can make these with some peace of mind!
Hope you got a chance to give this project a try!Megan