DIY Peek-a-Boo Toy Bags – A Great Scrap Buster Project!
Last Friday, I showed you these sweet see-through bags we’re now using and loving, with the promise that I’d follow up with the detailed tutorial so you could make some yourself! Well, I’m back today to deliver on my promise!
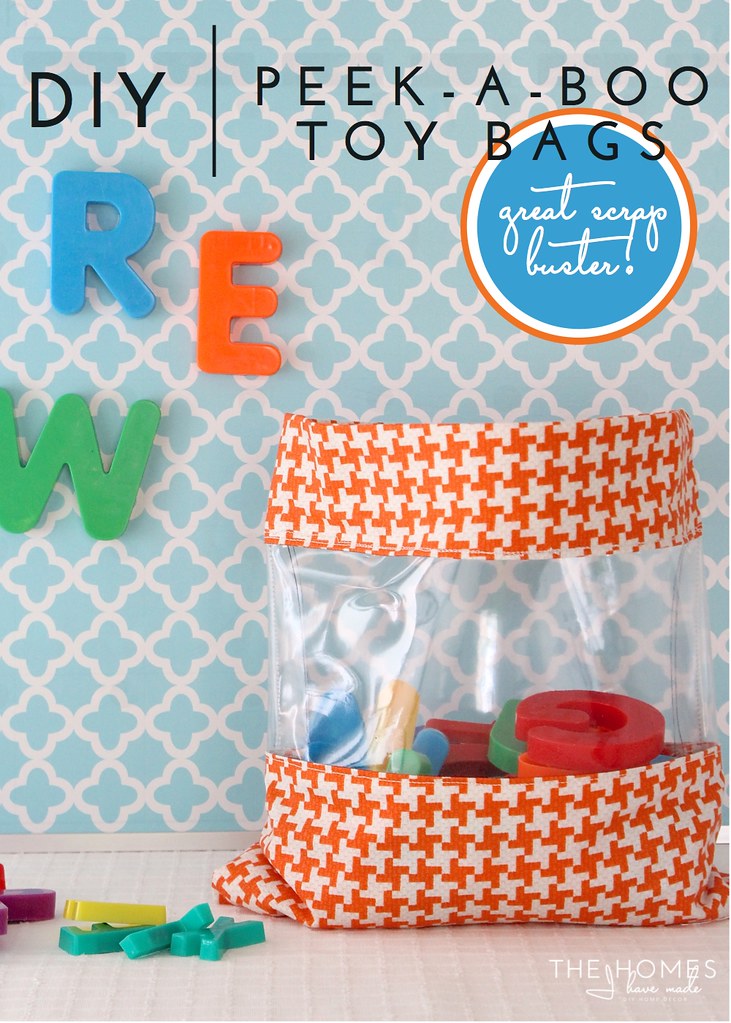
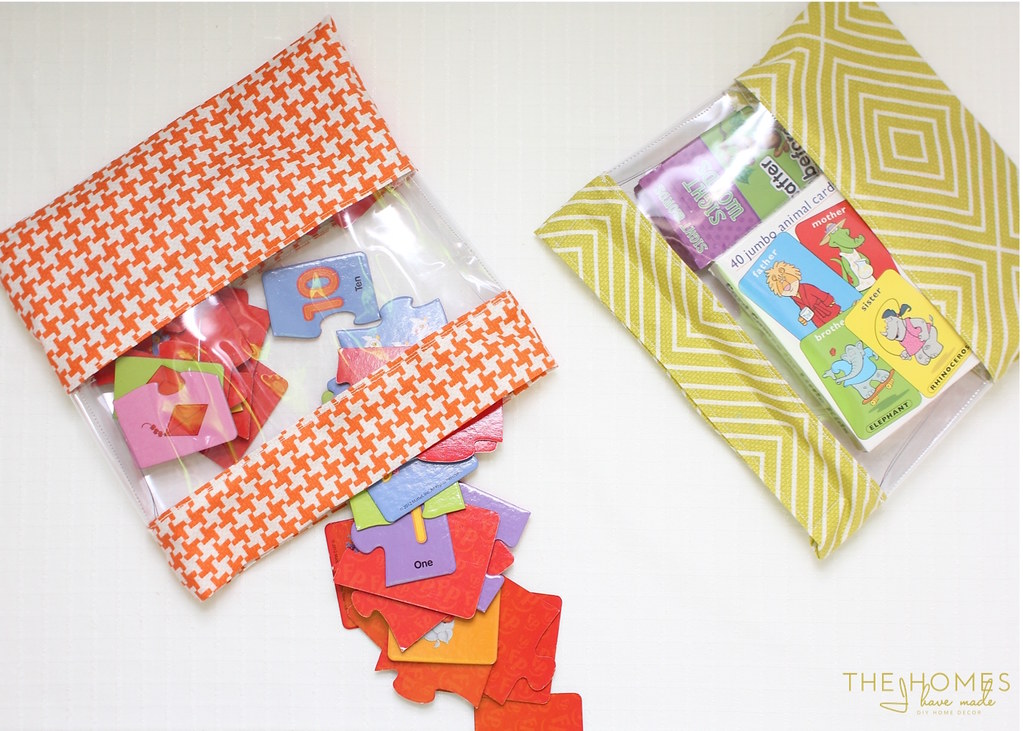
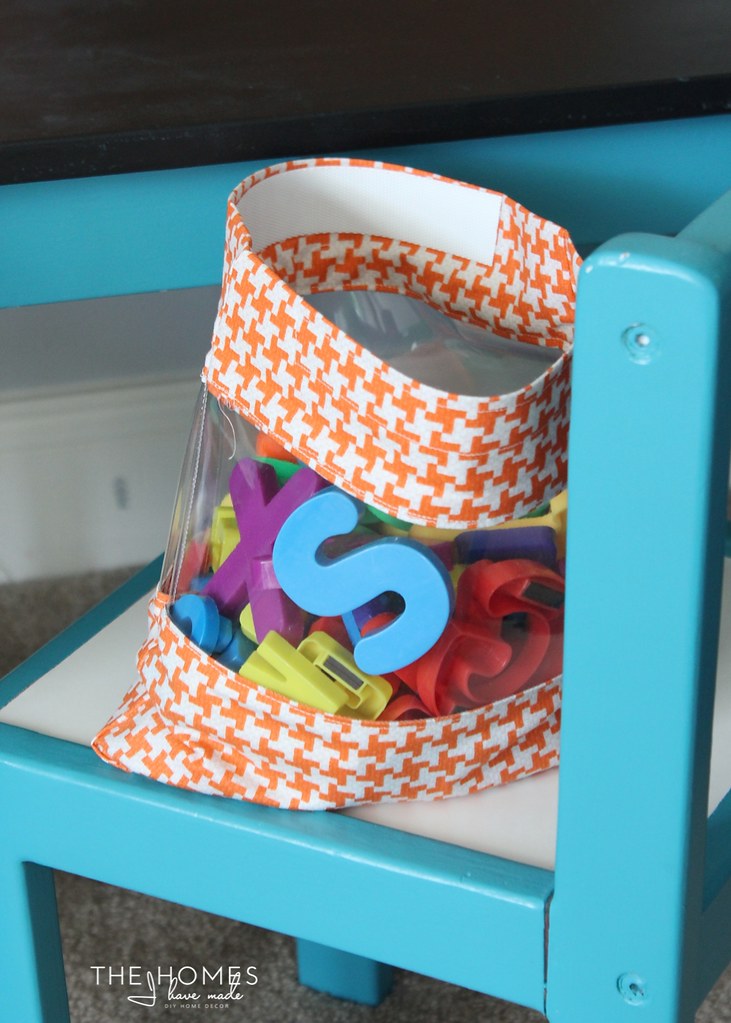
I whipped up four of these super cute bags, and I would have made more but I ran out of the clear vinyl. Each one took about 20 minutes and is made from half of a fat quarter (yep – that means from one fat quarter, you can get two bags!!!!) They measure about 9.5″ square” and close with a Velcro top. Although they don’t have a boxed out bottom (which you could easily add!), they can lie flat or stand up (depending on the contents inside!). I had these scrap fat quarters on hand (thanks, Big Sister!) – they were so fun and fresh and I knew they’d make the perfect addition to our other playroom storage.
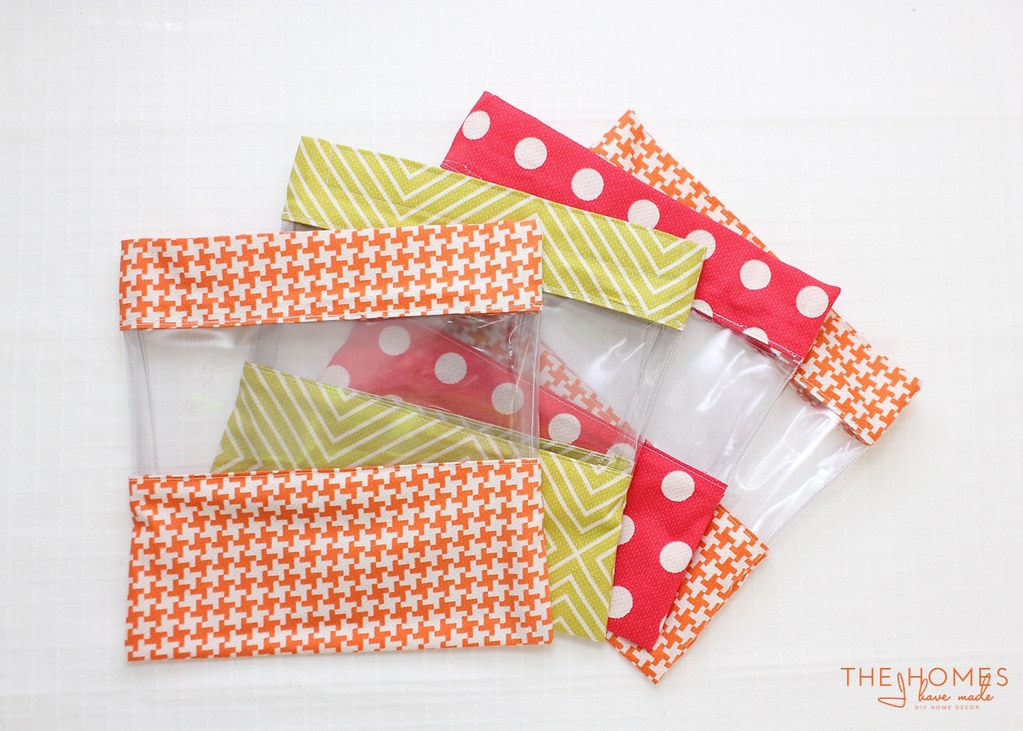
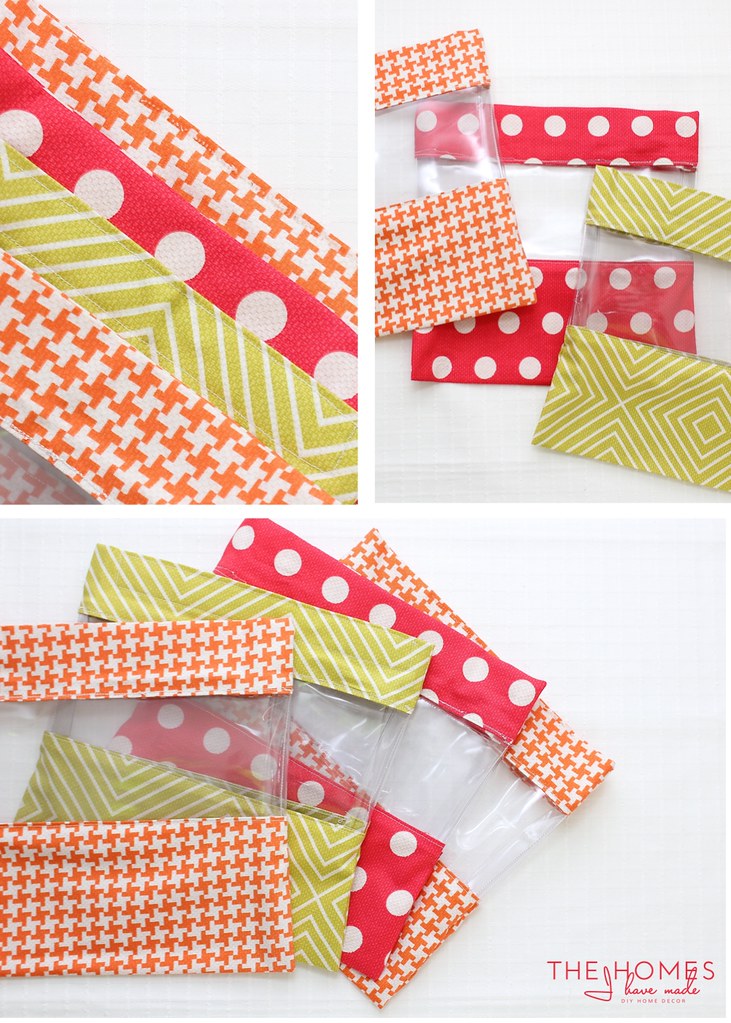
This really is a great project to use up some scraps or fat quarters! You can even mix and match different fabrics on each bag for a patchwork look!
For one bag, you will need:
- Cotton fabric (11 x 18″)
- Clear, medium-gauge vinyl (11 x 8″)
- Velcro (~12″)
- Coordinating thread
- Basic sewing supplies: Cutting mat, ruler, rotary cutter, scissors, sewing machine, iron, straight pins
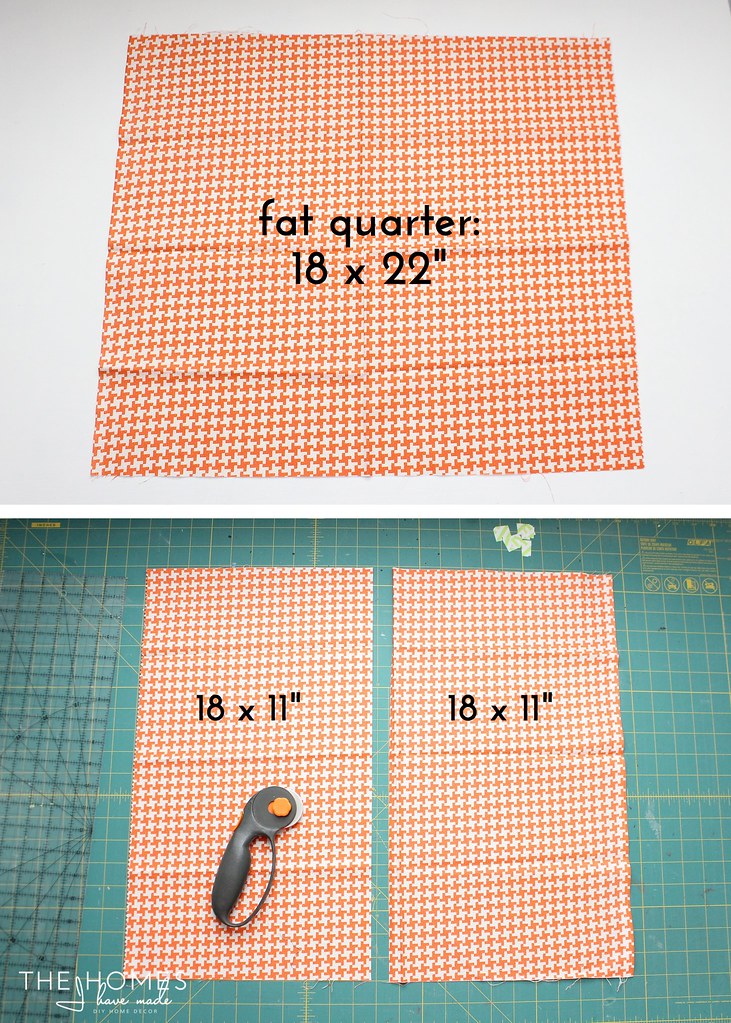
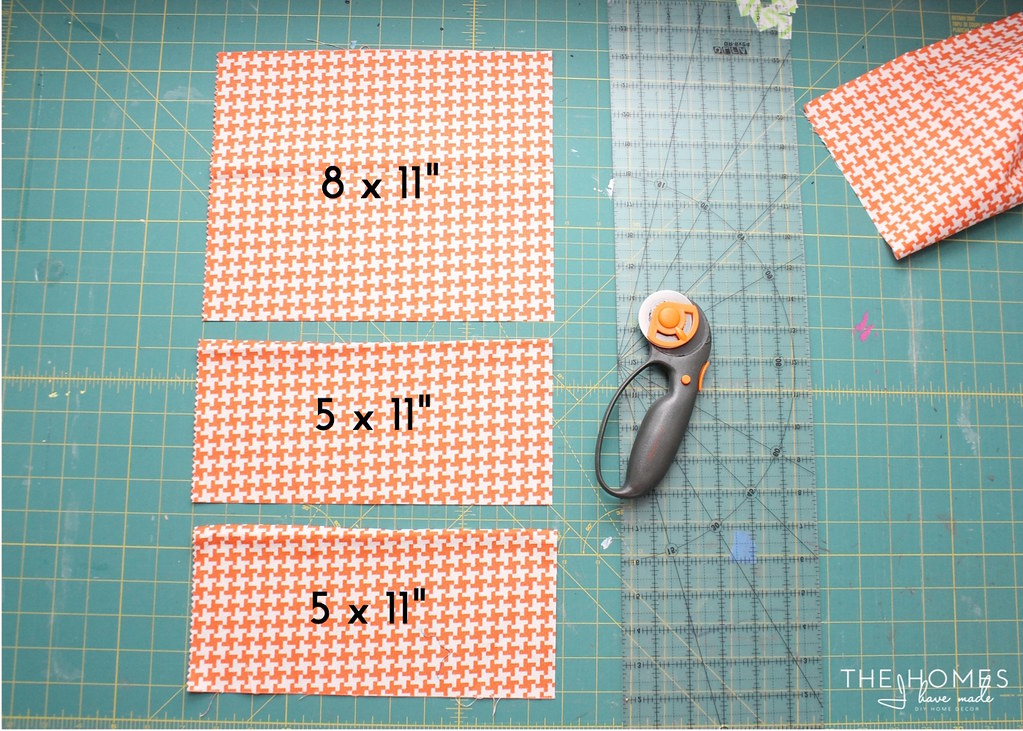
I started with a fat quarter and cut it in half width-wise, so I had 2 cuts, each measuring 18 x 11″:
Cut the 18 x 11″ rectangle into three sections (shown below):
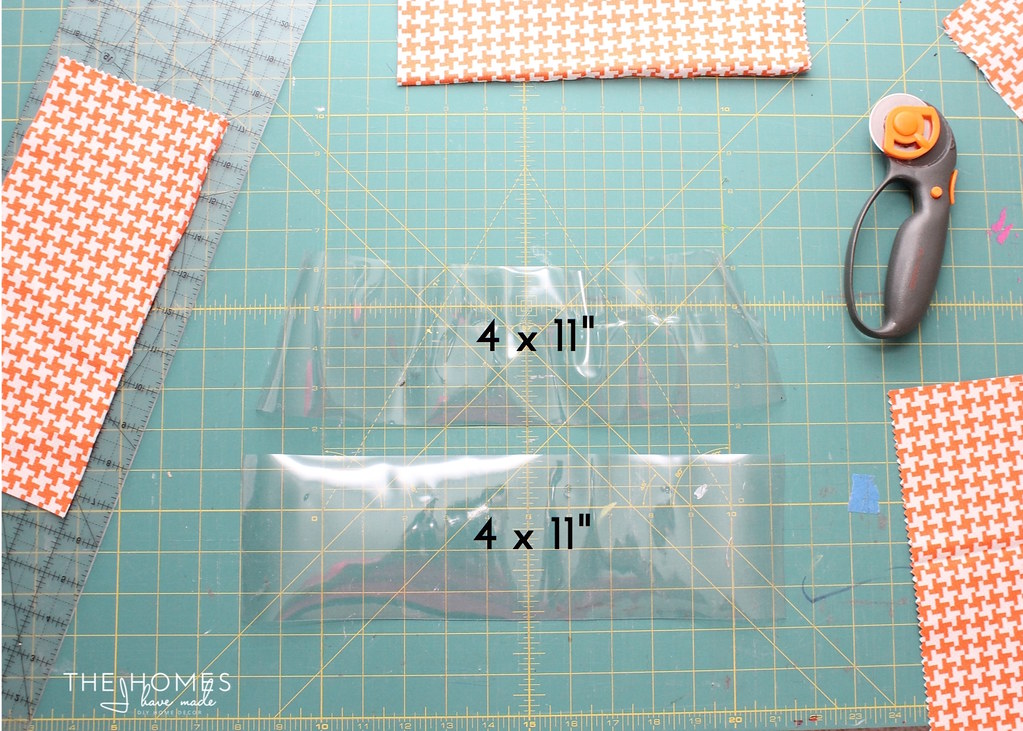
Next, cut clear, mid-gauge vinyl into two 4 x 11″ strips.
(Note: you need two strips of vinyl for each bag!)
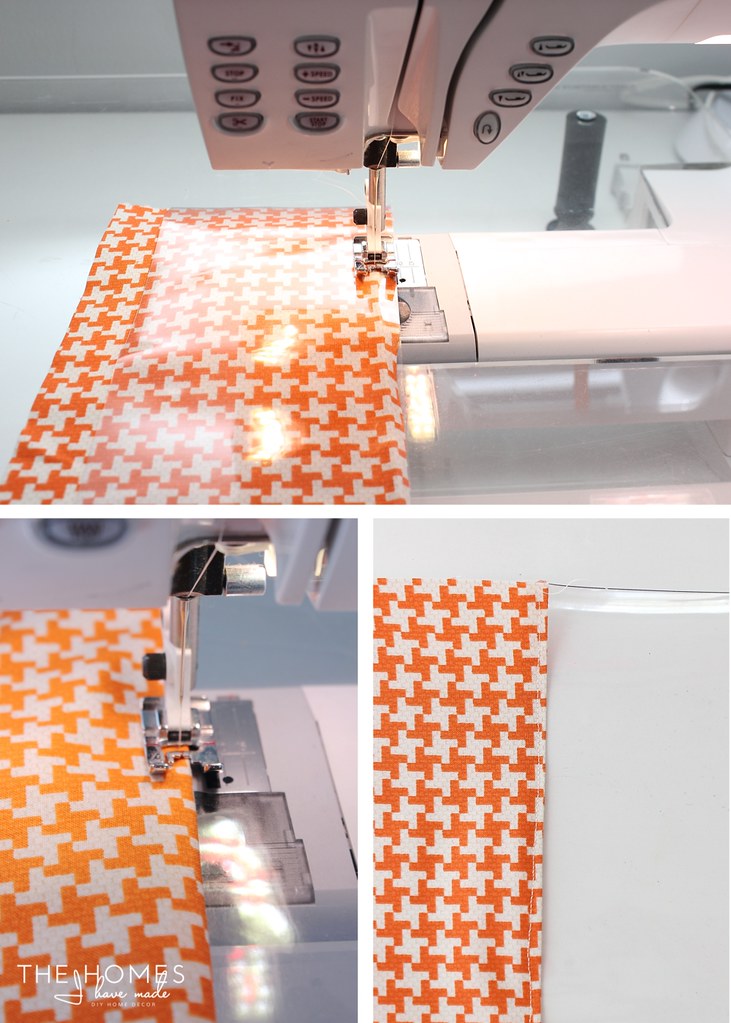
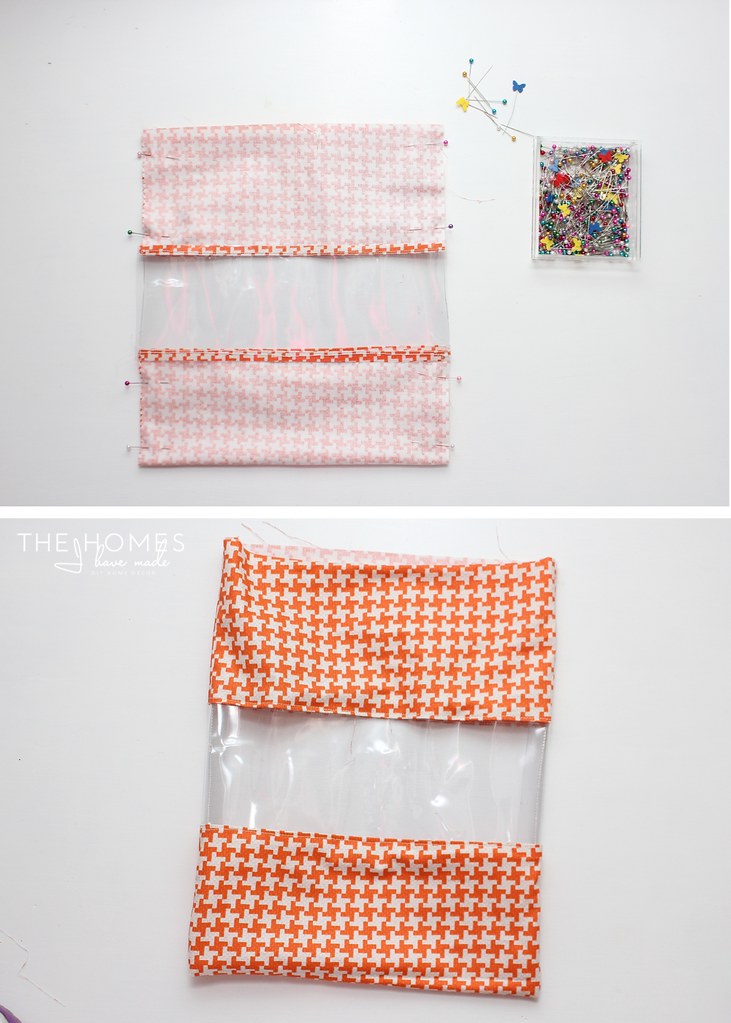
Start by placing one of the 5 x 11″ strips right-side-up and laying a vinyl strip on top, lining up the top, bottom, and right-side edges. Stitch down the length of the strips with a 1/2″ seam allowance (below, top). Once sewn, flip the vinyl open so that the fabric is on the left and the vinyl is on the right (all right sides facing up). Top stitch close to the seam down the length of the fabric (below, bottom left). This will not only give a cleaner appearance, but will force the bulky vinyl to lay flat (below, bottom right).
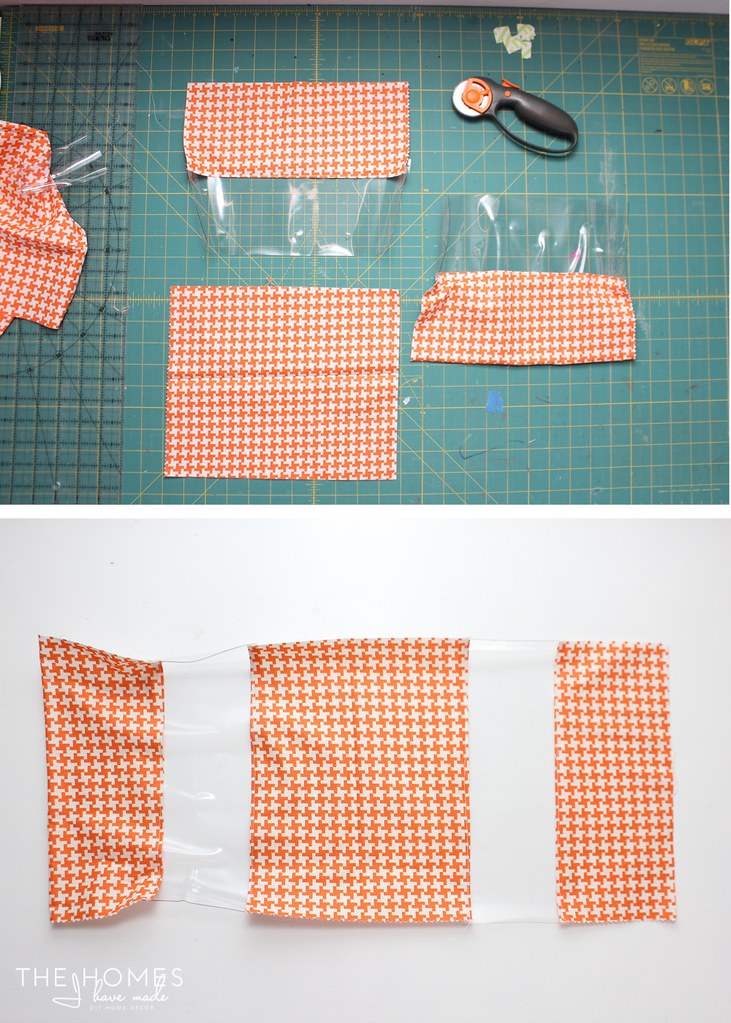
Repeat with the other 5 x 11″ fabric rectangle and the other strip of vinyl. You should then be left with the 8 x 11″ cotton rectangle and two cotton+vinyl rectangles.
Next, attach the cotton+vinyl rectangles to the larger rectangle along the long edges, also top stitching at each seam. When all sewn together, you should end up with one long rectangle that goes cotton => vinyl => cotton => vinyl => cotton.
With right-sides-together, fold the rectangle in half width-wise and pin along the sides. Sew down each side with a 1/2″ seam allowance. Trim out the corners and flip right-side-out! The vinyl seam can be stiff – really press it flat (with your fingers!) to make the bag lie flat-ish.
To finish out the raw edges at the top, fold the bag edge toward the inside of the bag 1/2″ and press. Then fold over again so that the pressed edge meets the vinyl seam about 2″ down. Pin in place around the perimeter of the bag.
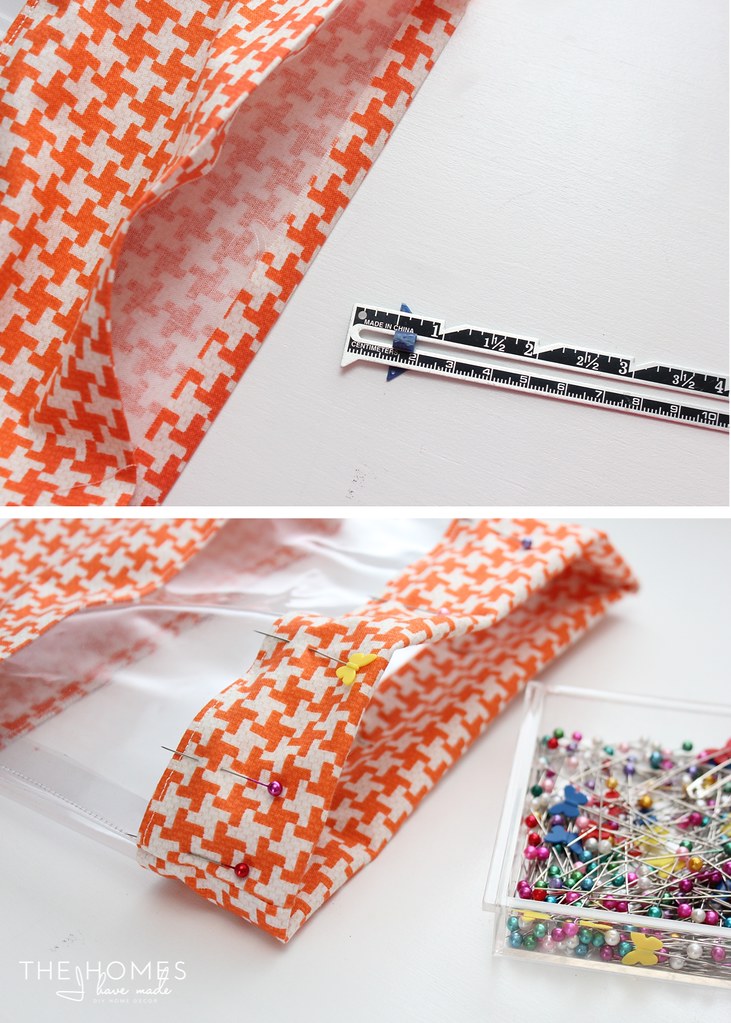
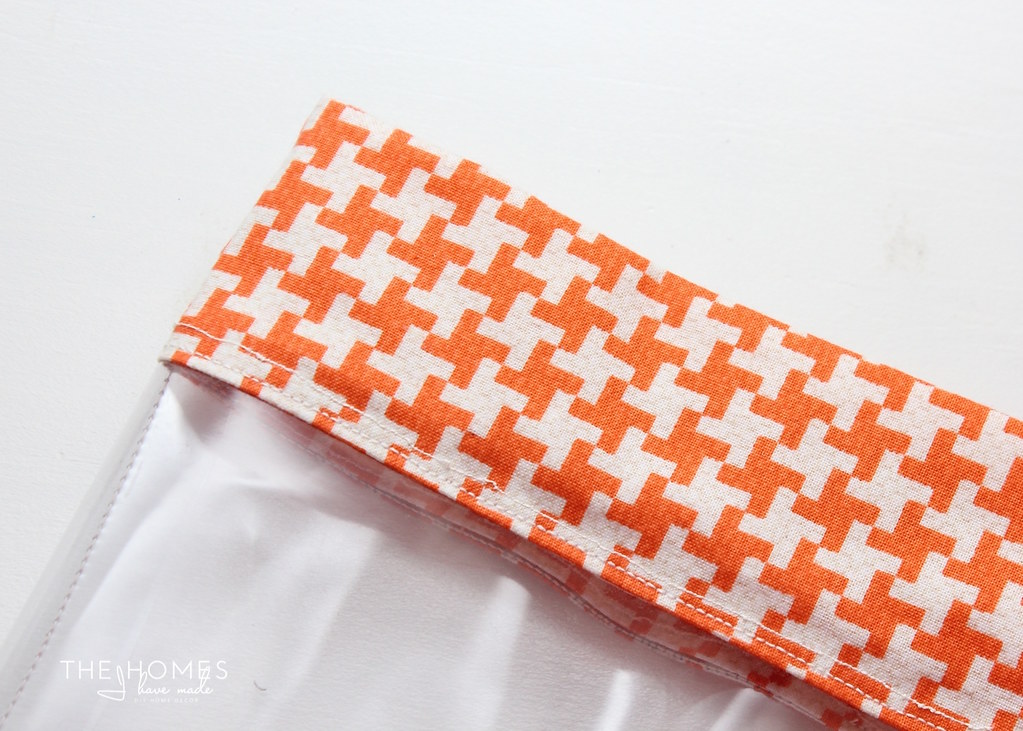
Top stitch around the perimeter of the bag (along your first stitch line) to secure the top fold in place. Make sure you catch the fold on the inside of the bag in your stitching all the way around. This can be a bit tricky thanks to the stiffness of the vinyl (don’t judge my crooked sewing lines – it definitely got easier the more I made!)
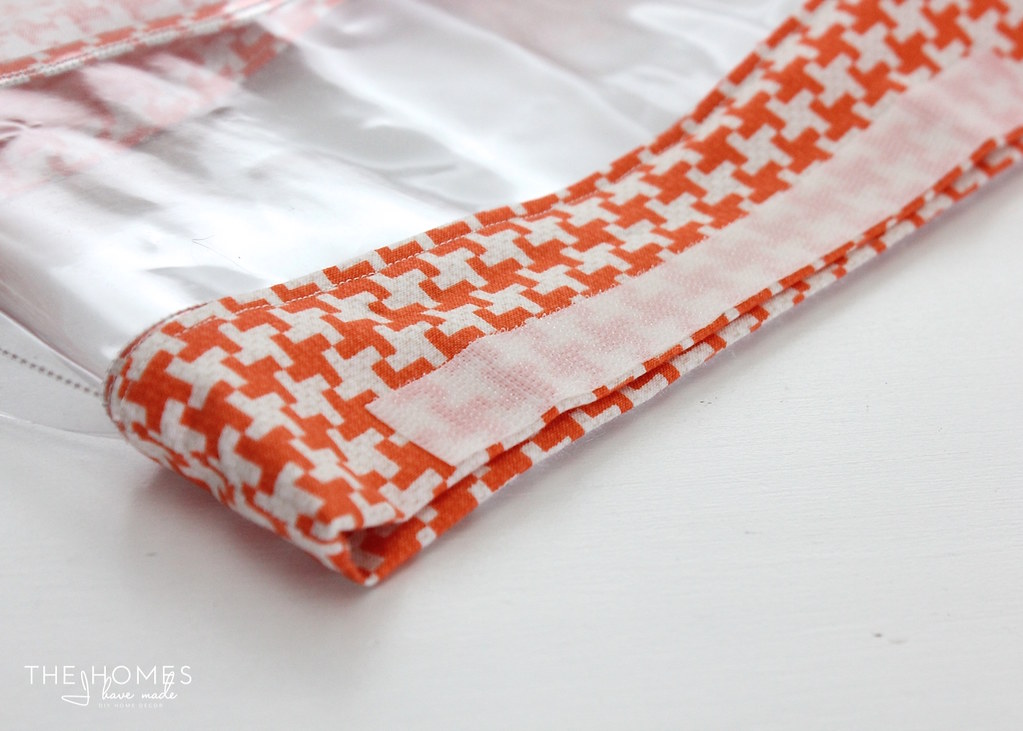
I then flipped my bag back inside out (which actually wasn’t necessary but how I snapped the picture) and added Velcro on either side. Make sure your Velcro is centered on the fold on both sides of the bag. I then secured the Velcro with my sewing machine. (Note: I found it helpful to leave an inch or so of space between the end of the Velcro and the side seam of the bag. Velcro can be pretty tight, so to open the bags, it’s helpful to be able to wiggle your fingers in there!)
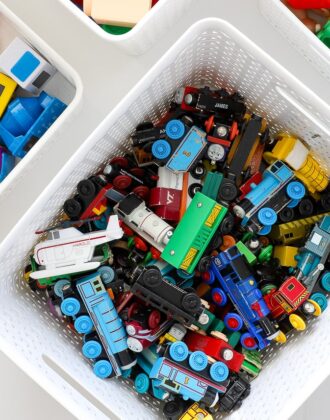
These really were fun, quick, and simple to make! Now we have great little bags that can hold all sorts of itty bitty toys and games.
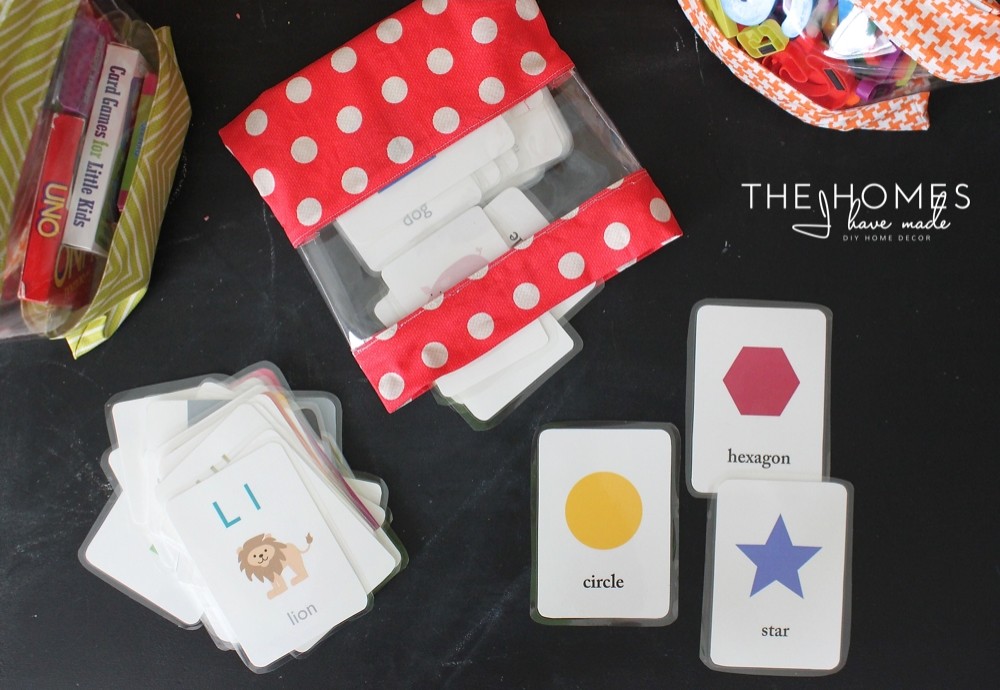
They are perfect for the playroom, but would also be great for toting games, toys, or even snacks in the diaper bag, purse, or a kid’s backpack!
I really debated if the see-through pouch was necessary, but after a week or so of using these, I am so glad I included it. It makes finding just the right game or toy a cinch; and it helps Henry put things back in the right spots when we’re done playing! You can see how we use and store these bags in my Tiny Toy organizing post here!
I hope you’re week is off to a great start. I’m working on some really fun projects and have some great things to show you this week. See you back here Wednesday!
Megan

5 Comments on “DIY Peek-a-Boo Toy Bags – A Great Scrap Buster Project!”
Found you from IHeartOrganizing. I just love this project!! Thank you so much!!
Same exact post as Bethany! I can't wait to make some of these bags! I am thinking they'll be great for my daughter's tiny hair rubber bands.
These are adorable! Would 12 gauge vinyl be equivalent to medium gauge? JoAnn carries 4, 8, 12, 16 and 20.
Hello!! I’m new to organizing & I have completely fallen in love with all your ideas! They are so simple to put in place & have been working out really well for me and my family! I was wondering if you had the instructions for the “peekaboo toy bags” broken down into a simpler (ready to print) form so I can try to attack this on my own? I would need to attempt this with my mom- she is the crafter/quilter in the family and it would be great if I could print out the instructions!
Thank you so much for all your tips and tricks!! They are totally changing my life!!!!
Hi Katelyn!
Thank you for leaving such a kind comment – this one really made my day today…I just love hearing that readers find my ideas helpful! 🙂
Unfortunately, I don’t have this post in a printable format. You can try “Selecting All” and pasting it onto a Word document (then delete out all the ads before printing). Might take a little time but might be better than loading the website over and over.
Keep me posted how your bags turn out!