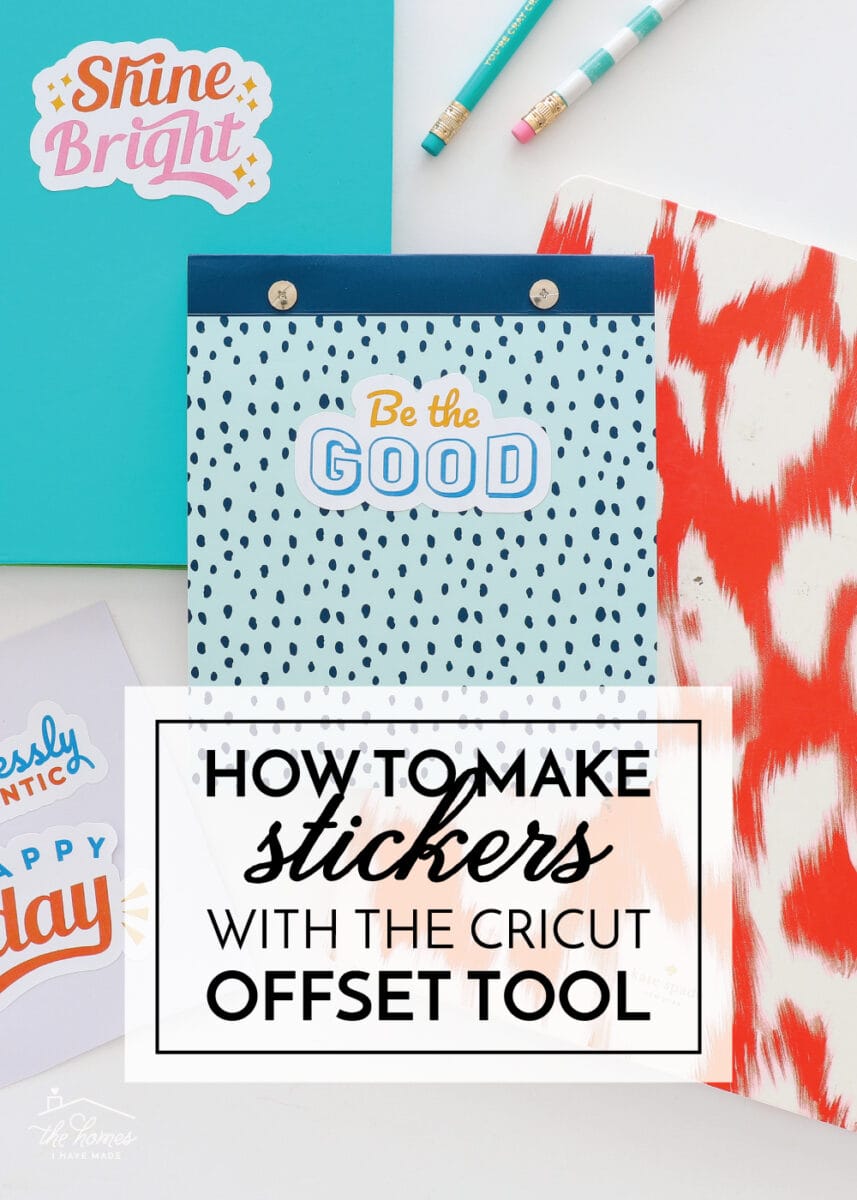
How to Use the Cricut Offset Tool (To Make Stickers in Minutes!)
A few weeks ago, if you listened really closely, you might have heard the entire Cricut Universe gasp with delight and relief! Why? Because an Offset Tool has finally been added to Cricut Design Space (cue the confetti!) Today I am going to teach you how to use the Cricut Offset Tool, and show why this is such a game changer for making stickers, decals, decor, and more. Let’s get to it!
What is the Cricut Offset Tool?
The Cricut Offset Tool is a new function in Cricut Design Space that allows you to add a border or “background” to ANY design…even designs that don’t already have a base layer.
This means that any image can be given a nice, even border around it, which makes creating layered designs, cake toppers, and stickers so much quicker and easier than ever before!


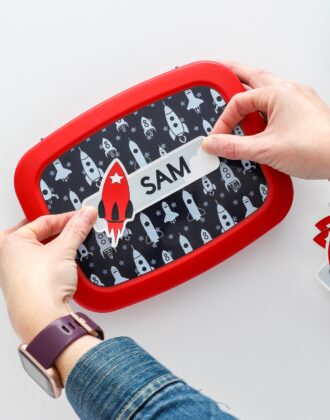
In fact, just the other day, our middle son asked for some “pirate stickers,” fully expecting me to produce them on the spot. I was starting to explain that we didn’t have any, when it occurred to me I could easily whip up a sheet using the new Offset Tool! So he picked a bunch of images from the Design Space Library, and I had them cut into perfect little stickers in a matter of just minutes (seriously!) He was delighted…and so was I! I’m now making stickers right and left for everyone in the house! Ready to see how fast and easy this new tool really is?!?
See the Cricut Offset Tool in Action
The full picture step-by-step guide is included in this post; but to see these stickers come together in mere minutes, check out this short Design Space video!
Video not loading? Click HERE to watch!
How to Use the Cricut Offset Tool
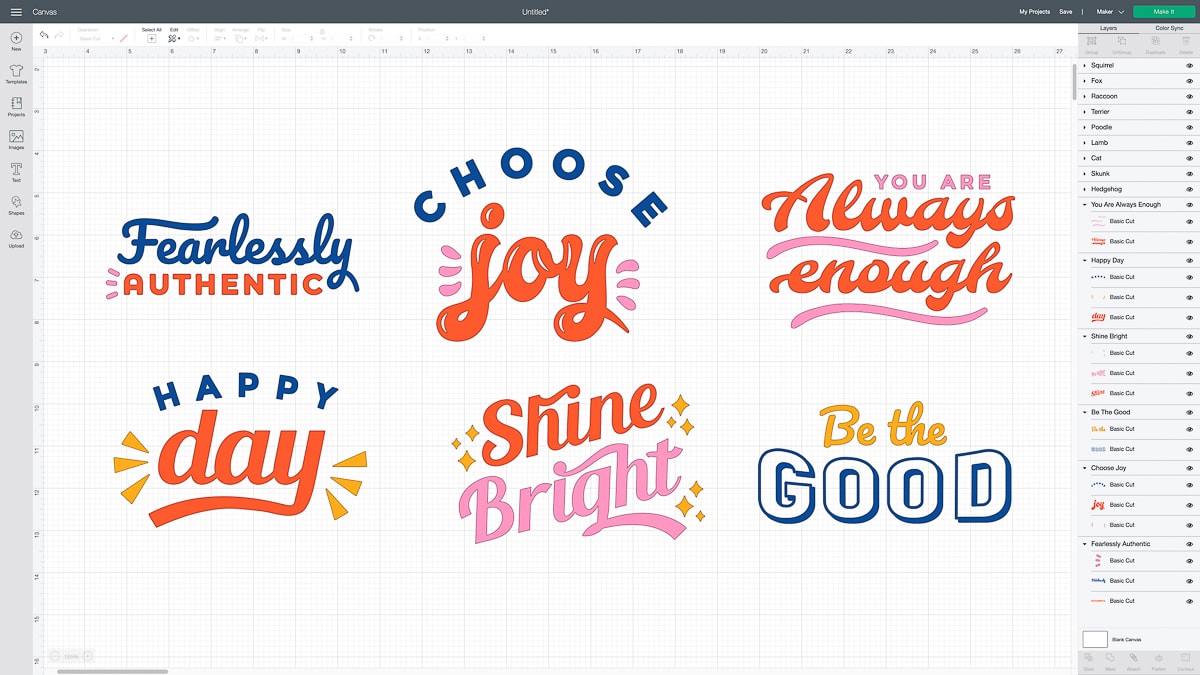
Start by placing any image on your design canvas. Again, this image can have a background already or not. It can have a solid, continuous edge or not. It can be one layer or many…single or multi-colored. Any image will work!
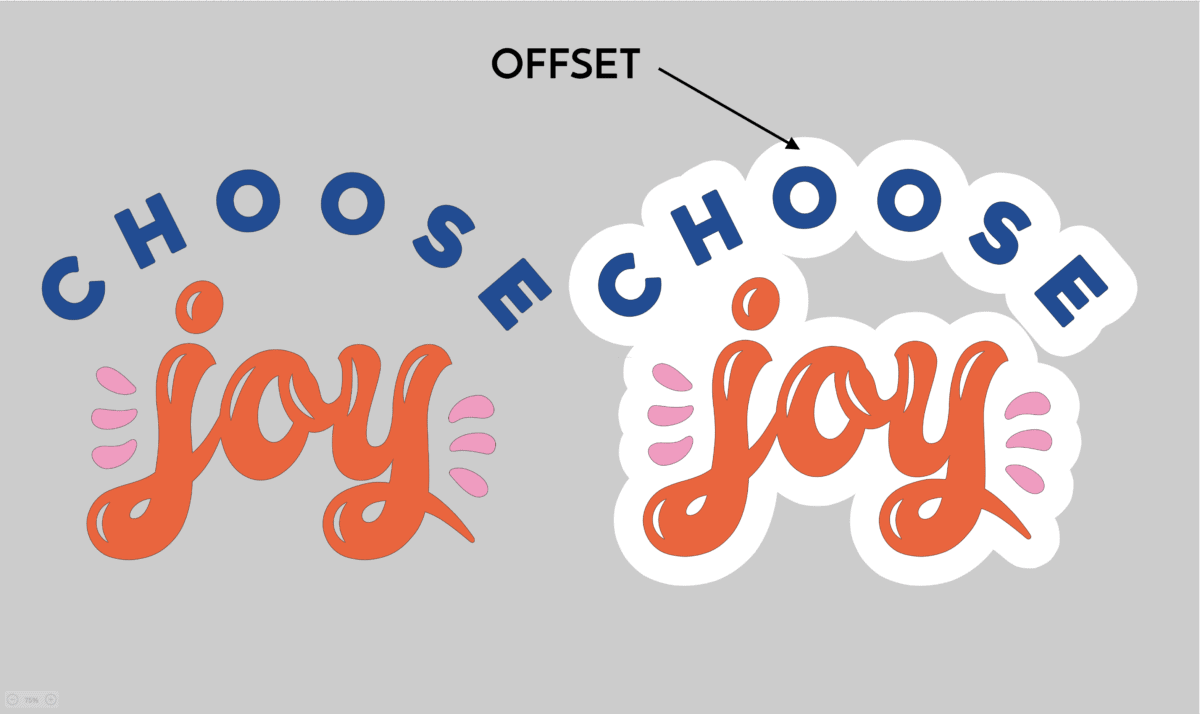
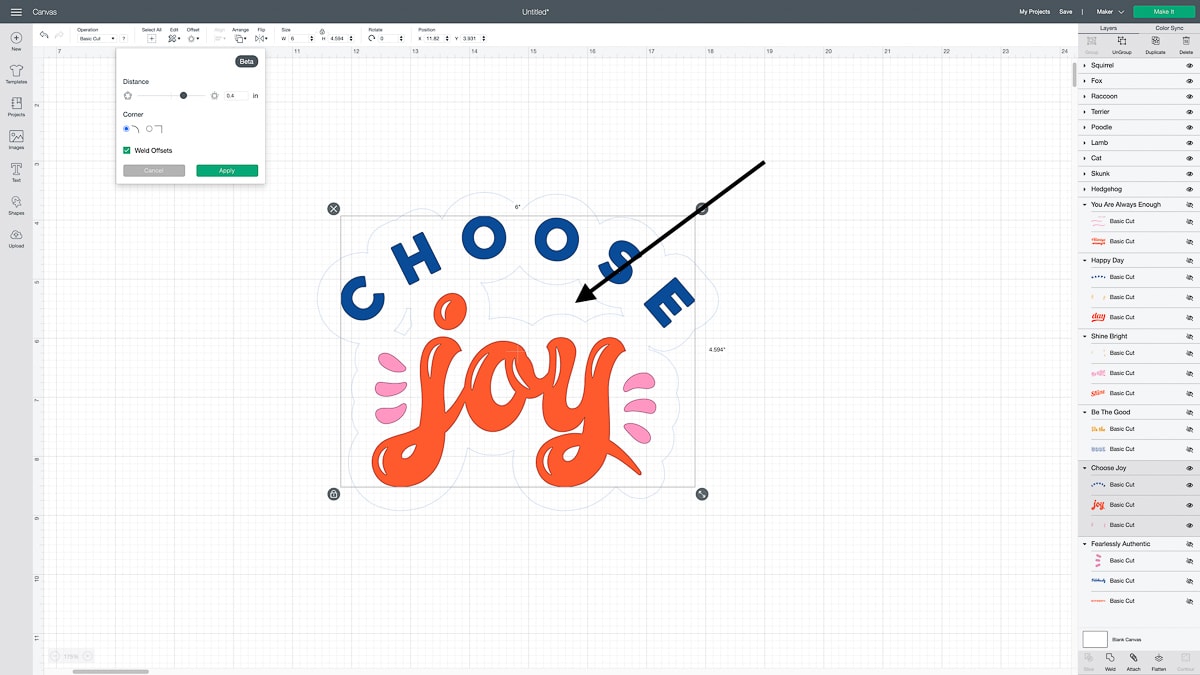
You do not need to bother with un-Grouping, un-Attaching, or un-Flattening your image. Simply select it and then open the Offset Tool, which is right along the top toolbar. Immediately, you will see a “cloud” appear around your entire image.
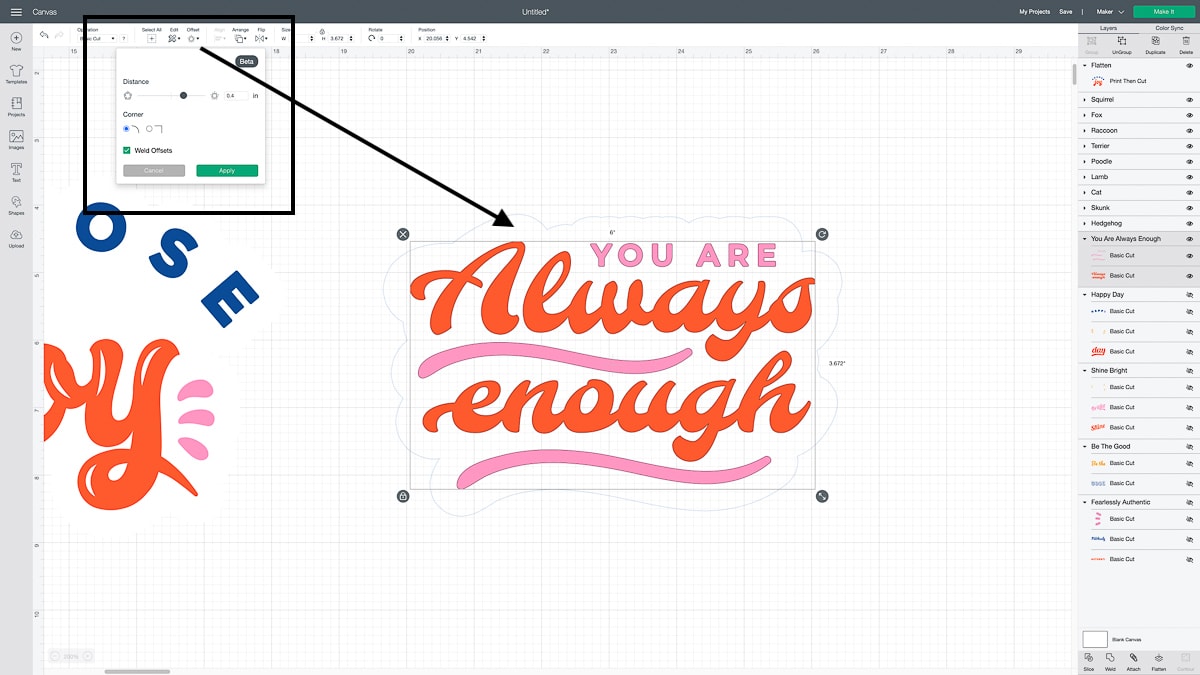
The Offset Tool has a few customization options:
- Slide the “Distance” button left or right to either decrease or increase how far the offset extends away from your original design. You can also type in a dimension to be more precise.
- Corner selections allow you to choose either rounded or square corners for each intersection.
- Weld Offsets essentially gives you the option for a single background layer (checked) or backgrounds for each individual layer (unchecked). This button will be pre-checked because usually you want a single, solid background.
Once you make your specific selections, simply click “Apply” and a NEW layer will be created in your Layers Panel. By default, this layer will be black.
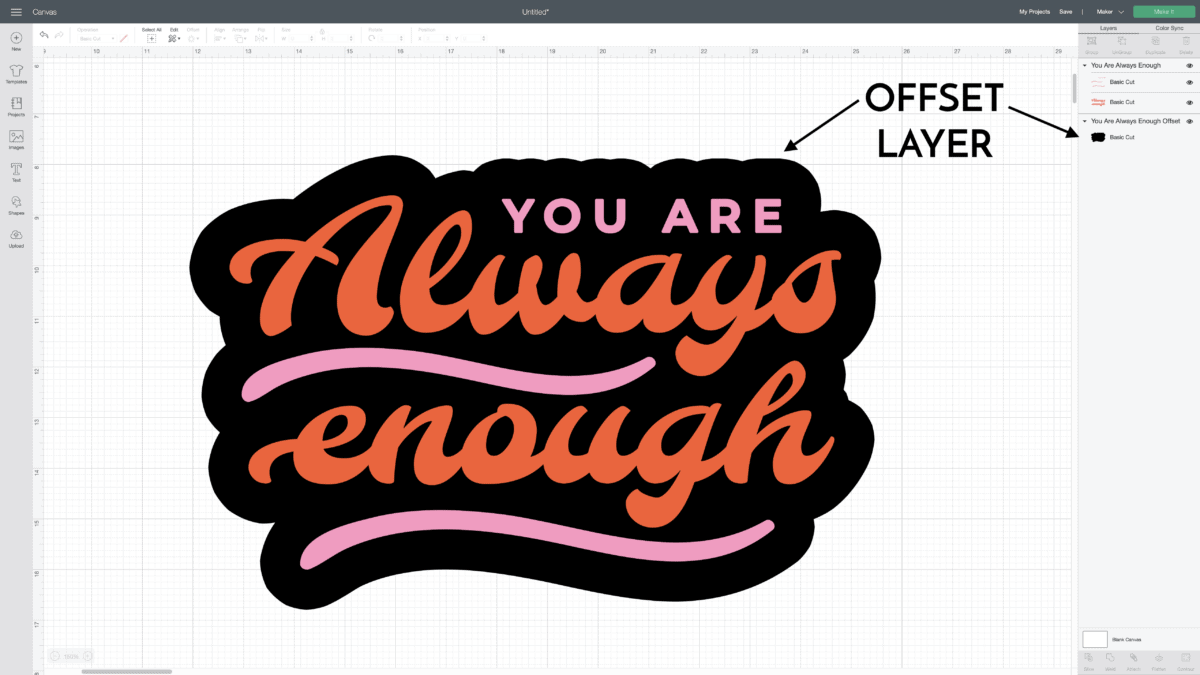
This black layer now functions like any other element on your canvas. You can change the color, Group/un-Group, Attach, Weld…and Contour!
Using Contour to Clean Up Your Offsets
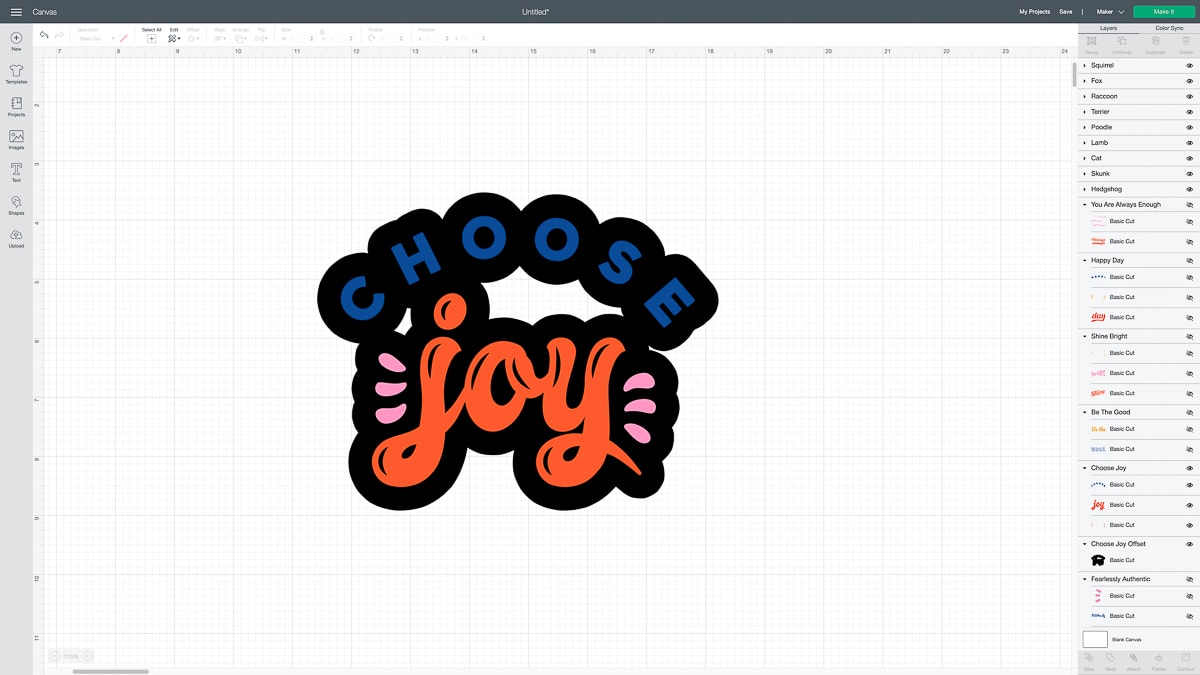
Depending on the image you are working on, you might find yourself with pockets of blank space in the center of the Offset (no matter how far you extend the Offset out). In some instances, you might like this cutout. However, if you want to remove it (like for stickers!), simply use the Contour Tool.
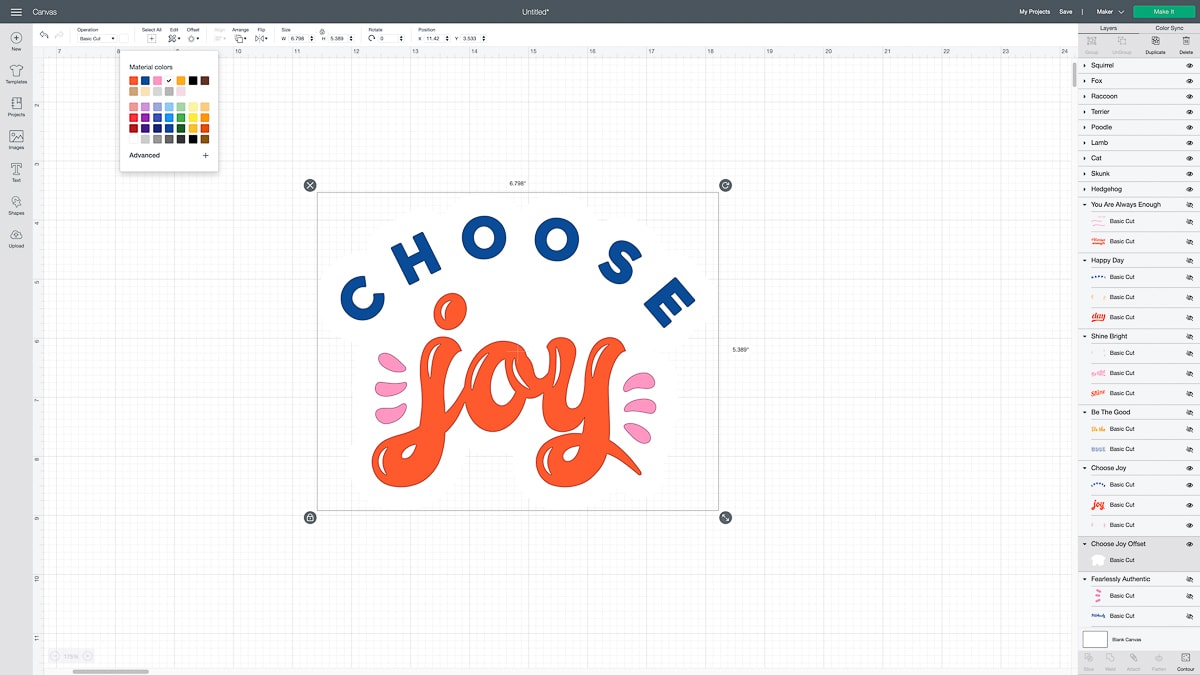
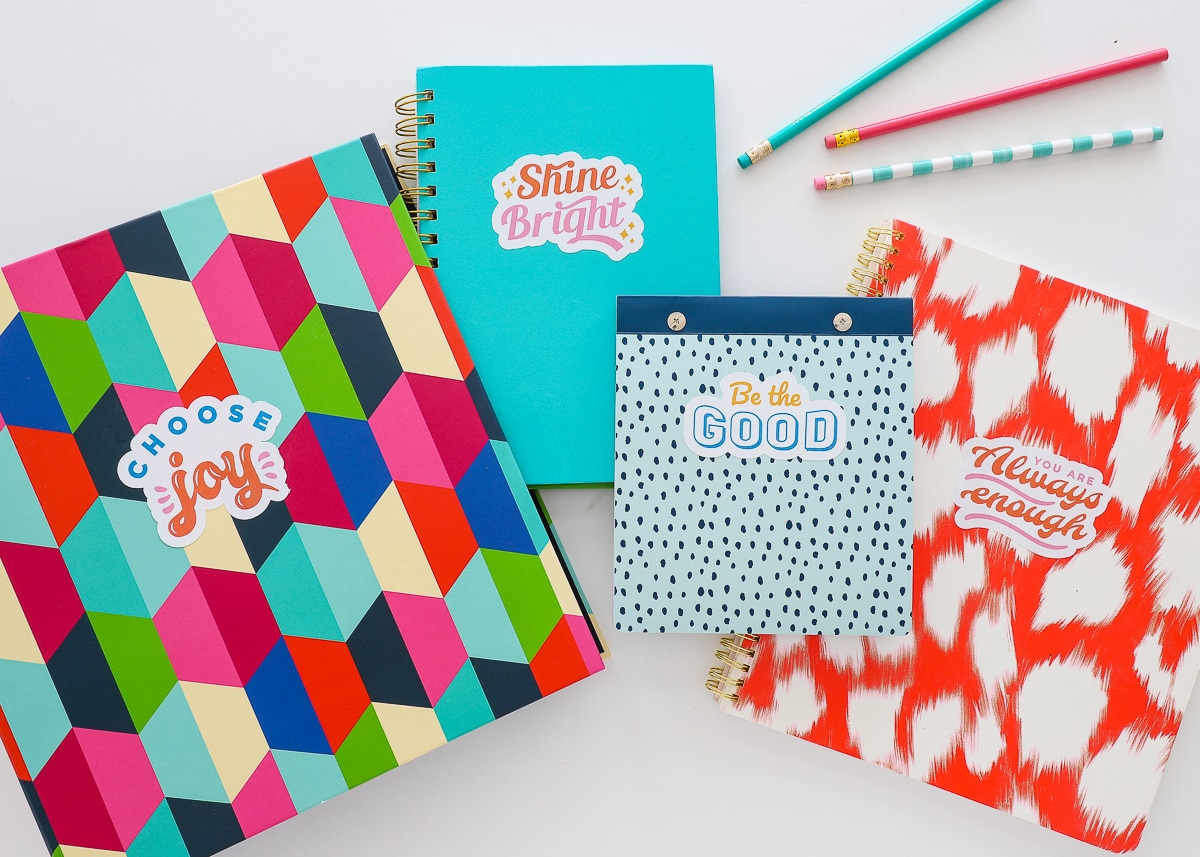
Here is how my background layer looks on the “Choose Joy” immediately upon applying the Offset Tool.
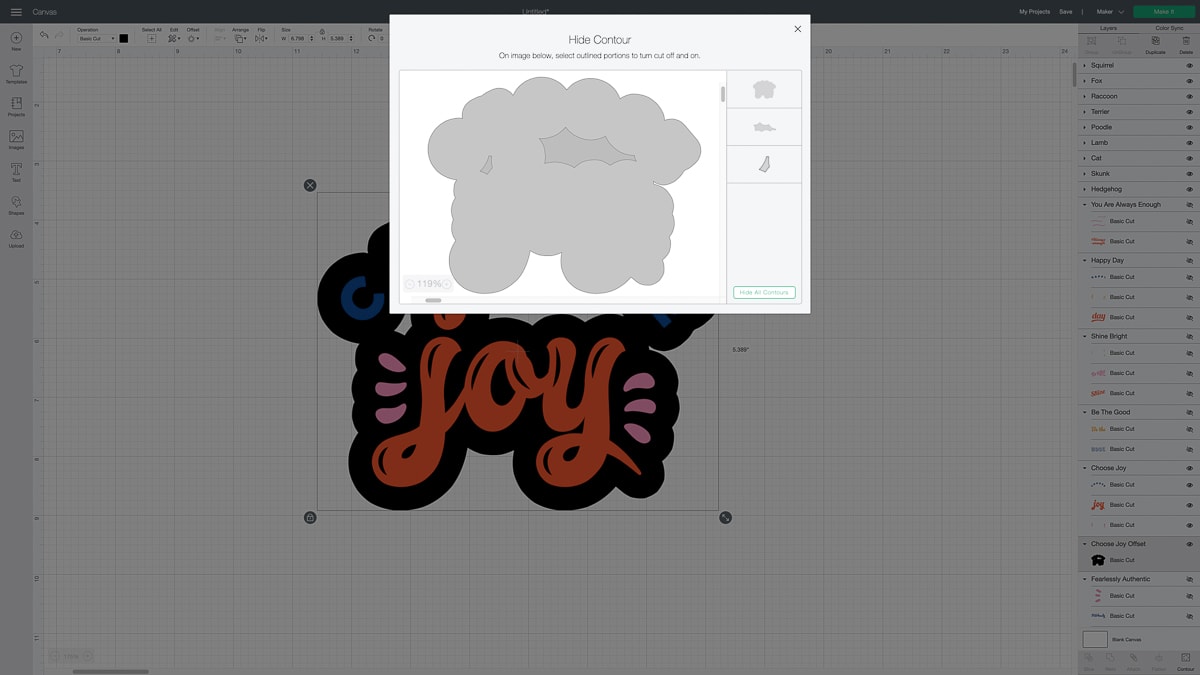
To remove the two blank spaces and create a solid background, select the Offset layer (finding it in the Layers Panel is usually the easiest) and open the Contour Tool (bottom right-hand side). Once the tool opens, click “Hide All Contours” and then click out of the tool.
Need help with the Contour Tool? Click HERE.
Now the background is solid and can be modified as desired!

Using the Offset Tool to Make Stickers
There are lots and lots of handy uses for the new Offset Tool, but it’s really a game-changer for making stickers! Here’s how you do it.
NOTE: The Cricut Offset Tool can be used to make projects for ANY Cricut machine. However, if you want to make stickers using Print-Then-Cut, you can only do so with the Cricut Explore and Cricut Maker models.
Once you add an Offset layer to each image (and remove any blank pockets if desired), simply select the layer and change it to white (or a color if you want colored backgrounds for your stickers).
Next, select all the image’s layers (including the Offset layer) and “Flatten” them together using the button in the bottom right-hand corner. This changes it to a Print-Then-Cut image.
(Need help with Print-Then-Cut? See HERE).

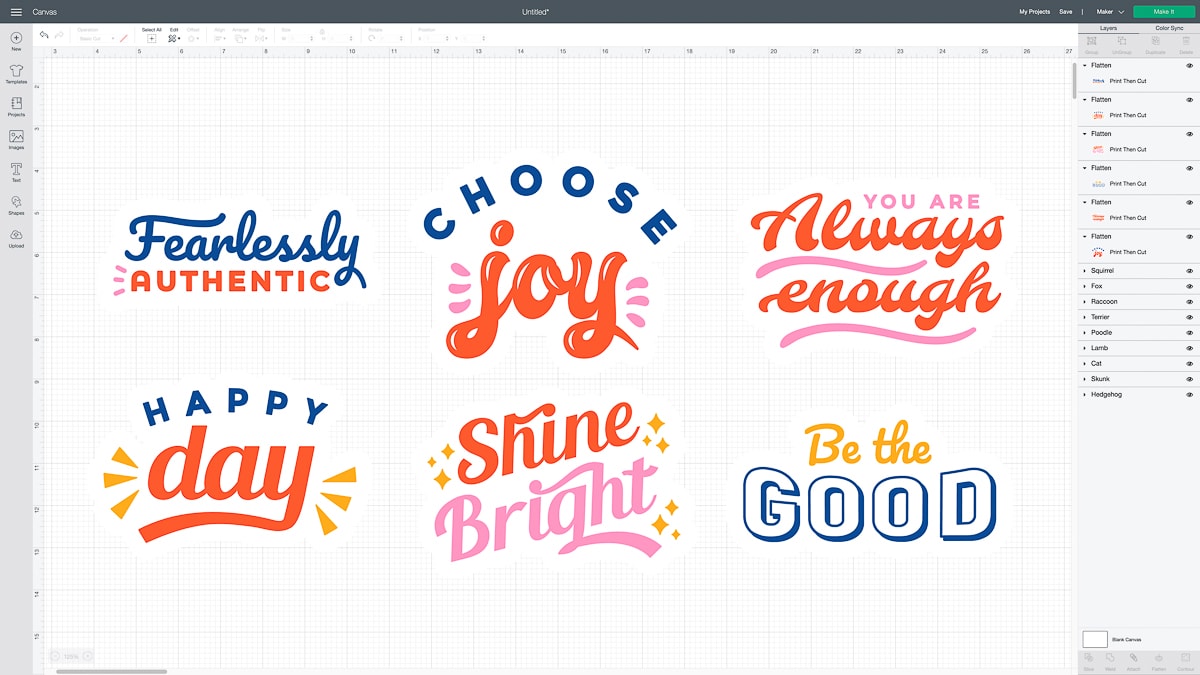
Repeat the Offset and Flatten processes with all your sticker designs.
TIP! To ensure your stickers look “cohesive” be sure to use the same Offset settings for each image.
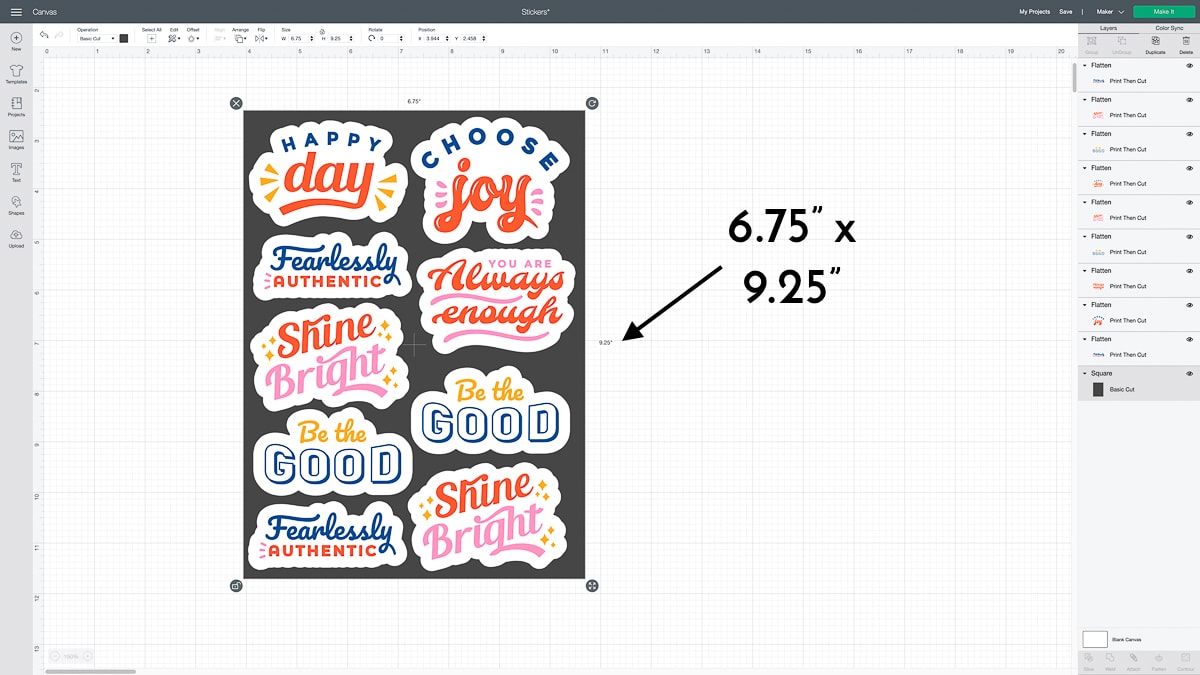
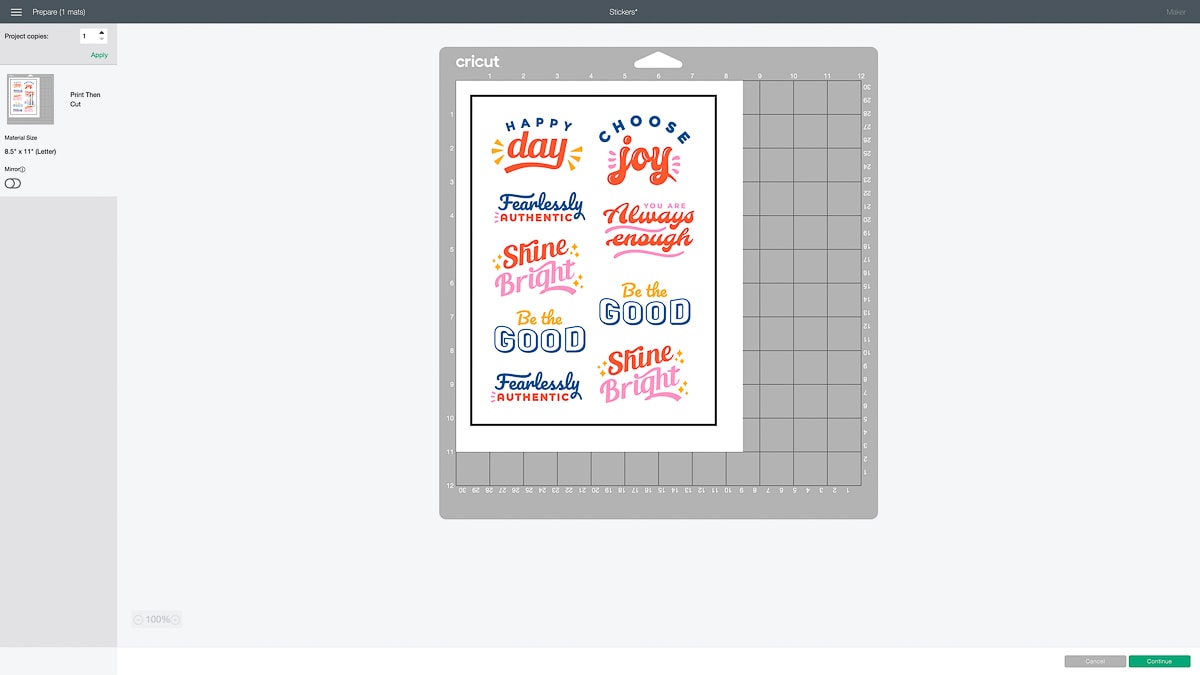
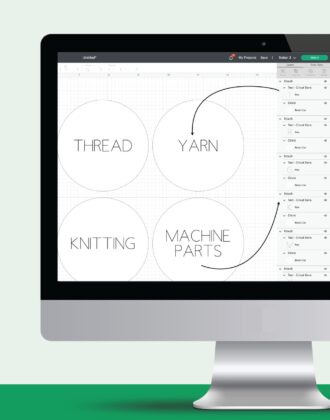
Currently, the largest space you can Print-Then-Cut on the Cricut is 6.75 x 9.25.” So to maximize how many stickers you can make at a time, insert a rectangle on your canvas in those dimensions to serve as a template. Place your stickers onto the rectangle and lay them out to maximize all the available space.
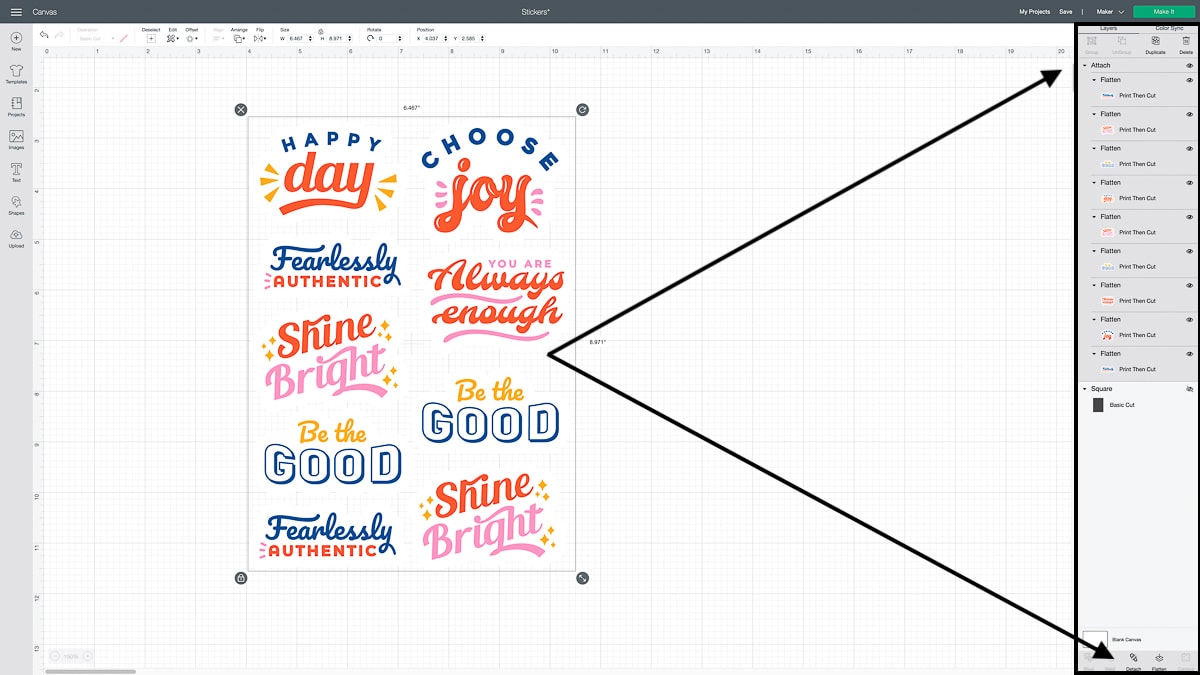
Once you are happy with your layout, delete or hide the rectangle template. Select all your sticker images and “Attach” them together.
(Don’t understand why or how to use the “Attach” function? See more HERE.)
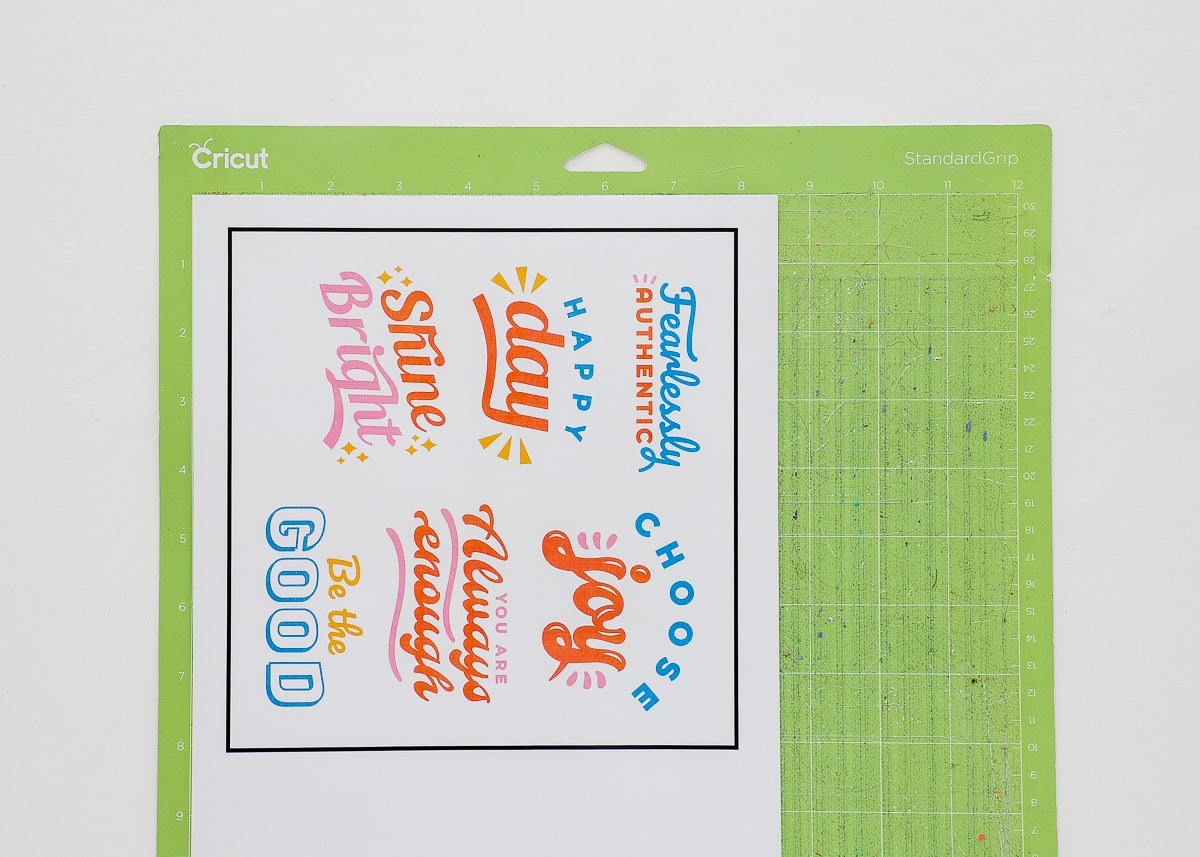
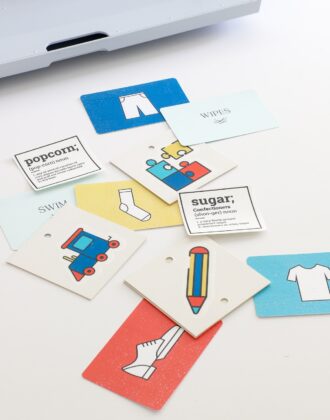
Click the green “Make It” button to send your stickers to print on your home printer and then cut with your Cricut. Because you pre-sized them to fit the printable area, you should be able to print right away!
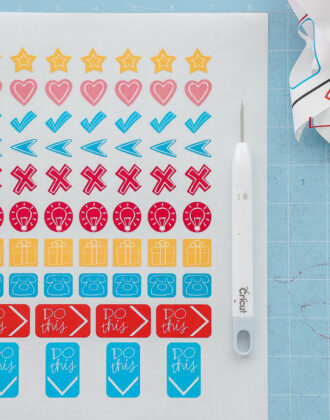
Once your paper comes off the printer, load it onto a mat and feed it into your Cricut machine. Set your machine to the appropriate sticker paper in the Custom Materials menu. Your Cricut will read the black lines first and then cut out your stickers right along those offset lines.
Wondering what sticker papers and printers I like best? Shop my picks HERE!
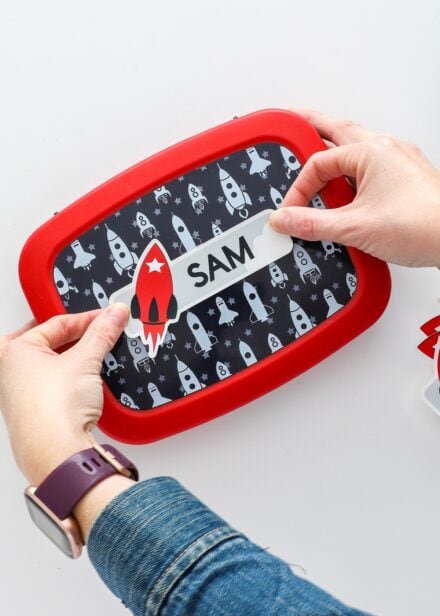
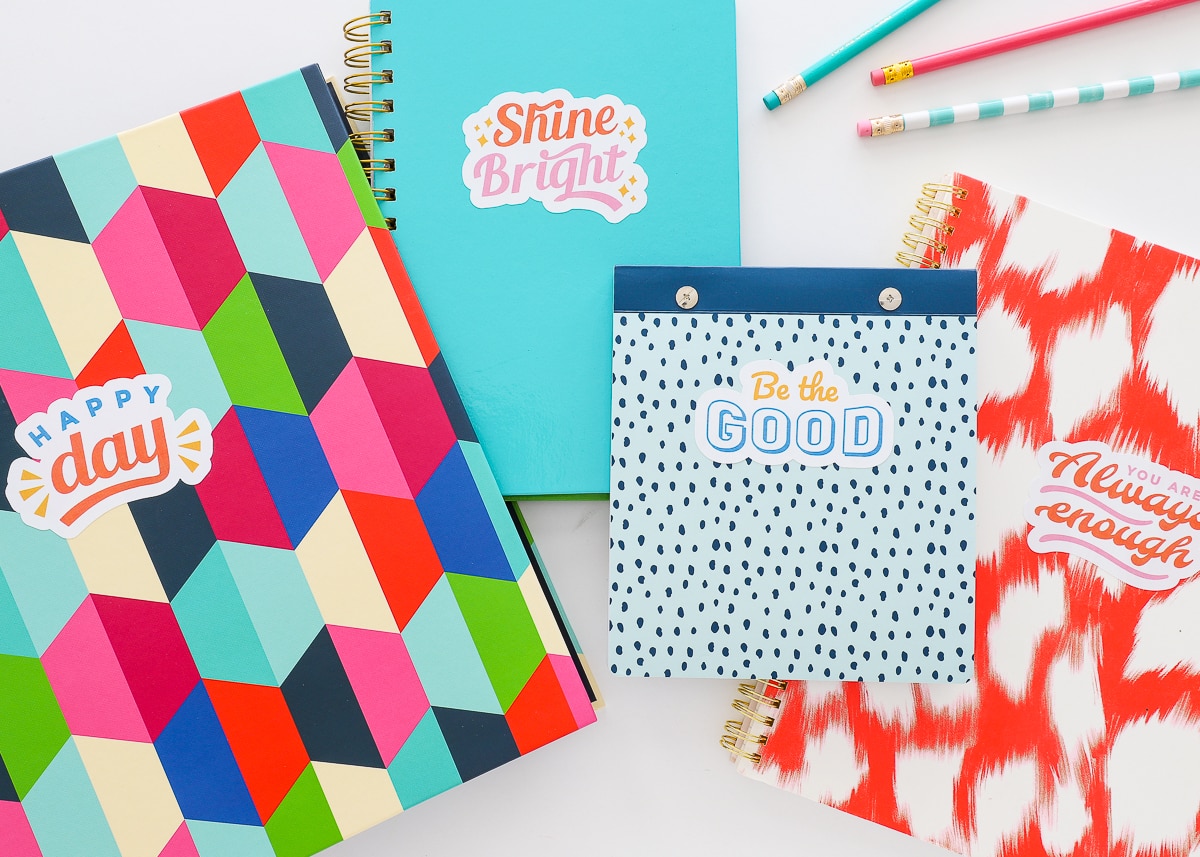
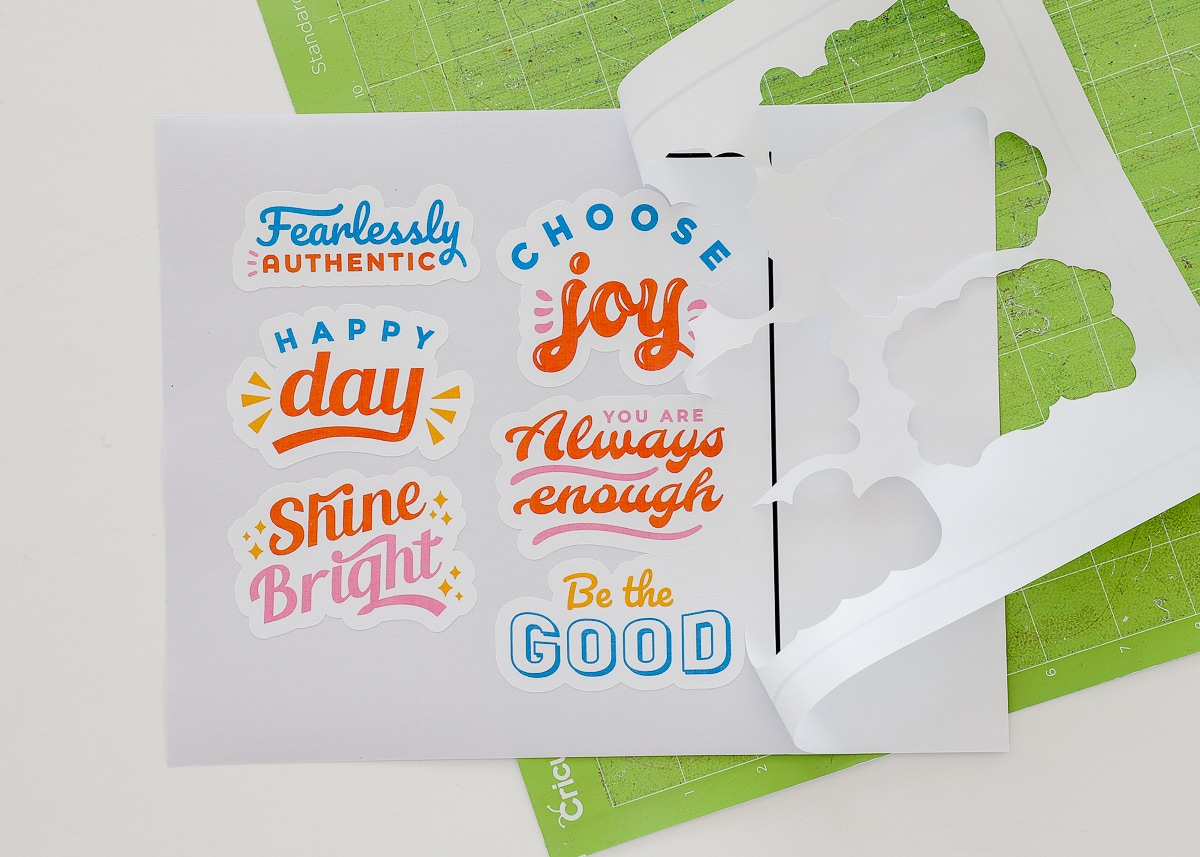
Once you unload the mat, peel off the excess paper to reveal your stickers…each one with a perfect border all the way around!
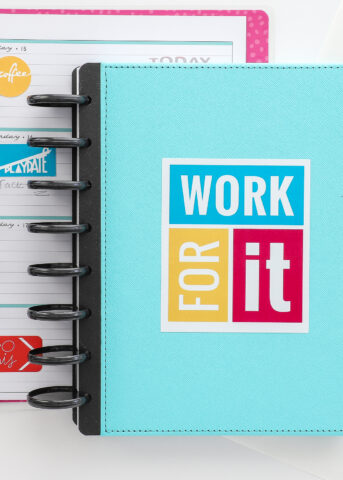
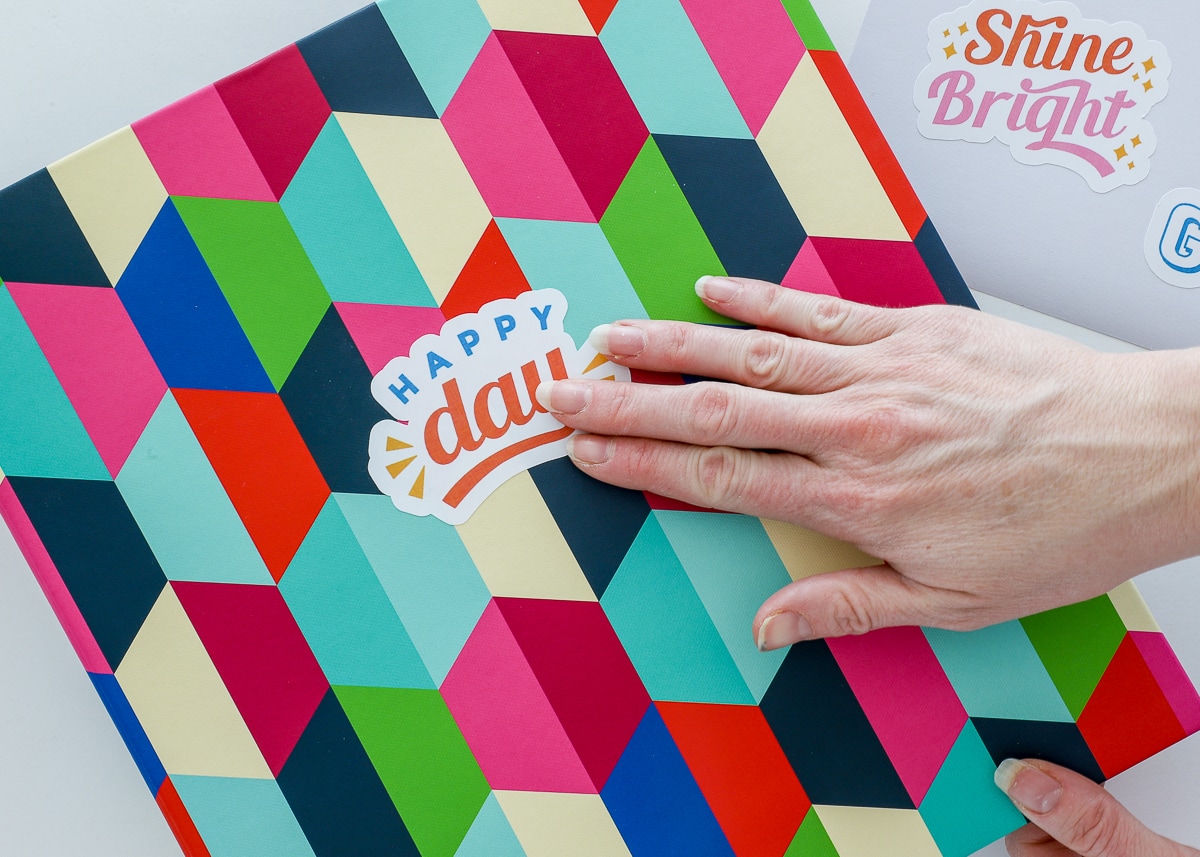
Then…if you’re my son…add those stickers to every blank surface throughout the entire house (ggaaaaahhh!) Otherwise, stick them to your favorite planner, calendar, notebook, or other craft project!
The possibilities really are endless with the new Cricut Offset Tool. For years, I have had to rely on a tedious work around using expensive design software to get this same look for my projects. I am thrilled that adding backgrounds and borders to labels, stickers, and party projects is so now fast and easy!
More Helpful Cricut Design Space Tutorials
Cricut Design Space is a very powerful program, but it can have a steep learning curve for beginners. Check out my other comprehensive tutorials below:- How to Use Cricut Design Space | A Breakdown for Beginners
- 20 Cricut Design Space Tips & Tricks You Really Need to Know
- The Ultimate Guide to Cricut Terms & What They Mean
- How to Find Free Images to Use with Your Cricut Machine
- How to Use the Attach Tool in Cricut Design Space
- How to Use the Slice Tool in Cricut Design Space
- How to Use the Weld Tool in Cricut Design Space
- How to Use the Contour Tool in Cricut Design Space
- How to Use the Offset Tool in Cricut Design Space
- How to Use Print Then Cut in Cricut Design Space
- How to Design Monograms in Cricut Design Space
- How to Cut Really Big Designs on Your Cricut (The Off-the-Mat Technique)
- How to Design Mugs in Cricut Design Space
If you haven’t played with the new Cricut Offset Tool yet, open up a project and give it a go. I think you will love all the possibilities this opens up for you!
Megan

7 Comments on “How to Use the Cricut Offset Tool (To Make Stickers in Minutes!)”
Does this only work with a pre-designed image ? I tried to add an offset to a hash-tag phrase i created and it did not work.
It’s hard to follow your instructions without videos to show where the tool is and how to set up each one of it. Not only I got lost but also my interest. Sorry.
Hi Alicia,
I am sorry you didn’t find this post helpful. Some prefer screenshots, some prefer videos. I try to offer both when I can; there is a video tutorial all the way at the bottom.
Thanks,
Megan
I select Offset and the box pops up but it doesn’t show up on the image.
Hmmm…that sounds strange. Do you have the latest updates on Cricut Design Space? I know in the early iteration of this tool that it wouldn’t work for every image. Perhaps try it on other images to see if it works for you!
Hello. I hope you and your family are doing well. How did you not get a grayish line around your white offset when you printed? I keep getting a grayish line.
Hey April!
Okay – so when I first got your email, I wasn’t sure what you were talking about. But I JUST did a bunch of Print Then Cut projects for my son’s birthday and I was getting a BLUE line around everything! I honestly don’t know what it is or how to get rid of it (my hunch is it’s a DS glitch). It does look like it’s pulling from colors in the design itself (I was cutting blue Spider-Mans), so maybe make a particular layer white or VERY light grey and see if you can get it to “fade” into the background a bit more?!?
Not sure I’m any help here on this one. I’ll keep you posted on what I learn!Megan