DIY Paper Quilt Artwork
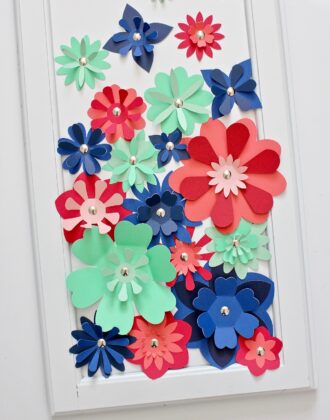
I am constantly on the hunt to fill our blank and boring walls on the cheap, but it can be difficult to find large, statement artwork at affordable prices. This is precisely why Pinterest and the blog-o-sphere are full of easy, inexpensive, and fun art projects you can tackle yourself! However, for those of us who aren’t artists, making art can be intimidating. But by looking in some unusual places for inspiration, anyone (including the least crafty of all!) can make some pretty spectacular wall art using nothing but paper and glue. Today I want to show you how to make this paper quilt artwork inspired by traditional “log cabin” quilt squares. Not only can it be made in any size and color scheme, but it comes together in a really fun and unexpected way!
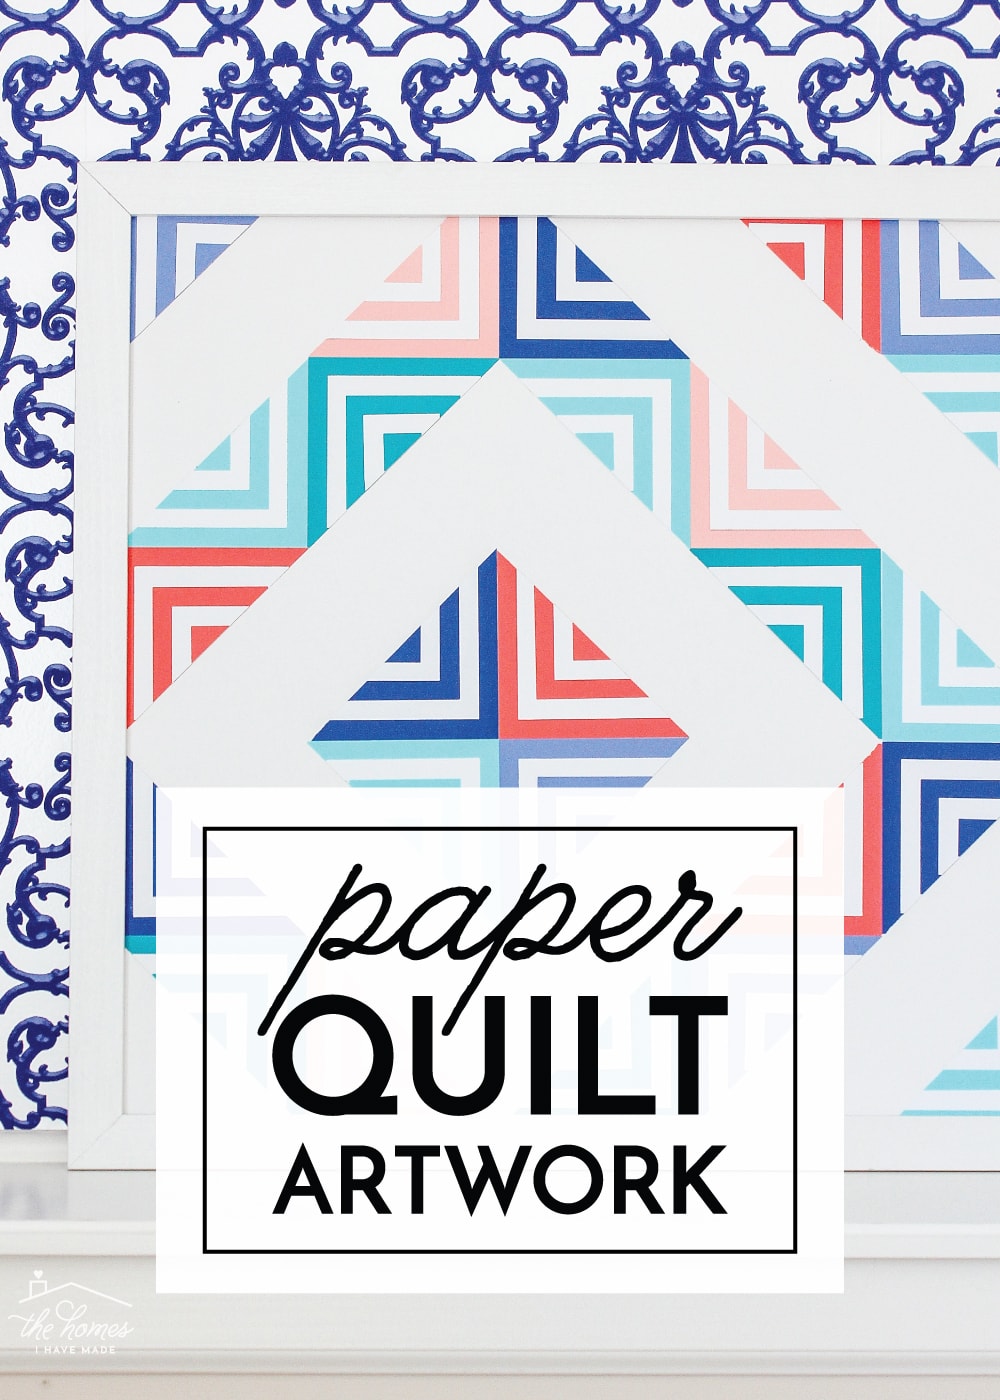
This wall art project was inspired by a quilt pattern. Yep – a sewing quilt pattern! But instead of creating all the “log cabin” pieces from fabric and sewing them together, I re-created the design with paper squares. Thankfully, piecing together a paper quilt is much quicker, easier, and cheaper than with fabric, so you can have this put together in just an hour or so.
Supplies Needed
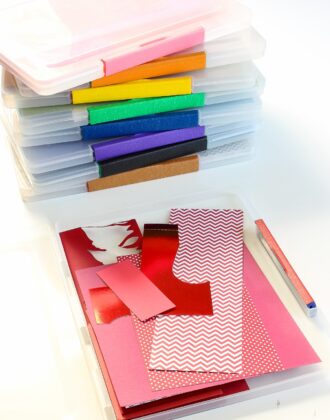
Here are the supplies needed to make your own paper quilt artwork:
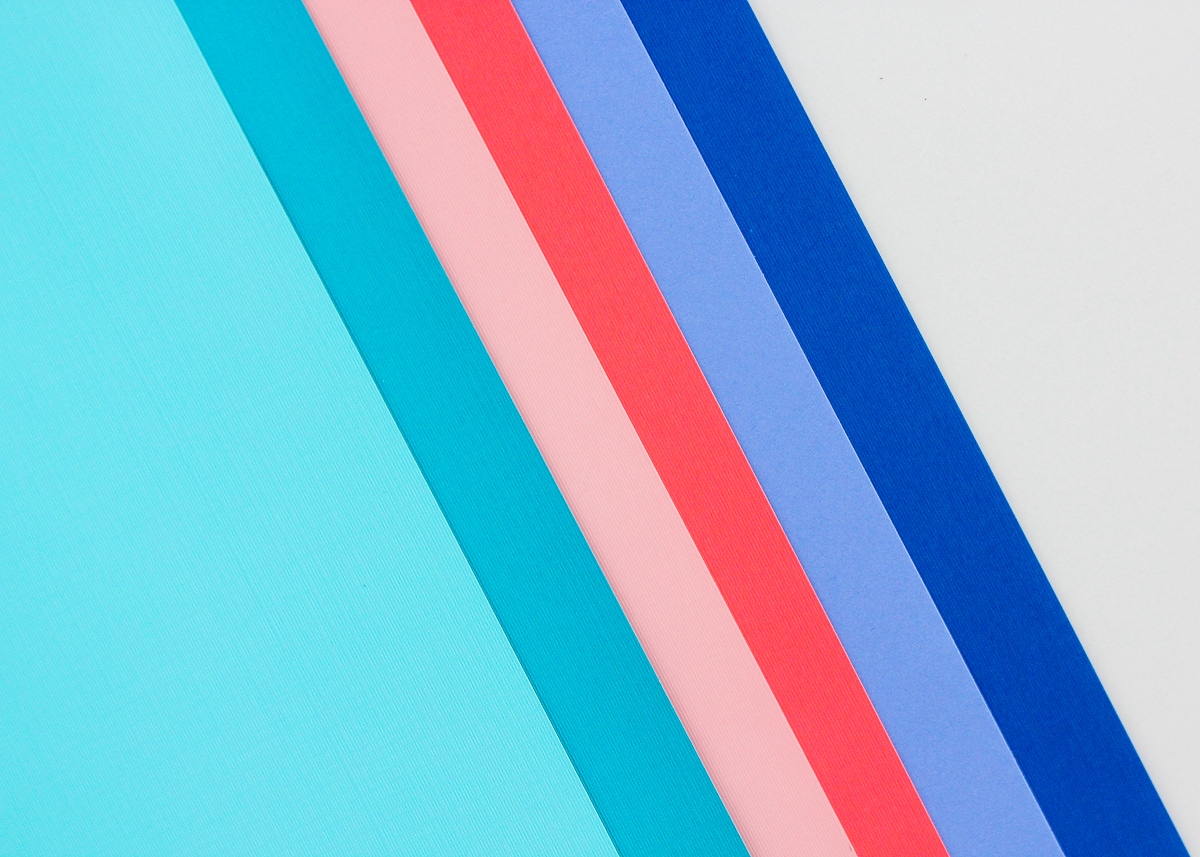
- 12×12” cardstock in a color scheme that works with your space.
- These are my absolute favorite paper pads for this kind of project because you get so many coordinating colors in one inexpensive stack.
- My 24 x 36” final artwork used just 1 sheet each of 6 different colors.
- 12×12” white cardstock
- Poster board or foam core – cut to the size of your frame.
- Frame – to hold your final artwork.
- Glue – be sure to use a brand that doesn’t wrinkle paper as it dries.
- Paper trimmer OR e-cutter machine (such as a Cricut or Silhouette)
Step 1: Cut Squares
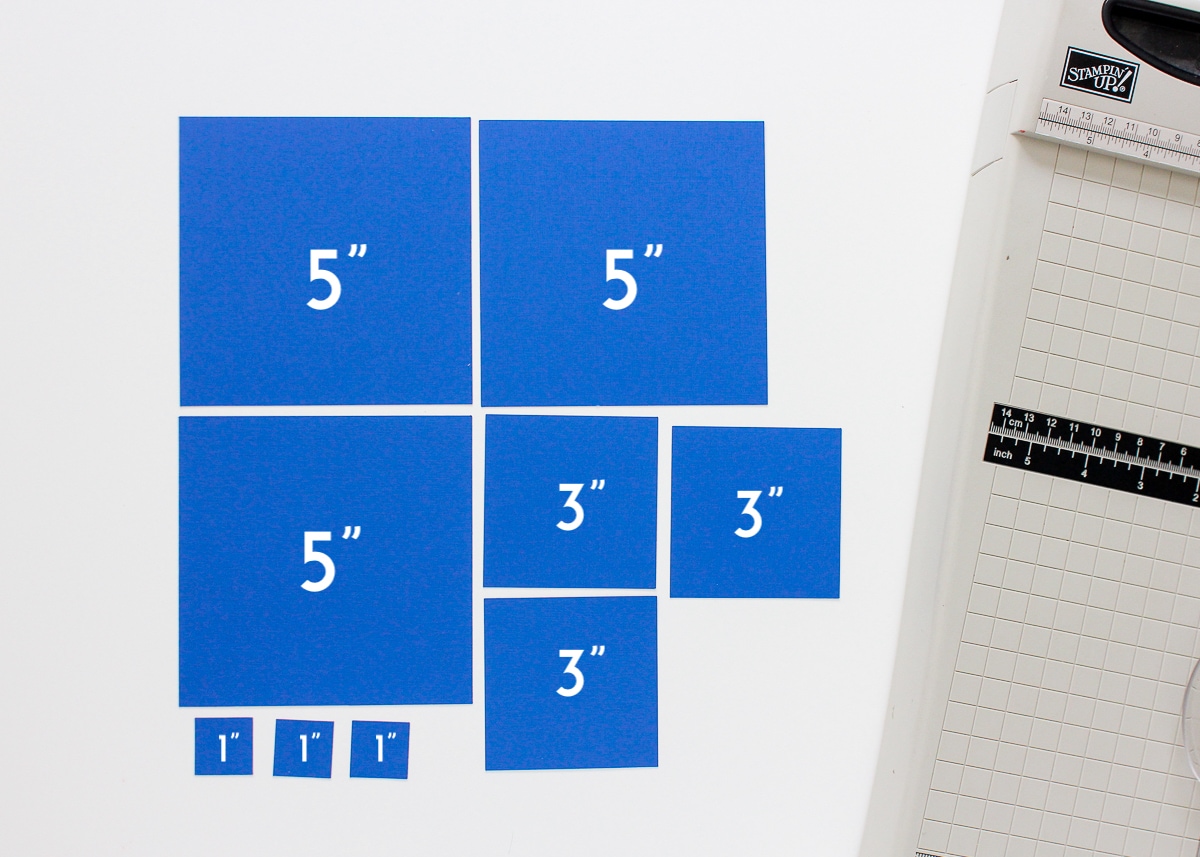
Start by measuring your frame and determining what size poster you need to make. Trim your poster board or foam core down to the correct dimensions using a scissors or craft knife. Once your final poster size is cut, determine what size squares will comfortably fit across the length and height of your poster. I chose to use 5” as my starting size, but you can use any size you prefer.
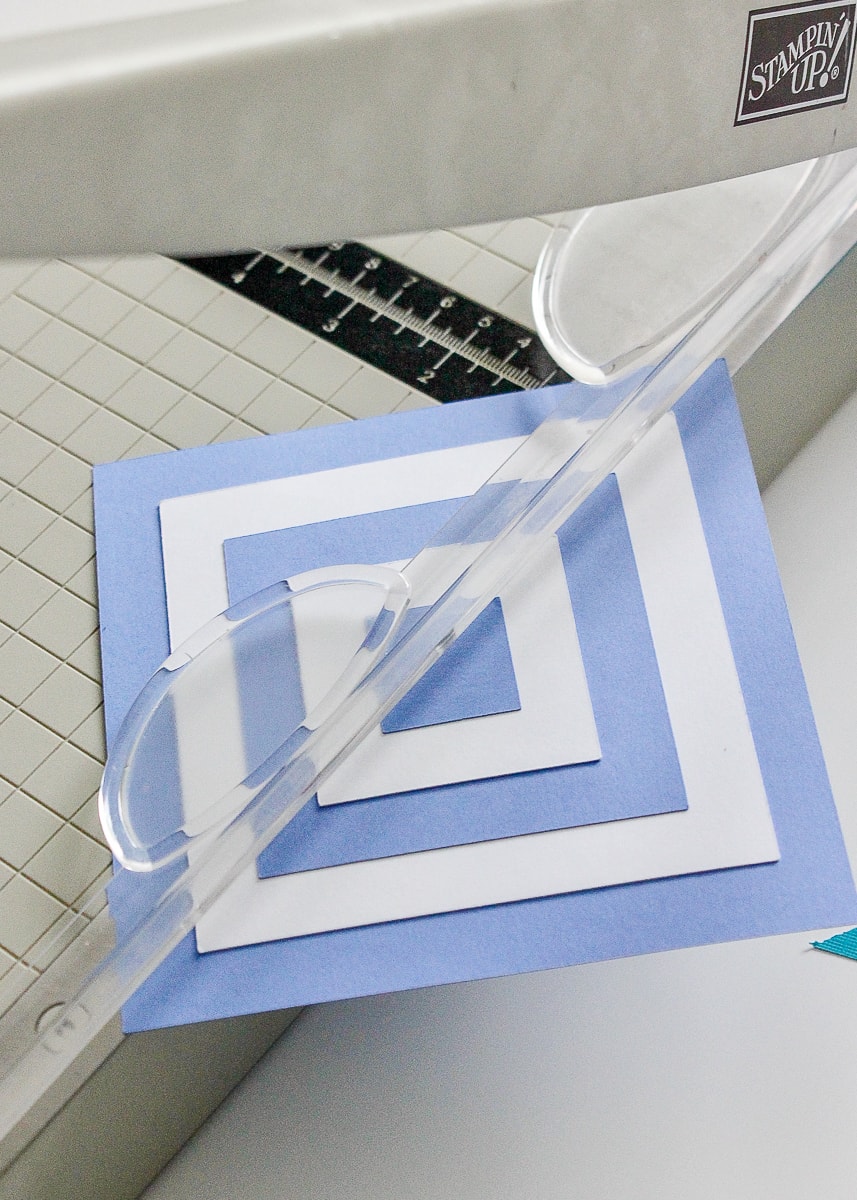
Next, use a paper trimmer or e-cutting machine to cut down all the cardstock into descending-sized squares. You will want to be as precise as possible in your cuts here.

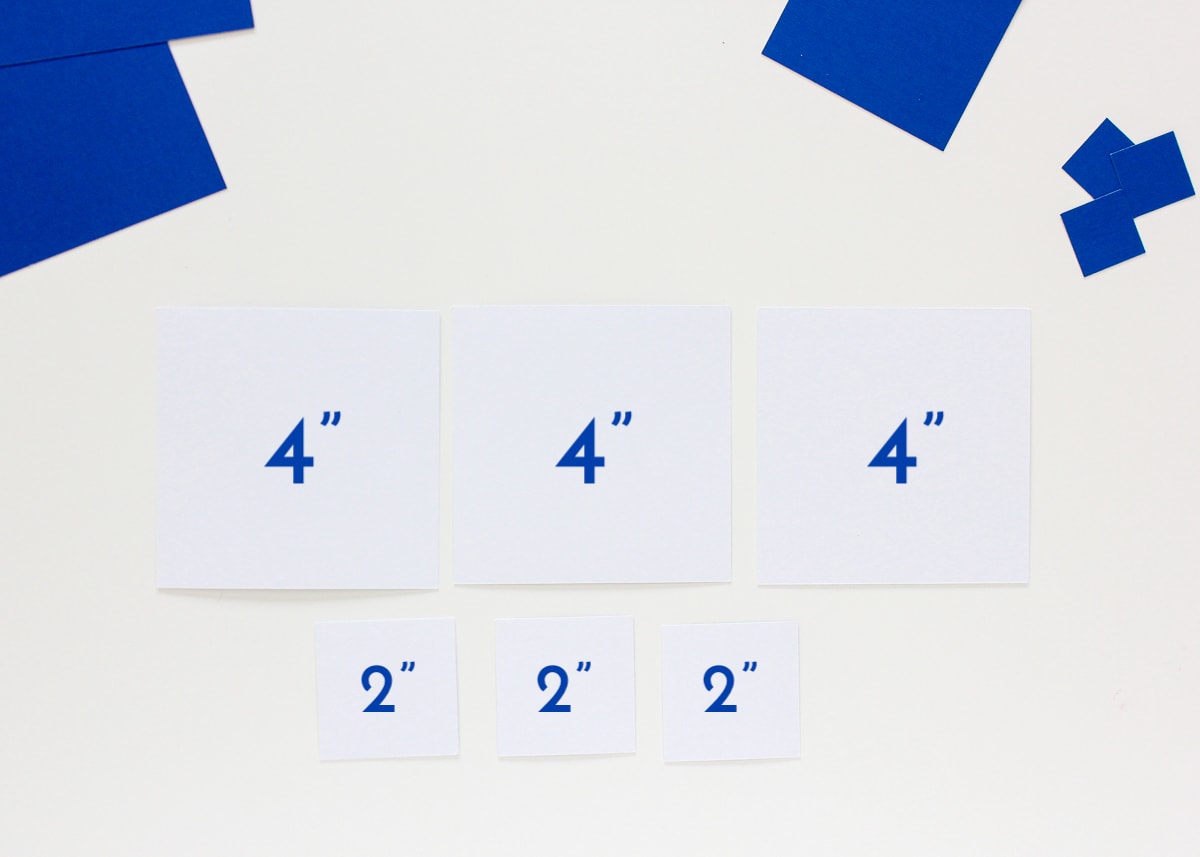
I cut my colored paper into 5”, 3” and 1” squares, and the white into 4” and 2” squares. No matter what size you start with, be sure to cut each color down the same increment (in this case, my blue was cut down by 2” each time). The goal is that when the squares are layered, the colors alternate and the borders of each square are equal all the way around and down every layer.
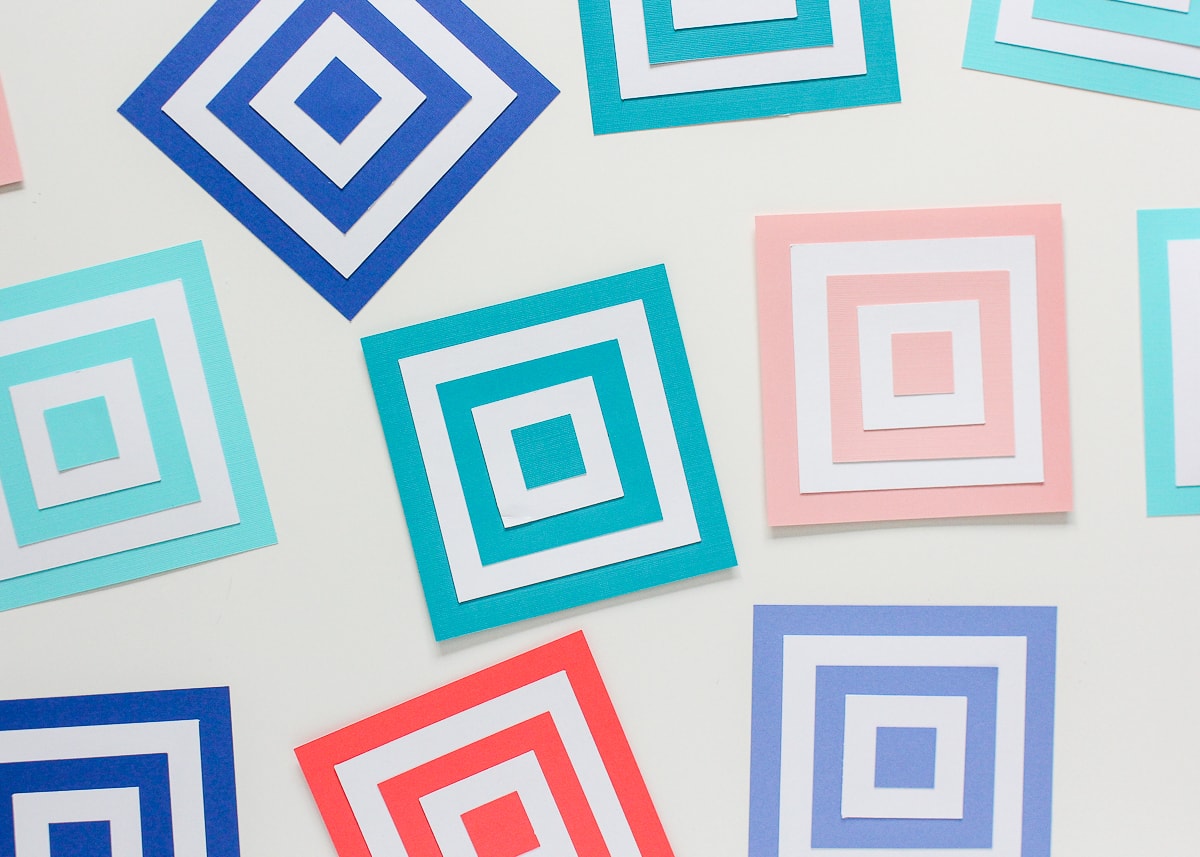
Continue cutting all of your paper into squares to make sets of alternating and descending squares.
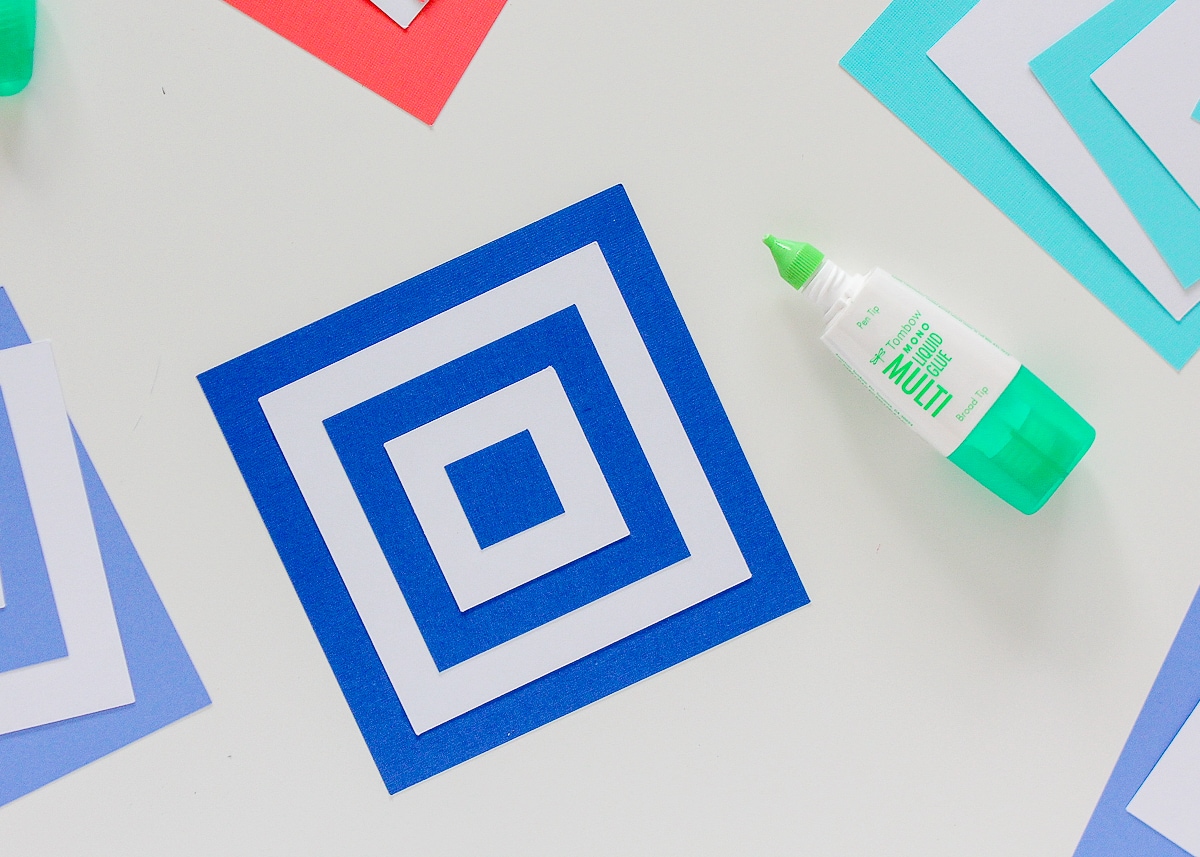
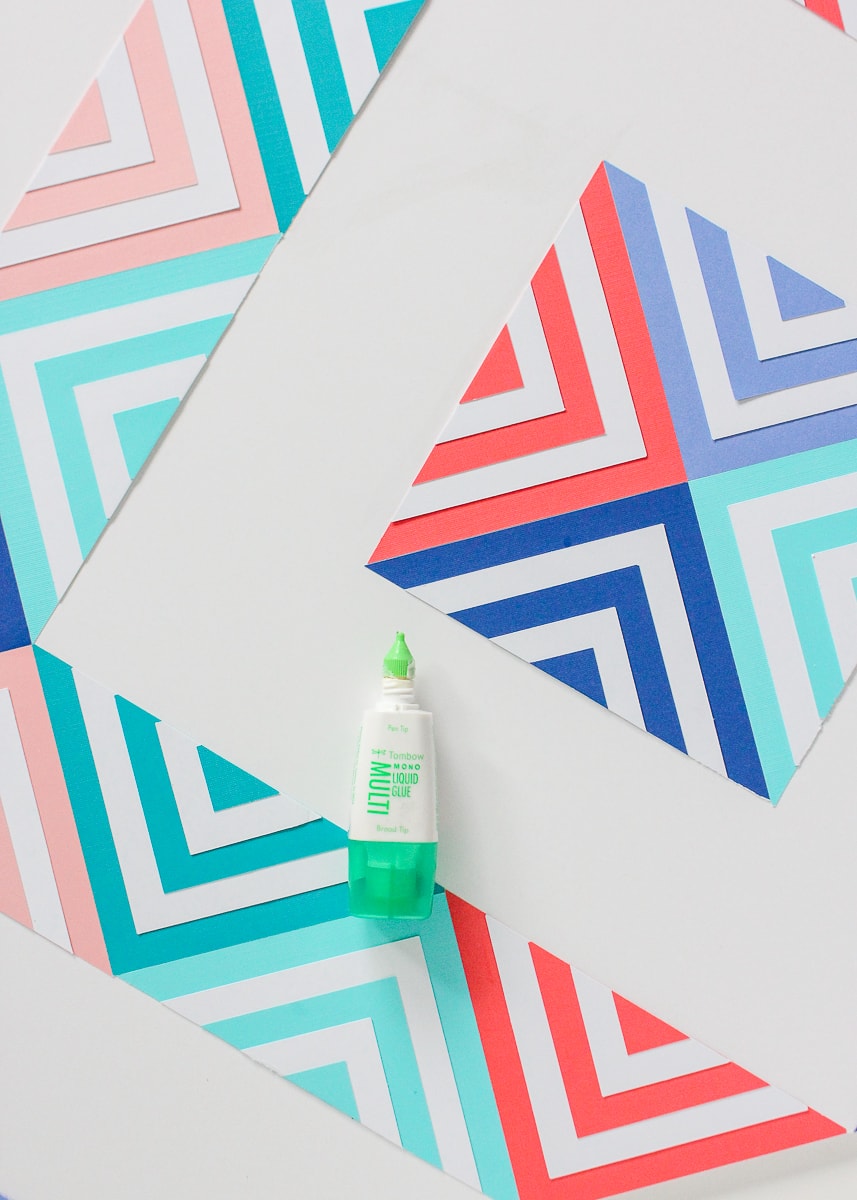
Step 2: Glue Squares Together
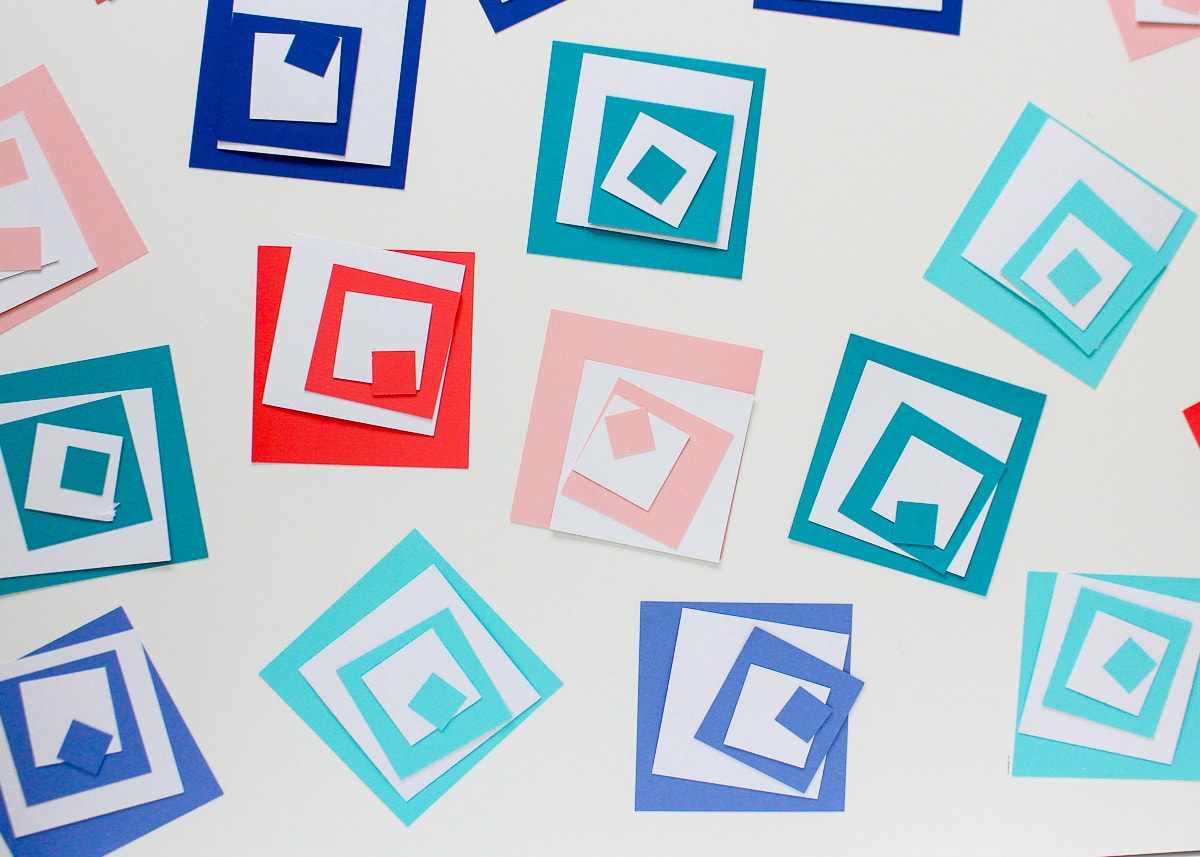
Using whatever adhesive you prefer for paper (this is my favorite), glue all the layers together, ensuring each square is perfectly centered on the previous one. Keep gluing until all of your paper “quilt squares” are assembled.
Step 3: Slice Squares Apart
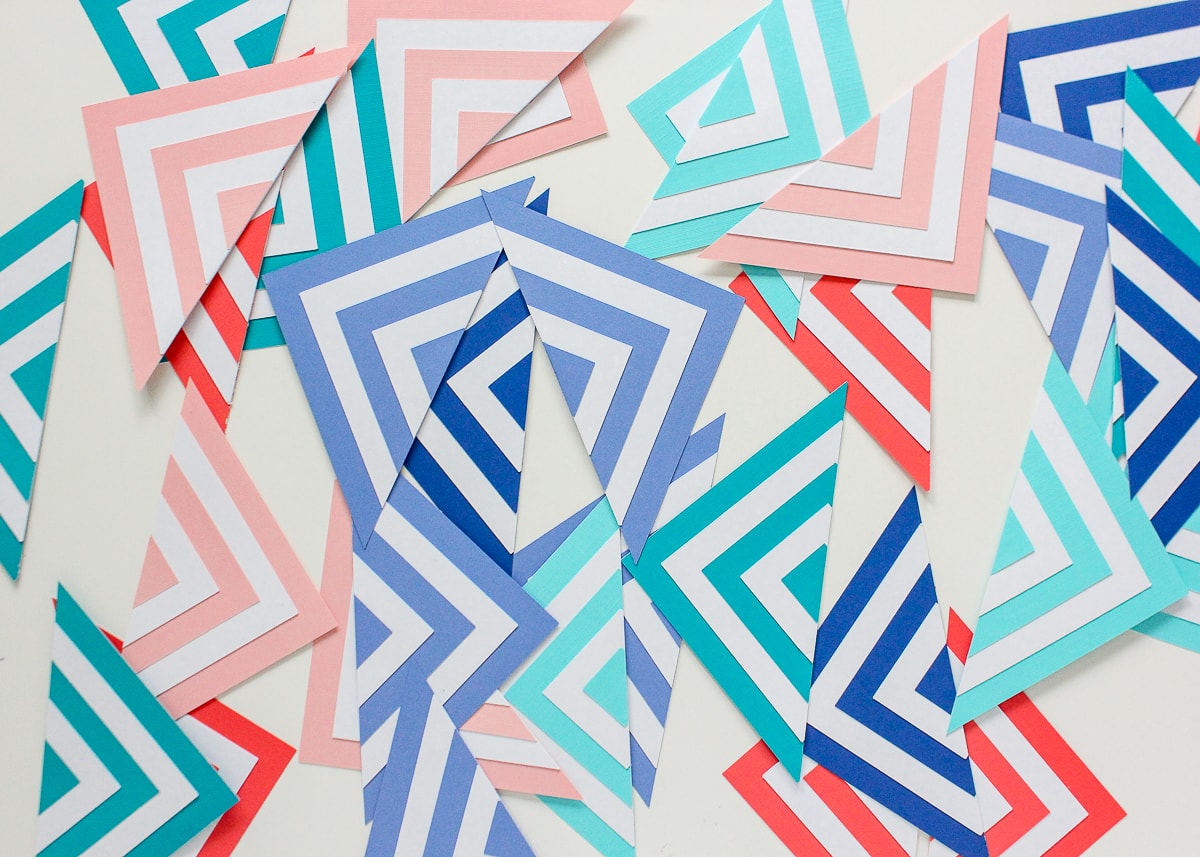
Next, use a paper trimmer to cut each assembled square in half on the diagonal. You will be cutting through 5 layers of paper in the middle, so ensure your paper trimmer is sharp and strong!
Keep cutting the squares in half until you have a bunch of layered triangles.
Step 4: Glue Triangles to the Backing
Before gluing your triangles in place, it is helpful to make a quick template to help keep consistent placement throughout your design. Do this by cutting any scrap paper into a square that is the same size as your largest colored square (in my case, 5″). Then cut it in half on the diagonal to make two triangles. These triangles should be the same size as your layered triangles.
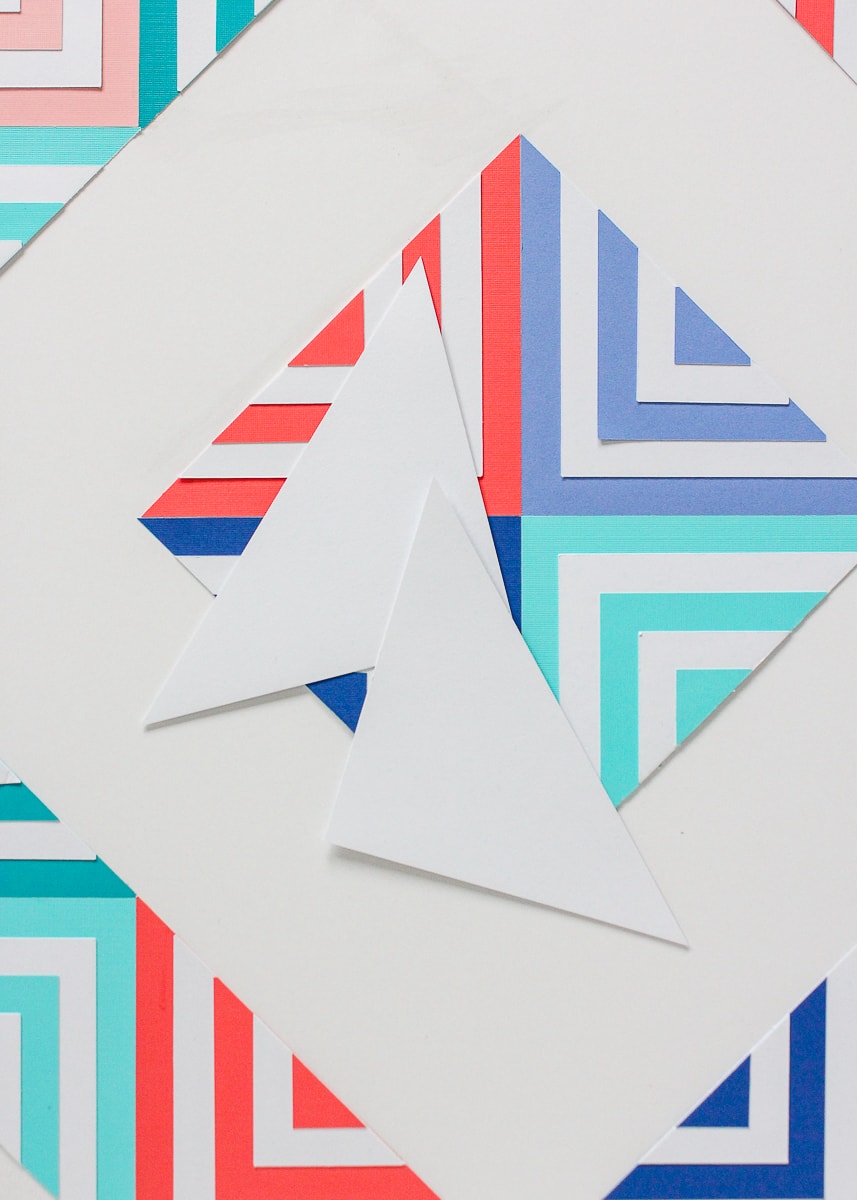
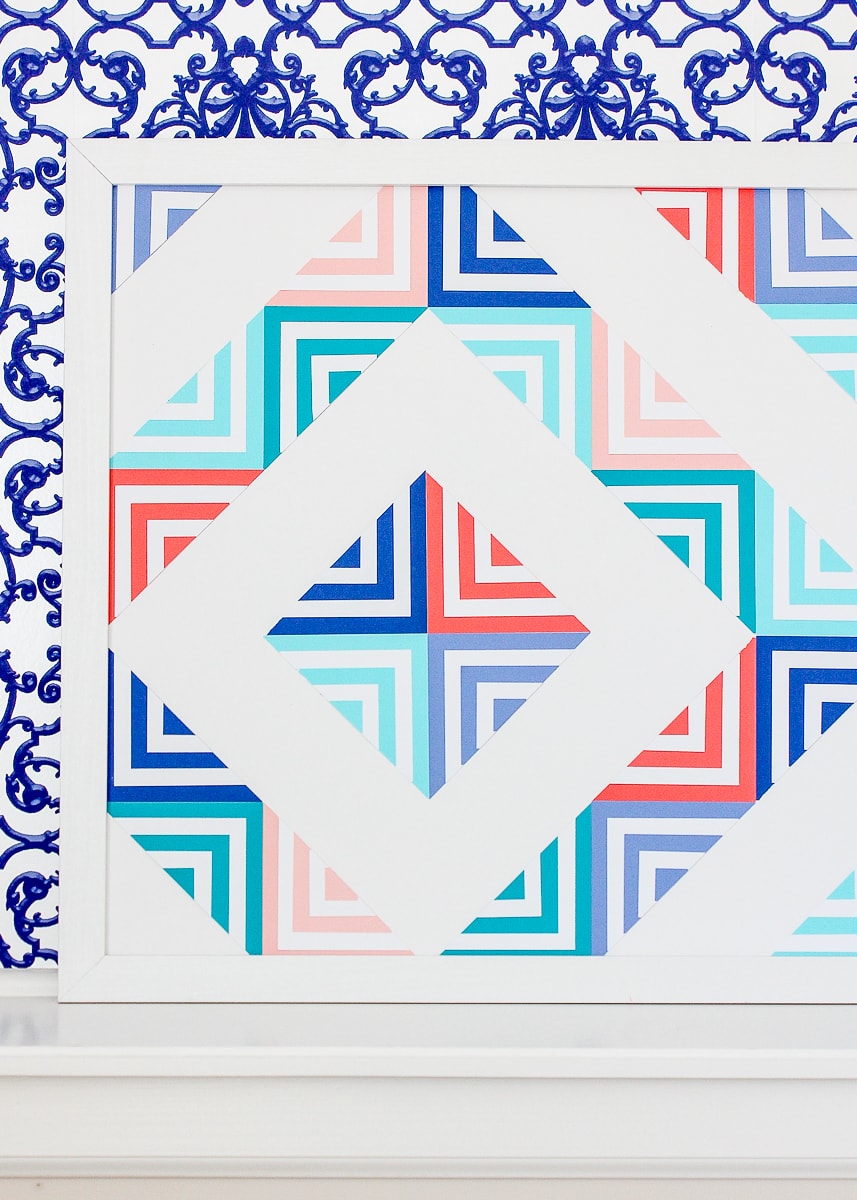
Using the scrap triangles as a guide/placeholder, lay down the layered triangles in whatever design you wish.
I used the white triangles to represent where a triangle “should” go and built off of them to create a wrapping design with lots of negative space.
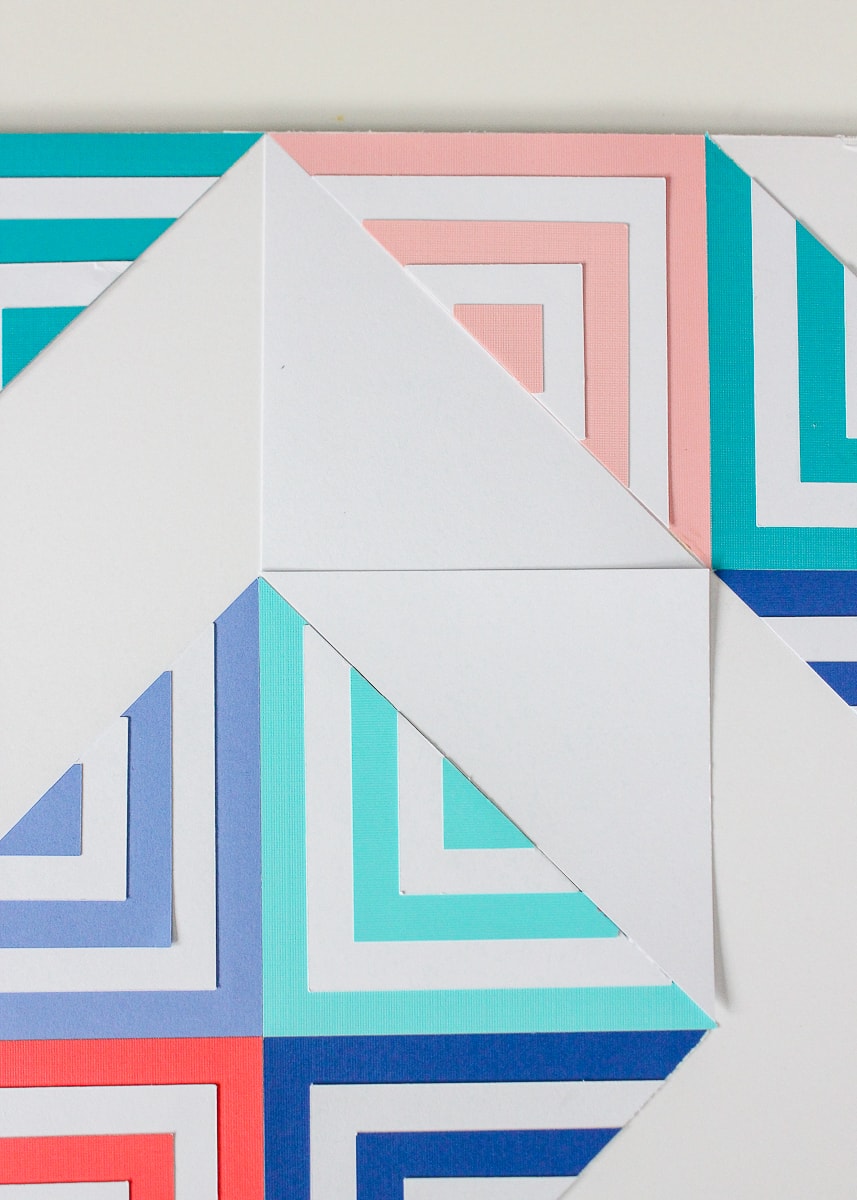
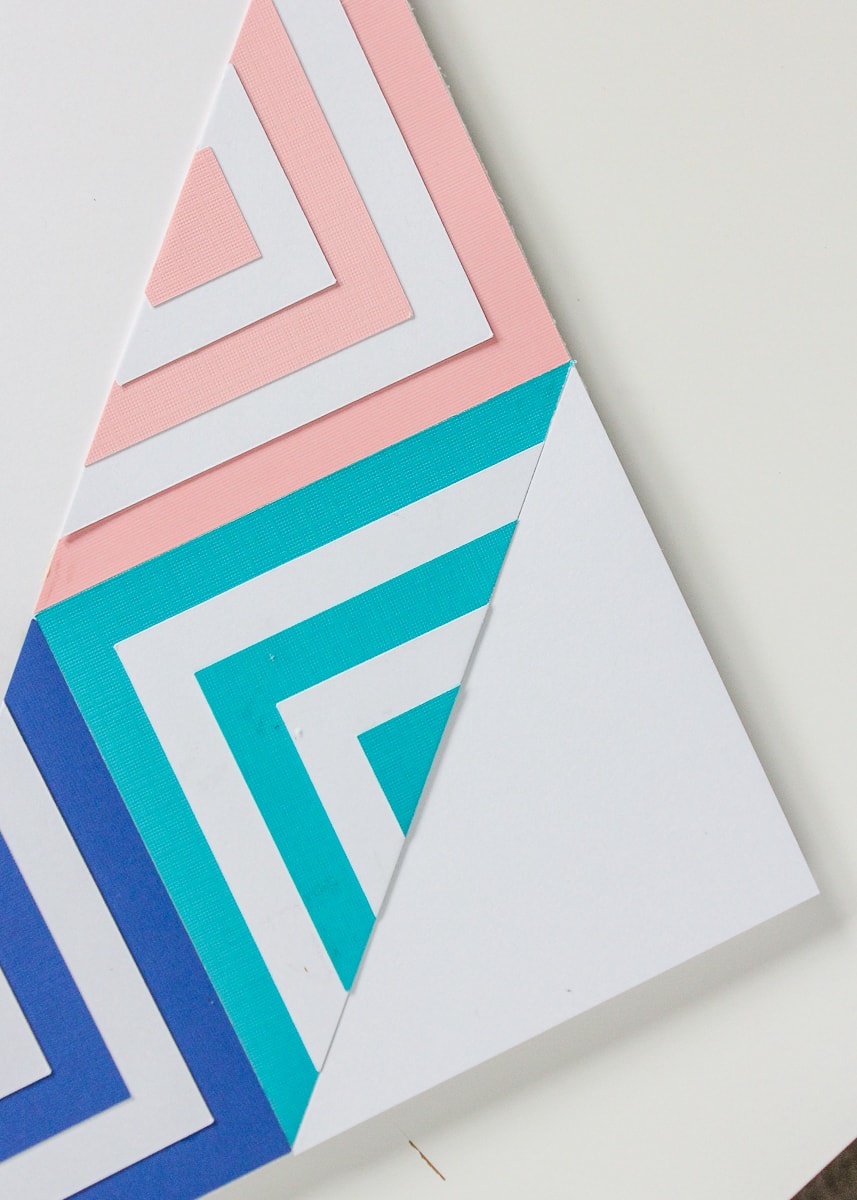
Once you have your design worked out, go back and carefully glue your triangles in place, again using the scrap paper templates as needed to ensure perfect alignment.
Once all the triangles are glued into place, load the poster board into a frame and display for all to see!
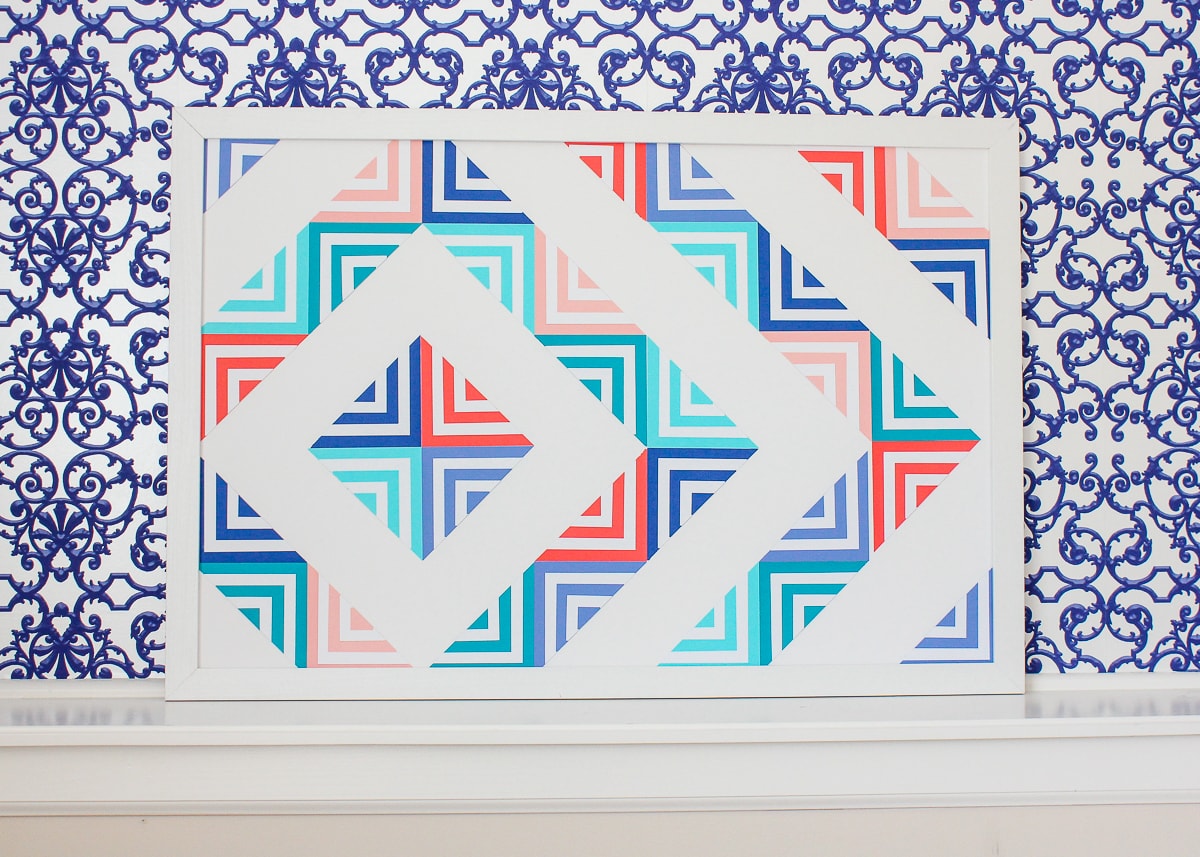
Not only is this artwork as simple as cutting and gluing paper, but it is also easily customizable to whatever size, shape, design, and color scheme you prefer. By swapping out paper colors, square sizes, and the layout of the final triangles, you can make something that is truly unique to your space. In just an afternoon and with just a few dollars in supplies, you can really create affordable and eye-popping artwork for your home! I hope you give this one a try!
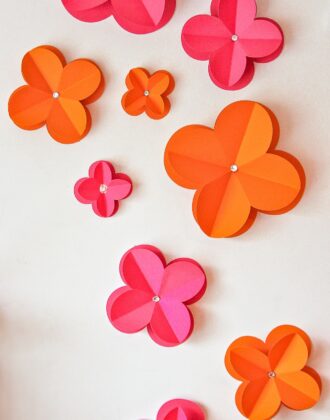
Love this concept? Here’s another paper art project to try!
![]()
Megan
