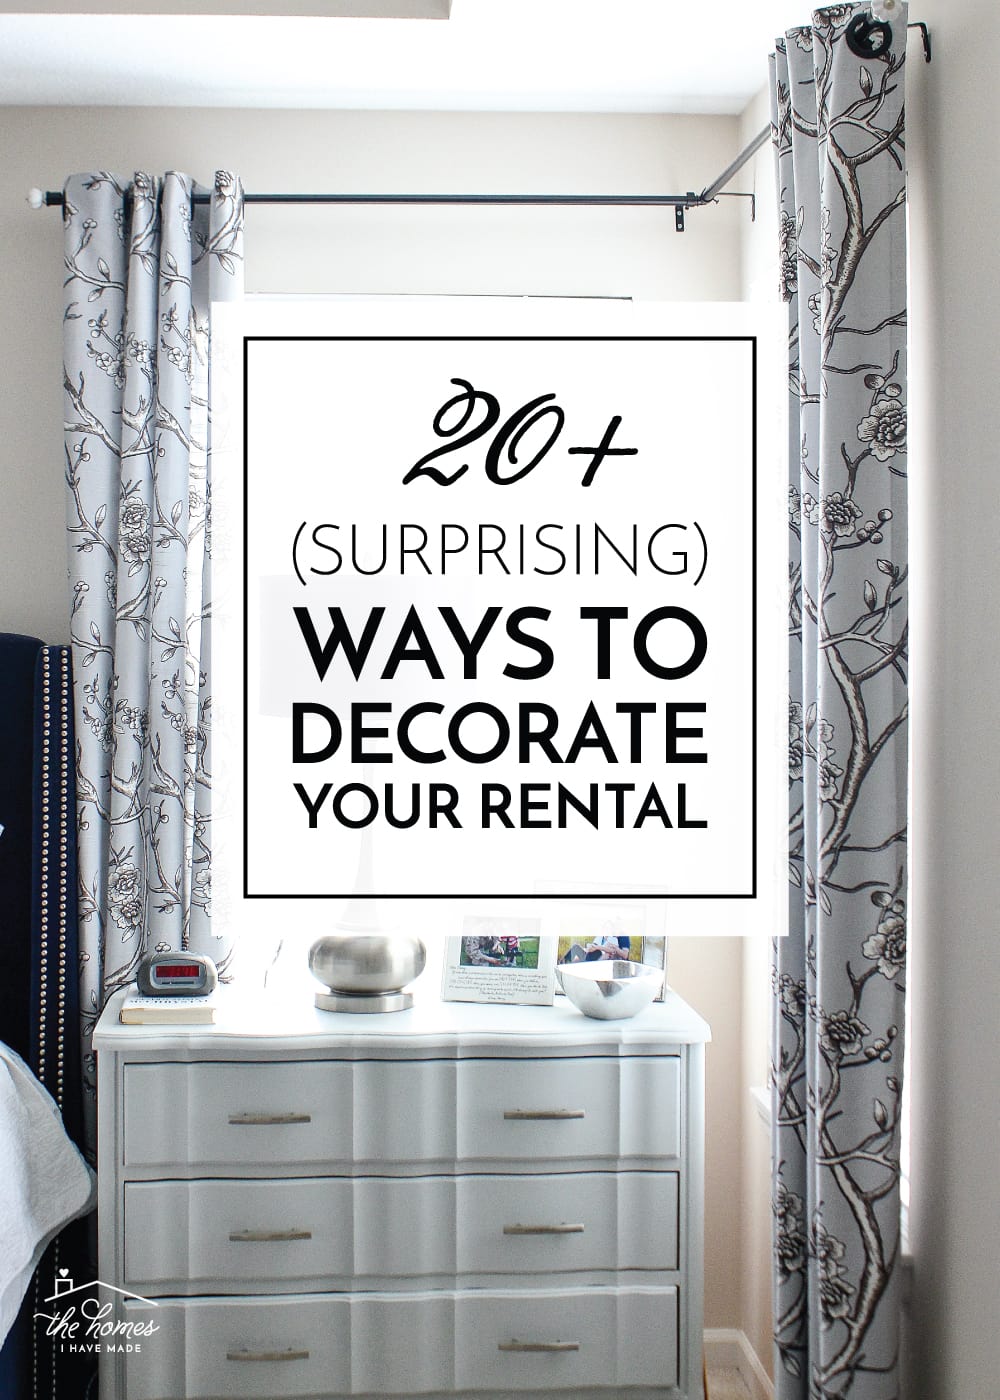
20+ Surprising Ways to Decorate a Rental
If you’ve been reading my blog for any length of time, you know I’ve made it my mission over the last 15+ years to customize and personalize our rental homes as much possible, often doing and trying things that wouldn’t occur to most people. In fact, I can’t tell you how many times we’ve had fellow renters over, and they’ve said things like “Wow, it never occurred to me to do that to our rental home!” While it’s true you can’t do anything permanent to a rental (such as knock down walls, install tile, or change the flooring), there are lots ways to decorate a rental that are totally temporary and completely put-back-able. Today, I want to share 20+ great ideas for updating the look and function of your rental home, all of which can be done without risking your security deposit!
Before I dive in, I must preface these ideas with two BIG disclaimers:
- Always check your lease before doing anything to your rental. While most of these suggestions will not be prohibited or even included in your lease, you want to be 100% sure anything you do doesn’t violate the terms.
- If you choose to take things down, you must have a clean, safe space to store the items until you’re ready to put them back. While all of these ideas are temporary, you will risk losing your security deposit and/or angering your landlord/management company if you don’t put the home back exactly as you found it (or in an even better condition, which is always our goal!)
Alright…let’s dive in!
1. Take Down Decorative Items
If you move into a rental that has decorative items in place, I’m here to tell you loud and clear: you don’t have to live with them! I’m talking about window treatments, decorative shelves, curtain rods, wall decals, etc. You CAN take them down. Just be sure to store anything and everything (hardware included) in a safe spot, and consider taking pictures before you remove anything so you can replicate it exactly before moving out.
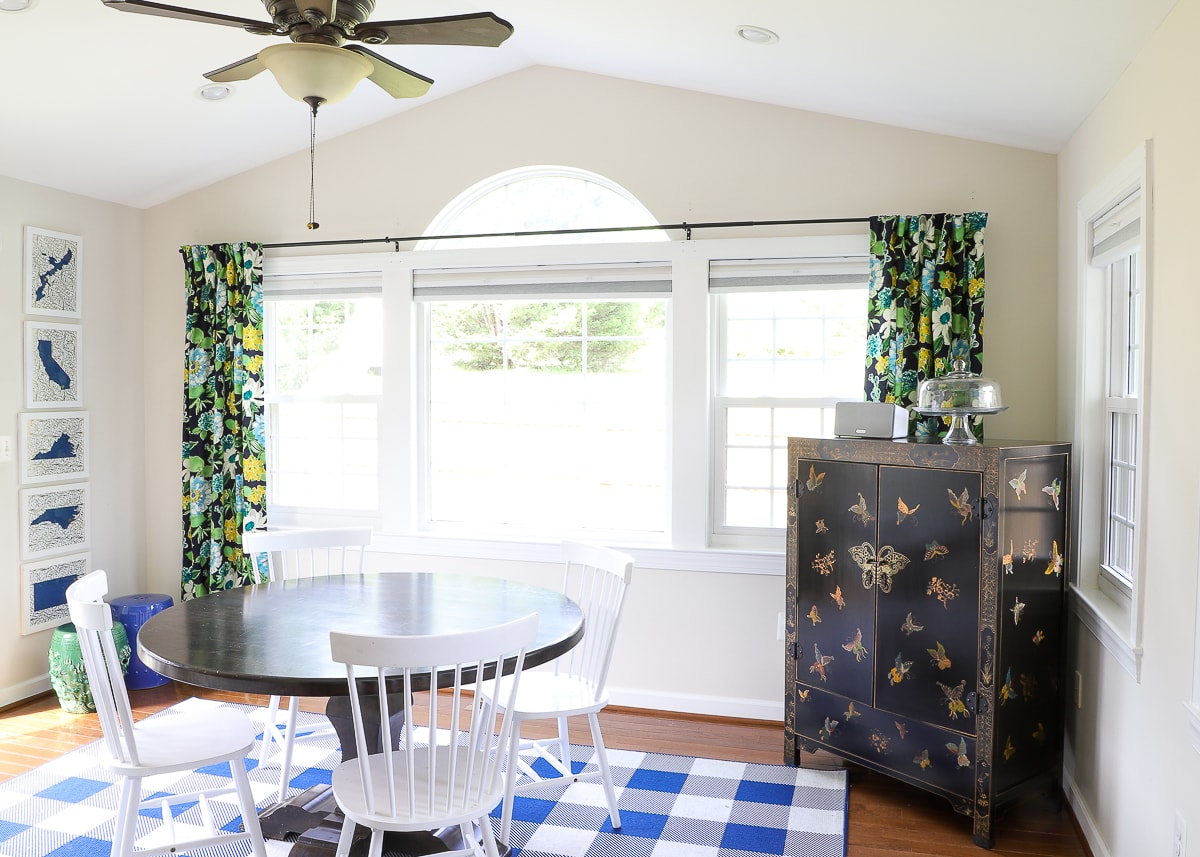
Example. Our current home had these curtains on the windows when we moved in…

We took them down, stored them safely in the basement, and replaced them with ones more our style:
2. Take Down Blinds
I hinted as this above, but I want to highlight that you can take down existing window coverings, including blinds or shades, if they just aren’t working for you. I’m fairly certain vertical blinds are installed in rentals because they are cheap, but I can also tell you we’ve never met a vertical blind our kids haven’t destroyed. So every single time: we take them down, store them safely, and put them back up before we leave.
Learn how: How to Remove Vertical Blinds
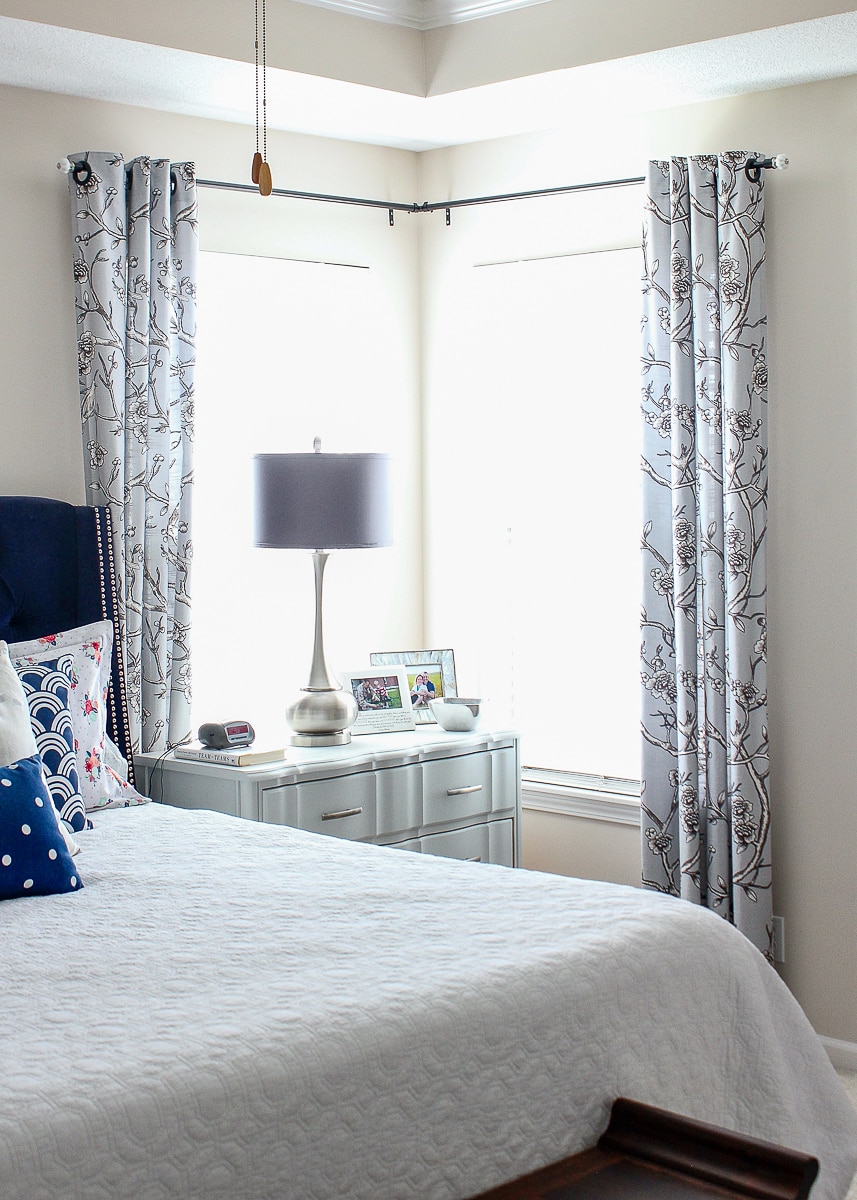
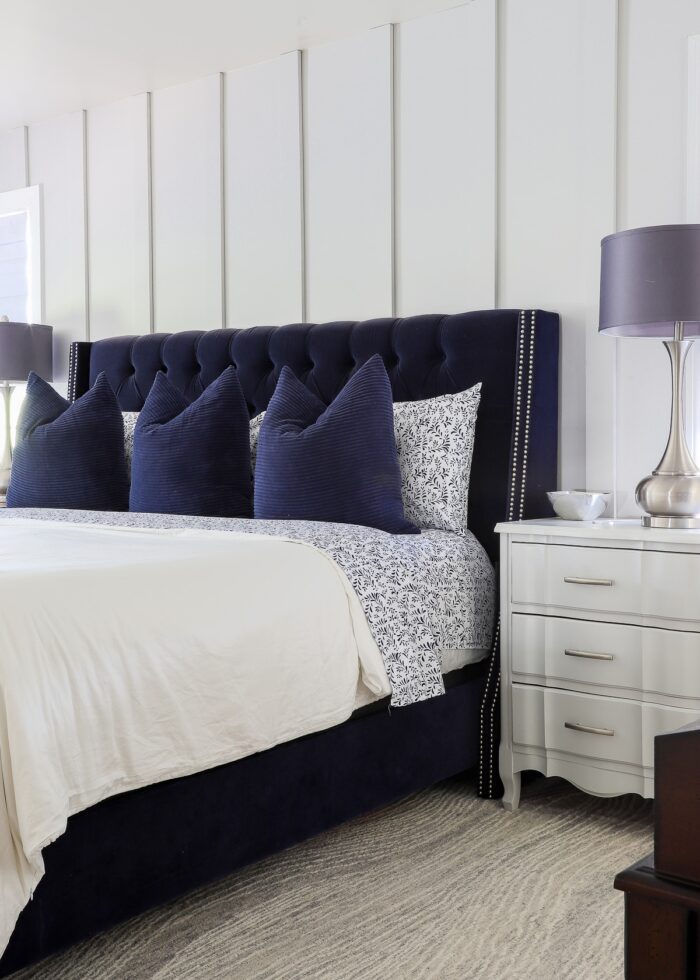
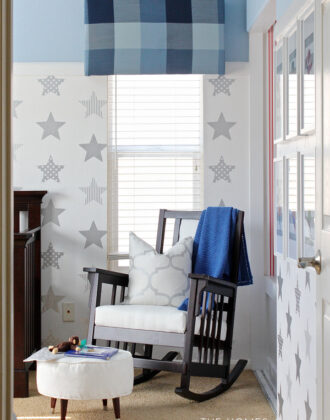
3. Hang Window Treatments
I am so passionate about hanging curtains in rental homes that I’ve written several posts about it (HERE and HERE). Why? Even if your privacy is protected via blinds or shades, some sort of curtain, valance, cornice box, or decorative shade works wonders in softening, personalizing, and cozying up a space. Even if I don’t think curtains are needed, I hang them anyway; and every time, I am reminded that they are always a good idea.
Example. These curtains weren’t needed for light-blocking or privacy reasons, but they went a long way in adding style to this bland space.
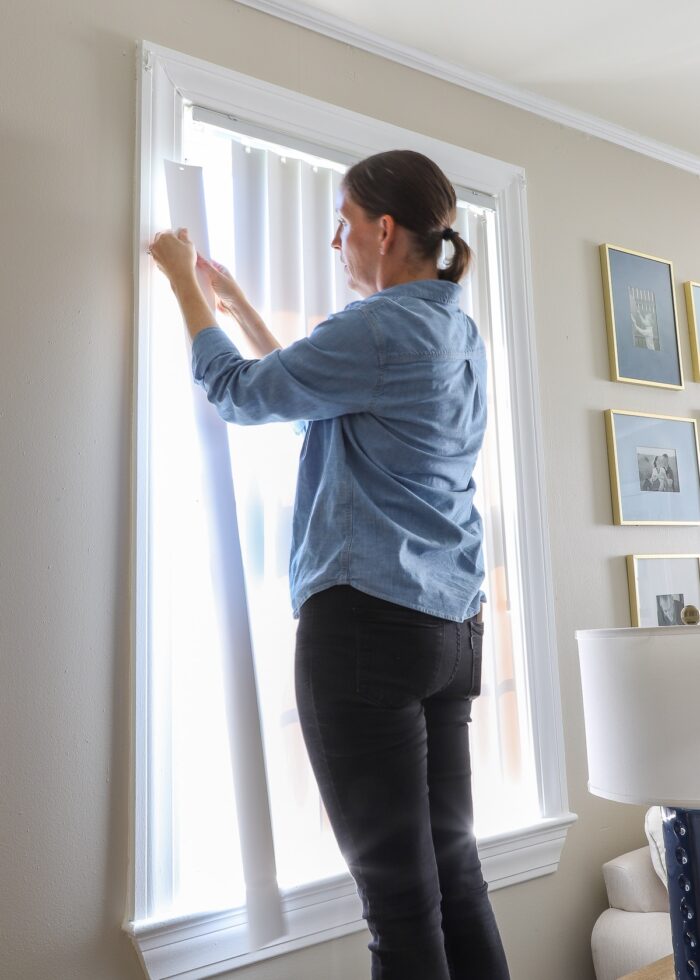
4. Hang Privacy Film
Privacy film is another great option for adding privacy to your windows if you don’t want to hang your own curtains, blinds, or shades. Not only is it really easy to apply and 100% removable, but it also comes in fun patterns and designs!
Example: We removed an old, dingy curtain in this tiny side window and replaced it with chic, removable privacy film.
5. Change Light Fixtures
If a room already has a wired-in light fixture, it’s fairly easy to swap to something you like better. We actually have friends who hang the same light fixture over their dining room table in every single home they move into, so it always looks and feels the same no matter where they are! (#lovethat) If no hard-wiring is available, try asking your landlord if you can have some installed. Otherwise, you’ll need to settle for lamps and other lighting sources.
Here’s a full quick start guide on changing your rental fixtures: What You Need To Know About Changing Light Fixtures In Your Rental
Example. In our current home, the original light fixture hanging in the dining room was way too large for the space. In just an hour, we swapped it for an inexpensive fixture from Amazon, and we now have the original light hanging safely from the rafters in the basement.
Don’t want to mess with hard-wiring? Plug-in light and battery-operated fixtures are great renter-friendly alternatives!
See more: Stylish Plug-In Light Fixtures Ideal for Renters | Renter Friendly Wall Sconces…Without Hard Wiring or Puck Lights!
6. Install Ceiling Fans
Likewise, if a room already has a light fixture, you can most often swap it for a fixture with a ceiling fan. If you’re not comfortable with basic electrical work, consider hiring out a handyman or asking a savvy neighbor to help. Even if an electrical outlet isn’t already installed, you might want to consider asking your landlord for permission to install one. While the cost may fall on you, many landlords are likely to approve this upgrade to their property.
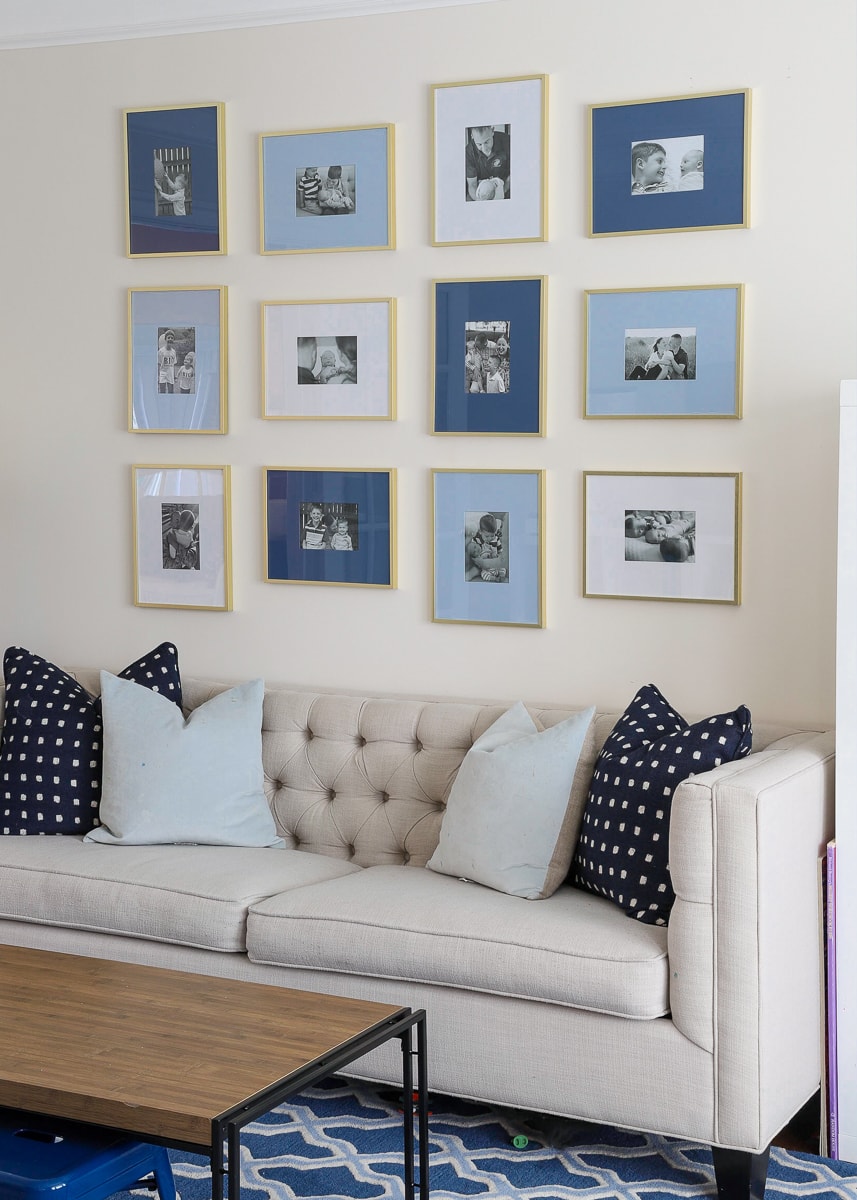
7. Put Holes In the Wall
Yes, my friends…you can put holes in your rental walls in order to hang heavier items. Oftentimes, curtain rods, floating shelves, securing furniture, and organizational systems will require screws (sometimes even with dry-wall anchors). The key here is learning how to patch holes properly and finishing the patch jobs with perfectly-matching paint (I’m actually going to teach you how to do this here soon!). I highly suggest asking your landlord for paint colors and/or looking around the home for spare cans of paint you can use. Just be aware: if you can’t match the paint color precisely, you might end up re-painting whole walls/rooms.
Example. In our current home, we’ve been given a list of the wall paint colors and are very comfortable patching holes…so we haven’t hesitated to use screws and anchors wherever needed like on this gallery wall.
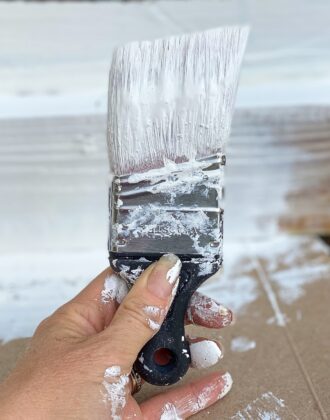
8. Paint the Walls
Painting walls is easily one of the best ways to change the entire look and feel of a space. And having lived with wall colors I hate, I guarantee you it’s worth the time, cost, and effort to just do it.
That said, I do recommend checking your lease first. We have never not been allowed to paint the walls in our rental homes; though some requested we ask permission first, and all of them have required us to paint back to the preexisting color (so make sure you get the current paint colors before you change anything!)
Example: Our most audacious (and favorite!) paint job of all time were the tone-on-tone stripes in our North Carolina family room! Talk about a transformation!
Ready to give paint a try? Check out these two guides before getting started:
- To Paint or Not to Paint? 10 Questions to Consider Before Painting Your Rental
- 10 Things You CAN Paint In Your Rental (+5 Things You Probably Shouldn’t)
9. Hang Wallpaper
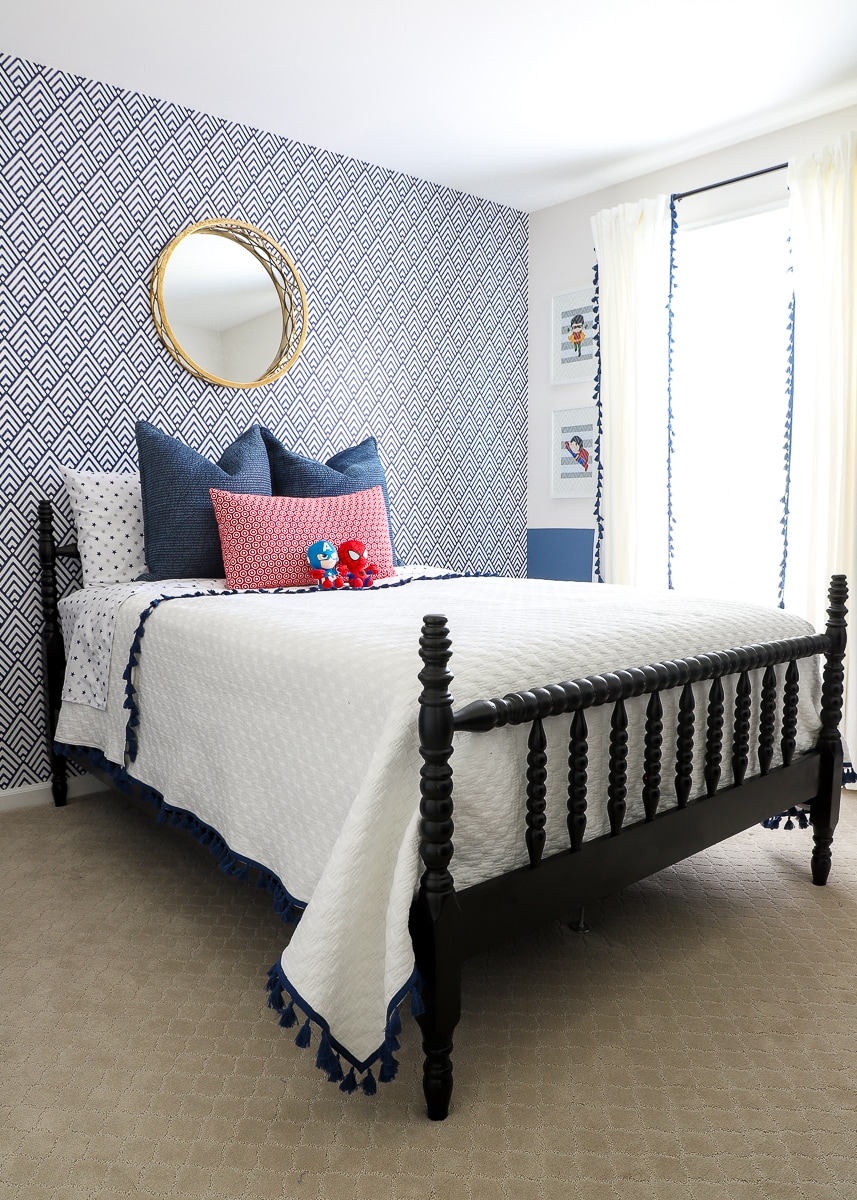
Wallpaper is one of my tried-and-true ways for updating and customizing our rental spaces. In fact, I’ve started using it more than paint because it’s mess-free and provides a huge design boost via the pattern. Both peel-and-stick and regular (non-pasted) wallpaper can work in a rental home (see how HERE); and although wallpaper is often a bigger investment than a can of paint, the speed of which it goes up and comes back down is often worth the added cost.
Example: A bold pattern can instantly take a room from blah to wow…even without any other fancy furnishings! See how I score the best deals on wallpaper HERE.
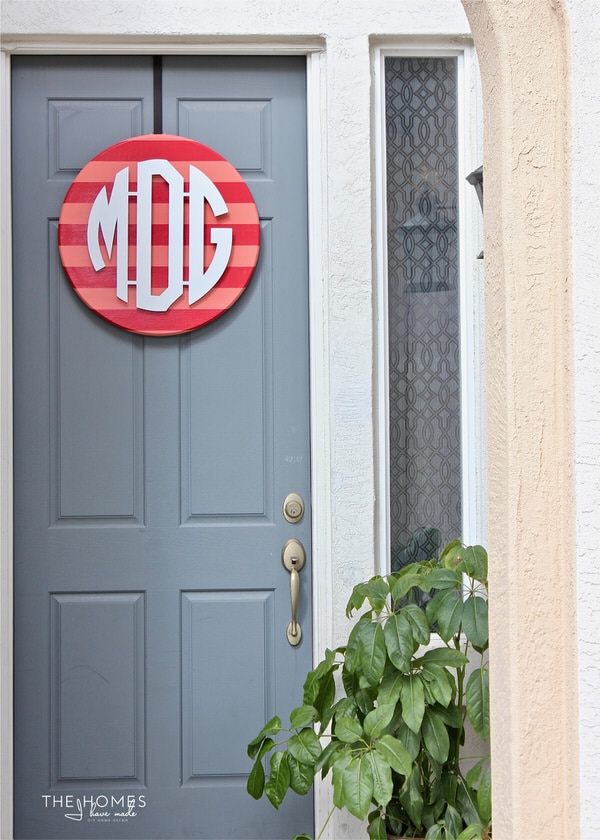
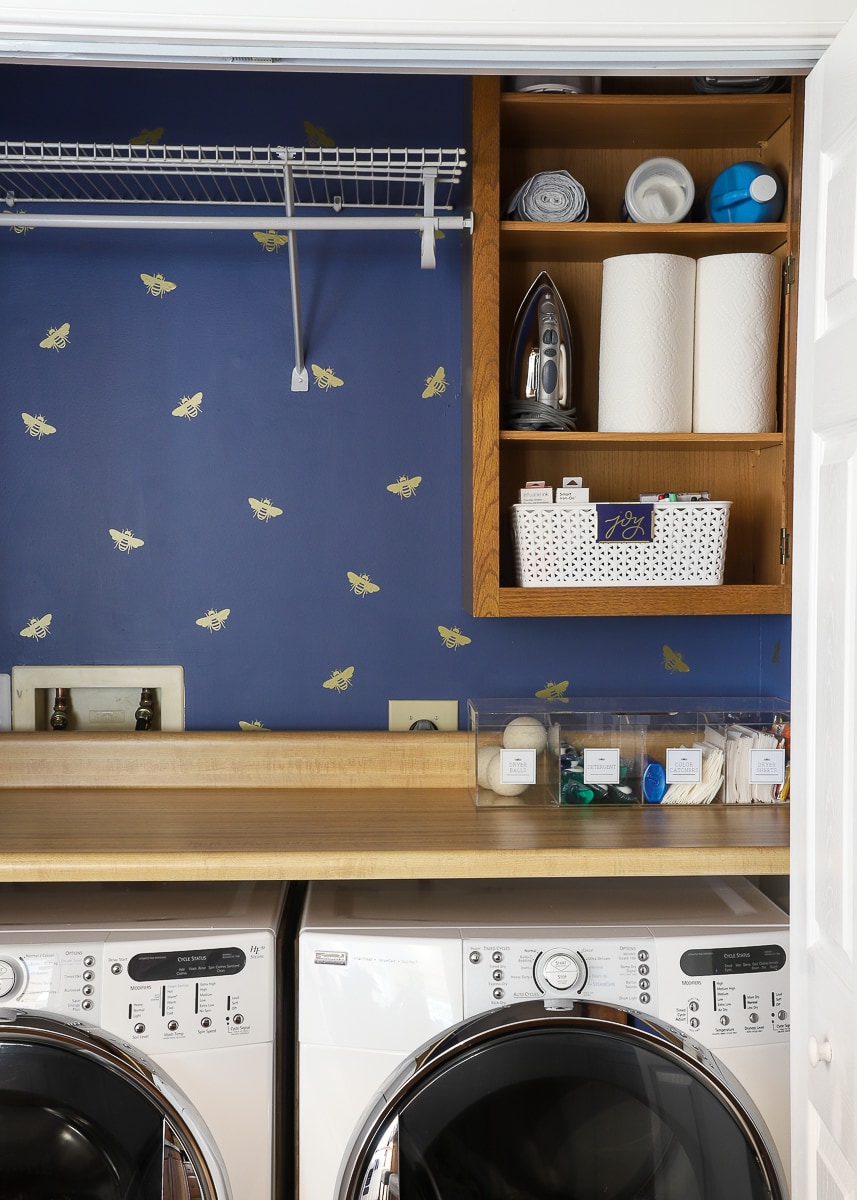
10. Hang Wall Decals
If both paint and wallpaper are out of the question, consider hanging wall decals to change up your walls. Most are made from re-positionable wallpaper or vinyl, and come in a huge variety of colors, sizes, shapes, and designs. You can hang them in a random pattern for an organic look (below) or place them precisely to mimic the look of wallpaper. No matter how you put them up, all you need to do is pluck them right off before moving out!
Example: Making your own vinyl wall decals is a snap with a Cricut machine. These bee decals took mere minutes and just a single $7 roll of vinyl!
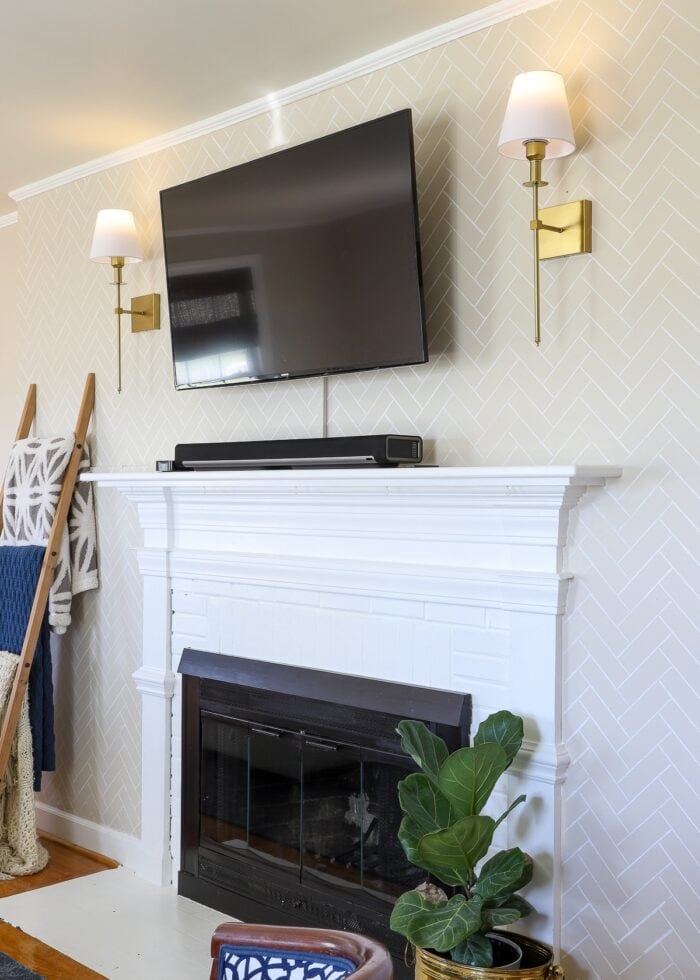
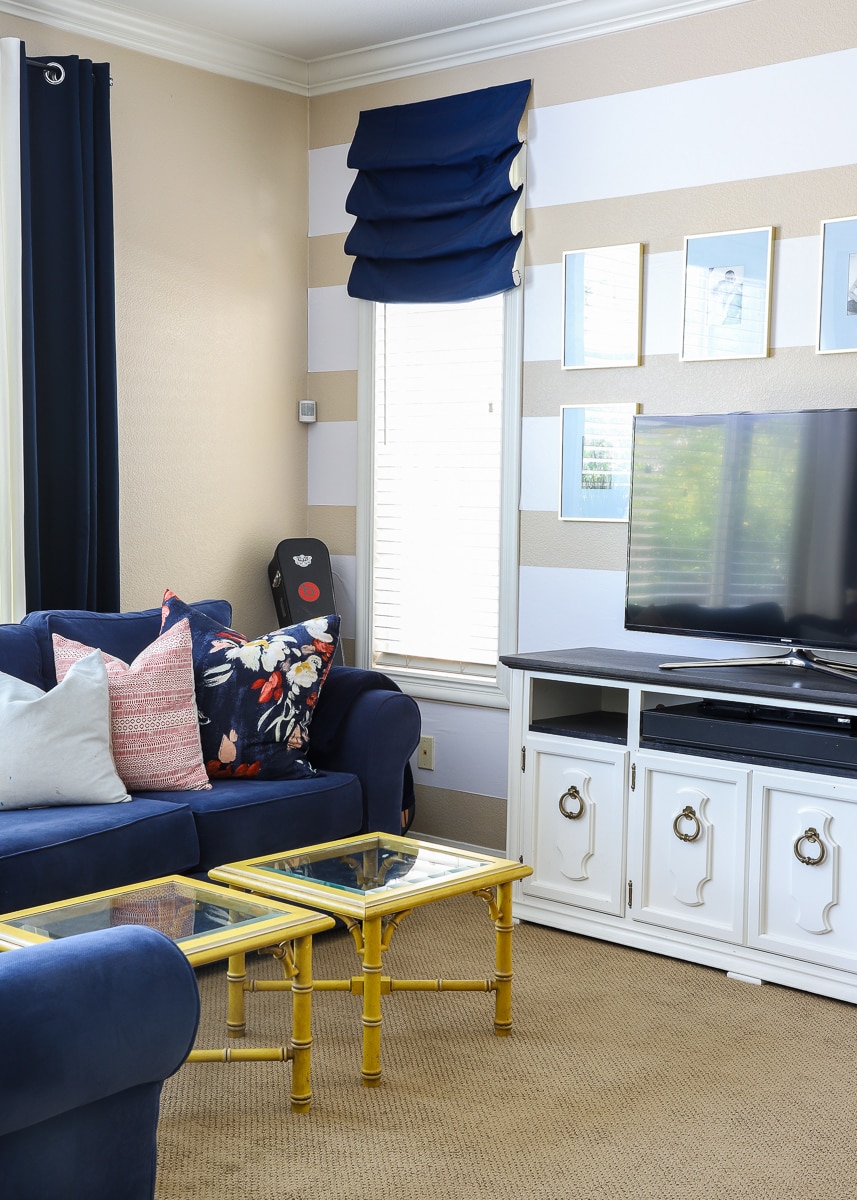
11. Add Stripes
Similar to wall decals, you can easily change the look of your walls with peel-and-stick stripes. Now available in tons of colors and weights, you can hang them horizontally, vertically, on diagonal, or even create gingham or plaid designs.
Example: Painting the walls in this open-floor plan was a bigger project than we were willing to take on. White, removable stripes were a much quicker and easier way to lighten and brighten the space!
Stripes don’t have to come in the form of vinyl. Use painted wood boards to give a subtle-yet-stunning 3D effect: Easy DIY Board & Batten Accent Wall (Even Renters Can Do)
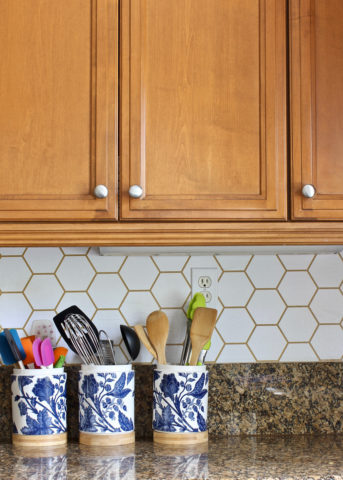
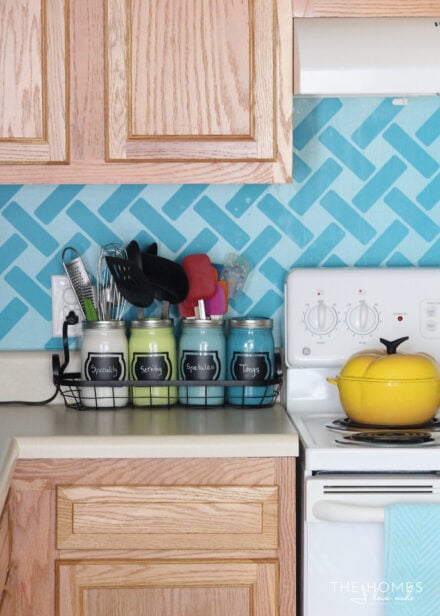
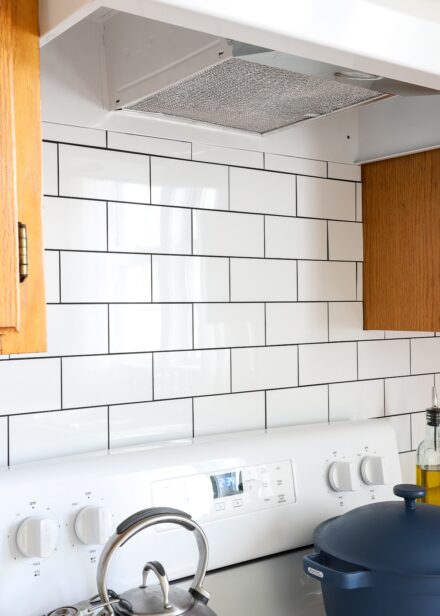
12. Add a “Backsplash”
Because of the lack of wall space, rental kitchens are usually one of the hardest spots to decorate and personalize. Typically, the backsplash area is your only option for adding any color, texture, or pattern. However, without express permission from your landlord, a traditional “tiled” backsplash is usually out of the question. Peel-and-stick tiles are notorious for damaging walls (so I don’t recommend them), but you can still get the look by creating your own backsplash pattern with either peel-and-stick wallpaper or vinyl decals.
Example. Look for peel-and-stick wallpapers (below, left), decal shapes (below, right) or even peel-and-stick tiles that mimic the look of tile for an authentic backsplash look!
13. Swap Hardware
Swapping out hardware doesn’t have to be limited to furniture you own. In fact, changing dated or not-your-style knobs, pulls, and hooks on cabinets, drawers, and walls can instantly breathe new life into spaces such as kitchens, bathrooms, laundry/mudrooms, etc. Keep in mind though, you shouldn’t drill into existing cabinets and drawers, so measure and research to find something that will work with holes already in place.
Example. To match our own bathroom accessories, we swapped the dated silver hardware on the kids’ bathroom cabinets for sleek, matte black versions we had leftover from a previous project!

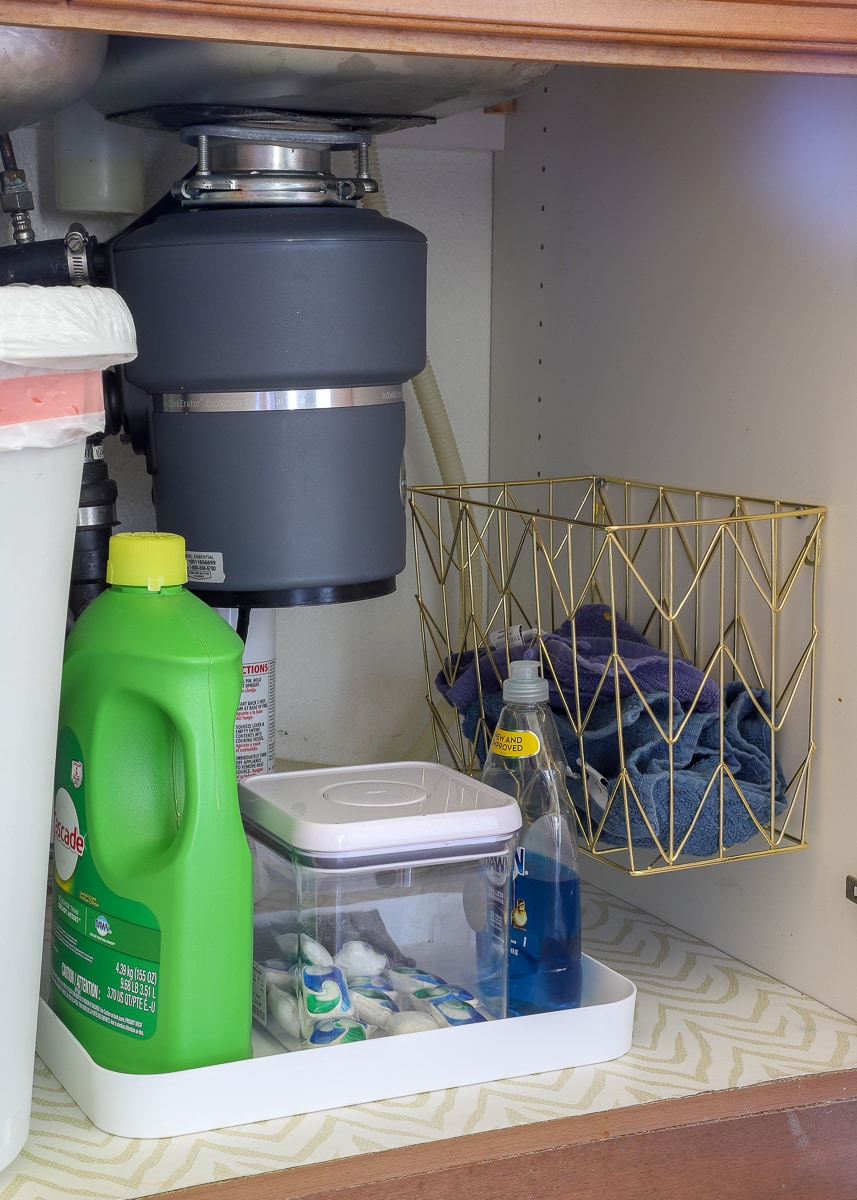
14. Line Drawers and Cabinets
Even broken, dated, dirty, or ugly cabinetry and drawers can make you smile when you open them to see a fun, fresh pattern on the inside. Drawer liners can also protect cabinetry from spills, dings, cracks, scratches, and even wear-and-tear that might be difficult to fix or clean before moving out.
Example: Our under-sink cabinets in our California home had terrible water damage to the veneer. Covering the unsightly stains and cracks with chic shelf liner helped the entire space look cleaner and fresher!
Learn how here: The Best Way to Line Drawers & Shelves with Pretty Paper
15. Take Off Closet Doors
Don’t hesitate to take off closet doors to allow for better access, improved functionality, and overall organization. We love to remove doors to create cozy nooks and expand available floor space for furniture. Removing doors is especially helpful for awkward sliding doors that block off half the closet at all times. Again, just make sure you have space to store the doors safely (under beds is always a great option!)
Examples. Taking doors off is a great way to make smaller rooms look and feel bigger, giving you access to extra wall and floor space that would otherwise be lost.
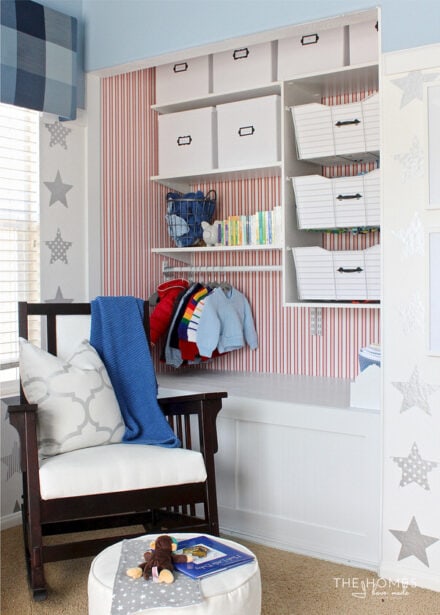
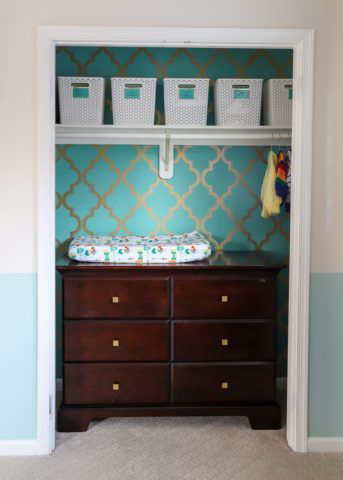
Closet Built-In | Nursery Closet
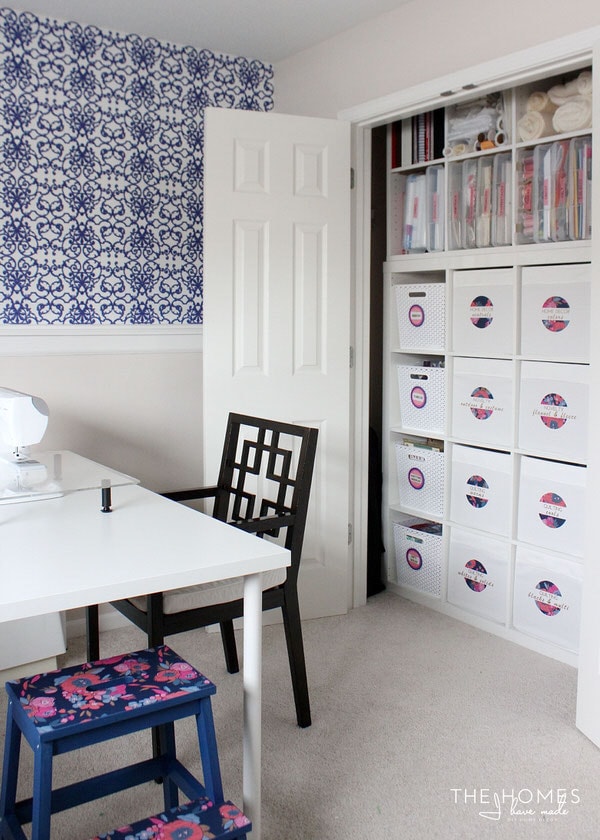
16. Adjust or Remove Closet & Cabinet Shelving
Just because a closet or cabinet already has shelving doesn’t mean you need to keep it or keep it in the exact place you found it. Don’t hesitate to move or remove shelving if it means you can use the closet or cabinet better. If a closet is outfitted with wire shelving, you can easily pop the shelves out while keeping the wall hardware in place for easy re-installation. Also, if shelves are held in via pegs (as usually found in pantries, kitchen cabinets, and laundry spaces), experiment with different heights to accommodate what you need to store.
Example: Removing the pre-installed wire shelf in this closet allowed us to stack several storage units on top of each other, taking advantage of every available inch.
17. Remove Cabinet Doors
If your kitchen cabinets are dated, damaged, or just not your style, consider removing the doors! Most are held on with simple screws and can be removed with a basic screwdriver in just a few minutes. Keep in mind though: no doors means all your cabinets’ contents will be on display full time, and the color of the cabinet boxes will still be visible (which is why we’ve never used this strategy). Tape any and all hardware to the back of each door to avoid re-installation frustrations.
18. Swap Appliances
Most appliances are not “hard installed” into walls or cabinetry and can be easily swapped should you want or need to. This is most often done when a lease includes appliances “as is” (meaning the landlord won’t fix or replace them once they break), so investing in your own may be the only option for fixing the problem(s). This is also an option if you happen to have a second refrigerator or oven: feel free to swap if yours’ is nicer than the one in your rental!
And even if you keep your appliances, you can always cover up the hardwiring or plumbing in removable ways too!

Hide That Ugly Washer Hookup | Quick, Cheap, Easy!
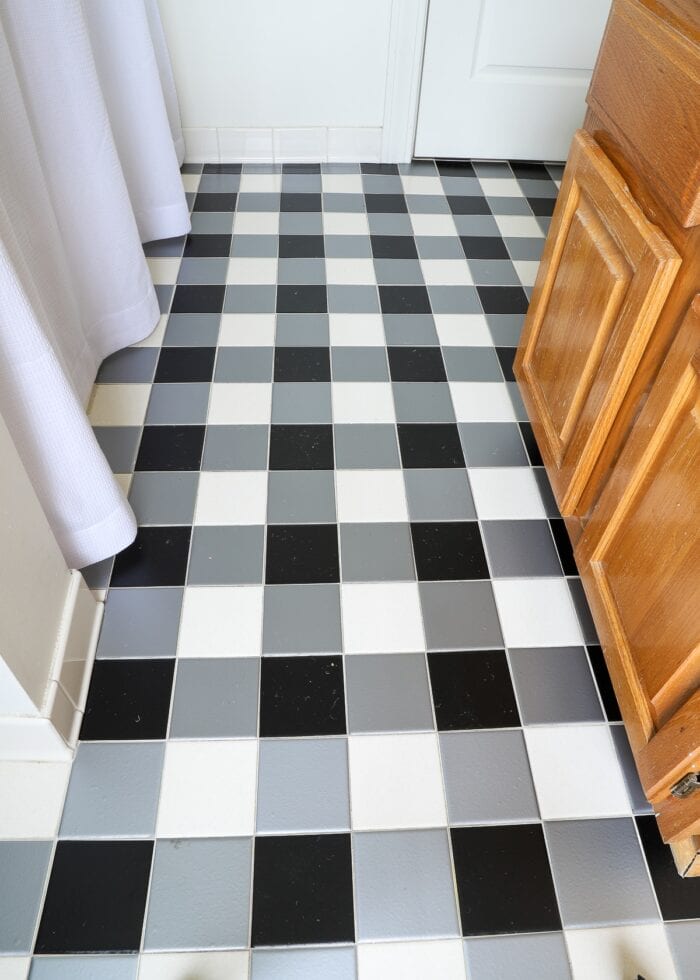
19. Cover Unsightly Flooring
Dealing with ugly, dirty, or damaged floors definitely ranks pretty high on the “hard to change” list in a rental. Especially since replacing floors is typically not a possibility, and covering them can be costly and tricky. Still, there are things you can do!
Cover Ugly Bathroom Floors with a Vinyl Floor Mat
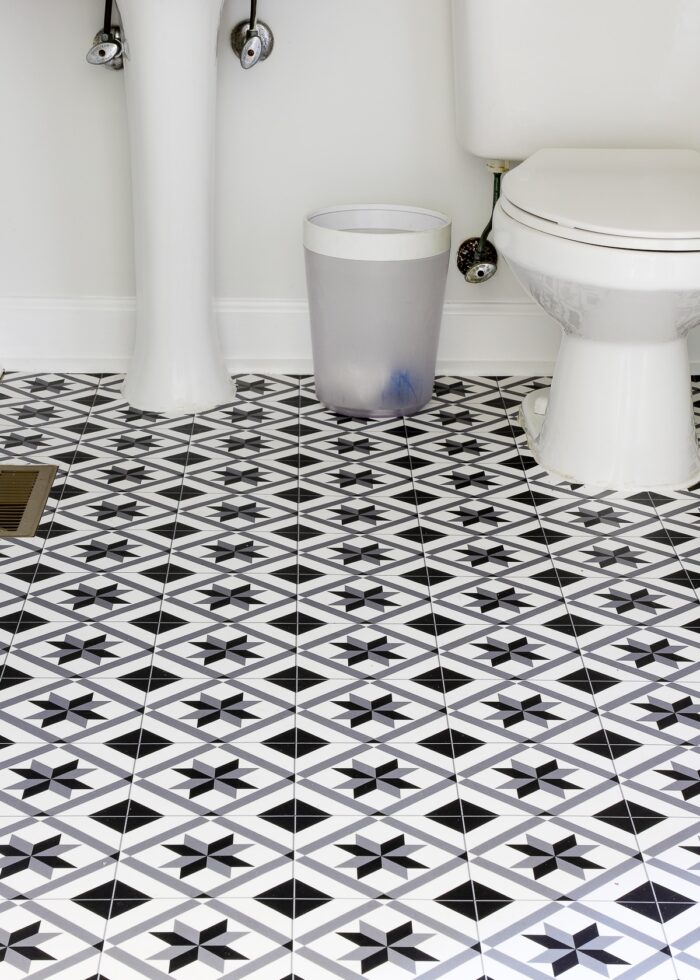
How to Make Your Own Bathroom Tile Stickers
Area rugs can cover unsightly floors or carpet (yes, you can lay a nicer area rug over ugly wall-to-wall carpeting), and runners can be used in hallways or tight spaces. For ugly tile or vinyl flooring, experiment with laying peel-and-stick wallpaper, decals, and other removable products to create fun patterns, wake up a boring room, or camouflage cracks and tears (this is a DIY I’m still eager to try!).
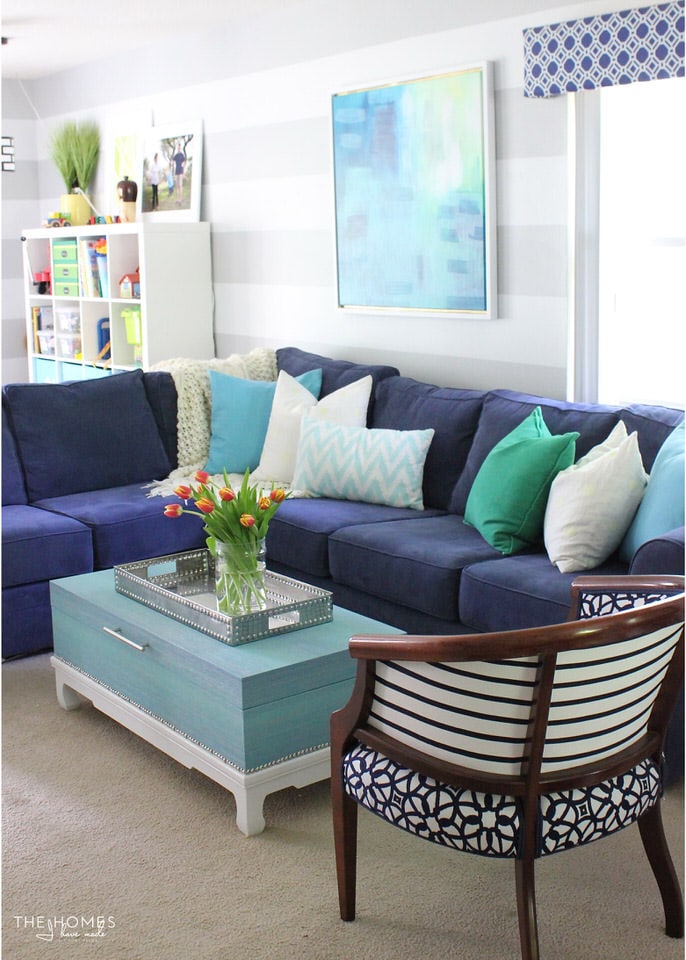
Example: A flat-woven rug laid atop ugly wall-to-wall carpet was a fantastic way to lighten and brighten this originally dingy play space.

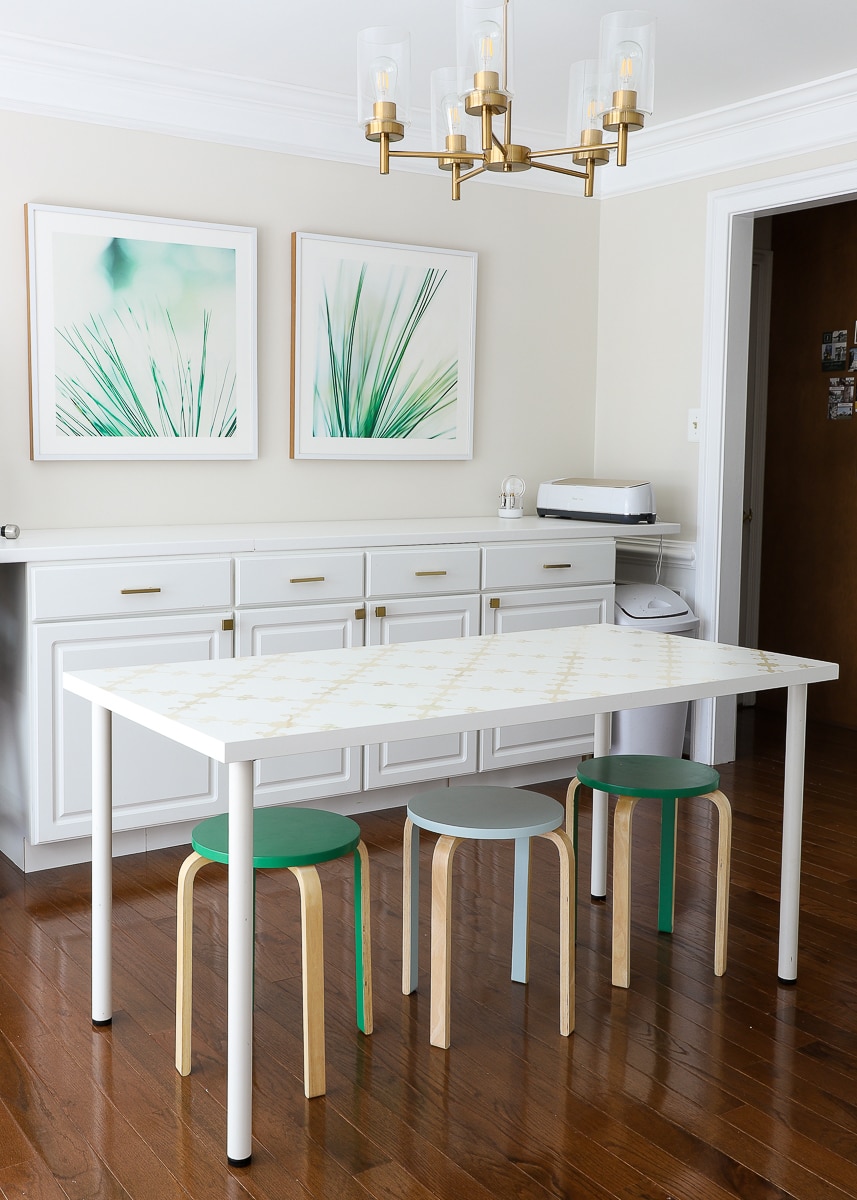
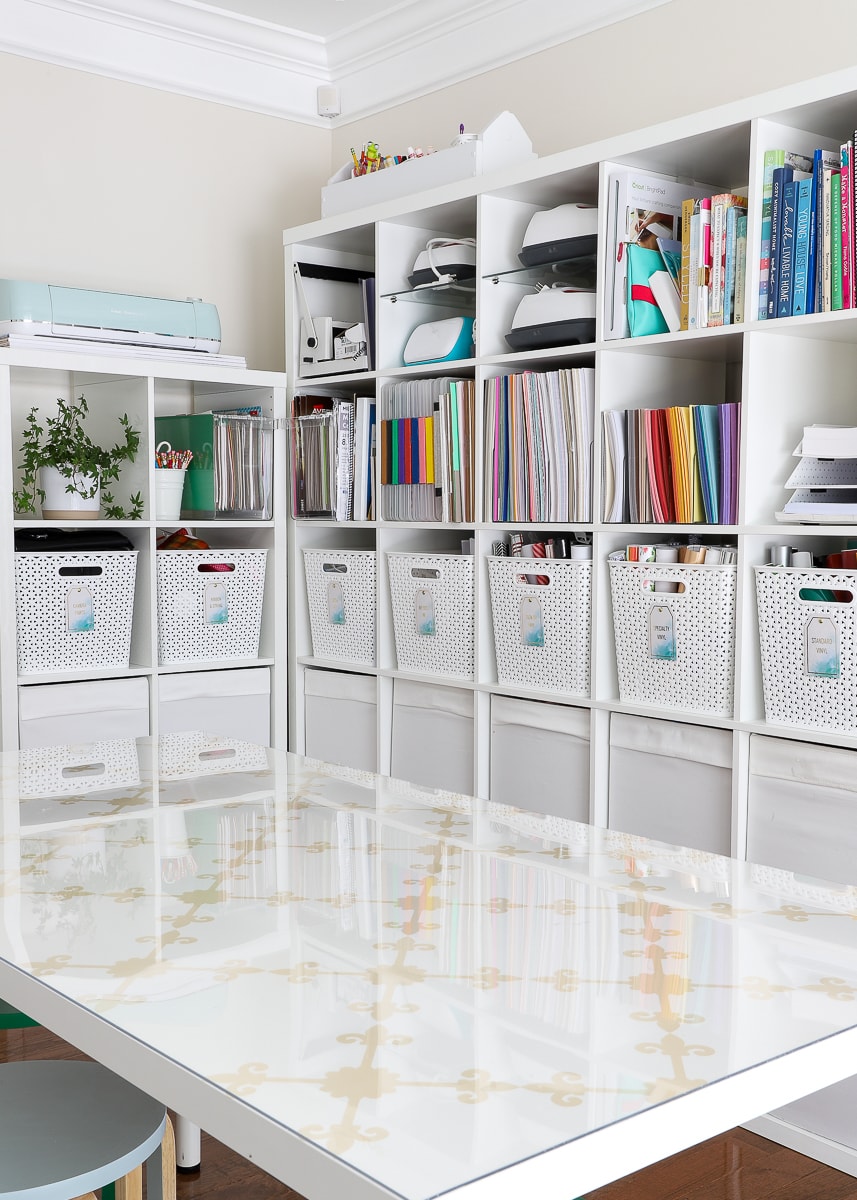
20. Re-Define Spaces
Just because your rental has an office doesn’t mean it has to be an office (we used our’s as a playroom!). Just because there is a closet in the foyer doesn’t mean it has to hold coats (we used our’s to store toys right off the playroom). Even though you don’t own the house, you do get to decide how to use each and every inch. Spend some time comparing your needs with the available rooms/square feet, and determine a layout that works for your lifestyle and family regardless of what the floorpan says.
Example: Our formal dining room (right off the foyer) is my home office and the family craft space.
21. Just Ask
Finally, if there is something you really want to change in your rental that can’t be achieved in a temporary or removable fashion, just ask your landlord or management company. While they may or may not pay for it, they might be willing to let you shoulder the cost and labor if it means improving the value of their property. Although this has never happened to us, we’ve had friends who were allowed to paint cabinets, remove wallpaper, and make more permanent changes to their rentals for a variety of reasons (e.g., the housing was scheduled to be demo’d anyway; the house was dated and the landlord was open to improvements, etc). The worst case scenario: your landlord says no, and you move on!
Example: In this house, we asked if we could dispose of the dated window treatments (that we have carefully stored in the basement) in exchange for properly filling and re-painting (dozens!) of hardware holes. Unfortunately, they said no. Had they said yes, we could have freed up some space in the basement and eliminated some labor before moving out. It didn’t go in our favor this time, but that doesn’t mean it won’t the next!
Being in a rental home can often feel really frustrating, especially when there are features you really dislike. I hope this post shows that even though there are a lot of things you can’t do in a rental, there are also tons of things you can! If you have other creative ways to decorate a rental that I didn’t cover here, be sure to leave your ideas in the comments for other fellow renters to try!
Megan


9 Comments on “20+ Surprising Ways to Decorate a Rental”
In the last apartment I rented I was allowed to wallpaper the kitchen and bath. It was a small building owned by a private individual so they were often around – it was easy to ask them for permission and invite them in to see the results. Because I chose subtle patterns in neutral colors the landlord didn’t require me to remove it when I moved out.
In another apartment I didn’t like the yellow undertone of the off-white paint that the management company used for every apartment – I was able to request an off-white with a pink undertone instead. Because they painted for every new tenant they really didn’t care as long as their normal color would easily cover what I wanted. To make it even easier for them to agree I offered to pay for the paint since it wasn’t what they kept on hand (in the end they split the paint cost with me).
So always ask – you’ll sometimes be surprised.
HI Cheryl!
Yes! You are so right! We’ve had similar situations where they were going to paint anyway (before or after we moved in/out), so we were able to take advantage of that service by speaking up! While we’ve certainly had landlords/companies turn our ideas down, we’ve also had many say yes!
Thanks for sharing your experiences!Megan
When we were first married we lived a very tight apartment that had a truly ugly homemade kitchen. There was only one lower cabinet of drawers, in between an apartment-sized stove and the fridge. Next to the stove was a corner cabinet under the sink, which made it very difficult to get into that cabinet. The upper cabinets were very shallow; we couldn’t even fit dinner plates in them, and the doors were sliding ones made out of cheap wall paneling and fingerholes to slide them open. Every piece had a different wood finish. Unknown to me, my husband had a plan, and one day I came home from work to find that he was covering every mis-matched piece of wood or wood product with a woodgrain-look contact paper. It wasn’t great, but at least it matched. We also bought and installed new upper cabinets that were deeper than 8 inches, and a new vanity and upper cabinet over the toilet. I was really worried when the landlords had to come in for some reason, but husband was confident, after all, it did look better. Once they saw it, they would invite other people to see it, and how it improved the look of the apartment. HOWEVER! When we could finally afford to move to a larger place, they kept our entire security deposit, with a breakdown of how much it would have cost to return to the original. My husband and I have always fought about these changes to rentals as landlords don’t always agree with his taste. My Mom was a landlord of a 2-bedroom garage apartment across the alley from the family home. She once got a phone call from the neighbor on the far side of the garage asking about what she was building – turned out the tenants felt it was OK to build a small classroom to home-school their daughter onto the back of the garage. So I have seen the issue from both sides, and I agree – ask first! I think most landlords don’t mind cosmetic adjustments, especially if you are willing to re-paint, fill holes, or remove wallpaper.
Have a great week! Aloha, Tenney
Thanks for sharing your experience, Tenney!
Just wondering…why didn’t you guys just put everything back the way you found it? Or was that not possible? Every Landlord is so different, so I agree…ALWAYS ask!
Hope you’re doing well!Megan
You always have such great and useful ideas that are not only functional, but look great too! I love all your ideas. 🙂
Hope you’ve been well SuperWoman. 🙂 <3
Thanks so much, Vanessa!
It’s always so nice to hear from you! We’re hanging in there and hope you’re doing well too! ❤️
~Megan
Thanks ! I love to be creative but we have ALL white walls and are not aloud to paint them! But I think he’d go for the peel and stick wallpaper. The lady who lives across from me put tiles around her kitchen sink. Really looks sharp ! I also love the way you decorate . That’s my passion. I use to doing staging of homes I loved it so much but they moved to a different state so that was the end of that! So then I was in my local grocery store and they were looking for a floral manager. The manager said can you bring me a wreath for spring . He said use silk flowe’r so I made it and he said just set here a minute and he went around and as k if different people liked it . He said they loved it. I was scared but I thought I can do this! It wasn’t work to me it was fun everyday!
Thanks so much for chiming in here, Carolyn! Peel and stick wallpaper can be a great solution, especially when you’re not allowed to paint!
Good luck updating your rental!
Megan
Okay…I have been dealing with ugly wire shelving for far too long… I had NO IDEA you could literally just pop them out of the wall like that!!! And my husband is a homebuilder. *facepalm* You’ve given me a sudden burst of inspiration to finally get our rental home feeling comfy cozy!!