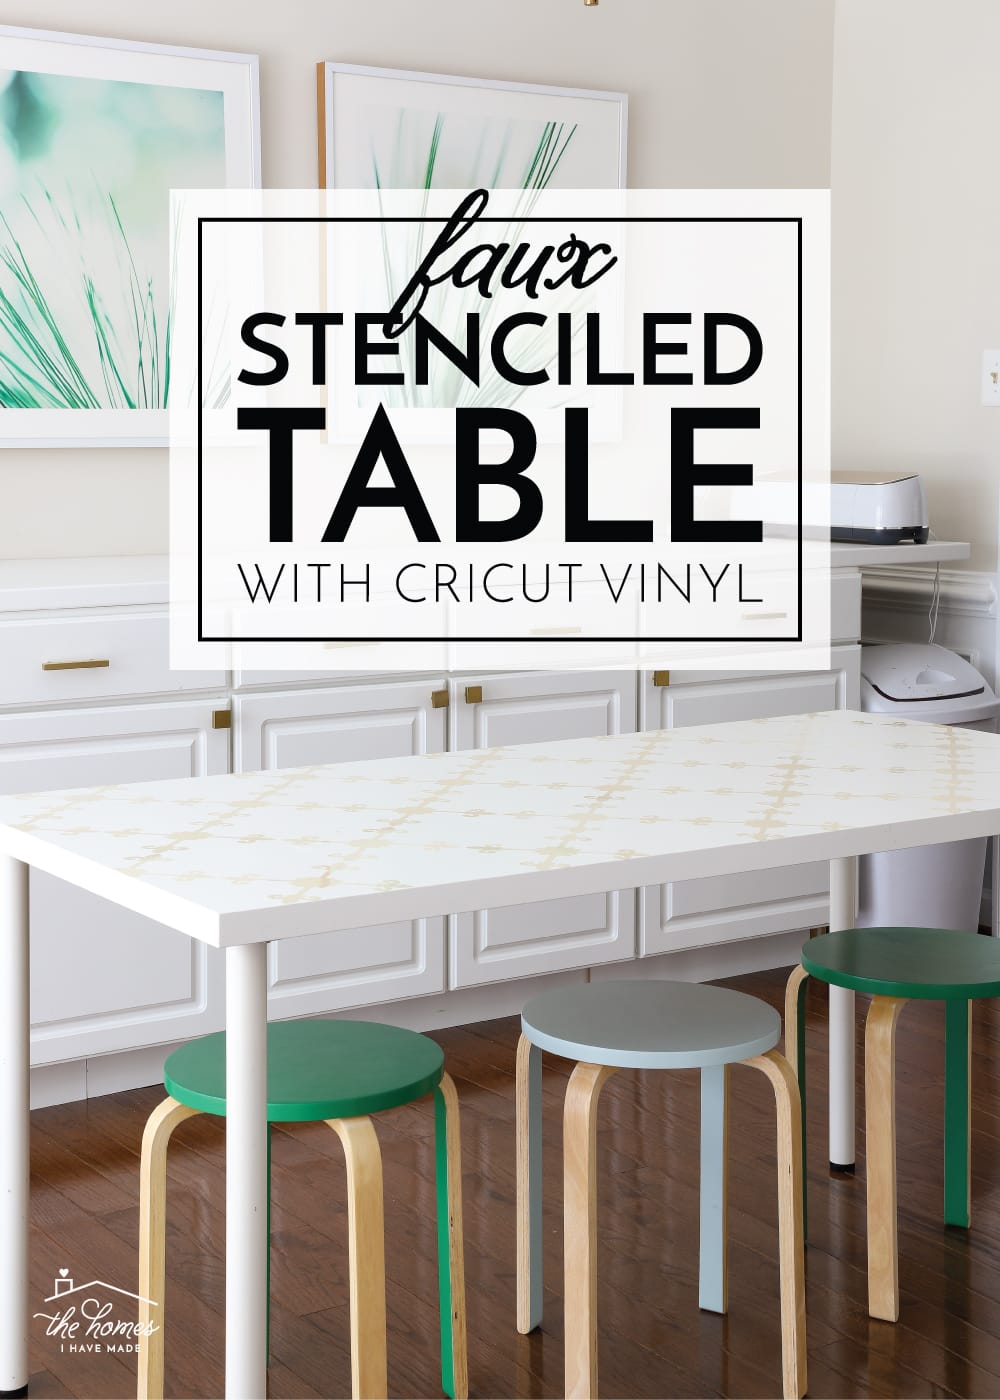
Faux Stenciled Table with Cricut Vinyl
When Cricut recently asked me to use my Explore Air 2 and favorite supplies to give a piece of furniture in our home an easy update, I couldn’t jump at the chance fast enough! With hot temperatures outside and everyone home and underfoot inside, I can’t really take on traditional “painted” furniture projects right now. However, with just a few rolls of my favorite vinyl and an hour or so (in the air conditioning!), I was able to breath fresh, new life into my beat up ol’ craft table. Let me show you how to make this faux stenciled table with Cricut vinyl so you can try it in your own home!
This is a sponsored post written by me on behalf of Cricut for Cricut. All opinions are 100% mine.
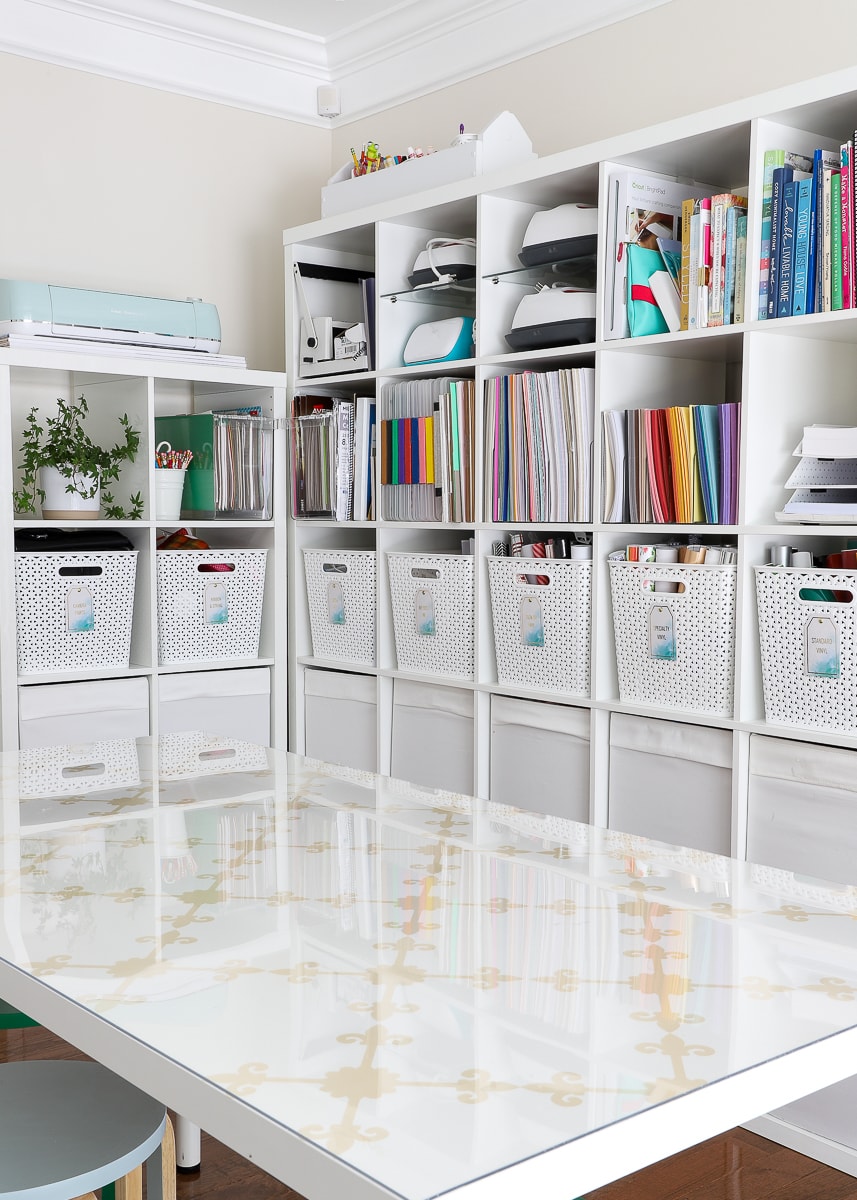
A few weeks ago during our “First Year Here” Home Tour, I mentioned that giving my office a quick refresh was at the very top of my summer project list. Truth be told, I never really warmed to my last office back in San Diego. Beyond just the brown walls (which I am clearly still not over), my efforts to keep it simple and neutral resulted in a space that felt very blah. So in this new office, I really wanted to find some easy, inexpensive, and (of course) temporary ways to infuse some more style but in ways that didn’t feel too busy (for when I have craft supplies stretched from one end to the other). Although I’m not 100% there yet, this table makeover is already doing wonders!
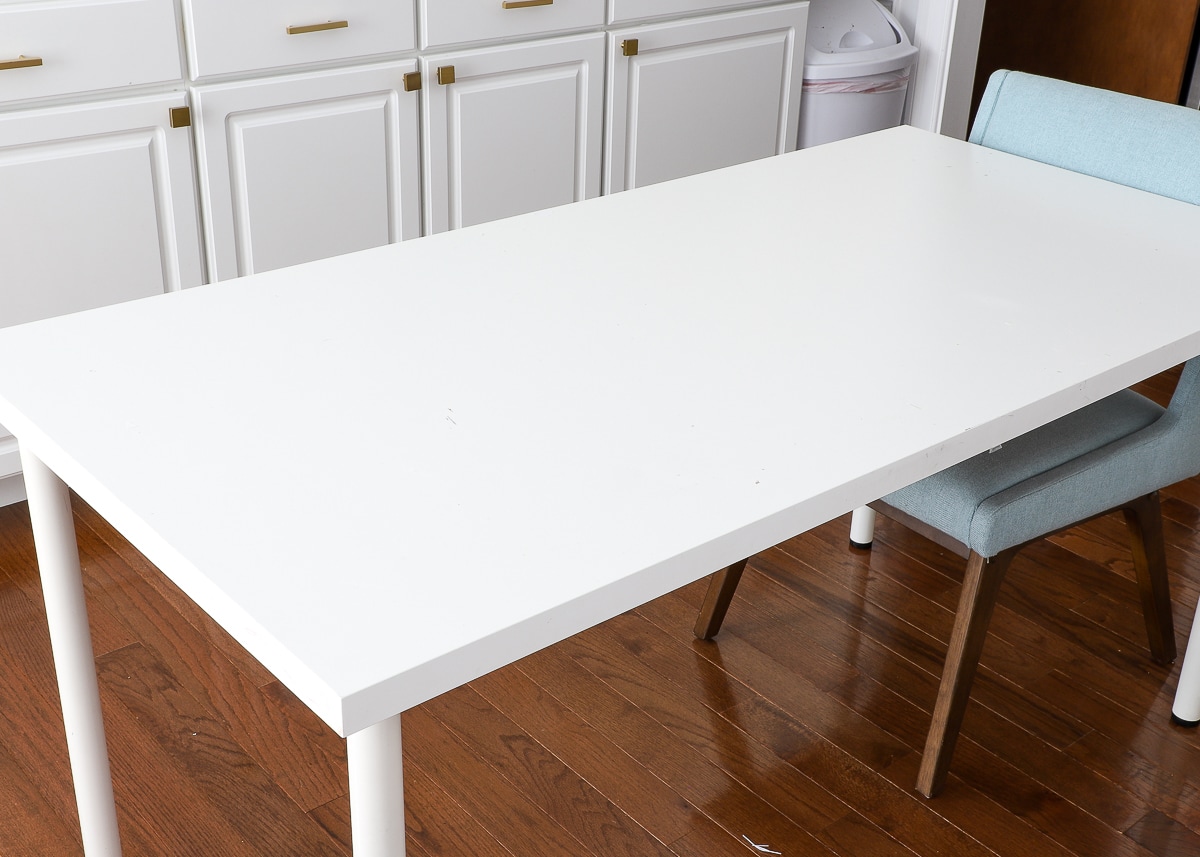
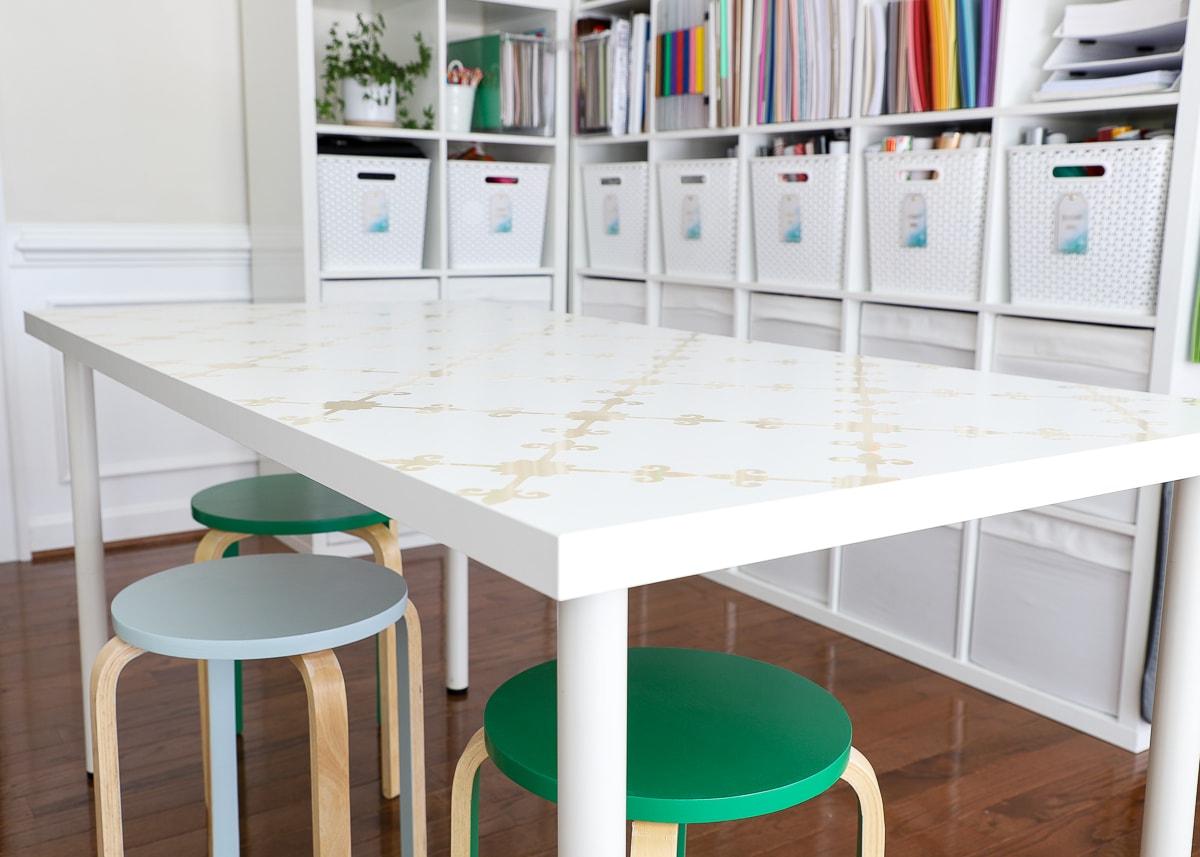
I bought this simple white table from IKEA years ago. My original plan was to use it as a white backdrop for project photo shoots, but I quickly learned that keeping it clean and manipulating it for good angles was far more trouble than it was worth. Although I do shoot on this table every single day, I cover it with foam core, poster board, wrapping paper and other things based on what I’m working on. Since I no longer needed the solid white table, it was the prime candidate for adding some subtle pattern to this room!
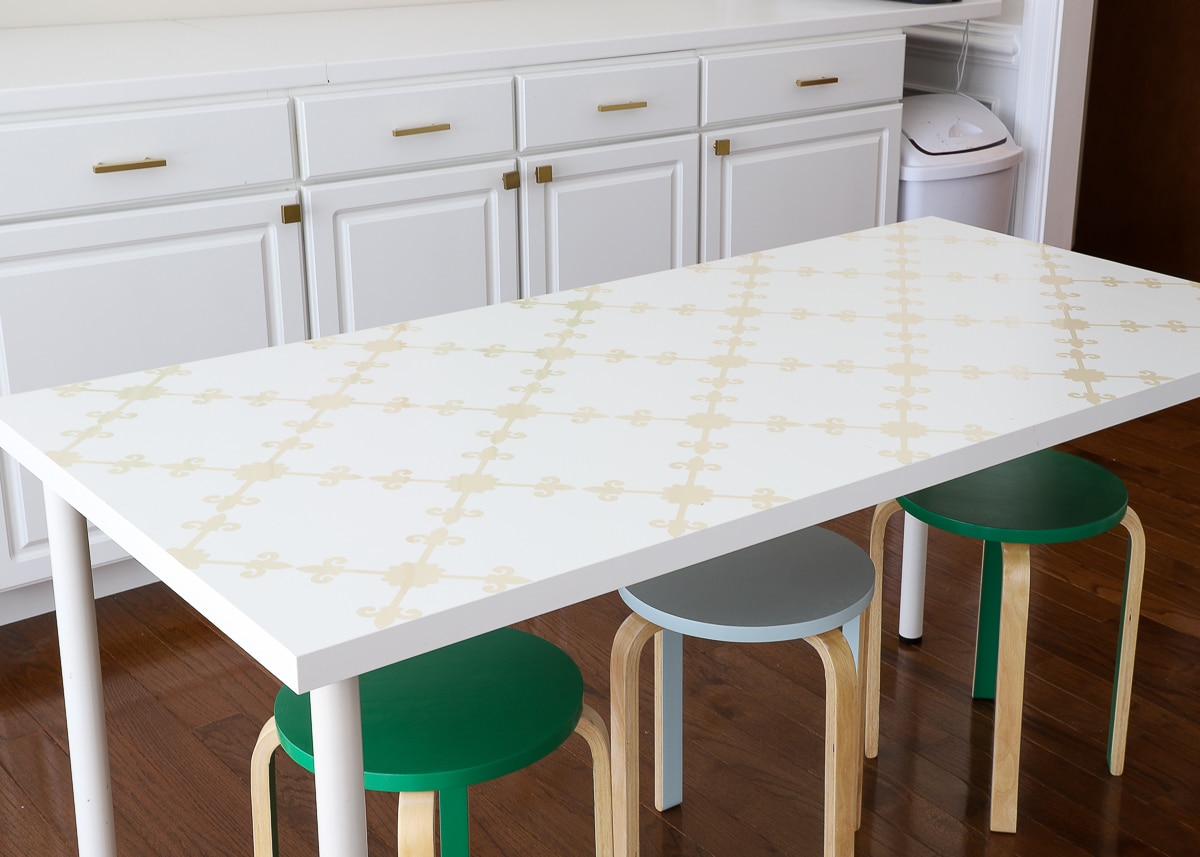
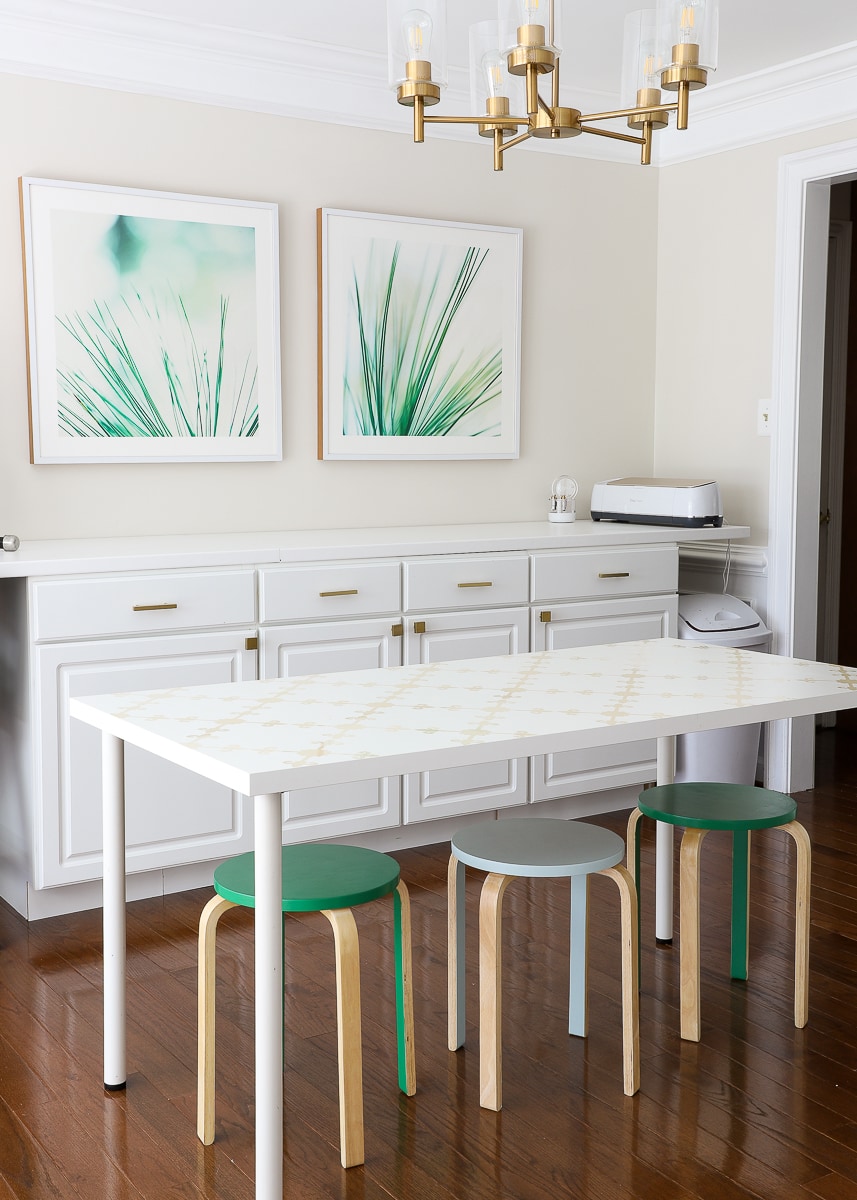
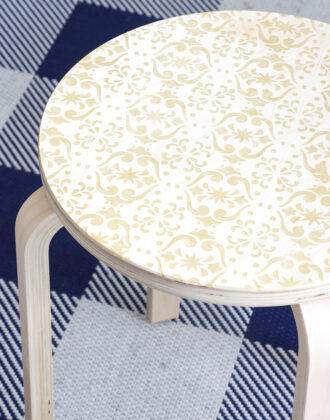
My gut is always to go wild with patterns and colors. You better bet I started dreaming and scheming all sorts of designs I could put on this table. In the end though, I decided I wanted this table to have a subtle design that worked nicely with the rest of the room (rather than being a bright, busy focal point). I settled on a really simple trellis pattern done in my new favorite vinyl ever…Pearl Vinyl!
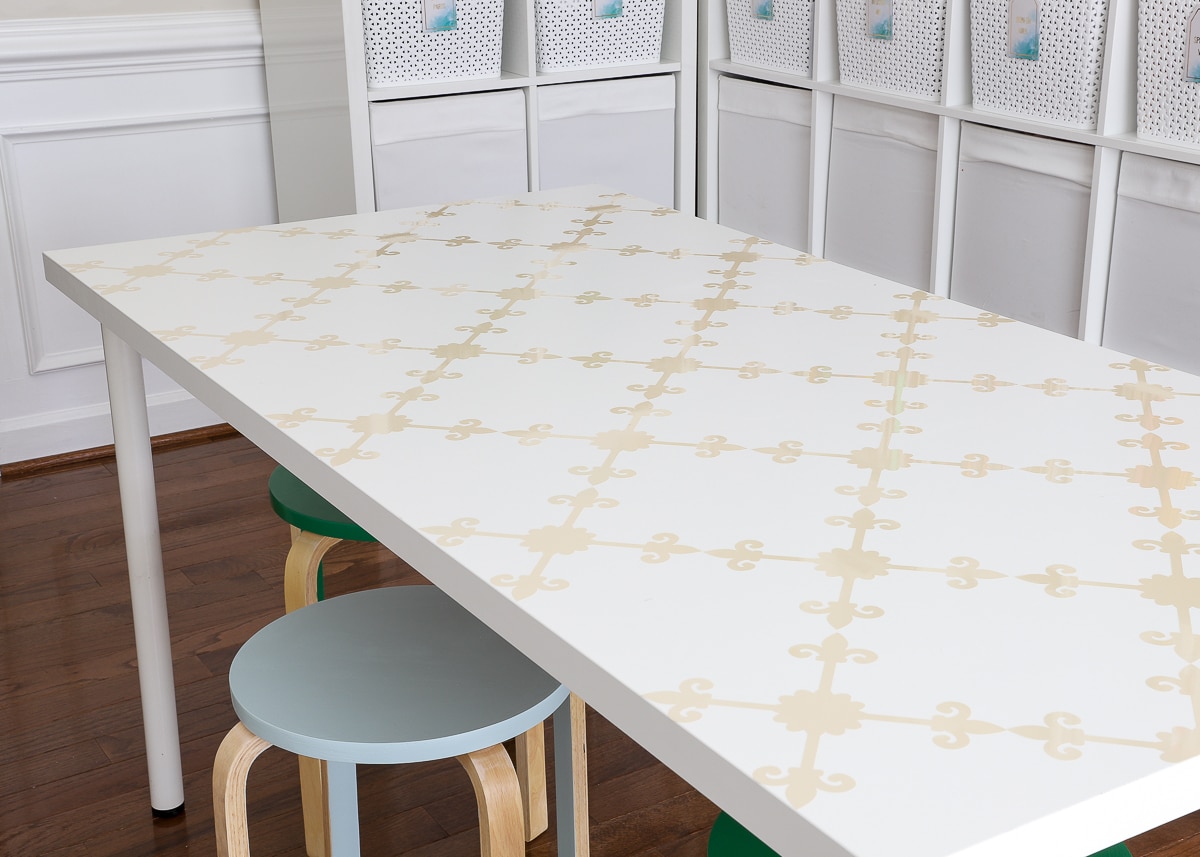
It is so tough to capture in pictures (you can see the shimmer a bit below), but this Ivory Pearl Vinyl has a reflective glossiness to it that really takes this subtle tone-on-tone design up a notch. It’s not glittery or sparkly, but it rather “shines” like some of the other metallic elements in the room. I love that depending on where you are standing or where the sun is shining, the pattern has different intensity. This Pearl Vinyl comes in 6 different colors and you better bet I’m scheming up other ways to use it!
This project really couldn’t be easier…and since it’s all done in vinyl, it’s pretty foolproof too! Let me walk you through it!
Supplies Needed
For this faux stenciled table with Cricut vinyl, you will need:
MATERIALS
- Vinyl – Pick any number of colors, sheens, and/or patterns that work with your existing decor. I used 2 full rolls of this Ivory Pearl Cricut Vinyl. How much you need will depend on the size of your furniture and your pattern.
- Transfer Tape – This is a must for flawlessly transferring your cut vinyl designs to your final project.
TOOLS
- Cricut Machine – I used my Cricut Explore Air 2, but this project could also be made with a Cricut Maker or Cricut Joy!
- Weeding Tools
- Scissors
- XL Scraper – Any scraper will do but this larger size is great for big designs.
- Standard-Grip Mat – I recommend the 24″ mat if you’re doing a large furniture piece.
- Tape Measure and/or Ruler
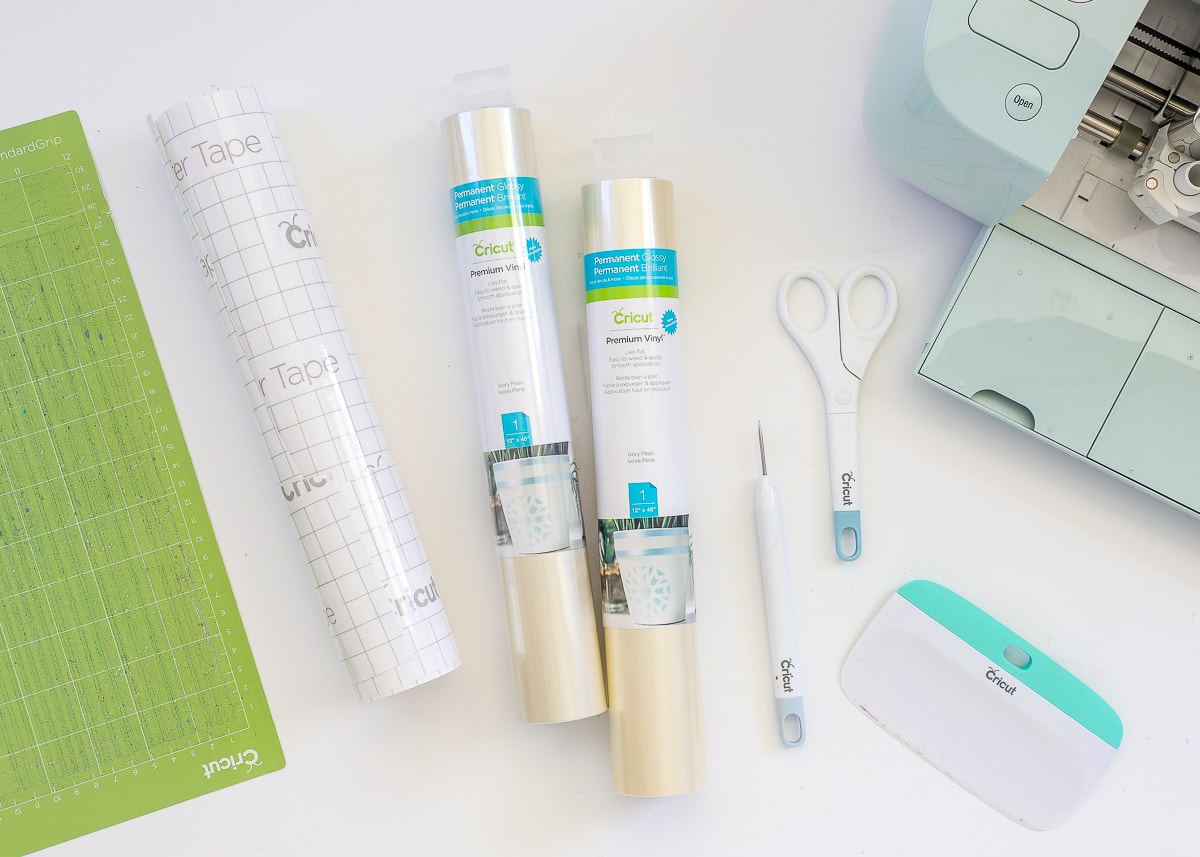
Transfer Tape | Ivory Pearl Vinyl | Weeding Tools | XL Scraper | Cricut Explore Air 2
Designing Your Pattern
As with any project you make with your Cricut, start in Cricut Design Space. Coming up with a design for your furniture piece will be incredibly specific to your style, preferences, and the furniture itself. That said, let me walk you through some things to consider as you design your pattern.
Pretty much any design in the Design Space Library can be turned into an interesting pattern by rotating it, flipping it, welding it, etc. Spend some time perusing the library for images you like. Think about how complex you want your pattern to be, how many colors you want to use, etc. If you are doing a large project like a table, I suggest keeping the design fairly simple without a lot of weeding or layering. Although not impossible, more complex images will require more time and patience!
Below, left, is the original image I found in the Cricut Design Space Library. By removing the red layer, rotating the image 45 degrees, and changing the color, I had a “building block” from which I could make a larger pattern.
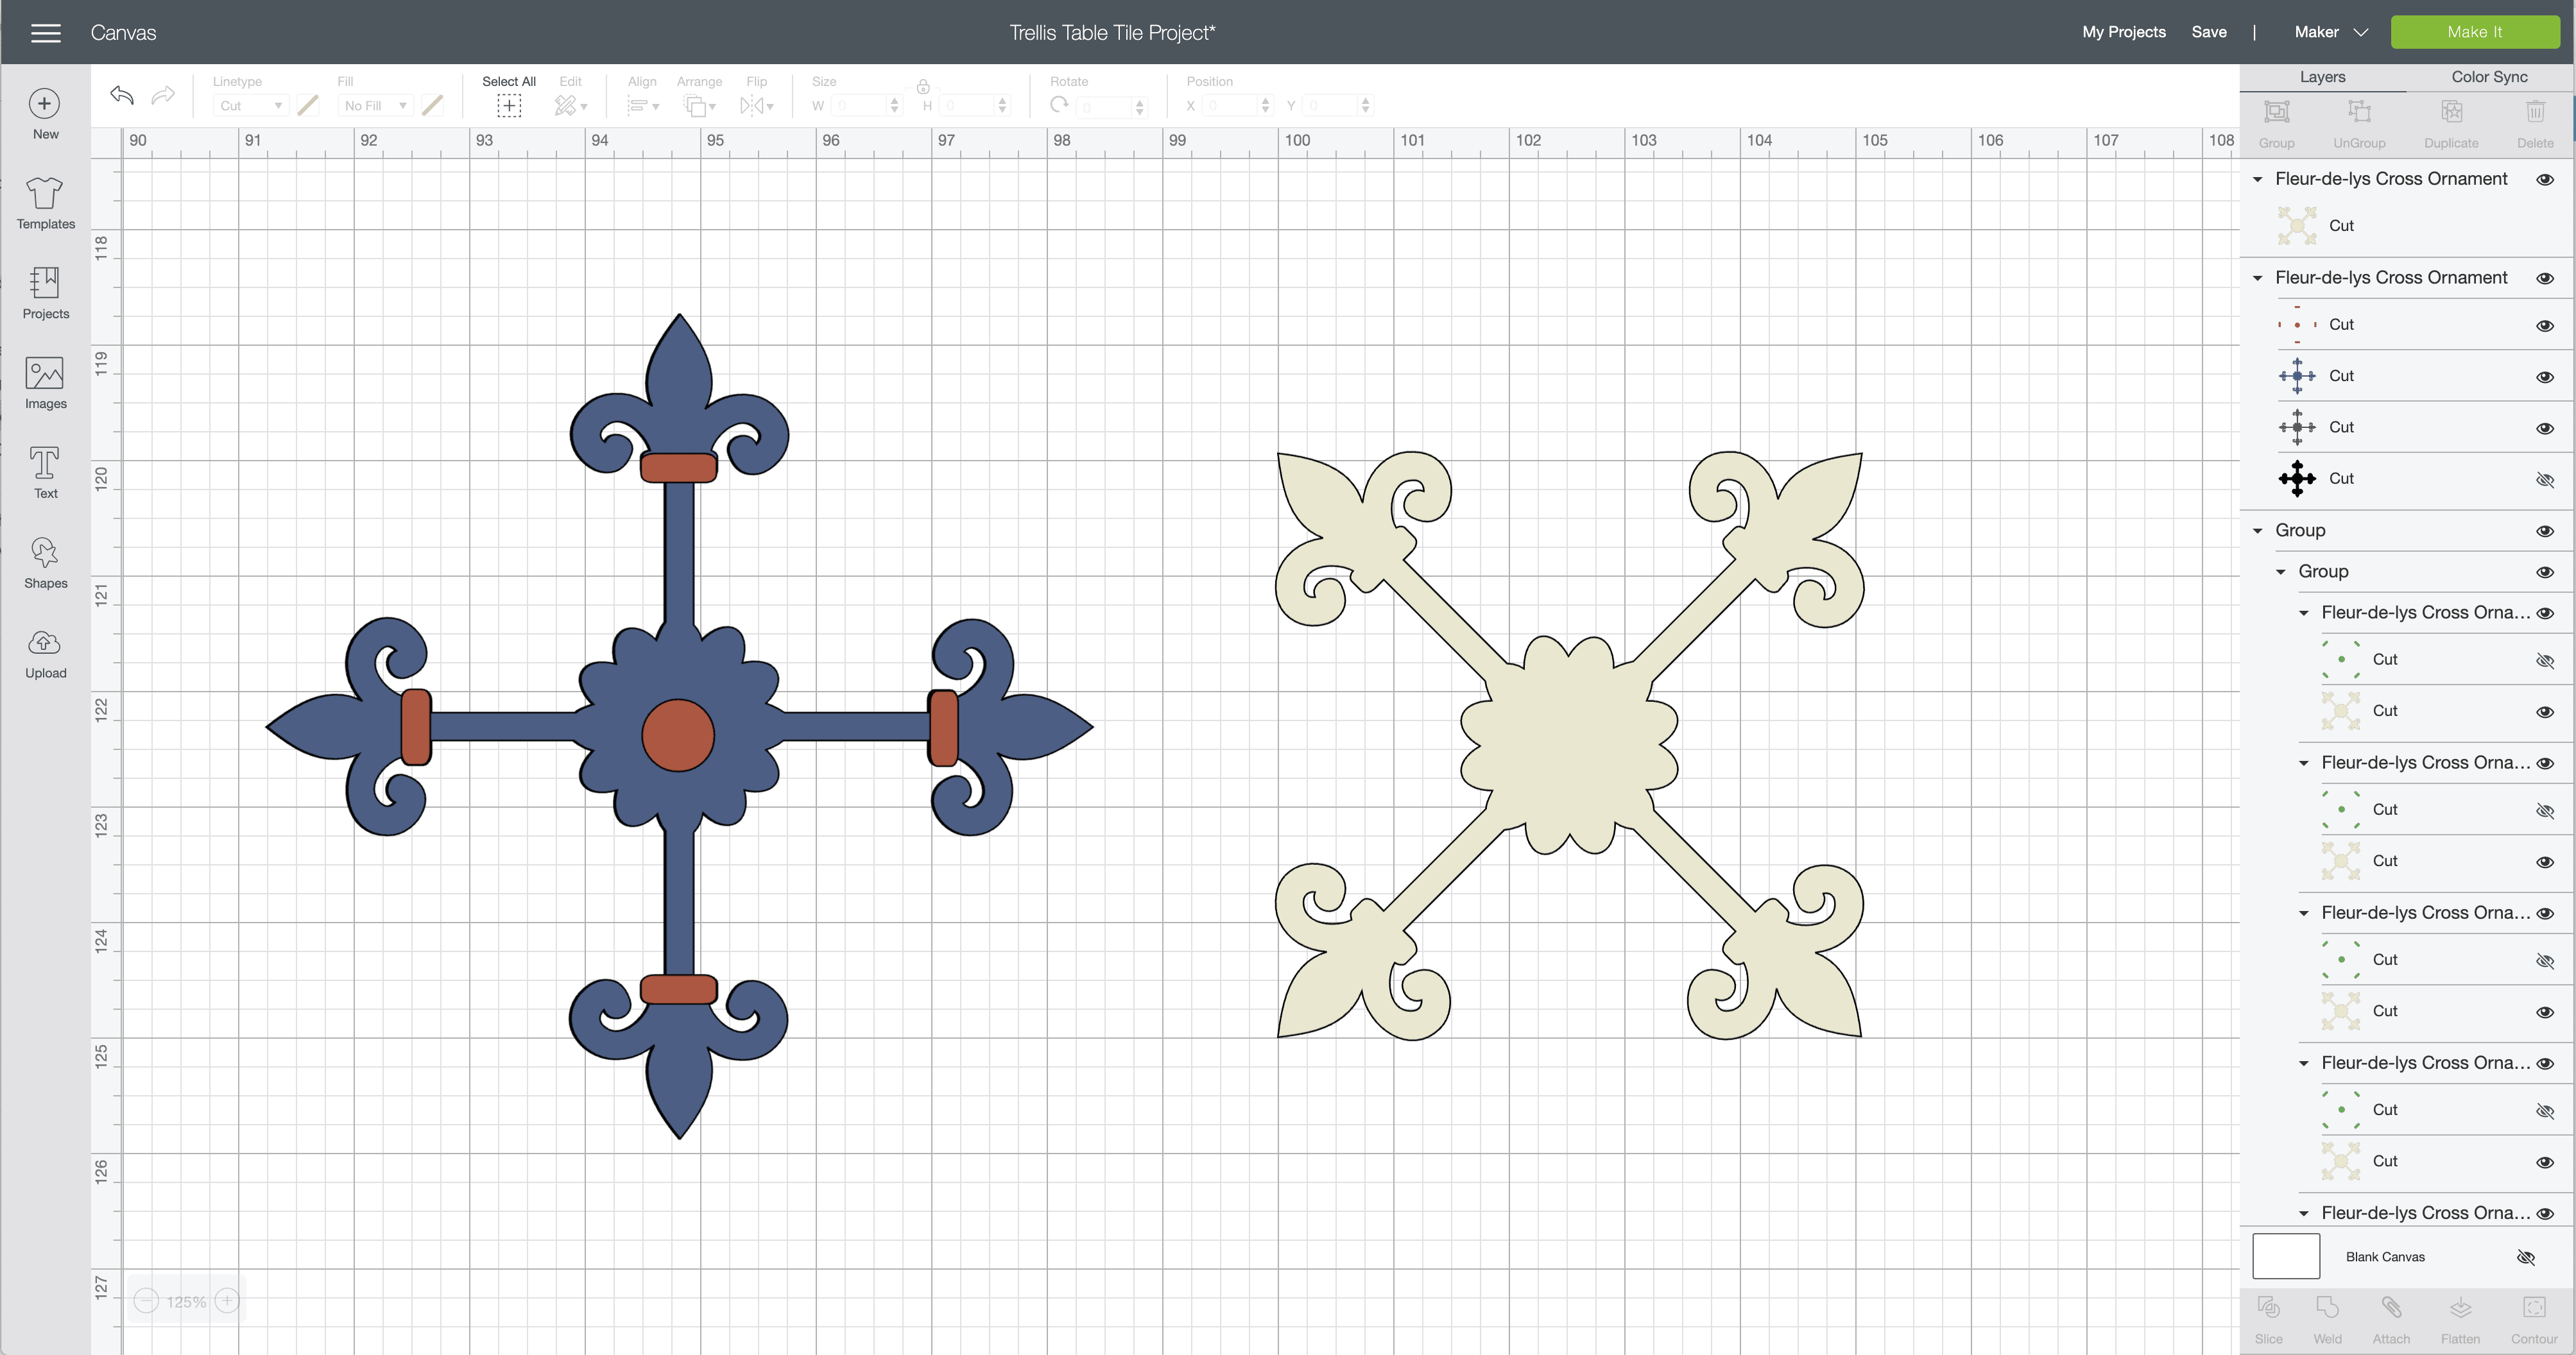
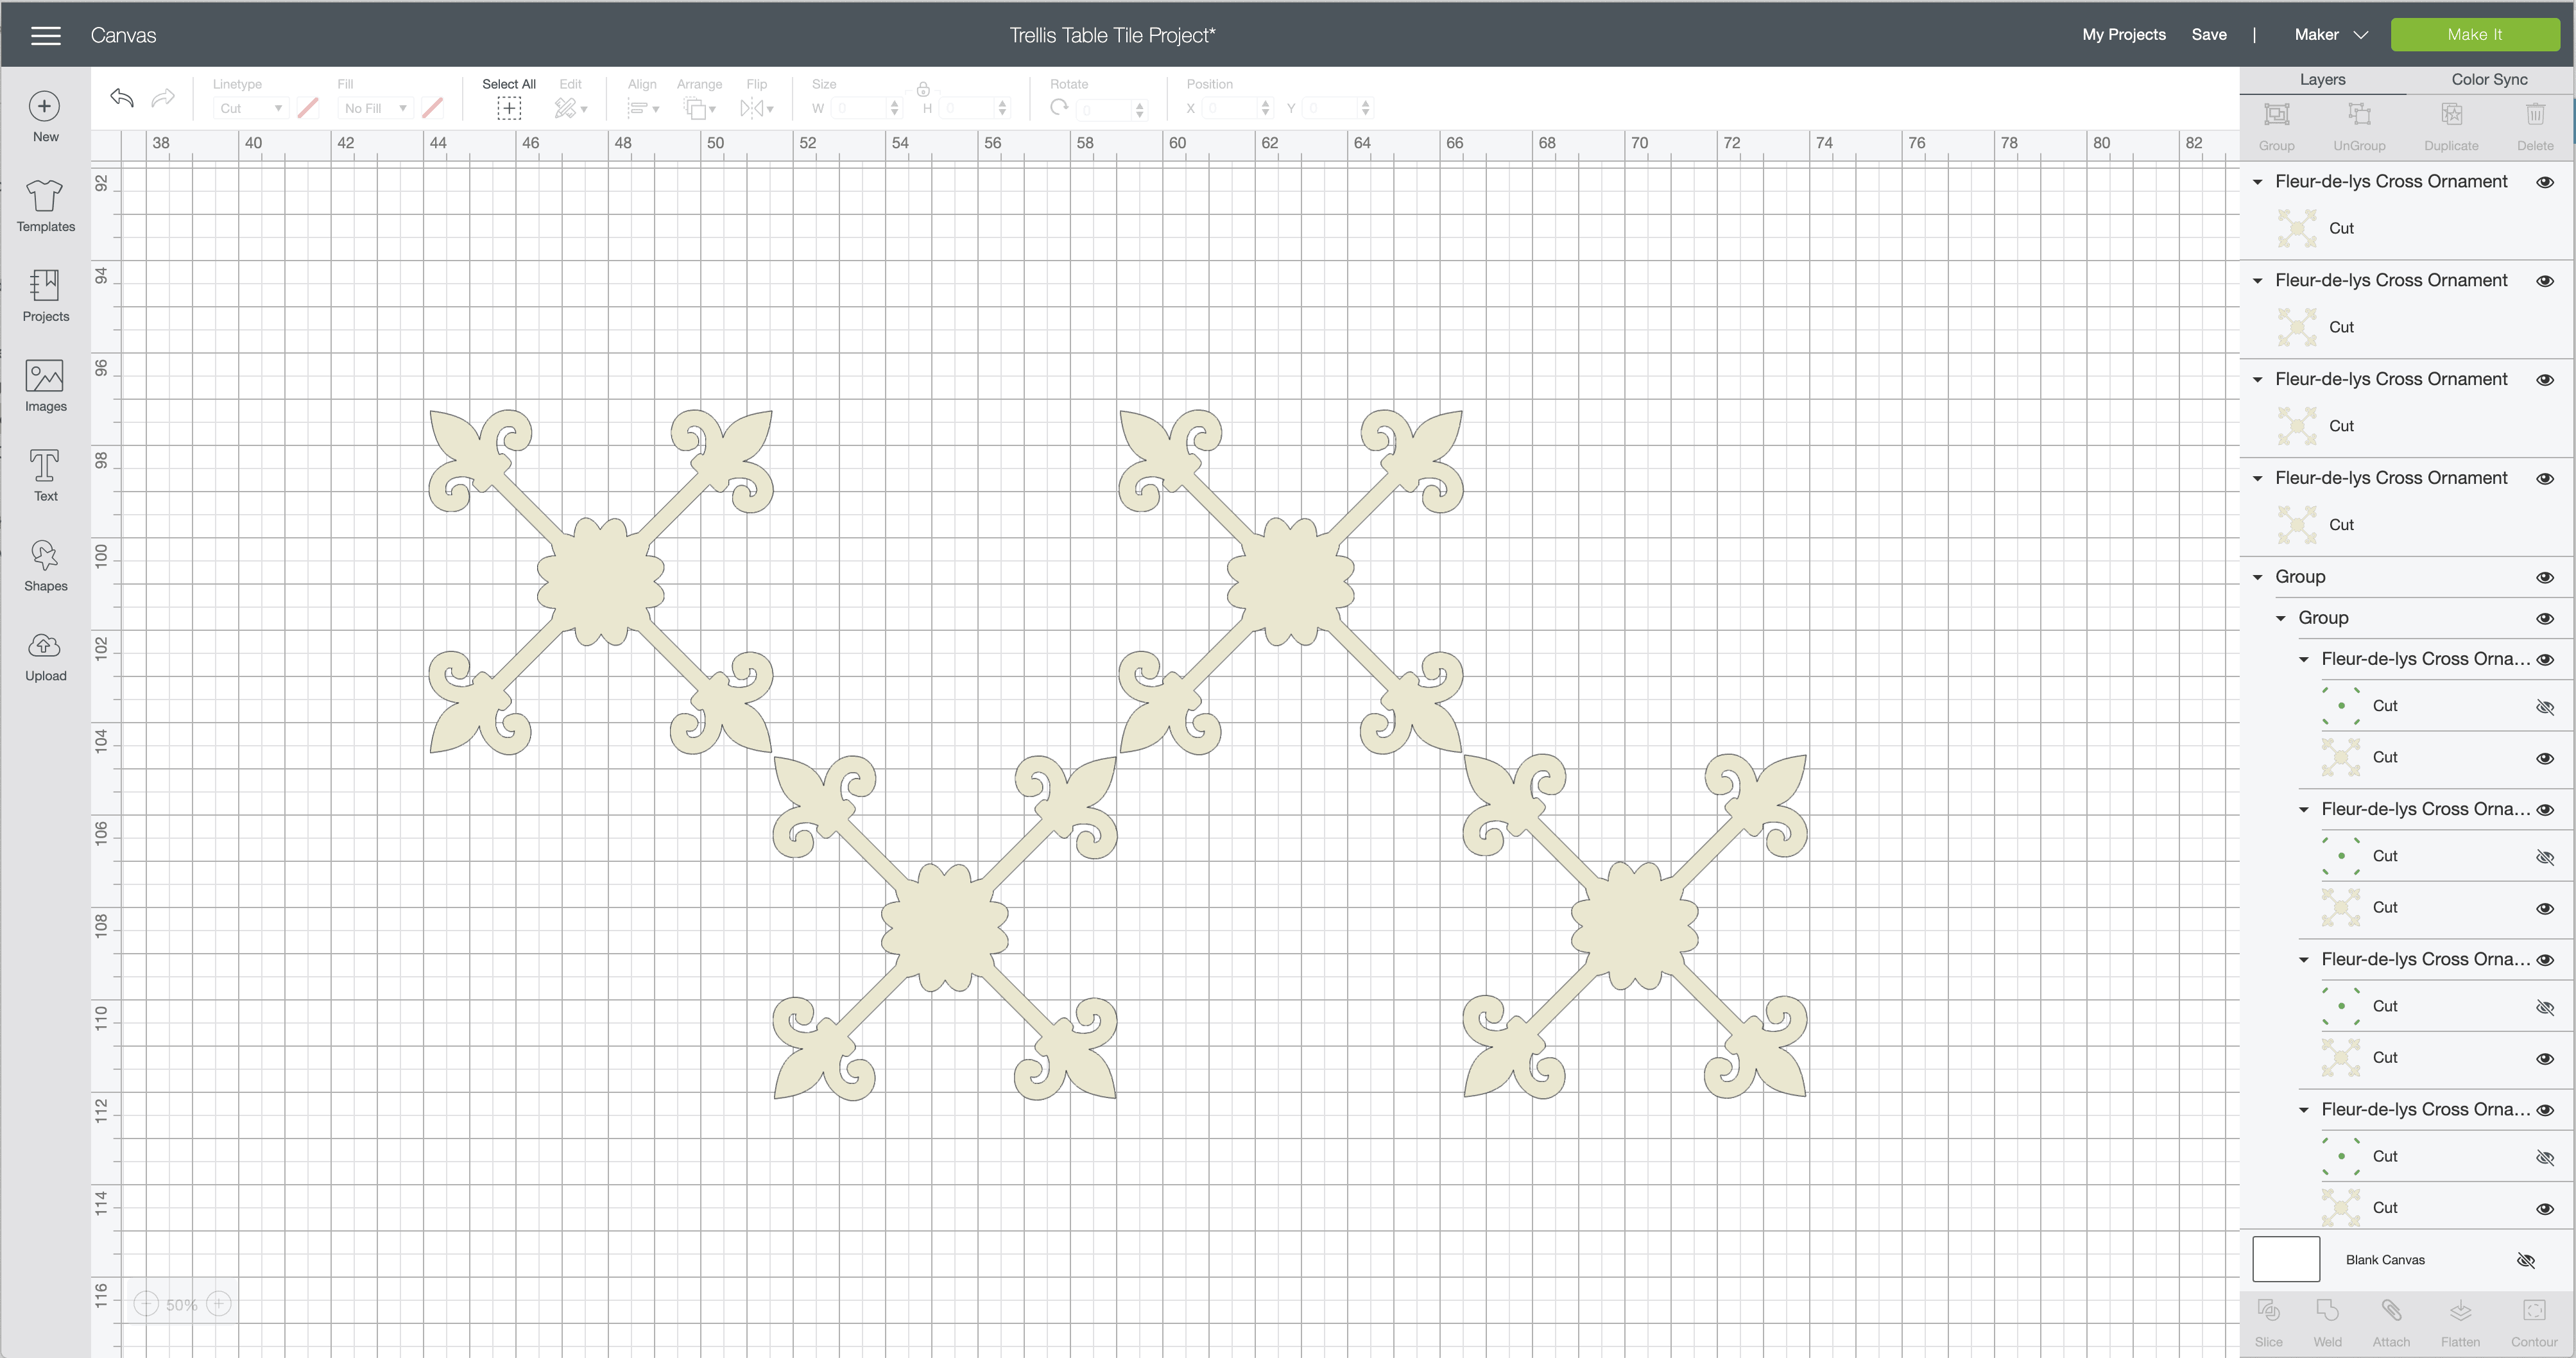
Next, I duplicated the image a bunch of times and started experimenting with different pattern possibilities. It didn’t take long to identify a basic trellis pattern.
Here are some other patterns I came up with, all just by duplicating, rotating and spacing out other images from the library.
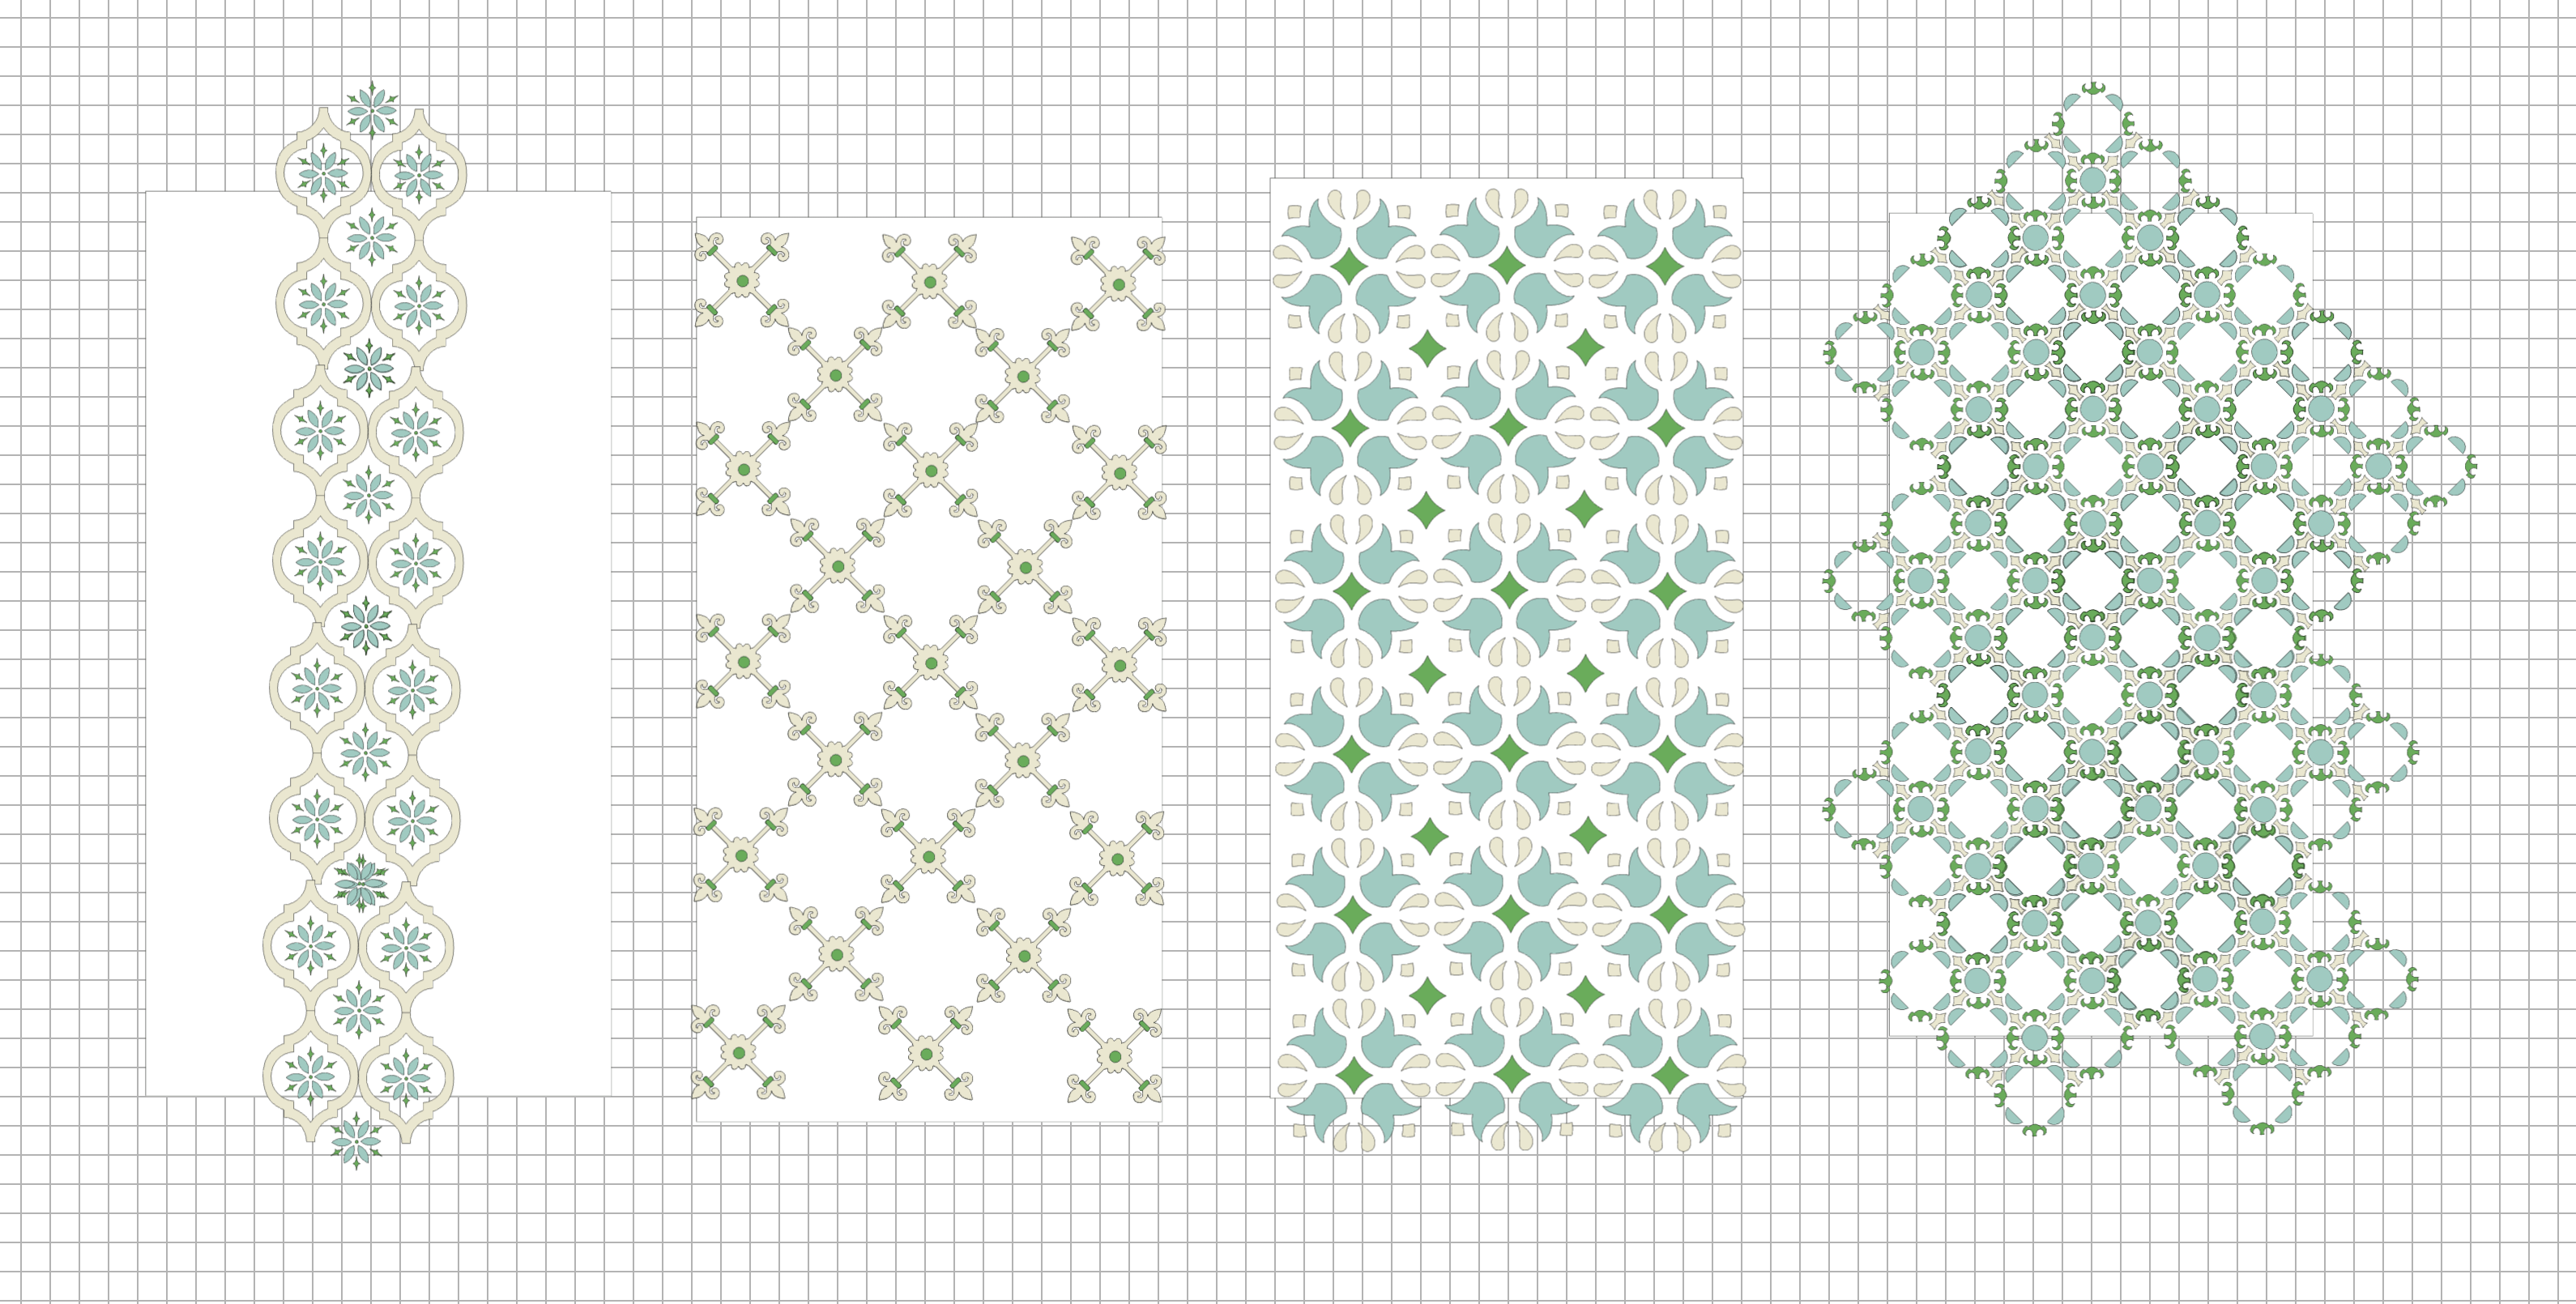
As much as I loved all four designs, I ultimately chose the trellis pattern for my table because of a few reasons:
- It required the least amount of weeding and layering
- It used the least amount of vinyl
- The pattern was easy to lay out
- The pattern fit really nicely on my table dimensions
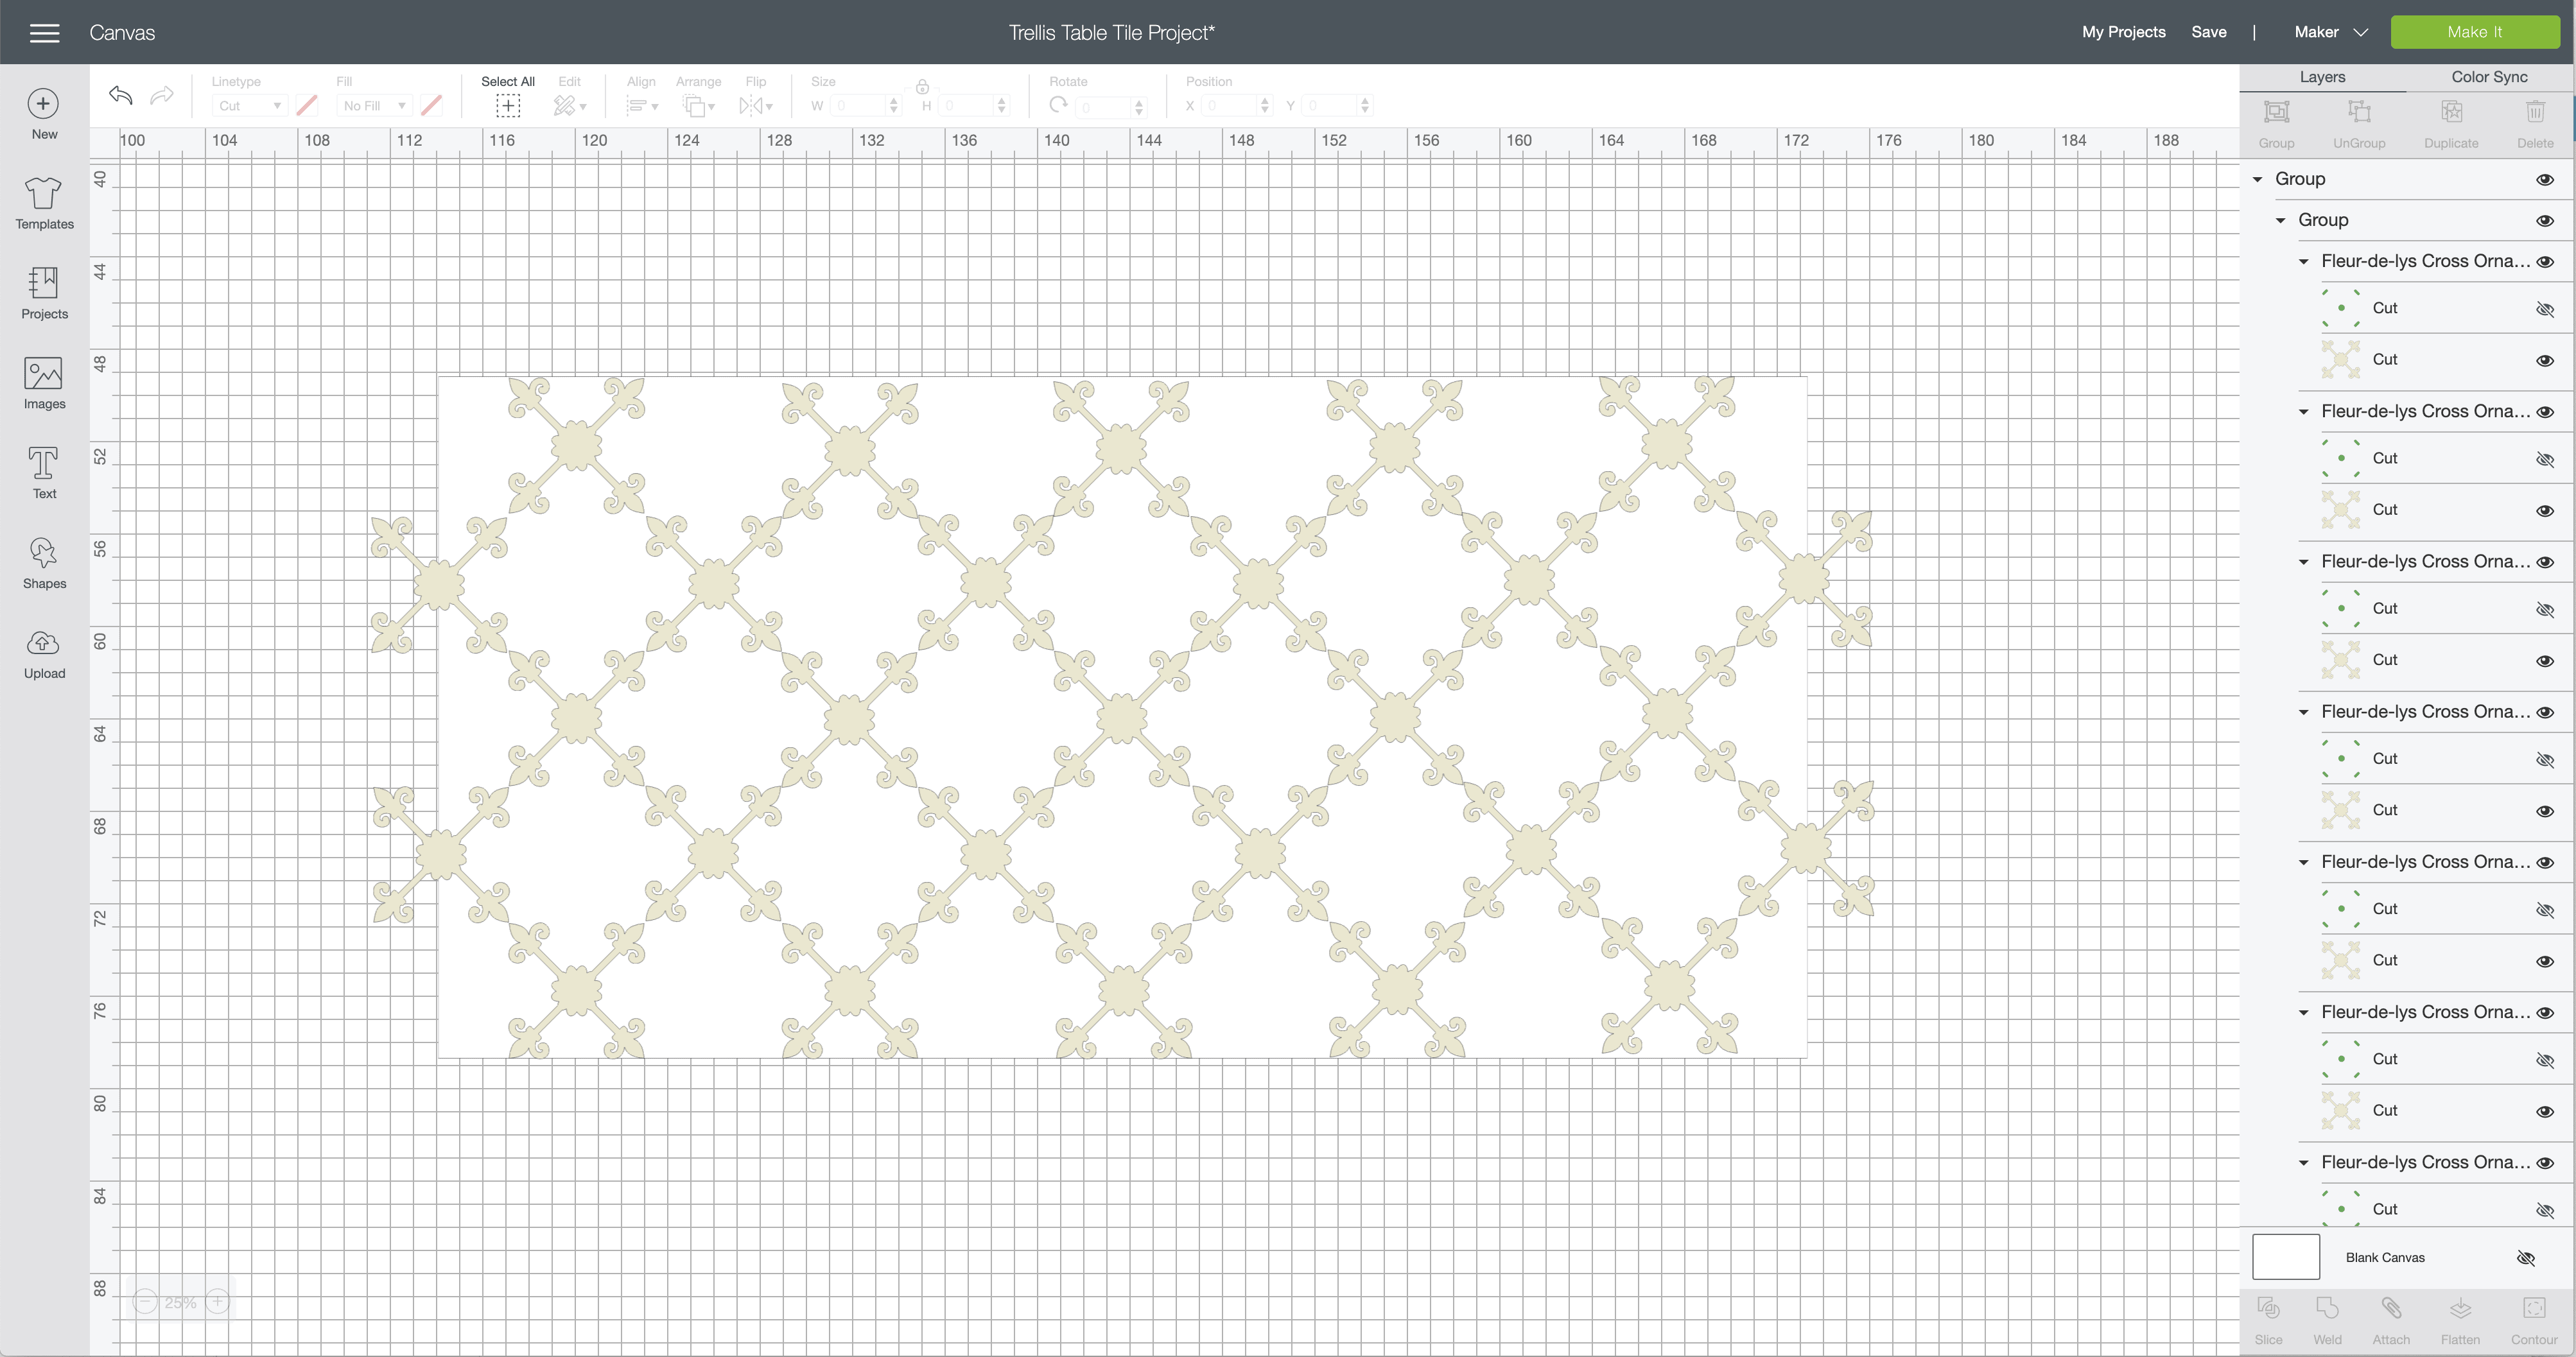
Once you settle on your pattern but BEFORE you start cutting out your designs, spend some time figuring out how big the pattern needs to be for your specific piece of furniture. I recommend placing a square/circle on your canvas and sizing it to match your furniture to help you visualize and space everything just right.
(NOTE: You will likely need to delete/hide the shape before you start cutting!)
Cutting & Prepping the Vinyl
If you look closely at my trellis pattern, you will notice that my original shape is laid out in alternating columns of 2 and 3, all the way across the table. Yes, I could have absolutely attached each column together, and cut and applied several, perfectly spaced, images directly to my table at once. However, all that white space means tons of wasted vinyl; plus, I personally find lining up and laying down really large designs much harder than smaller ones.
As such, I chose cut all 25 “blocks” individually, so I could get as many from a single roll of vinyl as possible.
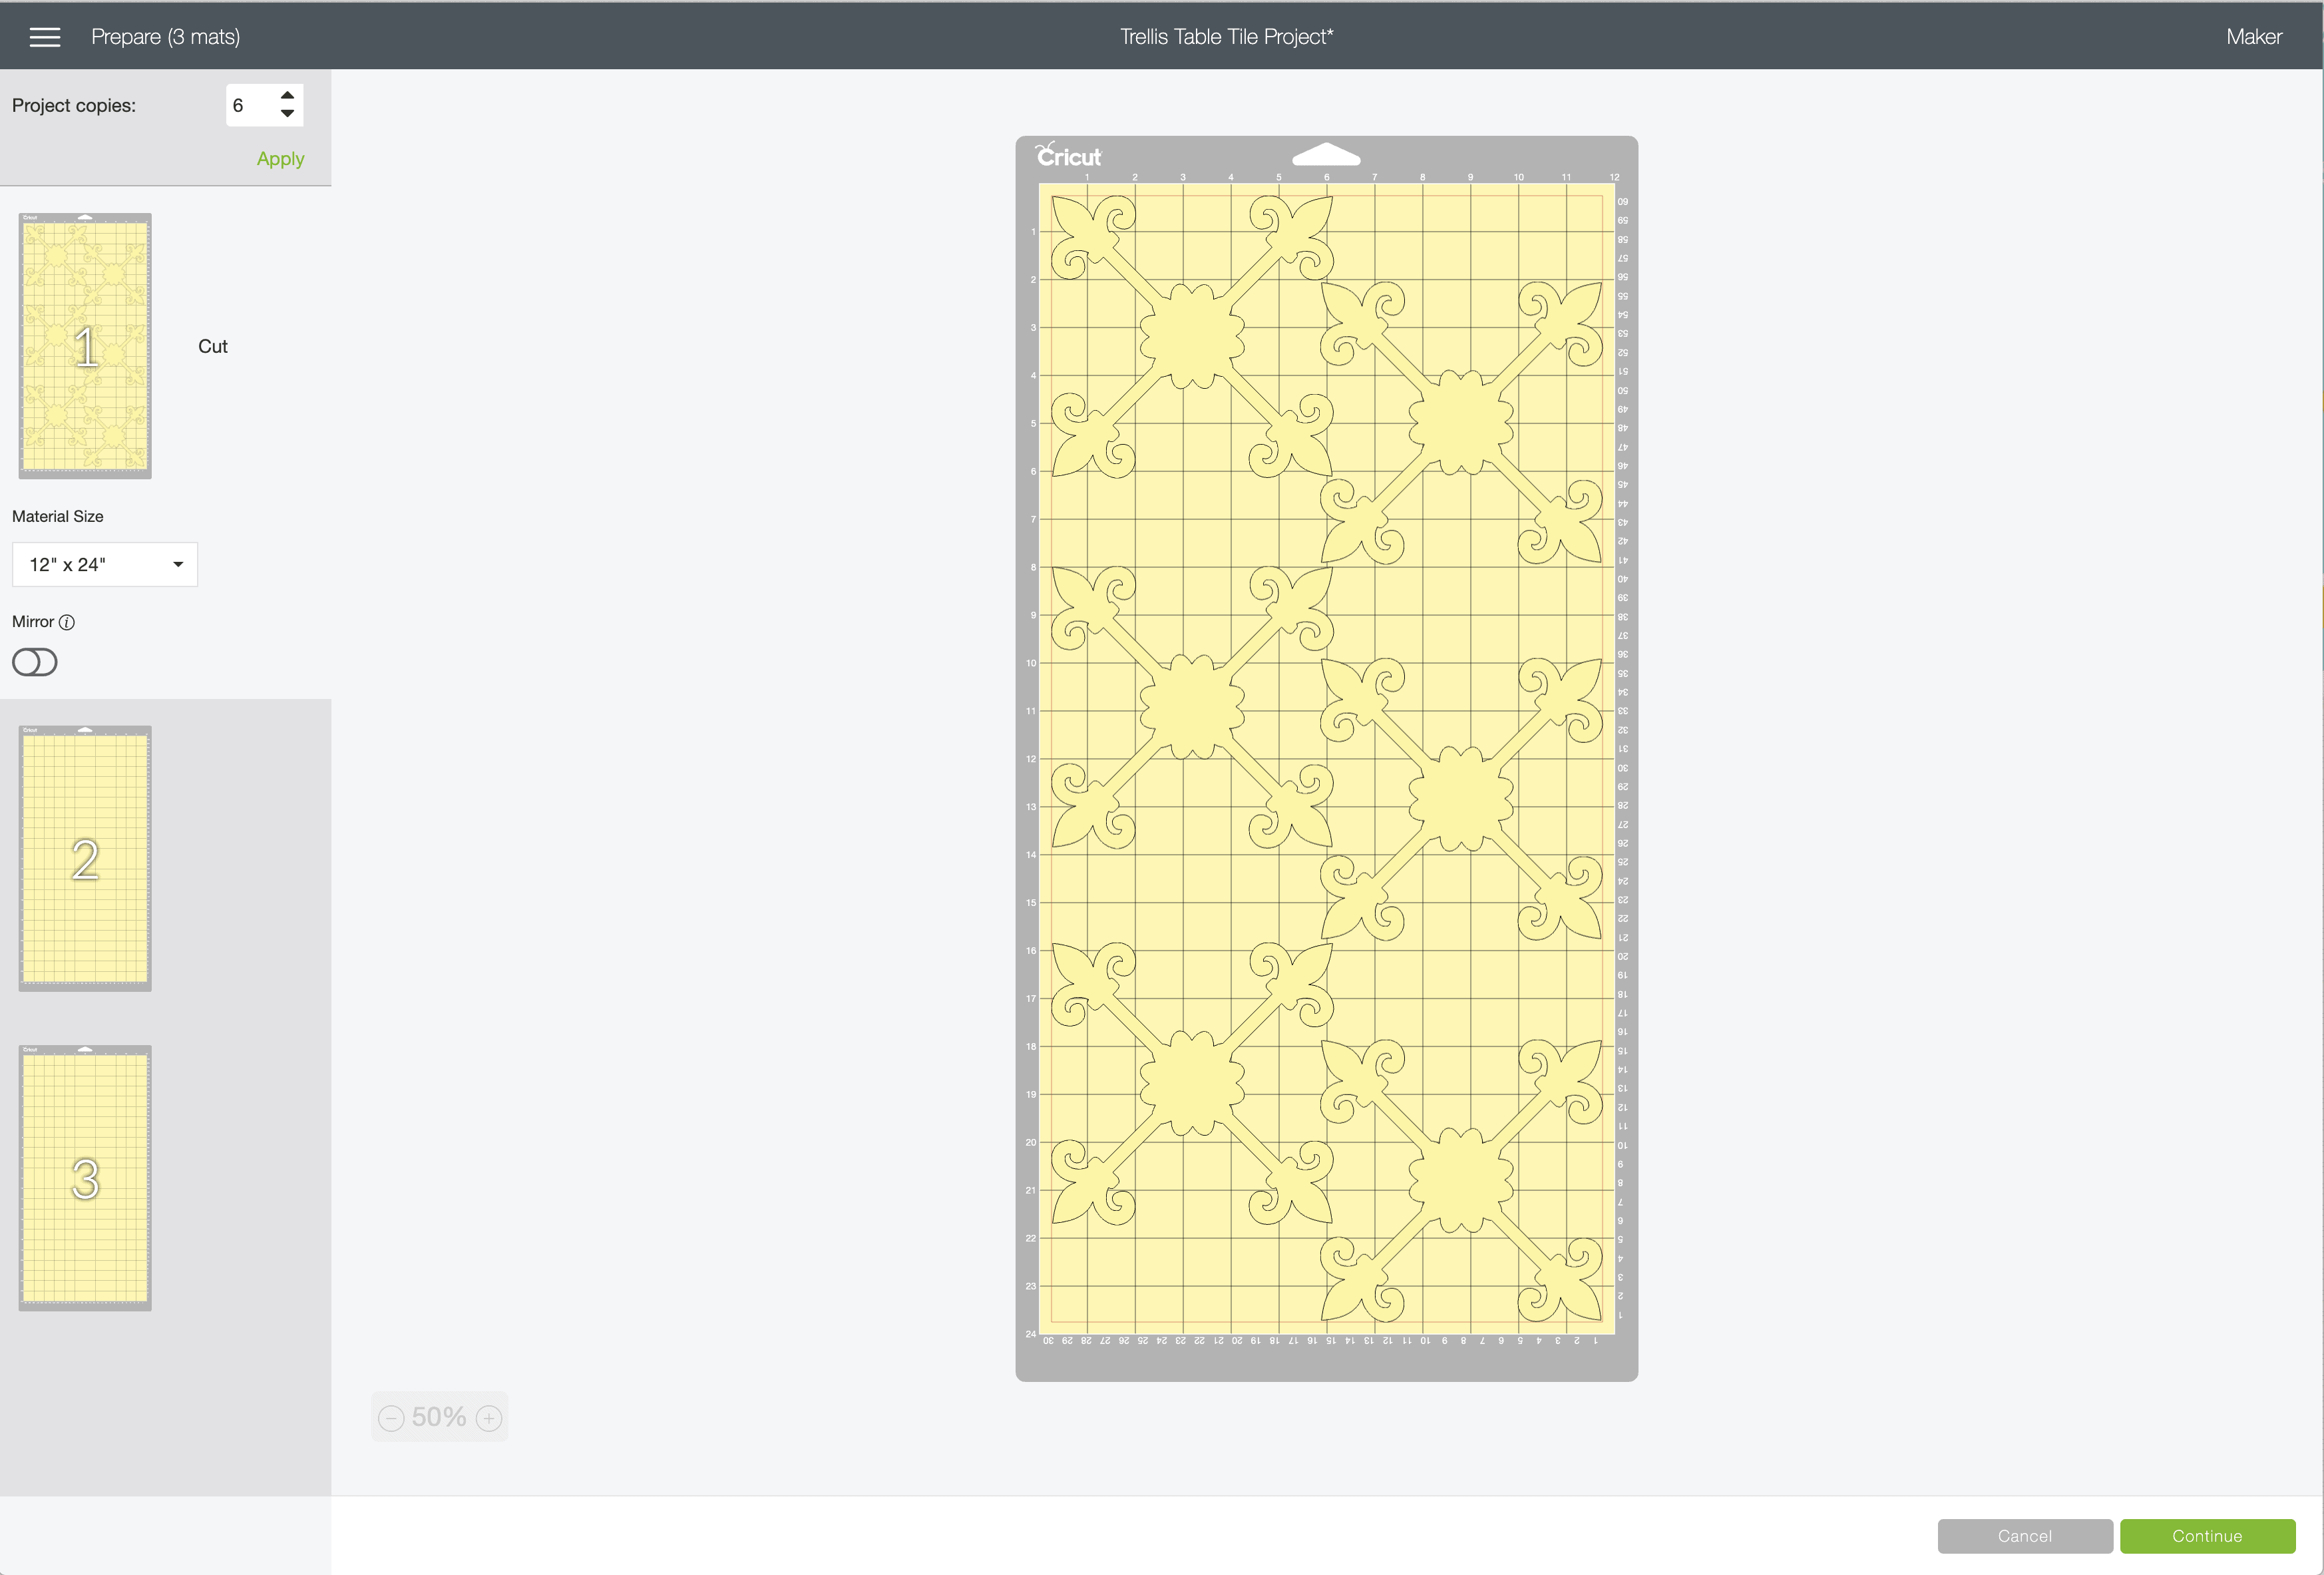
Once I sent my design to cut, I loaded up the Ivory Pearl Vinyl onto a 24″ mat and loaded it into my trusty Explore Air 2!
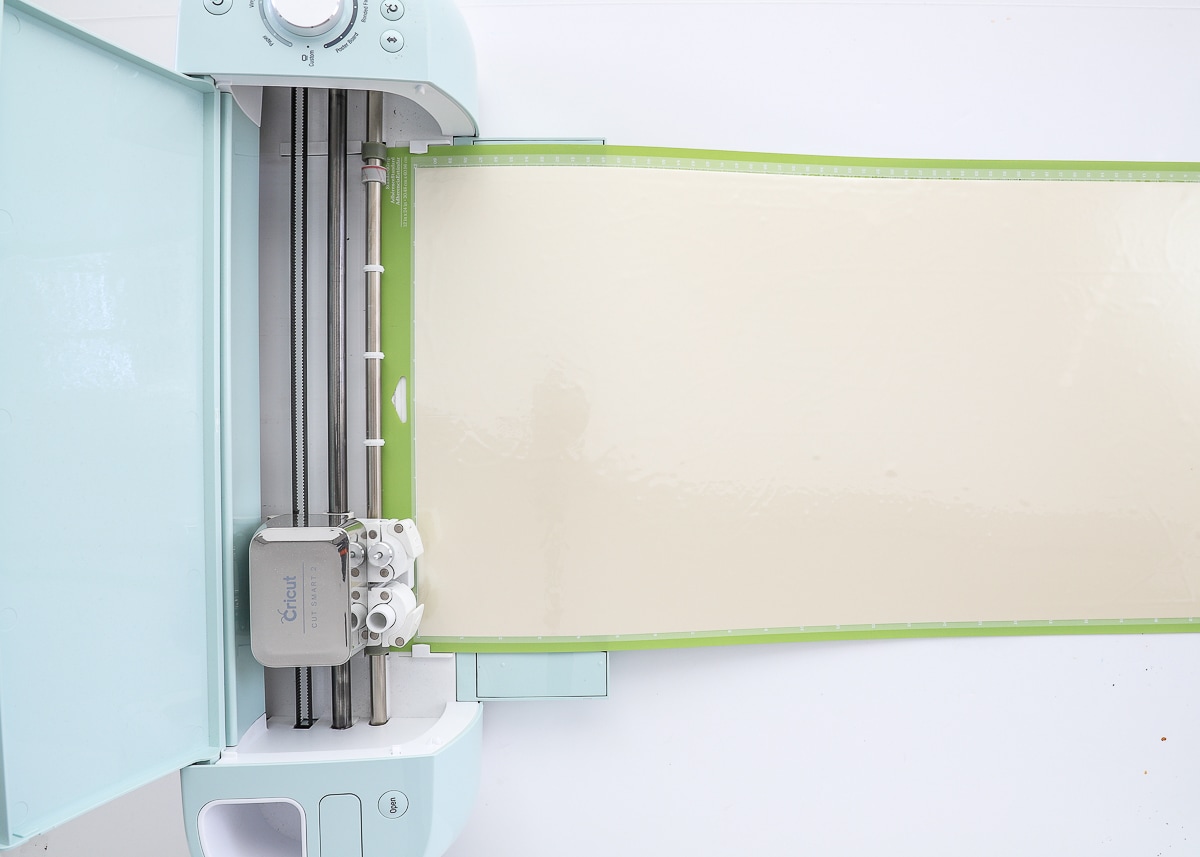
The Explore line of machines is Cricut’s “hallmark” e-cutter, and is the true workhorse of the Cricut family. It’s available in a ton of colors, so you can easily find one to match your space. Plus, it’s compatible with various blades, the Scoring Stylus and pens, allowing you to create almost any project you can dream up. The Explore Air 2′s reasonable price tag combined with vast capability (it can cut over 100 different materials!) make it the most popular and approachable Cricut machine currently available.
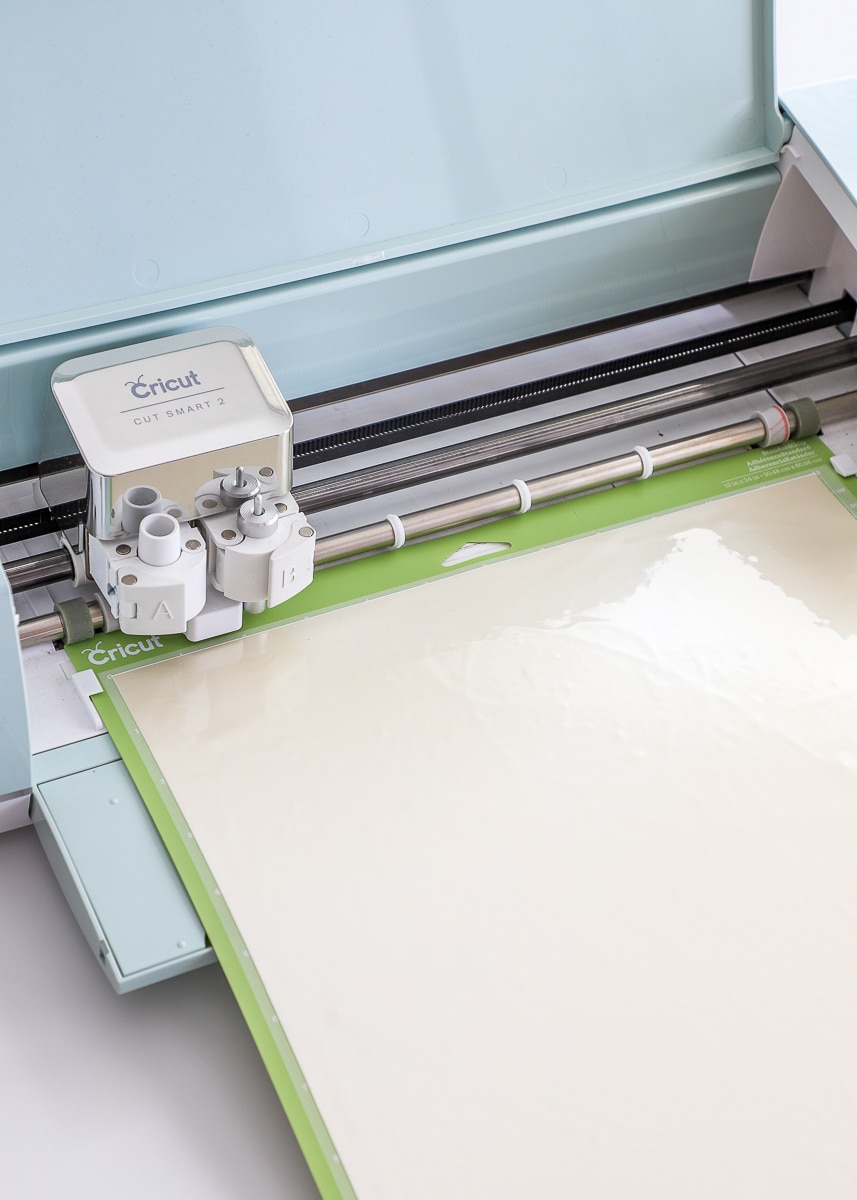
I personally love that this machine is lightweight enough that I can move it around the craft room as needed, yet it has no trouble at all handling these bigger projects (it easily accommodates both the 12×12″ and 12×24″ mats). Although you’ve seen me praise my Cricut Maker for heavier-duty projects, I actually find the material selection knob on the Explore Air 2 to be much more precise, always cutting my designs…whether they be from paper, vinyl, iron-on, faux leather, or sticker paper…to absolute perfection. When I have a quick, simple, straightforward project to do like this one, my Explore Air 2 is always the one I pull down from the shelf!
If you’d like to read more about the Cricut Explore Air 2 in comparison to the Maker or Joy, check out my machine guide HERE!
When I am working with vinyl, I will often weed and transfer my designs directly from the sticky mat (like I show here). For this project however, I strongly suggest you cut apart your base design.
(TIP! Cutting your design apart before you weed will allow you to keep scraps for future projects!).
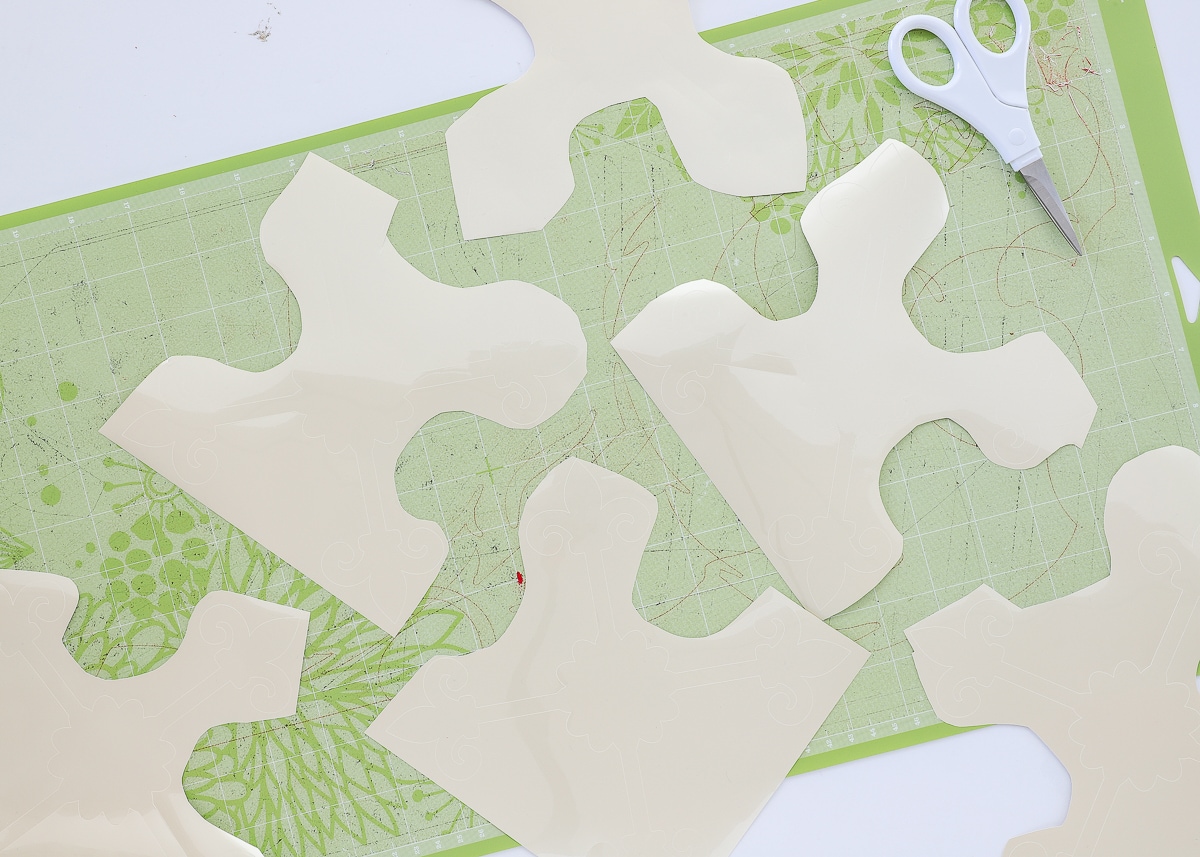
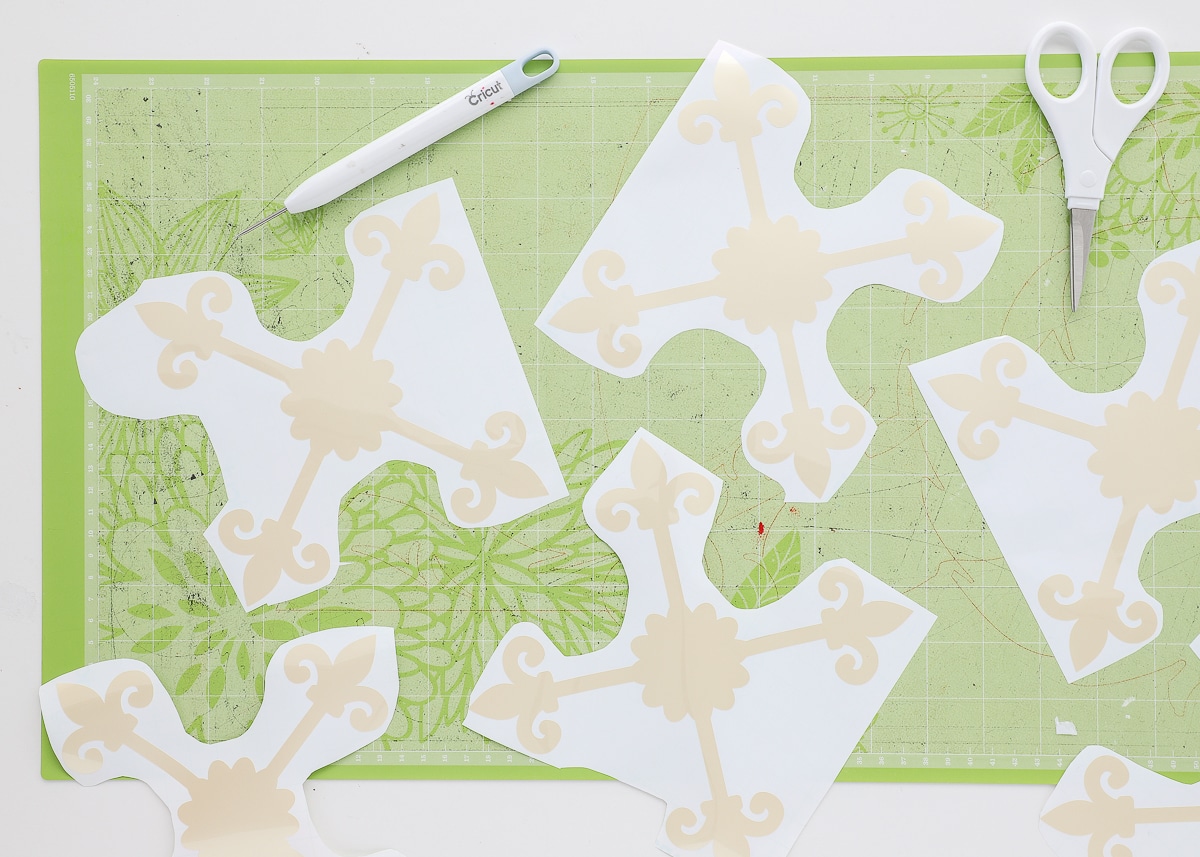
Once your design is cut apart, weed away all the negative aspects of your design. Now your vinyl is ready to be transferred to your furniture!
Starting the Pattern
Although you can certainly just start sticking your vinyl pattern pieces anywhere you want them, I highly recommend you take a few starting steps to make sure they stick properly and are spaced just right.
First, if you haven’t yet, take the time to thoroughly clean your furniture. I had so much paint, sticky residue and more from years worth of blog projects, kids crafts and now homeschooling!
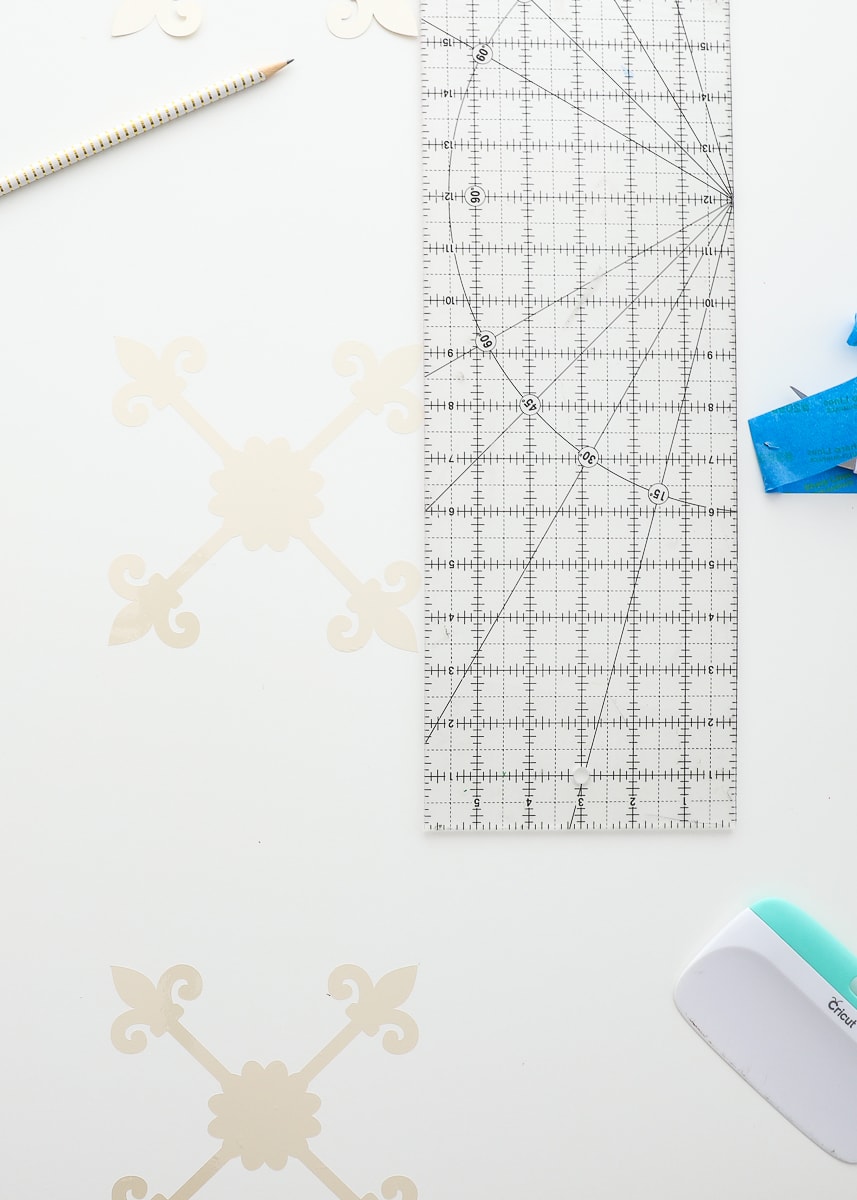
When laying down your vinyl design, I recommend working from the middle outward to be it is perfectly centered in both directions. Use either a ruler or tape measure to identify center on your unit. I found it easiest to stretch painter’s tape down and across the table to serve as guides.
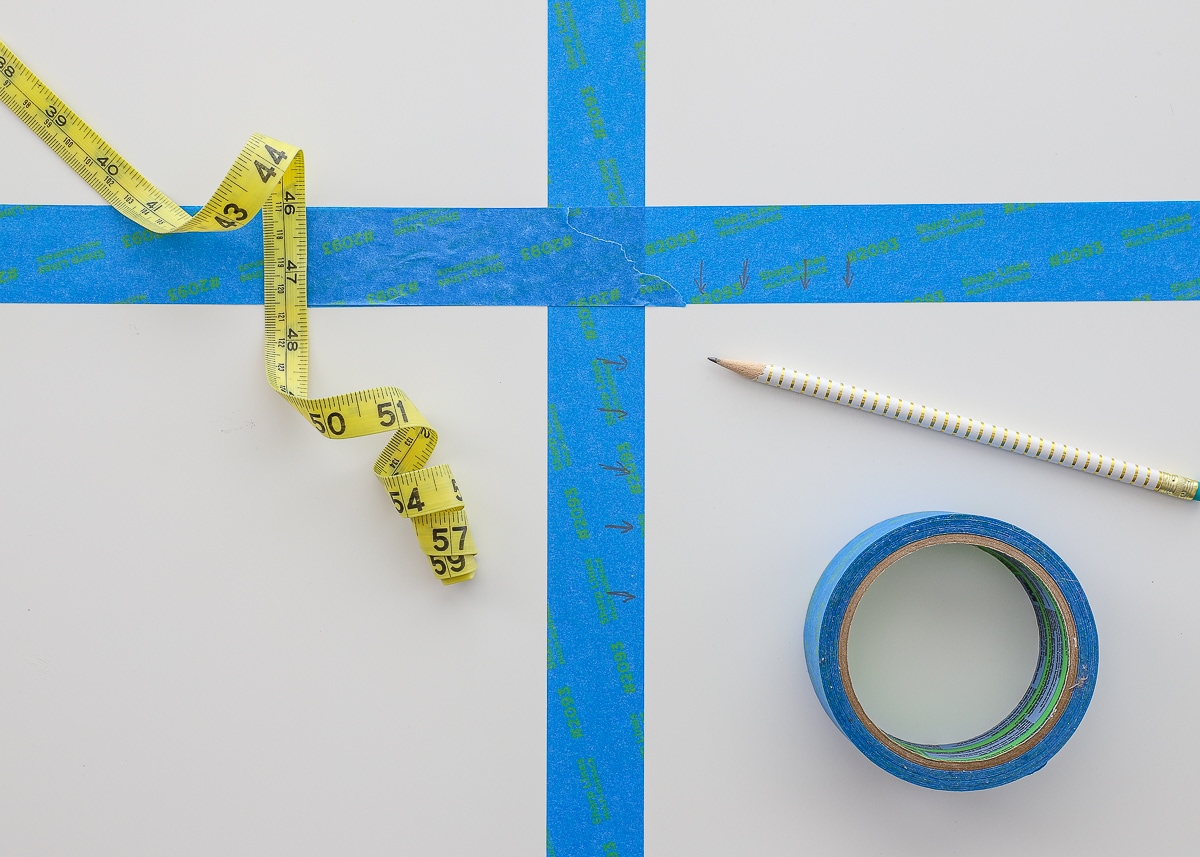
Start by placing your first pattern piece in the center of the table. Although there are lots of ways to do this, I found cutting a paper version of my pattern helped me identify this important first placement.
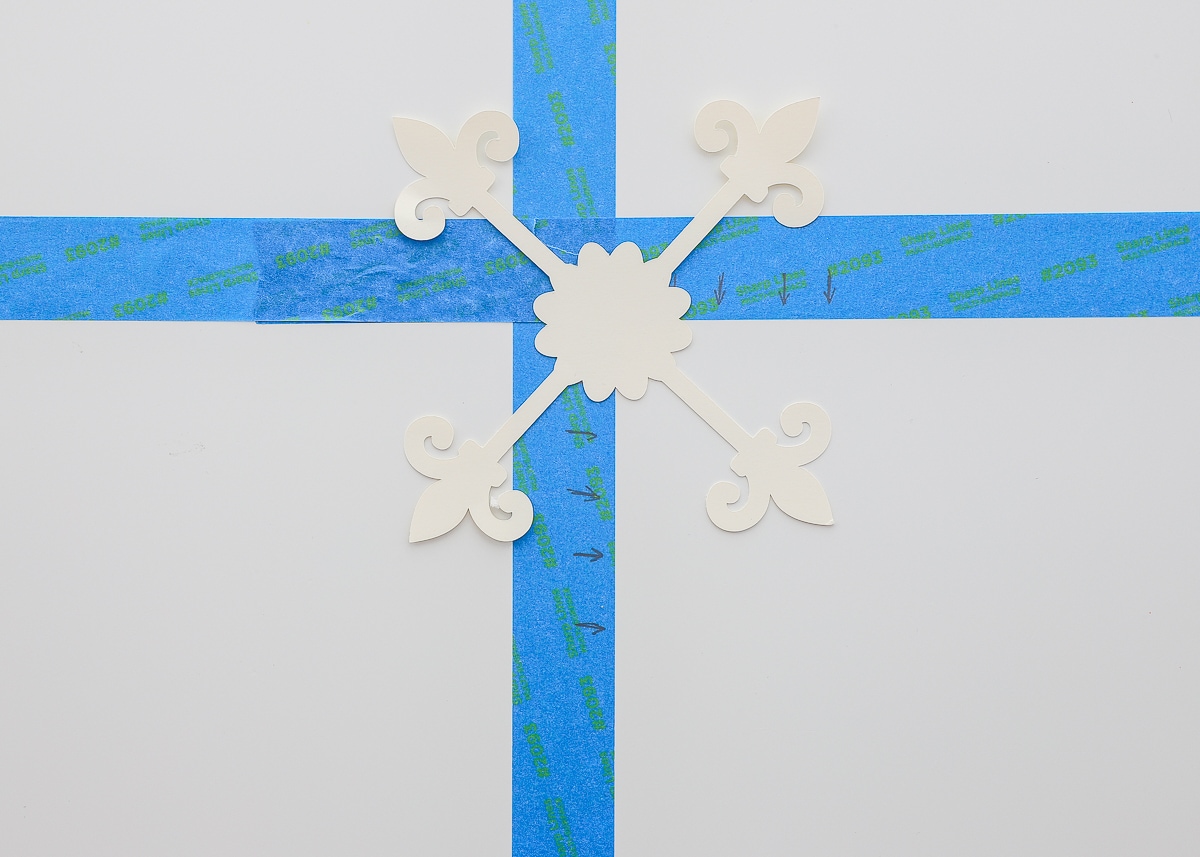
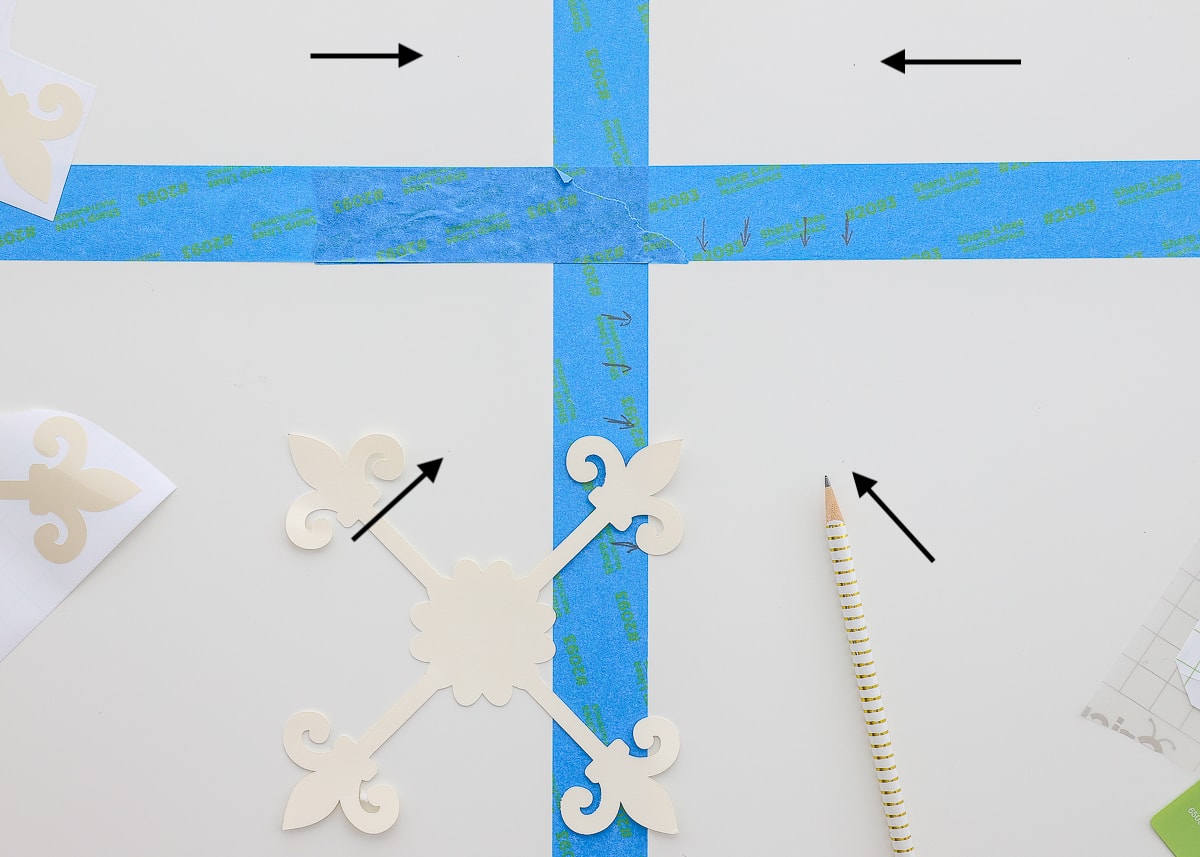
By lining up the center of my pattern with the center of my tape lines (above), I was able to identify where, exactly, my first cut of vinyl should go. I marked the corners with a pencil, directly onto the table (below). I then removed the blue tape, and got ready to start laying down all my pretty vinyl!
How to Apply the Vinyl Pattern
When I am doing smaller projects where the spacing doesn’t have to be 100% perfect, I tend to just eyeball my placement. However, for a project like this, you will want to be as precise as possible when laying down your vinyl pattern pieces. Below are the steps I highly recommend following so that your vinyl 1) ends up exactly where you want it, and 2) does so with minimal bubbles and frustration.
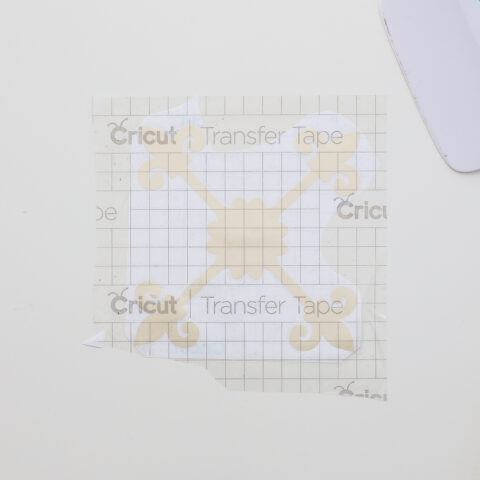
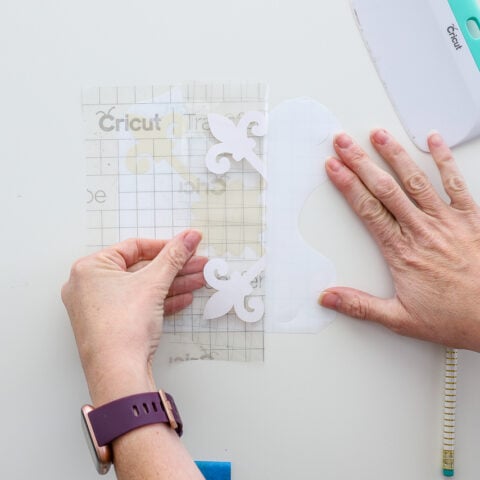
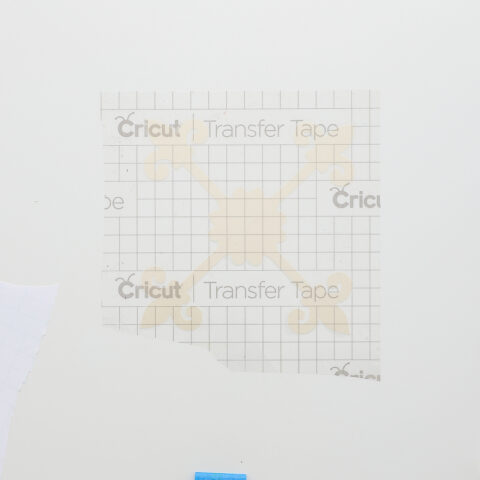
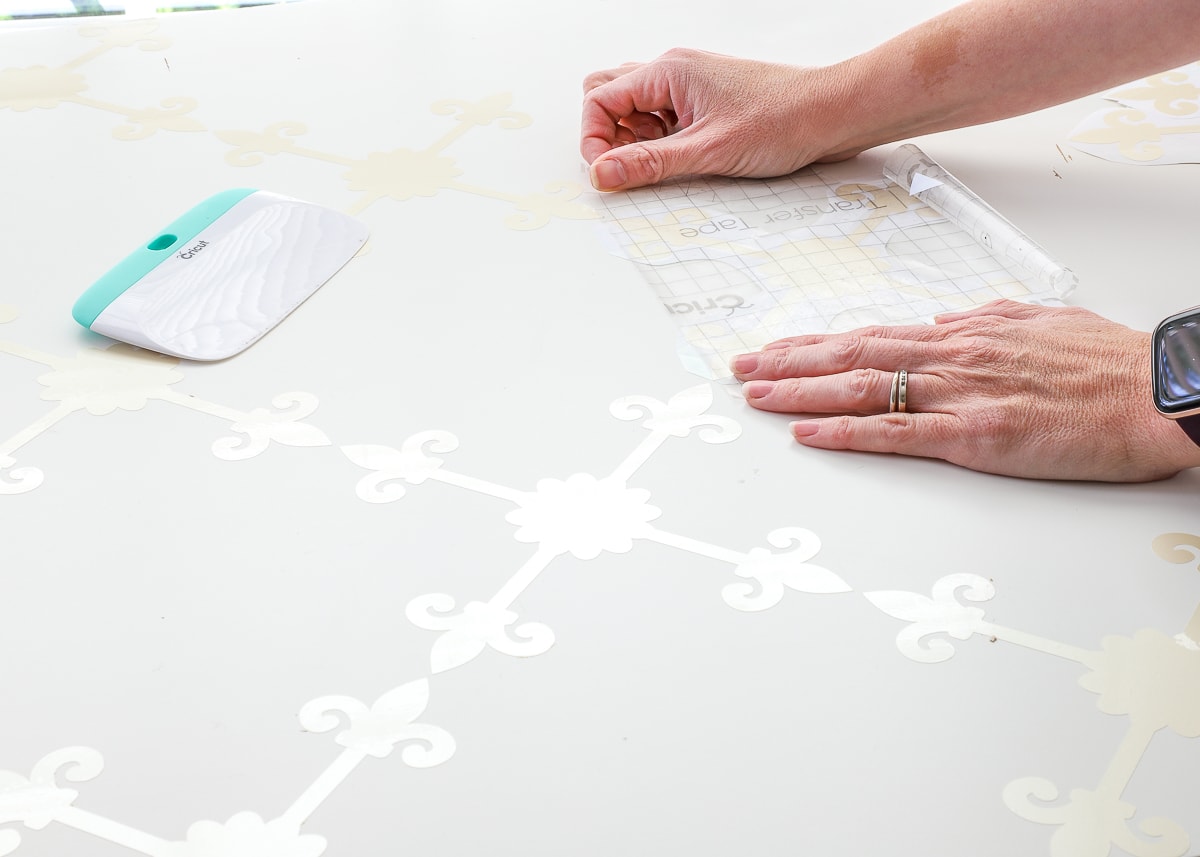
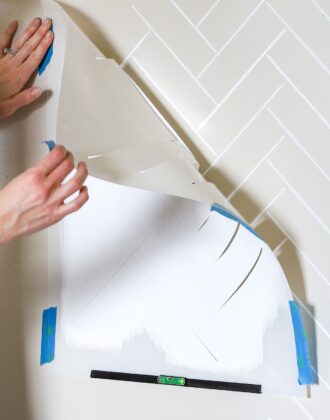
- Start by laying down a cut of Transfer Tape (that is 1″+ bigger than your design) on top of the vinyl. Using the pencil marks you identified previously, lay the vinyl design down with the paper backing still in place to line up with those markings. Smooth the excess transfer tape down onto your surface to hold your design in place.
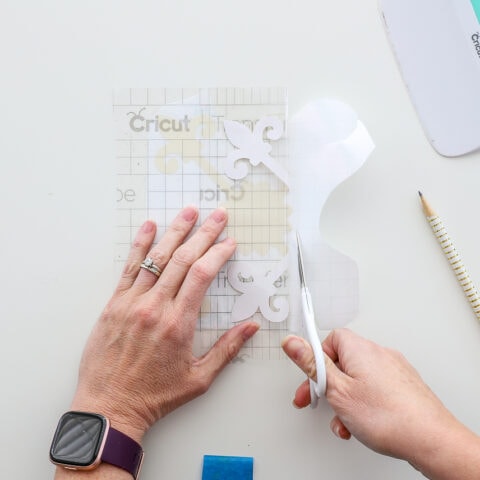
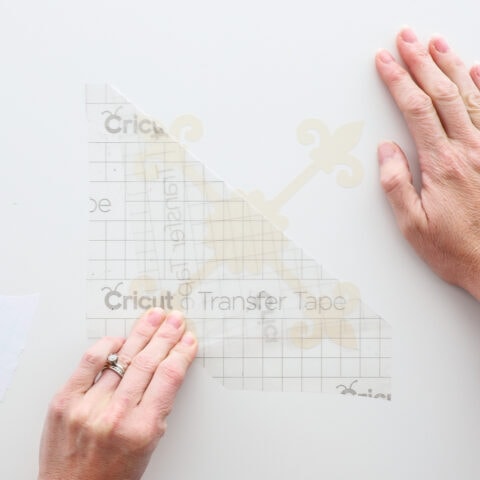
- Lift up both the vinyl+transfer paper on just one side of your design, separating the paper backing from the vinyl.
- Using a scissors, slice away the paper backing on that one side and discard it.
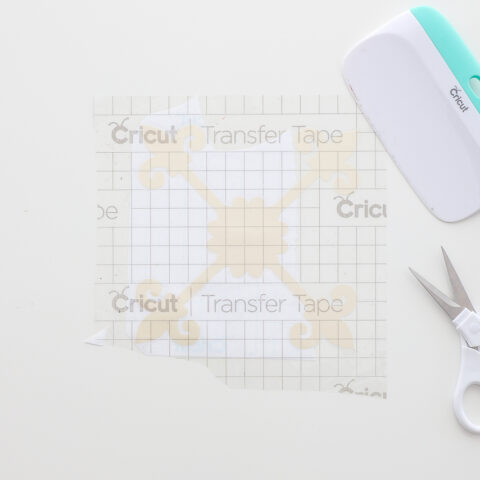
- With the paper backing now gone, lay the vinyl+transfer paper back onto your surface, smoothing outward. That first side of the vinyl is now placed.
- Next, lift up the other side of the design in order to remove the rest of the paper backing, just be sure the first side remains exactly where you already laid it.
- With the paper removed, smooth down the rest of the design onto your surface. At this point, there should be no paper backing, and your vinyl+transfer tape should be down on your surface.
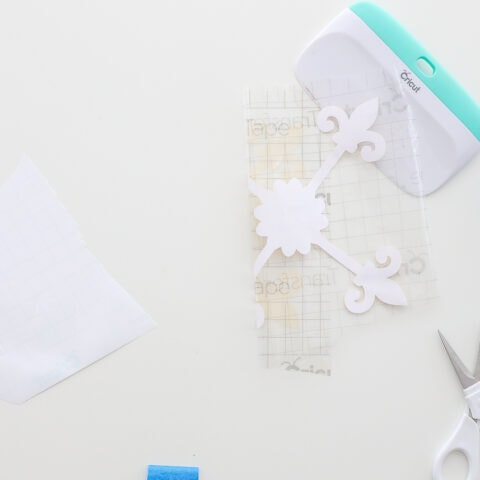
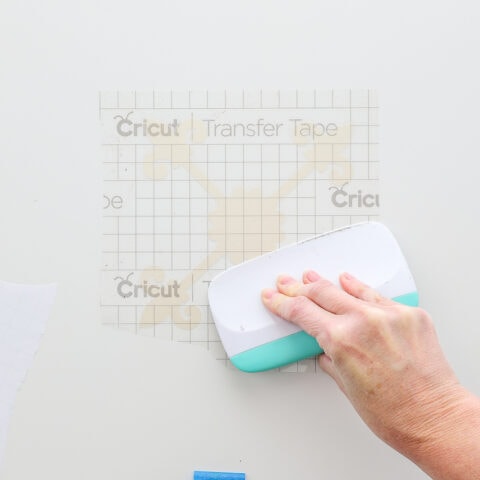
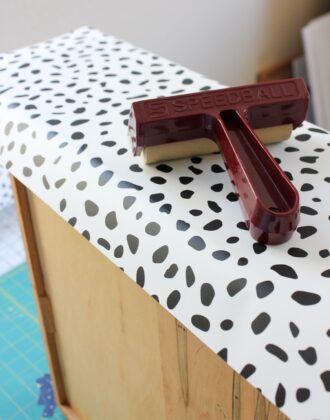
- Use the XL Scraper to press and smooth the vinyl onto your surface. You shouldn’t have any bubbles, but if you do, this is the time to try and work them out.
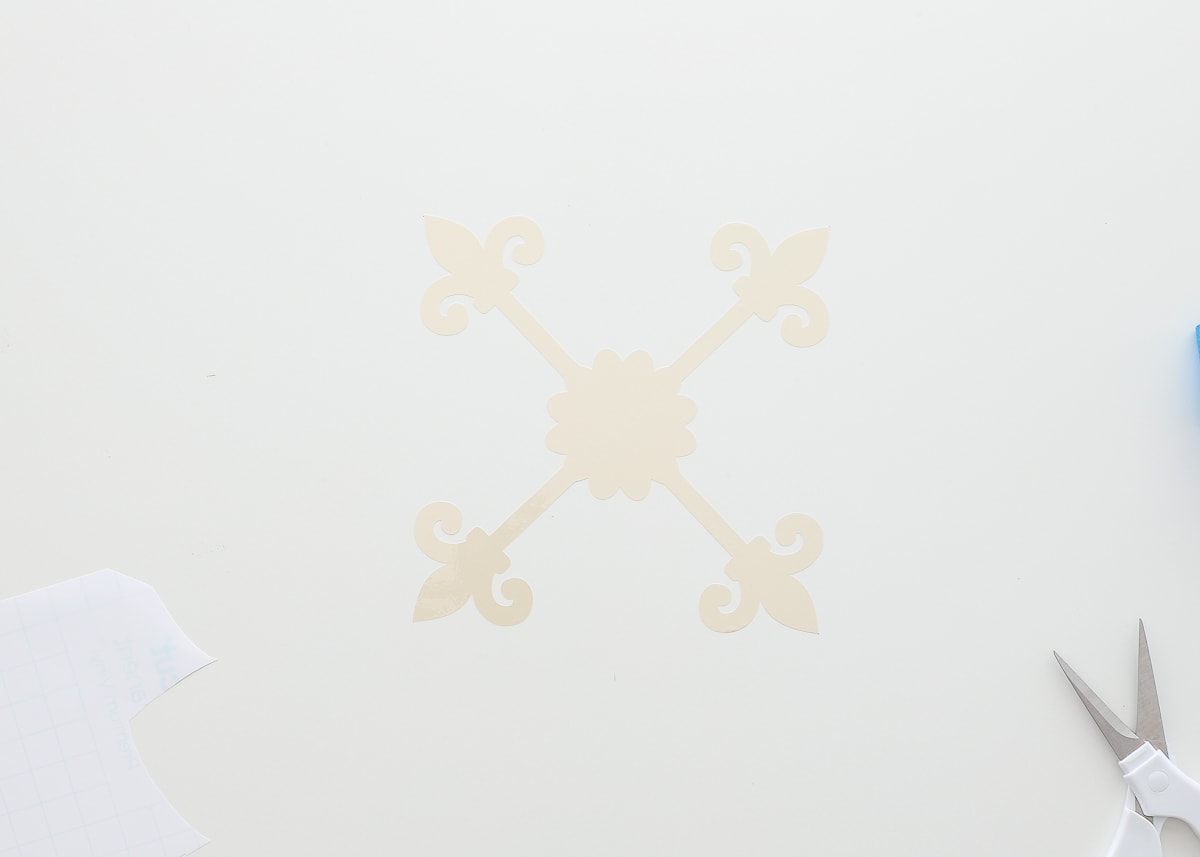
- Slowly pull the transfer paper away from the vinyl design, holding the paper along the surface as you remove it.
If you follow these steps, your vinyl design should end up exactly where you want it, bubble free! Although it’s a little tough to see, notice my 4 points line up with my four pencil dots.
The key to good spacing across your entire project hinges upon good spacing here at the beginning. So based on your pattern, spend some time measuring, taping, and laying out the other pattern pieces along the center-line of your furniture.
Once your center-line pieces are in place, lay down the rest of your vinyl, moving outward, using the same application method outlined above.
NOTE: My pattern was fairly easy to lay down just by matching the corner points of each cut. If your design has margins or space between each cut, consider using tape, chalk-lines or other methods to keep your pattern straight and consistent.
If your pattern extends all the way to the edge of your furniture, I suggest cutting your vinyl with a paper trimmer or scissors before applying it in order to achieve a nice clean edge.
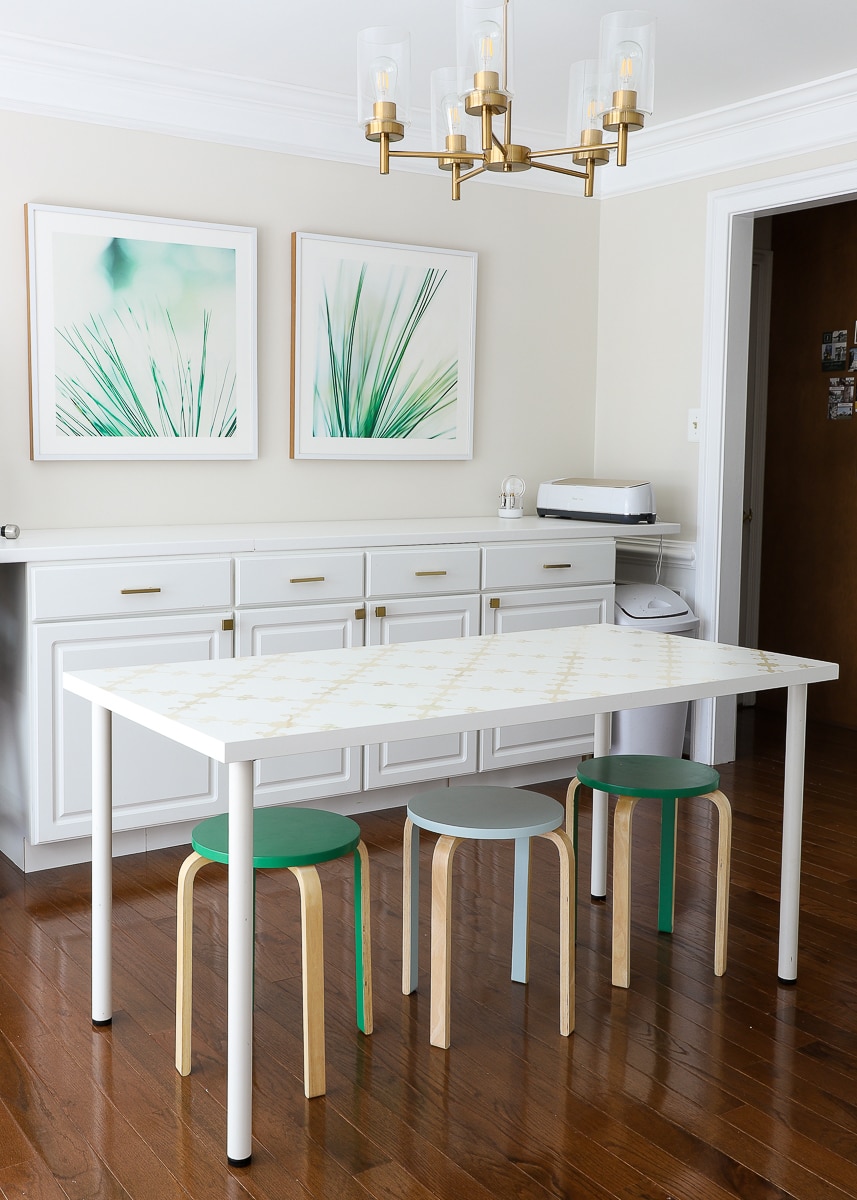
Once all your pattern pieces are in place, step back and enjoy your newly “stenciled” table with Cricut vinyl!
Protecting Your Surface
I’ve been known to put vinyl on all sorts of surfaces since it’s such a fun, easy, and temporary way to add colors, patterns and designs to pretty much anything. Typically, I don’t do anything to “protect” my vinyl. However, this is a table in the heart of our home. Not only do I work at this table daily, but I have three little boys who craft, build LEGOs and more at this table. To not only keep my vinyl design pristine but to also provide a smooth work surface, I laid a sheet of acrylic on top of the table.
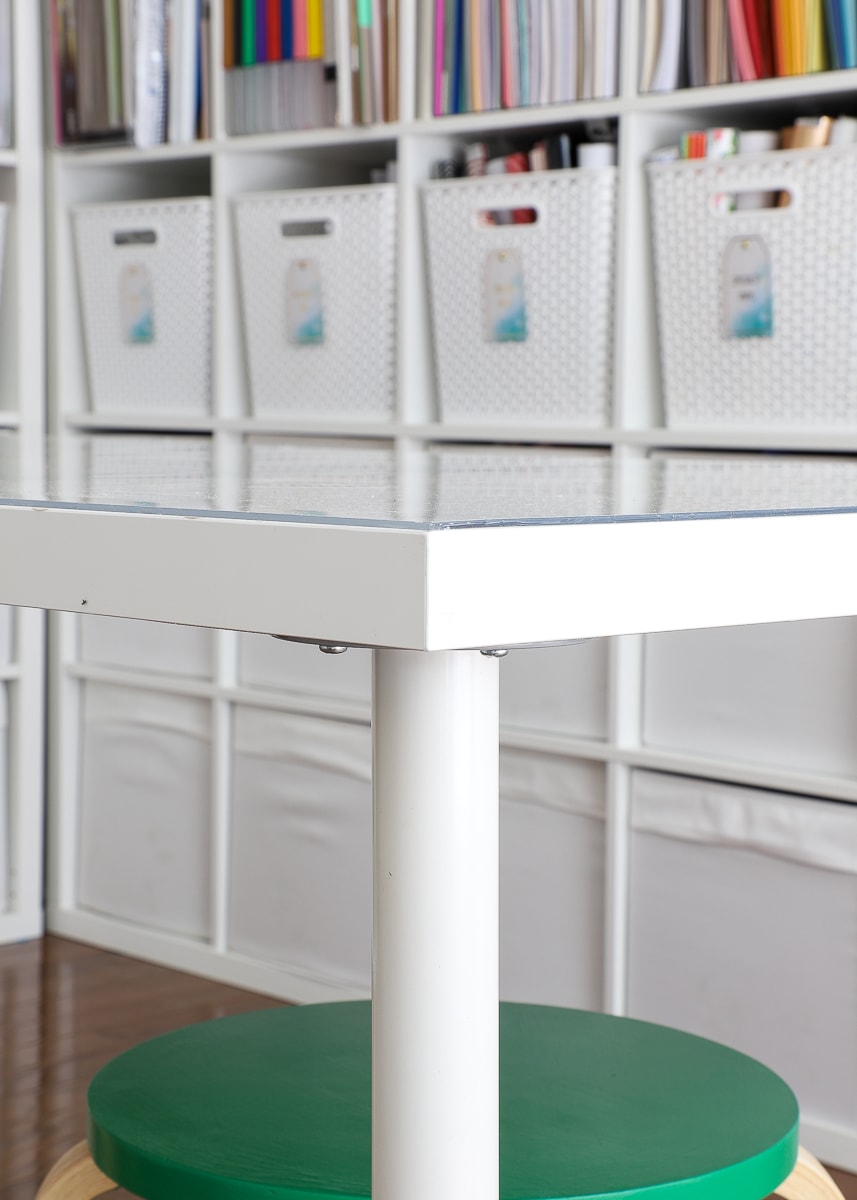
This is actually a really easy solution whether you’re decorating a desk, side table, dresser, or kitchen table. It’s really budget-friendly and even elevates the whole look of your DIY furniture. I’ll show you exactly how to do it in a few weeks!
Although I’m a total sucker for pretty painted furniture, I really don’t think I could love this makeover any more. Not only was it really inexpensive and easy to do, but since it’s all done with vinyl (rather than paint), it’s so easy to change up should I tire of it (unlikely!) or need to use this table differently in a future home (likely!). I hope this project not only gives you additional ideas for using your favorite Cricut machine, but also shows that stylish furniture makeovers don’t have to be hard, long or involve paint!
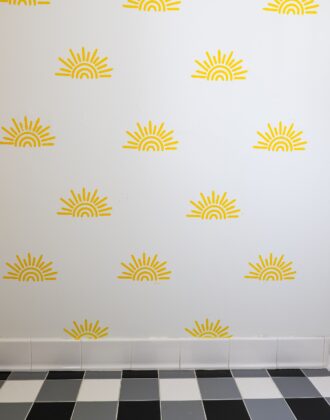
If you love to use your Cricut to make home decor, I invite you to check out the Cricut blog! All this month, bloggers and creatives have been sharing so many fun and unique ideas for using your Cricut to decorate and stylize your spaces. I can’t get over this rainbow decal project and this floral wall! And be sure to check out the #cricutathome hashtag on Instagram for more great ideas!
All next week, I’ll be diving into the other details you see in this space like my new pretty basket labels and those colored stools! I hope you stop by to check it out!
Megan

5 Comments on “Faux Stenciled Table with Cricut Vinyl”
The craft room looks great! All those white cubbies are very soothing. Would you consider sharing some of the craft project ideas you do with your sons? My boys are a year younger than Henry and Sam respectively and I have a hard time coming up with things they can do together.
Hey girl!
Yes – the struggle is REAL with these two, especially cooped up at home right now. I’m finding their age separation is really tricky in just about everything…do you find the same thing? It doesn’t help that they have really different personalities too!
There are not many craft things they are both really content with. They both LOVE slime, baking cookies/breads, and play dough (although Henry prefers clay that actually stays together after it dries rather than crumble). Sam LOVES beads (pearler beads, making necklaces etc) but Henry doesn’t have the patience for it. Sam also loves playing with my punches and colored paper (so random!) My sister had them making Hex bug mazes out of cardboard boxes, popsicle sticks, etc and they both enjoyed it but Sam needed more help. I just ordered some of the interlocking popsicle sticks because I think they can both do that?
I wish I had more answers for you…I’ll keep you posted!Megan
Yeees! Tell me all about your acrylic! Seriously, I have been having the hardest time sourcing that kind of thing for my dining room table. It’s a beautiful lightly finished wood from IKEA, and I’m so worried about damage, but at the same time, I don’t want to coat or cover it with anything as the soft natural wood was one of the things I loved. (Ack, long sentence). Being able to customize the size would be excellent. It has pull out leaves, and I’d like one sheet for the middle, and then one each for the two add-ons. 😀
Hey Erin!
I’ve got a post coming up next week, but in short…you can find reasonably-priced sheets of acrylic at both Lowes and Home Depot. They won’t cut it to size for you, but it’s not too hard to do yourself! I’ll have more details for you next week, and hopefully I’ll have some solutions that will work for your table!
Have a great week!Megan
Love this project and especially love your craft room.