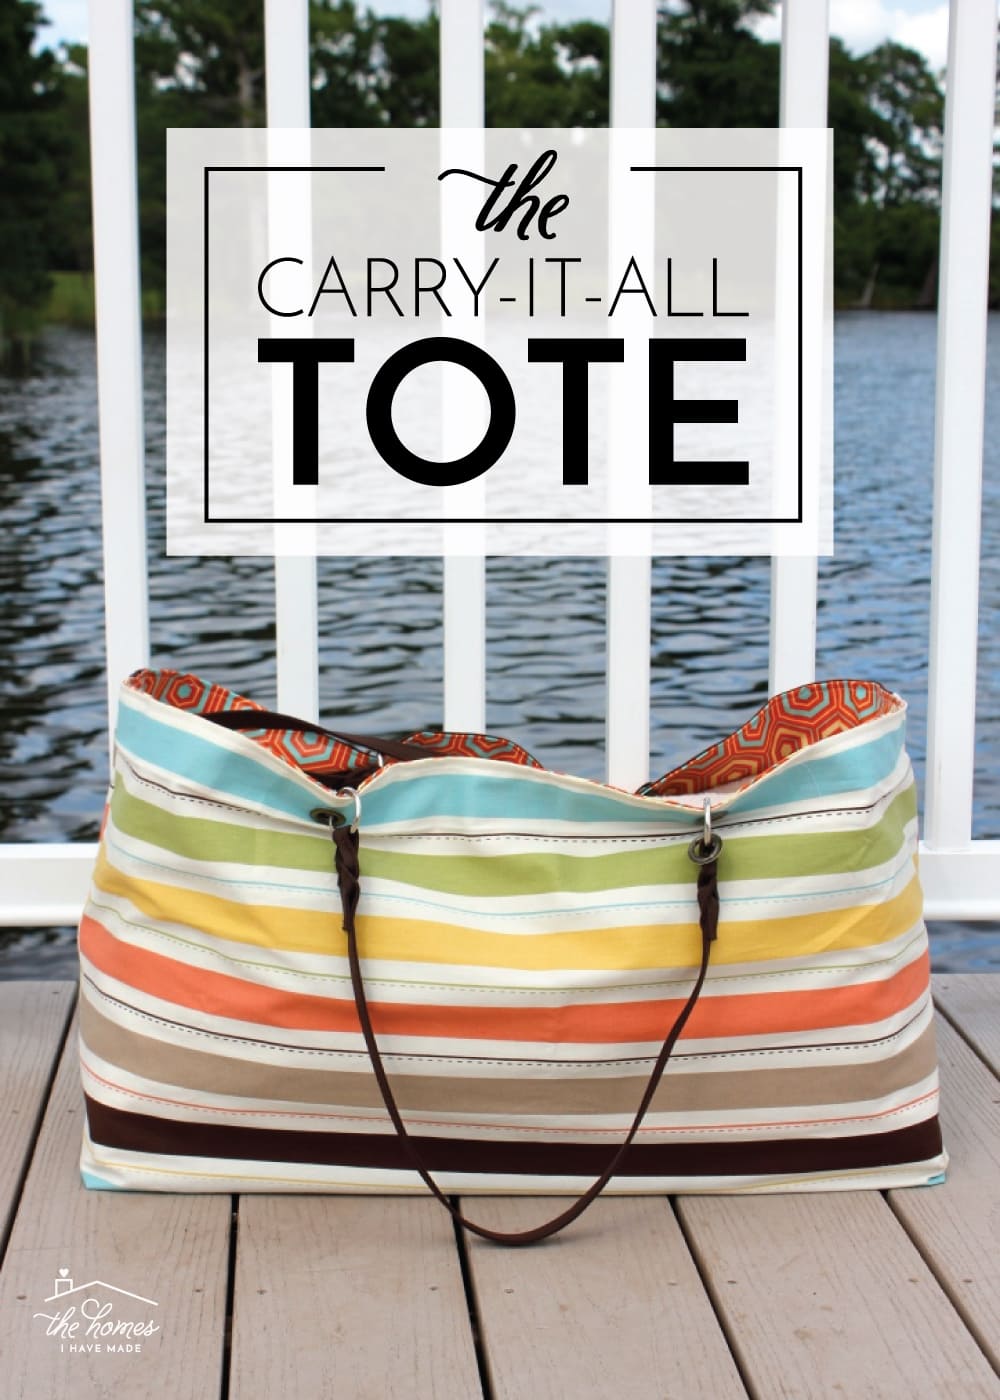
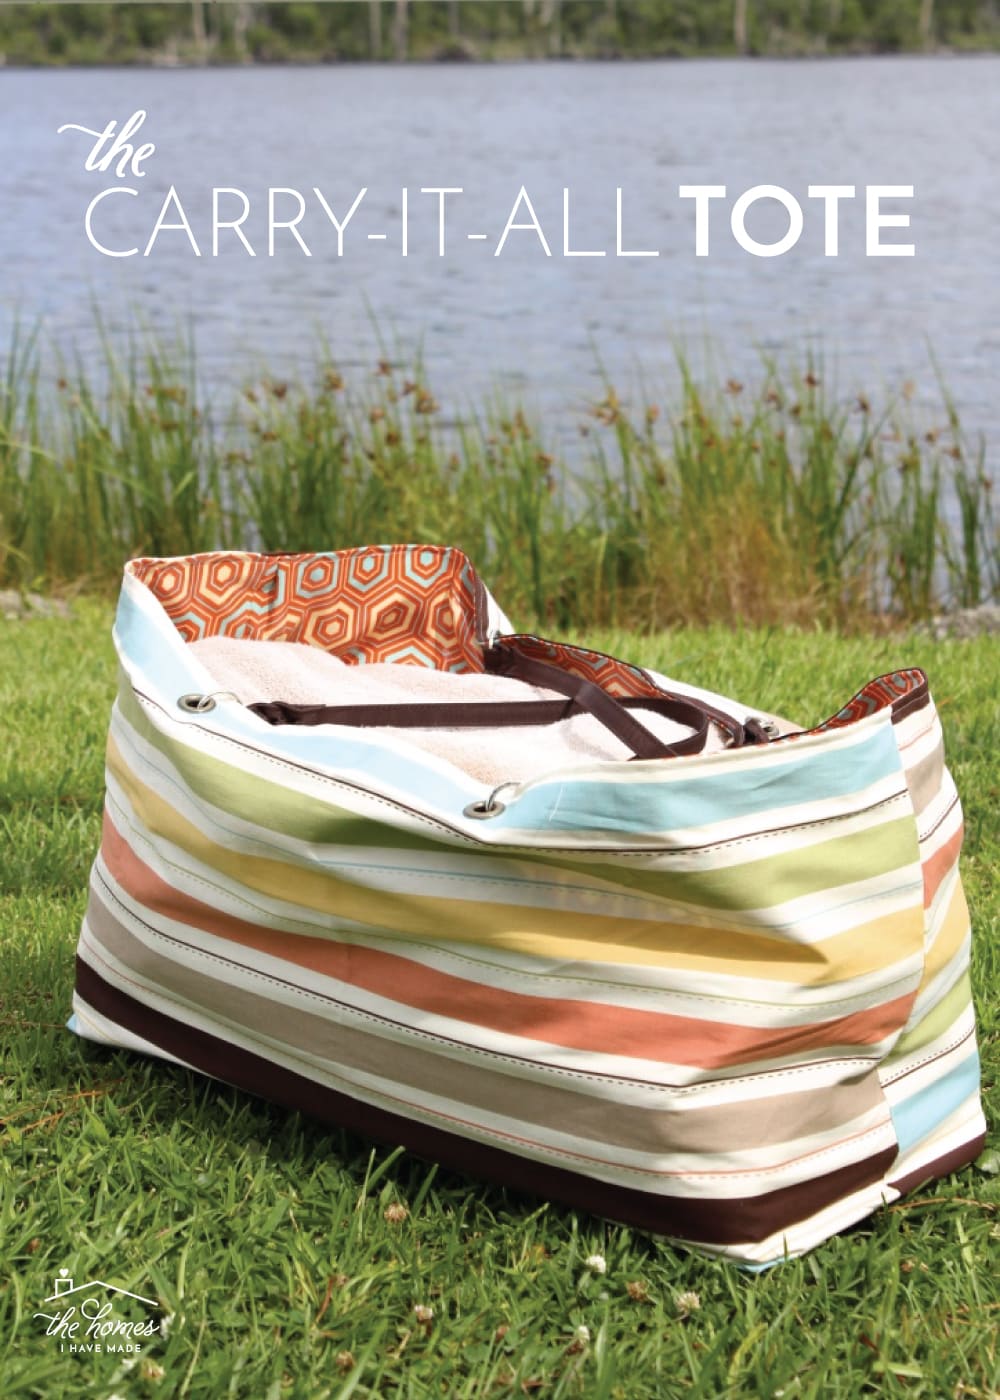
The Carry-It-All Tote Bag
For many families, the fun-in-the sun days of summer (usually) require lots of gear such as towels, goggles, floaties, toys, sunscreen, dry clothes, snacks, and more! Whether you’re schlepping to the neighborhood pool or just the backyard this year, dragging lots of different bags can be a big ol’ hassle. If you’re anything like me, you might constantly be on the lookout for the perfect bag to make your beach or pool days a bit easier. However, before you run off to buy one from your favorite store, consider giving this easy DIY tote a try. With some basic supplies and in just an hour or so, you can make yourself the ultimate Carry-It-All Tote!
Updated June 2020: This is another project I first created…years ago…for My Daily Bubble, a website that unfortunately no longer exists. Around this time of year, I consistently get emails from Pinterest-searchers asking where they can find the tutorial, and I’m not really surprised because it truly is an “oldie but goodie!” I am so thrilled to have permission to re-post this (really easy) tutorial in its entirety just in time for summer fun! Enjoy!
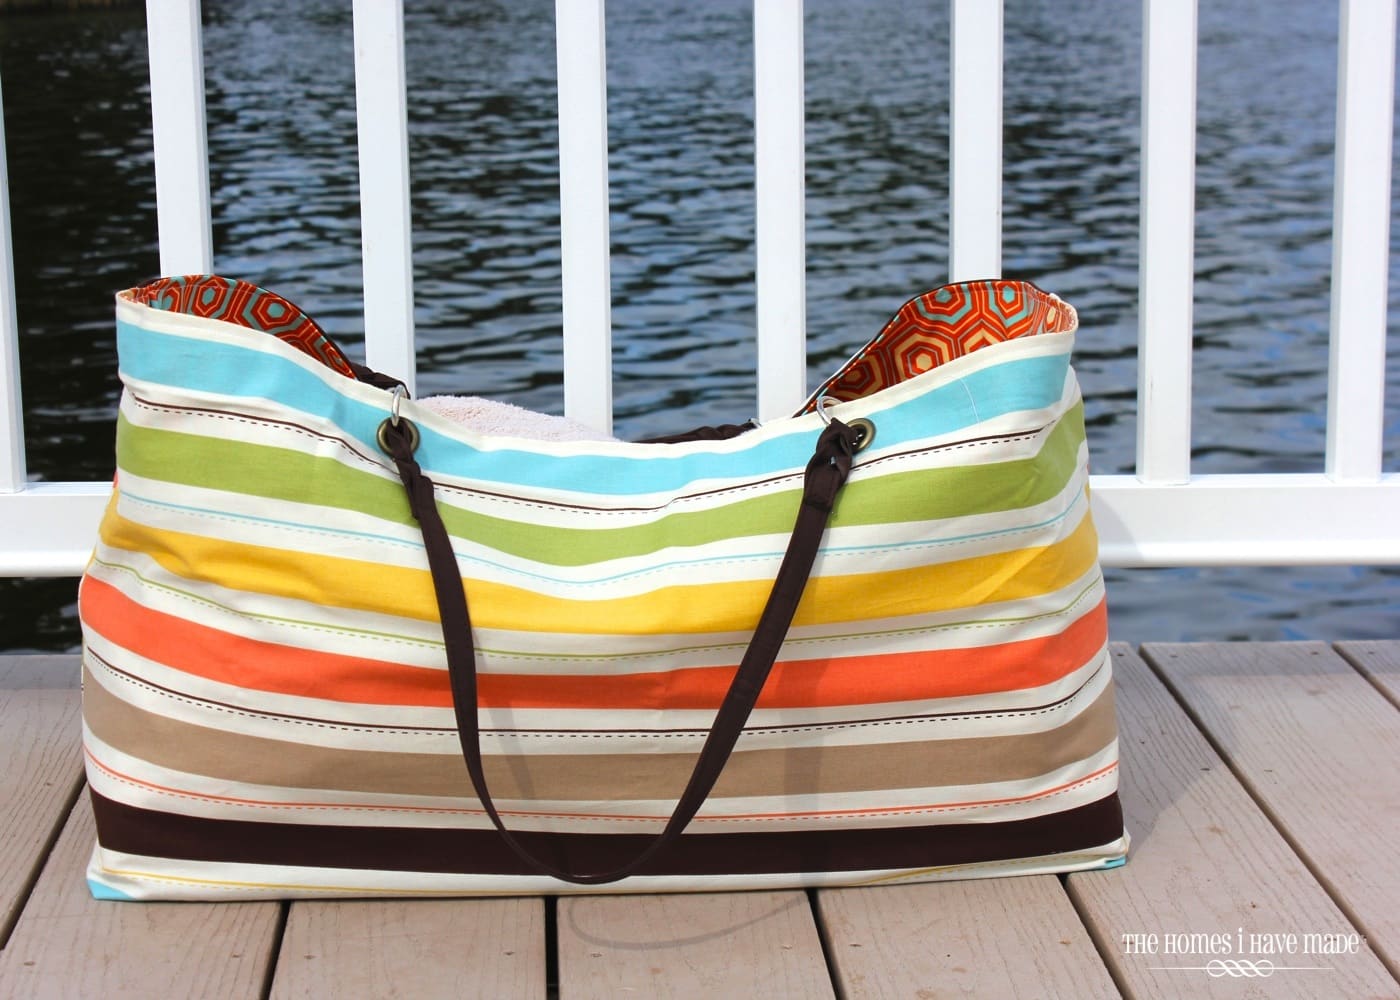
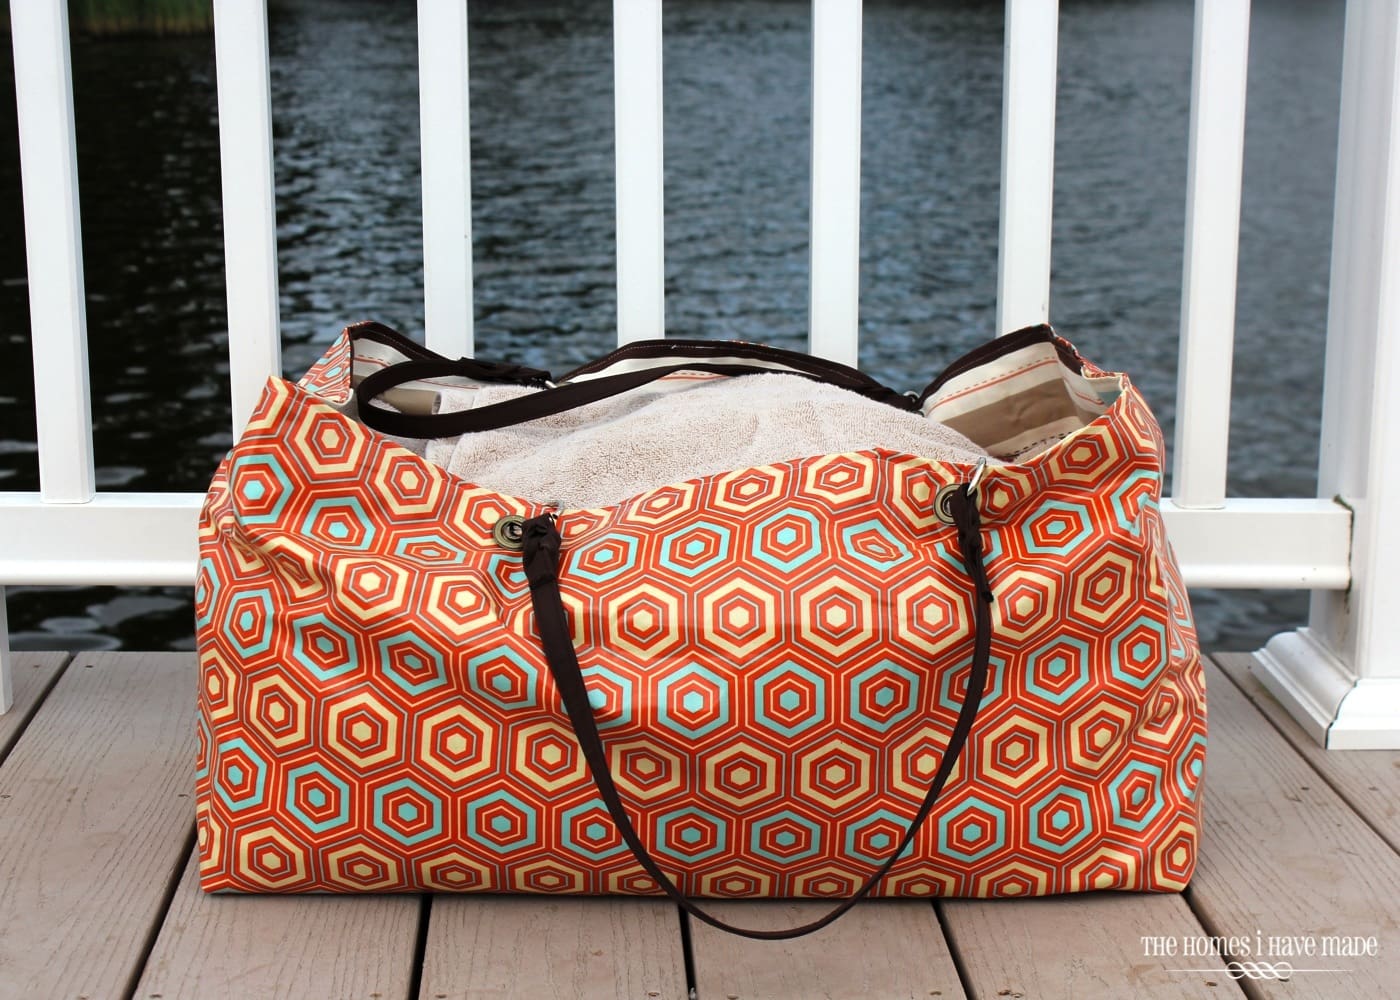
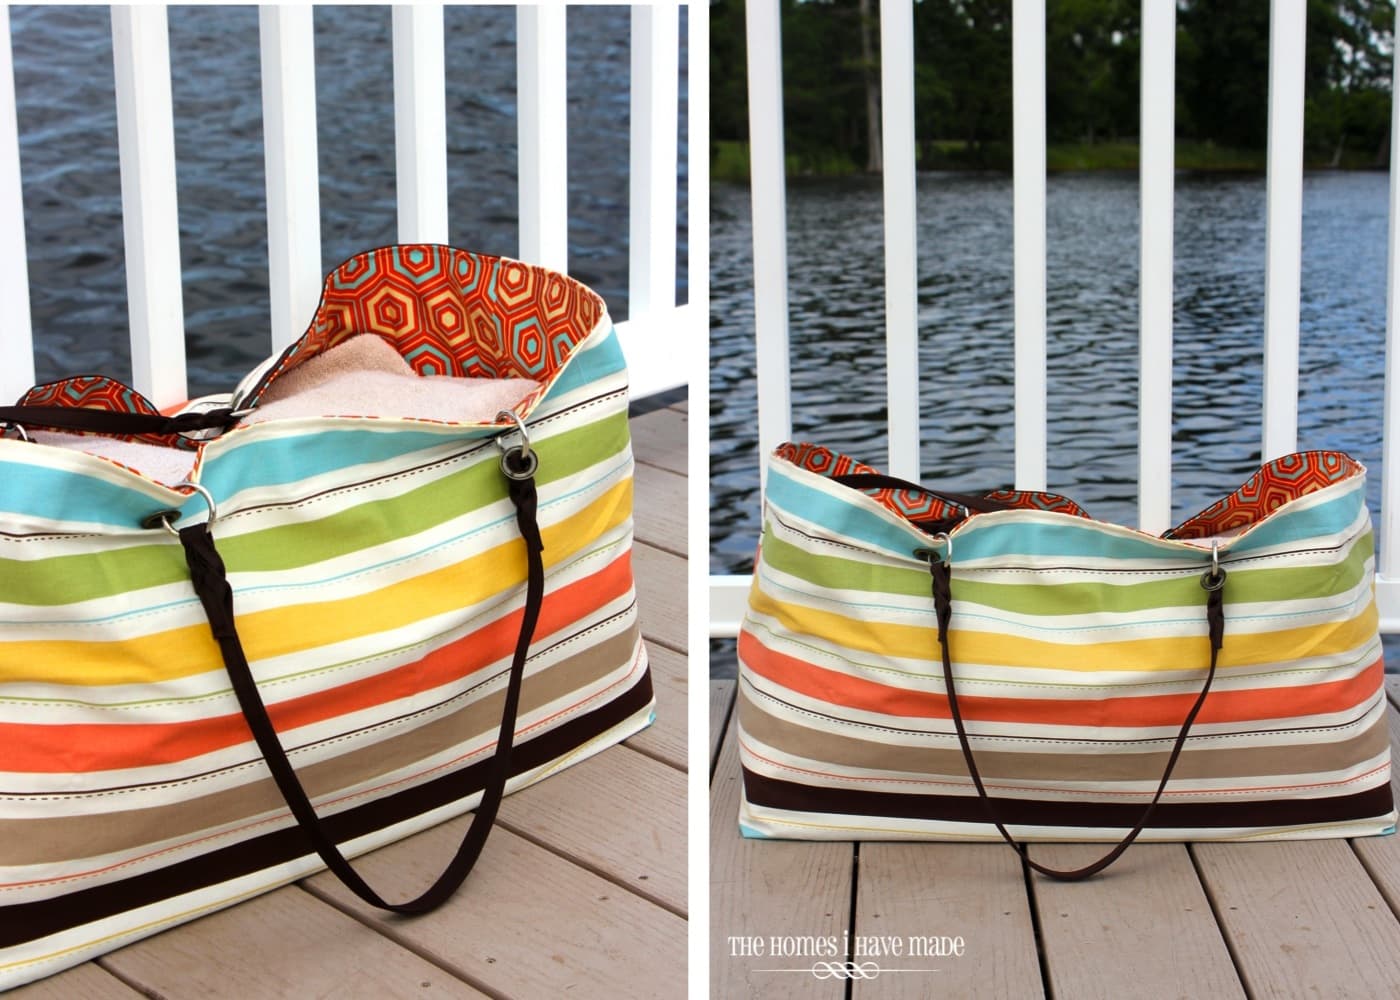
This super-sized and oh-so-simple Carry-It-All Tote is perfect for stuffing and carrying all your summer necessities. The pictures might be a bit deceiving, but I have 5 full-sized beach towels stuffed in mine with room to spare!
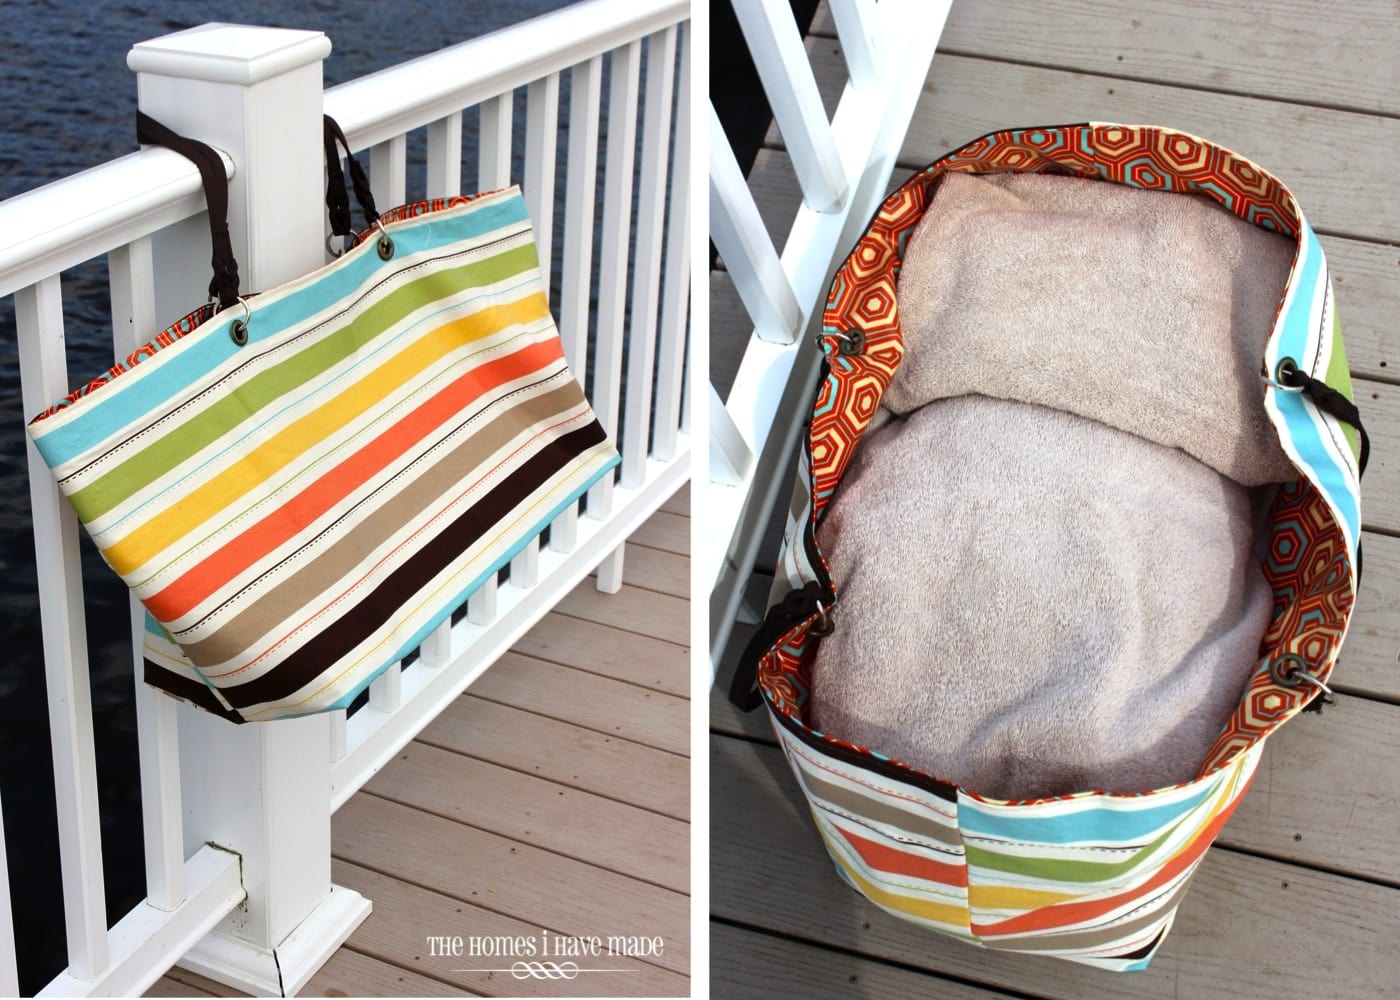
Oh! And I haven’t mentioned the best part…this baby is reversible!
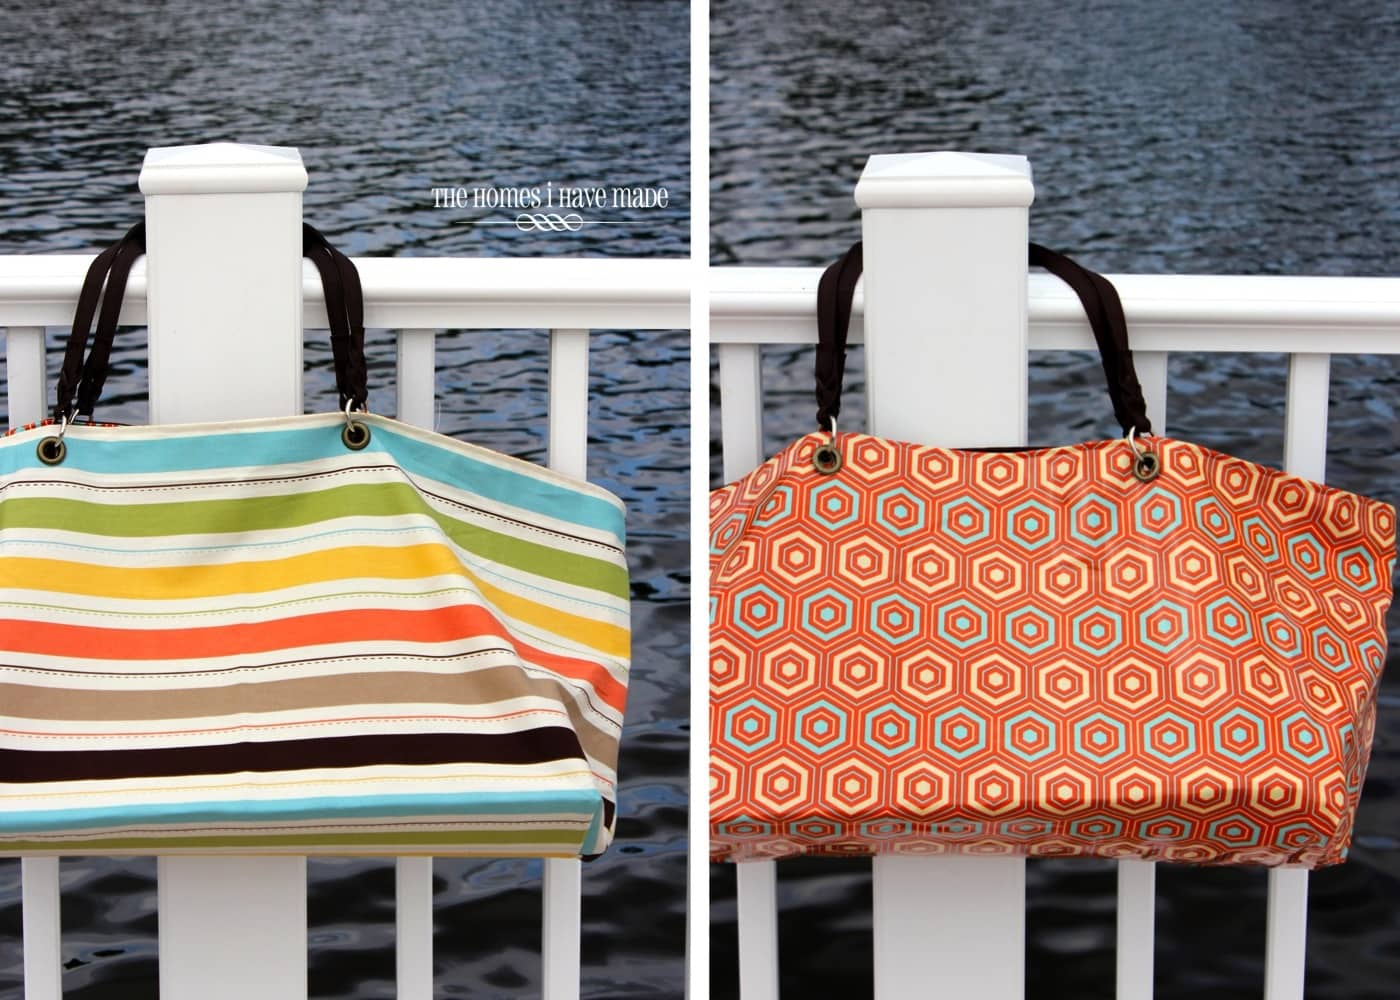
Pairing a heavy-weight canvas with coordinating oil-cloth not only makes this bag reversible but also waterproof! It’s perfect for carrying wet towels or placing down on a wet pool deck!
Supplies Needed
Even if you’re a beginner sewer, I promise this is a project you can do. It’s quick and simple, using mostly straight lines. My finished bag measures 23” wide X 10” deep X 15” high, but you can certainly customize your measurements to make your tote as big or small as you like.
Here is what you need for the Carry-It-All Tote:
- 1 yard heavy-weight fabric, such as canvas or duck cloth
- 1 yard oil cloth (you can also line it with another heavy weight fabric)
- ½ yard ultra-firm stabilizer, optional (this is for the bottom of the bag, I used Peltex)
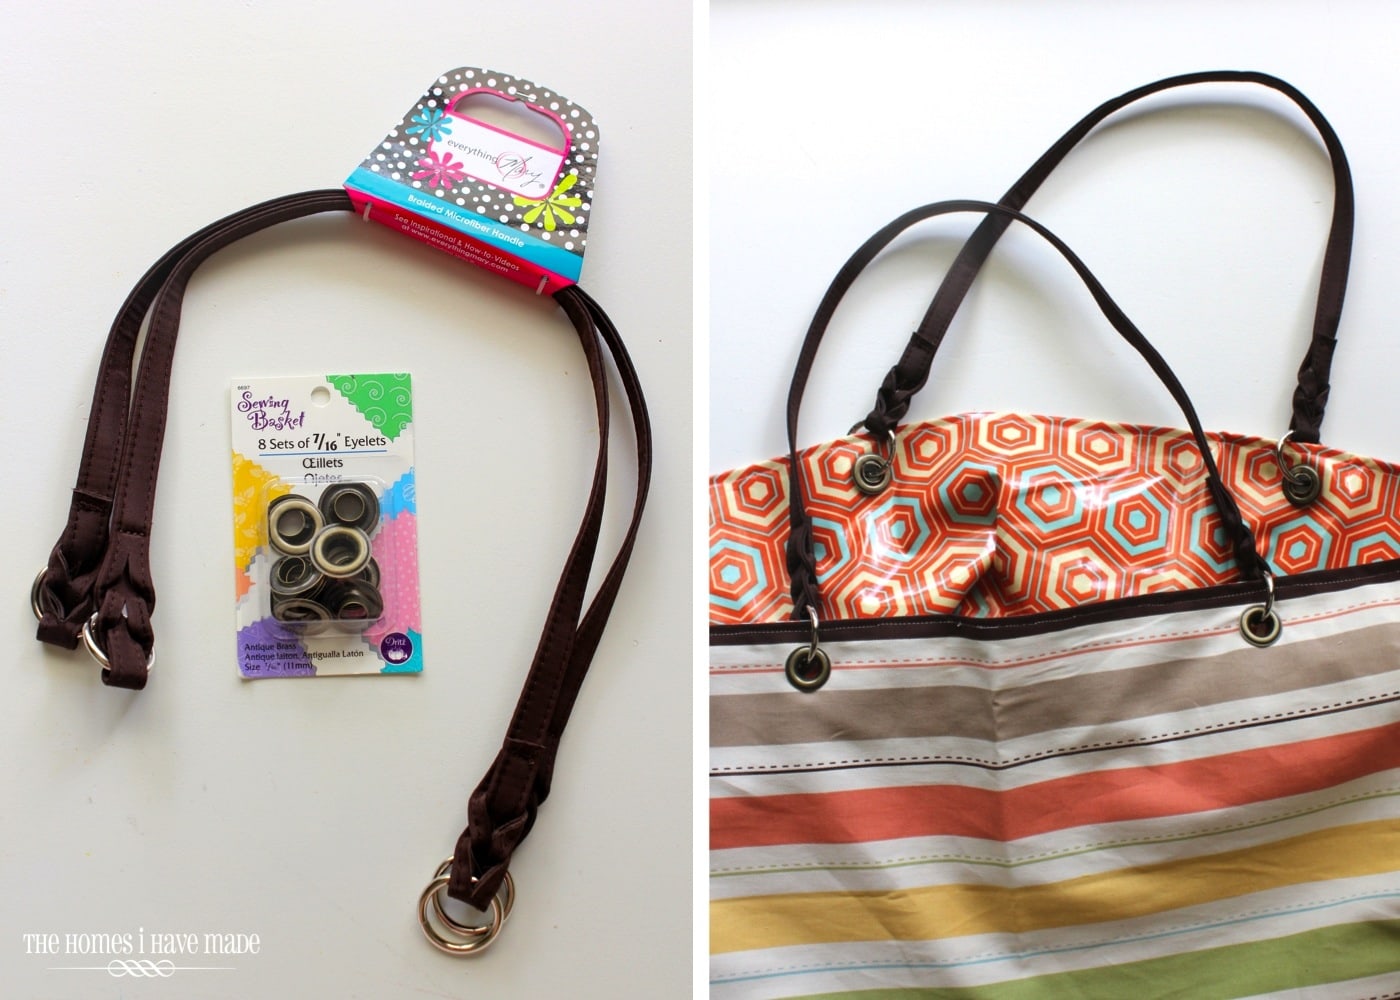
- Grommets in the size and shape of your choice (mine are 7/16th”)
- Purse handles of your choice (similar)
- Sewing machine, coordinating thread, pins, scissors, ruler
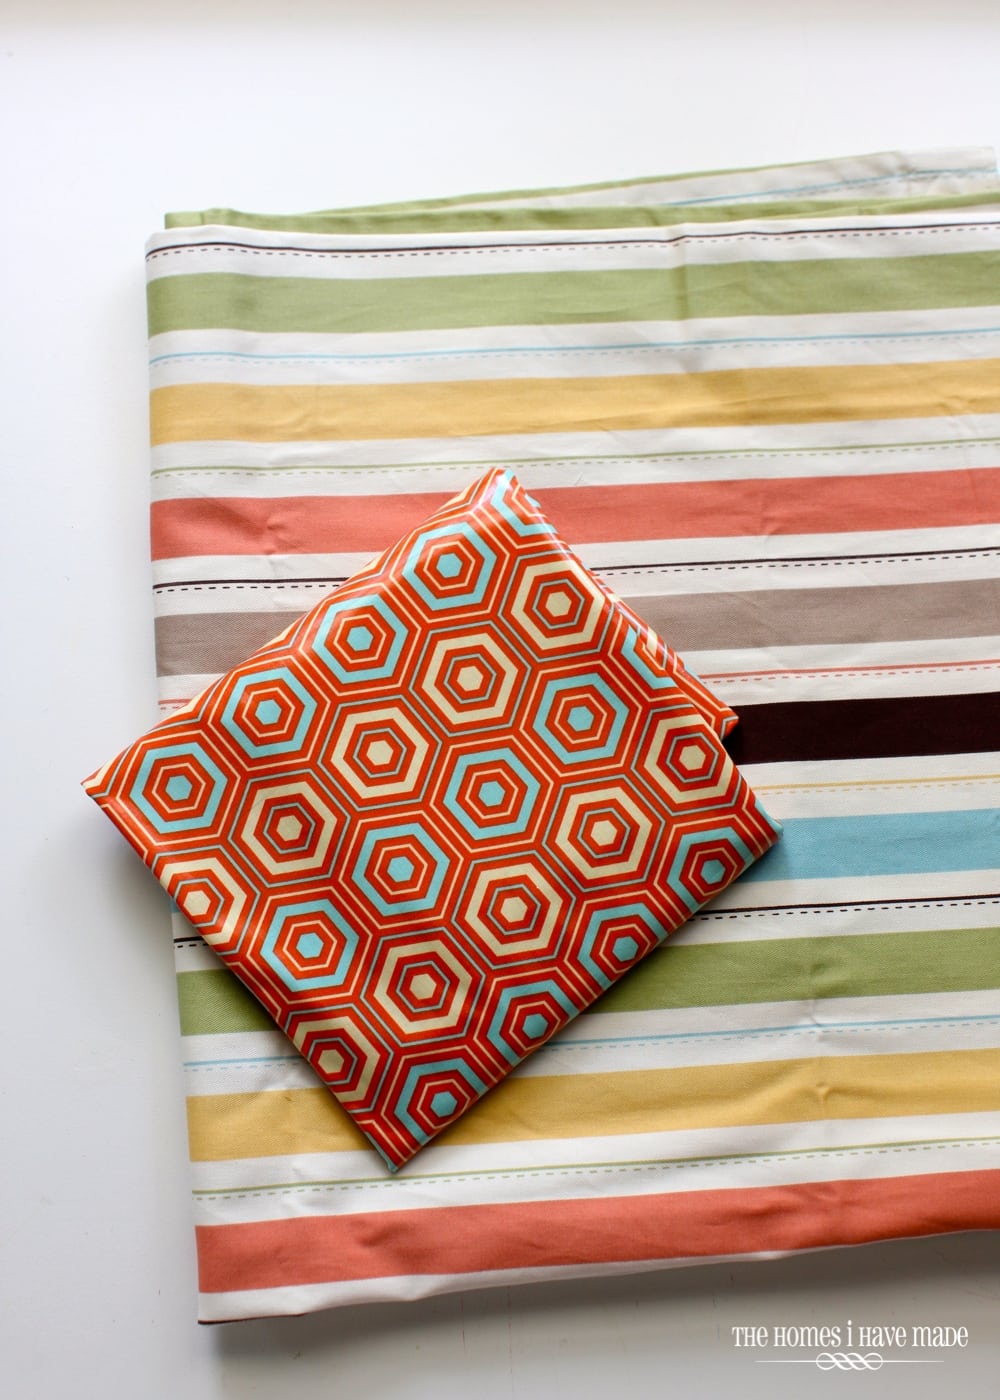
You’ll want to find two fabrics you love and that work well together. I hunted through my fabric stash and found this hex oil cloth that paired oh-so-well with an old striped shower curtain from Target. I always thought these stripes would make the cutest bag so I held on to it for this very occasion!
How to Assemble the Carry-It-All Tote
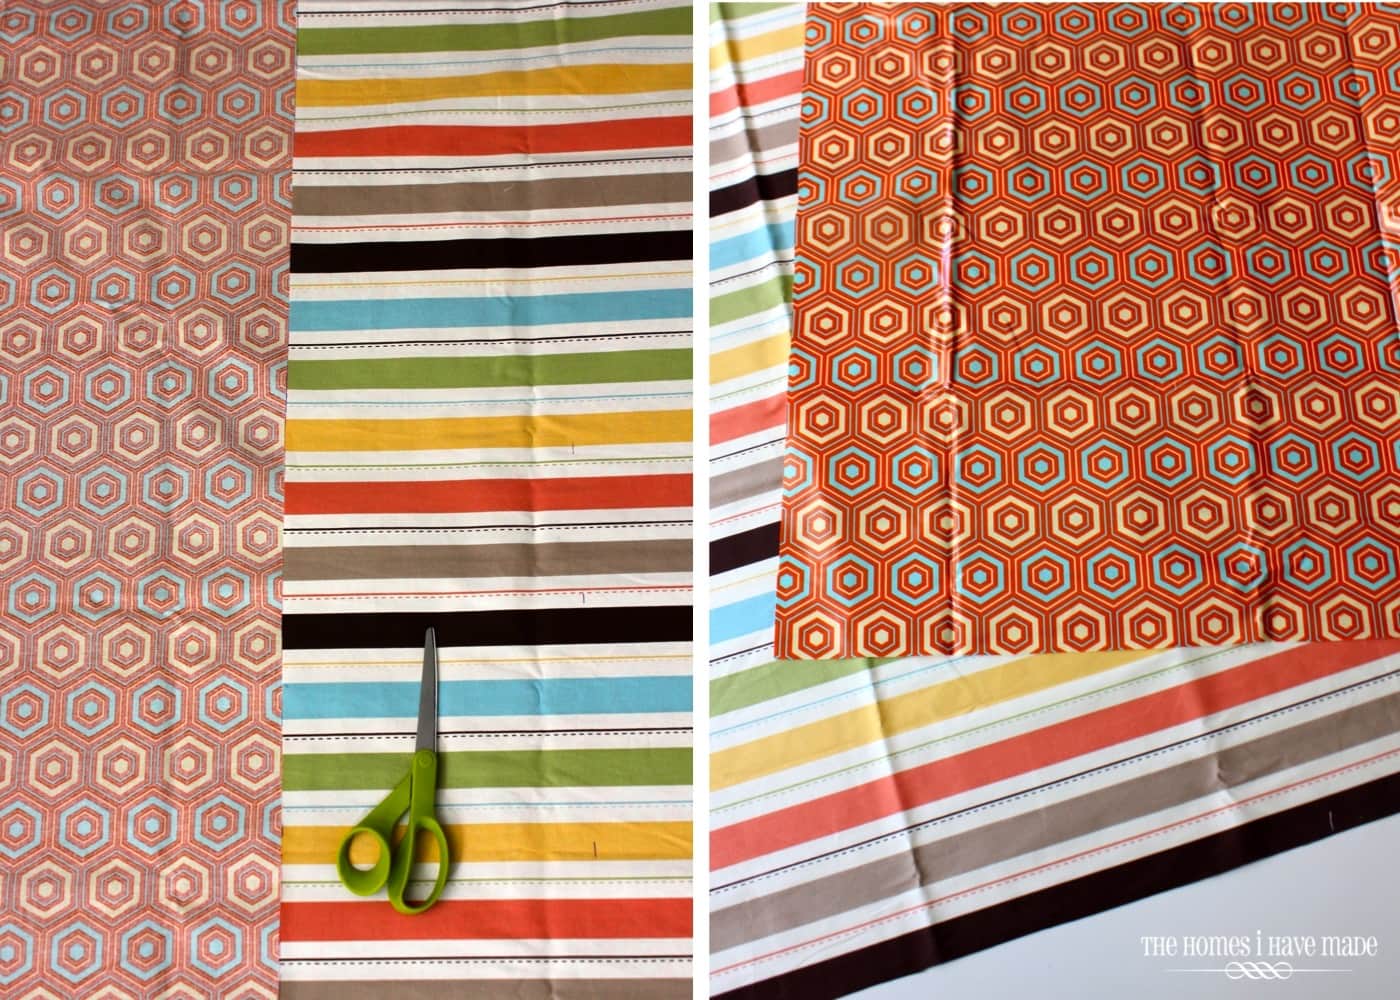
Start by measuring and cutting each of your fabrics into a 33” wide by 38” tall rectangle. If you are using a directional pattern, make sure you orient your fabric correctly (the width measurement will be the wide part of the bag).
Note: The following steps should be repeated for both the outside (striped) and lining (hex) fabrics.
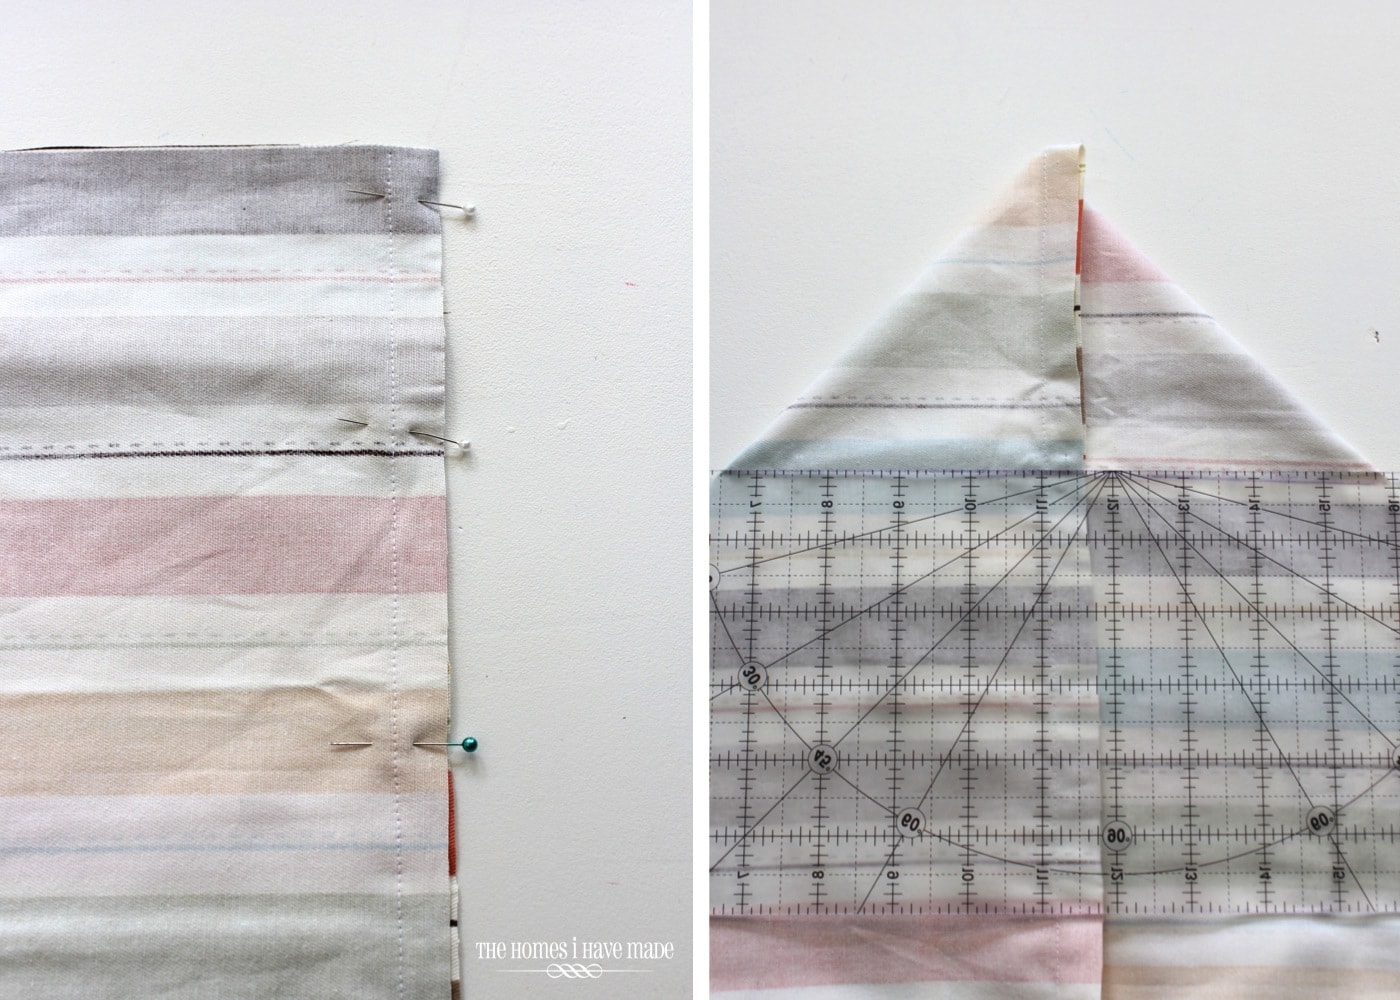
With right sides together, fold the fabric in half length-wise, matching up the top and sides. Press the bottom seam (the fold), and pin down both sides of the rectangle.

Sew down each side of the rectangle with a ½” seam allowance (bottom left).
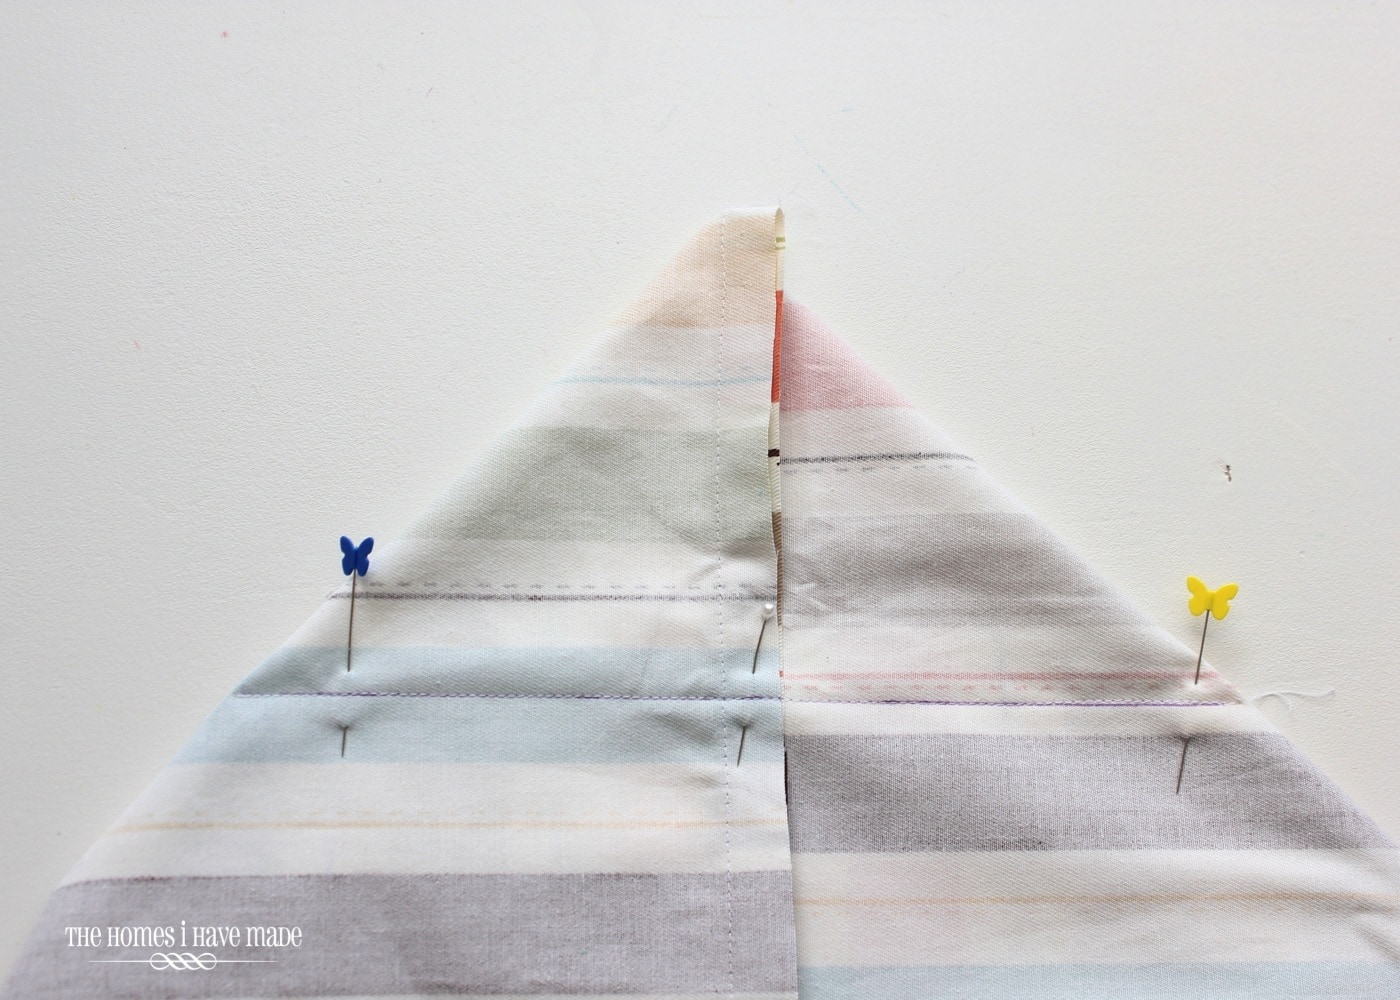
Then, open up the bag and match up one of the side seams with the pressed seam in the bottom of the bag; this will make a triangle on the outside of the bag. Smooth the seams down flat and ensure your triangle is even on both sides of your sewn seam. Measure down 4” from the top point of the triangle and draw a line with a pencil or disappearing pen (bottom right).
Pin and sew across the line you just drew.
Remove your pins and repeat on the other side of the rectangle. When you flip your bag right side out, you should have successfully made what is called a “boxed” bottom for the outside of the bag!
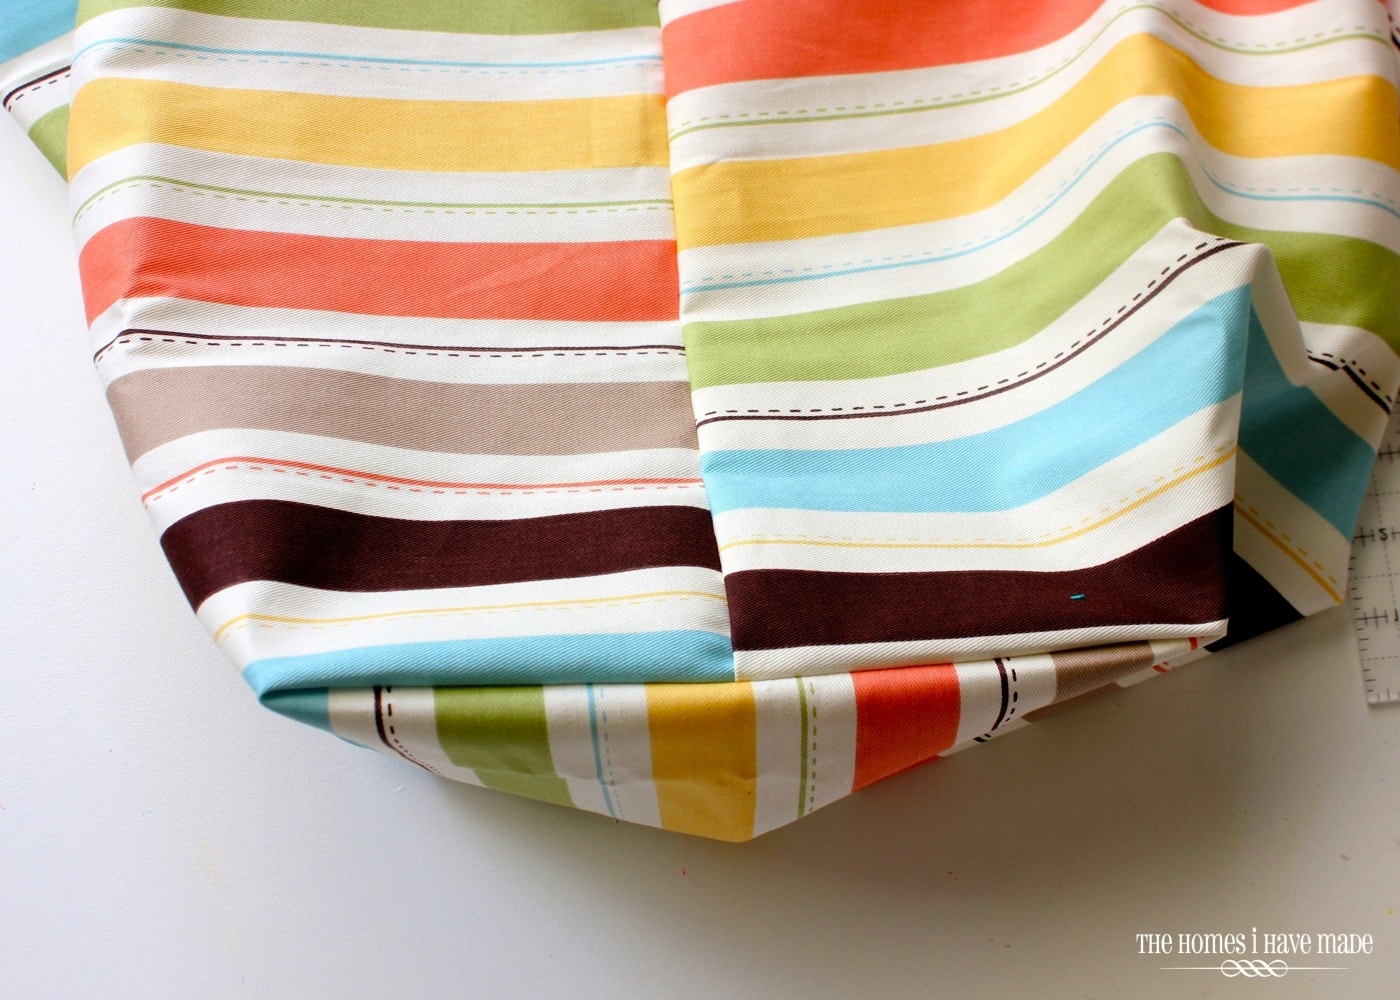
Now, repeat all those steps with the the lining fabric. When finished, you should have two identical boxed out bags. Before moving on, turn the outside bag (stripes) right-side-out, and leave the lining bag (hex) inside-out (not shown).
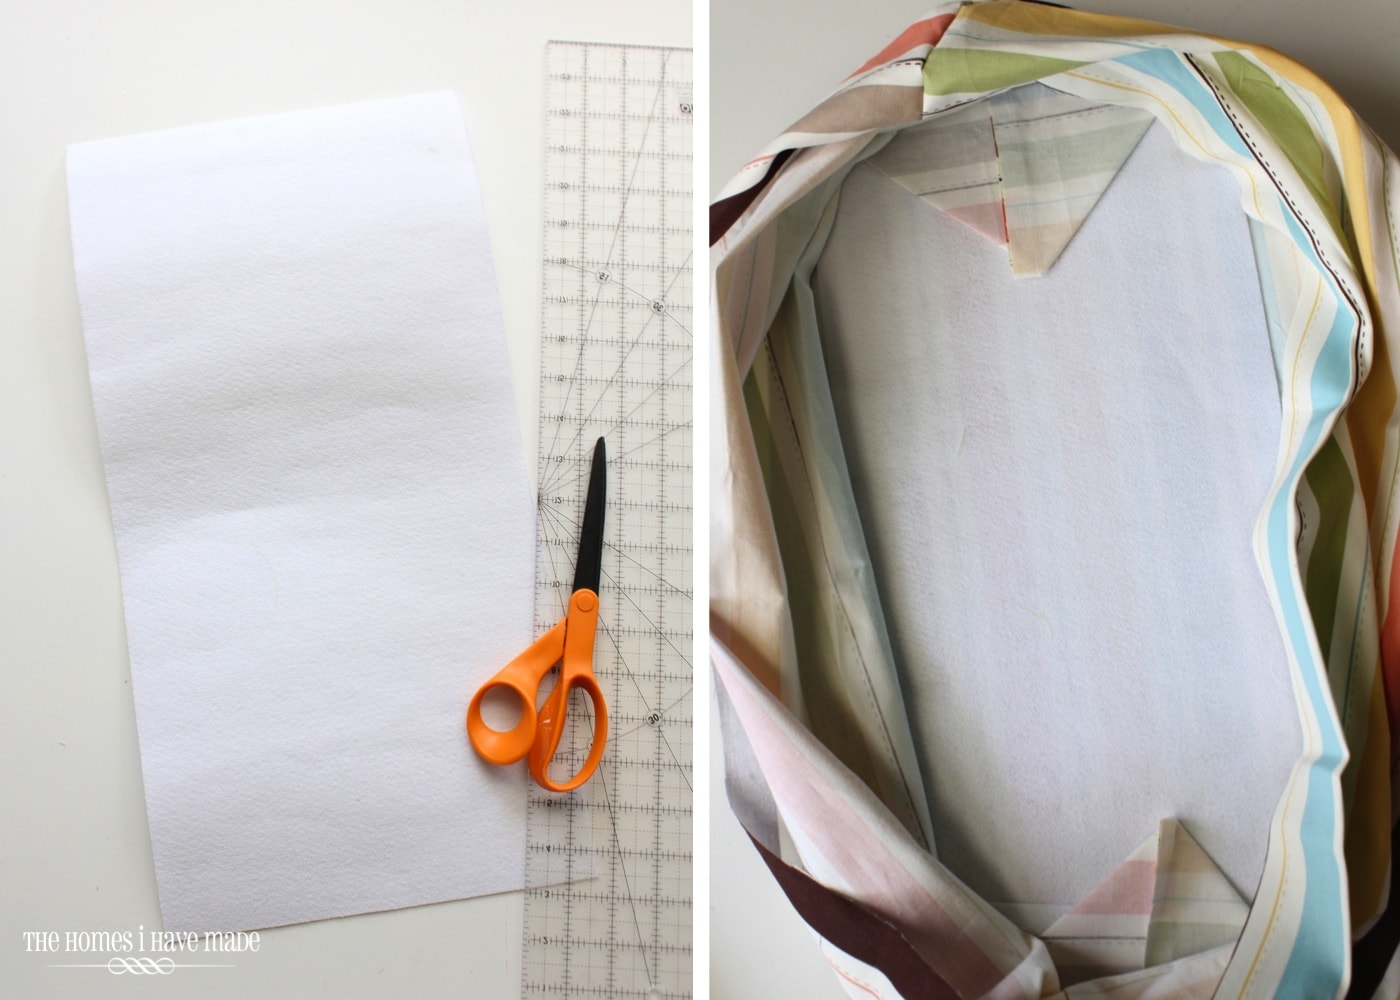
To give the bottom of the bag a little more sturdiness, cut a 10”x23” rectangle from ultra-firm stabilizer and place it in the bottom of the outside bag (stripes).
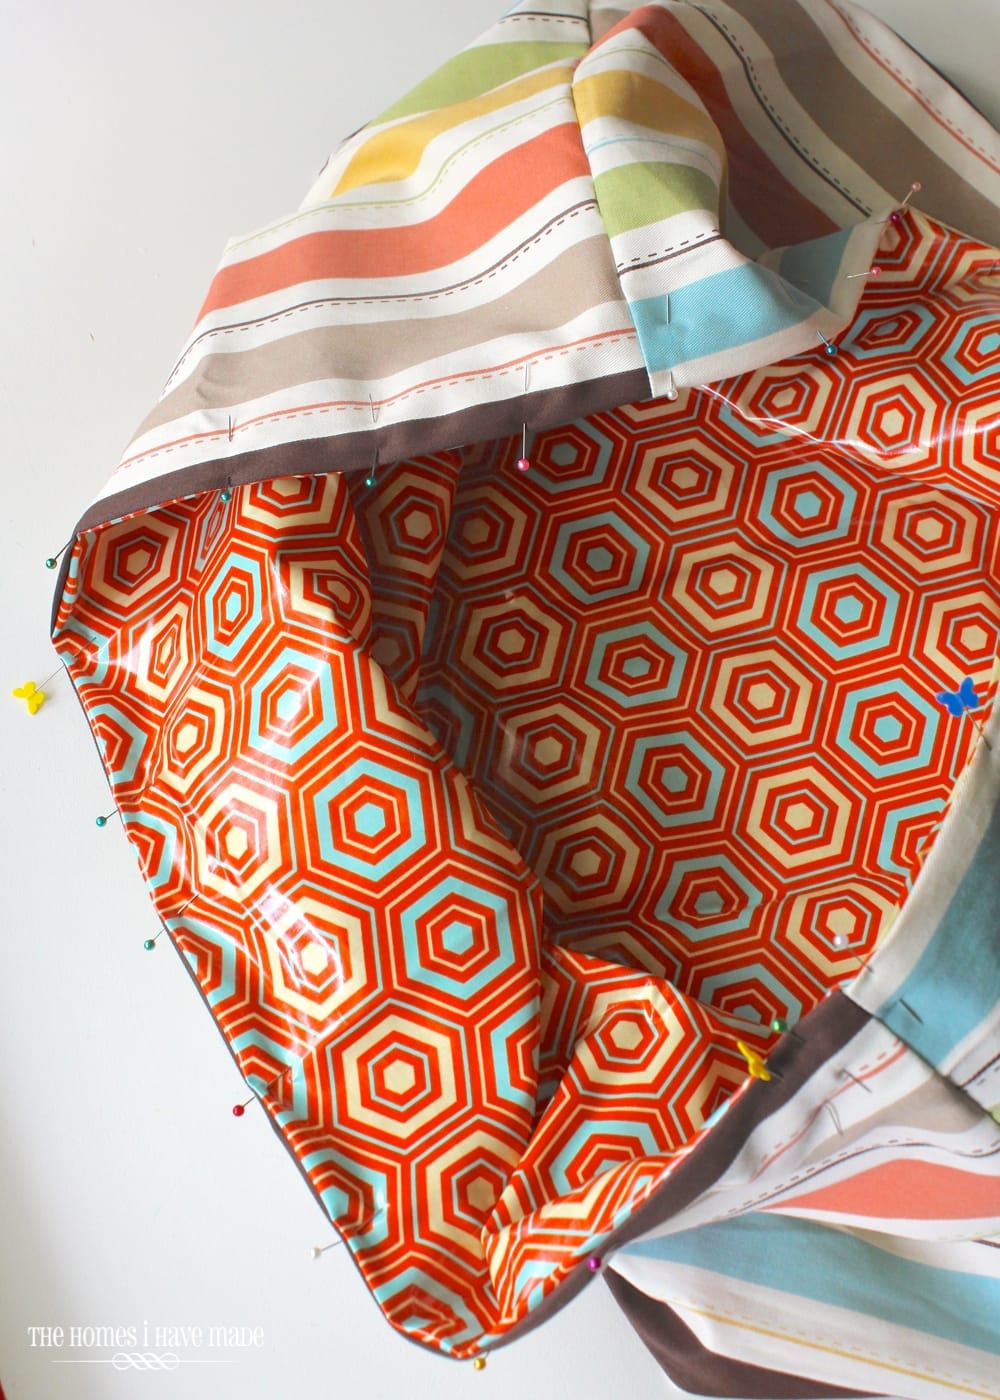
Next, place the inside-out lining bag (hex) into the outside bag (stripes), covering the stabilizer and matching up the top edges and inside seams. Fold the top of each bags into each other ½,” pin around the top perimeter, and sew the the bags together with a 1/4″ topstitch using a sewing machine. Your bag is now essentially done, you just need to add some sort of handles!
One of the quickest and easiest ways to add handles to a bag is using grommets and a store-bought handle. To attach the grommets, use the tool included in the grommet pack. Once in place, attach the handle to the rings. If your handles don’t include a clip-on attachment, you may need to pull the handle rings apart with pliers, secure them around the grommets and close them back up.
You’re all done! Load up your bag and off you go!
This bag really is a fun and quick project; and depending what kind of supplies you have on hand, will cost you anywhere from $5-$20. With such generous dimensions and no zipper, it really is a great tote for stuffing full of gear to make getting to and from your summer activities a bit easier! I hope you give it a try!
Megan

5 Comments on “The Carry-It-All Tote Bag”
This is great – now I have to look for some oilcloth. I didn’t realize the handles were so easy to get and put on. Lots of choices, too. Here’s a thought for a different stiffener for the bottom of the bag – I once read a tutorial by a lady who made her own cube bins. They are pretty inexpensive, so I doubt I’ll try that, but she used blank plastic canvas (life for needlepoint) as a stiffener. And it’s plastic, so no problem getting wet. Love the cord-hiding post, also! Have a great weekend – I hope you and your men are having a great summer, and everyone stays well!
“like” for needlepoint, not life!
Thanks for sharing some great ideas, Tenney! I would have never thought of that!Hope you’re having a great week!Megan
Do you sell these?? I’d buy 1!! I wish I knew how to sew or had the time! I LOVE this bag!!
Hi Amanda!
Unfortunately, I don’t make anything to sell. But feel free to pass along this tutorial to a friend or family member who sews and could make it for you!
Thanks!Megan