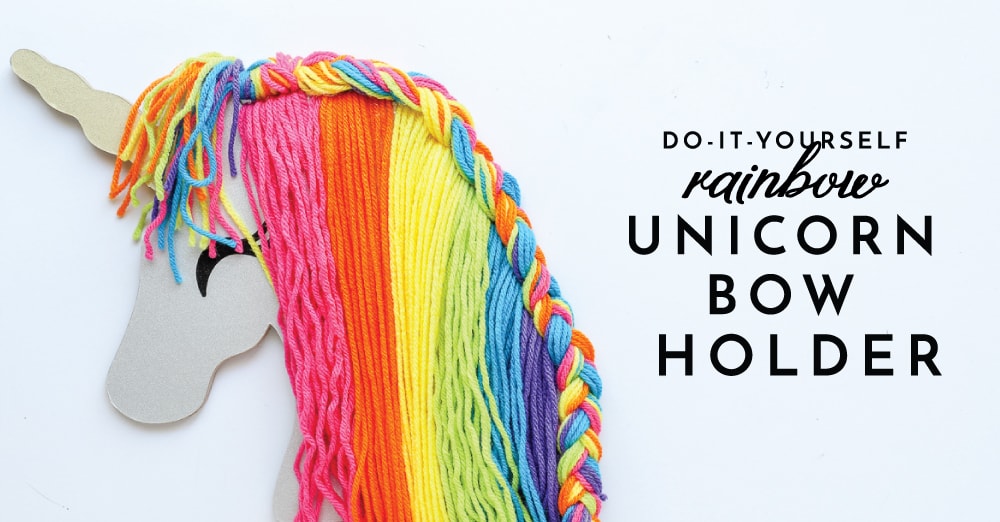
DIY Rainbow Unicorn Bow Holder
Without fail, it seems like every time we move, I am scrambling to finish up a few final projects. When we were moving out of our NC home, there were literally packers filling boxes inside while I was snapping photos of a sponsored porch project. #badtiming This time around, I had promised my favorite little girl on our street that I’d make her a rainbow unicorn bow holder before my Cricut Maker was packed up and shipped away. As such, her Mom and I worked to finish it up in the days before our packers arrived, making this the very last project I made in our California home. This hair bow holder project turned out super sweet, so I wanted to share the tutorial for any other unicorn-loving crafters out there! If you’ve seen these on Etsy or around the web and wondered if you can make one yourself, the answer is yes! You’re going to love how easily this one comes together!
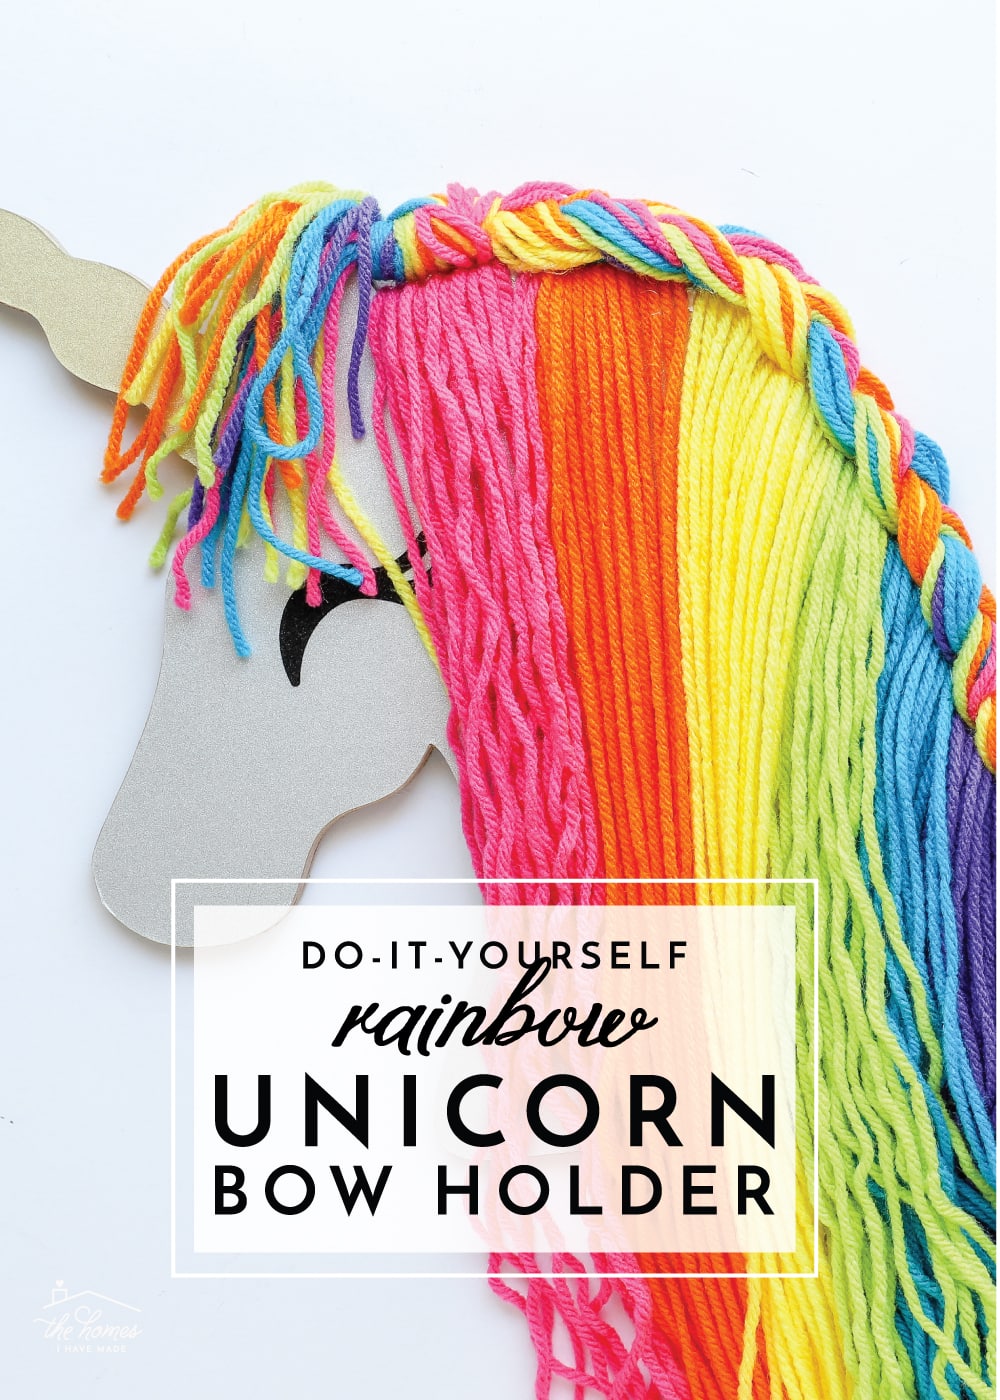
Since I live deep in little boy world, I’m pretty oblivious to a lot of the “trendy” little girl projects around the web. When my girlfriend first asked me if this rainbow unicorn bow holder was something I could make, I hadn’t ever seen it before. If you’re unfamiliar with the concept too, you essentially hang the unicorn head on the wall, and dozens of hair bows and clips can be secured to the long yarn “hair.” Not only does it make for a really user-friendly way to store hair bows, but it also makes for an adorable wall decoration! After finding dozens of inspiration images on Pinterest and Etsy, we determined we could make our own from some sturdy chipboard and colorful yarn.
Supplies Needed
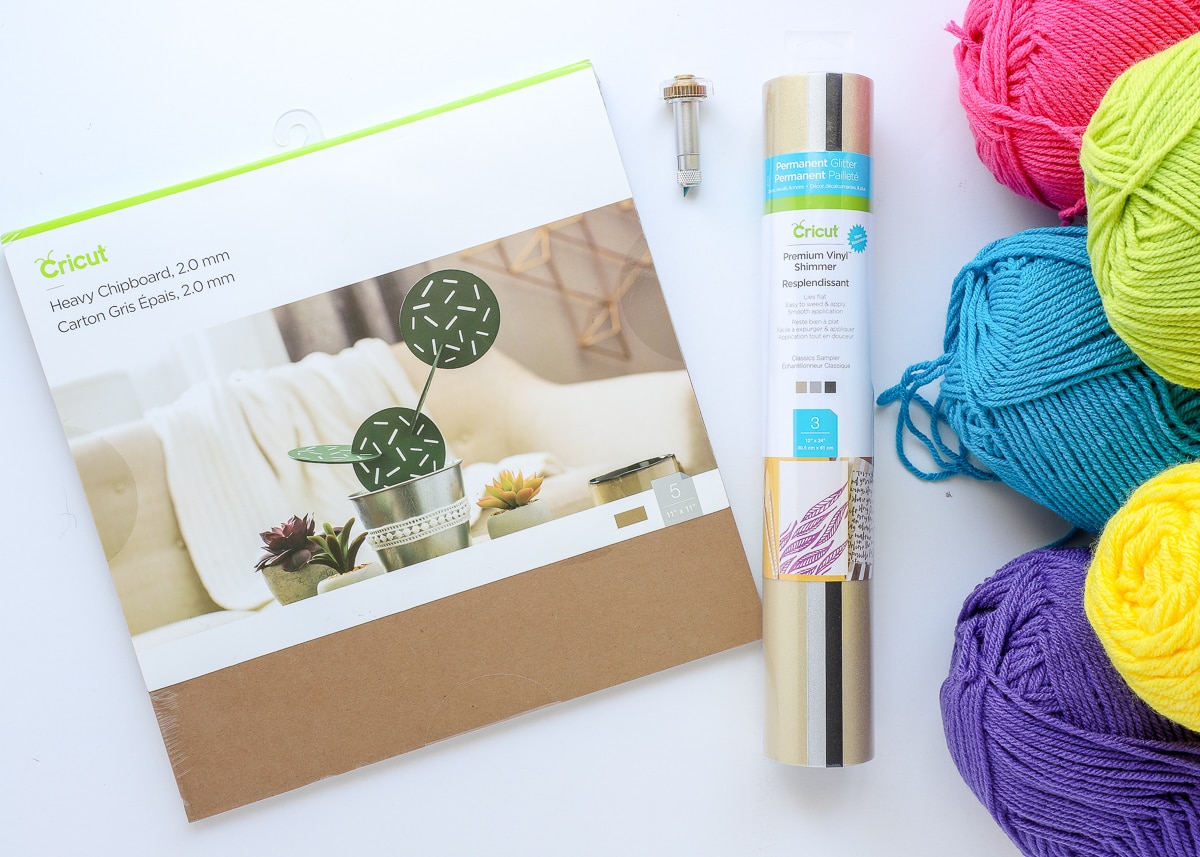
To make this unicorn bow holder, you will need the following materials:
- 3 sheets of 2.0 mm chipboard
- Vinyl or cardstock in white/silver, gold and black – You can use either vinyl, cardstock, or even paint to decorate the unicorn head. I used this combo pack of Cricut’s new Premium Vinyl Shimmer, which has a sparkly look without being too glittery or textured.
- Yarn in your desired hair color
- Cricut Maker with Knife Blade
- 12″ of coordinating ribbon
- Other supplies: Craft Adhesive | Hot glue gun with glue sticks | Transfer paper (if using vinyl) | Scissors | Yardstick
NOTE: I cut my unicorn heads myself using my Cricut Maker and Knife Blade (which I’ll show you in a minute), but you can find/use pre-made shapes for this project too. Here is a pre-made wooden unicorn head that would work just as great for this project if you don’t have your own e-cutter machine!
Step 1: Create the Unicorn Head
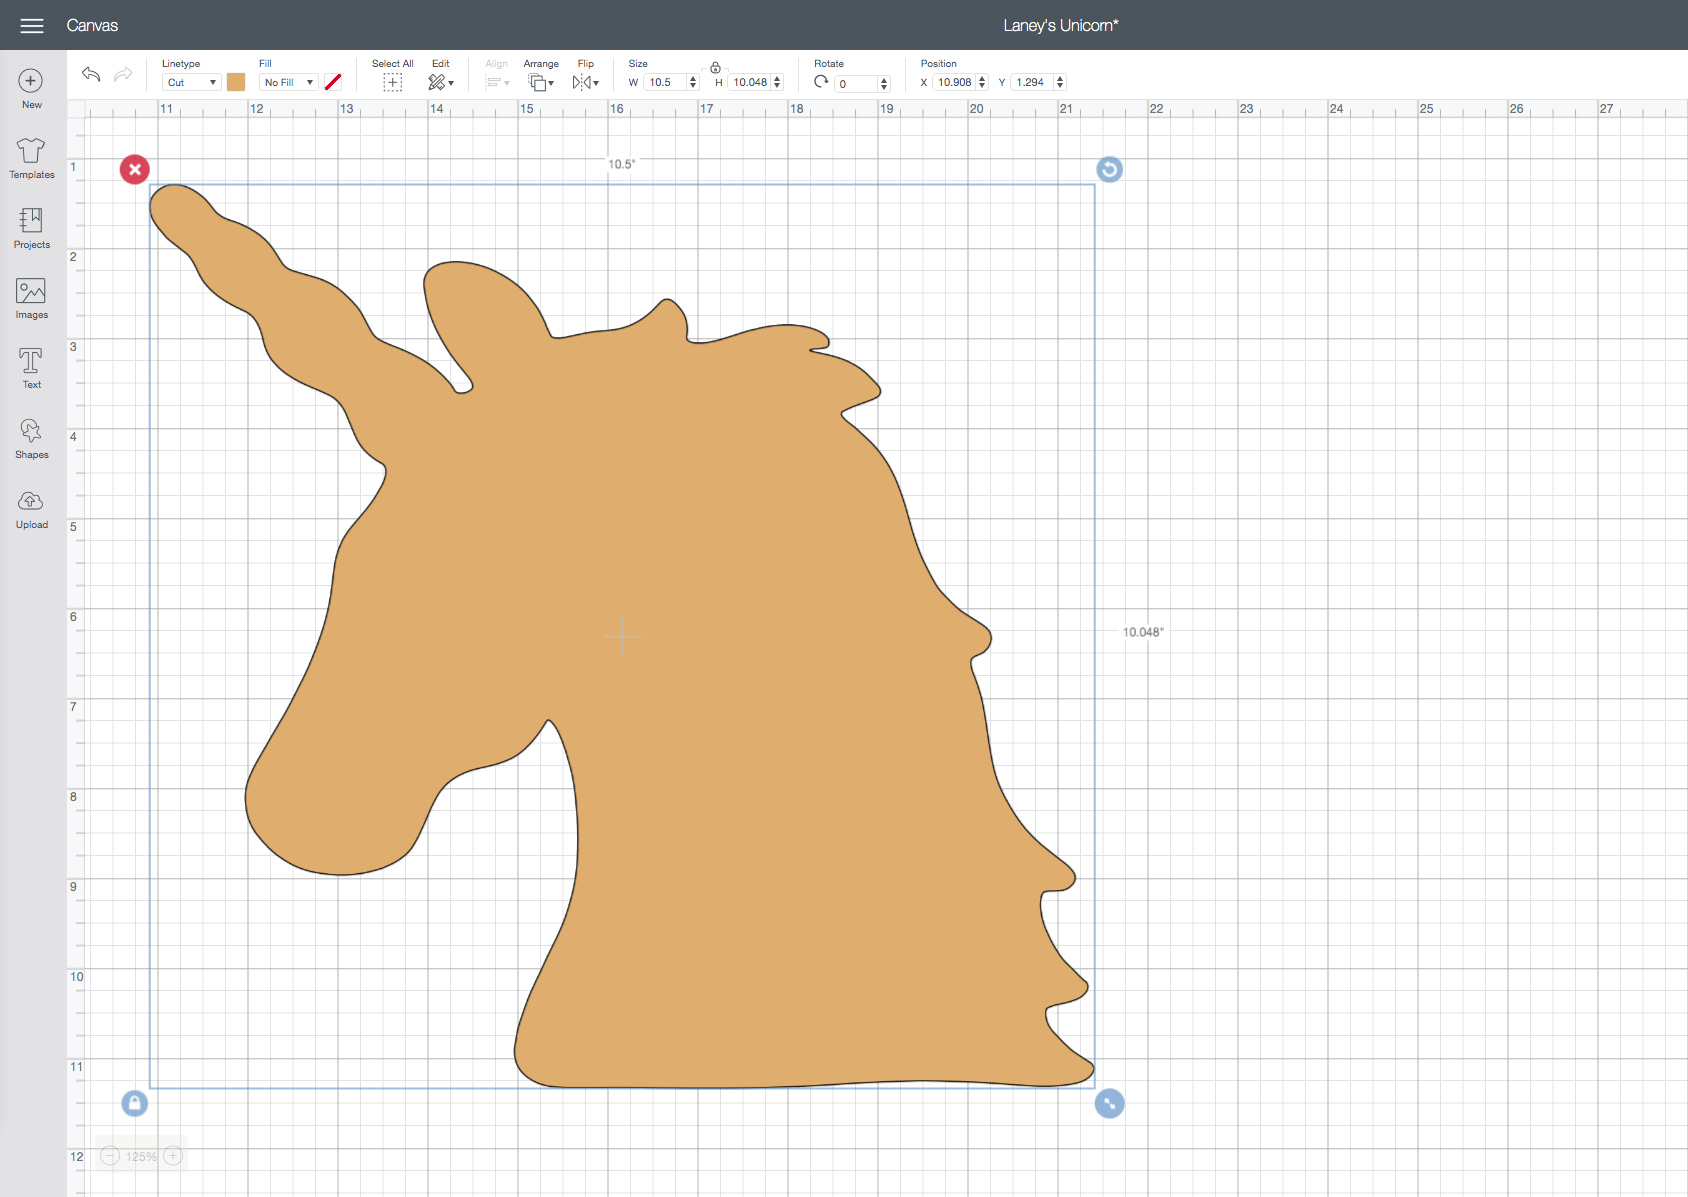
if you are not using a store-bought unicorn head, the first step is to cut the unicorn head shape out of chipboard using a Cricut Maker. I used the following image in Cricut Design Space: Unicorn (#MB2A11BD) from the Unicorn Squad set.
If you are cutting chipboard yourself, size the unicorn head to be 10.5″ tall (the biggest size you can cut chipboard on a Maker).
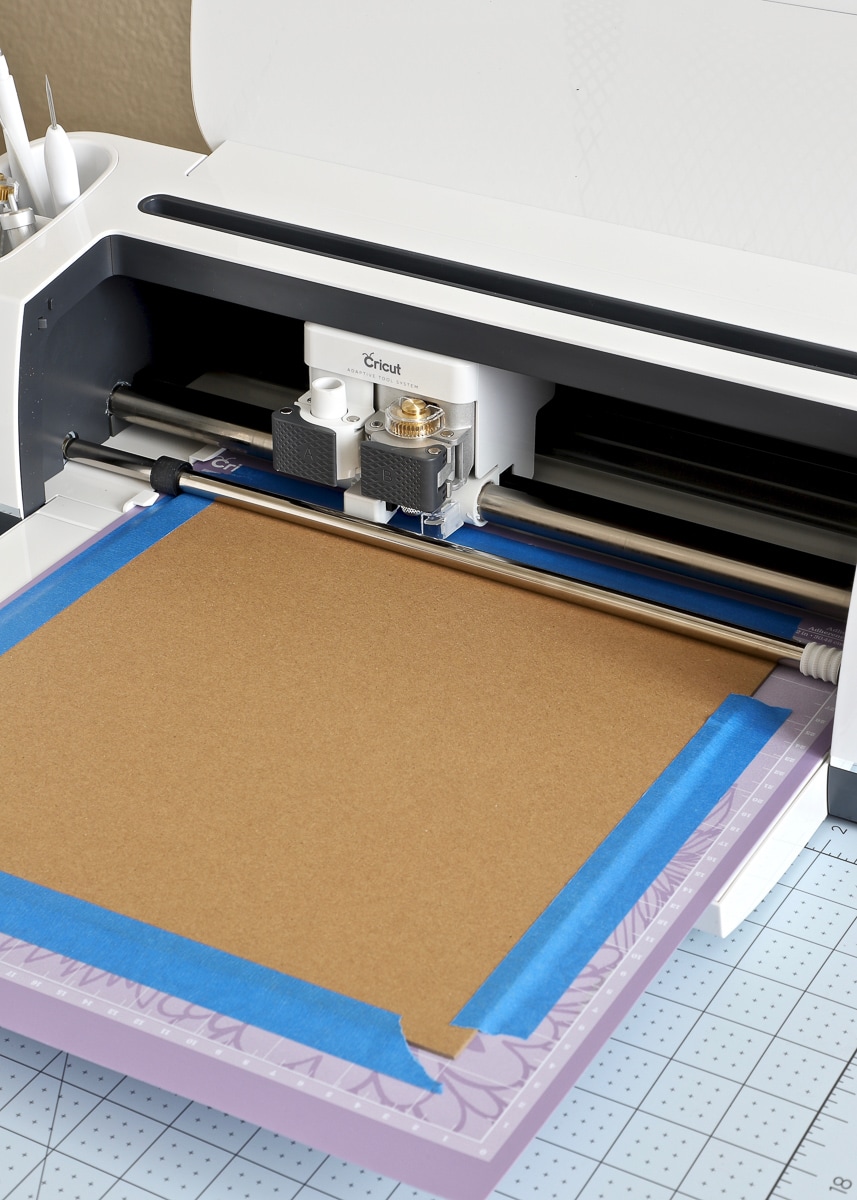
TIP! Cutting chipboard on a Cricut Maker isn’t hard, but there ARE certain things you HAVE to do to get nice clean cuts (like use a Knife Blade and secure the chipboard to the mat with tape). If you are new to working with chipboard, please refer to this comprehensive tutorial before continuing.
Once you’re satisfied with your unicorn head design and confident on the best practices for cutting chipboard, cut out the unicorn head from a single sheet of chipboard…
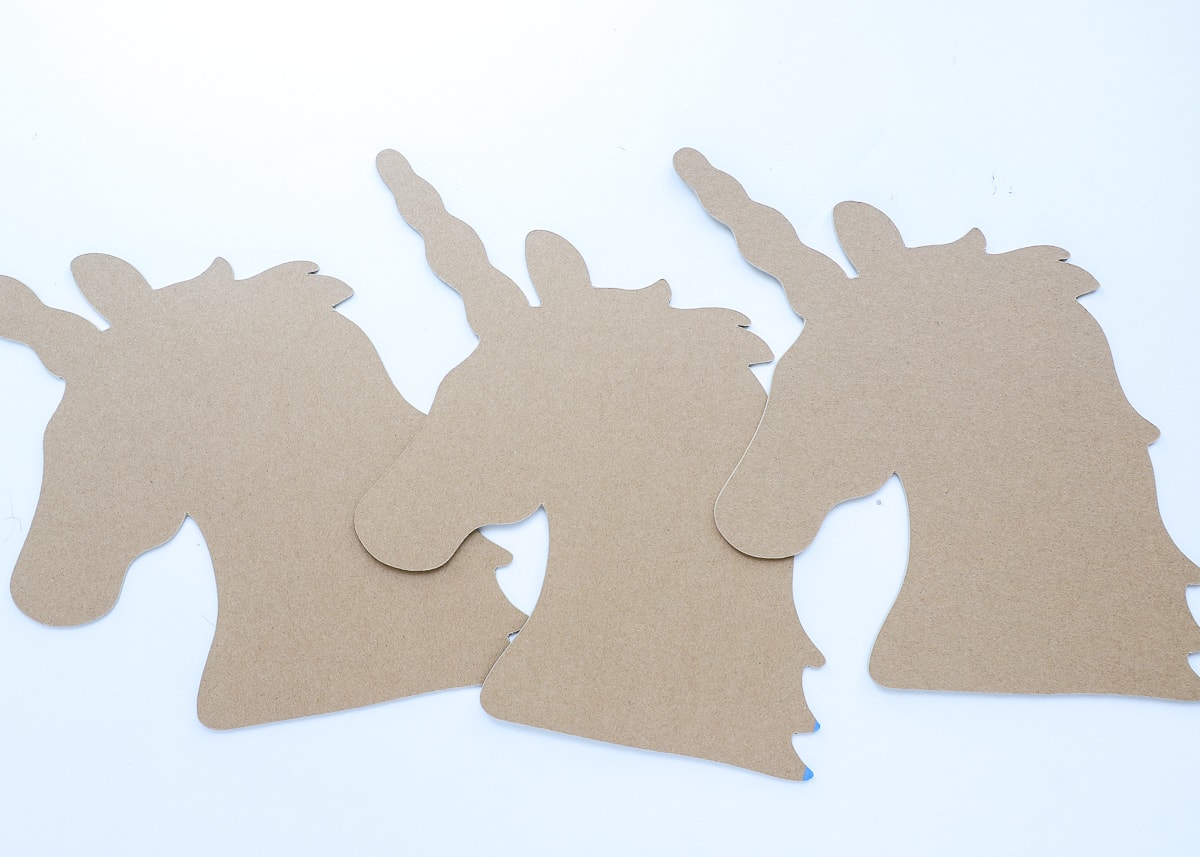
Then repeat! To make the unicorn head nice and sturdy for hanging, I recommend cutting 3 chipboard unicorn heads. We’ll stack and glue them together to make the whole display nice and solid!
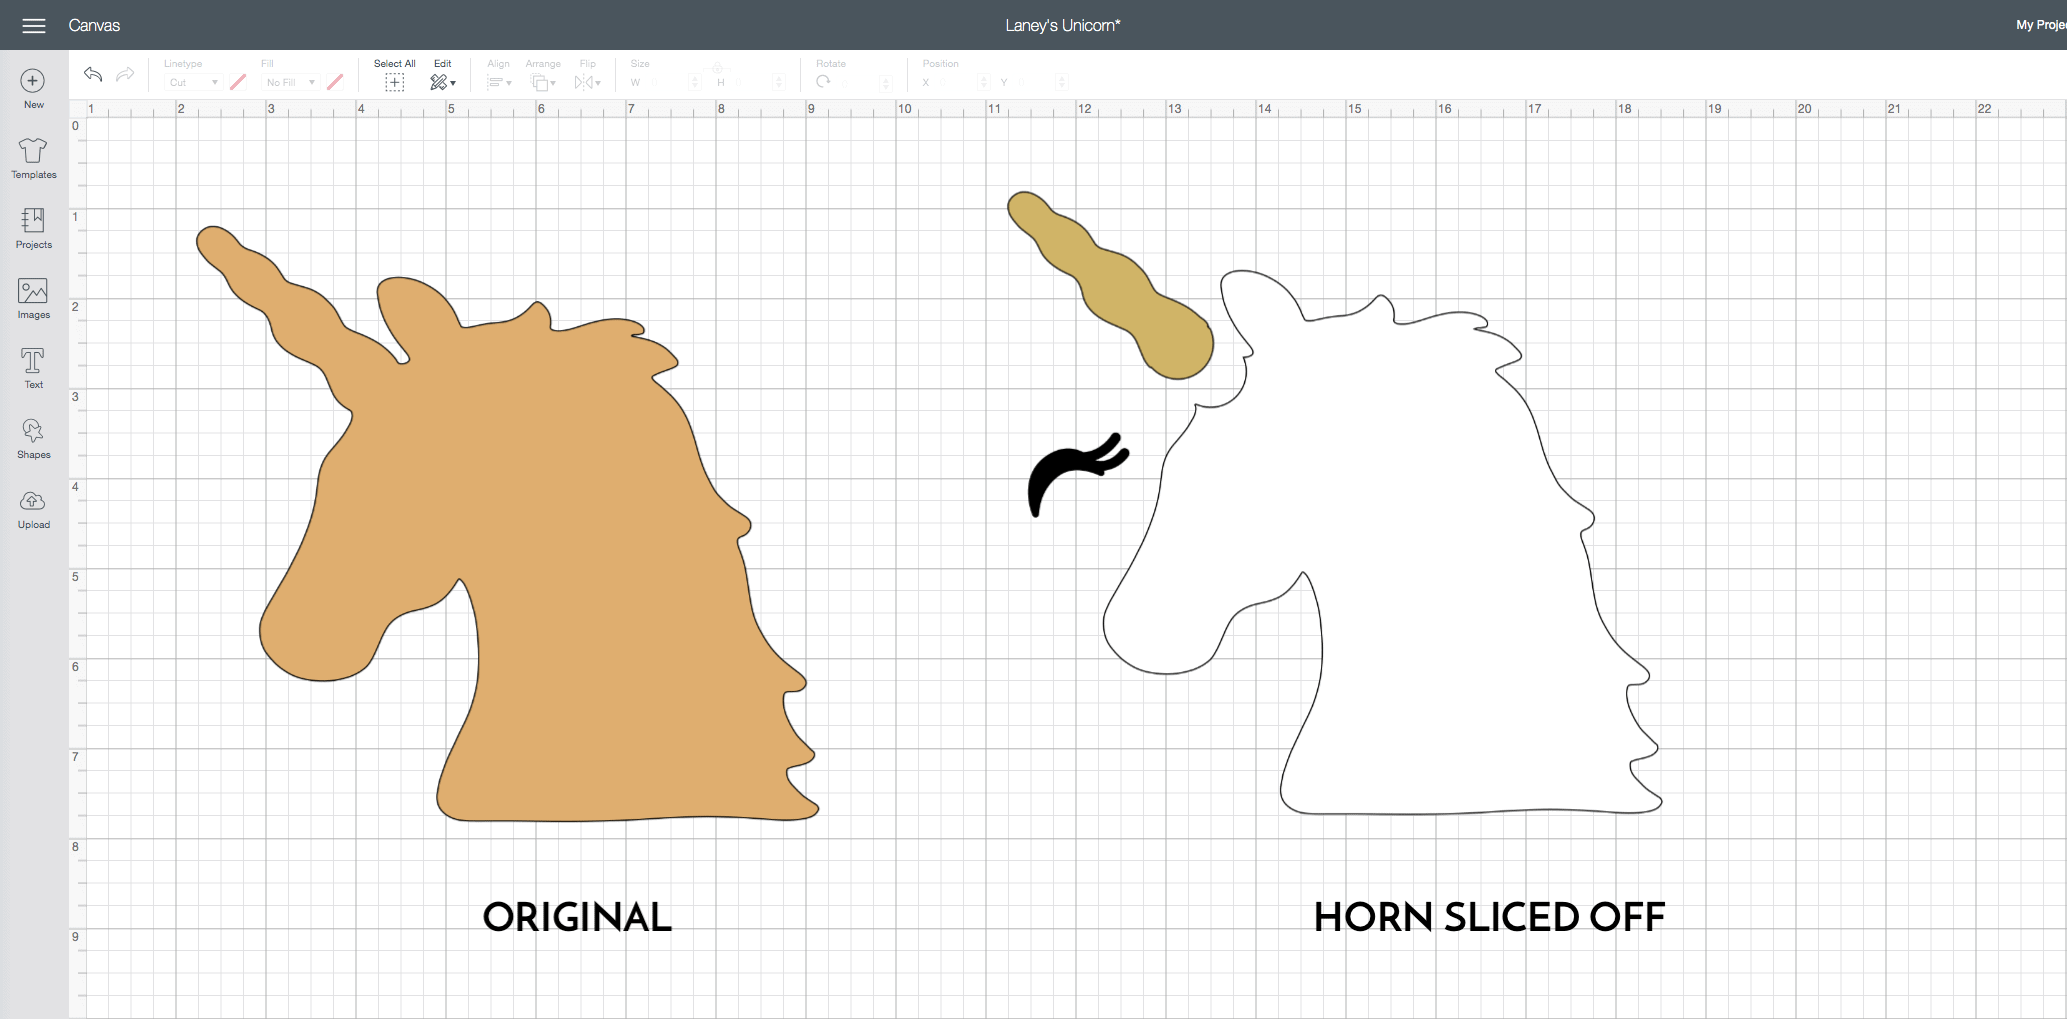
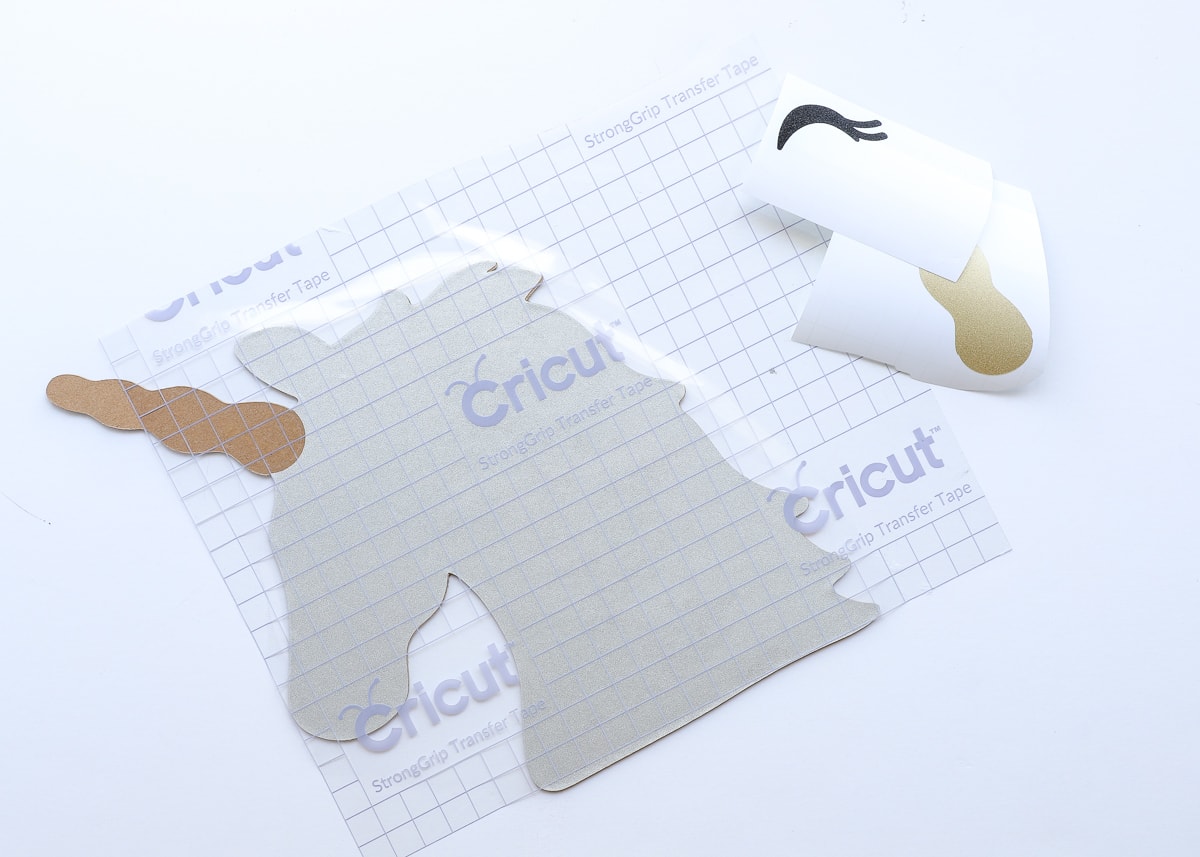
You can certainly paint the unicorn head before proceeding to give it some color and personality. I chose to cut the face color, eye, and horn from some vinyl for quick and easy application. Before doing so, I used the Slice Tool to separate off the horn from the head. You can learn more about using Slice here.
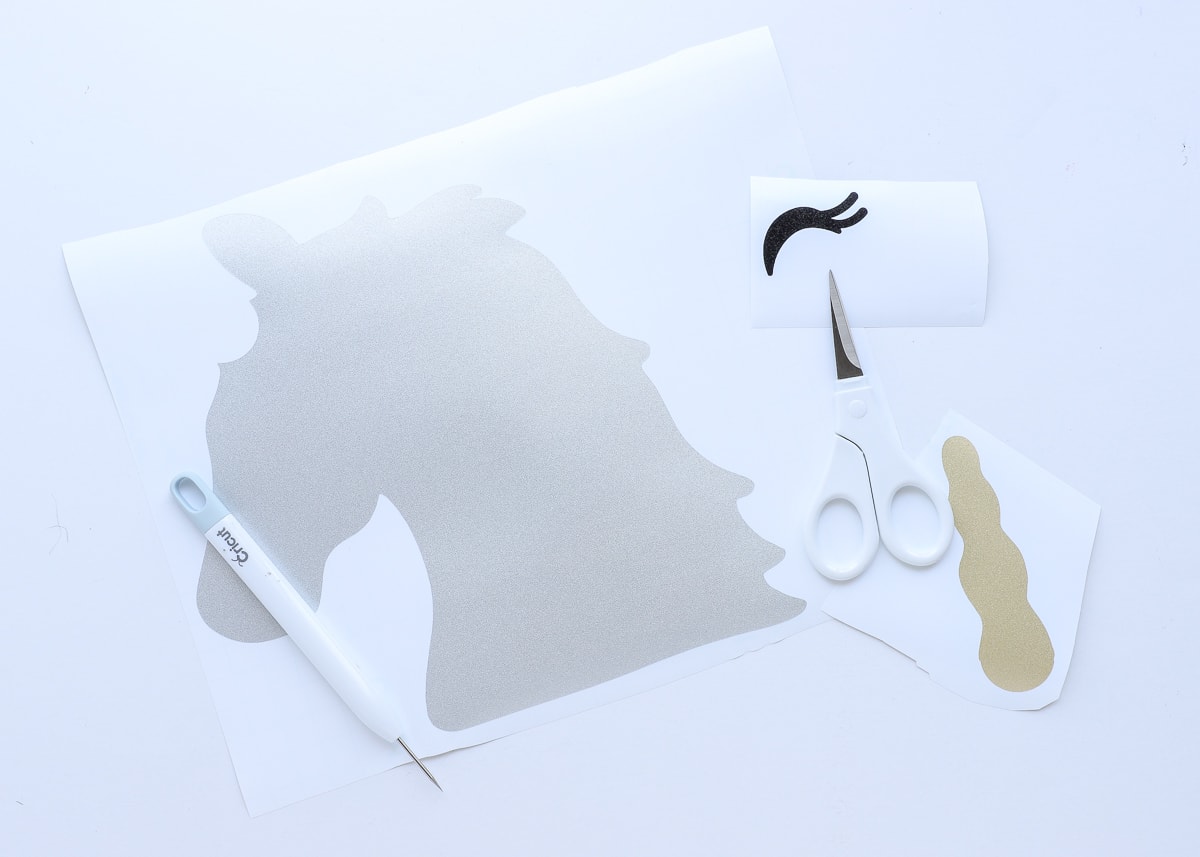
The face was cut from Cricut’s Premium Vinyl Shimmer in silver, the eye was cut from black, and the horn was cut from gold.
Although you could attempt to eyeball placement of each vinyl piece, I do recommend using transfer paper to move the vinyl shapes onto the front of one of the chipboard unicorn heads. This will allow you to get it all lined up as best as possible (since you pretty much just get one shot with this kind of vinyl). Both paint and cardstock will be a little more forgiving if lining up the vinyl onto the chipboard makes you nervous!
With the face decals applied to one of the unicorn heads, use strong, thin craft adhesive to glue it to the top of the two other chipboard cutouts. I found it helpful to use a brush to spread the glue to the edges of each cutout to ensure they don’t pull apart over time. Also…check to make sure all the edges are perfectly lined up as it dries.
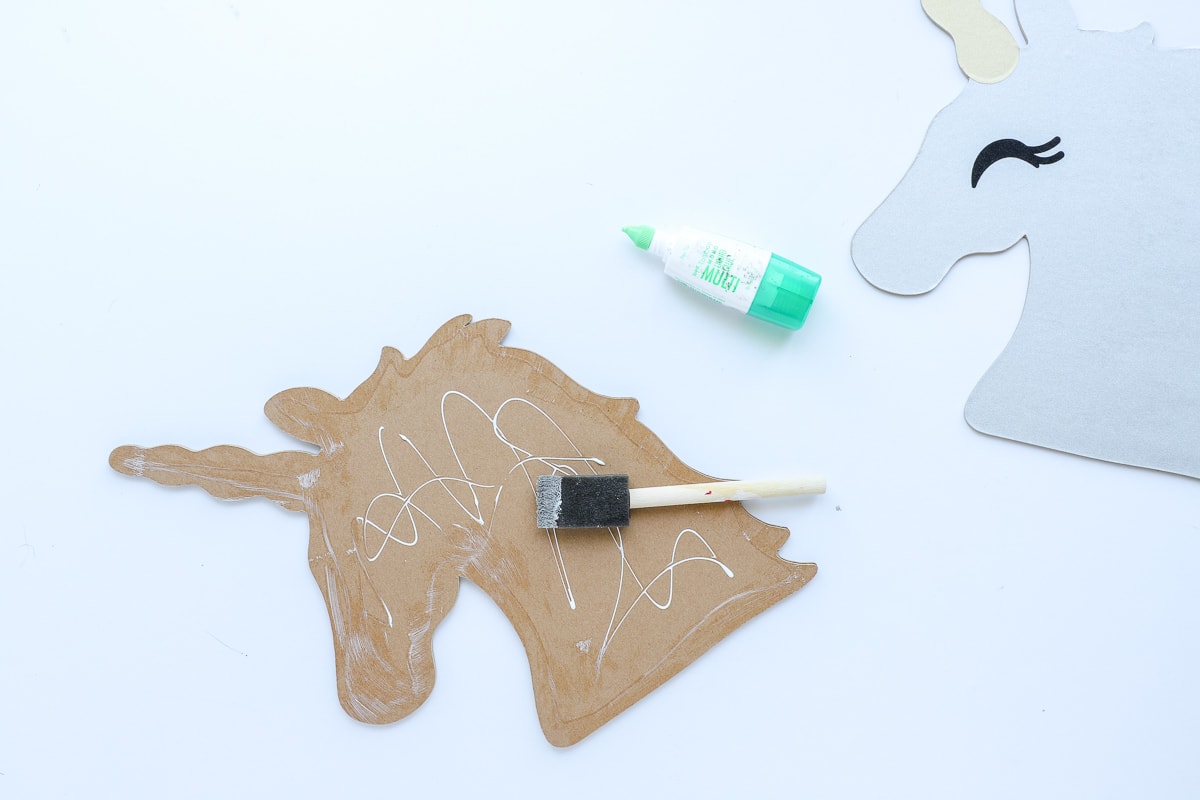
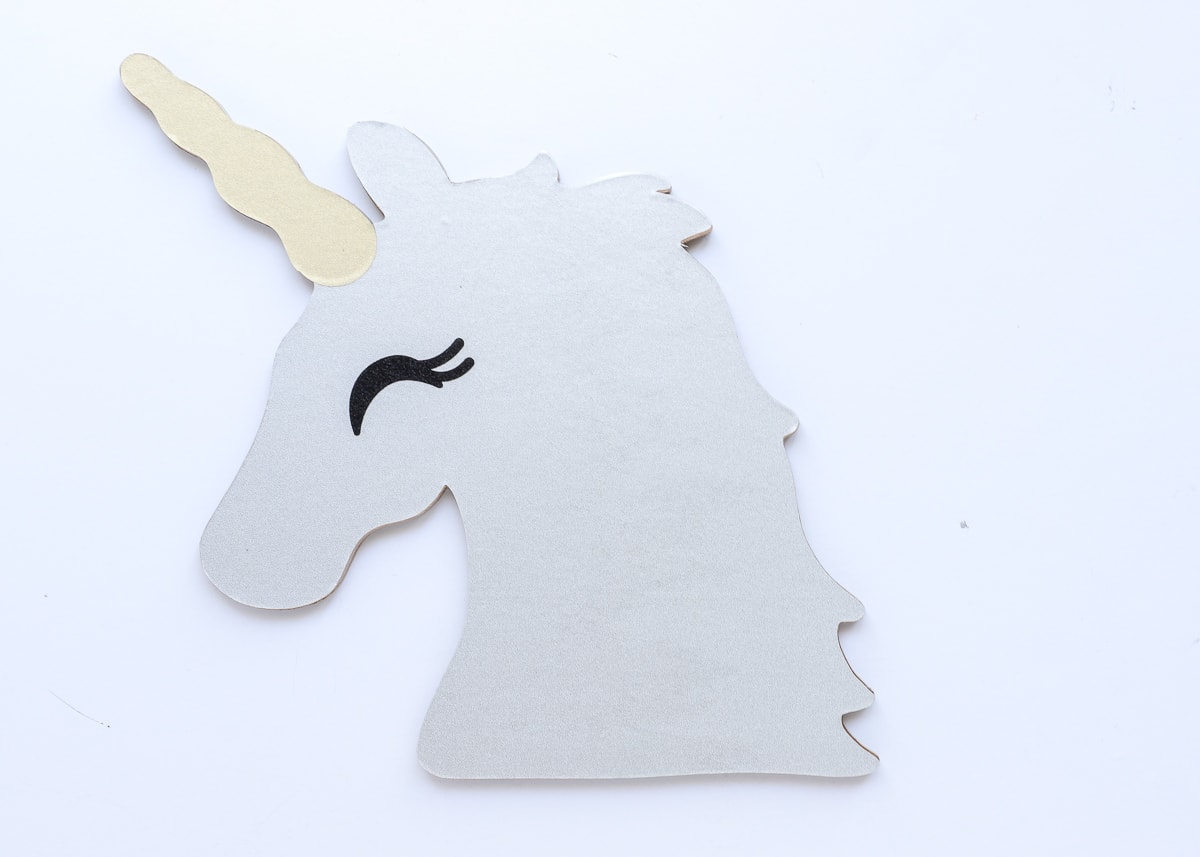
You should end up with the three chipboard cutouts stacked/glued together with the vinyl decals on the very top. Now you have a super sturdy head to apply all the yarn to!
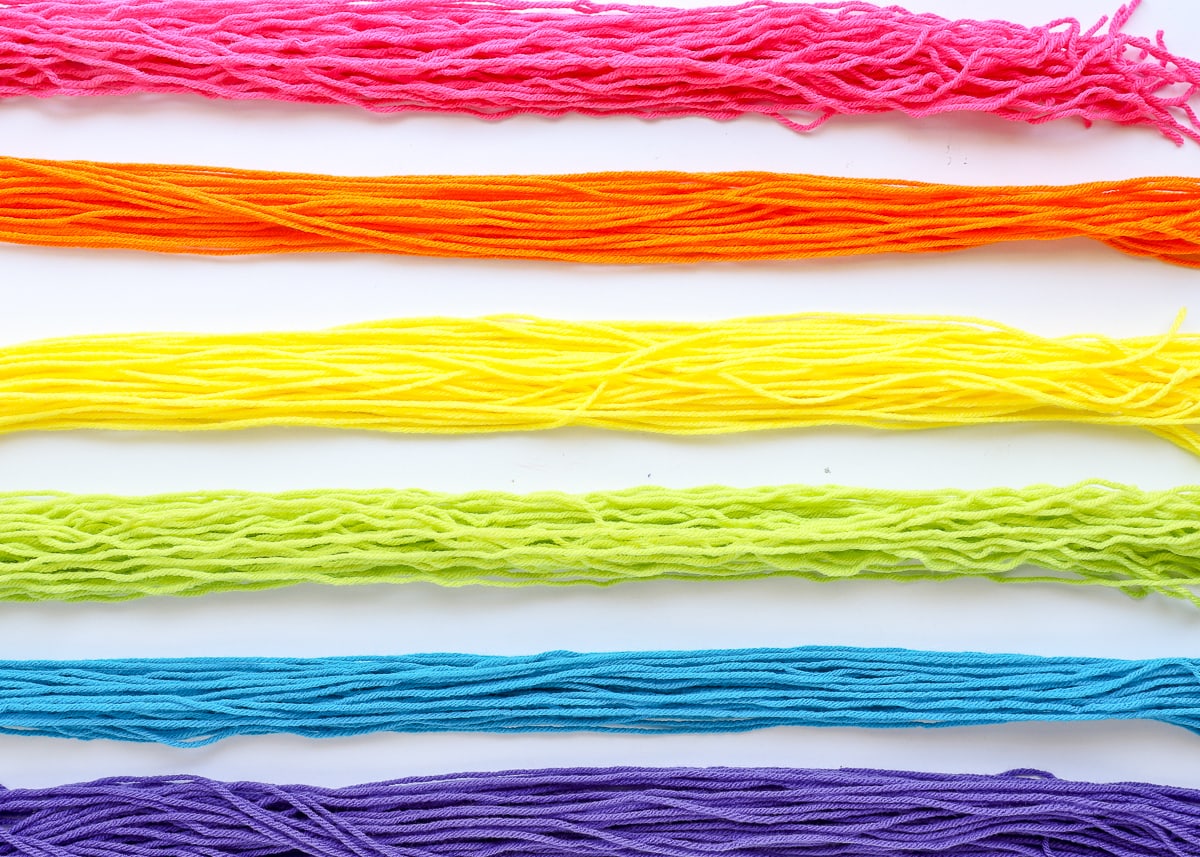
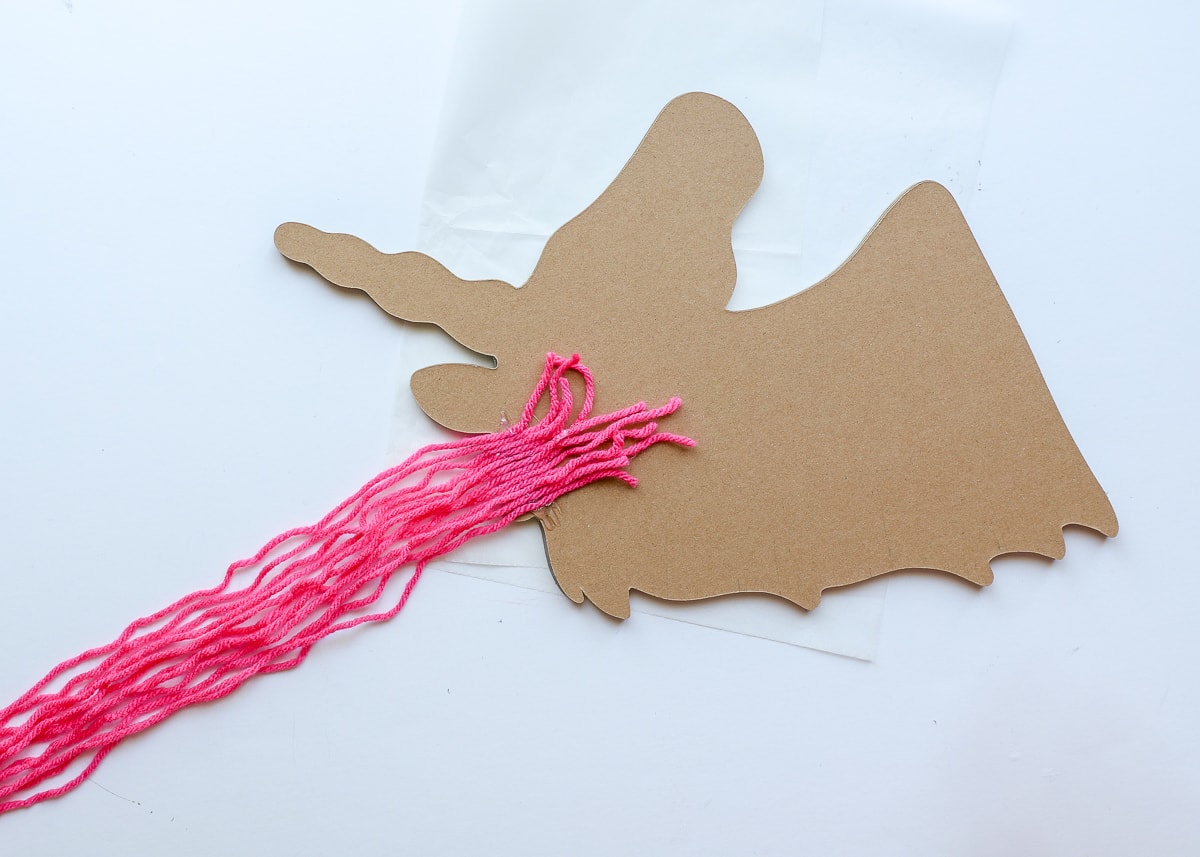
Step 2: Adding the Yarn Hair
Set the unicorn head aside and grab all your colors of yarn. Cut 36″ lengths of each color. How full you want the hair to look will determine how much you need cut. I recommend cutting about 20 strings of each color and cut more as needed!
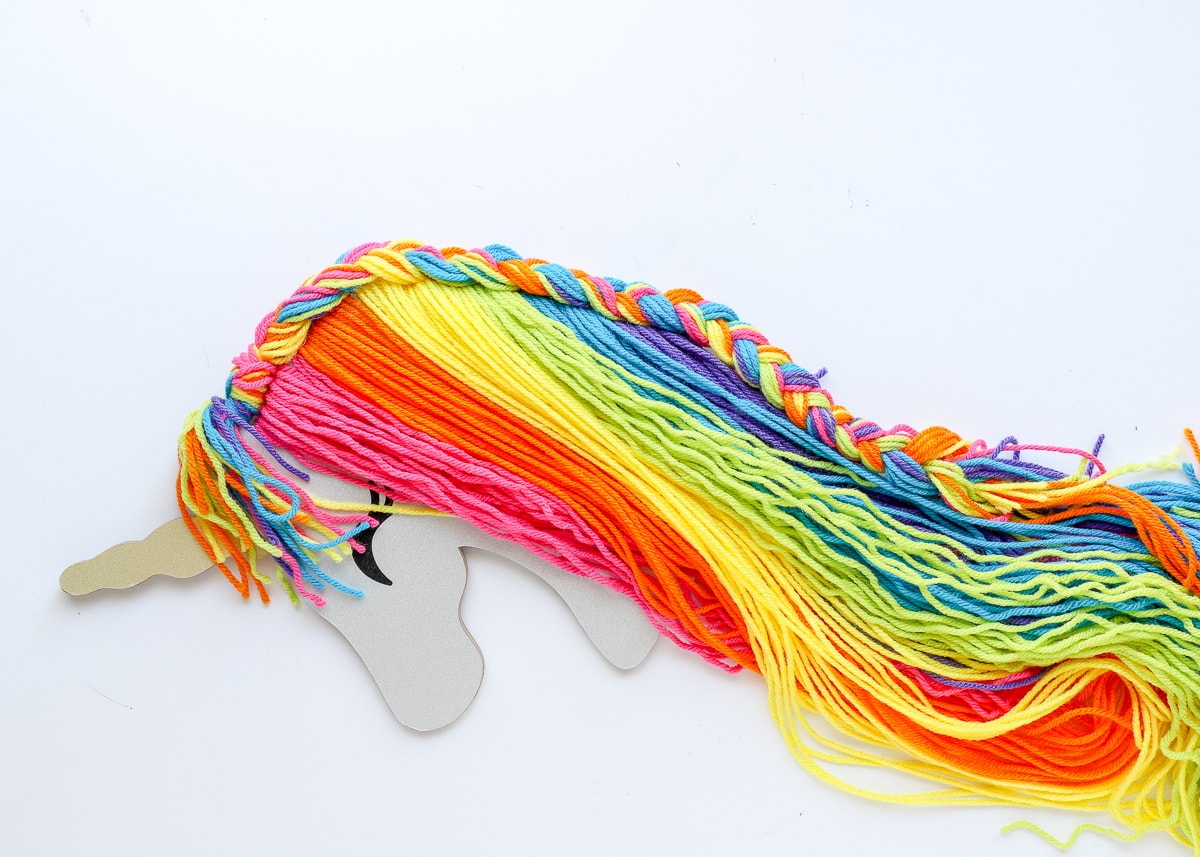
With the unicorn facing down, add a generous amount of hot glue to a 2″-ish section just behind the ear; then secure a single layer of yarn on top. Work quickly so the yarn is fully adhered before the glue sets.
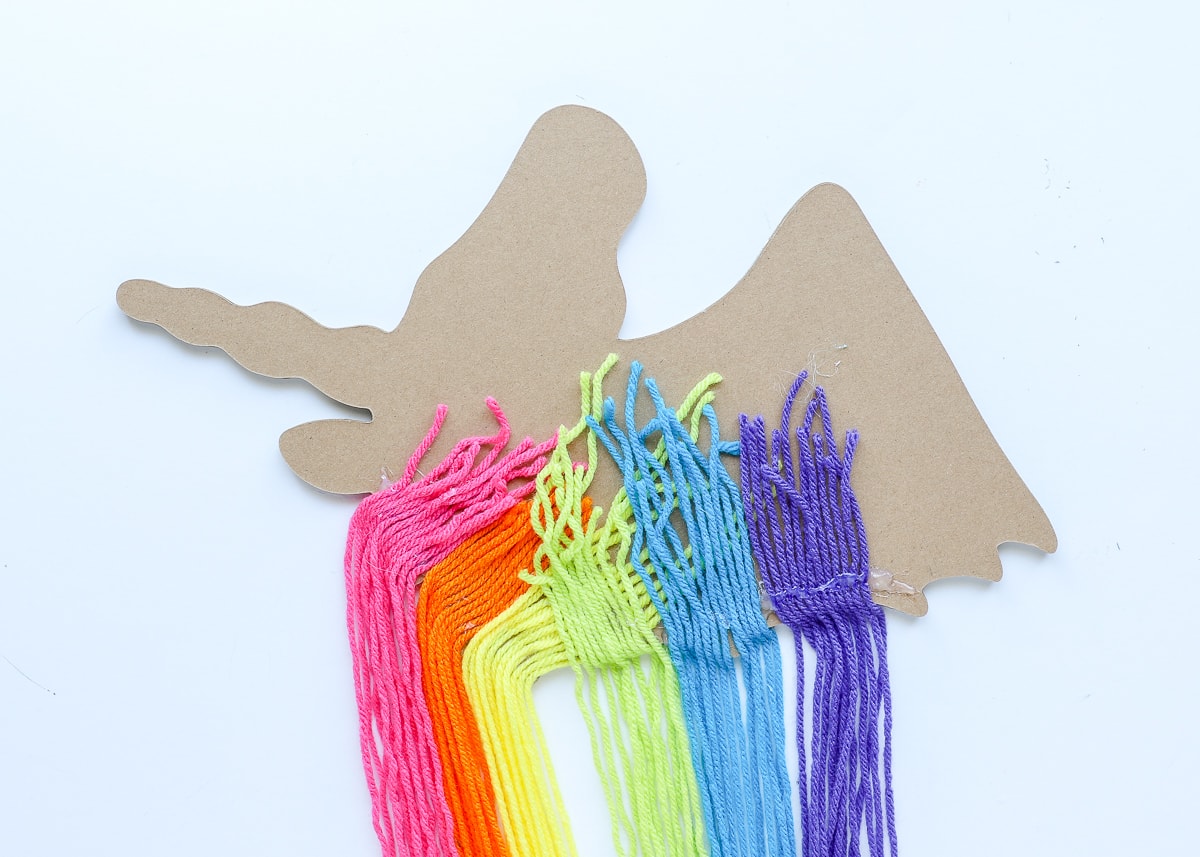
Continue working down the unicorn head, adding the additional colors. Notice in the picture below, you may need to overlap and turn the yarn as you work down the head.
NOTE: I was really concerned about the yarn hair hanging correctly once the whole head was flipped over. I found that even though the yarn was glued sideways, it still hung straight down with no issue. That said, keep flipping it over as you glue on yarn to make sure you like how it’s laying.
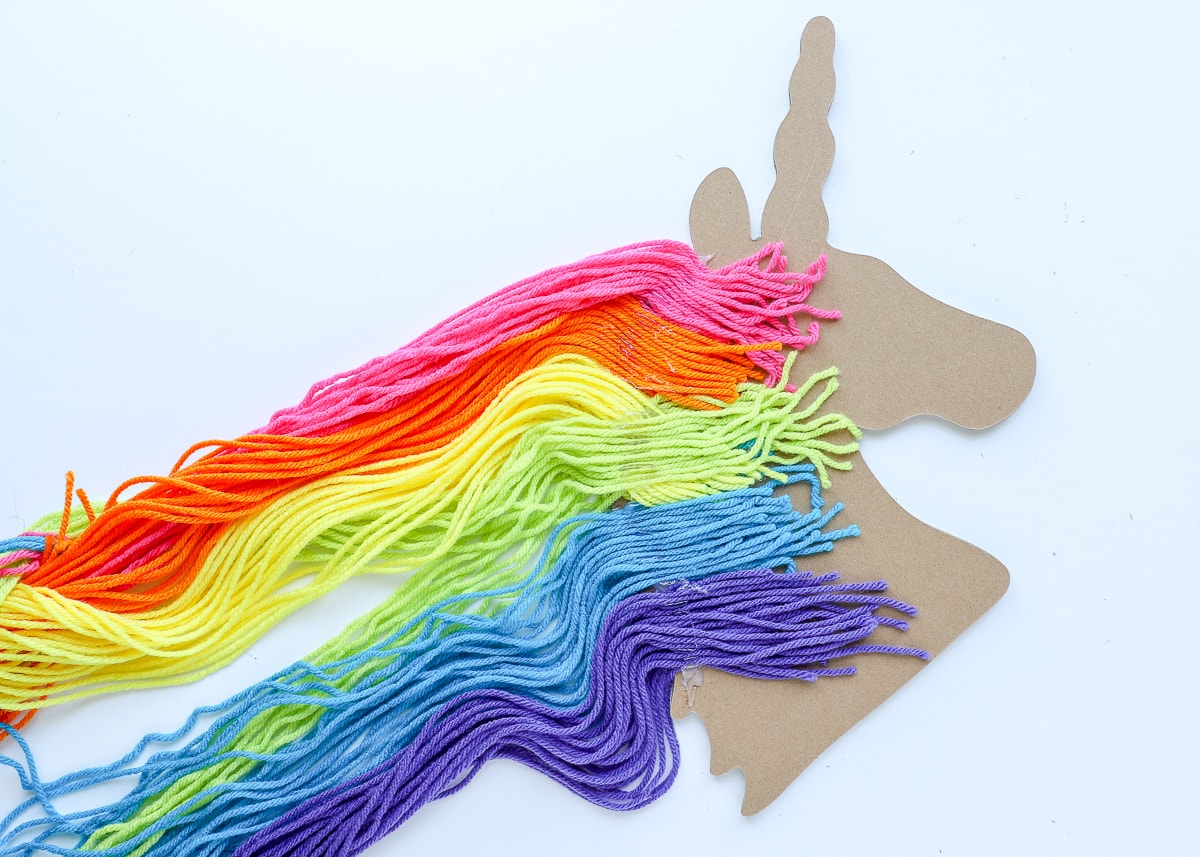
Once you get the initial placement of yarn down, go back and add additional yarn to make the hair as full as you want it. Once you’re done adding hair, use a scissors to trim down the excess ends, getting as close to your hot glue lines as possible (not shown).
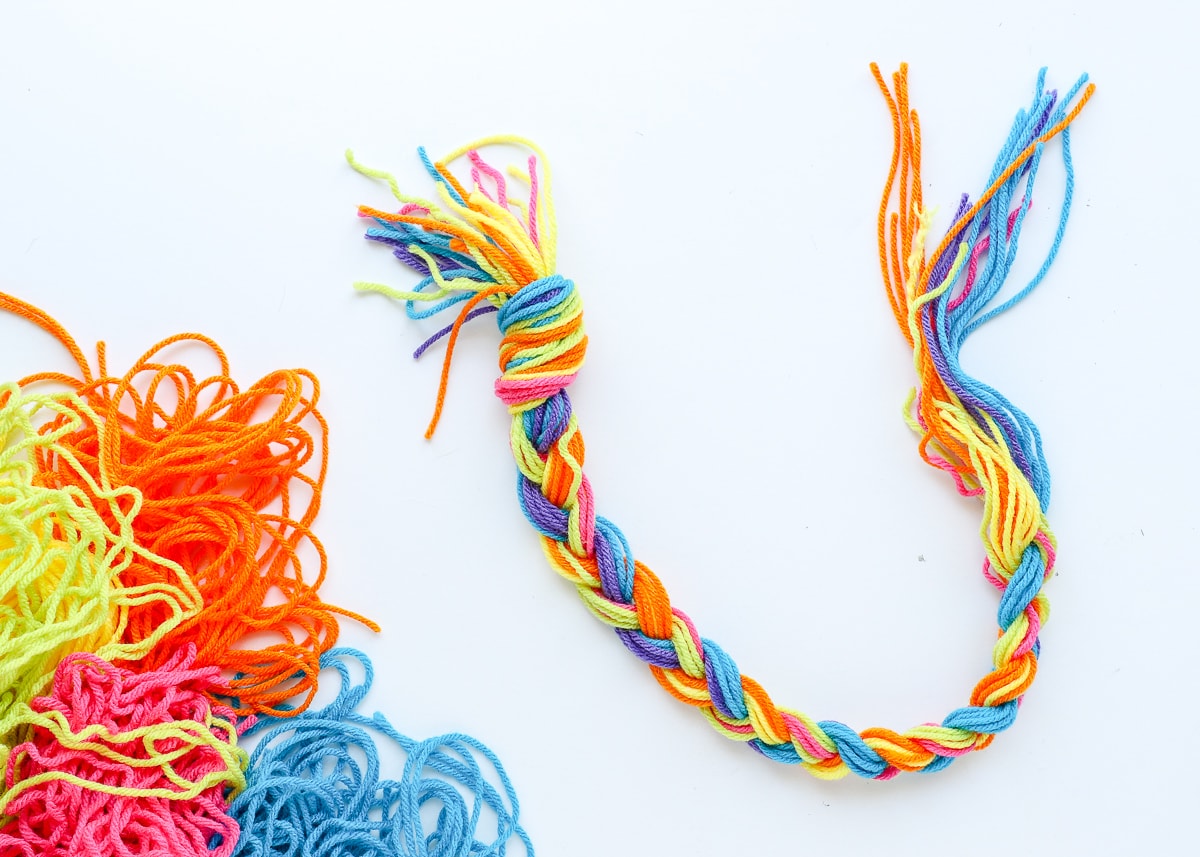
Step 3: Add the Braid
To give the unicorn hair a finished-off look, add a simple braid down the top of the head. You can choose to use one color, three colors, or mix up the yarn (as we did). Simply tie the top into a loose knot, leaving about 3″ of yarn above the knot. Then braid the colors together…
Flip the unicorn over to face up and arrange the hair to hang straight down, adjusting strings/sections as needed. One you’re satisfied with how all the hair is hanging, use more hot glue to secure the knot to the top of the head (behind the ear) and down the length of the chipboard cutout, glueing directly on top of the hair. Fluff and trim the excess yarn above the knot to be the unicorn’s bangs, and add a bow to the end of the braid to hold all the yarn in place (not shown).
Step 4: Add a Hanger
Finally, secure about 12″ of ribbon to the back of the unicorn head, with more hot glue, as shown below.
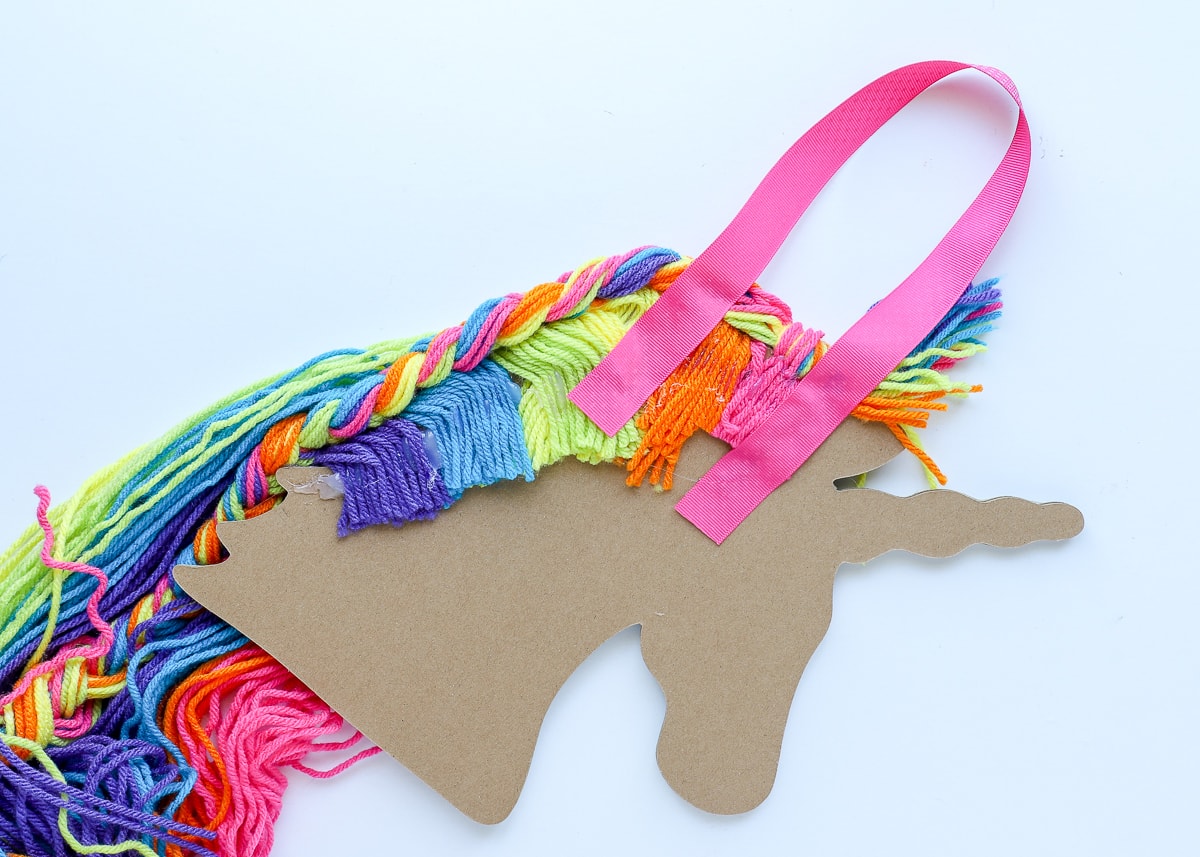
This ribbon can then be hung over any kind of hook, including a command hook, door knob, etc. Once hung, secure any bows and clips down the length of the hair for really accessible (and adorable!) storage!
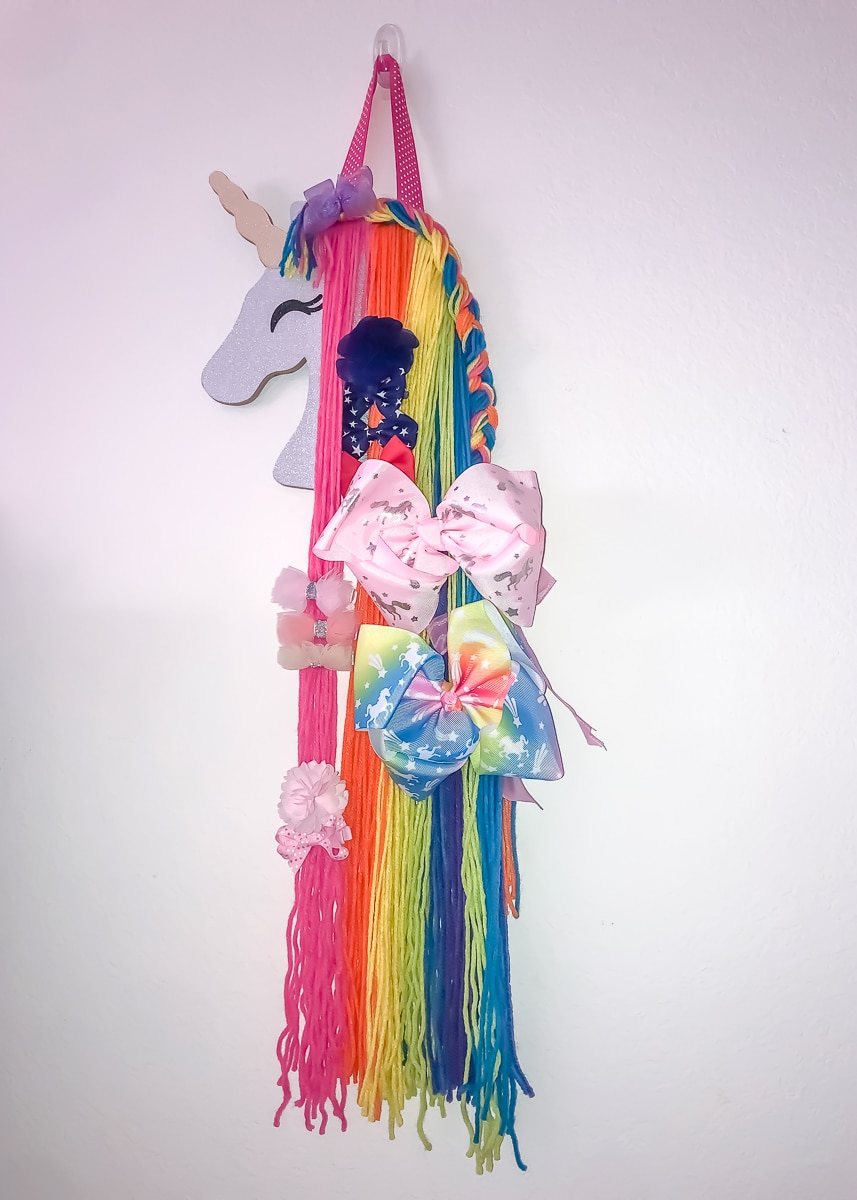
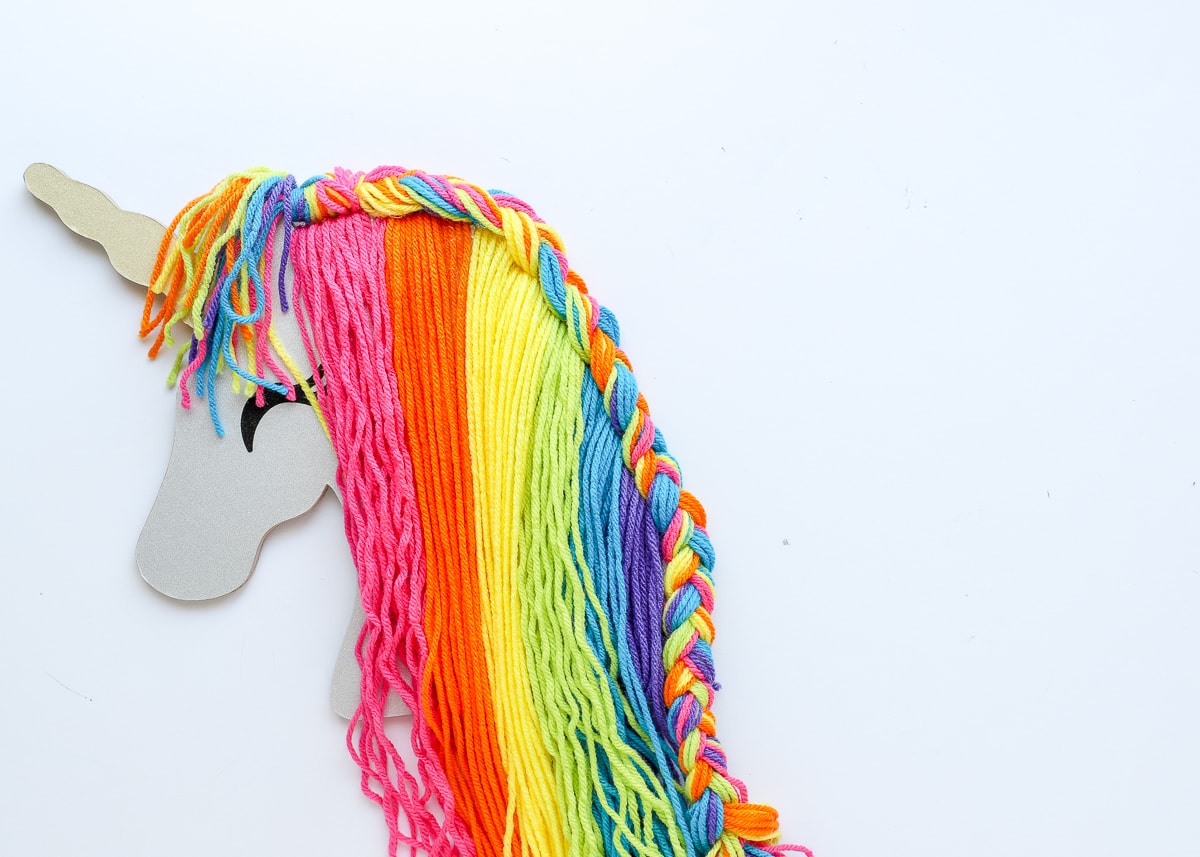
Once everything was cut out (both the chipboard cutouts and the yarn), this project came together really quickly! Not only was it a fun one to make, but it sure resulted in a cute and colorful way to decorate bedroom walls and store hair accessories at the same time! And…if unicorns aren’t your thing, this concept could easily be adapted to other shapes such as a mermaid, crown, or even a fun message frame!
I hope this project gives you some new ideas for using a Cricut machine and some basic supplies – you’ll have to let me know if you give it a try!
Megan

6 Comments on “DIY Rainbow Unicorn Bow Holder”
These instructions were very helpful I had no idea how to start this project with Gluing the yarn on to the unicorns head can’t wait to get started Thanks
I’m so glad you found it helpful! I had to study inspiration photos for a looooong time to figure it out – hope it works for you!
Have fun!Megan
Hi Megan!
I love this! I have a Cricut Explore so I can’t cut the chipboard. If I use a premade cutout, do you have any ideas to cut the vinyl shapes so they’re the exact shape of the horn and face?
Thanks!
Hi Lisa!
Sorry for the delay in getting back to you here. My best suggestion for getting it to match EXACTLY would be to scan it and then upload the scan into Cricut Design Space. You could also put the cutout shape down onto a square of vinyl and use a sharp craft knife to cut around it. Otherwise, you could try cutting many (like 10) sheets of poster board on your Explore and glueing them together (spray adhesive) to get a similar strength and thickness!
Good luck with your project!Megan
Do you have the svg available for the unicorn head?
Thanks!!
Hi there!
Unfortunately, I don’t. It was an image from within Cricut Design Space. But I am sure you can find a good free SVG HERE. (Like this one would work: https://thenounproject.com/search/?q=unicorn&i=125665)
Hope that helps!Megan