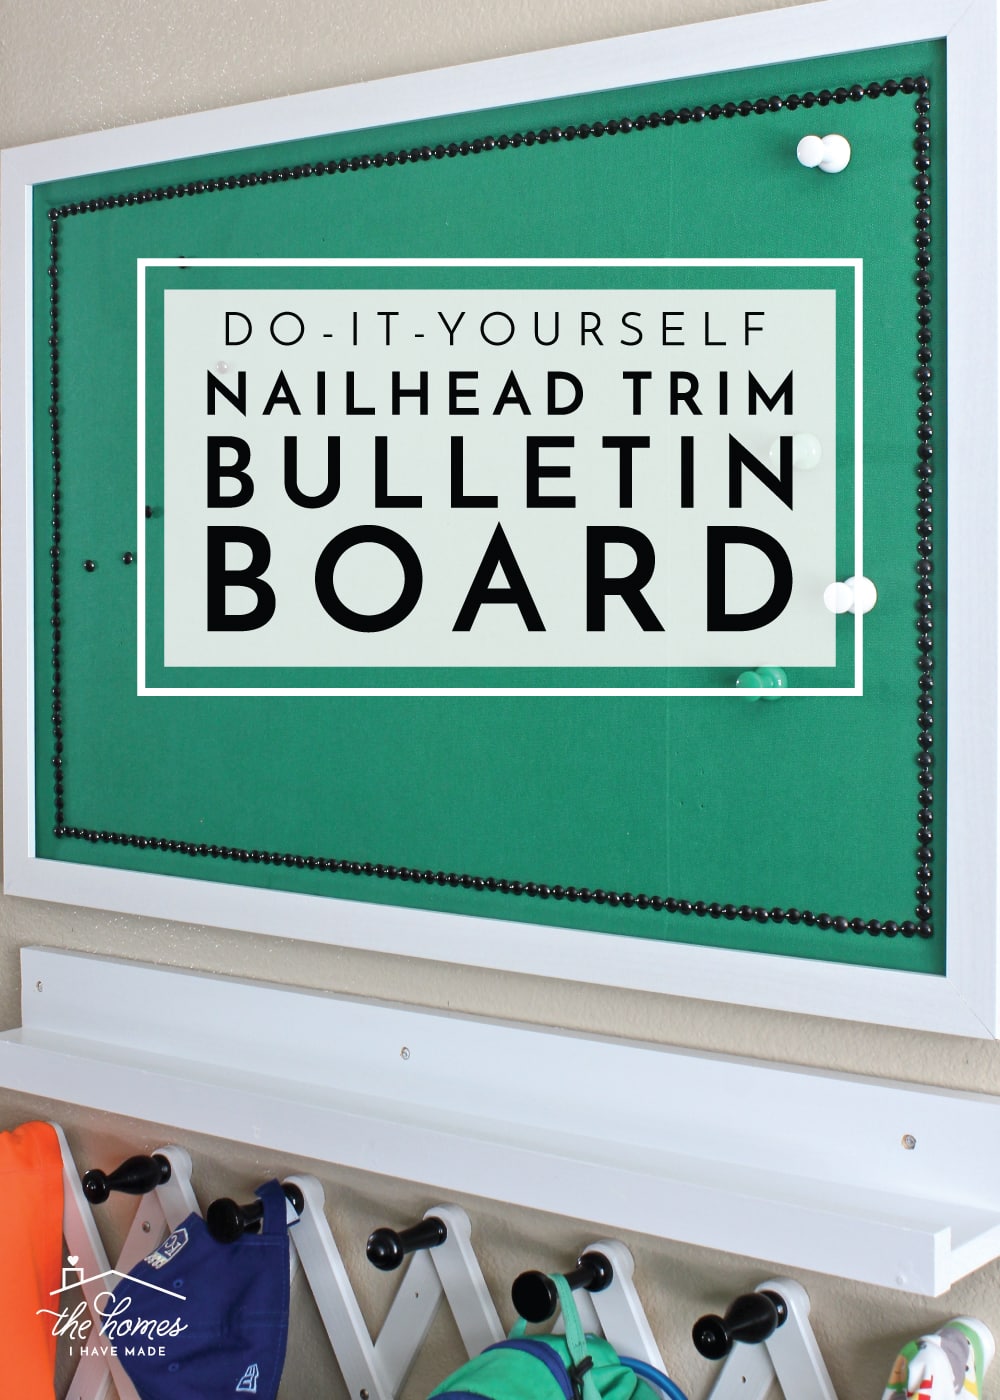
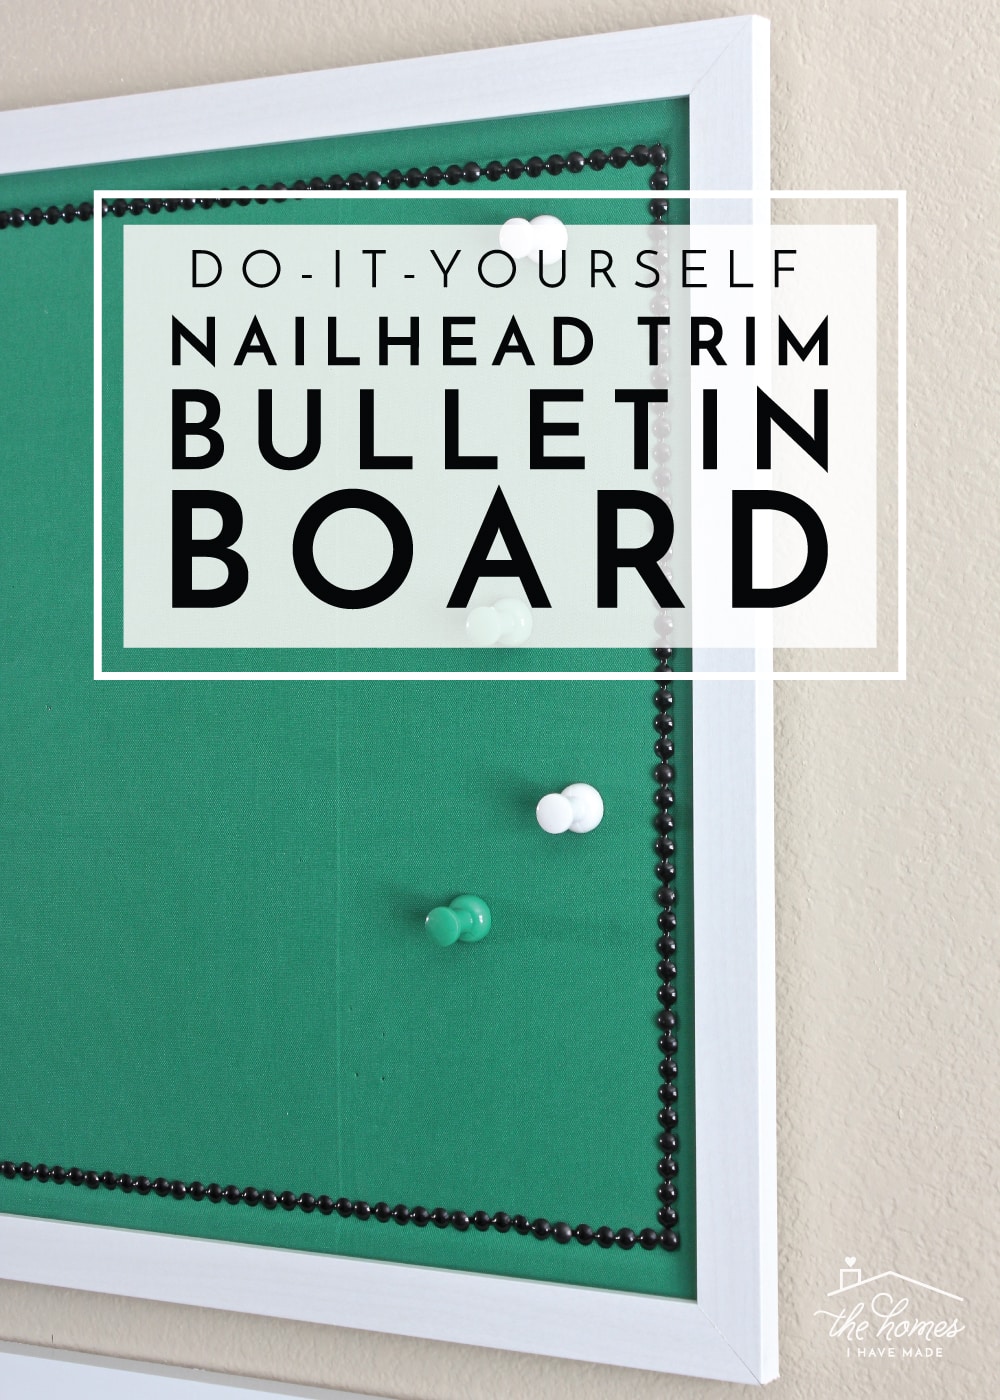
DIY Nailhead Trim Bulletin Board
I have a really fun, easy, stylish DIY project to share with you today! If you’re looking for a budget-friendly way to add a little more pizzazz to an office space, bedroom, or playroom, give this DIY Nailhead Trim Bulletin Board a try!
When I recently made over Henry’s bedroom, I was strategic about which DIY projects I was going to take on because I was trying to do the room fast and on a tight budget. I specifically focused my efforts on projects that were either really necessary or would have a large visual impact, and this bulletin board update was both! Henry’s previous bulletin board was falling apart and not quite as functional as we needed it to be. The circles were falling off, and they weren’t quite deep enough to hold up thick projects. Also, the lime green backing wasn’t quite right for the new room’s design…

Giving Henry a new bulletin board was an absolute priority for me, but I didn’t want just a basic brown board on the wall. So I decided to give a quick makeover to a plain bulletin board we had out in the garage with just some fabric and nailhead trim. For about $10 and in about 20 minutes (seriously), we had a sharp new version ready to hang in his room!
Nailhead trim bulletin boards are available from many retailers including HomeGoods and stores like Pottery Barn; but did you know that they can be super easy to make thanks to off-the-shelf nailhead trim? This stuff is really easy to work with and gives a project major style in mere minutes. I used it before here and was impressed with how easy it was; so I knew it was the perfect thing to use on this bulletin board upgrade!

Materials Needed
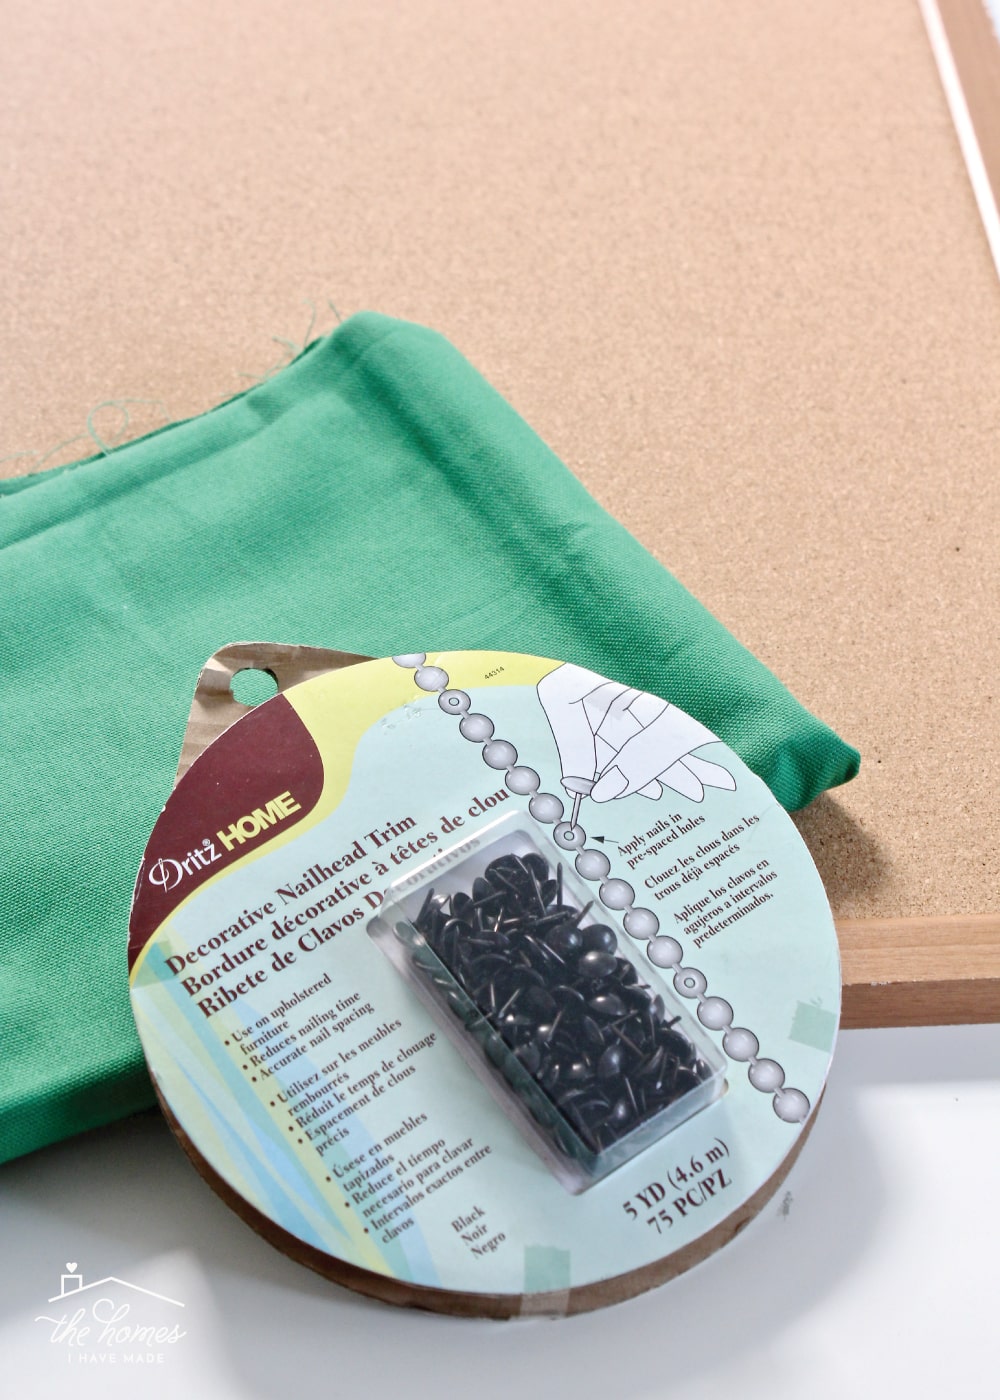
To make your own Nailhead Trim Bulletin Board, you will need:
- A framed bulletin board – any size, any shape, any color
- Fabric – any color, pattern, or style…just make sure it’s big enough to cover your bulletin board with extra inches to wrap around to the back
- Nailhead trim – I used black but it comes in silver, antique gold, and brass.
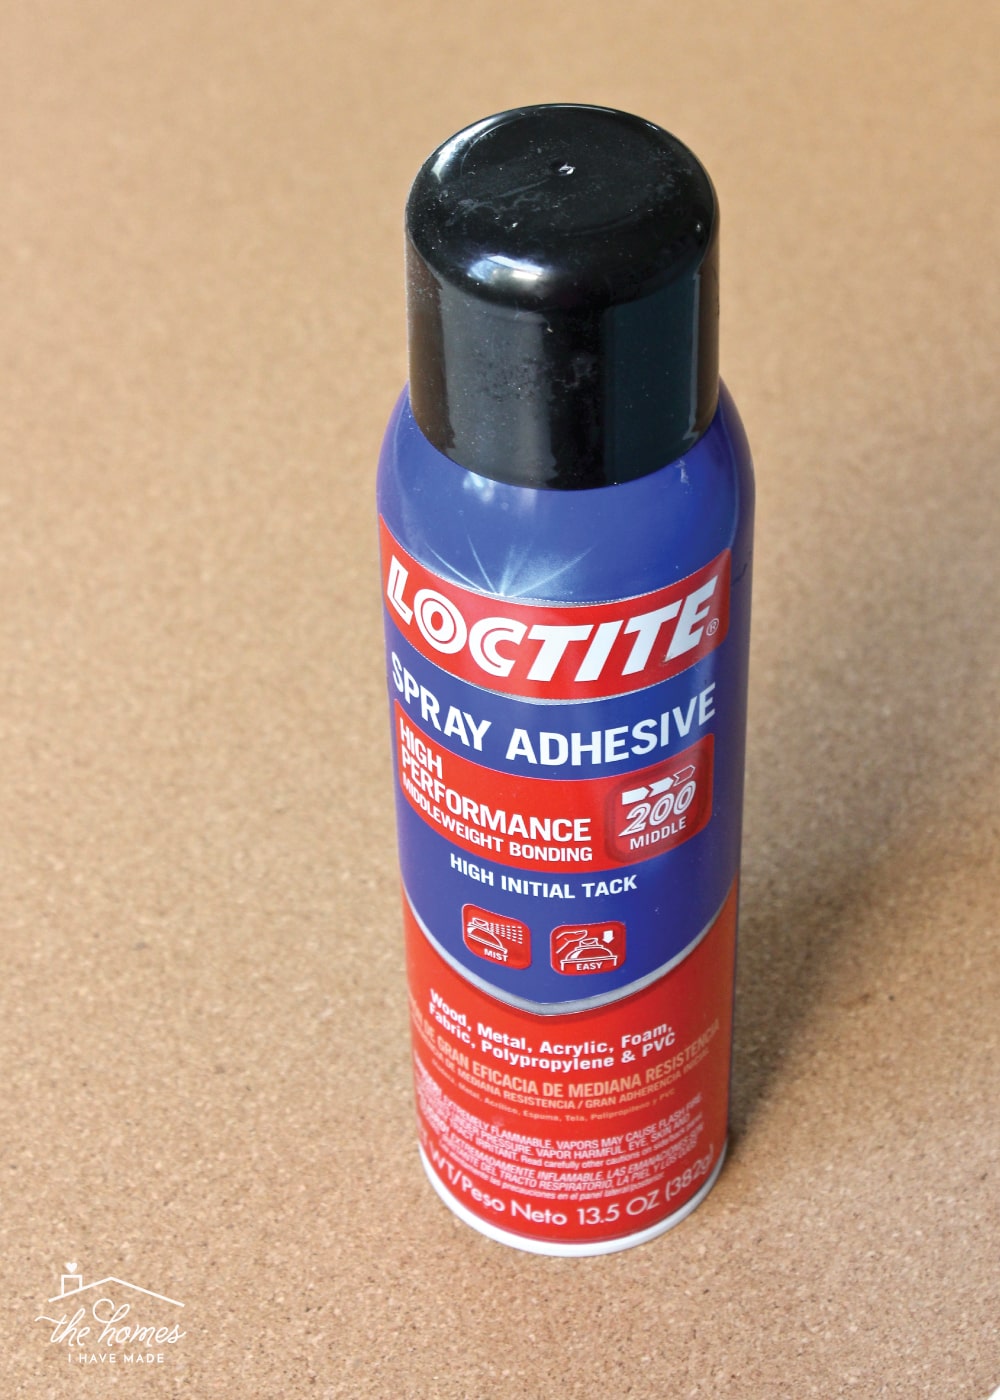
- Spray adhesive
- Tools: Iron, staple gun, wire cutters
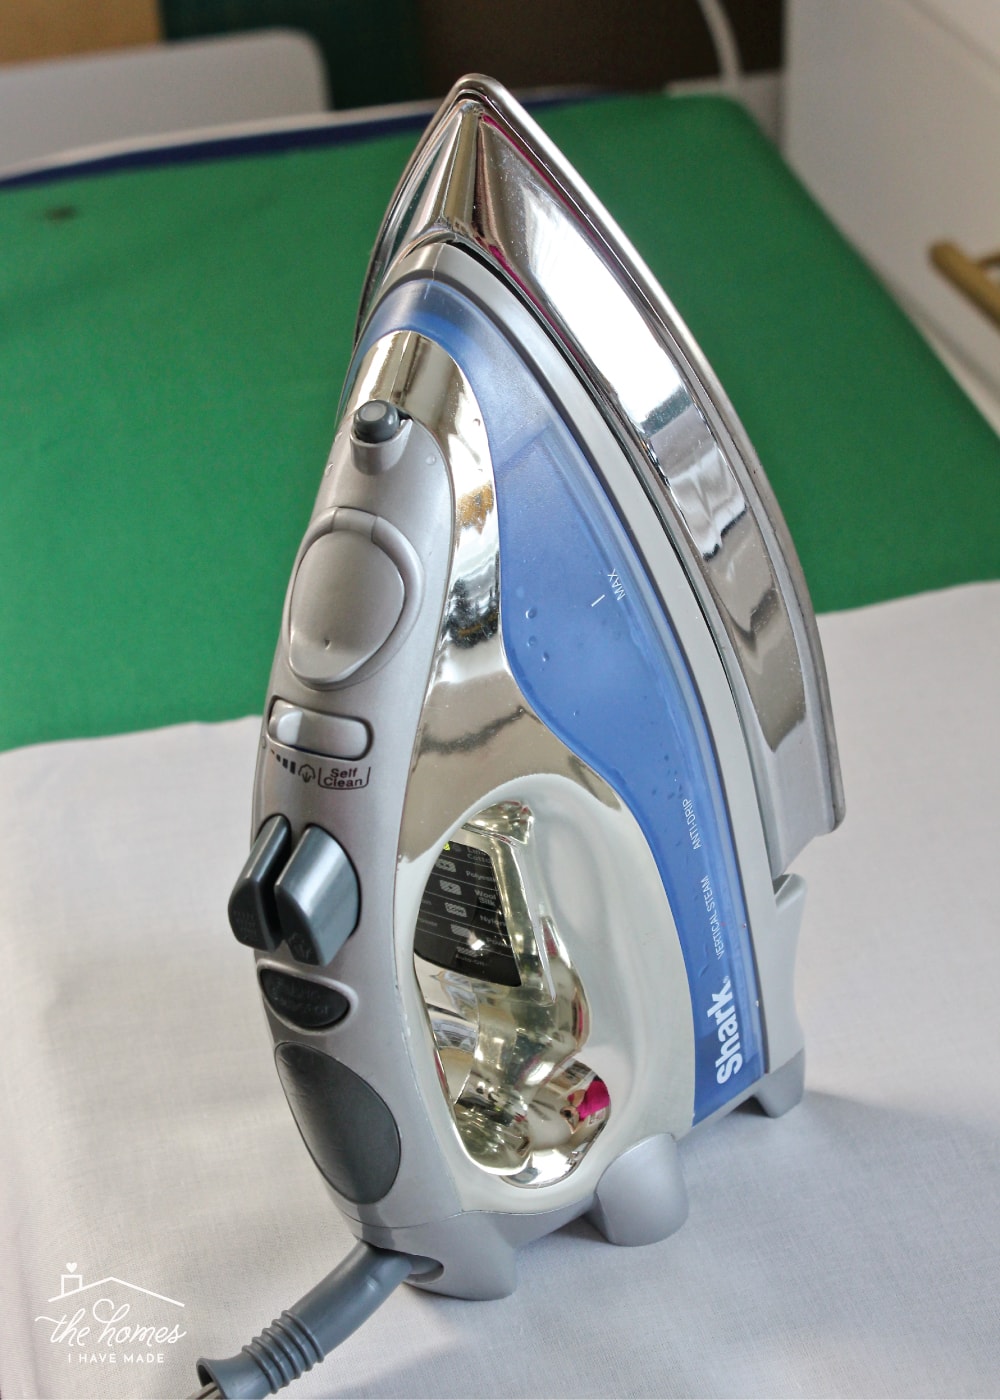
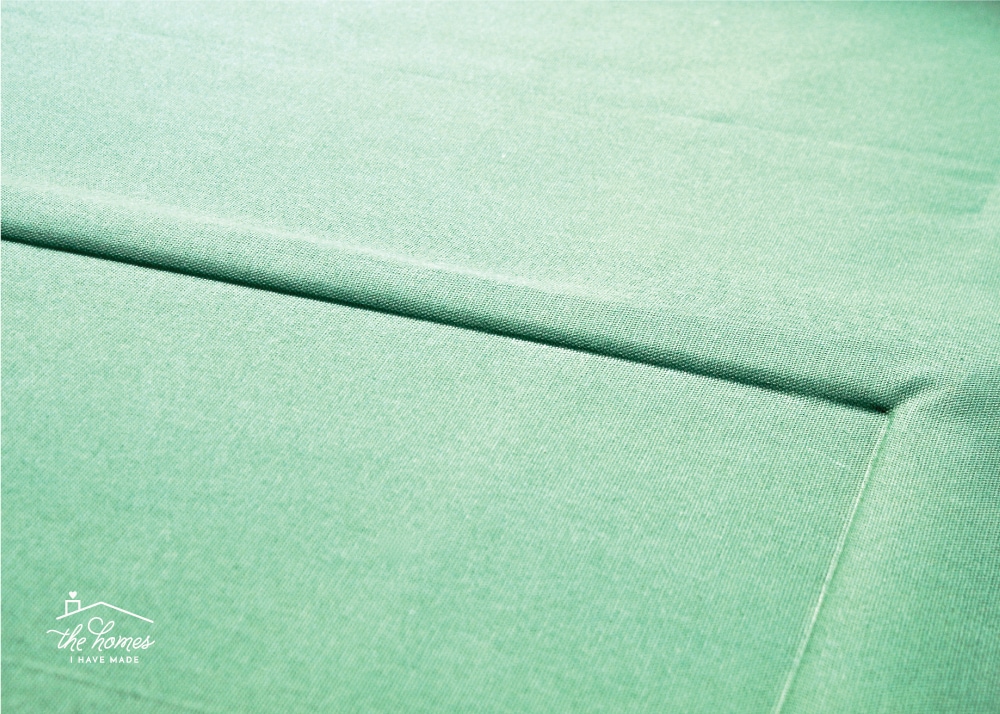
Start by ironing your fabric. You may not think you’ll need to, but especially if your fabric is a solid color, wrinkles and creases WILL show on your final board. Heed my warning and take the time to get it wrinkle free now!
Next, thoroughly spray the front of the bulletin board with spray adhesive. It doesn’t really matter what strength of adhesive you use here (I just used what I had on hand) because the nailhead trim and staples will hold the fabric in place long-term. This is just to keep the fabric from moving around while you assemble the whole thing.
Once sprayed, work quickly to place down your fabric, right-side-up, onto the front of the bulletin board. If your fabric has a direction or a repeat, make sure it is centered and right-side-up exactly where you want it. Smooth down the fabric across the entire board and then use your fingernail or other straight edge (such as a ruler, knitting needle, or bone folder) to get the fabric as tight into the crease between the bulletin board and frame as you can.
NOTE – Don’t worry about tucking the fabric into the crease. Just smooth it down so the edges look nice and clean as shown below.
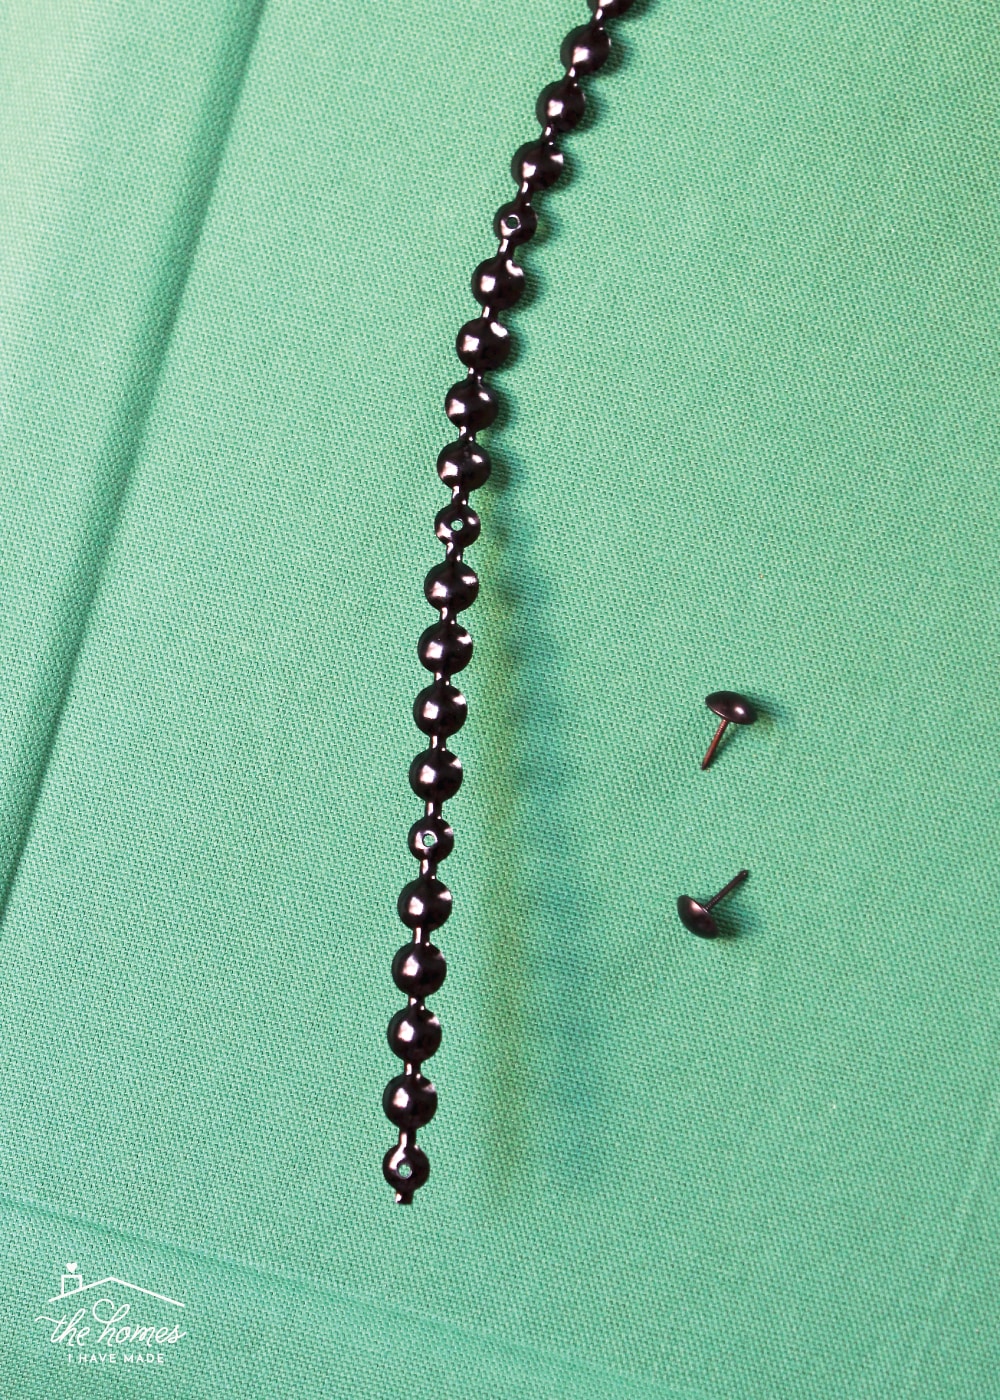
The nailhead trim comes in a continuous 5-yard roll with regularly-spaced holes along the trim. To affix the trim to your project, you insert the single push-pin style brads (that come with the roll) into those holes. So easy!
NOTE – Some people don’t like how the push pins look slightly bigger than the rest of the trim. While you CAN tell which nailheads are the trim and which are the brads, I find using the trim is such a quicker and easier method to getting the nailhead look rather than placing each nail individually. For me, “quick and done” is better than “perfect but takes forever”!!!
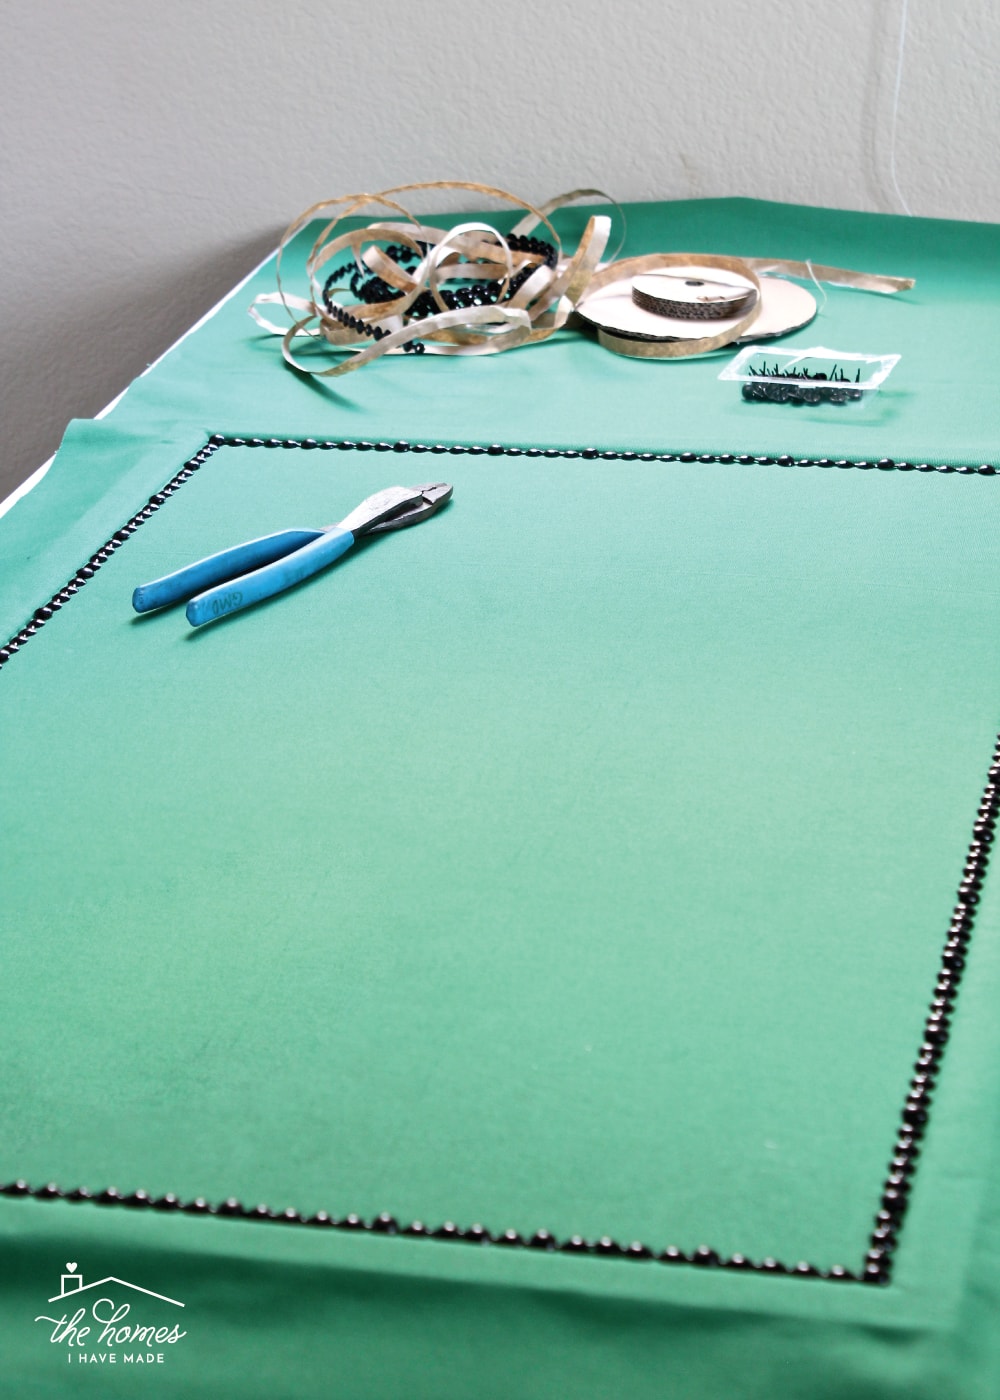
Pick a corner to start applying the trim. Place the trim along the inside of the bulletin board’s frame, ensuring it’s straight and tight to the edge. Use the included push-pins to affix the trim to the bulletin board’s cork surface.
Pivoting the corners can be a little tricky. When you get to a corner, use a wire snippers to cut the trim, one less nailhead than you need (see the gap between the end of the trim and the frame below). Then, trim off extra nailheads from the roll of trim until the first nailhead has the open hole. Place that open hole nailhead into the corner. When pinning the nailhead down with a single pin, catch the end of the previous line of trim so it all looks continuous and remains flat to the board.

Work all the way around the board with the nailhead trim and brads in this way.
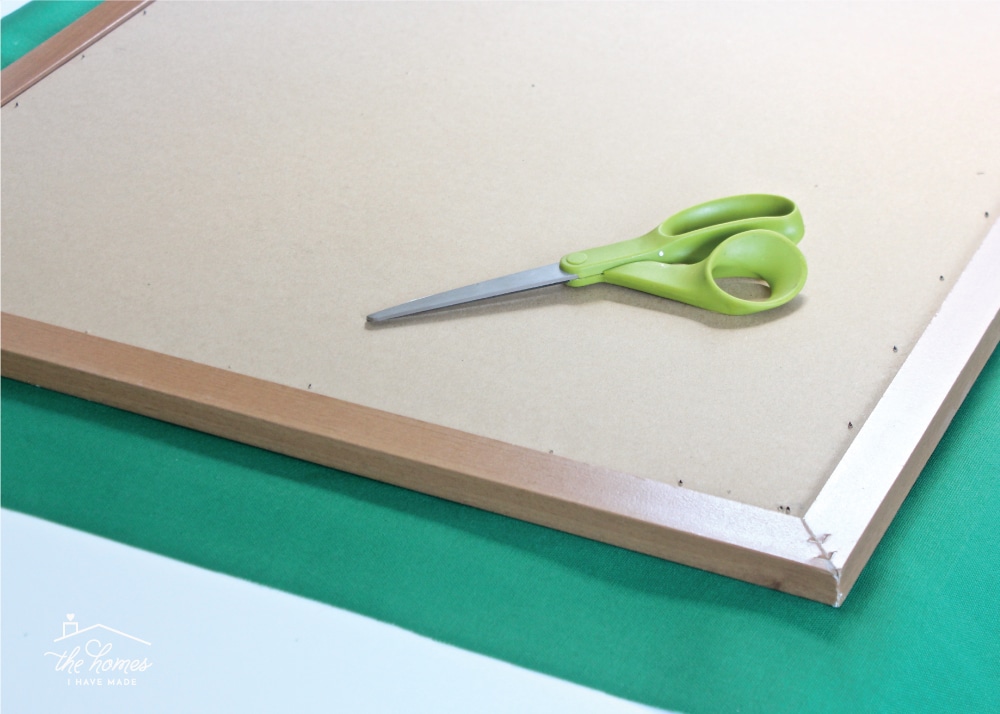
Once the nailhead trim is done, flip the entire bulletin board over so that the fabric/nailhead trim is facing your work surface and the back of the bulletin board is facing up. Use a scissors to trim down the fabric until there is about a 4-5″ border of fabric all the way around the frame.
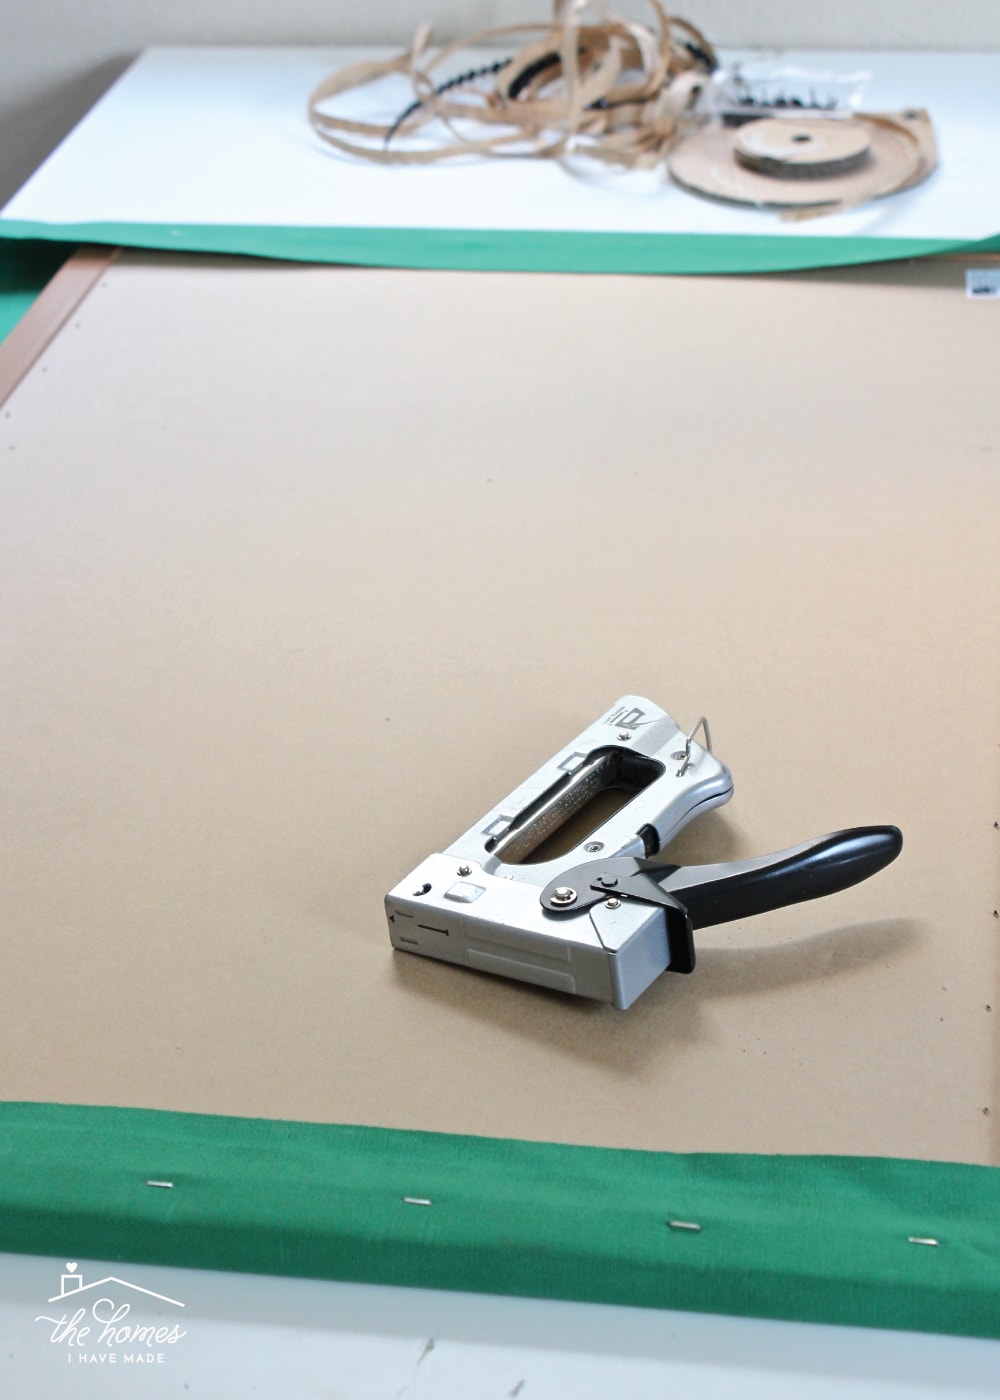
Pull the fabric to the back of the frame; make sure it is taught and then secure it in place with a staple gun. Make sure the staples go into the wood frame itself (not the cork backing). I recommend wrapping all four sides first, and then returning to do all the corners.
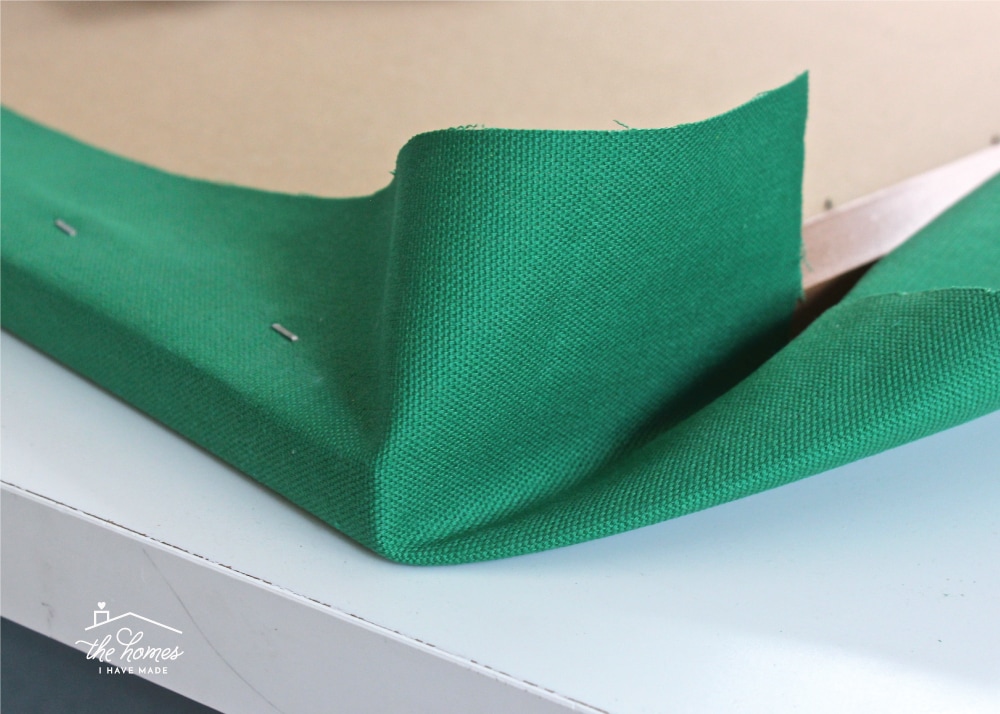
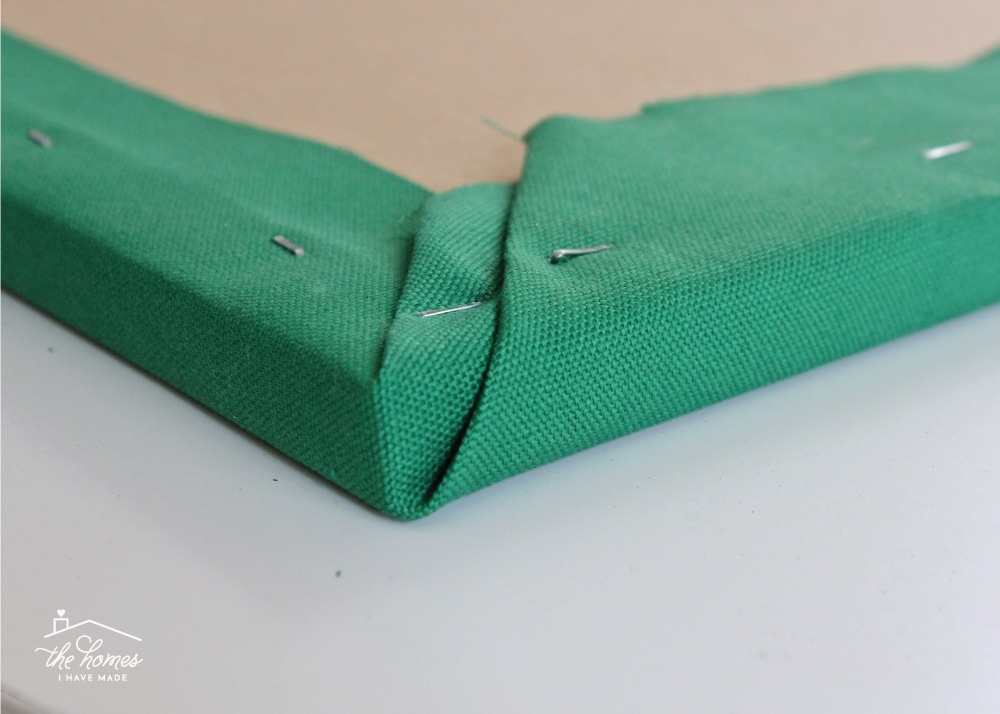
Folding fabric around corners can be a challenge, but here is a simple method to get them looking nice and clean!
TIP! I recommend you fold the corners across the top and bottom of the board OR up and down the sides. Just be consistent on each corner!
As if you were wrapping a present, fold one corner of fabric flush against the frame of the bulletin board…
Fold the fabric that is standing straight up down onto the frame and staple it in place. Be sure not to pull out the fold into the frame you just did above.
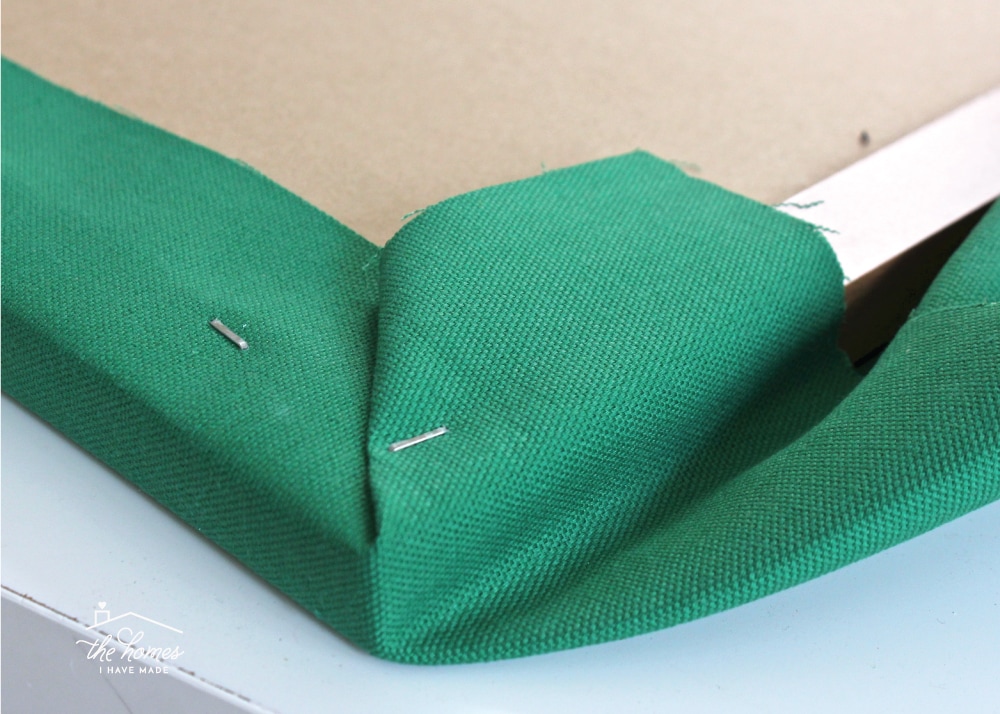
To finish off the corner, fold the bottom layer up and over the frame and staple in place to produce a neat and tidy corner!
Complete all four corners and your upholstered bulletin board with nailhead trim is pretty much done and ready for hanging!
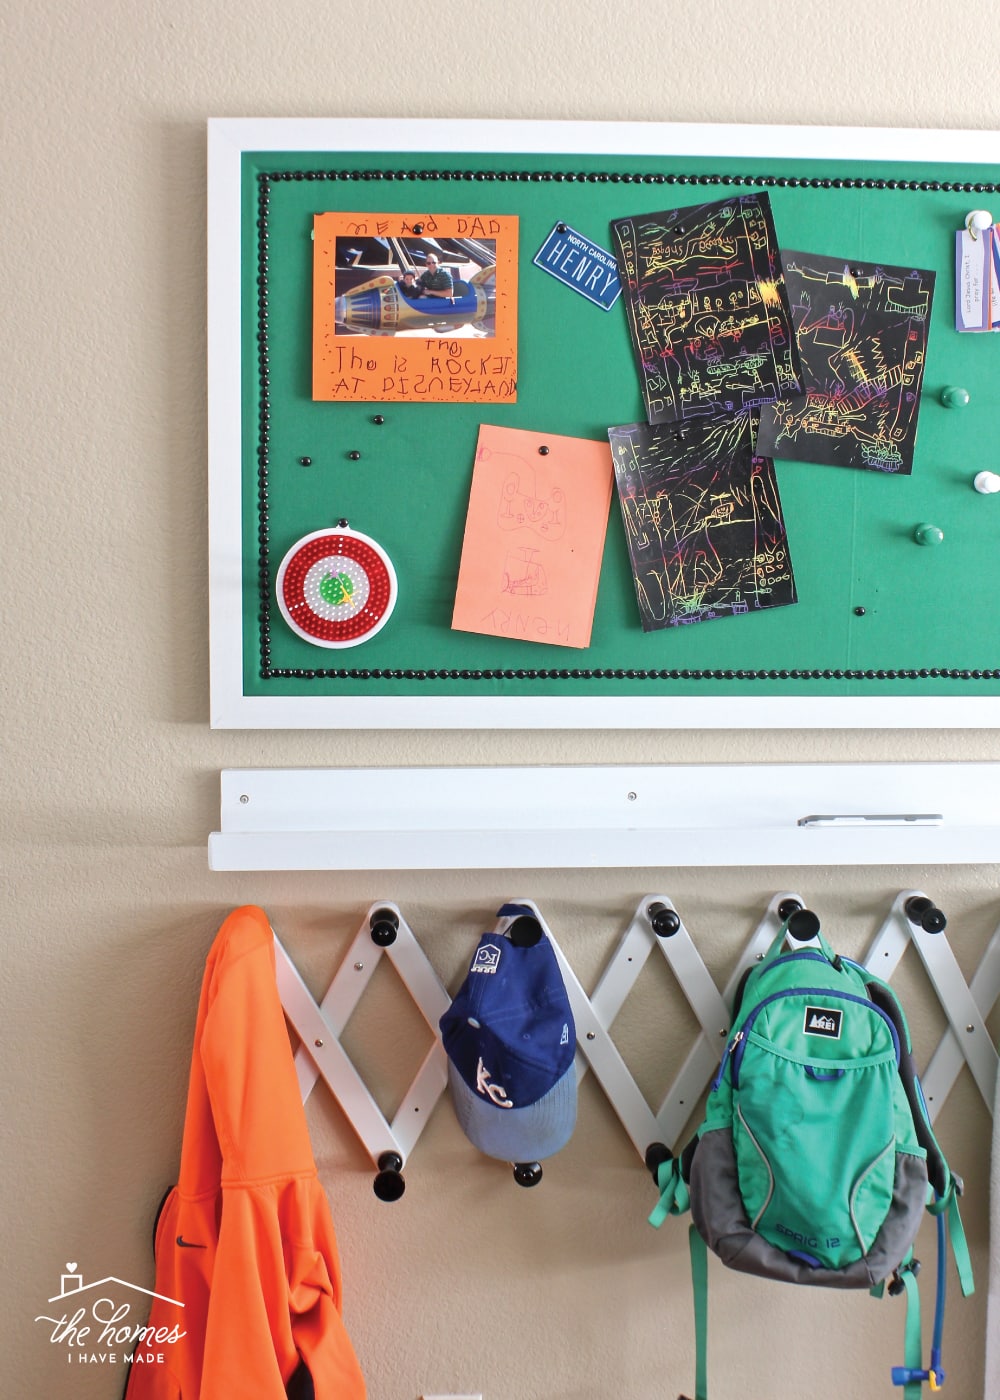
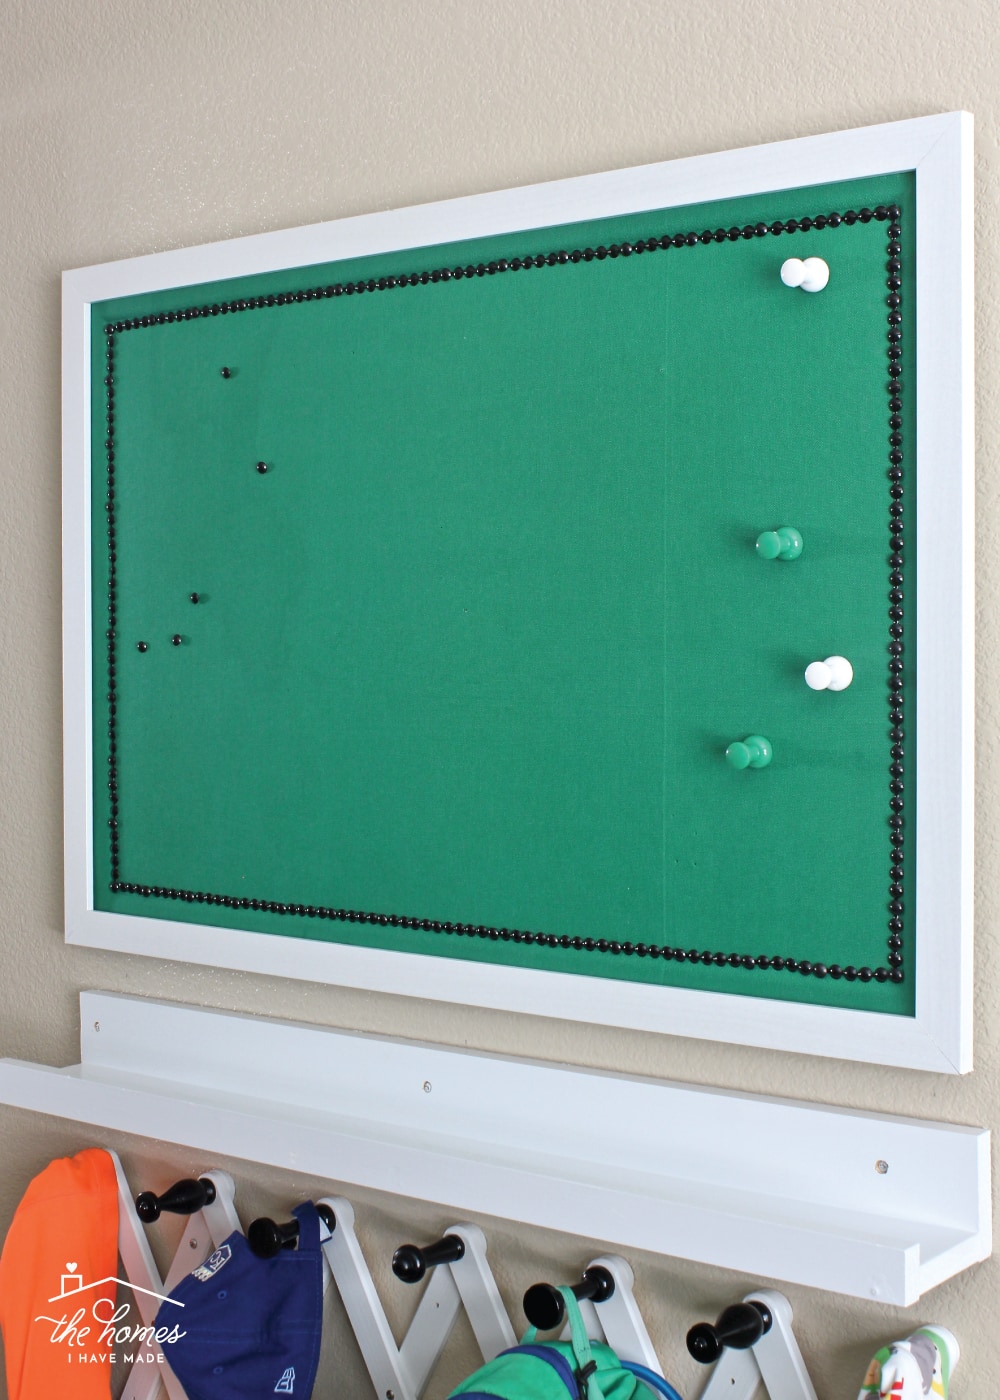
So this is where our bulletin board took a lucky and unexpected turn. I had every plan of hanging the bulletin board on the wall exactly as it was above…the board completely wrapped in fabric with the nailhead trim detail. The “upholstered” fabric looked awesome, but the proportion over Henry’s little shelf and wall hooks felt really off. After comparing his old bulletin board to the new one (that I dug out of the garage), I realized the new one was just a tad smaller. #oops.
I was about to say “oh well, we’ll live with it!” when I decided to see if the new bulletin board fit INTO the frame of his old bulletin board. Would you believe that it was a PERFECT fit? I didn’t even have to use nails or anything to hold it in…the extra fabric around the frame caused the whole board to sit snug into the white frame!
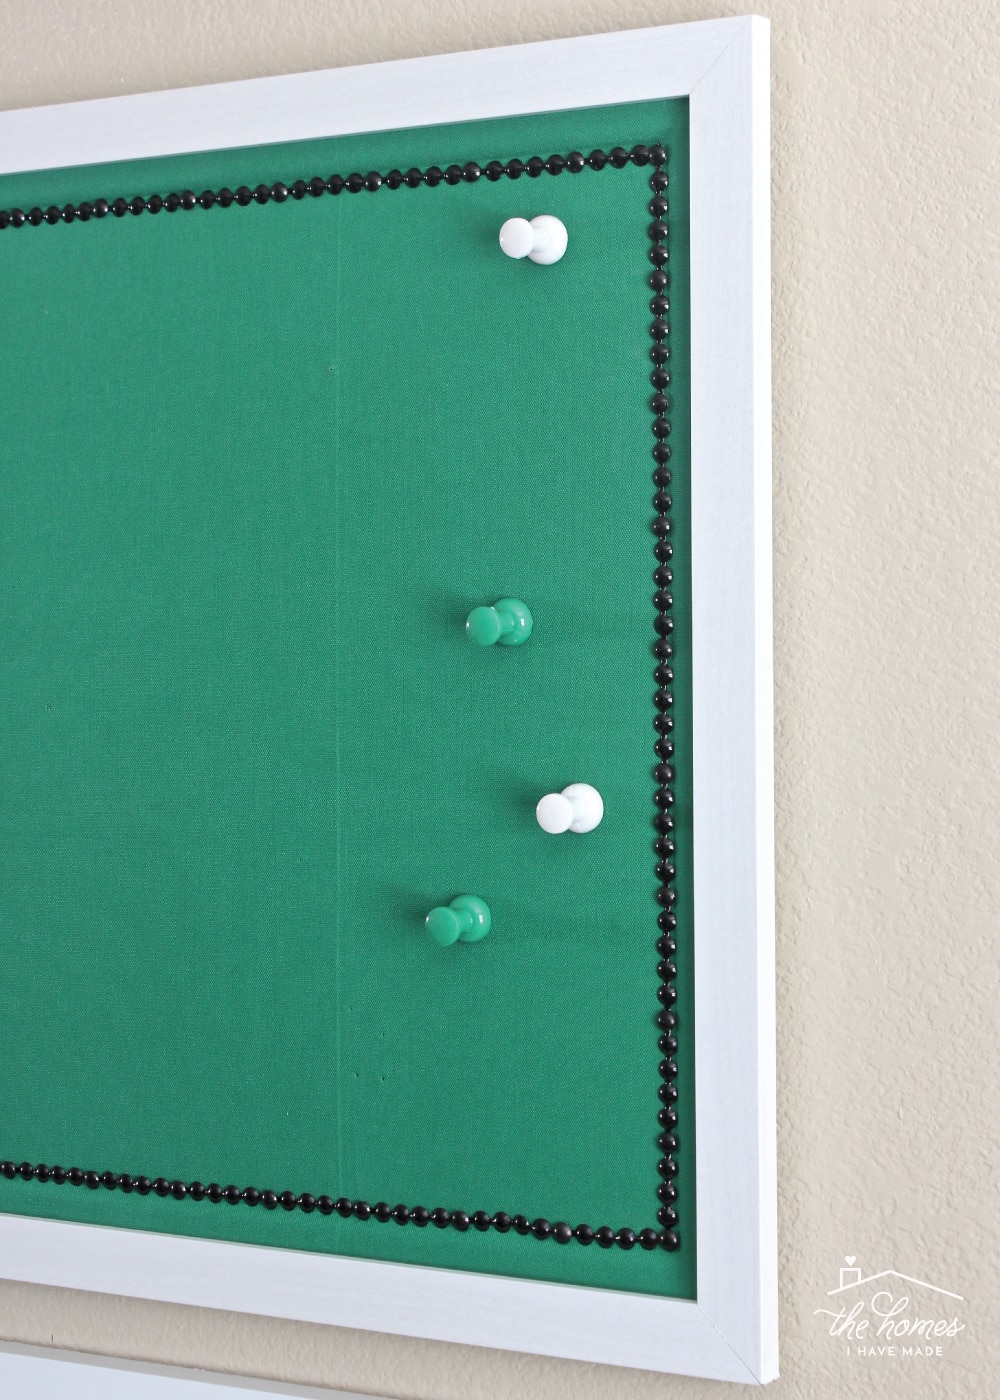
Although the board itself looked great without the frame, it was such a happy accident that I couldn’t have planned even if I measured everything out. Not only did the white frame bring the arrangement back to better proportions, but the white frame really finished off this bulletin board project so nicely!
All-in-all, this DIY Nailhead Trim Bulletin Board project was a major success! By using the bulletin board, fabric, and frame I had on hand, I just needed to buy the roll of nailhead trim to give Henry a much more stylish and better-functioning display for his room. And seriously…from start-to-finish, this project took me no more than about 20 minutes!
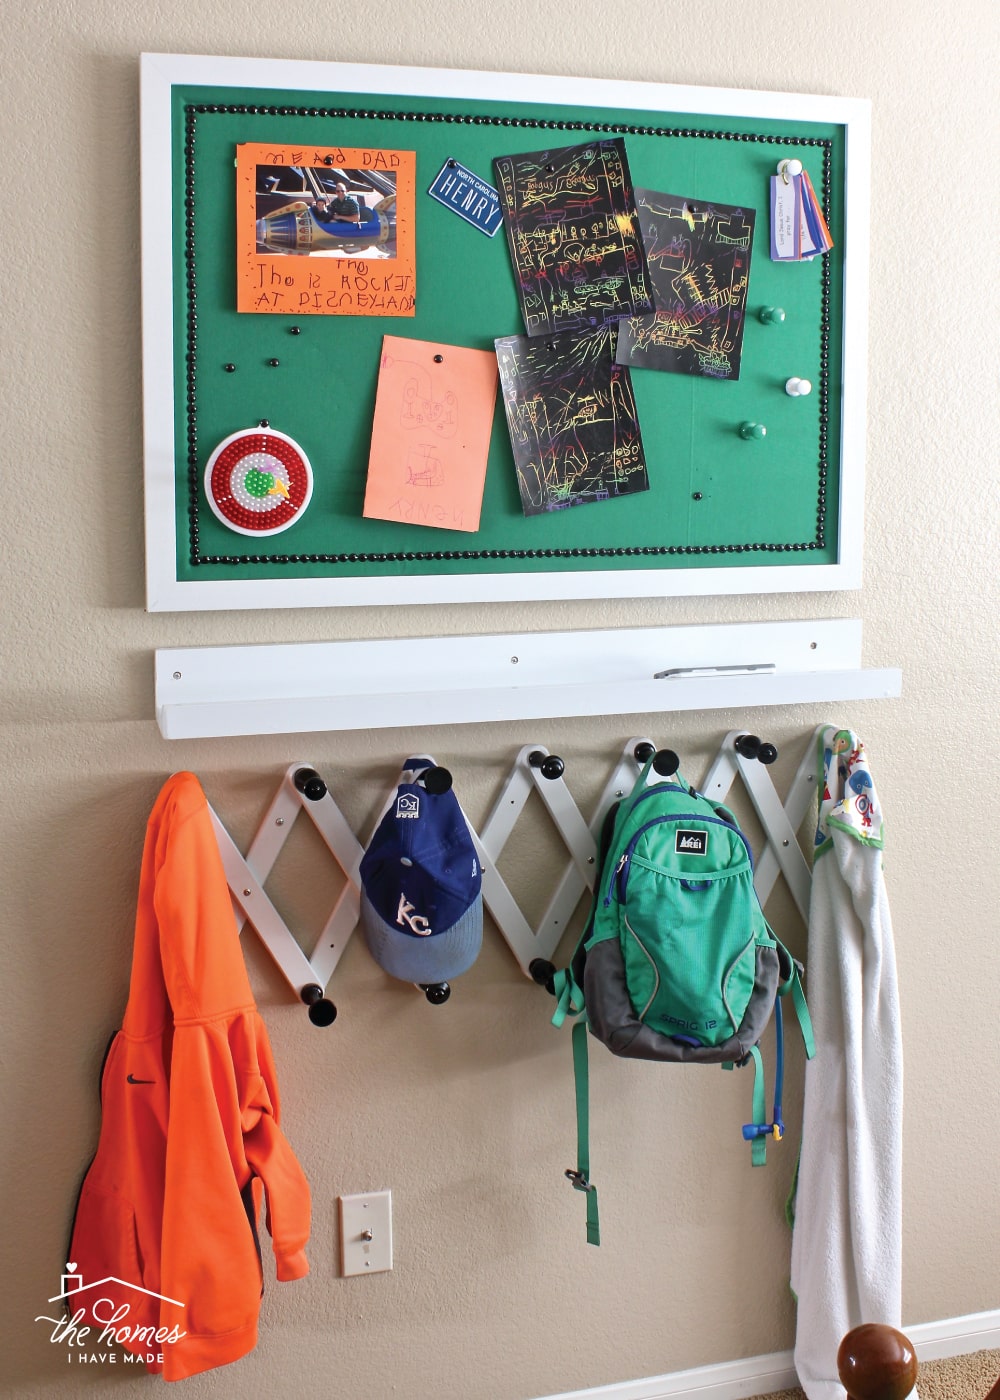
Adding fabric and nailhead trim is an easy and affordable way to give an off-the-shelf (inexpensive) bulletin board a really custom, upscale look. Instead of trying to hunt down a bulletin board that is just the right size with just the right fabric, you can create exactly what you want using affordable supplies available at your local craft store. I swear this is a project anyone can do, so I hope you give it a try!
I hope your week is off to a great start! See you back here on Friday!
Megan

2 Comments on “DIY Nailhead Trim Bulletin Board”
Love your idea. Also, love the little shelf below the bulletin board…did you put that together too? What a creative person. Thanks so much for sharing and the instructions!!!
Hi Donna!
Thank you so much! Yes, I did make the shelf underneath using this tutorial: http://www.ana-white.com/2010/10/plans/ten-dollar-ledges
Hope that helps and sorry for the delay in getting back to you (it’s been a crazy few months!)
Megan