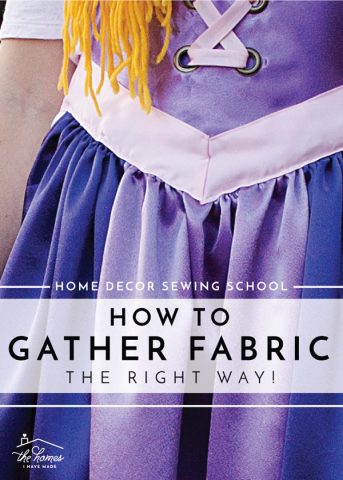
How to Gather Fabric the Right Way
It’s been quite some time since I’ve shared a sewing tutorial as part of my Home Decor Sewing School series; but I’ve got a few tutorials coming up that will use this technique, so today I want to show you how to gather fabric the right (and easy!) way. Admittedly, for many years, I created gathers and ruffles on my projects the “cheater way.” But friends, gathering fabric is really easy once you learn how to do it (and practice, of course!); and the ruffles this technique produces really do look so much better. Whether you want to add ruffles to a pillow or tablecloth or fix the skirt on your daughter’s favorite dress, here is the step-by-step method for getting great gathers even if all you know how to do is sew a straight line!
I lumped this tutorial into my Home Decor Sewing School series on purpose. Although ruffled fabrics are not something I personally use in home decor a whole lot (I mostly only use this technique for Halloween costumes!), it’s a really, really good sewing technique to know and master for home projects. Knowing how to gather fabric is perfect for styles that features lots of fabric and ruffles, and will allow you to sew gathers for bedskirts, curtains, pillows or more.
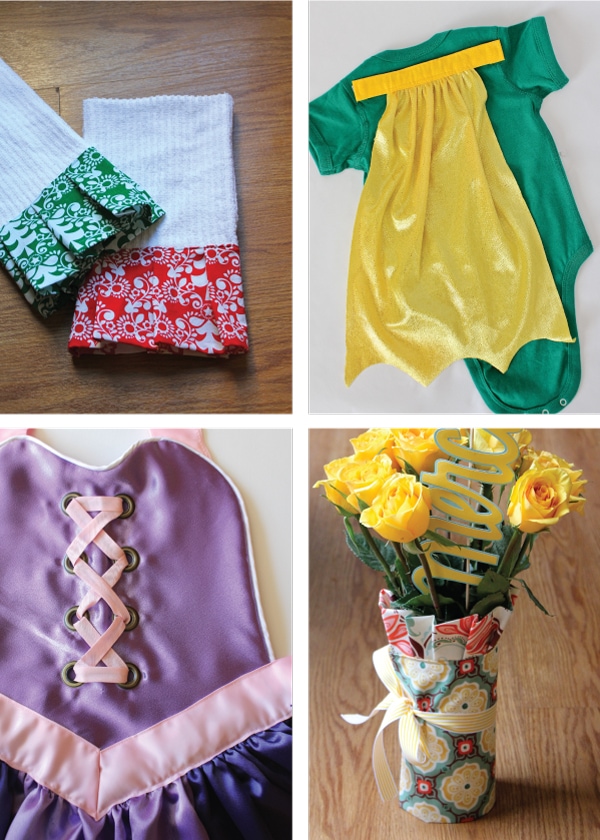
Ruffled Dish Towels | Baby Cape | Rapunzel | Ruffled Vase
Psssst – The two costumes in this graphic use the “right” technique for gathering fabric, while the two home projects don’t. Can you see the difference?!?
Measuring and Cutting Your Fabric
Like in all of my sewing tutorials in this series, my goal is to teach you a concept rather than a specific project, so you will have to do some critical thinking (and possibly some math!) in order to apply the technique to whatever you’re making. As such, I won’t being giving exact measurements or specifics so be sure to refer back to the pattern/tutorial that you are using for any necessary details.
Also, it is important to note here that most ruffles are created on a stand-alone length of fabric (as in, not yet attached to anything). Once that length-of-fabric is ruffled, it can then be sewn into or onto a project.
So….all that said, you will start by cutting the fabric you want to gather. But before you do so, you need to take into account extra length for ruffles.

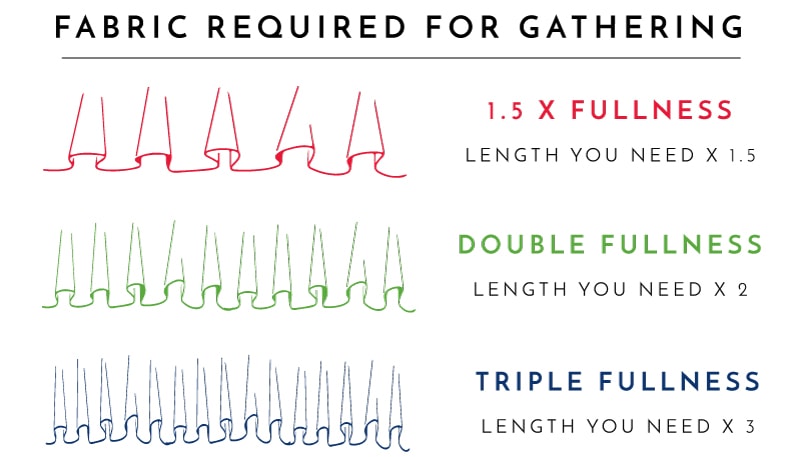
Hmmm…that sounds rather complex, doesn’t it. Here’s what I mean. To get a nice full look in your ruffles/gathers, you will need more fabric than the length of ruffles you are trying to create (all those ruffles use up more fabric length). So for example, if you need 100″ of completed ruffled/gathered fabric to go around a bedskirt, you will need anywhere from 150-300″ of fabric to start.
Admittedly, I usually wing it; but after doing some research for you all, here are some formulas to help determine how much length of fabric you need for your project based on how “ruffly” you want your final project:
For more on calculating length, I refer you here.
How to Sew a Basting Stitch for Gathering
I know many sewing machines now come with a fancy foot for gathering. But if you don’t own or feel like using a special machine foot, you will need to follow these steps in order to create the basting stitches required for gathering.
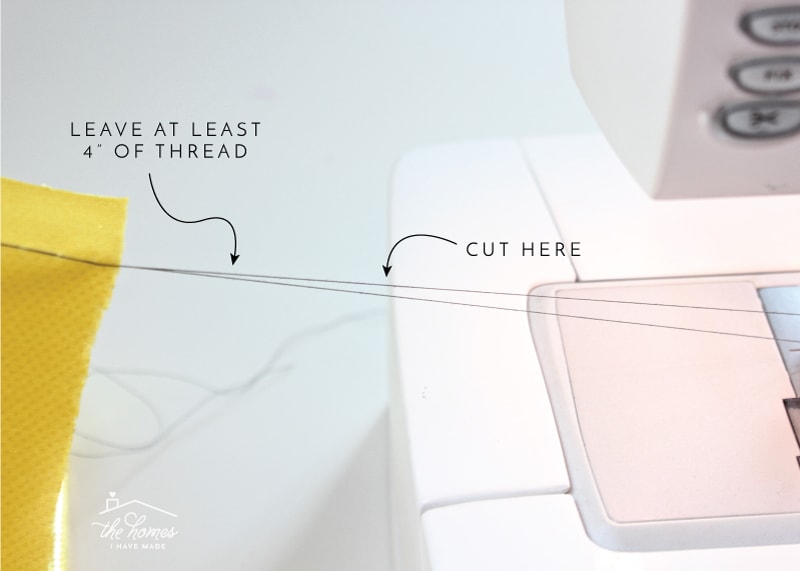
Before you even put your fabric-to-be-gathered into your sewing machine, pull out the bobbin and needle thread a good 4+ inches toward the back of the machine.
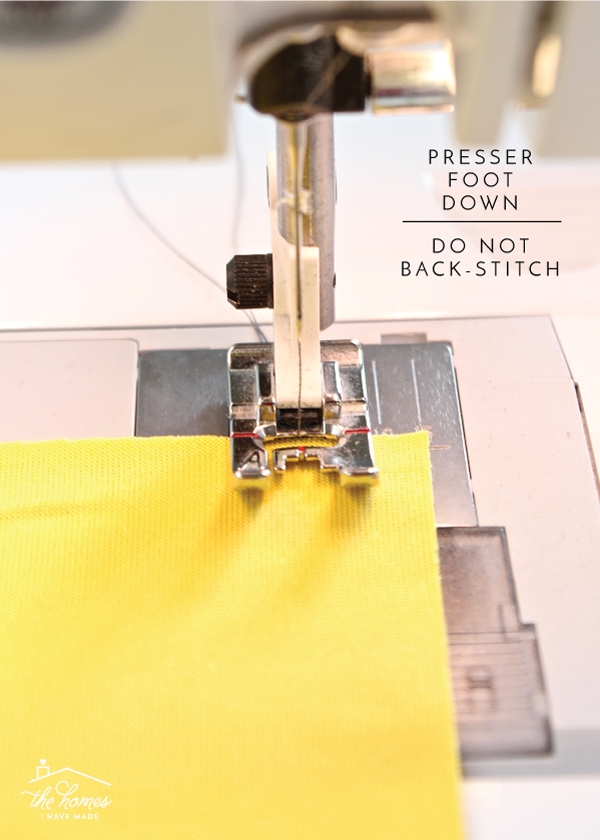
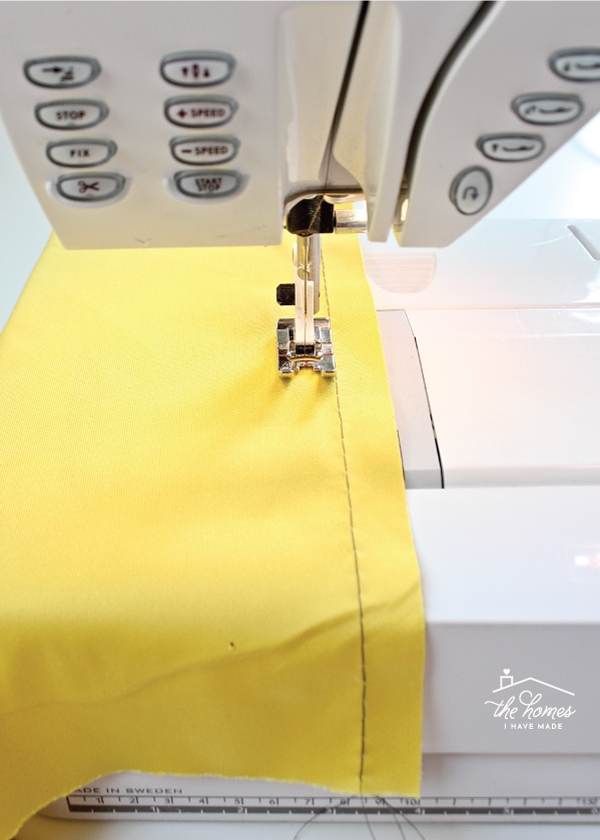
With long tails of thread out the back of your machine, place your fabric-to-be-gathered under your presser foot. My image below is showing a 1/2″ seam allowance, but you may need to adjust this based on your project. Before sewing, lower your presser foot. Before stitching, ensure any automatic backstitch or “fix” mechanisms on your machine are turned off; and when you start stitching, do NOT backstitch or stitch extra stitches in place, as you normally would at the start of any seam. Why? To create gathers, you need these threads to be sewn through the fabric but not attached to the fabric…
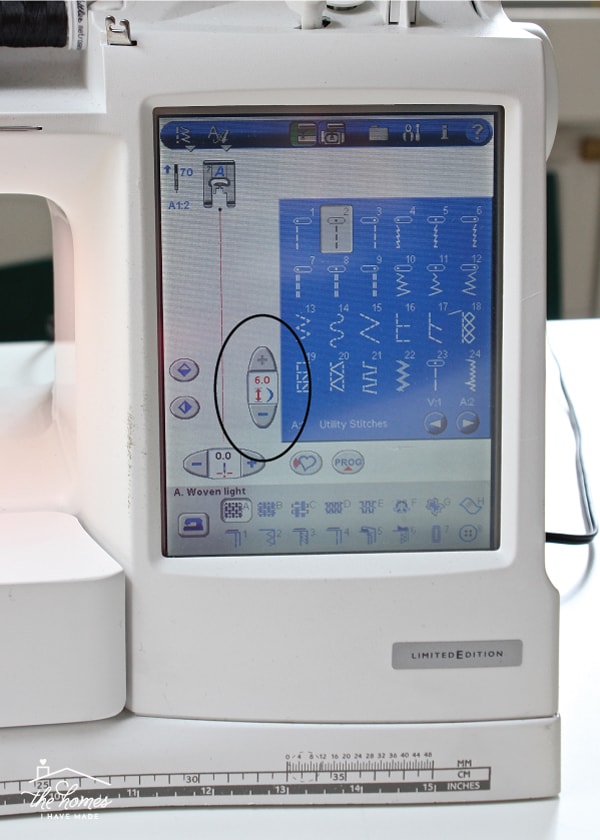
Next, set your stitch length on your machine as high as it can go. Longer stitches (also called basting stitches) make for easier gathering…
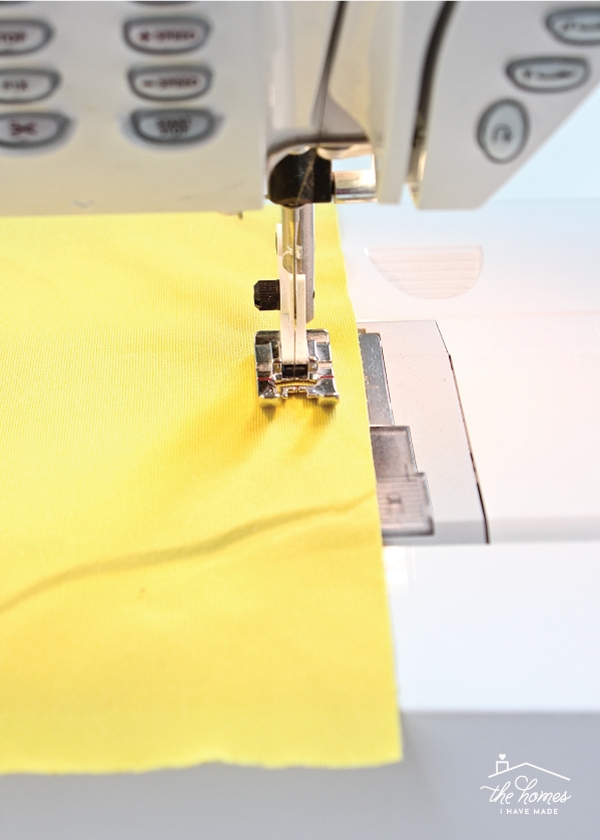
Now…without backstitching and with a long stitch, sew a line down the entire length of your fabric-to-be-gathered.
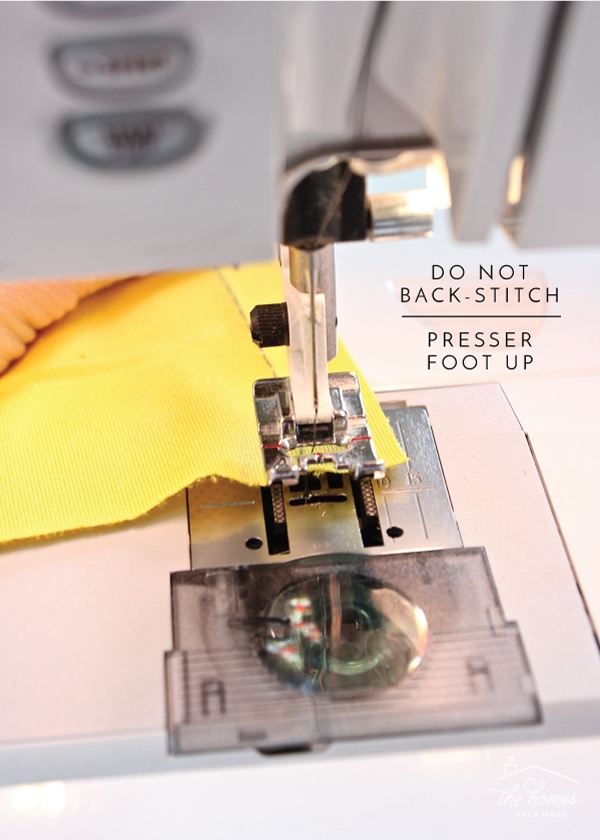
At the end of the fabric, do not backstitch or “fix” your stitch as you normally would. Instead, lift your needle and presser foot…
…and pull the fabric-to-be-gathered away from your machine. Just as we created a tail of about 4″ on the front-end of our project, we want to create a long tail on the other end. So pull out your fabric about 10″ or so, and trim it about 4-6″ away from your fabric.
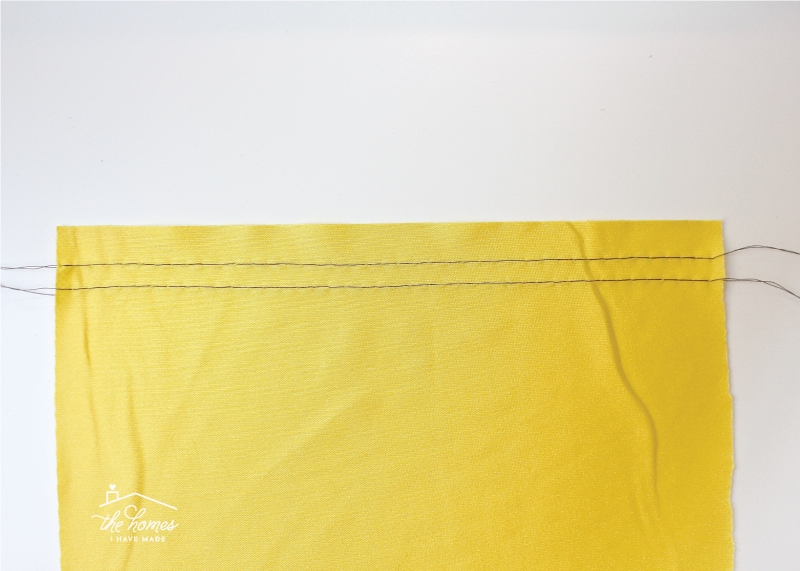
This next line of stitches is optional, but I ALWAYS do it. You see – you’re going to tug on those threads to create gathers; and if your thread snaps, you have to start over. Boo. By sewing a second line of stitches, you have two threads you can use to create gathers. Not only does working with two threads make for sturdier gathers; but if one snaps, you can still work with the other!
So…sew a second line of stitches right next to your first line of stitches EXACTLY as before (long tails on both ends, long stitch length, no backstitching on either end).
Here is what your fabric-to-be-gathered should resemble…
Gathering The Fabric
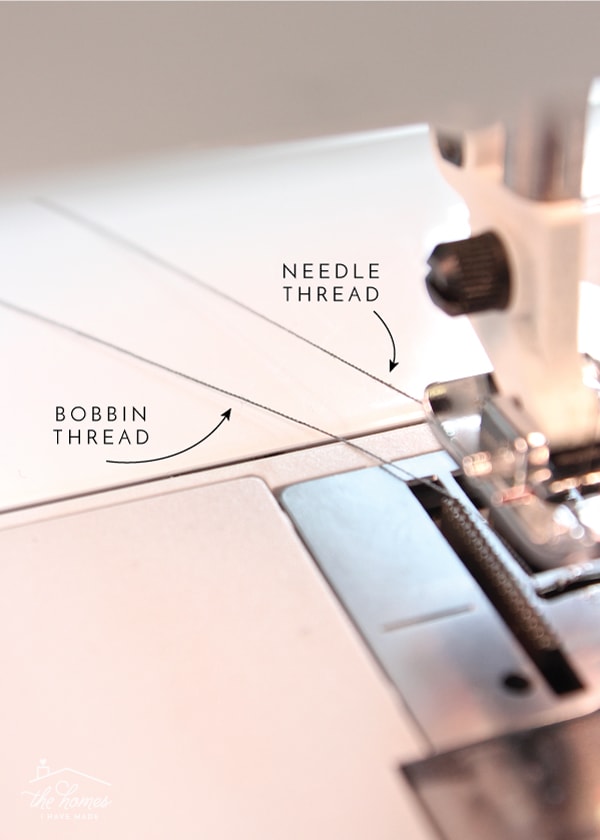
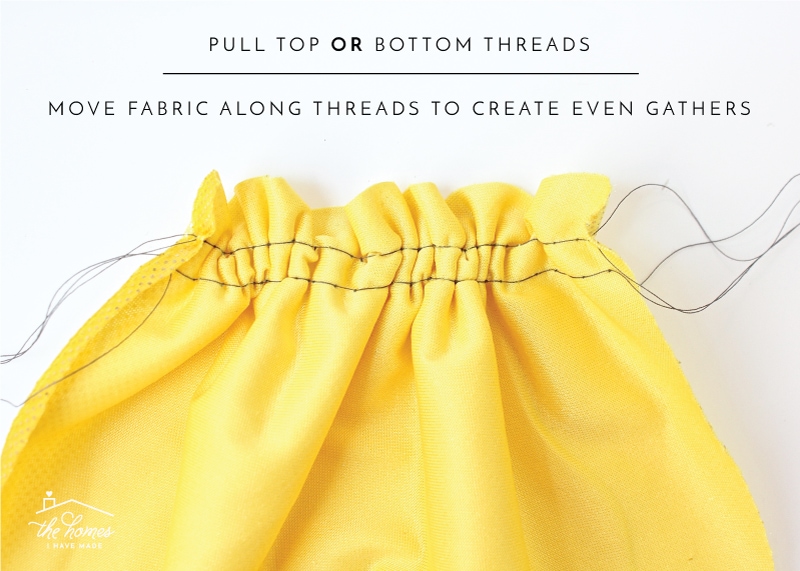
To gather the fabric, you are essentially going to slide the fabric down either the top thread or bobbin thread while keeping the other thread in place. To do that, you first need to untangle your top and bottom threads from each other (using different color threads would really help here!). Use the photo below to help you…
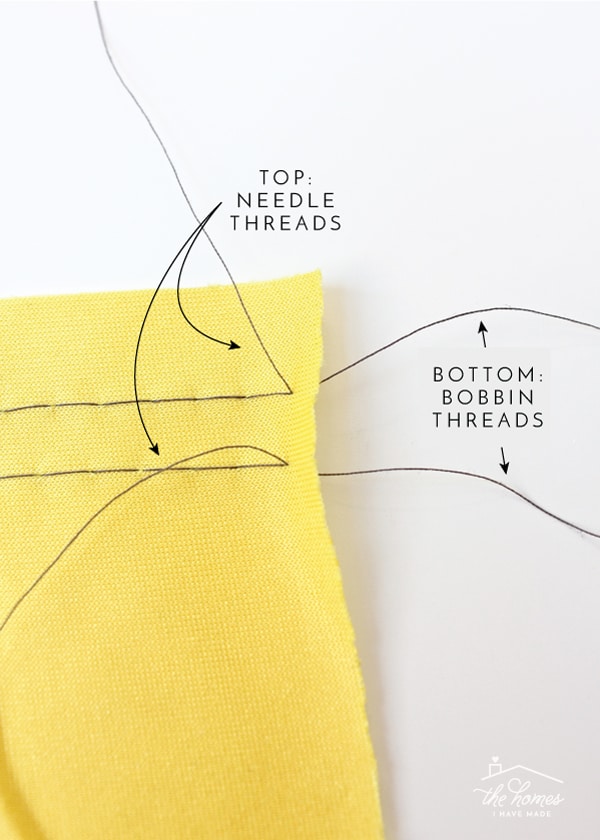
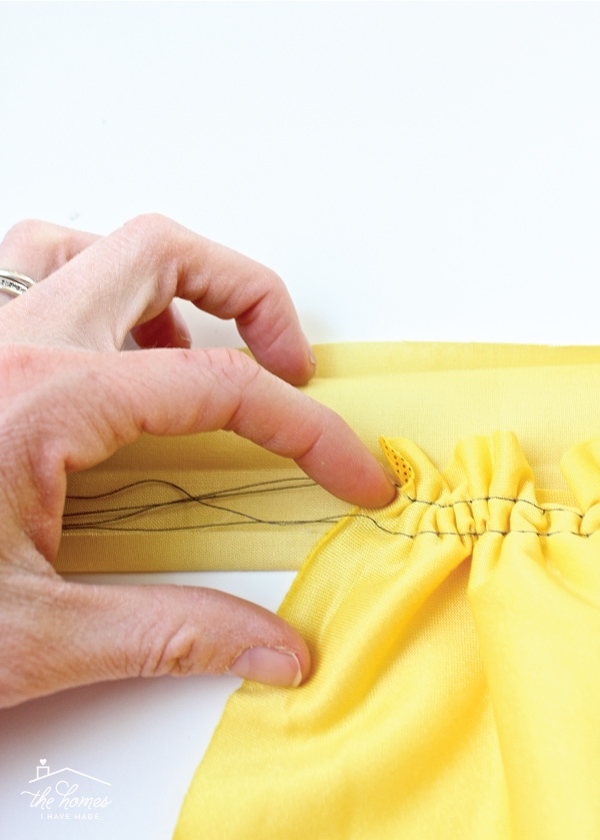
I personally like to gather using the top threads but you can use either. So…grab EITHER both top threads on one side or both bottom threads on one side and gently pull them out away from your fabric. As you pull the threads away, use your other hand to gently move the fabric down the threads in the opposite direction…creating gathers in your fabric.
Whoa. I know that sounds hard and scary and confusing. You will need to try it to thoroughly understand how it works, but I promise…it will!
Also…I emphasize gently…once those threads snap, you won’t be able to create gathers using those threads and you’ll need to sew a new line of stitching.
Obviously, the more you move your fabric down the threads, the tighter your gathers will be. You will likely need to fuss with the ruffles to get the fullness and evenness to your liking.
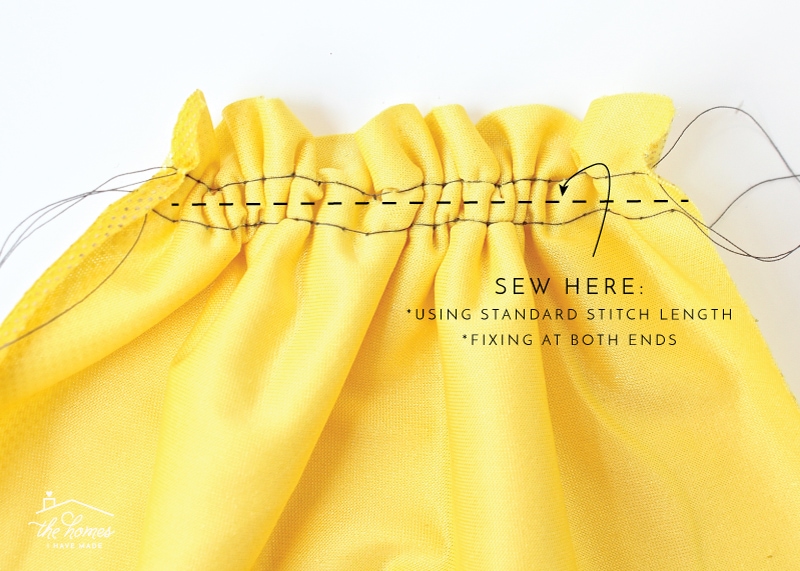
Once you have your ruffles exactly as you want them, run your length of fabric through your machine one more time, using a standard stitch length in between your two lines of stitching, to hold all those ruffles/gathers in place permanently. Then, if desired, you can remove your two initial lines of stitching (they should be easy to pull out since you didn’t fix them on either end). Honestly? I sometimes leave mine in place! #lazy!
With your length of fabric all gathered, you can then attach it to your final project as you would any two pieces of fabric (right sides together, etc)!
Home Decor Sewing School
I learned long ago that many home sewing projects are not complicated…most of them require basic measuring, ironing and sewing straight lines! And once you know basic techniques and how key items come together, the sky is the limit for decorating and customizing your home using fabric and your sewing machine! It is my hope with this series that you feel empowered to try these simple sewing projects and create a home you love too! Be sure to check out the other tutorials in this series by clicking on the picture below!

We’re heading back to the playroom next week with our updated toy storage solutions! Until then, have a great weekend!
Megan

One Comment on “How to Gather Fabric the Right Way”
There is more than one way to accomplish tasks, not just one right way. I personally prefer using mechanical advantages and use a ruffler foot. That does not mean my ruffles and pleats are wrong. It just means I achieved them with a different method.
You never stated why your other ruffles are wrong (or I missed it.)