Create Your Own Dry-Erase Calendar with Washi Tape
Friends, I have a really easy organization DIY to share with you today! After months of jotting down unorganized notes in a pretty unsightly fashion, I found myself wanting a more streamlined (and prettier!) way to display and track everything floating around in my head. So I grabbed a roll of washi tape and set to work customizing a blank dry-erase board I had in the garage. The result is something that is perfect for right now, yet is also totally temporary so I can pull it all apart when I eventually need something different. Let me show you this oh-so-easy way to create a perfectly customized dry-erase board so you too can have ultimate flexibility and adaptability in your planning!

Organization systems, by their nature, need to be constantly tweaked, updated, and reimagined in order for them to serve us for where we are in our lives right now. And because our lives change so frequently, it’s no wonder our systems do too. I’m finally learning that no one system will stick around forever, so I’ve become hesitant to invest too heavily, both in terms of time and money, in any one system or product for our home. In recent weeks, I’ve found myself gravitating toward a dry-erase board to organize a lot of my blog-related tasks, schedules and plans. A dry-erase board is not something I always use, but it’s working really well for me right now. And
If you love using dry-erase boards around your home but have difficulty finding the one that looks and functions exactly as you need it to, boy do I have the solution for you! Washi tape!
Yep – with just some rolls of pretty tape, I transformed a blank dry-erase board into a dry-erase calendar perfectly tailored to my current needs.
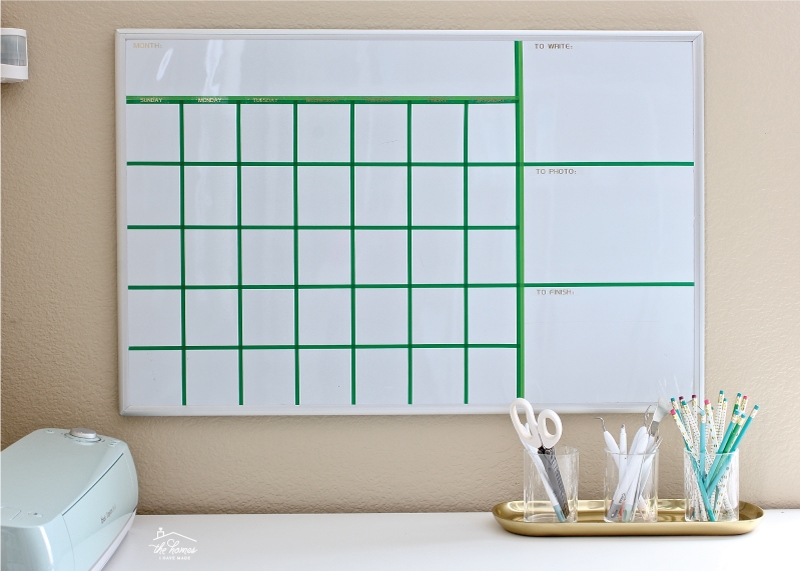
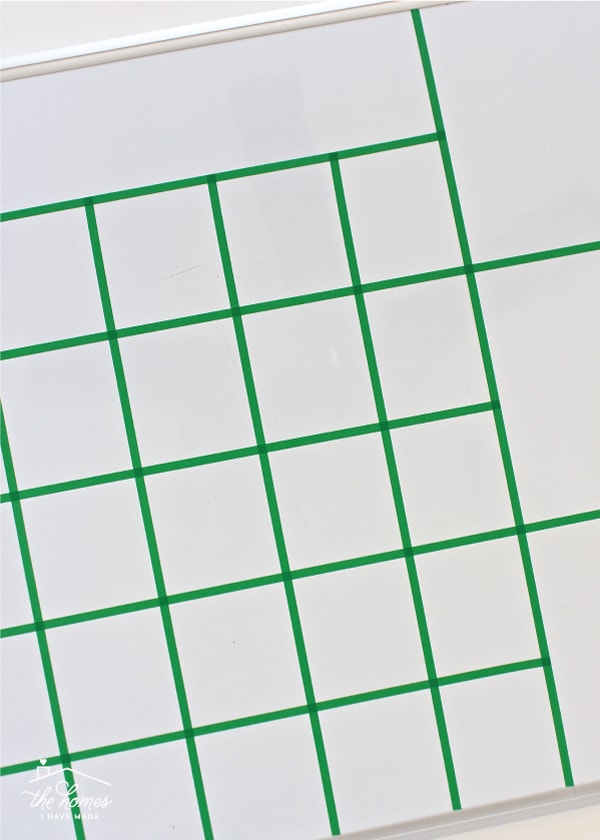
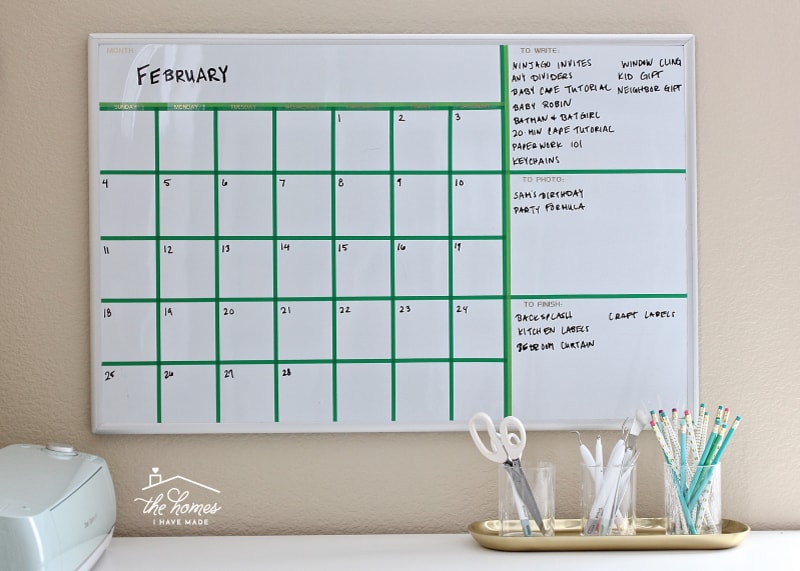
The taped design on this dry-erase board provides the basic structure I need: a calendar and three separate notes sections. All changing (months, dates) and apt-to-change (notes categories) details are filled in using very easy and temporary methods (specifically, a dry-erase marker and a label maker). Right now, this setup is exactly what I need. But when I no longer need a calendar or if I want to transform the three notes sections into one large area, all I need to do is peel off the tape!
Materials Needed
This project literally took me about 30 minutes using supplies I had on hand. You can adapt this concept to ANY dry-erase board you have around the house! Here is what you need:
- Blank dry-erase board. Blank is key here. By investing in one, good, blank dry-erase board, you can customize it for your needs over and over again! Mine measures 24×36″.
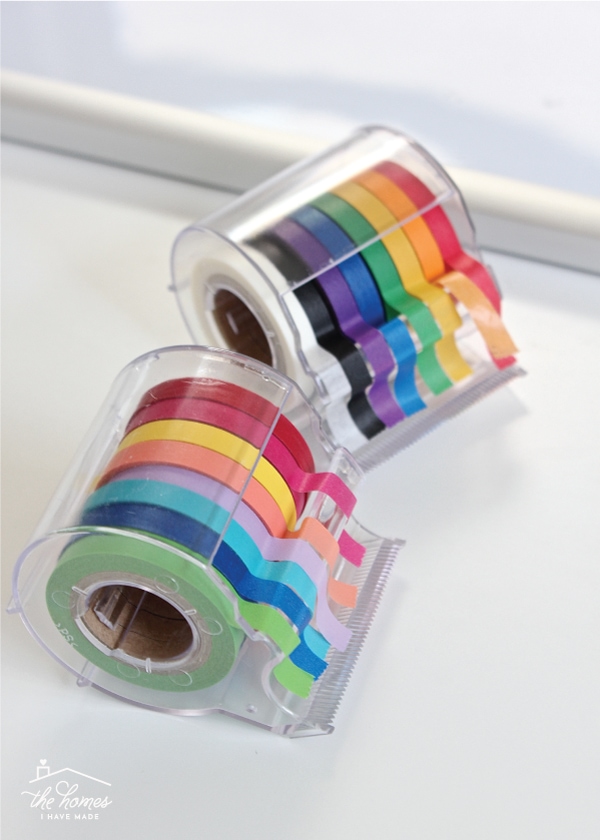
- Washi tape in the colors/patterns of your choice. I find the skinny washi tape is best for this project.
- Ruler – Make sure it’s long enough to measure your specific dry-erase board.
- Pencil
- X-acto knife
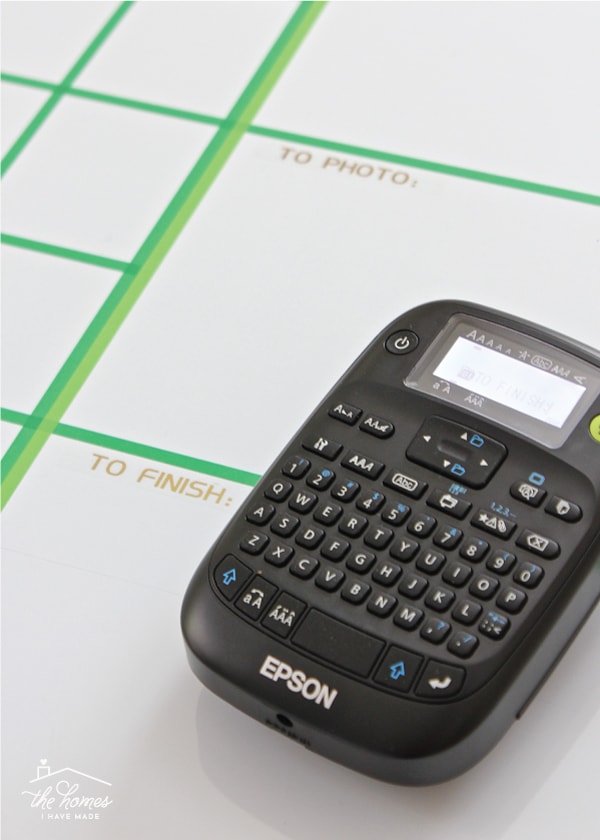
- Label maker
Step 1: Prepare Your Dry-Erase Board
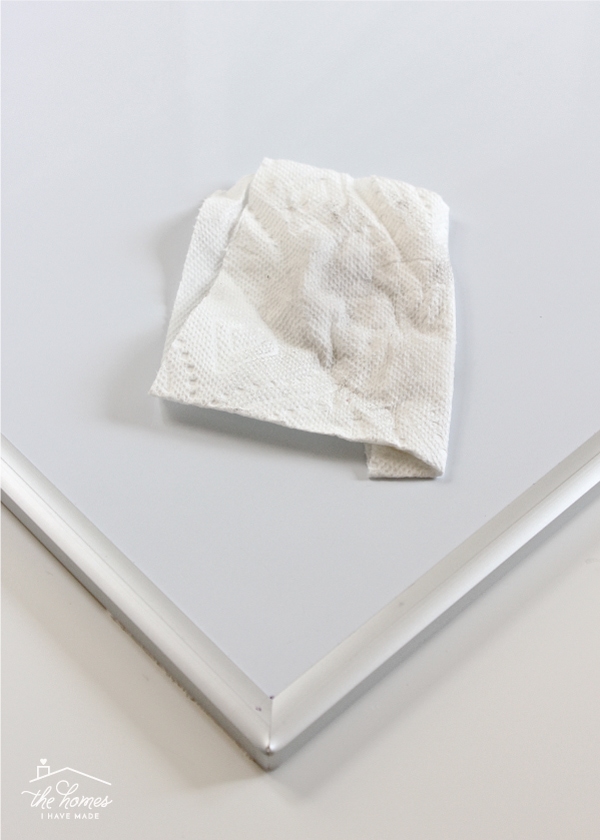
Start by giving your dry-erase board a good cleaning, especially if it’s been used. By removing all the dust from previous use, your tape will stick in place nicely.
Step 2: Choose Your Design
Next, you need to identify what type of “design” you want on your dry-erase board. Do you want a calendar? If so, weekly, bi-weekly, monthly? Do you need a grid with a few large spaces or more smaller spaces? Take the time to figure out exactly what you need…because you can create it!
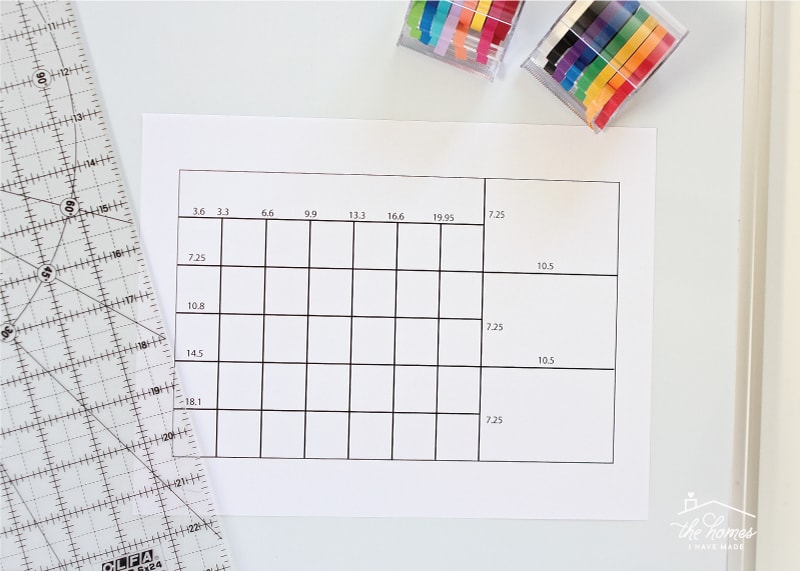
TIP! You certainly can “wing” your design; but if you’re going for something rather complex, I recommend hashing out your plans and measurements on graph paper or on the computer. This will allow you to play with various layouts and calculate measurements in order to identify the best design for organizing the information you need to display! Having all the measurements figured out ahead of time will make assembling your board a breeze!
Step 3: Apply Washi Tape
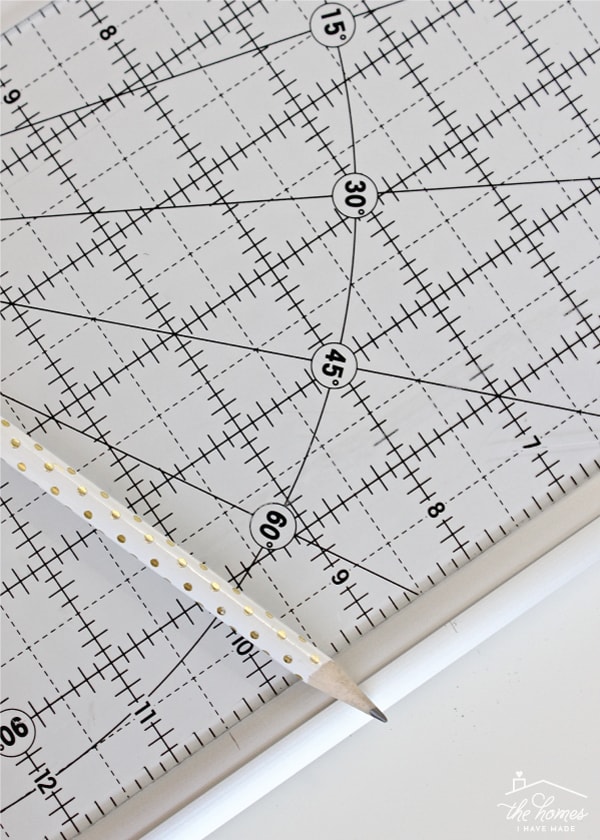
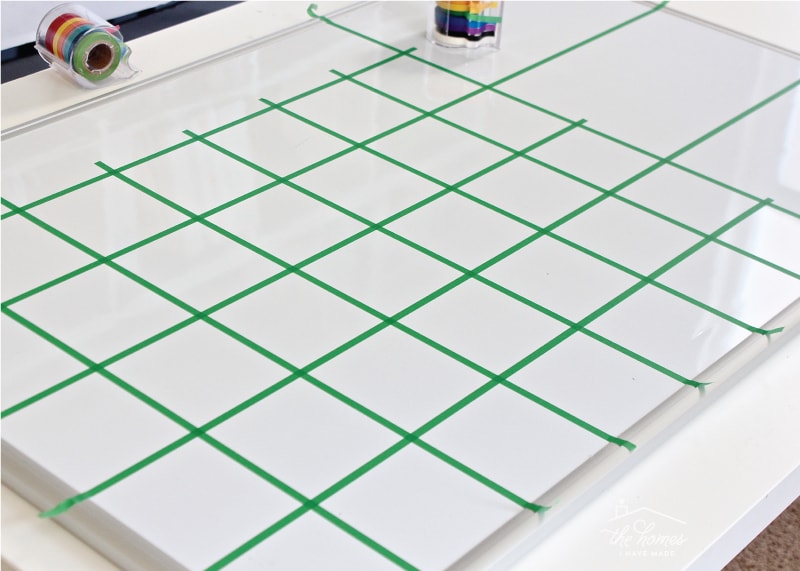
Once your design is figured out, you will start building it using the washi tape applied directly to the dry-erase surface. Start with a length of tape that will run the entire length or width of your board. Use a ruler to place a hash mark at the correct placement on BOTH sides of the frame (you can also mark directly on the dry-erase surface if you need to).
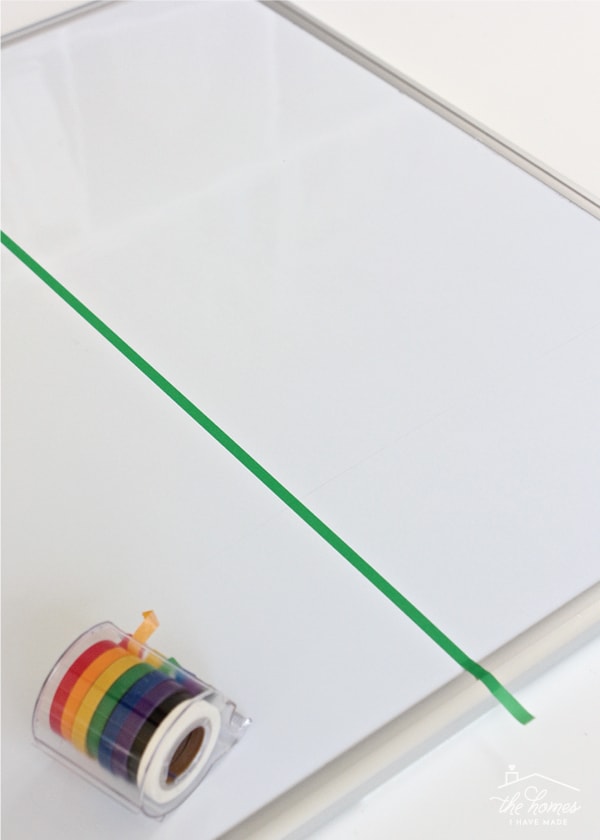
Without cutting or measuring the tape, simply stretch a length of washi tape from one hash mark to the other and smooth it down. Don’t overthink it, don’t make yourself crazy, just place it down. Allow an excess of 1″ to hang off both ends of the board.
Continue measuring and stretching tape across your dry-erase board in accordance with your design. Again…just pull the tape taught, line it up with measured hash marks on both sides and then lay it down. The thin tape has a remarkable way of laying down nice and straight; but if it does look really crooked, just peel it up and re-lay it! Be sure to leave excess tape hanging over at each and every intersection.
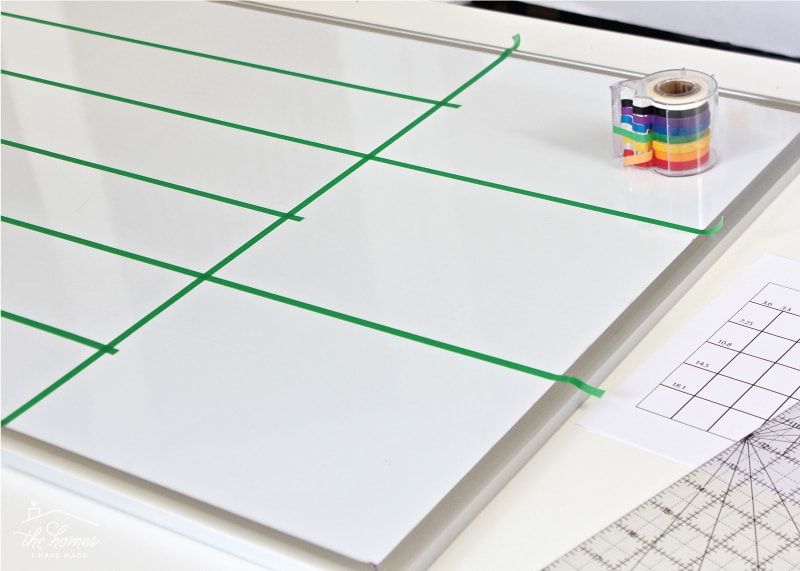
I can’t emphasize enough to just go with it. Don’t stress over measurements, don’t stress over straight lines. Keep working until your design is done!
TIP! If you want a thicker line, just place two pieces of tape next to each other!
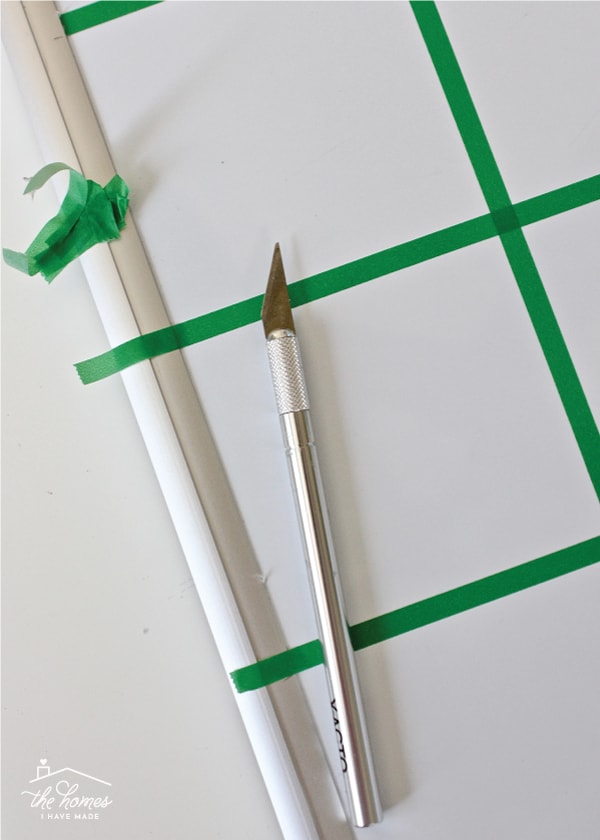
Step 4: Clean Up Loose Ends
Once all the tape is laid down exactly as you want it, it’s time to clean up all those loose ends! I find using a sharp X-acto knife is the quickest and cleanest way to take care of them. For tape lines that intersect with the dry-erase board frame, simply slide the knife along the frame edge to create a clean cut.
For intersections in the middle of your board, use a ruler to ensure the trimmed tape lines up perfectly with any tape it intersects. To avoid permanently scratching your dry-erase board, simply score the washi tape once or twice and then carefully tear it away against the ruler.
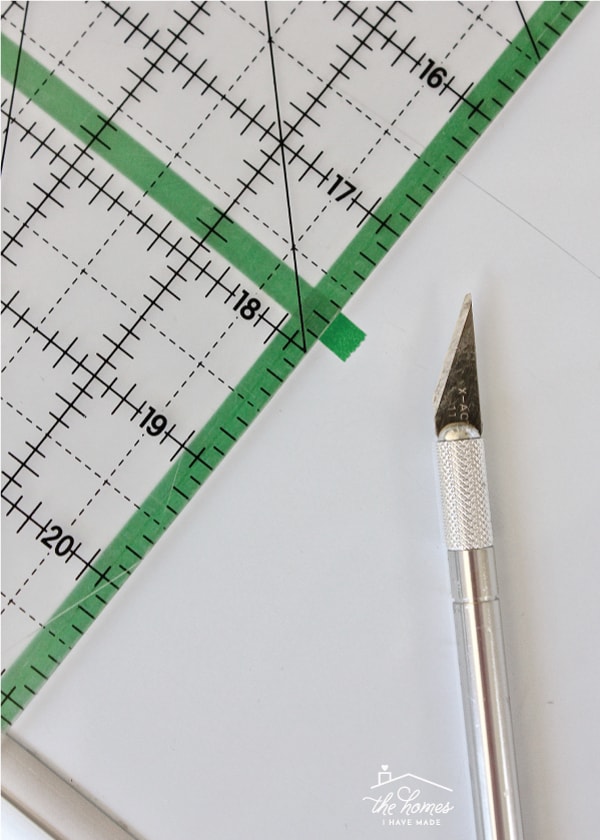
With all the loose ends cleaned up, your design will come into focus!
Step 6: Add Details
If there are any “permanent” details you’d like to include, consider using stickers, vinyl or a label maker. My gut was to cut words out of vinyl (#ofcourse) but I really wanted this project to be quick and easy to not only put together but also pull apart. The gold tape in my label maker was just the ticket!
With your design finished, hang or place your board wherever you will use it most…
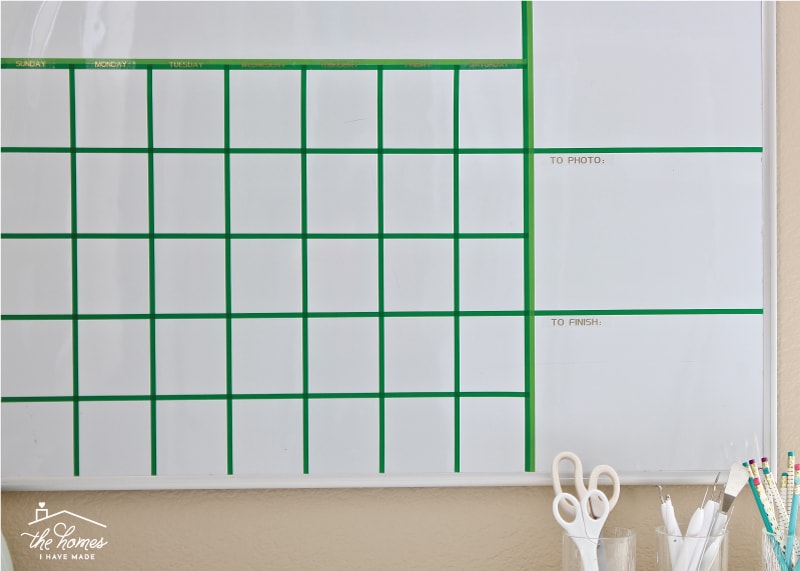
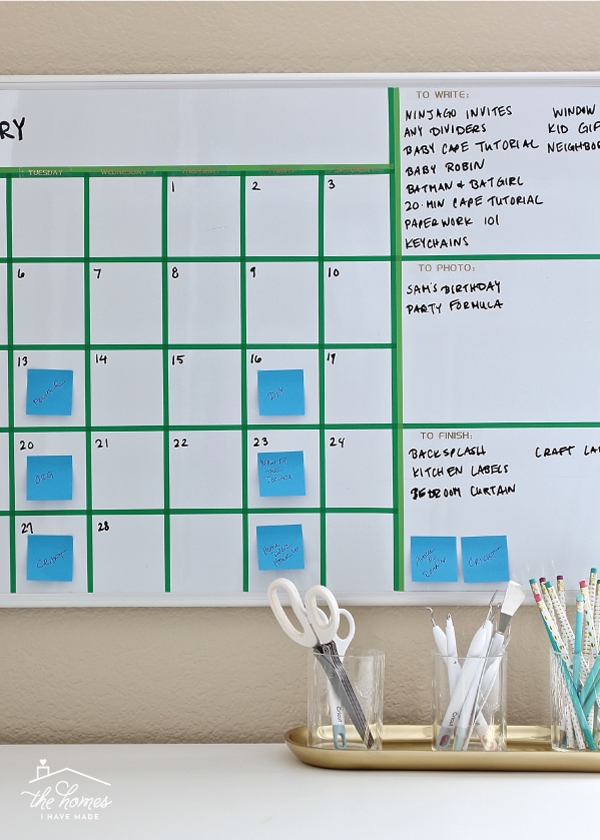
…and then populate it with any important details you need using a dry-erase marker!
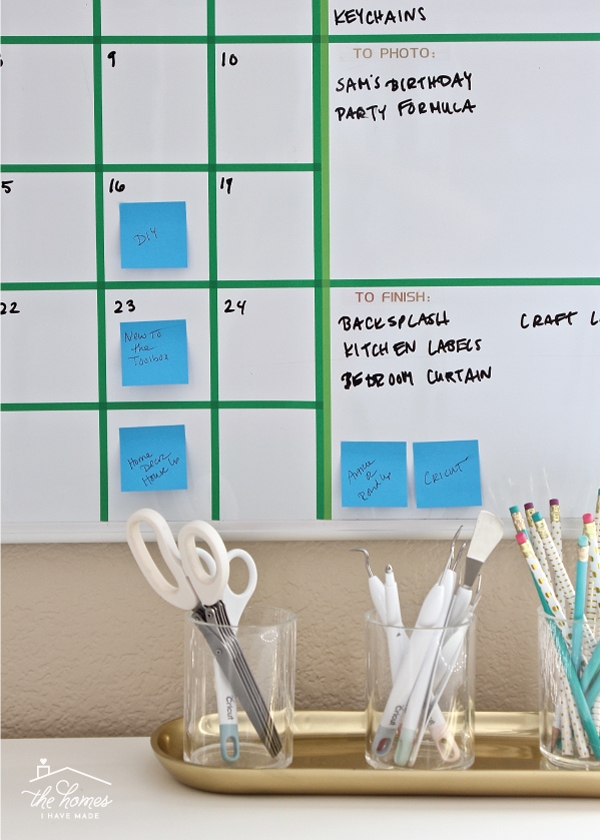
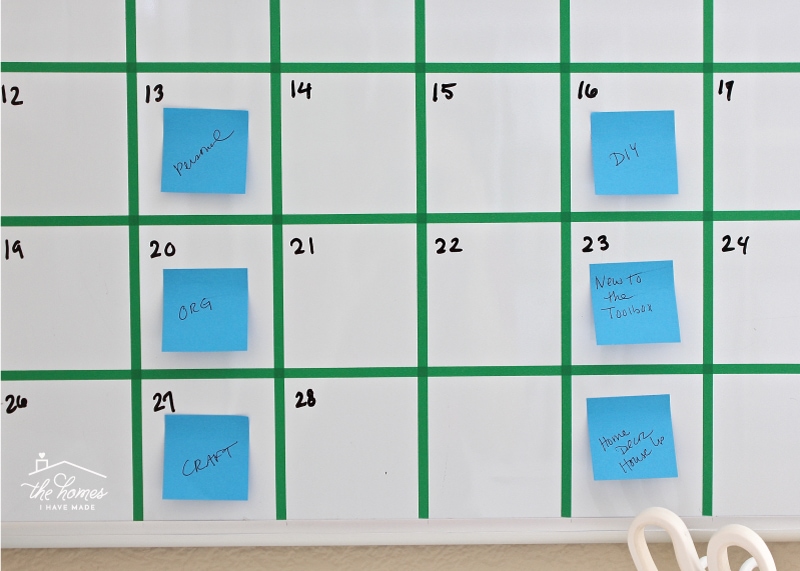
SIDENOTE! One of my main goals on the blog this year was to regularly rotate around the content you (and I!) love the most. To avoid writing too much about one thing, I have 8 different “topics” written onto 8 different sticky notes. These sticky notes can get rotated around the month as needed (based on what is done and what is photographed, etc), but they can’t be duplicated! I’m not in a place where I can have a super rigid blog schedule, but these sticky notes are really helping ensure my content remains varied and nothing gets overlooked for too long! If you look closely, you can see a new printable is hitting the blog on Friday!
I am thrilled that in just about a half an hour, my garbled mess of notes and ideas is now organized into a display that is not only functional but pretty!
Other Customization Ideas!
I can’t tell you how much I wish I had come up with this idea sooner. I’ve bought and tossed so many dry-erase boards over the years because they just didn’t provide me with the space, details, or design I wanted. And I mean it when I said this idea can be adapted for any use, on any board. Here’s just a few more ideas to try!
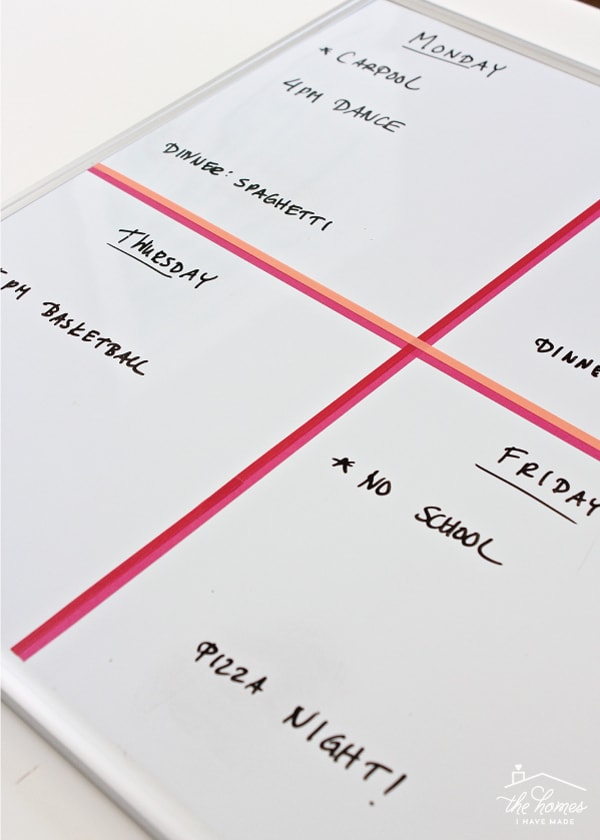
Weekly Calendar
Instead of a monthly calendar, the same large board was split into a 3×2 grid using the same tape method. Larger blocks are ideal for tracking weekly activities in a busy household!
Meal Planner
A mini dry-erase board was transformed into a quaint little meal planner using more washi tape and off-the-shelf stickers…
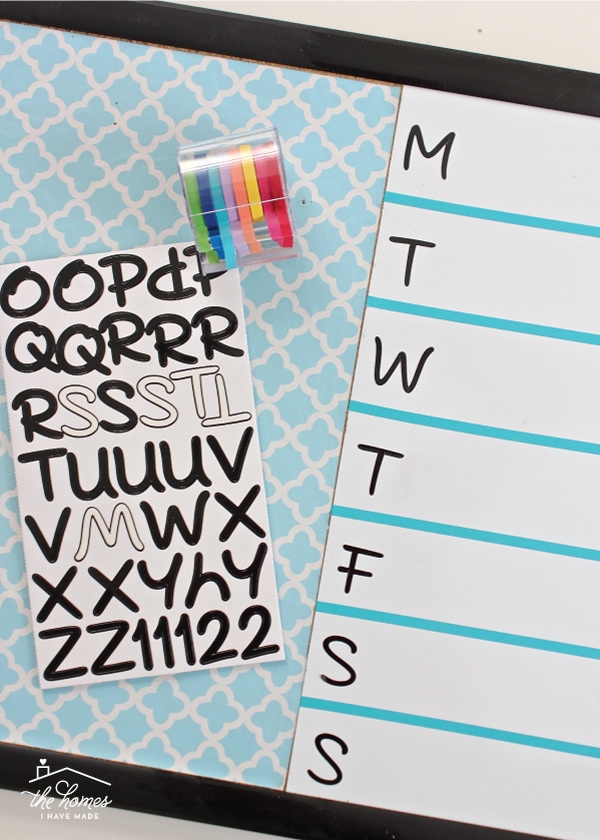
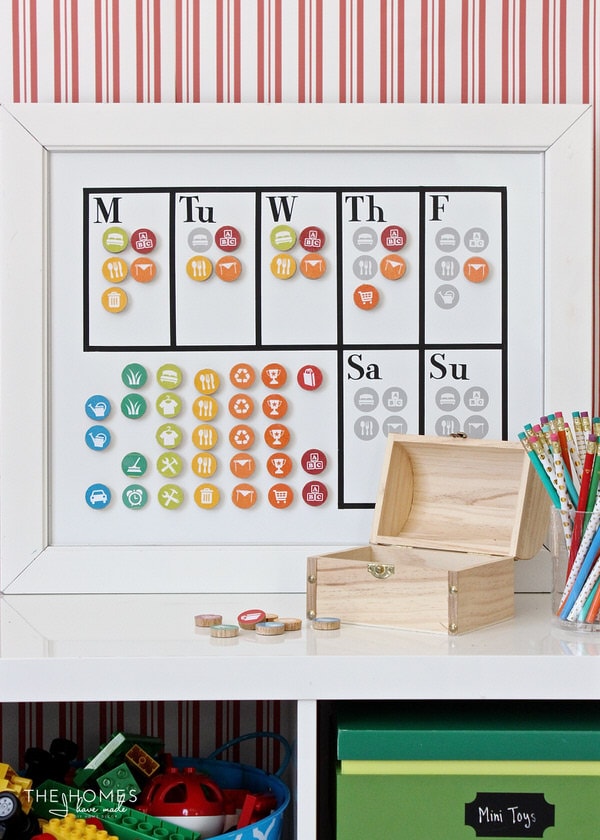
Chore Chart
This weekly chore chart was created with black washi tape on another plain board! The possibilities really are endless!
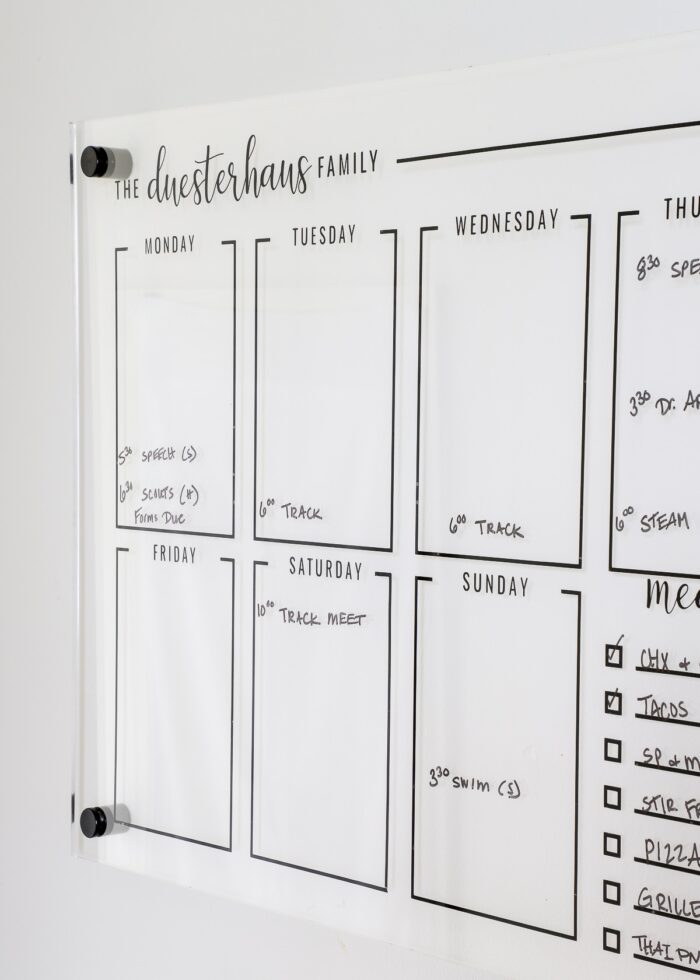
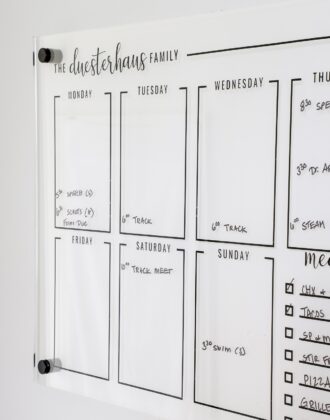
Go Clear
This same concept can be tweaked using a clear acrylic board instead! Learn how here: Easy DIY Acrylic Wall Calendar with a Cricut
I hope this project gives you some fun ideas for customizing and expanding the functionality of dry-erase boards in your home!
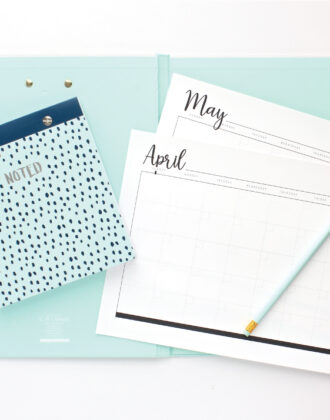
For all you sewers out there who love organization projects like this one, check out this post where I reveal a printable mini planner designed to help you keep track of fabric, to-dos, pattern details and more!
Megan

8 Comments on “Create Your Own Dry-Erase Calendar with Washi Tape”
Love your idea! So much nicer than using one that already has a calendar form on it. I think the only thing I would do differently is the X-acto knife. An accident waiting to happen for me, lol. I like to use an old plastic credit card type of card, and hold the edge of it where I want to cut the washi tape, then pull back on the tape and voila, the tape rips cleanly where the card was holding it down. 🙂
I also laminated several of the pages from your Printable Weekly Organization Kit and use a dry erase marker on those for my weekly menus and chores, etc. I have some bulldog clip magnets on the fridge that I clip them too and they help SO much. So, thank you! <3
I have a whiteboard calendar that I use so often. It works so good to help my kids know what is happening and when. I use the wipe off with water markers (Vis-a-vis by Expo) which makes it easy so the kids don’t help me forget things.
I love that you used something you already had and made it work for you. I don’t have the funds to always go out and buy new stuff to make things work. So this is an idea totally up my alley. Thanks!
Fabulous! I have a labor grid board at work where the architectural tape has been peeling off over time. I have wracked my brain what to use to replace the tape … never thought to use Washi tape! Thank you, thank you!! You saved a few brain cells…
Love your ideals on the whiteboard
What do you mean by “score” the washi tape?
“o avoid permanently scratching your dry-erase board, simply score the washi tape once or twice and then carefully tear it away against the ruler.”
Hi Pam!
“Score” means to create a crease using a pointed-but-blunt object such as a knitting needle, butter knife, scoring tool, bone folder, etc. Your goal is to make a line that can tear easily without cutting all the way through (which is why you don’t use a knife/blade, etc).
Does that help?
Megan
Love this idea!!! Thank you for sharing this! I am doing this at the office for my team.
This seems so obvious and yet I never would have thought to do it on my own. Thank you!