Easy (and awesome!) Lamp Update – a Target Hack
After weeks (err…months) of feeling like my creative tank was running on empty, I’ve suddenly had a jolt of creative energy with lots of new ideas for projects and posts and updates for the house. We spent a good portion of the weekend doing all sorts of things, and it feels SO good to be back to my creative, projecting self! Honestly, I think my creative funk had a lot to do with my husband being gone. Needless to say, running a household and parenting by myself required a lot from me…and now that it’s over and I’m back to having support on the home front, I feel like I suddenly have the mental capacity and physical energy to pour into projects again! Woo hoo!
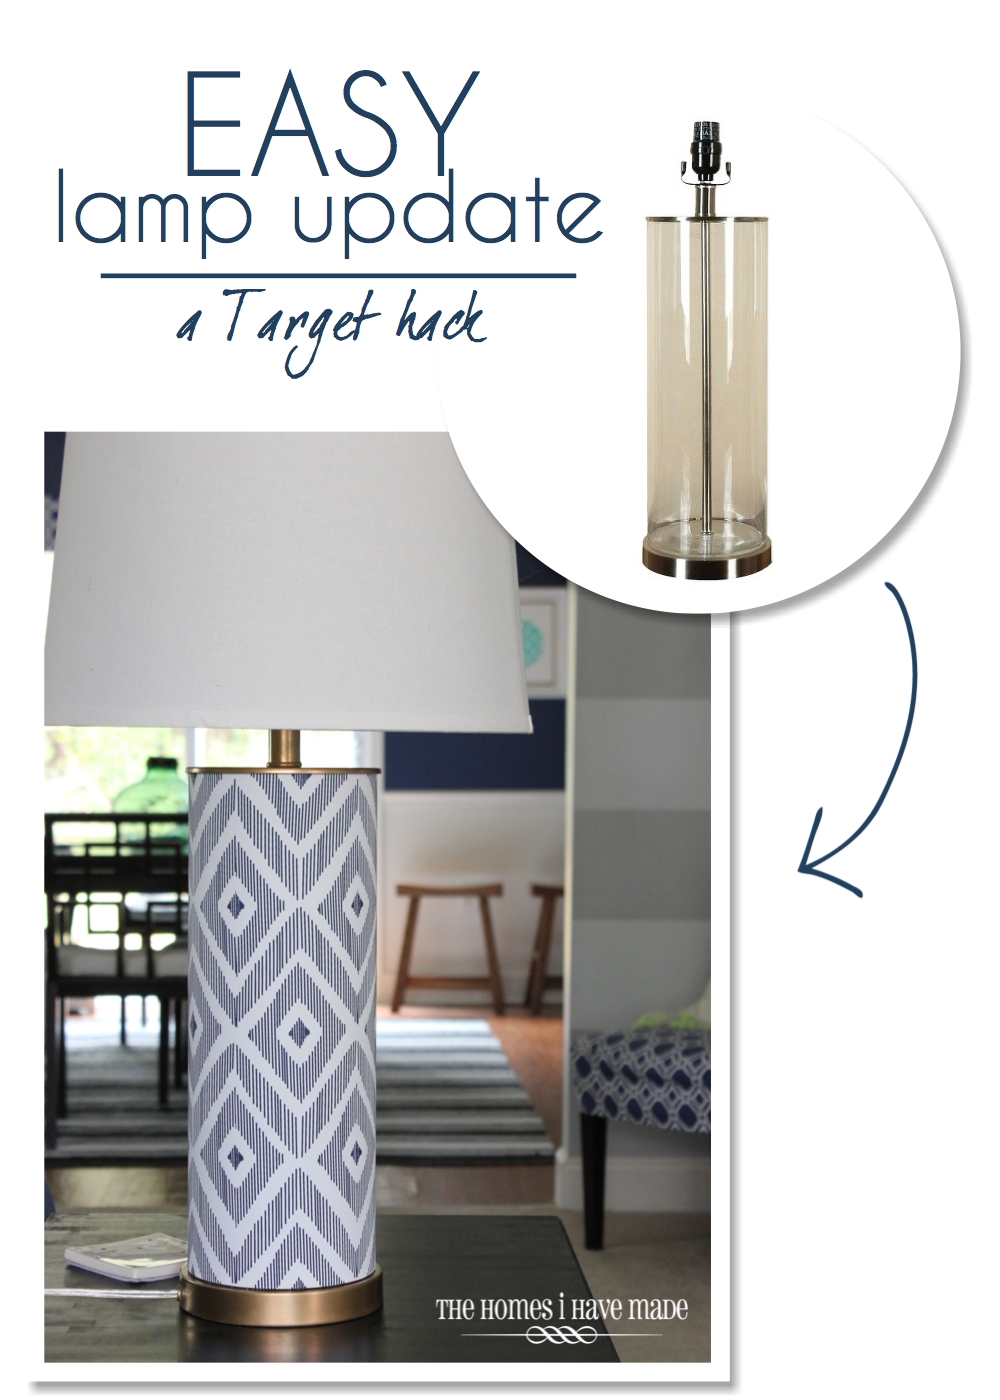
On of the projects we tackled this weekend was a lamp update a long time coming! With the help of some spray paint and wallpaper, we have some fantastic “new” lamps that I am simply ga-ga- over!

Let’s start this makeover story at the very beginning…oh…about two years ago…when we moved into this house. We needed some lamps for our living room space, and I was adamant about finding big, round, glass lamps just like these. I picked a weekend and said “this is the weekend I am finding lamps.” I set off to every store I could think of in our small town and couldn’t find anything that was just right. Instead of trying to find a shape or color that I truly loved, I became fixated fixated on the “glass” element and settled on these glass, fillable lamps from Target. Ever since, I have tried to convince myself that they were great. Sure, they were modern and simple, but it seemed strange keeping them empty (I couldn’t think of anything to fill them with that worked with our decor/style)…and it didn’t take long for me to start pining for new lamps.

I’ve come pretty close to buying new lamps for this room on a few occasions, but never went for it because these lamps function just fine. I even considered painting the insides a la Emily Henderson, but that route felt too permanent. Then a few weeks ago, I was going through my wrapping paper/vinyl/contact paper collection (more on that later!) and it occurred to me that the lamps were perfect cylinders and therefor I could wrap them in paper! An idea was born, and I set off to execute it this weekend!
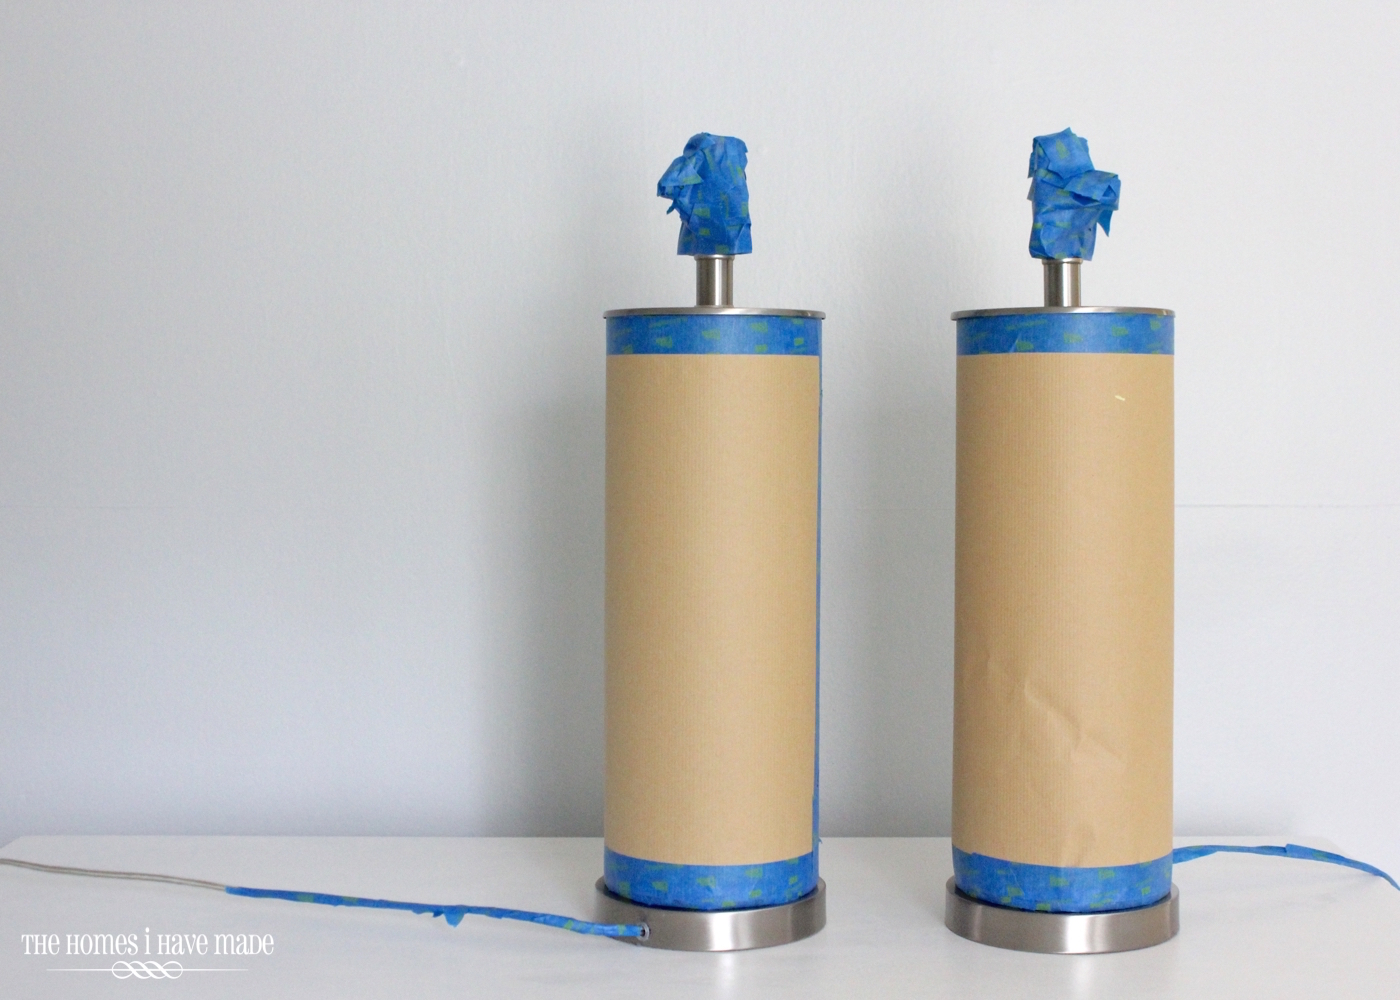
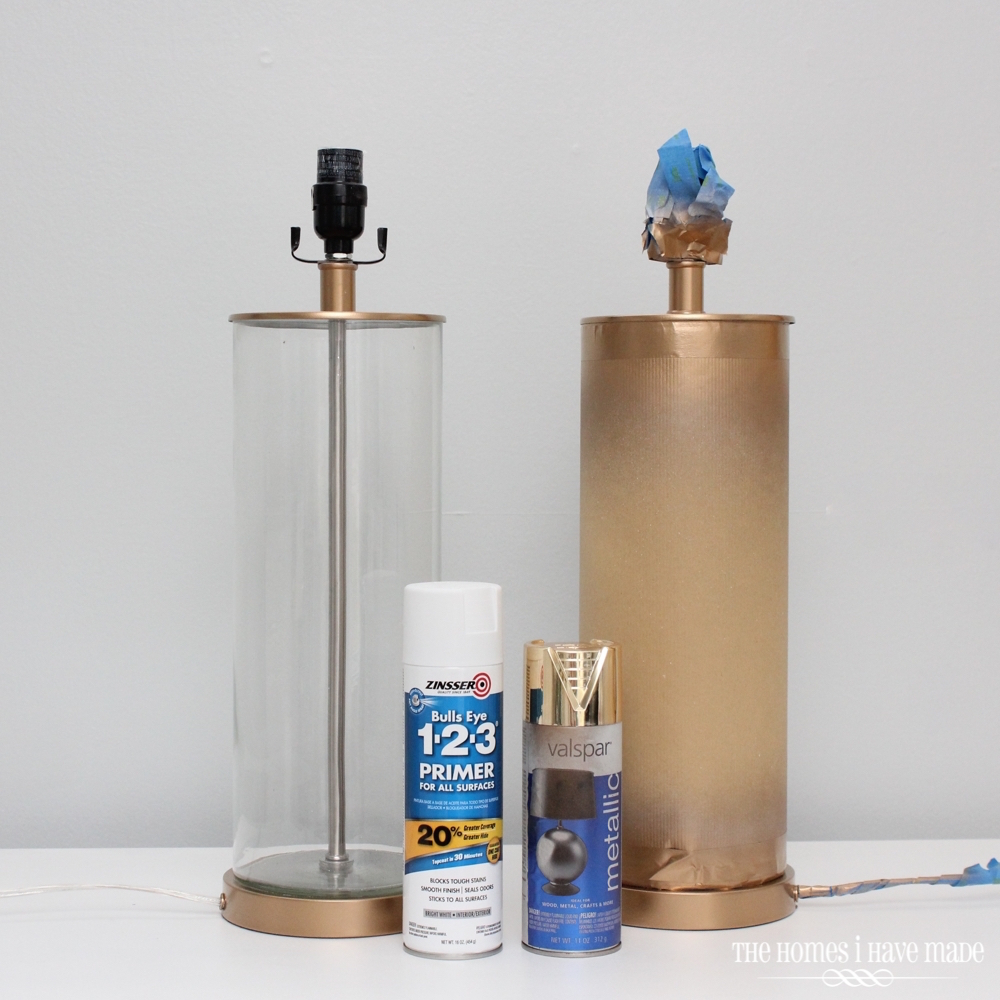
First I wanted to address the finish. With my new brass hardware, I felt like these lamps would work better with the room (and the paper I chose!) if they were gold instead of silver. I taped off the glass cylinders, light sockets, and cords with a combination of painter’s tape and brown craft paper.
I then primed the metal surfaces with Zinsser 123 Primer and followed up with a single coat of Valspar metallic gold paint. This stuff covers so well – I am always amazed at the finish with this paint!
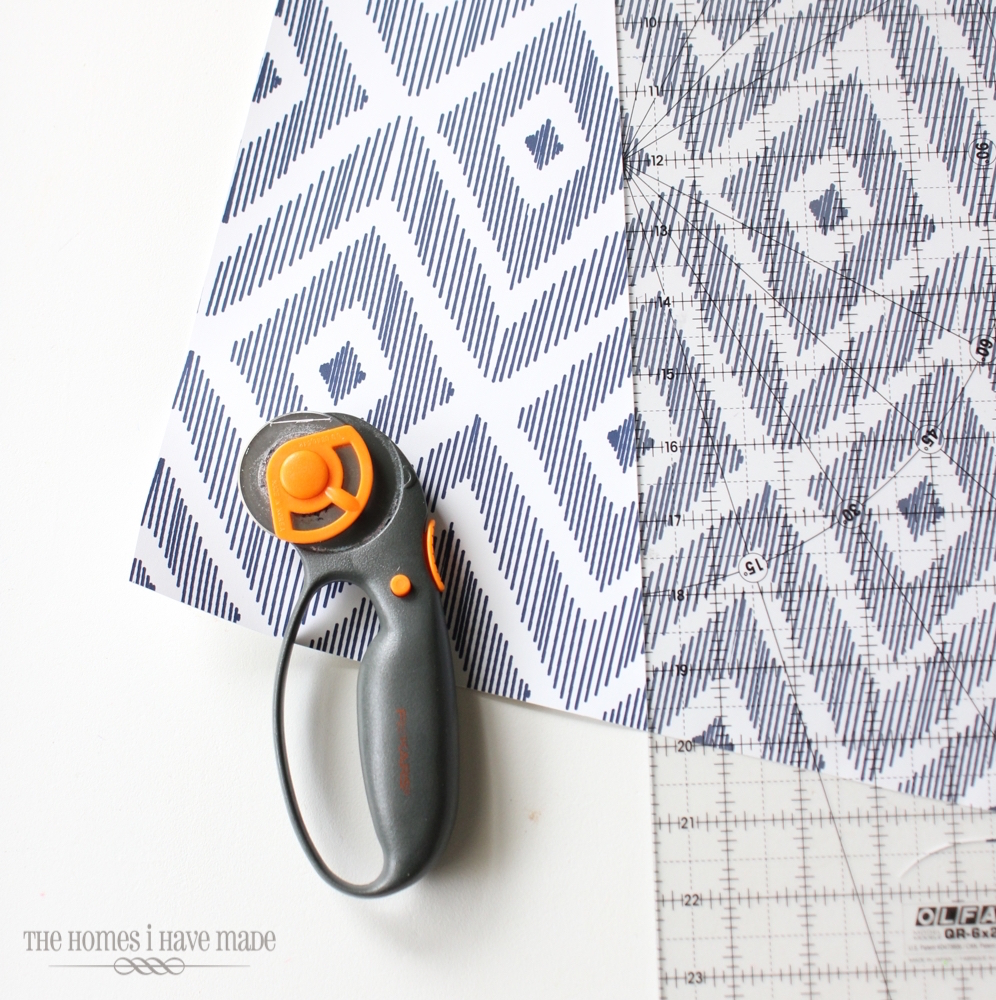
While my lamps were drying I cut my wallpaper down to size.
Rewind to a few weeks ago…Once I determined that I didn’t have anything in my collection that would work well, I turned to Spoonflower for their endless pattern options. This Navy Ikat pattern was one of the first ones I considered, and it’s the one I ultimately went with after looking at dozens of options! I ordered some of their peel-and-stick paper in just the right length I needed for this project (3 feet). For both my clutter and my pocketbook, I just LOOOOVE that I didn’t have to buy a $60 12′ roll. When it arrived…I have to tell you…I was SO amazed with this product. It looks and (more importantly) feels like wallpaper…real bonafide wallpaper…but it has a peel-off backing just like vinyl or contact paper. It’s thick and durable…and really…just lovely. I am so smitten with it. Friends, this is not a sponsored post at all, but I have to say….yes, Spoonflower is a bit expensive, but WOW – the quality is just so nice! I can’t wait to use this product in future spaces!
Anyway – I cut down my paper (very carefully) to the measurements of the glass cylinder. In my case, 15.25″x18″.
I don’t have pictures of the application because it was a two-person job. I highly recommend applying the paper with a helper if you want it straight, even, and bubble-free! My husband held the lamp horizontally (one hand on the bottom, one hand on the socket) while I applied the paper, lining up the edges of the paper with the top and bottom of the lamp. He then slowly rolled the lamp as I laid and smoothed the paper. It went on so nice and easy, I couldn’t believe it. After tons of projects working with contact paper (that tears and bubbles and creases), this went on like a dream. After a few smooths to get bubbles out…our lamps were done!
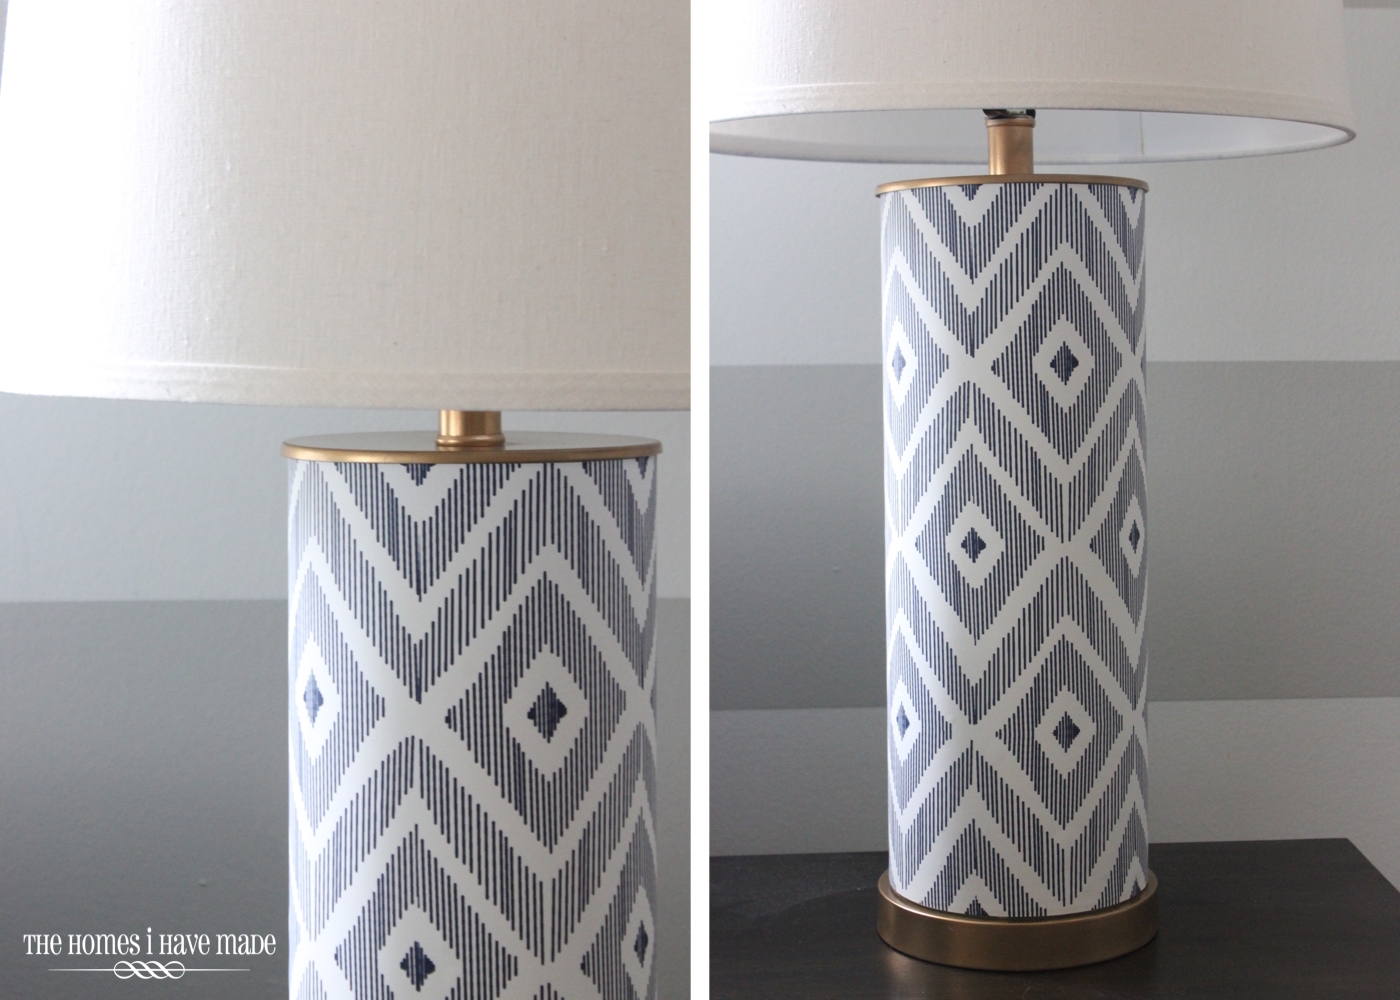
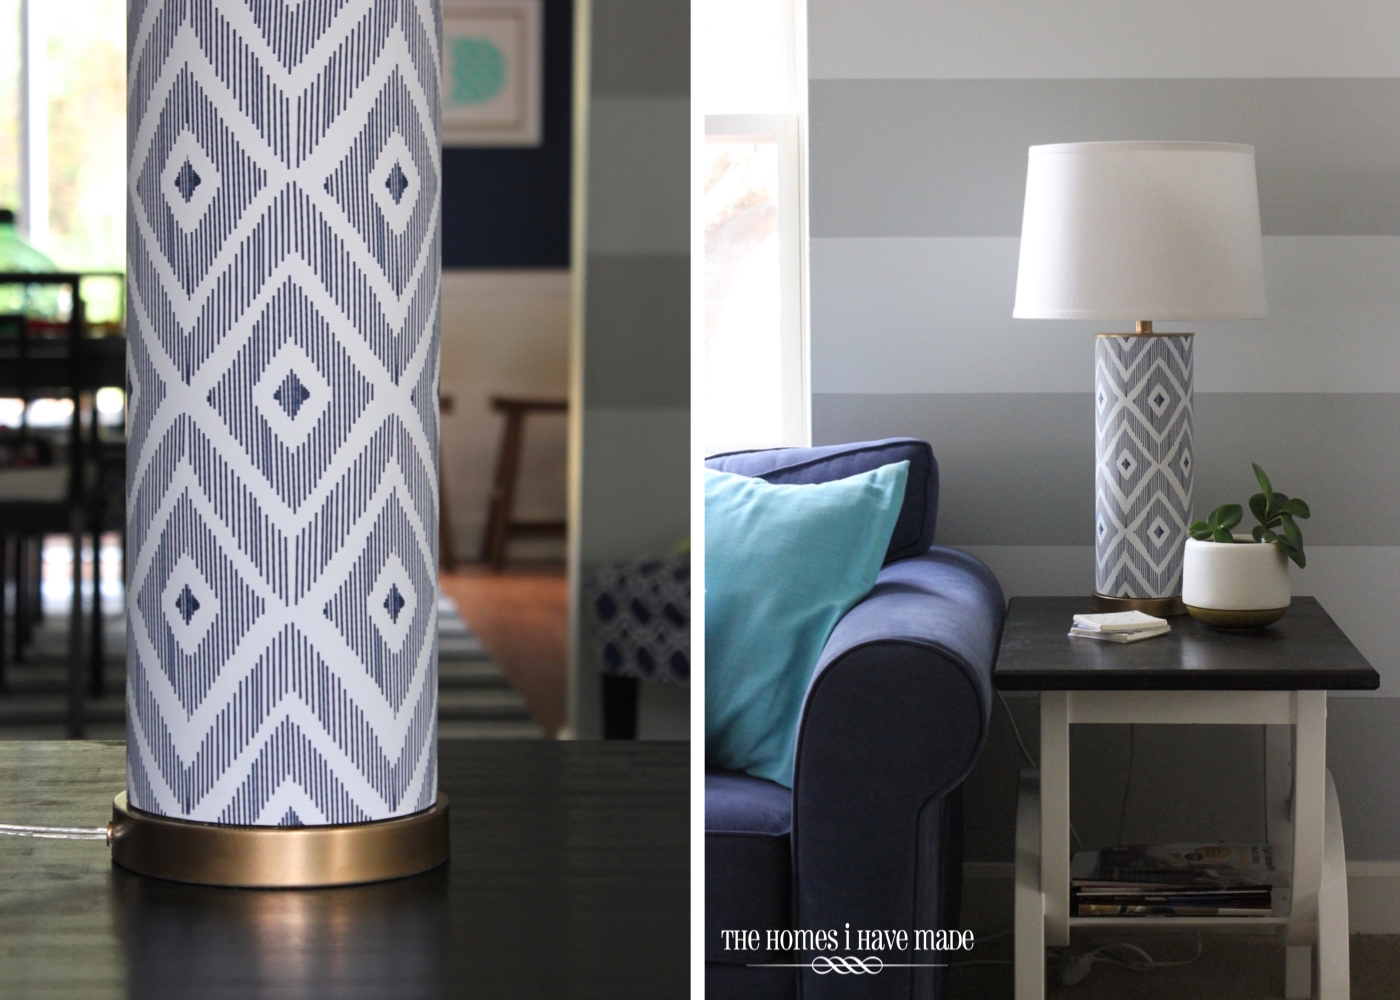
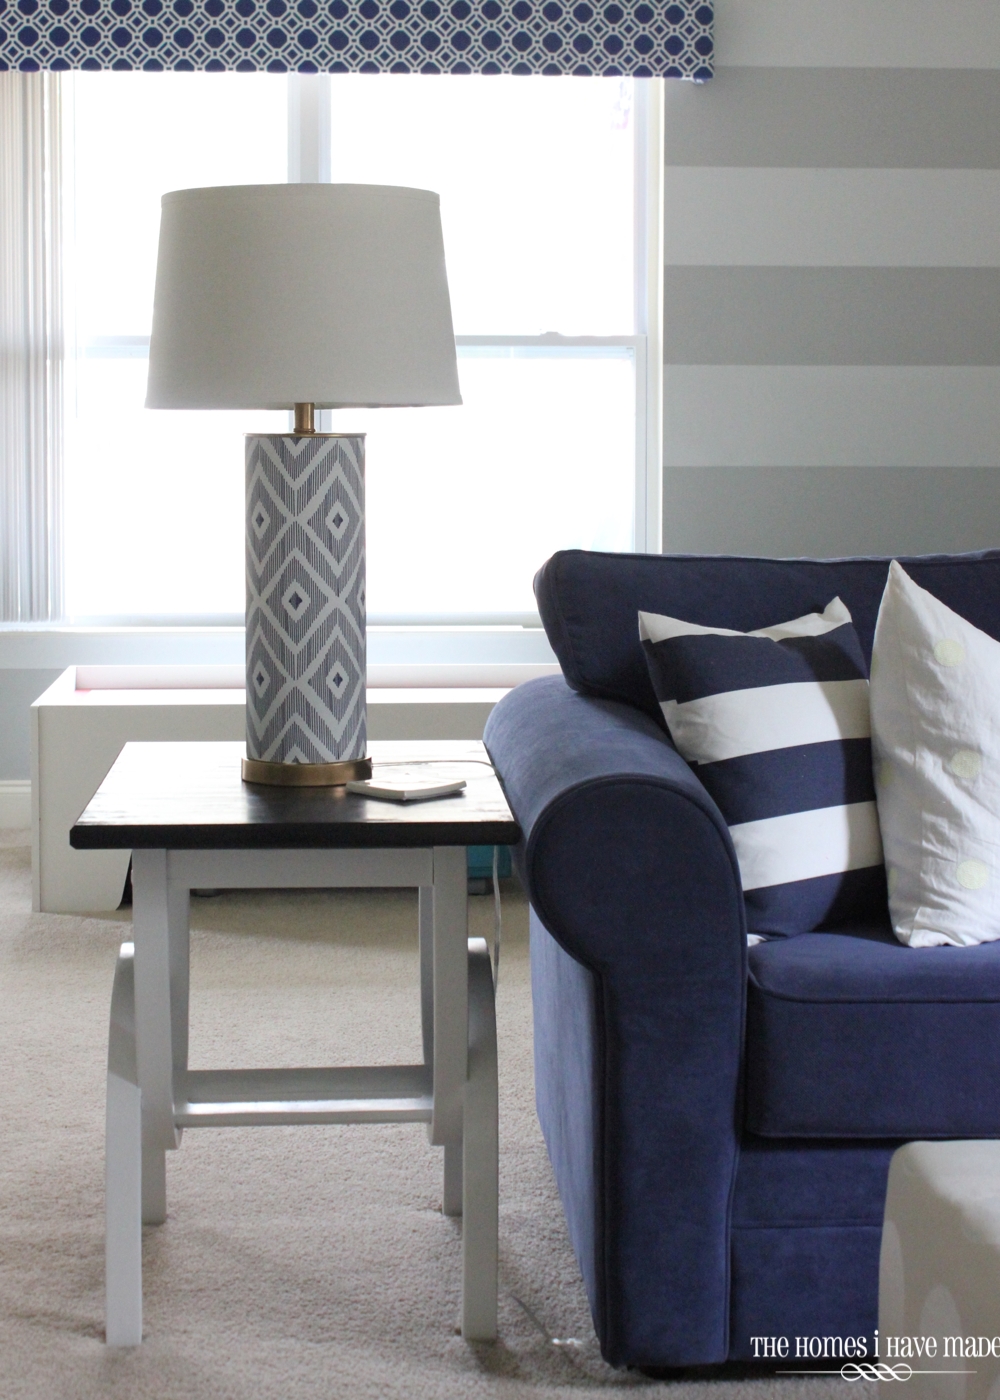
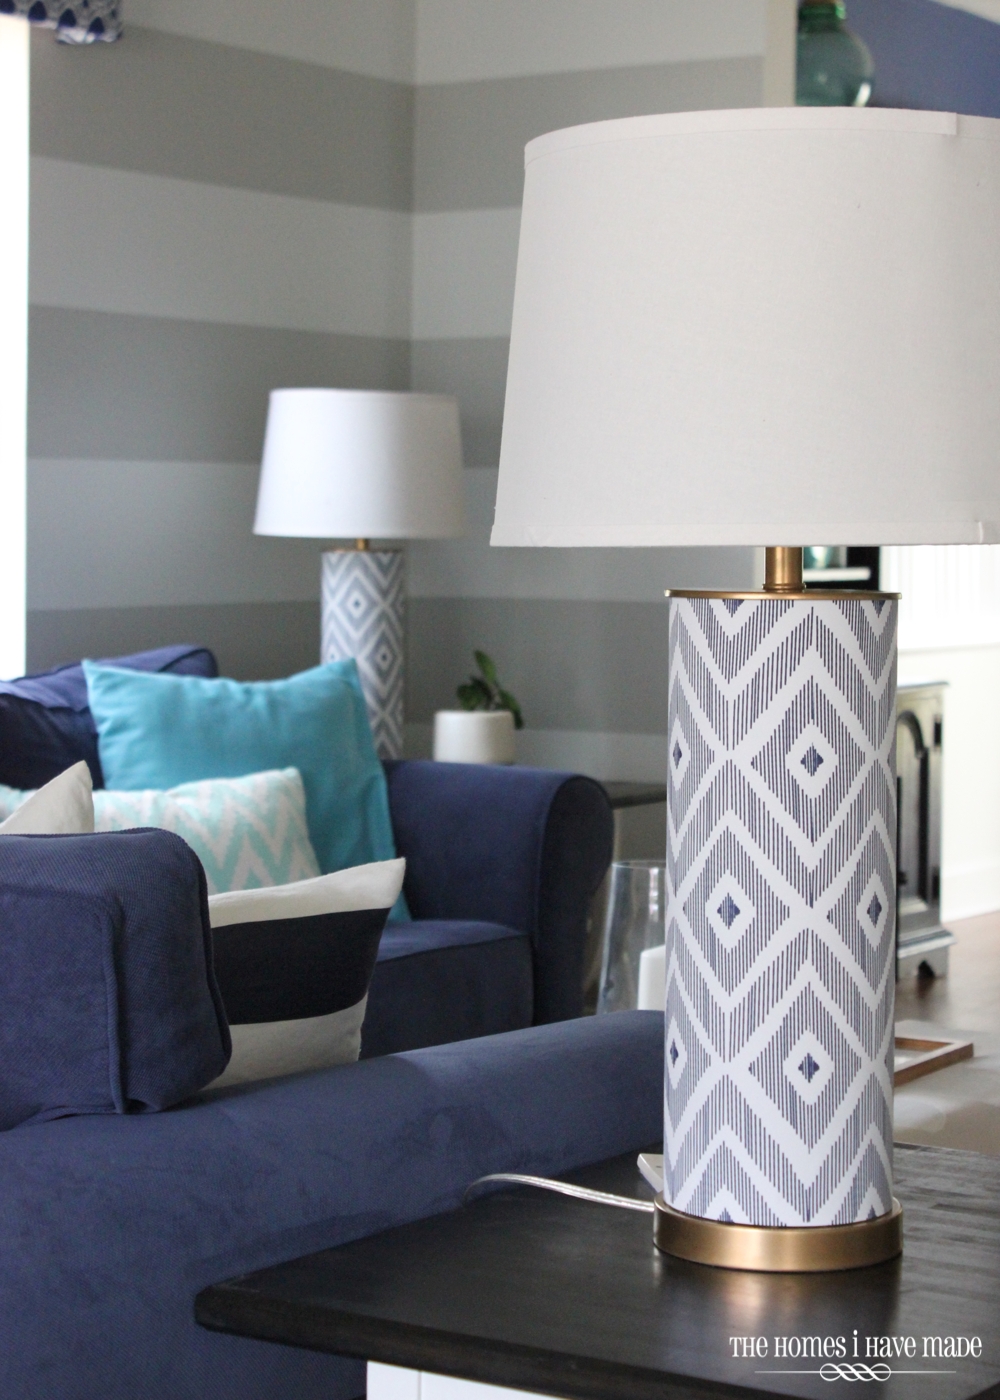
This was definitely one of those projects that turned out so much better than I expected. I LOVE the dose of pattern and how it plays off the cornice boxes, but it’s not too much or too busy. All of a sudden our hum-drum lamps look like a million bucks!
A quick note about the pattern repeat. The circumference of my lamp was 18″, and unfortunately, the pattern repeat on the paper didn’t work out to an even 18″. Thankfully, this type of pattern is pretty easy to disguise where the paper meets up. Here’s a shot of the back of the lamp, where the cord is and where the paper meets up. It obviously doesn’t meet up perfectly, but the pattern is so forgiving, most won’t see or notice! If you take on this kind of project…think about how the pattern repeats when selecting your print!

I am so excited about this lamp update. After years of being so frustrated with our lamps, I walk into the room and say “wow” every time!
This project cost me about $30 for both lamps (including paint and paper)….not a super inexpensive fix, but a lot cheeper than a whole new set of lamps! Plus, the quality of the wallpaper is so nice, I really feel like it was worth it to get me to love these lamps! If you have some lamps that could use a little pick-me-up (and they have a simple/even shape!), give this update a try!
I hope you all had a great weekend! Like I said, a bunch of things are in the works (finally!) so sit tight!

Megan

2 Comments on “Easy (and awesome!) Lamp Update – a Target Hack”
I love the lamps!!! What a great idea and I absolutely love the pattern!!! Awesome job!! Pinned 🙂
I stumbled upon this post on twitter and it made my day! Because you see that Navy Ikat is my design. I had been having one those rough patches you go through online where you swear no one sees anything you are doing and that you are just lost in the crowd. Thank you again for using my design. I love this project and would like to share a link to it on my Spoonflower design page if you don't mind!