Magnetic Learning Station: How To {Tutorial}
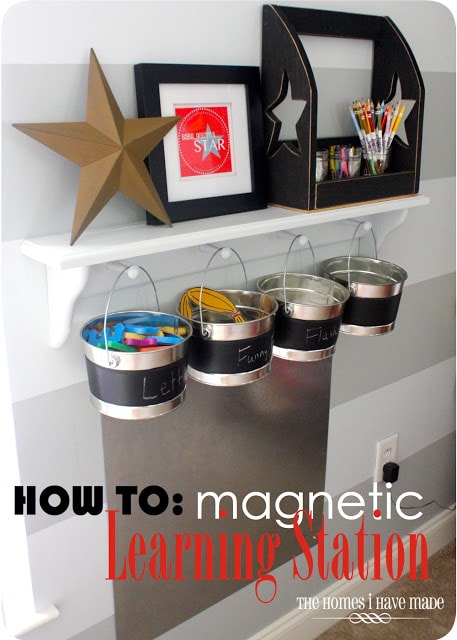
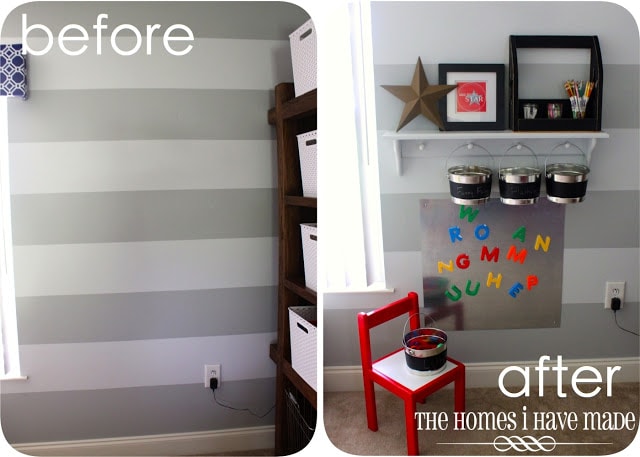
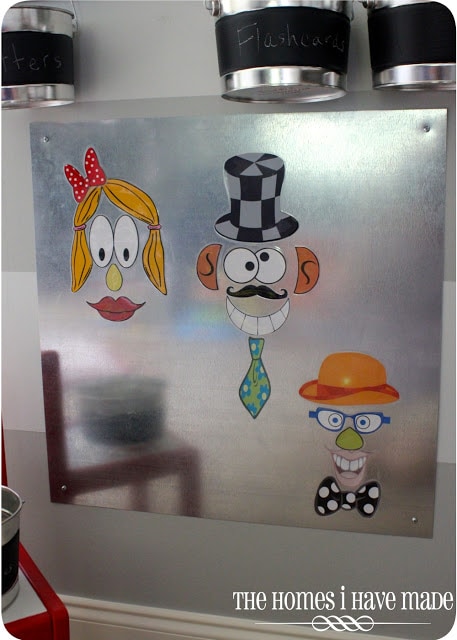
On Tuesday, I showed you the latest addition to our play room: a magnetic learning station! Today, I am going to show you exactly how I transformed this empty wall nook into a fun and educational space for my son and I!
Every last detail is after the jump!
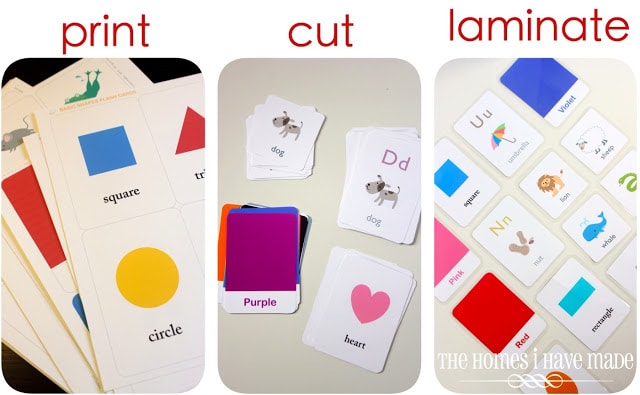
The easiest place to jump in here is with all the activities for the magnetic board! Let’s start with how I made the flashcards…
I love making printables myself, but when I can find exactly what I am looking for, already made, ready to print and cut, AND free…I am “sold”! When I stumbled upon this treasure trove of free, adorable flashcards, I knew putting this activity together was going to be quick and easy! I downloaded these free files:
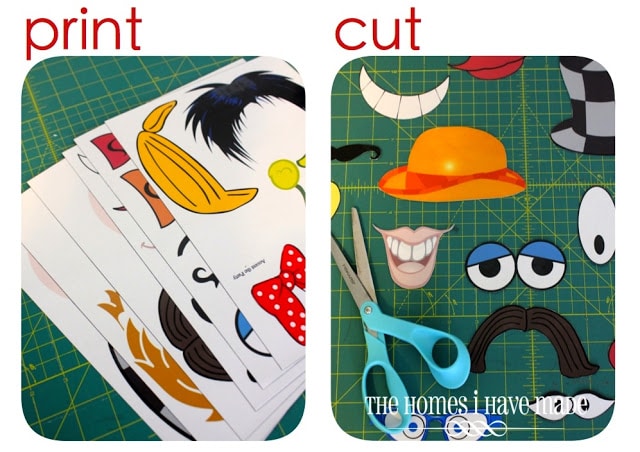
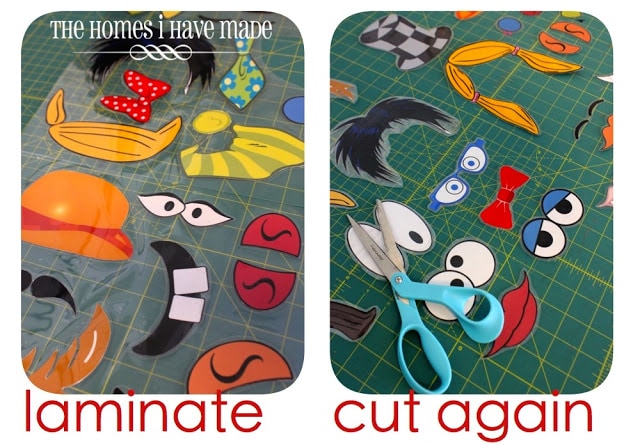
Then, it was as simple as print (onto white cardstock), cut, and laminate…(oh, and cut one more time since I laminated several at a time in one laminating sheet 🙂
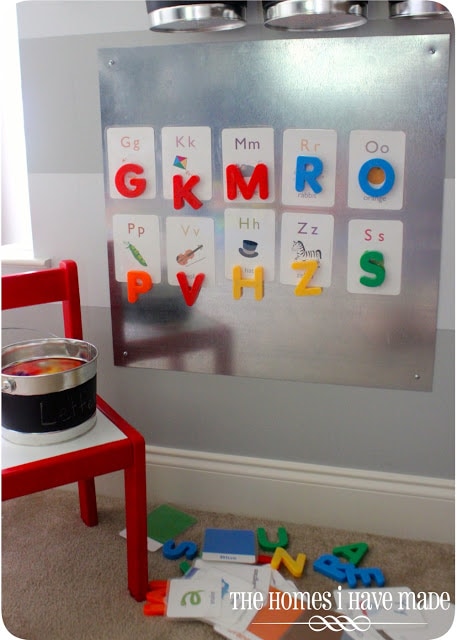
I chose not to magnetize the flashcards at this time. For one, I didn’t want to use up all my magnetic paper, and I figured we could just use regular magnets to put them on the board. I also kept the cards magnet free so that we could (eventually) play memory games and “Go Fish,” and also bring them along on doctor’s appointments or car rides.
Now…about all those funny face parts!
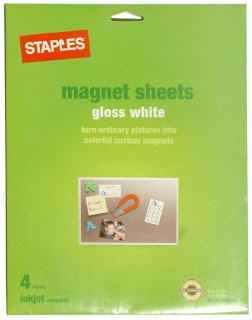
As you know, I am a big fan of magnetic paper (see my menu board here, here, here, and here!) and am constantly dreaming up ways to use it. Once I came up with the idea of face parts to make silly faces, I absolutely knew I wanted them magnetized. I have experimented with several kinds of magnetic paper…and this one is my favorite:
It prints and cuts beautifully, and I LOVE the glossy finish!
As far as finding all the graphics, I used a bunch of different resources. Mainly, I used all the photo booth props found here (scroll down); as well as these face parts. The only things missing were some hair graphics, and I found those here (just search “hair”)!
I cropped out each graphic from all the above links (so they were single .jpegs), blew them up, and formatted them all to fit on 6 pages. I am not going to share my condensed files here since the graphics aren’t really mine to share…but it really didn’t take long to find some great graphics…just poke around Pinterest for a while 😉
Once I had all my noses, eyes, eyelashes, glasses, hats, etc formatted and the size I wanted them, I printed out my face parts onto magnetic paper, then painfully cut out each image. In hindsight, I would avoid any mustaches, hair, eyelashes etc that are really curvy and edgy…they are tough to cut out!
I then laminated all the magnetic face parts and then cut them apart again. After they were all cut apart, I actually ran them through the laminator one more time individually (I’m pretty sure you’re not supposed to do that!), but I really wanted to make sure everything was sealed up tight!
Like the flashcards, these weren’t hard to make, just a little time consuming! But they were so worth it! Aren’t they hysterical?!?
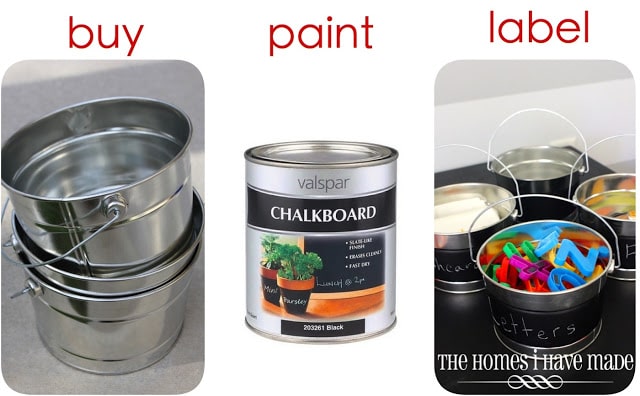
The only other “craft” I did for this project was the chalkboard pails to hold all the magnetic elements.
These took no time at all and are such an adorable way to hold all the parts and pieces to this activity station! You can find these pails in the paint section at the hardware store; they are about $3 each. I then painted the middle ridge of the pails with two coats of Valspar Chalkboard paint, waiting 24 hours in between coats. I painted these on free-hand with an angled 1.5″ brush. (Taping around the rim of the pail was too much of a pain 🙂 Next, label your cans with chalk (after waiting another 24 hours after the second coat of paint!).
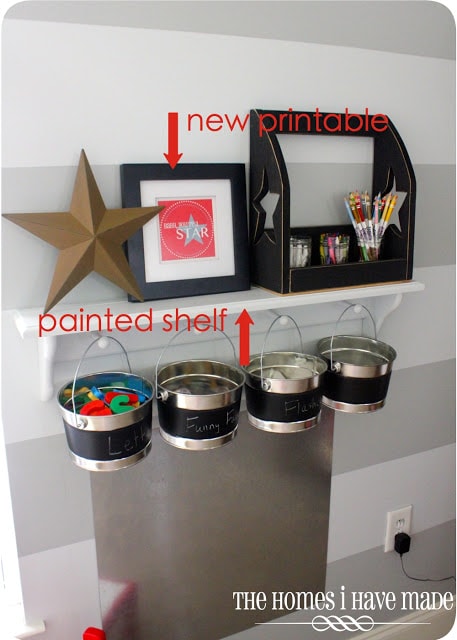
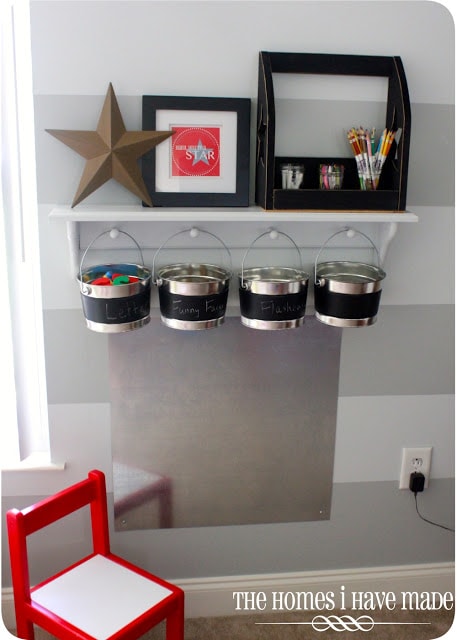
And lastly, hang your pails up!
To complete this station, the only other things I did were create a new printable (of which I’ll have the downloadable version for you on Monday!), and paint an unfinished shelf from the craft store the same color as my light grey wall stripe!
And just in case you’re interested, here’s a quick rundown of where I found everything and approximately how much it cost!
- Sheet metal, 20″ square – Lowes ($10)
- Paint pails, 1/2 gallon – Lowes ($3)
- Alphabet magnets – Amazon ($12)
- Magnetic paper – Staples ($9/pack of 4 sheets)
- Unfinished wood peg shelf – Michaels ($9 – with coupon)
- Brown metal star – Local shop ($3)
- Black star caddy – Local shop ($20)
- Star printable – coming Monday 🙂
A bit time consuming with all the cutting and laminating, but nothing here was too terribly hard! Poke around online and see what kind of free resources, graphics, and games you can find! Really, the possibilities here are endless! If you do make your own magnetic learning station, let me know what kind of fun crafts and games you come up with! I am always looking to add to ours’!
Hope everyone has a great weekend! See you Monday with a free printable and then later in the week with some really fun new project reveals!
Megan









6 Comments on “Magnetic Learning Station: How To {Tutorial}”
Oh my gosh I just love this whole station! It's adorable AND functional! I have to get me some of those pails… I never noticed them in the store before! I have magnet paper ready for some projects, and I think I may get addicted to it too 🙂 Awesome job! I'm loving your blog, and will soon be your newest Facebook follower! And I would love if you shared this at my Throwback Thursday party 🙂 I hope to see you there and thank you so much for sharing! http://www.hubbymademe.com/throwback-thursday-no-12/
What size did you crop all the images too?
How can I get the funny faces? All the links don’t work anymore. Can you email them to me?
Hi Lisa,
I never shared the face graphics files because the images weren’t mine; and i don’t seem to have the files I used on my computer anymore. I do see now that some of the links to the image I used are no longer active. I’d recommend just searching Google and Pinterest for prop face images and face graphics.
Sorry I can’t be of more help!
Megan
I love this idea! Awesome job! Thank you! One question, can you write on the magnetic board with dry erase markers? Thanks again!
Hi!
That is a great question – and honestly, I’m not sure. I made this years and years ago and we no longer have it so I can’t test it. If not, you could always cover with dry-erase vinyl to make it magnetic AND dry-erase! Sorry I can’t give a better answer but I hope that helps a bit!
Megan