Individualized Thank-You Cards!
Okay, okay! I know I promised that Monday’s post was my last monster-related project! But I thought you all might enjoy this mini tutorial on how I make individualized thank you notes for birthdays and other gift-related occasions!

What exactly do I mean by “individualized”?
Well….in my house, gone are the days of snipping and enclosing a recent snapshot of my child or family in a plain card! With digital photos and digital scrapbooking/graphic designing software, it is SO easy to not only customize a card for a specific occasion, BUT also to include a photo!
Moreover…for something like a birthday, where people give gifts, I like to include a picture of my baby with that specific gift! Not only do people get to see/save a recent photo of Henry, BUT they get to see him playing with the gift they gave (which is especially great for people who couldn’t be at the party!).
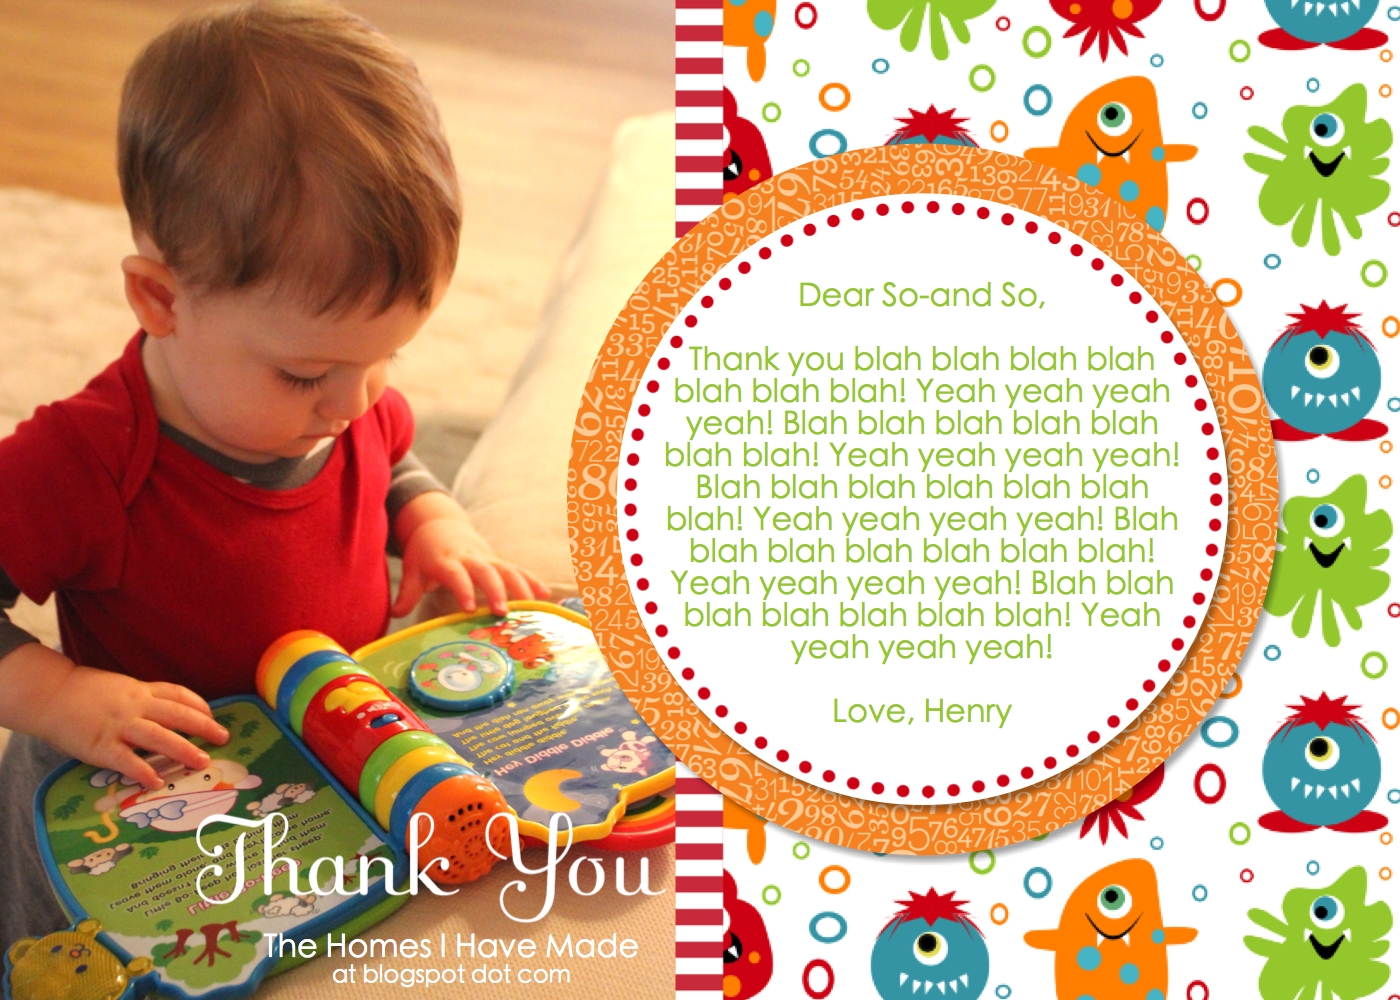
Here’s what I mean! This card was sent to the giver of this cute electronic book….
And this card was sent to the giver of the tractor…

It’s just a nice touch when saying thank-you to friends and family…let me show you how easy it is to do!
First thing you have to do is take 10+ minutes to snap a few photos of your child playing with each of their new toys/gifts or wearing a new outfit!
1. Then, using some sort of digital designing software (I use MDS), make a card template that goes with your “theme.” You can see in the samples above that I used a graphic of the monster fabric I used as a table runner during the party as my card background! When designing your template, leave a blank photo box to insert pictures into and a placeholder for text!

2. Simply drag and drop (or insert) a photo of the first gift/recipient, and write your little thank-you message!
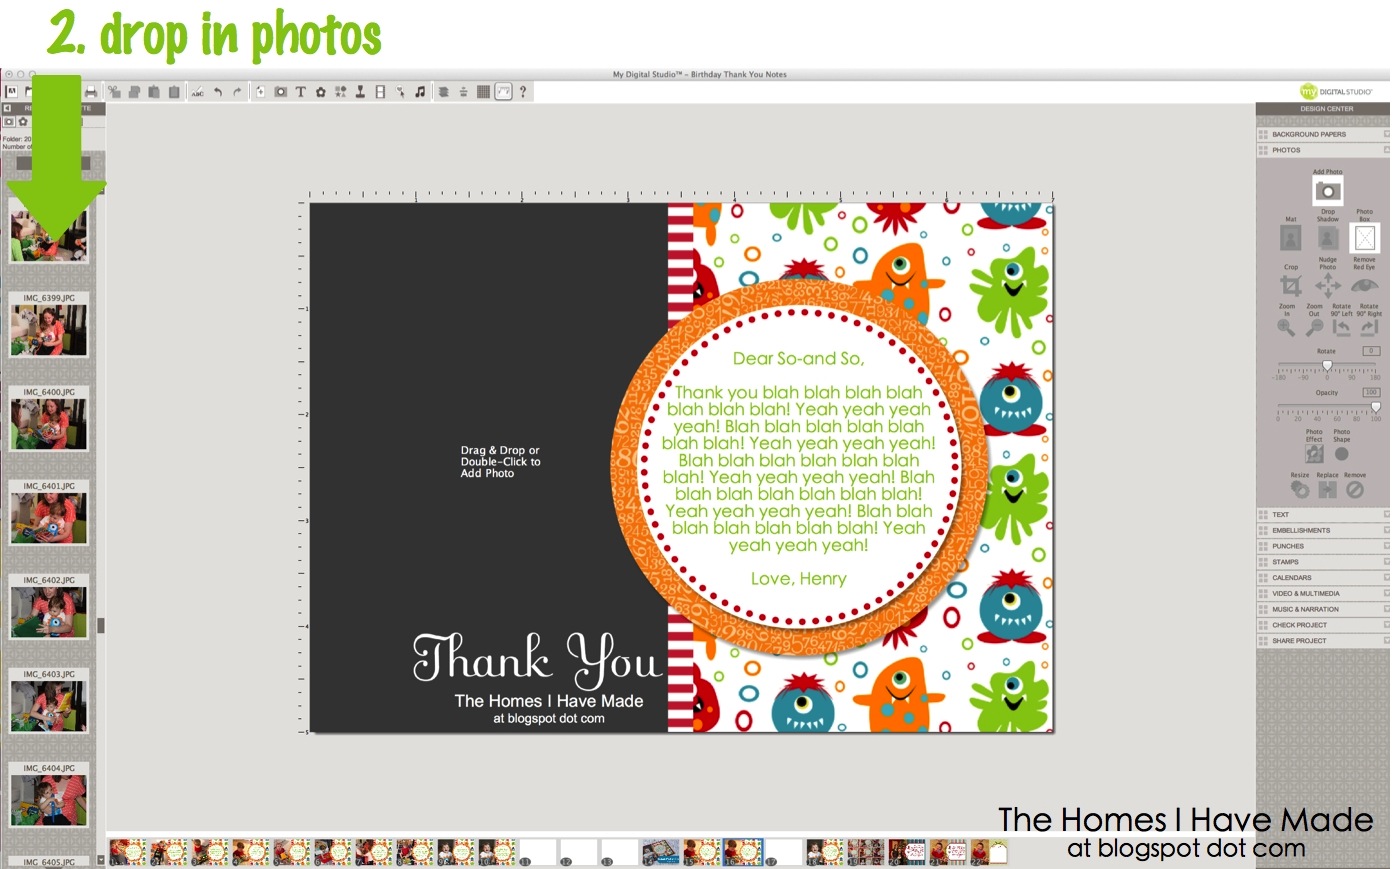
3. Make sure you COPY your template to make a new card and start again with the next photo/recipient! (If you look at the bottom of the image below, you can see all my “different” cards lined up!)

4. After I had all my individualized cards designed, I printed them on glossy photo paper and mounted them to a card stock backing!

See? A unique and personalized thank-you card for each of our party guests!

Wait…I have a few more ideas!
If you don’t like the idea of taking several pictures (one for each gift) OR on occasions when you need thank-you cards for people who give intangible gifts (such as money or gift cards!), you can also pick a great photo from that party or holiday and include it on the card! For friends and family who gave money, we sent out this card!

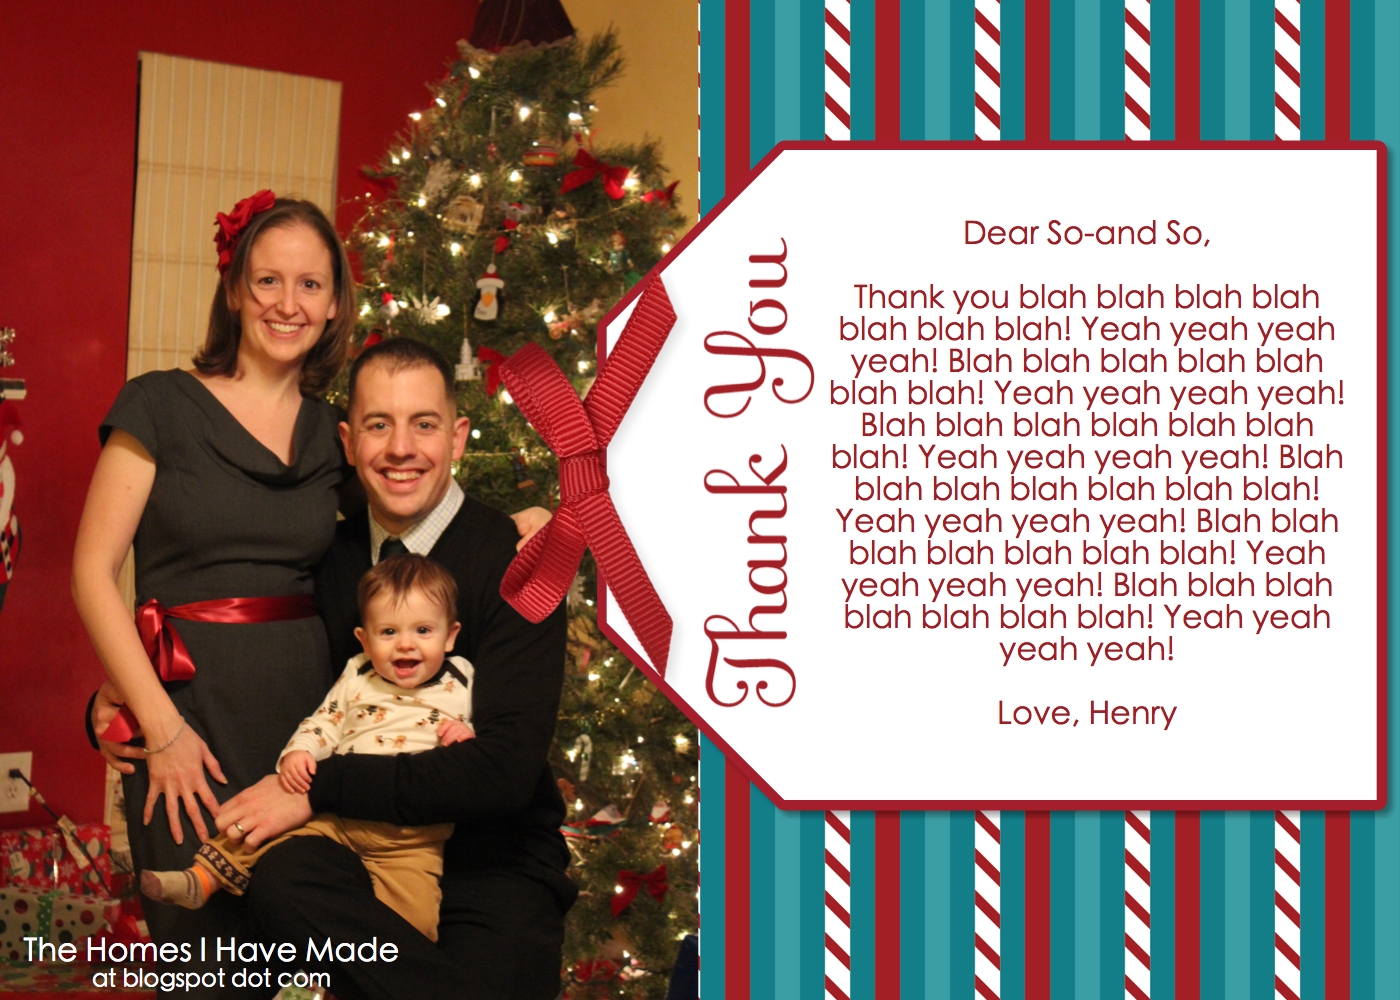
What I really love is that this idea can be used over and over again…you just have to change the template around and update the pictures! For example, even though I am just showing this idea to you now, I actually did the same thing for our Christmas thank-you cards!
This was the card we sent to friends and family who sent gifts (with the pictures swapped out for each recipient)…

And for my husband and I’s gifts or family gifts, we sent out thank-yous with a family shot!
Lastly, I completely acknowledge that it’s very important (especially as kids get older!) for thank-you notes be hand-written! You can use this same idea and leave some blank space for a hand-written message!

In the end, this isn’t really that new of a concept. I’ve just taken the holiday picture/greeting card to the next level! And it’s really so easy! It takes me very little extra time to drop in a different photo to each card and the recipients get something a little extra special!
Okay – now I mean it. I have no more monster-related crafts up my sleeve! This marks the end of the monster birthday project marathon! But don’t you worry, while I’ve been “treating” you to all these fun projects, I’ve kept busy making lots of other things. I have SO SO many fun things to show you over the coming weeks!
All for today! Have a good one!

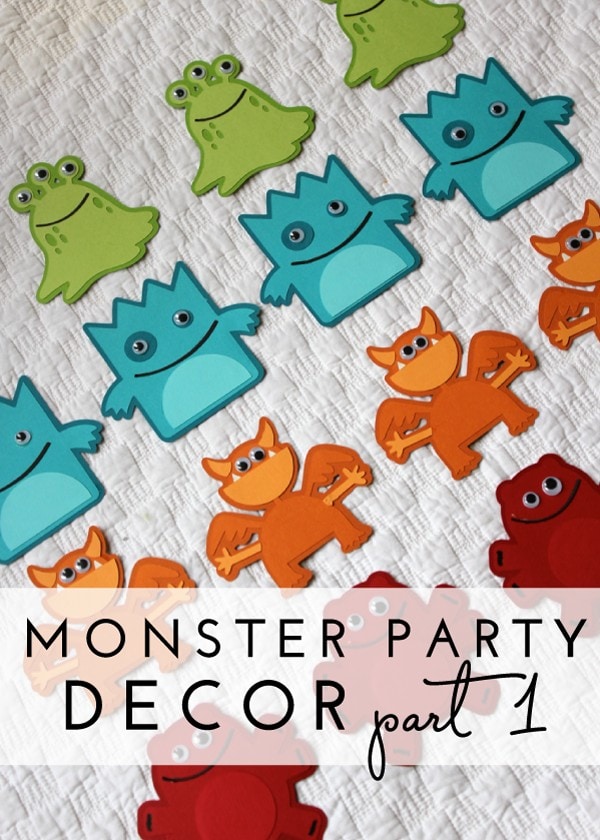
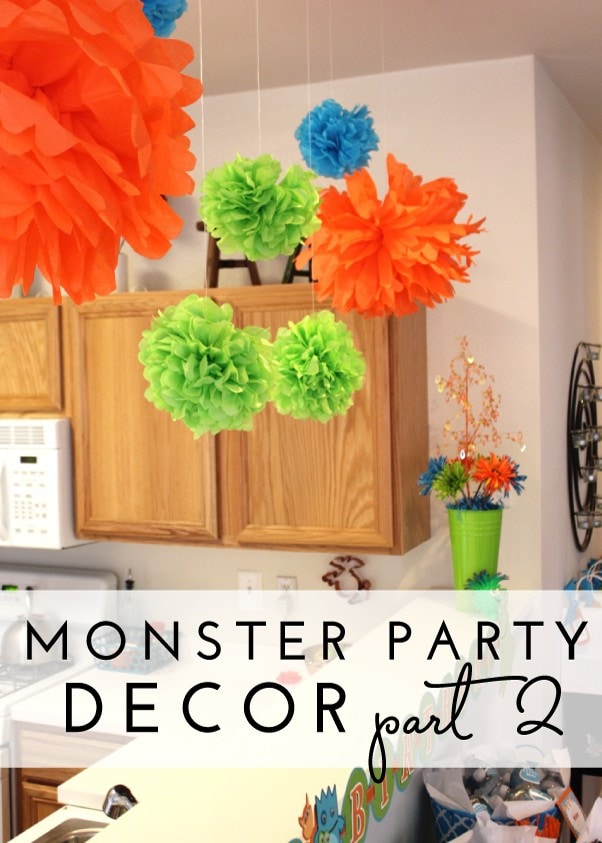
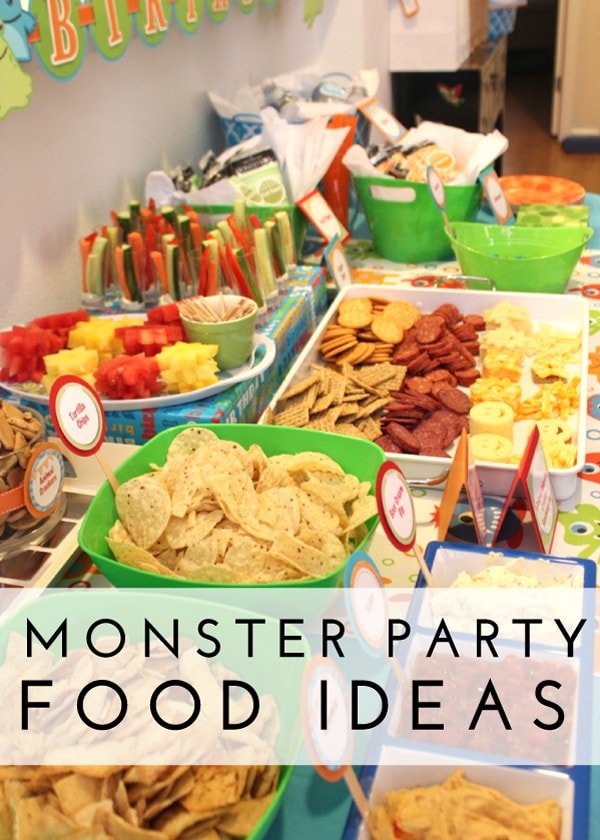
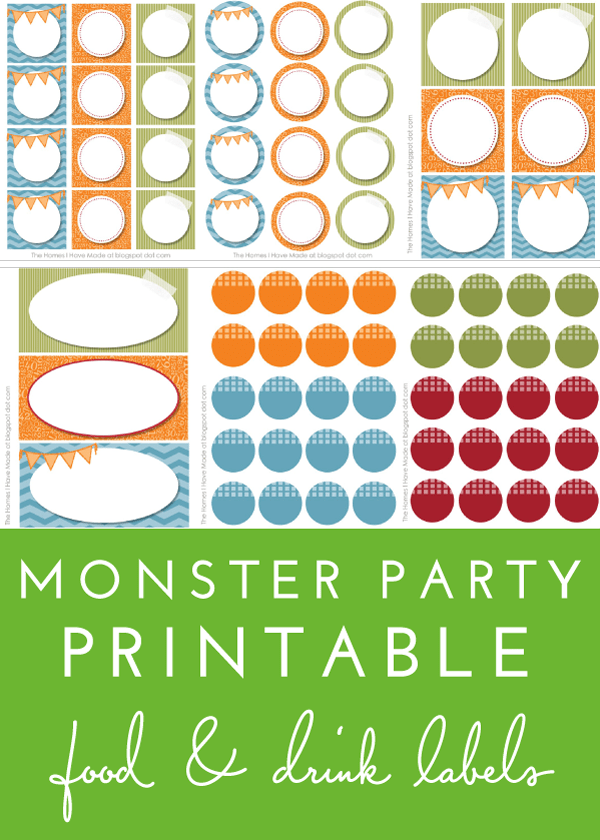
You can now catch up on all the Monster Party Posts here:
Megan

3 Comments on “Individualized Thank-You Cards!”
I love the family portrait of your wedding cards!
Does MDS have graphics to use or do you purchase elsewhere? Where?
Hi Ashley! You can purchase graphics from the MDS store here: http://www.stampinup.com/ECWeb/CategoryPage.aspx?categoryid=1162 but also any digital graphics/scrapbooking packs from Etsy or elsewhere also work!
Good luck!
Megan