Valentine’s Day Projects
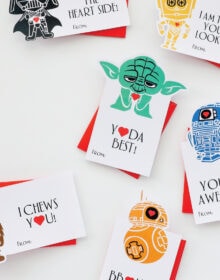
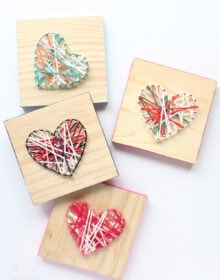
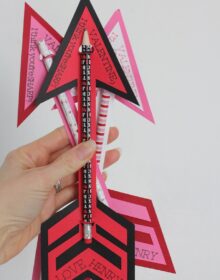
Looking for easy and adorable DIY Valentine’s Day projects for your kids or family members? This collection of DIY Valentine projects are clever, quick, and (mostly) candy-free and are the perfect gift for any loved one on Valentine’s Day!
Subcategories:
- See All Holidays »


